The Dairy Game: 27th July, 2026. The Deep-Purple Cuban Collar Shirt and the Reality of Workshop Grind.
The Dairy Game: 27th July, 2026. The Deep-Purple Cuban Collar Shirt and the Reality of Workshop Grind.
Hello Steemians
Welcome back to my fashion column, where I take you directly into the heart of my garment production studio.
Many people see a beautifully hanging piece of clothing on a rack or a stylized photo on social media and think fashion design is all glitz and glamour. The truth is quite different. Behind every clean collar line, perfectly placed button, and flawless drape lies hours of intense, focused manual labor, strategic planning, and collaborative effort in a bustling workshop.
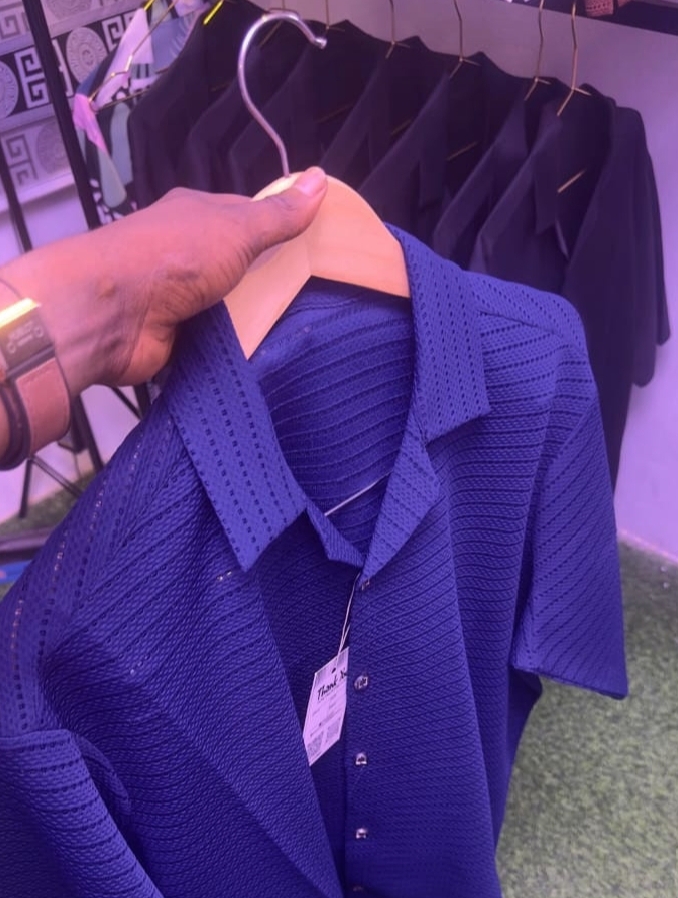
Today, I’m pulling back the curtain on my absolute favorite recent creation: a rich, deep-purple Cuban collar short-sleeve shirt crafted from a premium textured open-knit weave. I'm taking you through the complete journey from the chaotic energy of the cutting table to the rhythmic hum of the industrial sewing machines.
To maintain the absolute integrity and strict anti-plagiarism standards of the Steemit community, **all images and documentation featured in this post are original captures from our creative hub, reflecting our daily workflow and authentic artisan craftsmanship.
Step 1: The Raw Materials & Market Sourcing
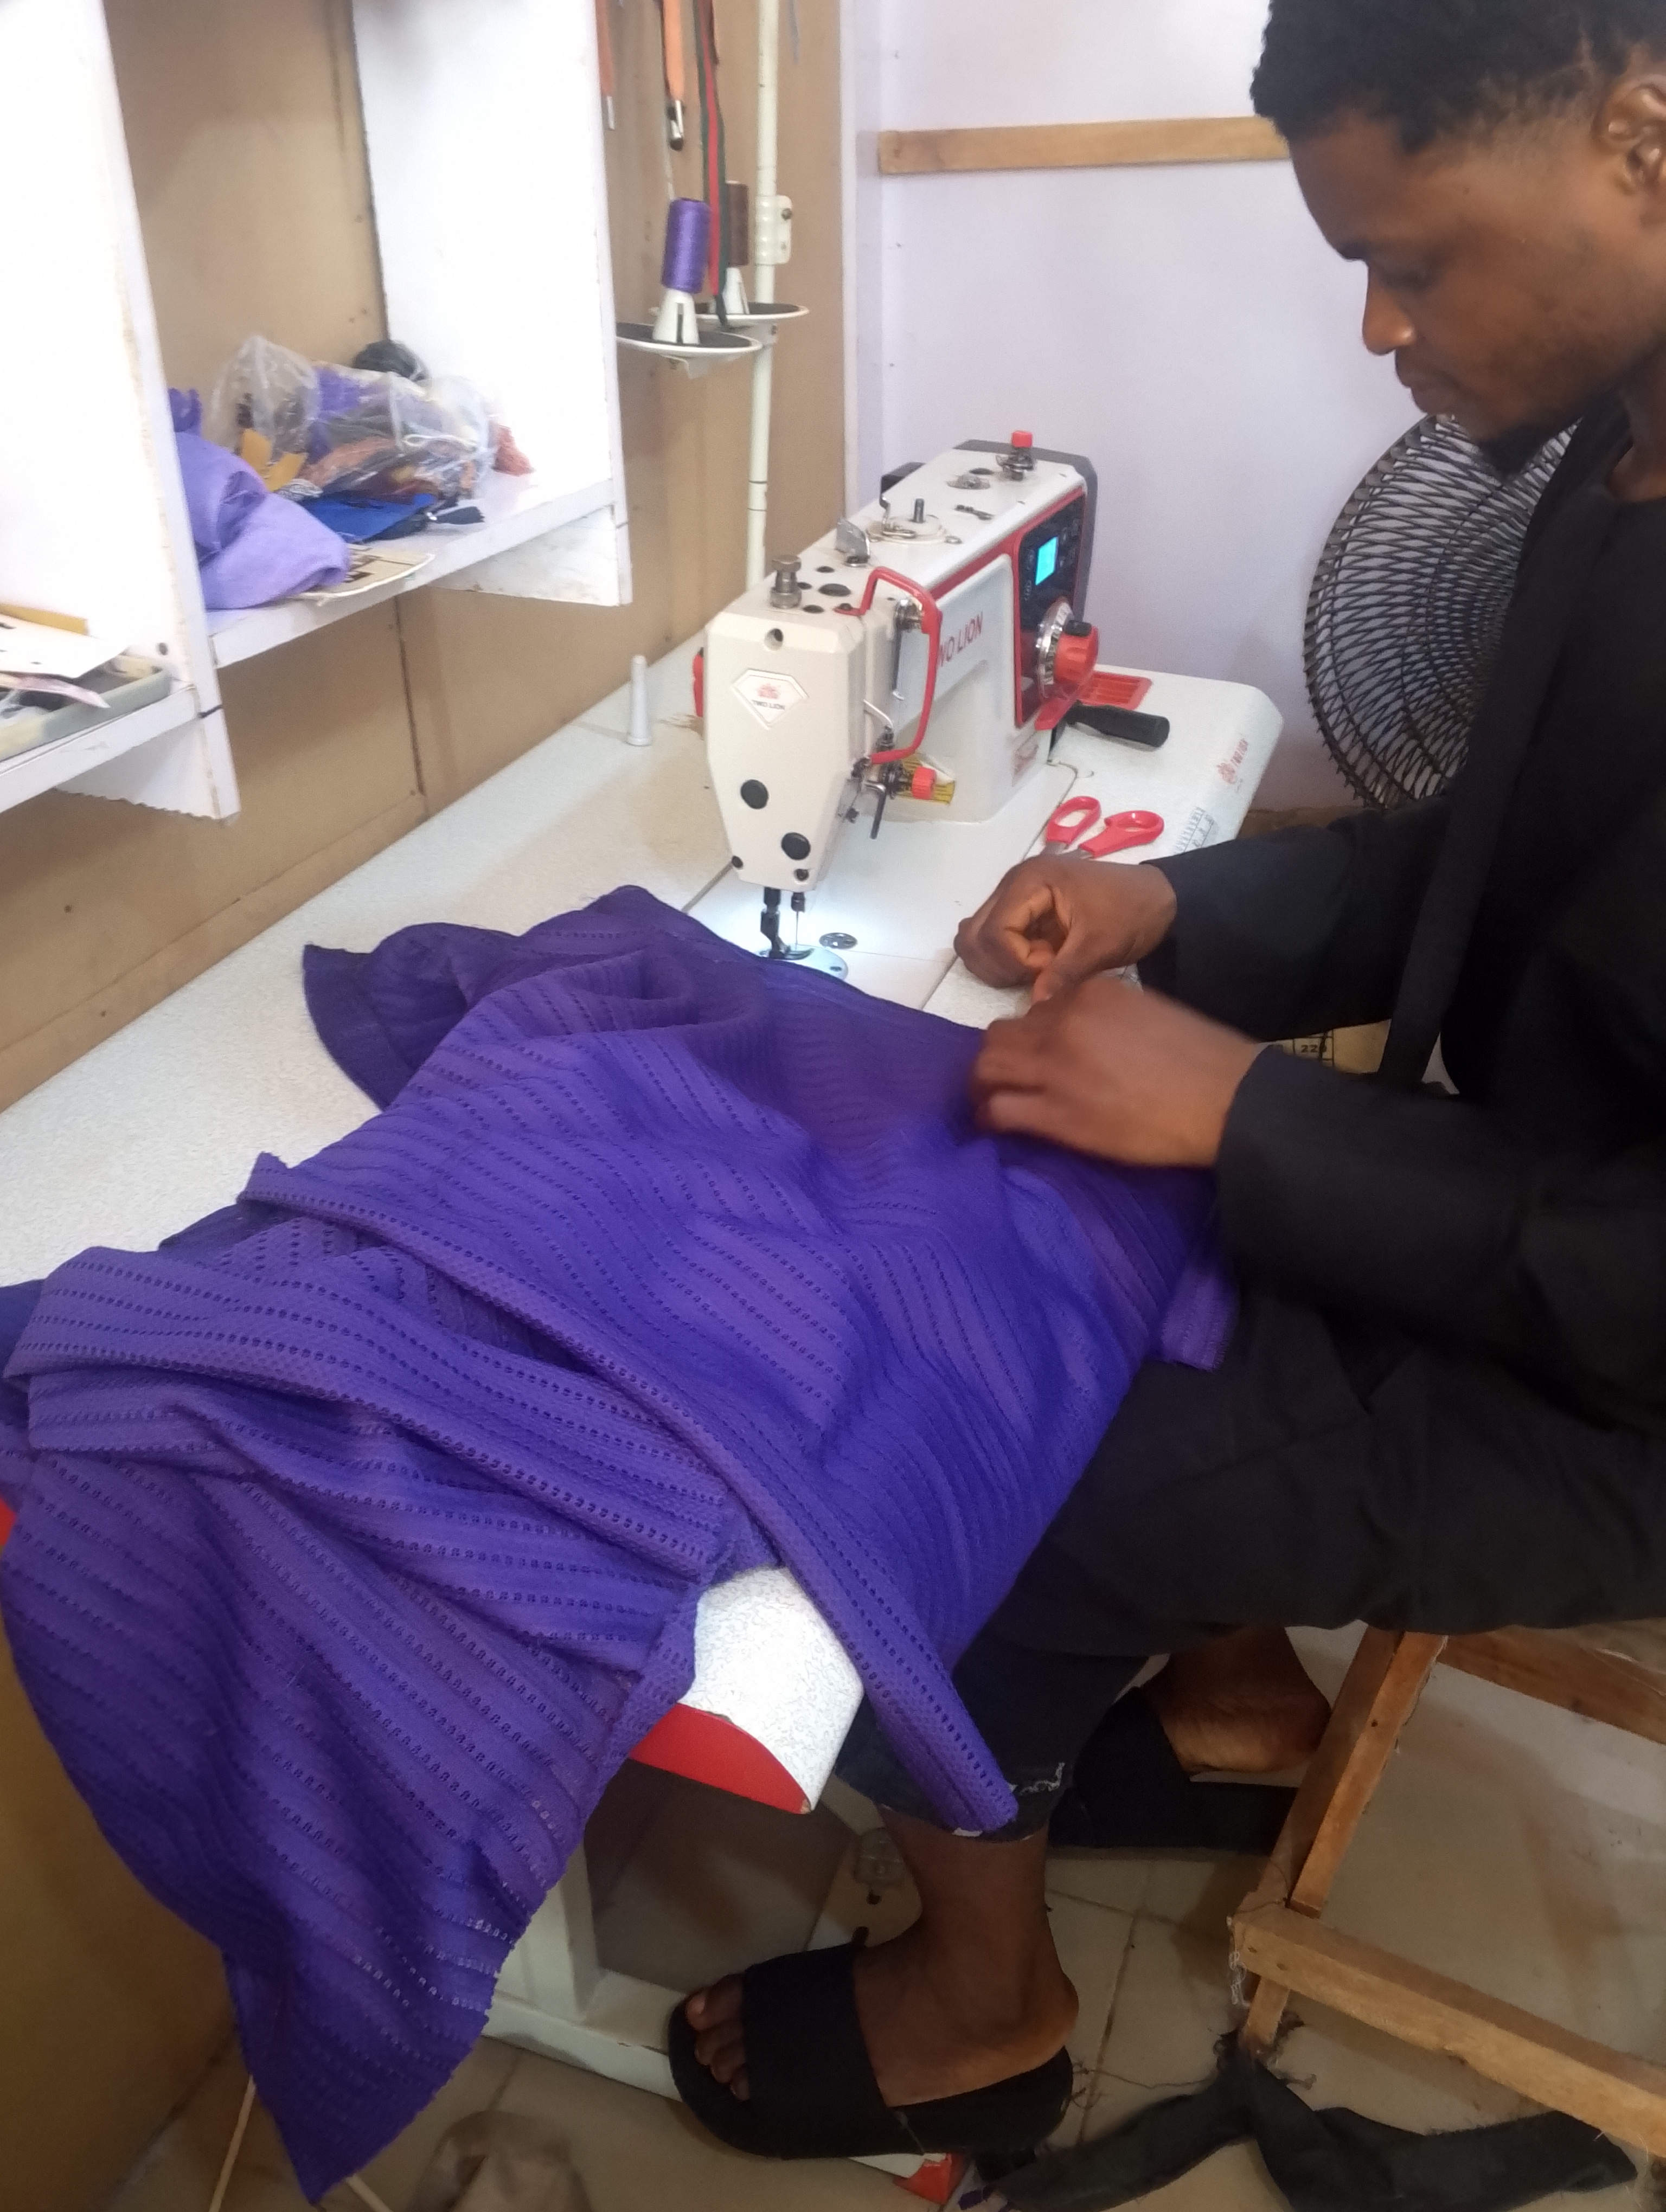
Every high-quality outfit starts with an explicit vision and an intense search for materials. For this project, I wasn't looking for standard plain cotton or basic synthetic fabrics. I wanted something tactile—a material that possessed depth, premium breathability, and an effortless luxury feel.
I headed out to the textile market to track down a specialized waffle-weave textured knit cloth. Finding the exact shade of royal purple with a consistent, open-pattern structure took digging through several vendors, but the effort paid off.
Alongside the main fabric, I picked up the technical components that hold a shirt together:
Ultra-lightweight knit interfacing (stay):To add stiffness to the lapels without losing the shirt's relaxed nature.
Industrial-grade matching purple thread: To ensure all joining lines melt invisibly into the fabric matrix.
Minimalist metallic-rimmed buttons: Chosen specifically to provide a clean contrast against the deep hue of the textile.
Step 2: The Math and Magic of Cutting ✂️
Once back in the studio, the real mental work began. Cutting a textured open-knit fabric is significantly more challenging than working with flat woven linen or denim. Because of the pattern's open rows, the fabric naturally wants to shift, stretch, and warp the moment you glide your scissors through it.
I cleared off our wide cutting table and meticulously aligned the fabric grid lines so they ran completely parallel to the edge of the table. Using tailor's chalk and custom pattern blocks, I mapped out the panels:
The Front Left & Right Bodice Panels: Cut with an integrated folded extension to create a clean, seamless button placket.
The Seamless Back Panel: Cut slightly broader through the yoke to allow for relaxed movement.
The Notched Cuban Collar: Cut at a precise geometric angle so that when it folds outward, it lies flat against the collarbone without awkward bunching.
Every cut had to be bold and clean. A single jagged scissor snip on an open-knit structure can cause the yarn rows to unravel completely before they even reach the machine.
Step 3: Fusing & Guming for Permanent Structure
An open-knit shirt looks beautifully relaxed, but if you don't reinforce the stress points, it will quickly distort out of shape. The "guming" or interfacing phase is where we build the garment's invisible backbone.
I took the cut collar pieces and the front placket strips to our industrial steam pressing station. Using an exact balance of high heat and firm pressure, I fused a specialized, ultra-lightweight woven stay to the reverse sides. This step is incredibly vital:
- It ensures the Cuban collar keeps its iconic, sharp notched look over months of washes.
- It reinforces the placket area so that when the buttonholes are sliced open, the edges remain perfectly crisp and resistant to fraying.
Step 4: The Workshop Symphony — Assembly and Sewing.
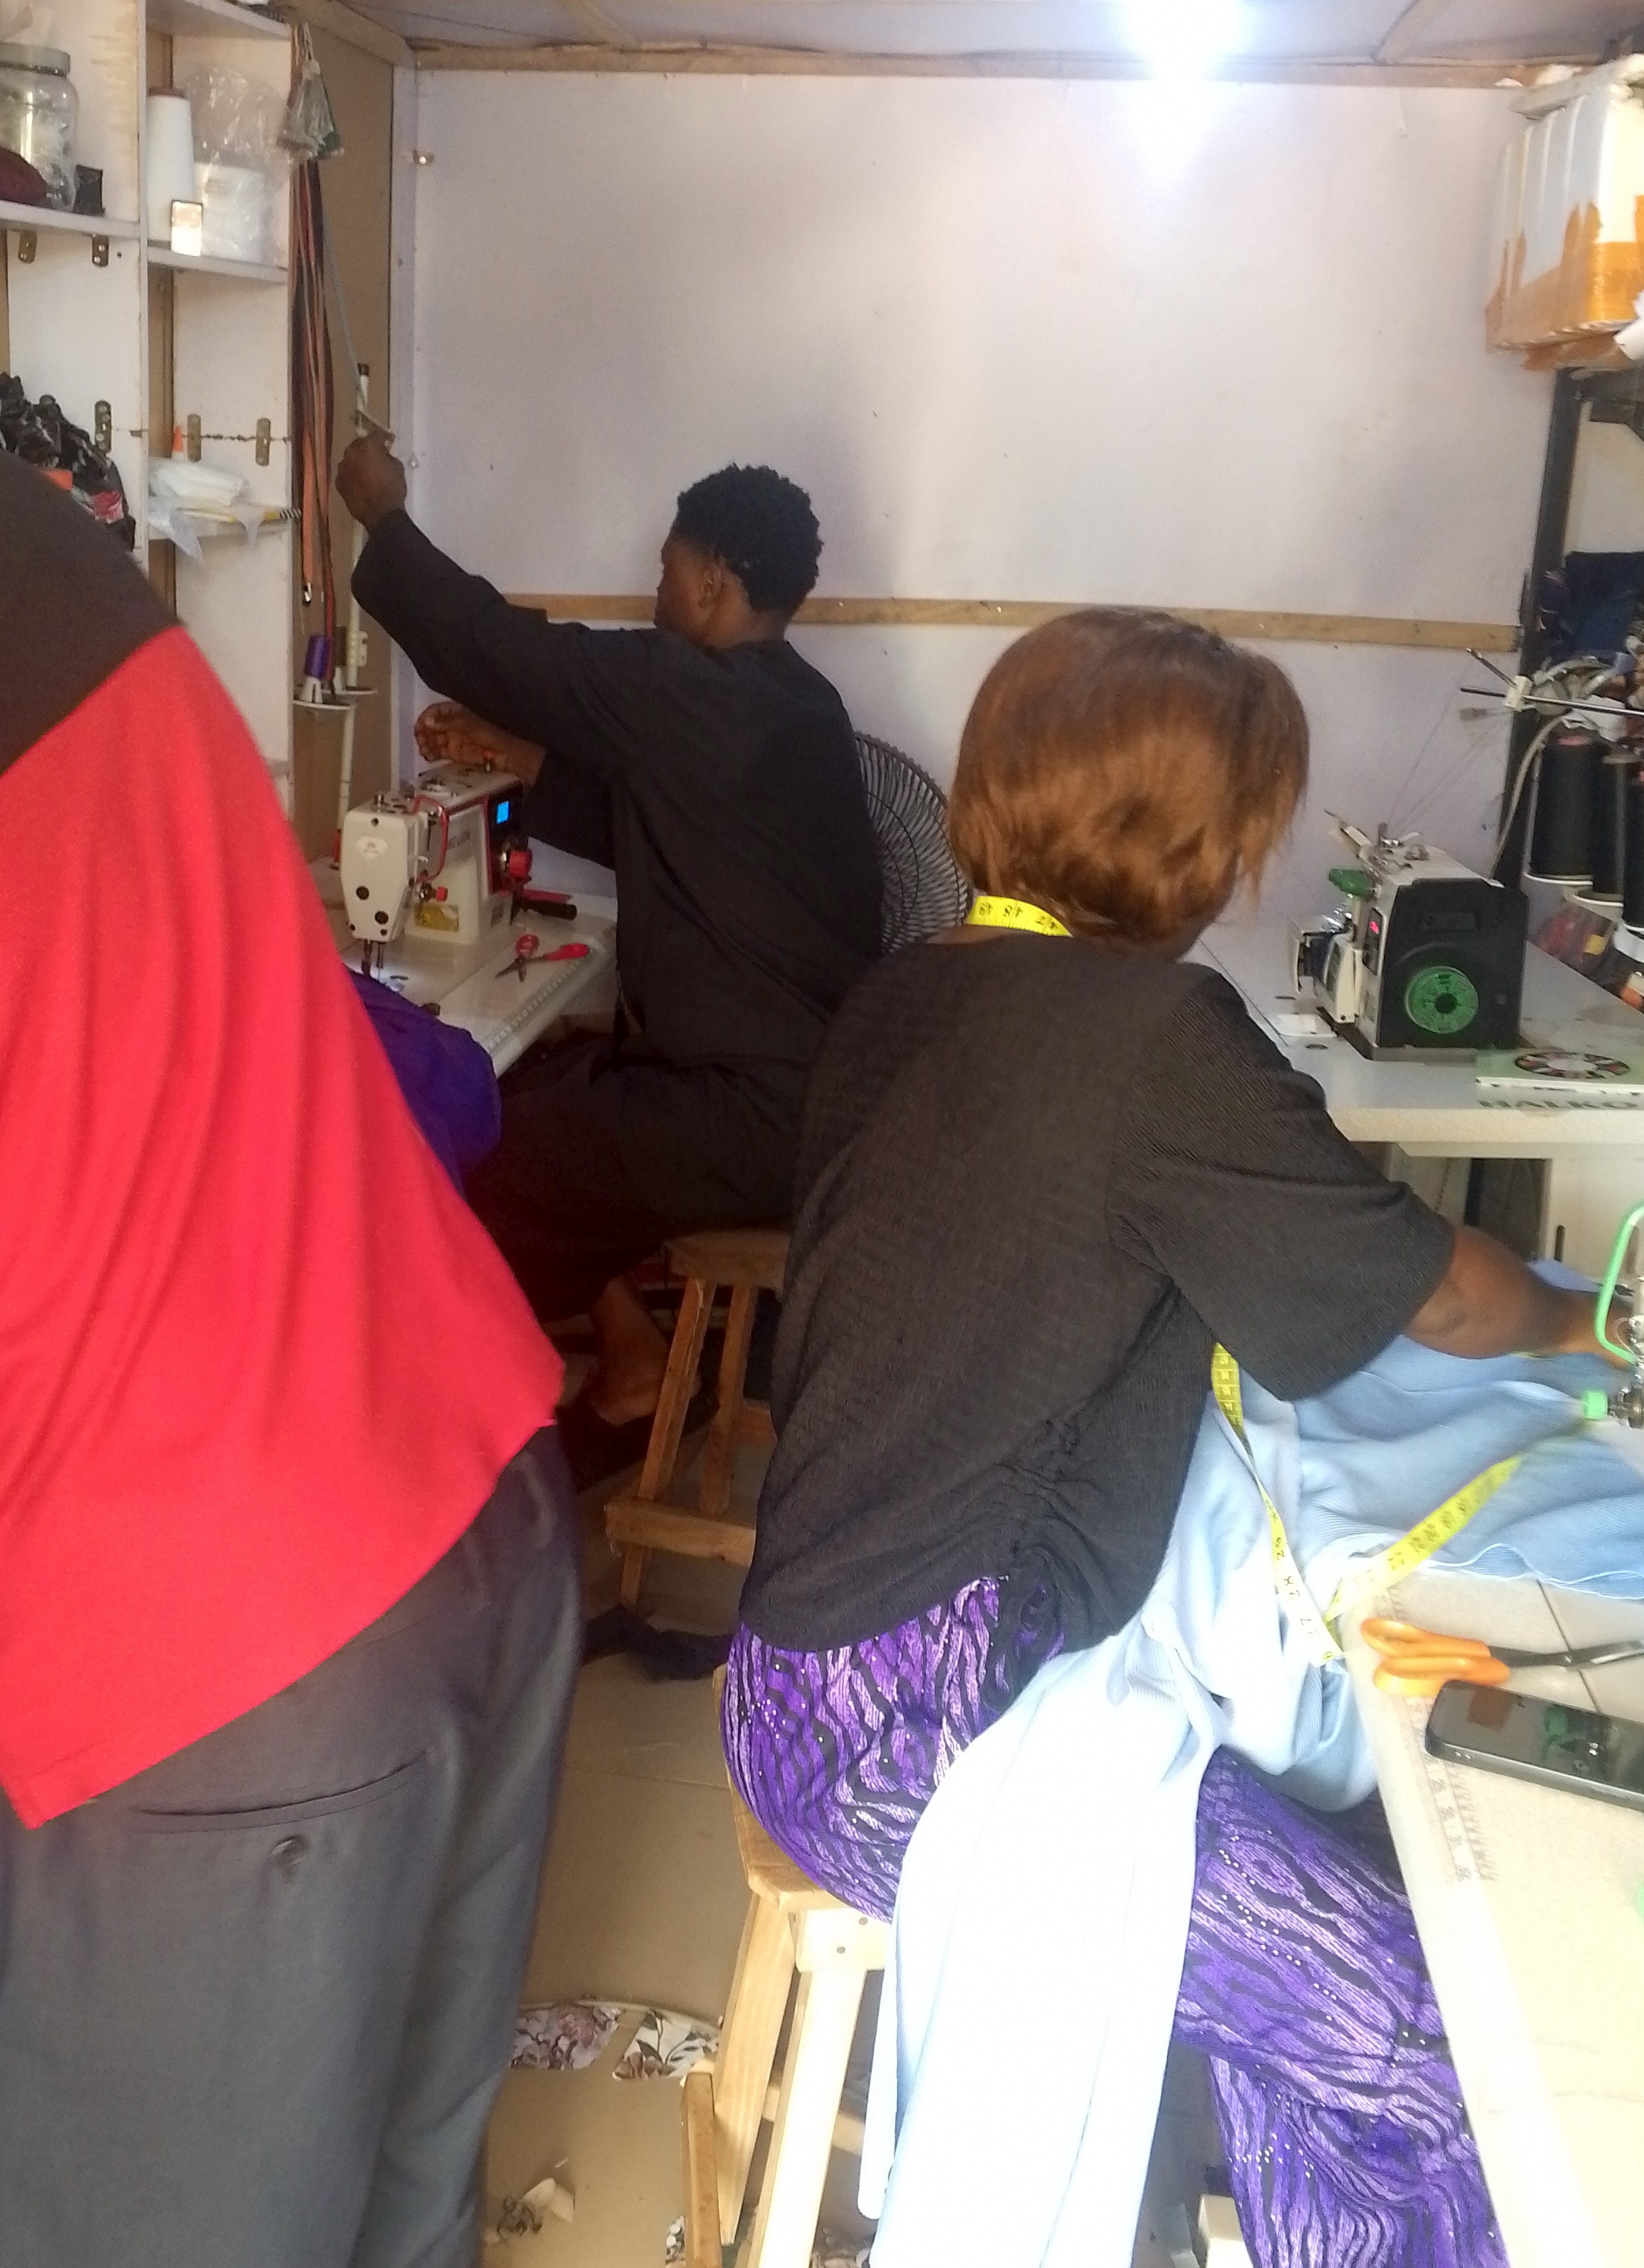
With all the panels cut, stabilized, and bundled, the energy moved directly to the sewing machines. Our workshop is a collaborative ecosystem where multiple hands bring the vision to life. As you can see from our live studio shots, everyone is deeply locked into their stations—the hum of the heavy-duty motors, the snip of the thread trimmers, and the steady movement of fabric under the presser feet create a rhythmic workspace symphony.
Joining the Frames:I first stabilized the shoulder seams with a hidden inner binding to prevent the weight of the knit from stretching out the top of the shirt.
Setting the Cuban Collar:** This is the ultimate test of a tailor's skill. I carefully stitched the uppeI sat at my industrial lockstitch machine to begin the final construction:
I sat at my industrial lockstitch machine to begin the final construction:
Joining the Frames: I first stabilized the shoulder seams with a hidden inner binding to prevent the weight of the knit from stretching out the top of the shirt.
Setting the Cuban Collar: This is the ultimate test of a tailor's skill. I carefully stitched the upper and under collar pieces together, clipped the curved seam allowances, turned it right side out, and top-stitched the edges. Attaching it to the neckline required perfect tension balancing so that both sides fell with absolute symmetry when flipped open.
Sleeves & Seams: The short sleeves were set smoothly into the armholes, followed by closing up the long side seams using clean overlocked edges internally to prevent any loose threads.
Step 5: Fixing the Buttons & The Finishing Point
The final technical hurdle of this production run was the buttonholes and button placements. Using a specialized buttonhole attachment, I stitched five perfectly balanced vertical enclosures along the reinforced right placket.
Next, I aligned the left placket and marked the exact button coordinates with chalk. Each metallic-rimmed button was hand-anchored with a heavy-duty cross-stitch configuration, ensuring they stay locked in place through extensive wear.
With the hardware attached, the shirt entered the Finishing Point. This involved a comprehensive thread-trimming sweep, cleaning up any microscopic stray strands from the open-knit weave, followed by a deep, hot steam press to settle the seams and maximize the beautiful casual drape of the fabric. Hung neatly on its wooden hanger, the shirt transformed from a chaotic bundle of knit panels into a stunning, retail-ready designer piece.
Thank you for reading through my dairy entry today. I truly appreciate you.
##Live more and love more♥️