Prove yourself as the best artist this week
Greetings, everyone, and I humbly welcome you all to my blog. It's a wonderful day today, and I would love to share one of my drawings with you all in this contest titled "Prove yourself as the best artist this week," organized by @dequeen. Creating a portrait is more than just putting pencil to paper—it is a quiet conversation between observation and interpretation. In this piece, I set out to capture the intense and almost otherworldly expression of Travis Scott, focusing not just on resemblance but on mood and depth. Below are the steps I used to achieve that with my pencil.
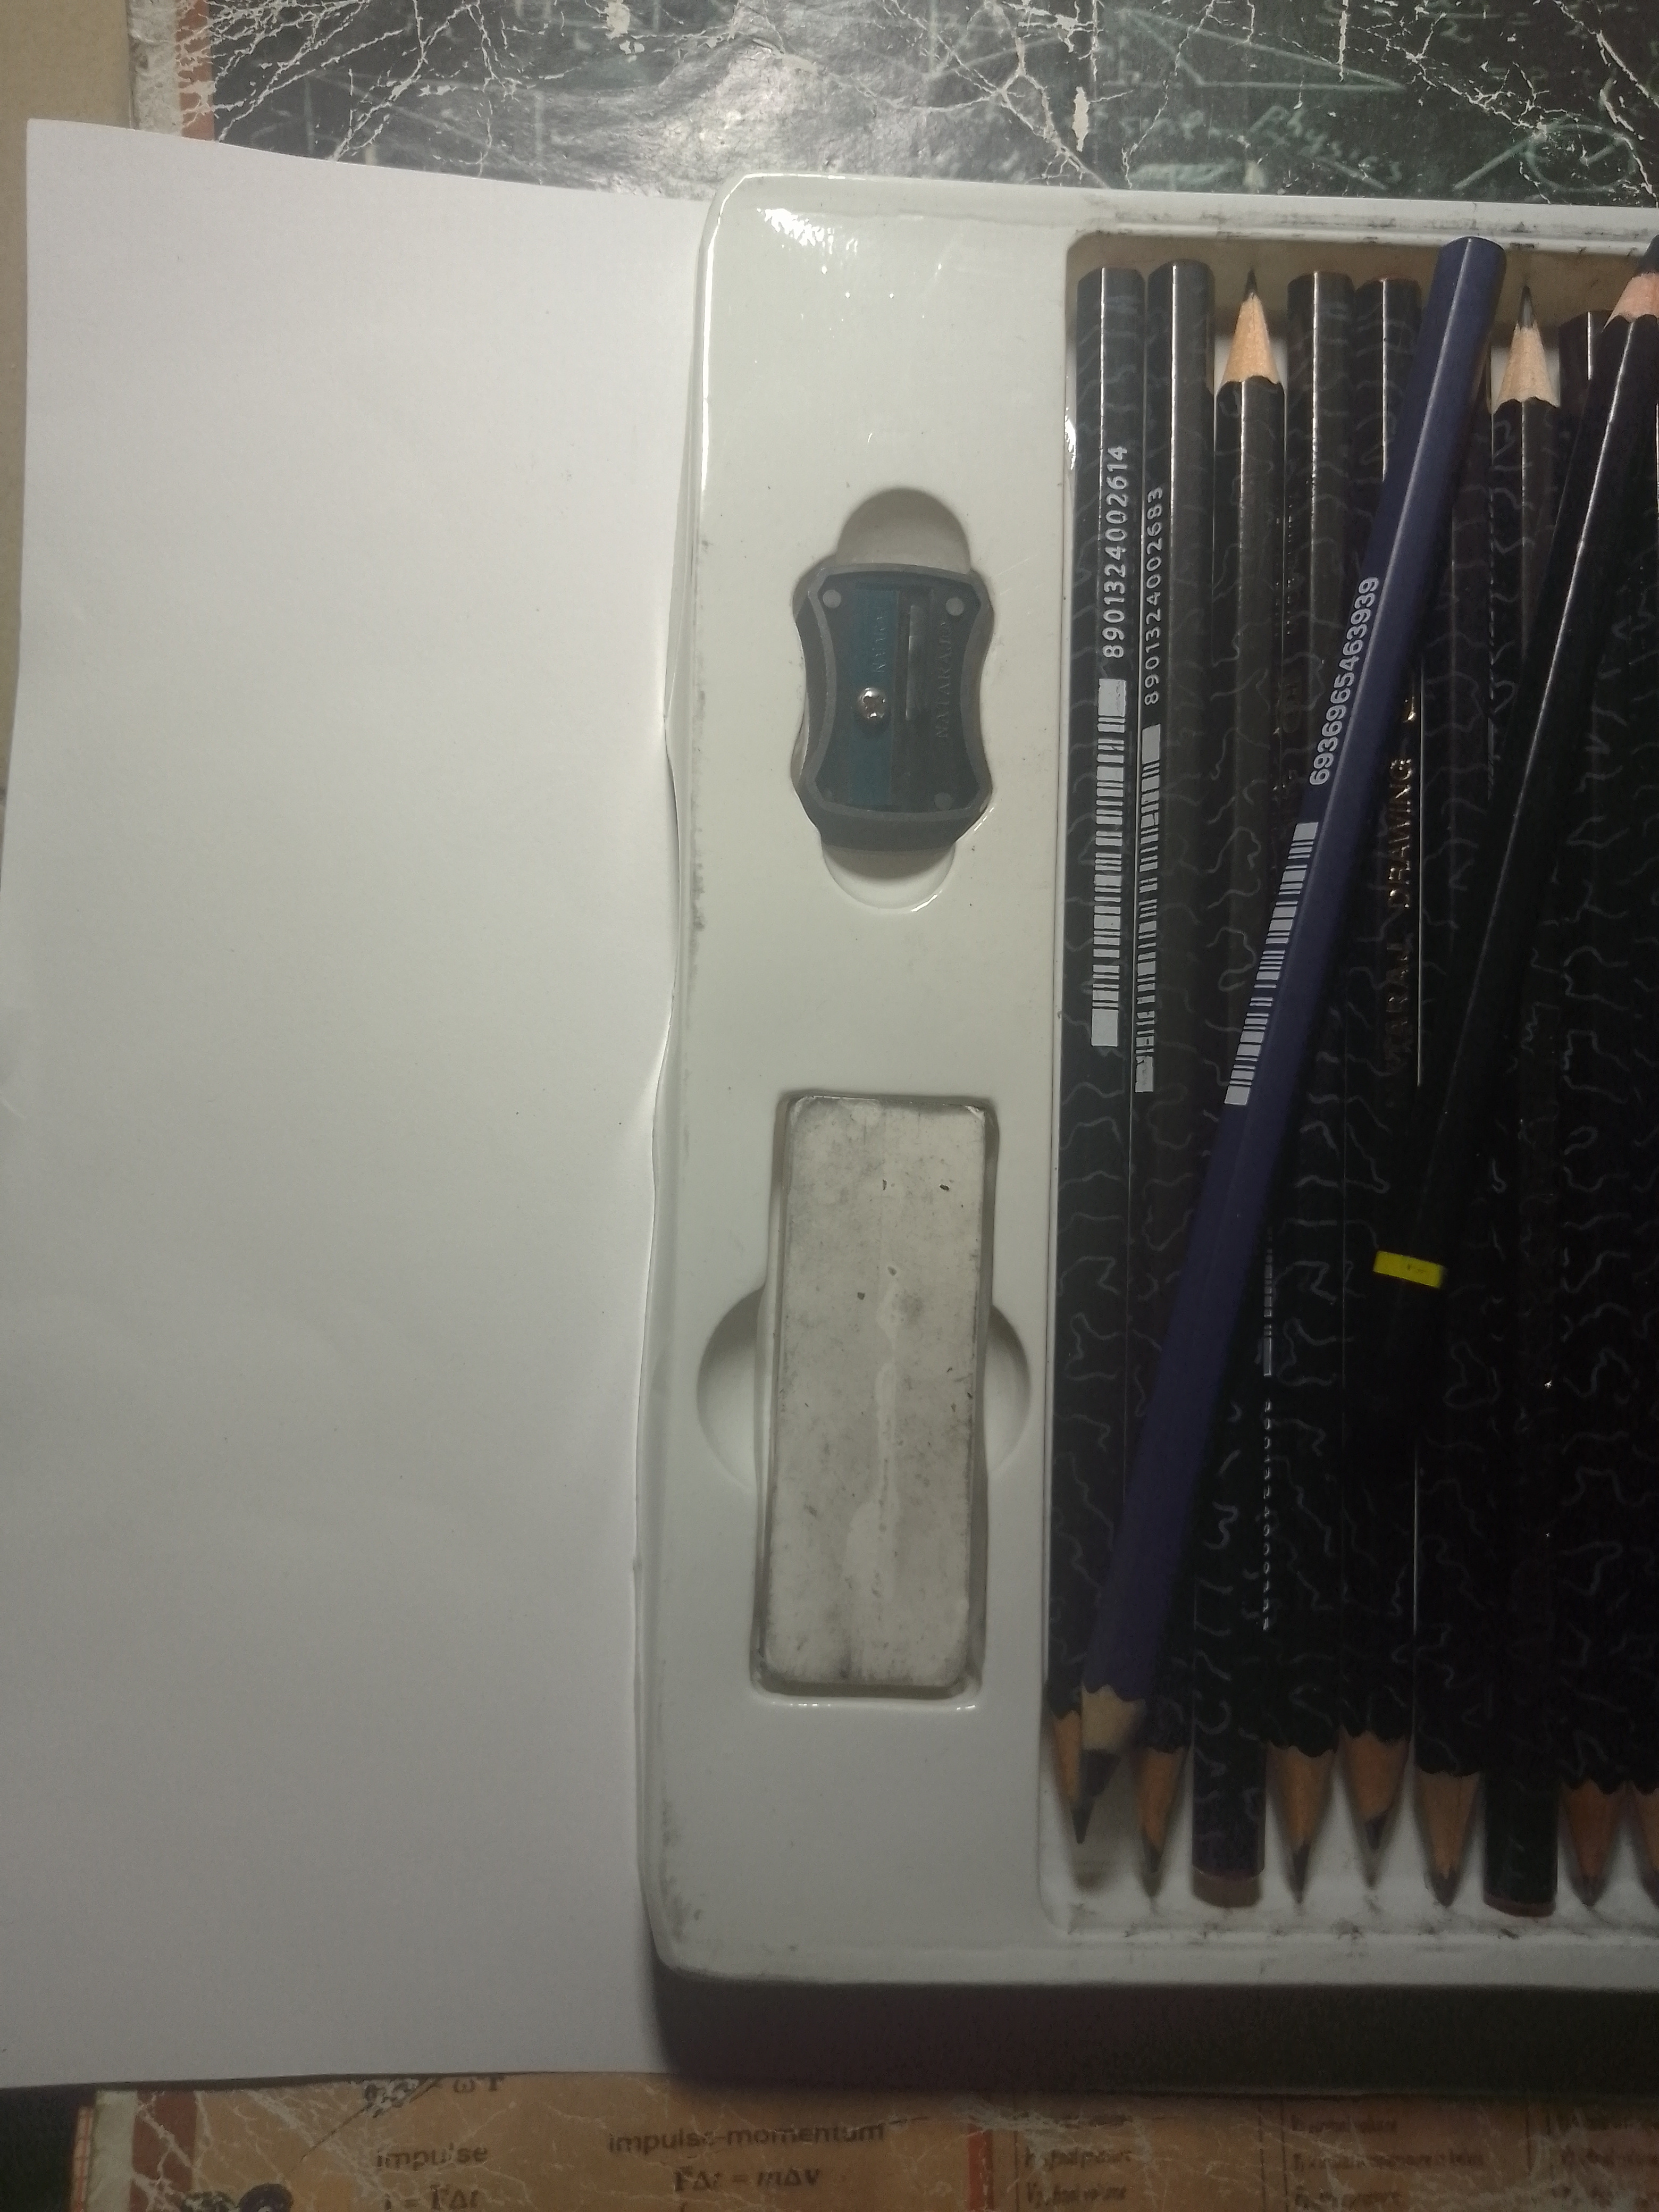
Drawing materials
• A4 paper
• mechanical pencil
• graphite pencils: 4B, 3B, and 6B
• charcoal pencil
• black pen
• eraser
• sharpener
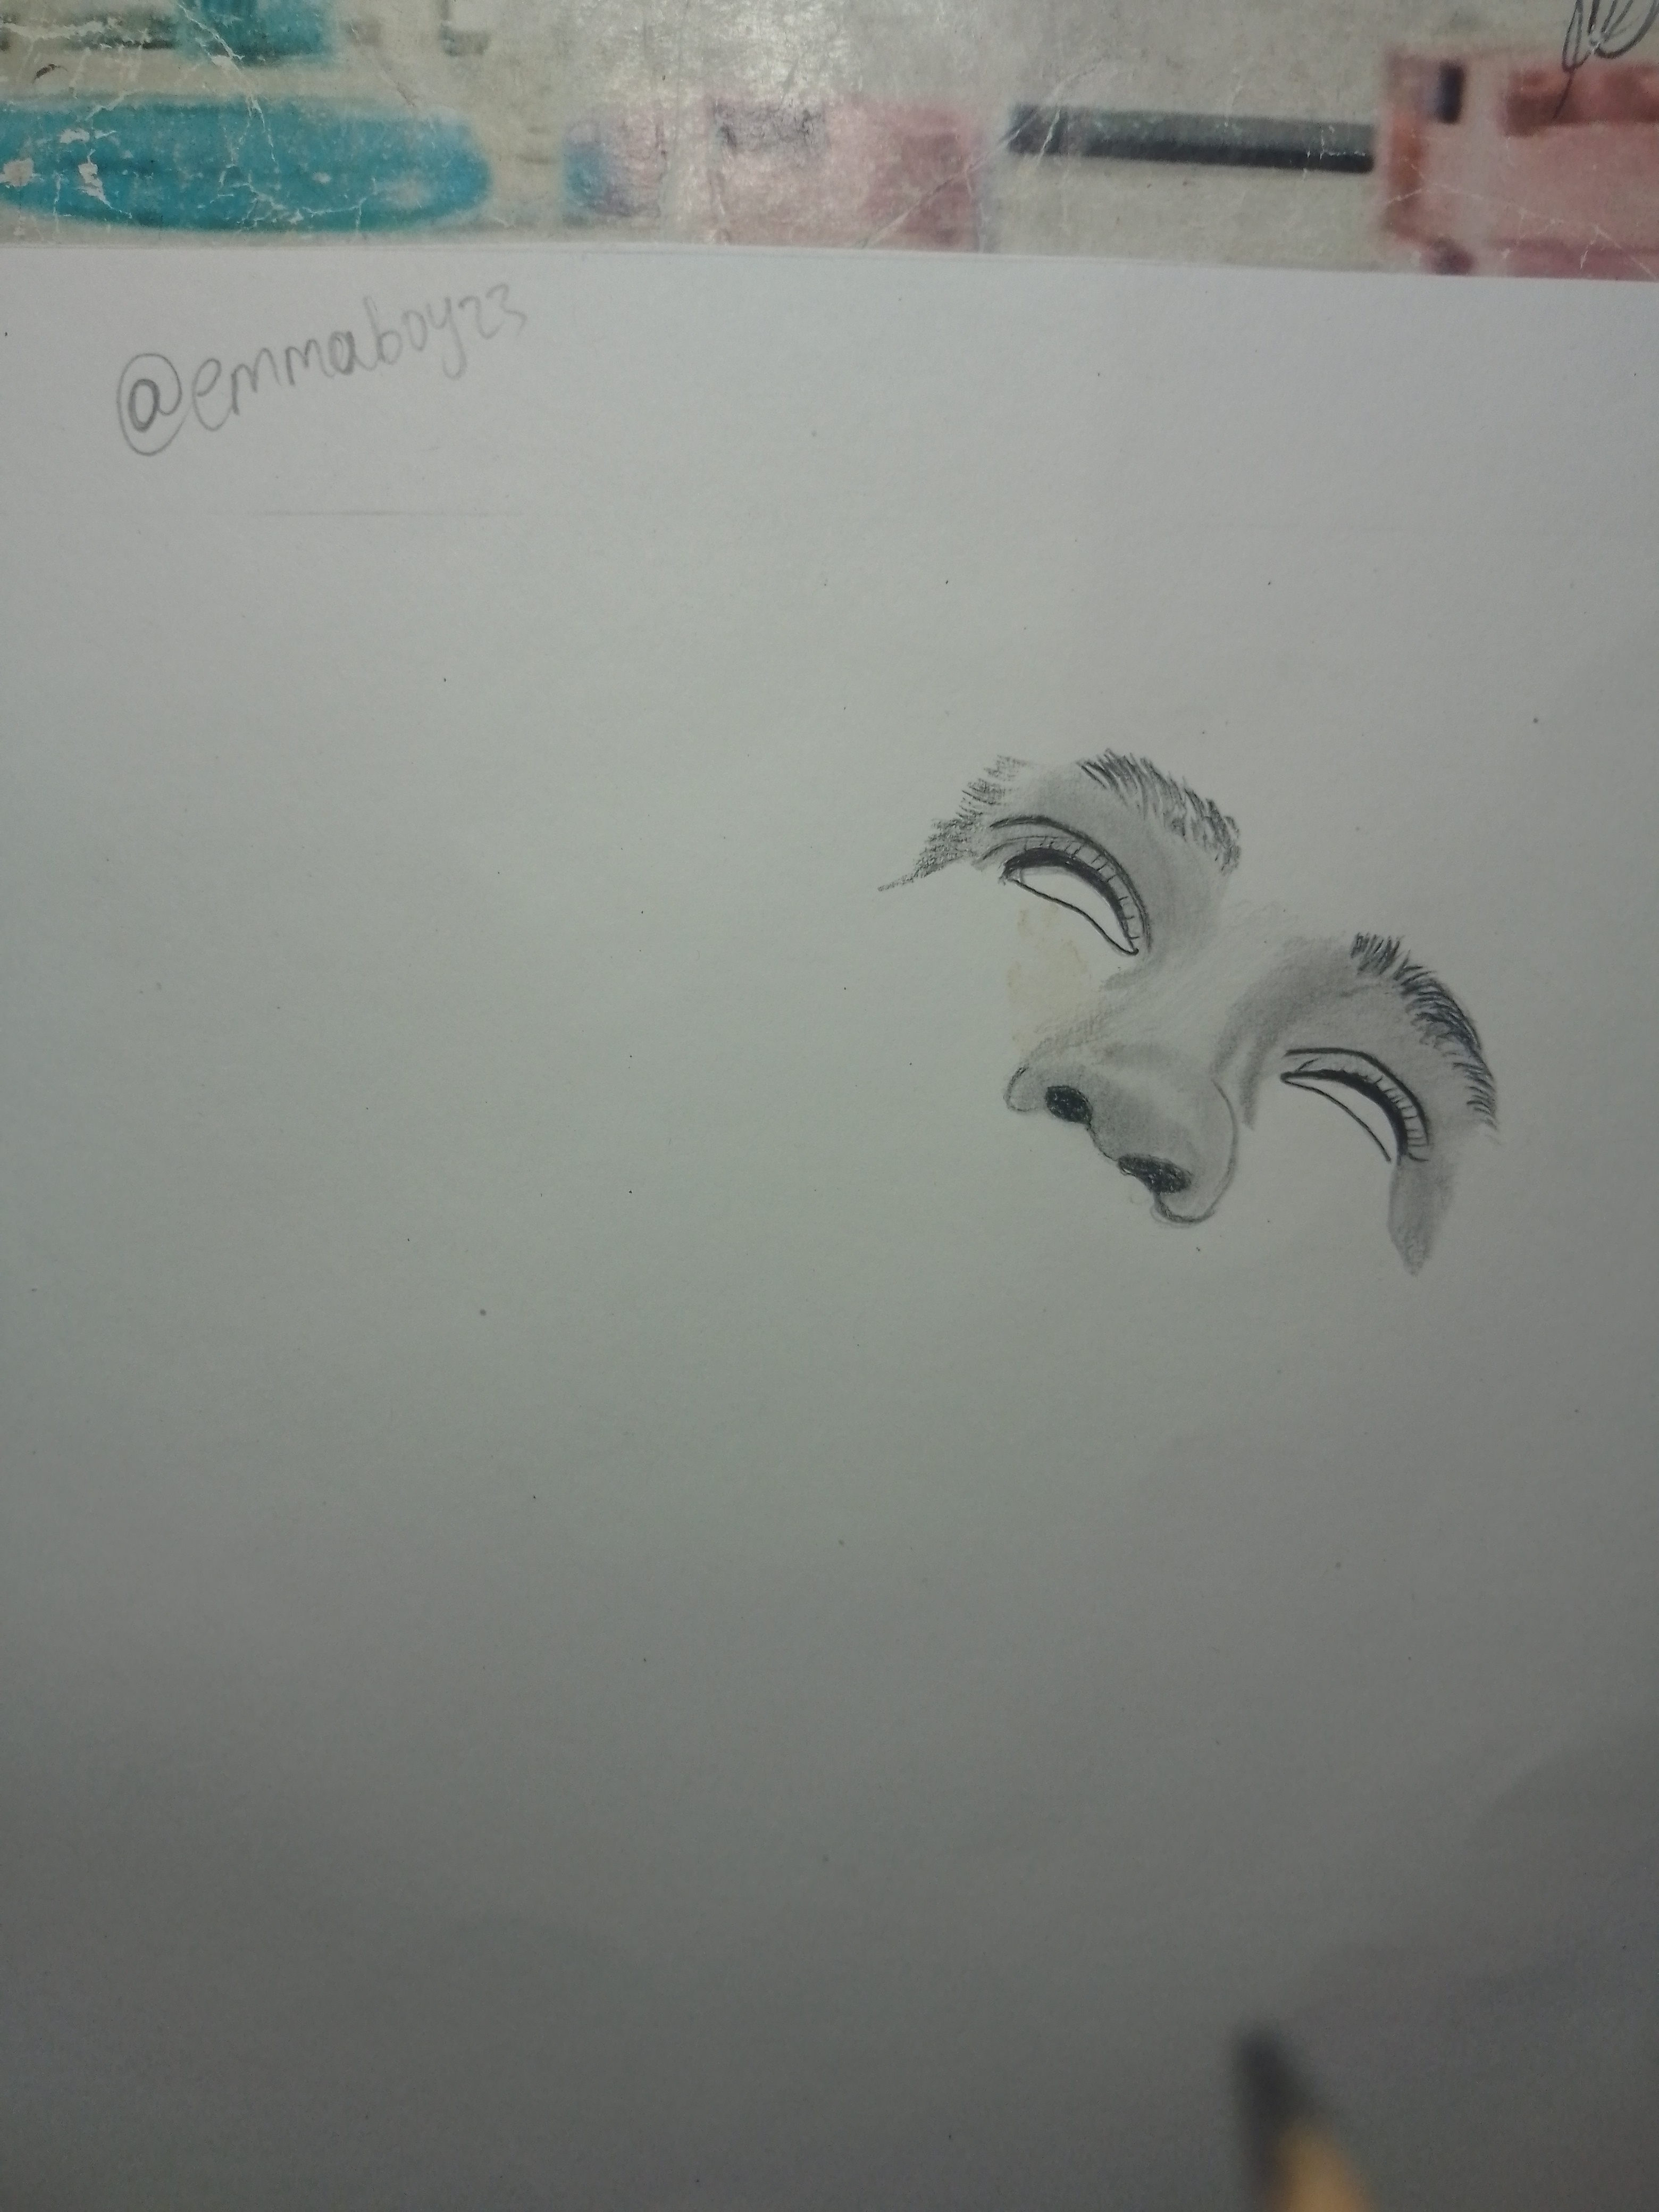
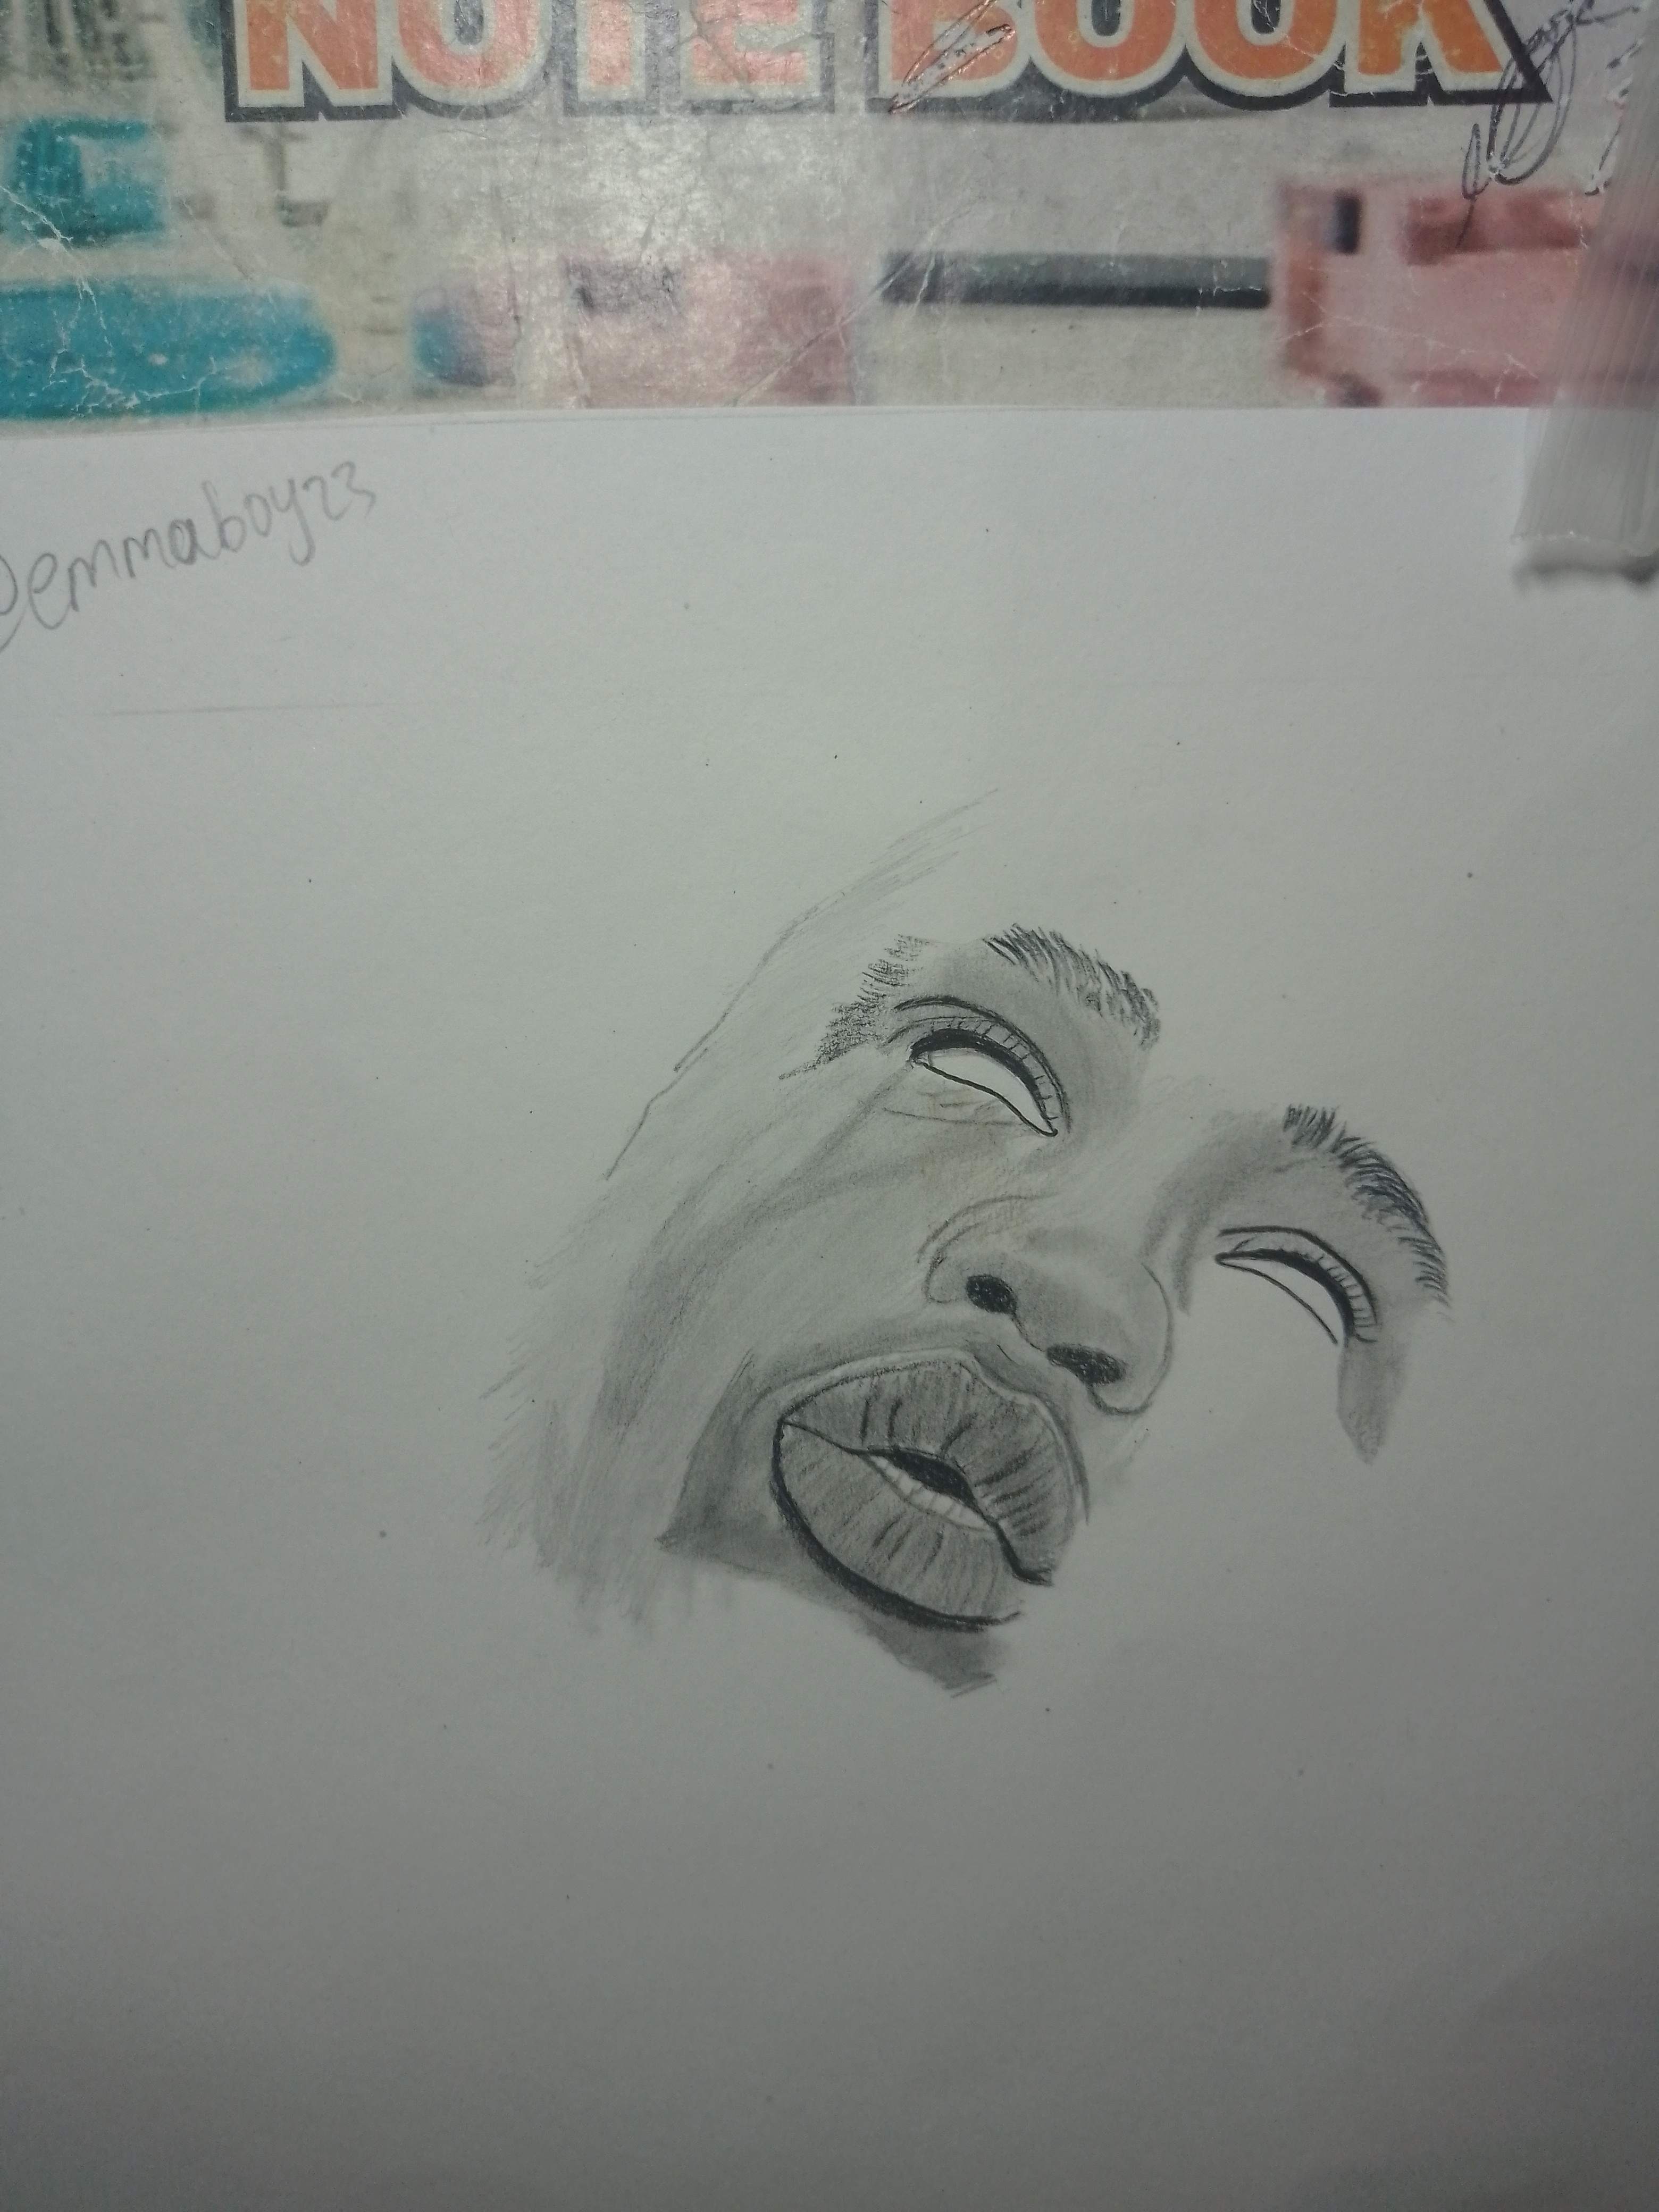
Step 1
I began with the eyes. The eyes in this portrait are intentionally minimal, almost hollow, which adds a mysterious and artistic feel. Instead of over-detailing them, I allowed space to speak.
Step 2
Next I drew the lips. The lips, however, required careful attention. I used gradual shading and soft blending to bring out their fullness and texture, ensuring they became a focal point.
Step 3
This is where the magic truly happens. Using a mix of HB, 2B, and 6B pencils, I slowly built up tones across the face. I started lightly and deepened the shadows over time, especially around the beard and jawline. For the beard, I applied short, repeated strokes to imitate real hair growth. Then I blended surrounding areas gently to create a smooth skin transition.
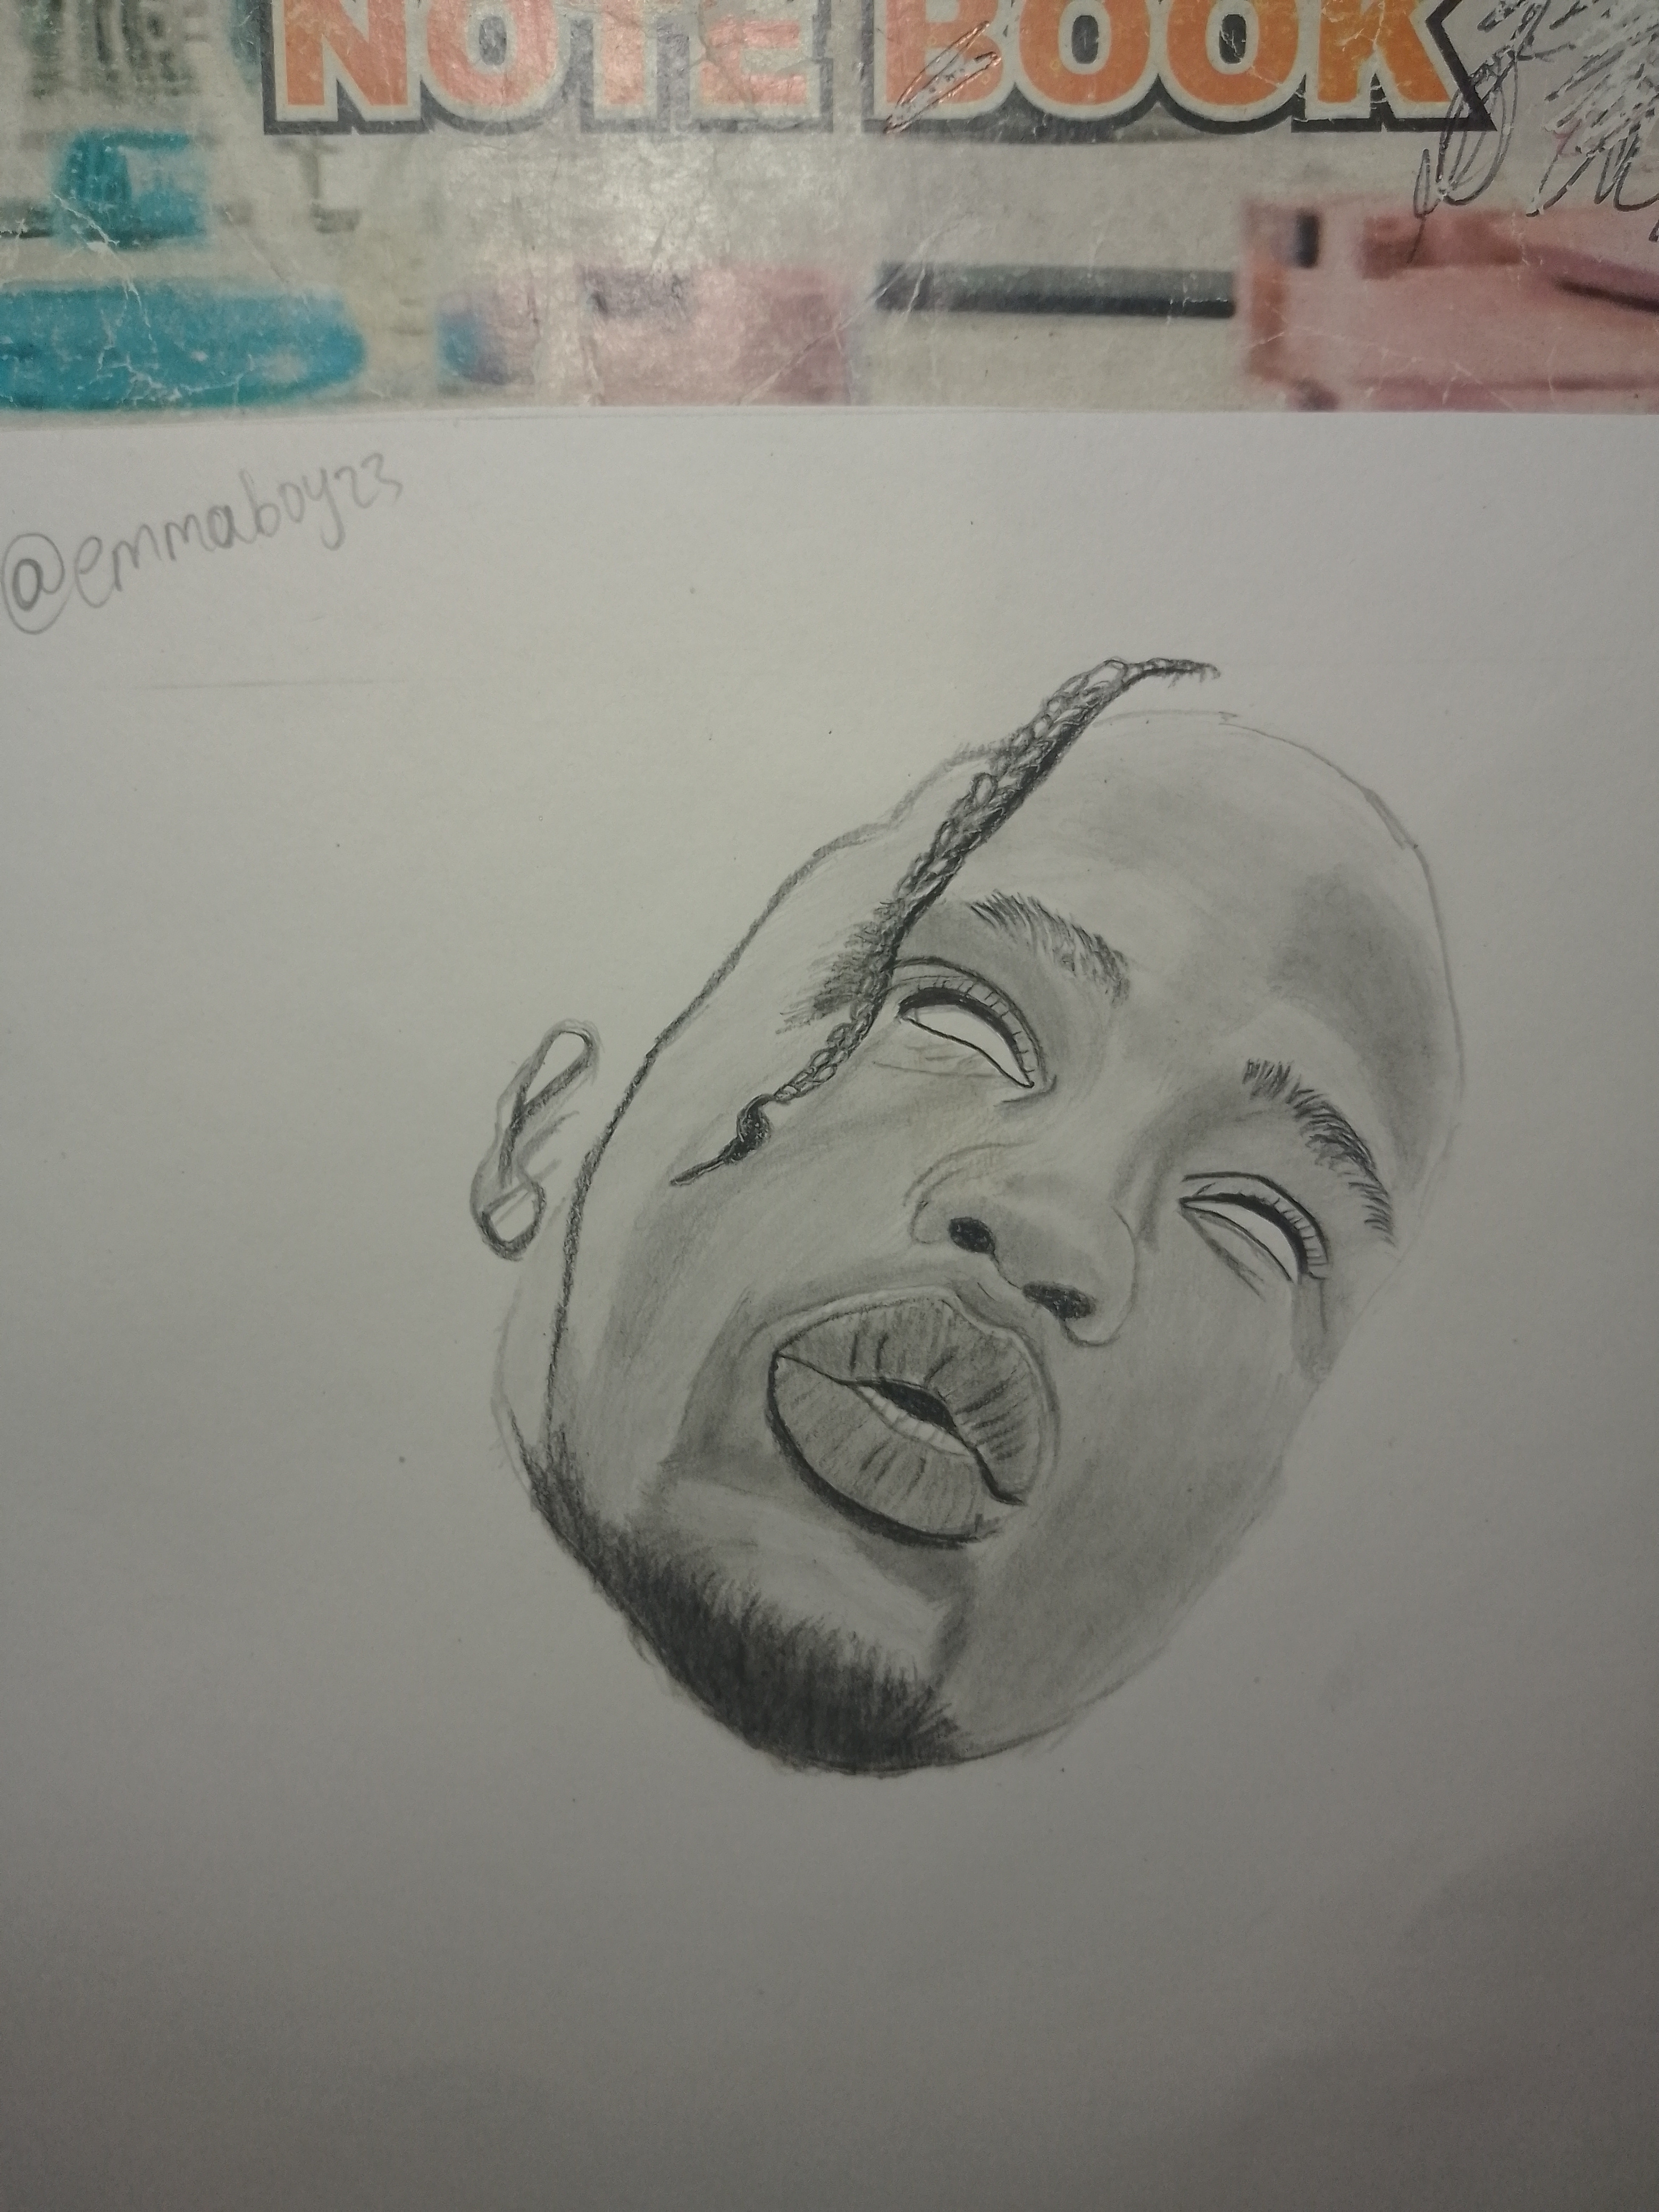
Step 4
Next I focused on the hair. The braids were one of the most delicate parts of this drawing. Instead of rushing into details, I first blocked out the general flow of the hair. Then, little by little, I introduced texture and darker tones.
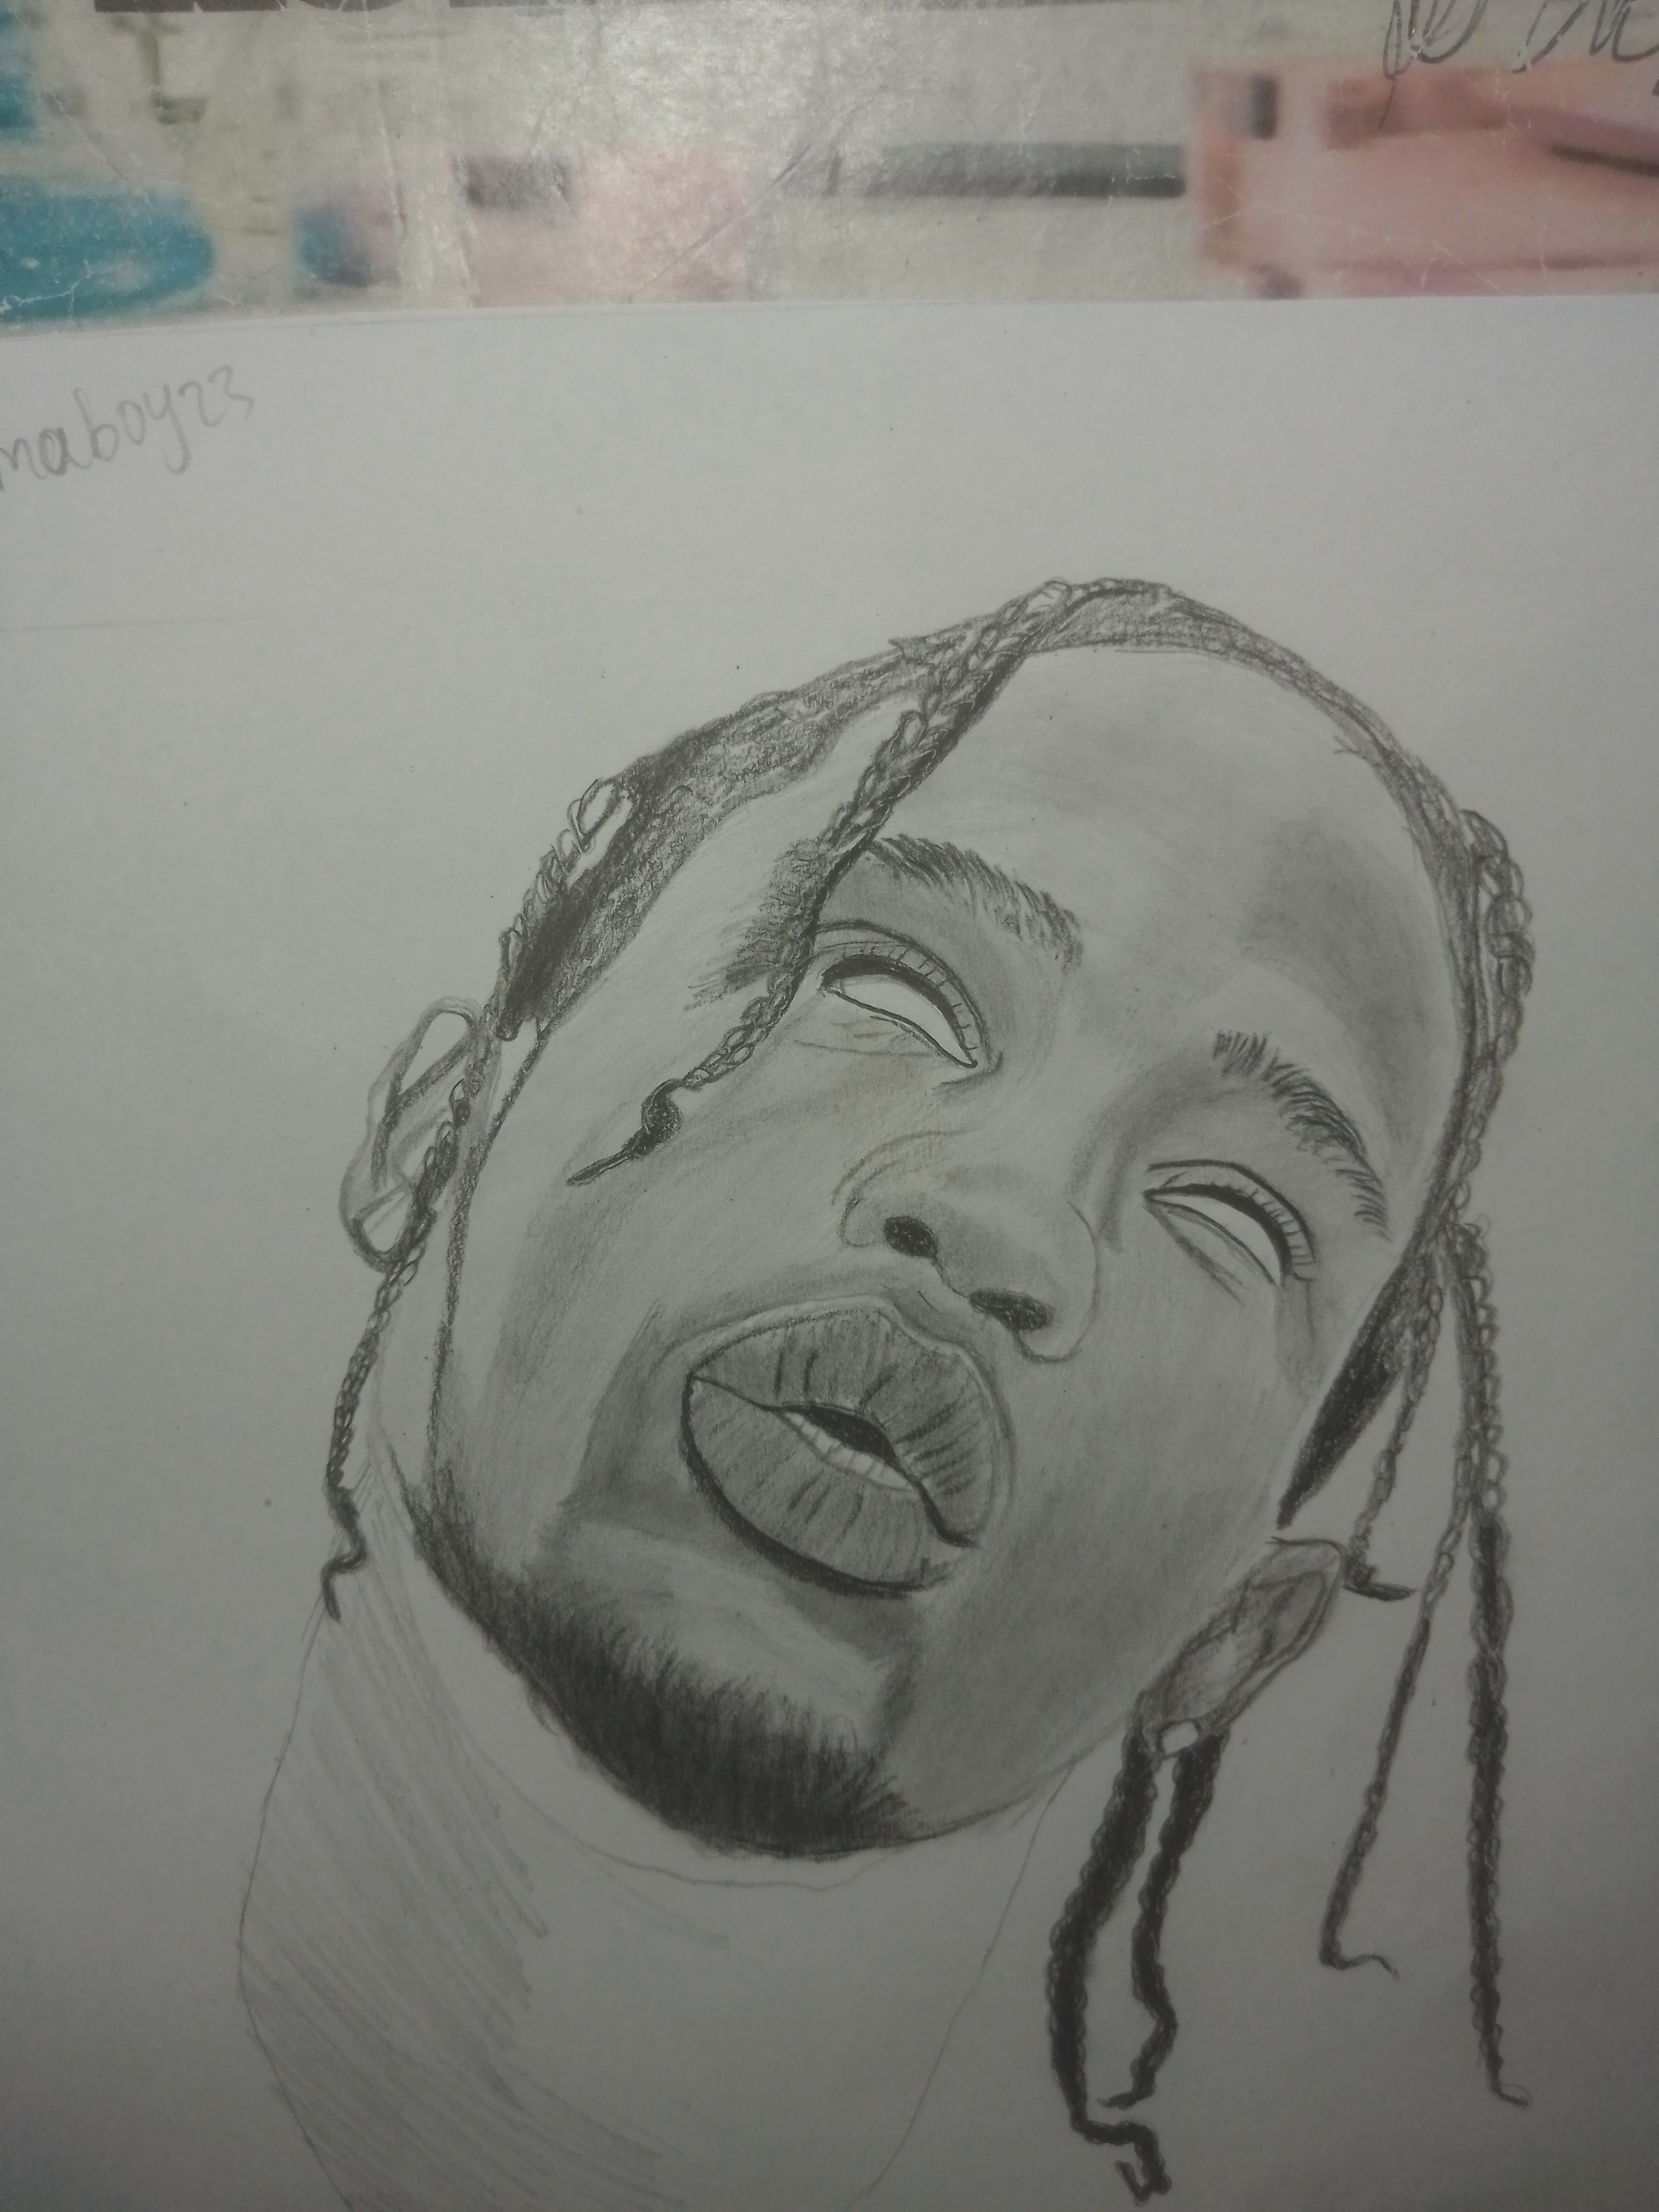
Step 5
Here I gradually shaded the neck using my 4B and 6B pencils, and then I added the tattoo on his neck.
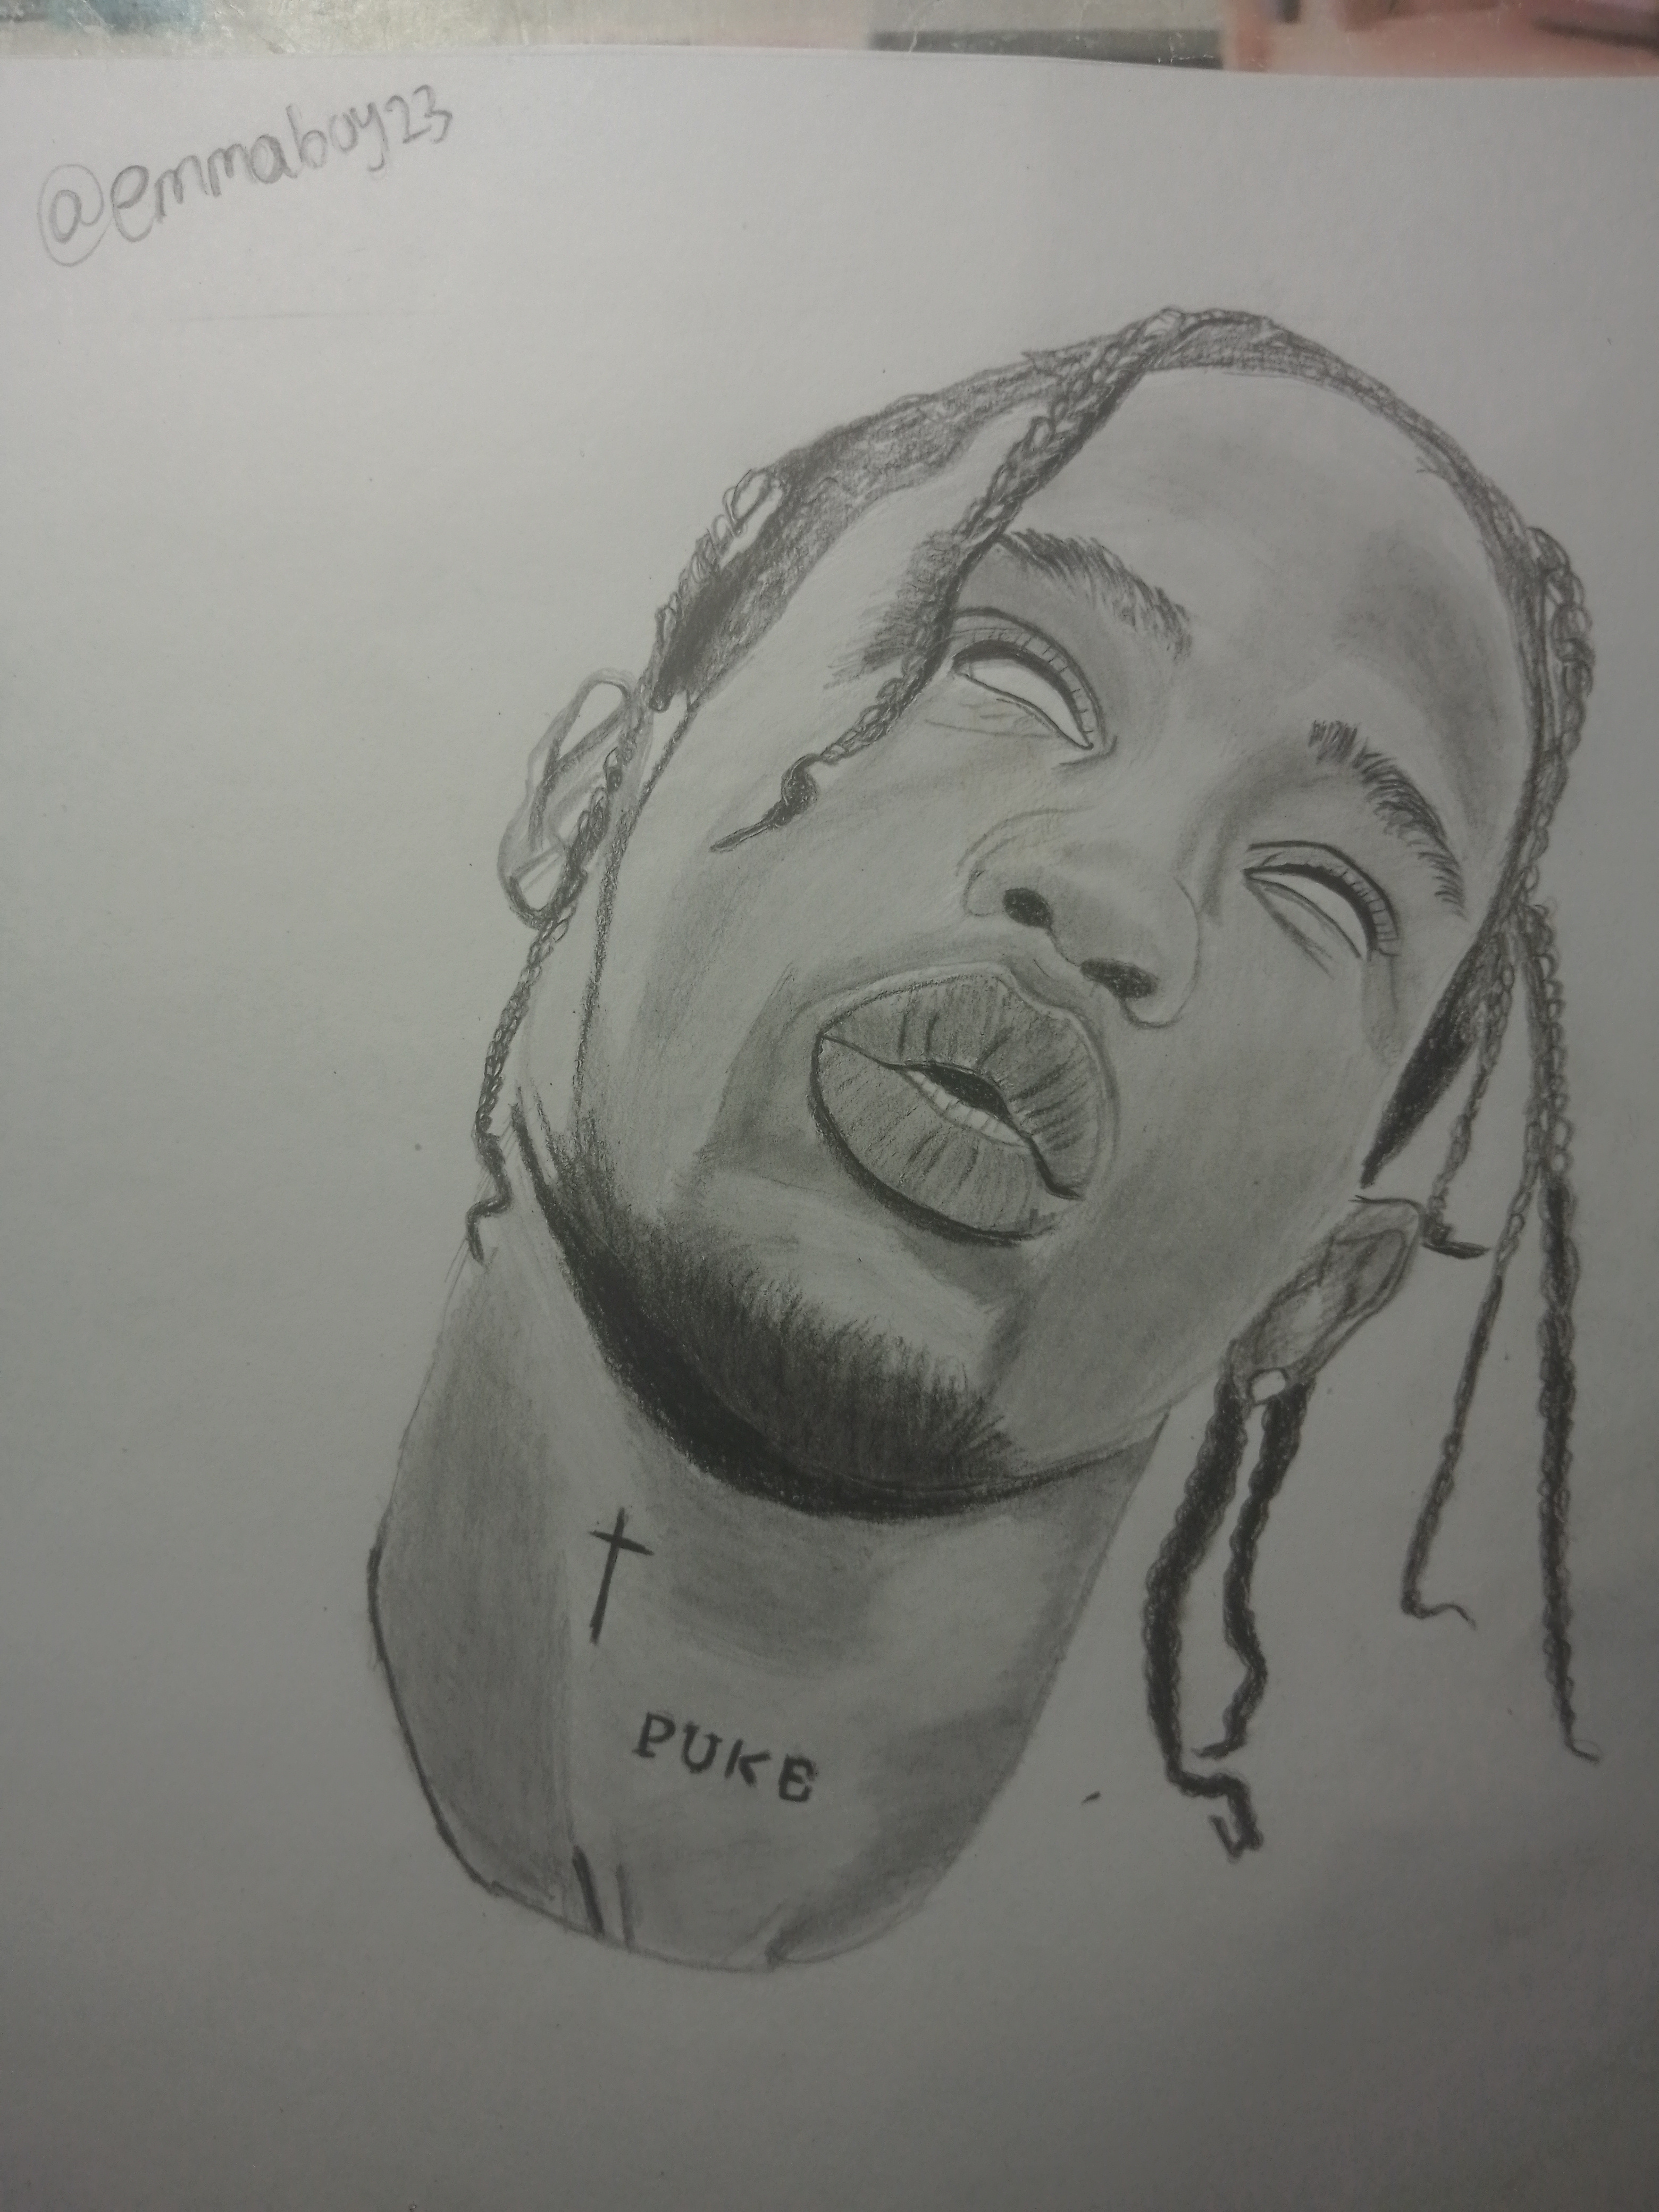
Step 6
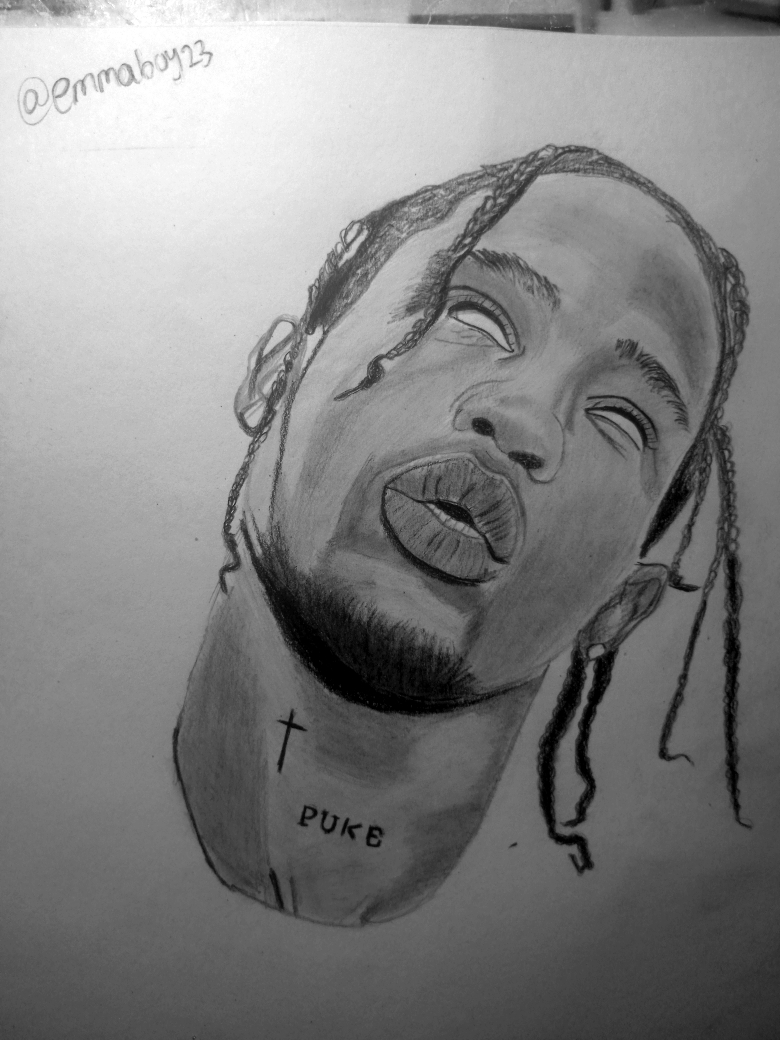
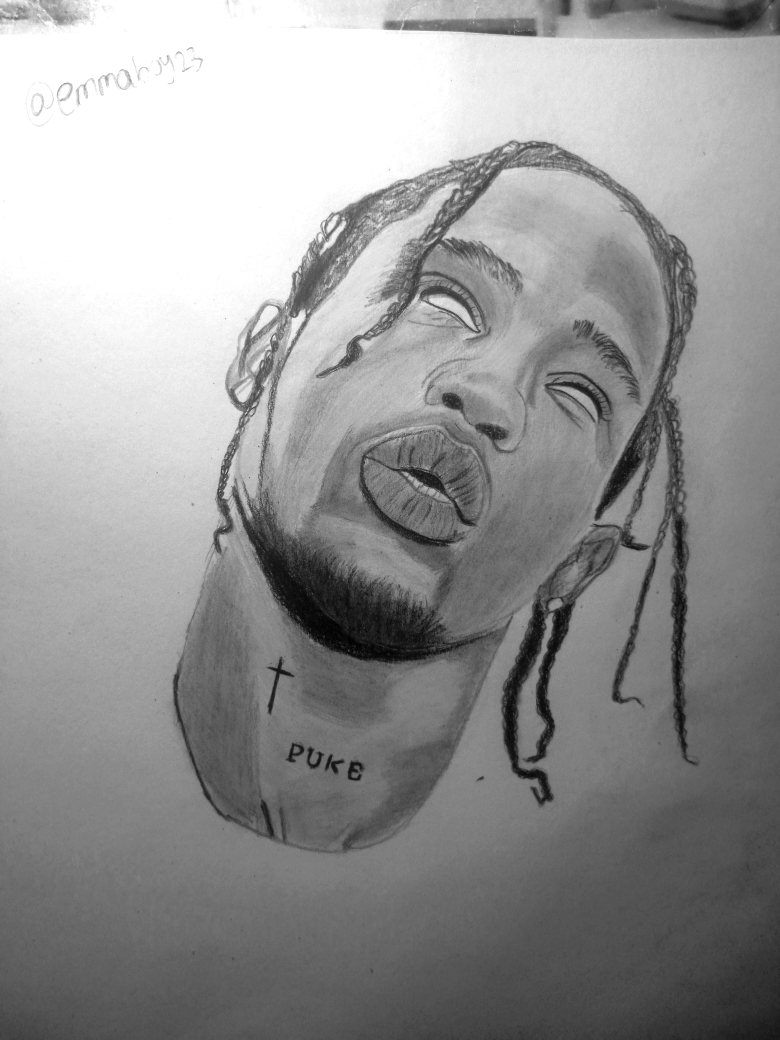
With everything finally completed, I added details, cleaned up edges around the face, used an eraser to pull out highlights on the skin, and refined the lips with smoother shading. This helps the drawing look more refined and bold, and below is my final result.
My selfie with my drawing
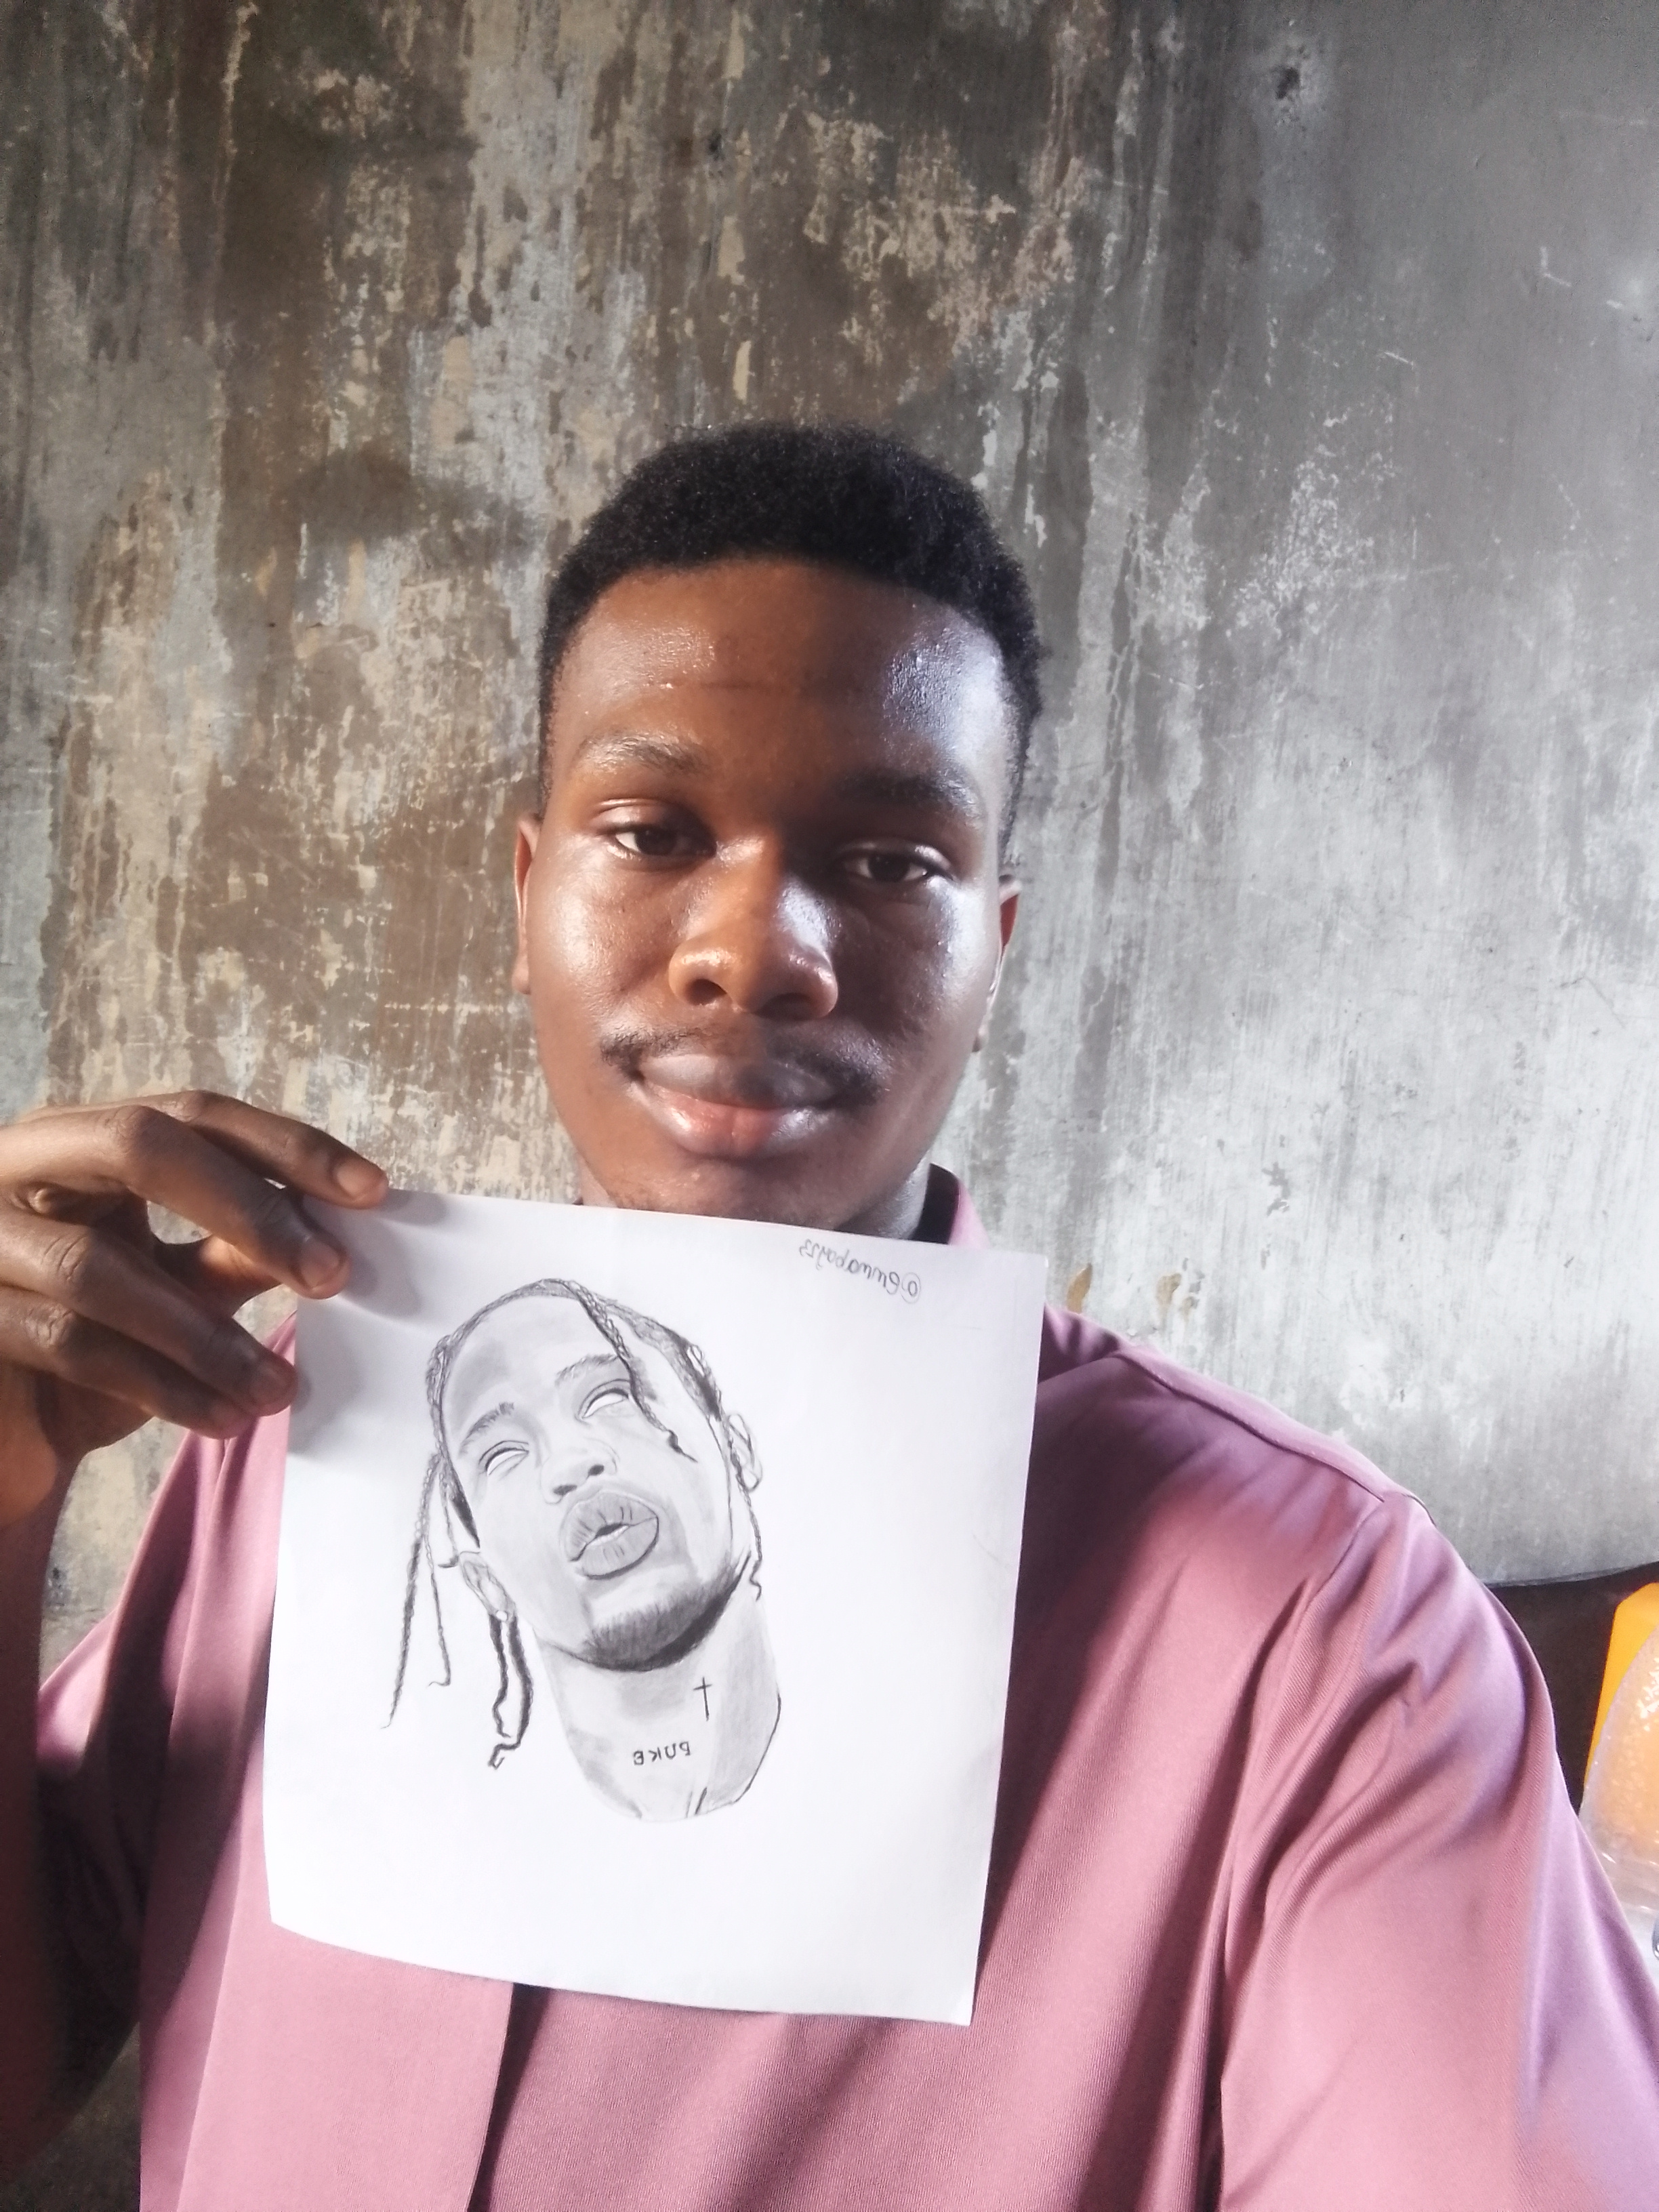
This drawing taught me that patience and observation are everything in art. You don’t need expensive tools—just consistency and attention to detail. Take your time, trust your process, and don’t be afraid to experiment. Thank you for reading, Steemians! Stay creative and keep drawing.
Inviting
CC @dequeen
Thank you all for reading through
Posted with Speem
Lovely work
¡Hi friend!
#play
Video reviewed by speem videos watcher @luisito01
High-Yield Curation by @steem-seven
Your content has been supported!
Maximize your passive income!
Delegate your SP to us and earn up to 0.45 STEEM / 1000 SP.
Click here to see our Tiered Reward System
We are the hope!
Bro you're literally getting better daily. I recall when you started. Keep it up.