My Pencil Portrait Study | Step-by-Step Art Process
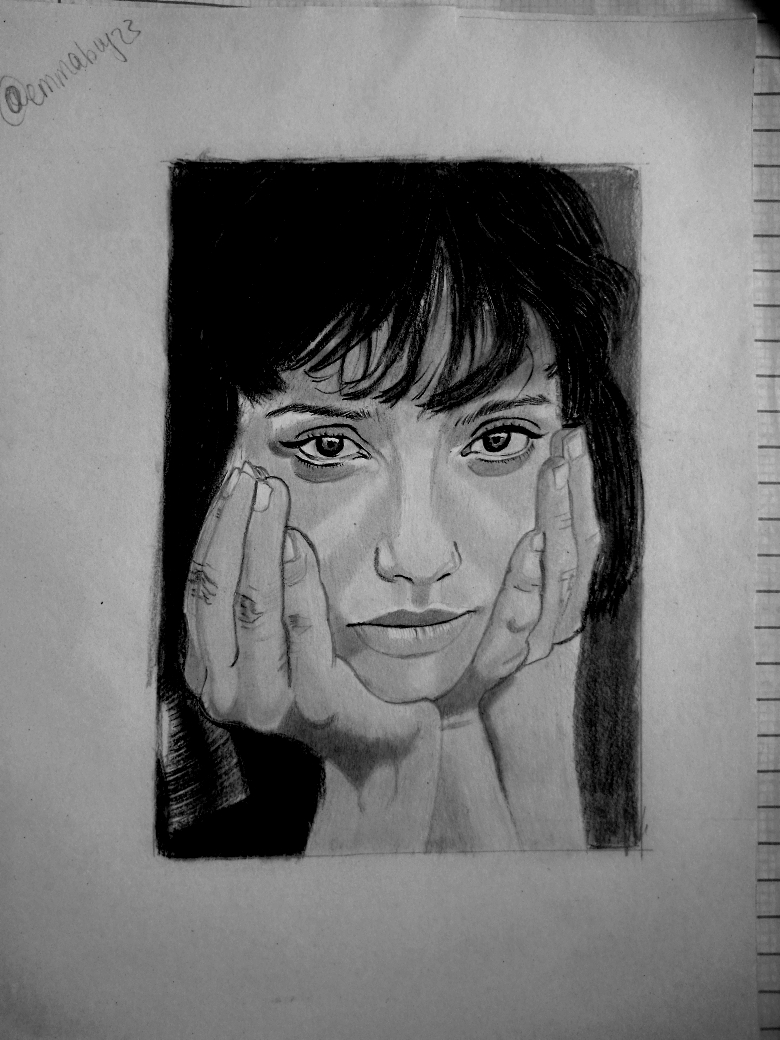
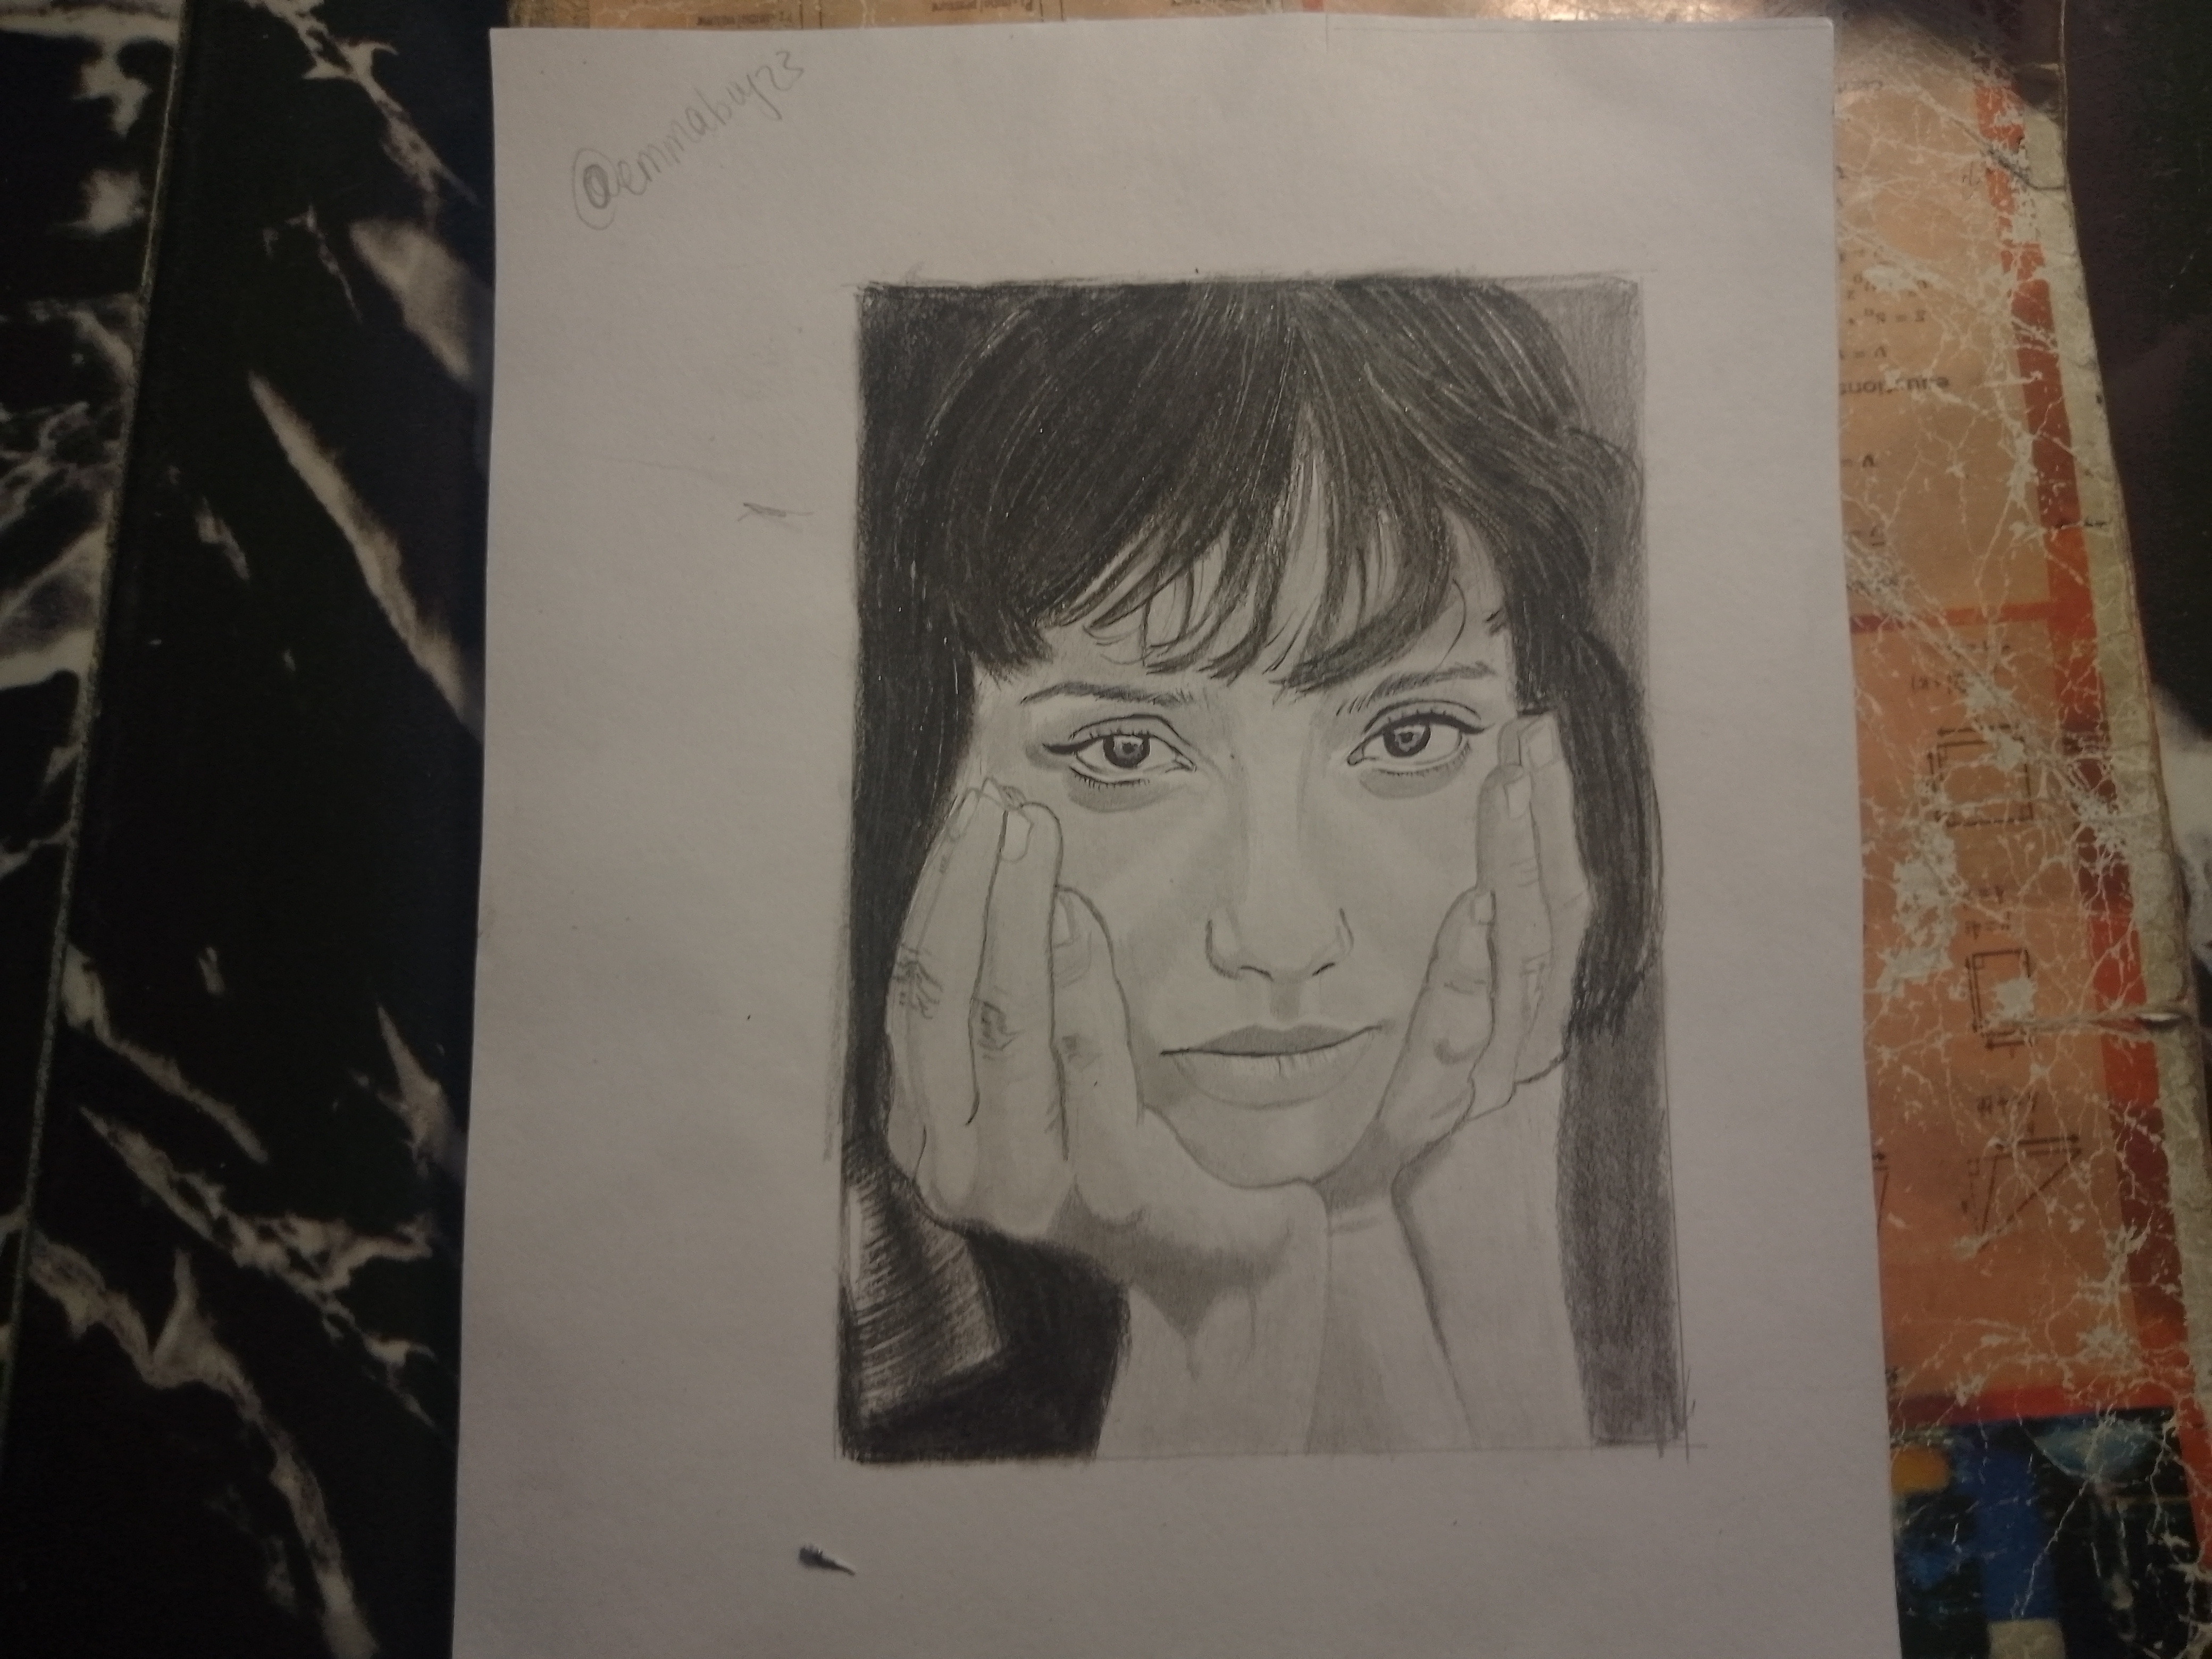
Greetings, my fellow Steemians. I hope everyone is having a wonderful day. Today, I would like to share the process behind this pencil portrait that I recently completed. The artwork features a young woman resting her face gently in her hands, with a calm yet thoughtful expression that immediately caught my attention. What attracted me most was her calm expression and the intensity in her eyes. I felt that the portrait carried a quiet emotion that would be interesting to recreate using graphite pencils. Below are the steps involved.
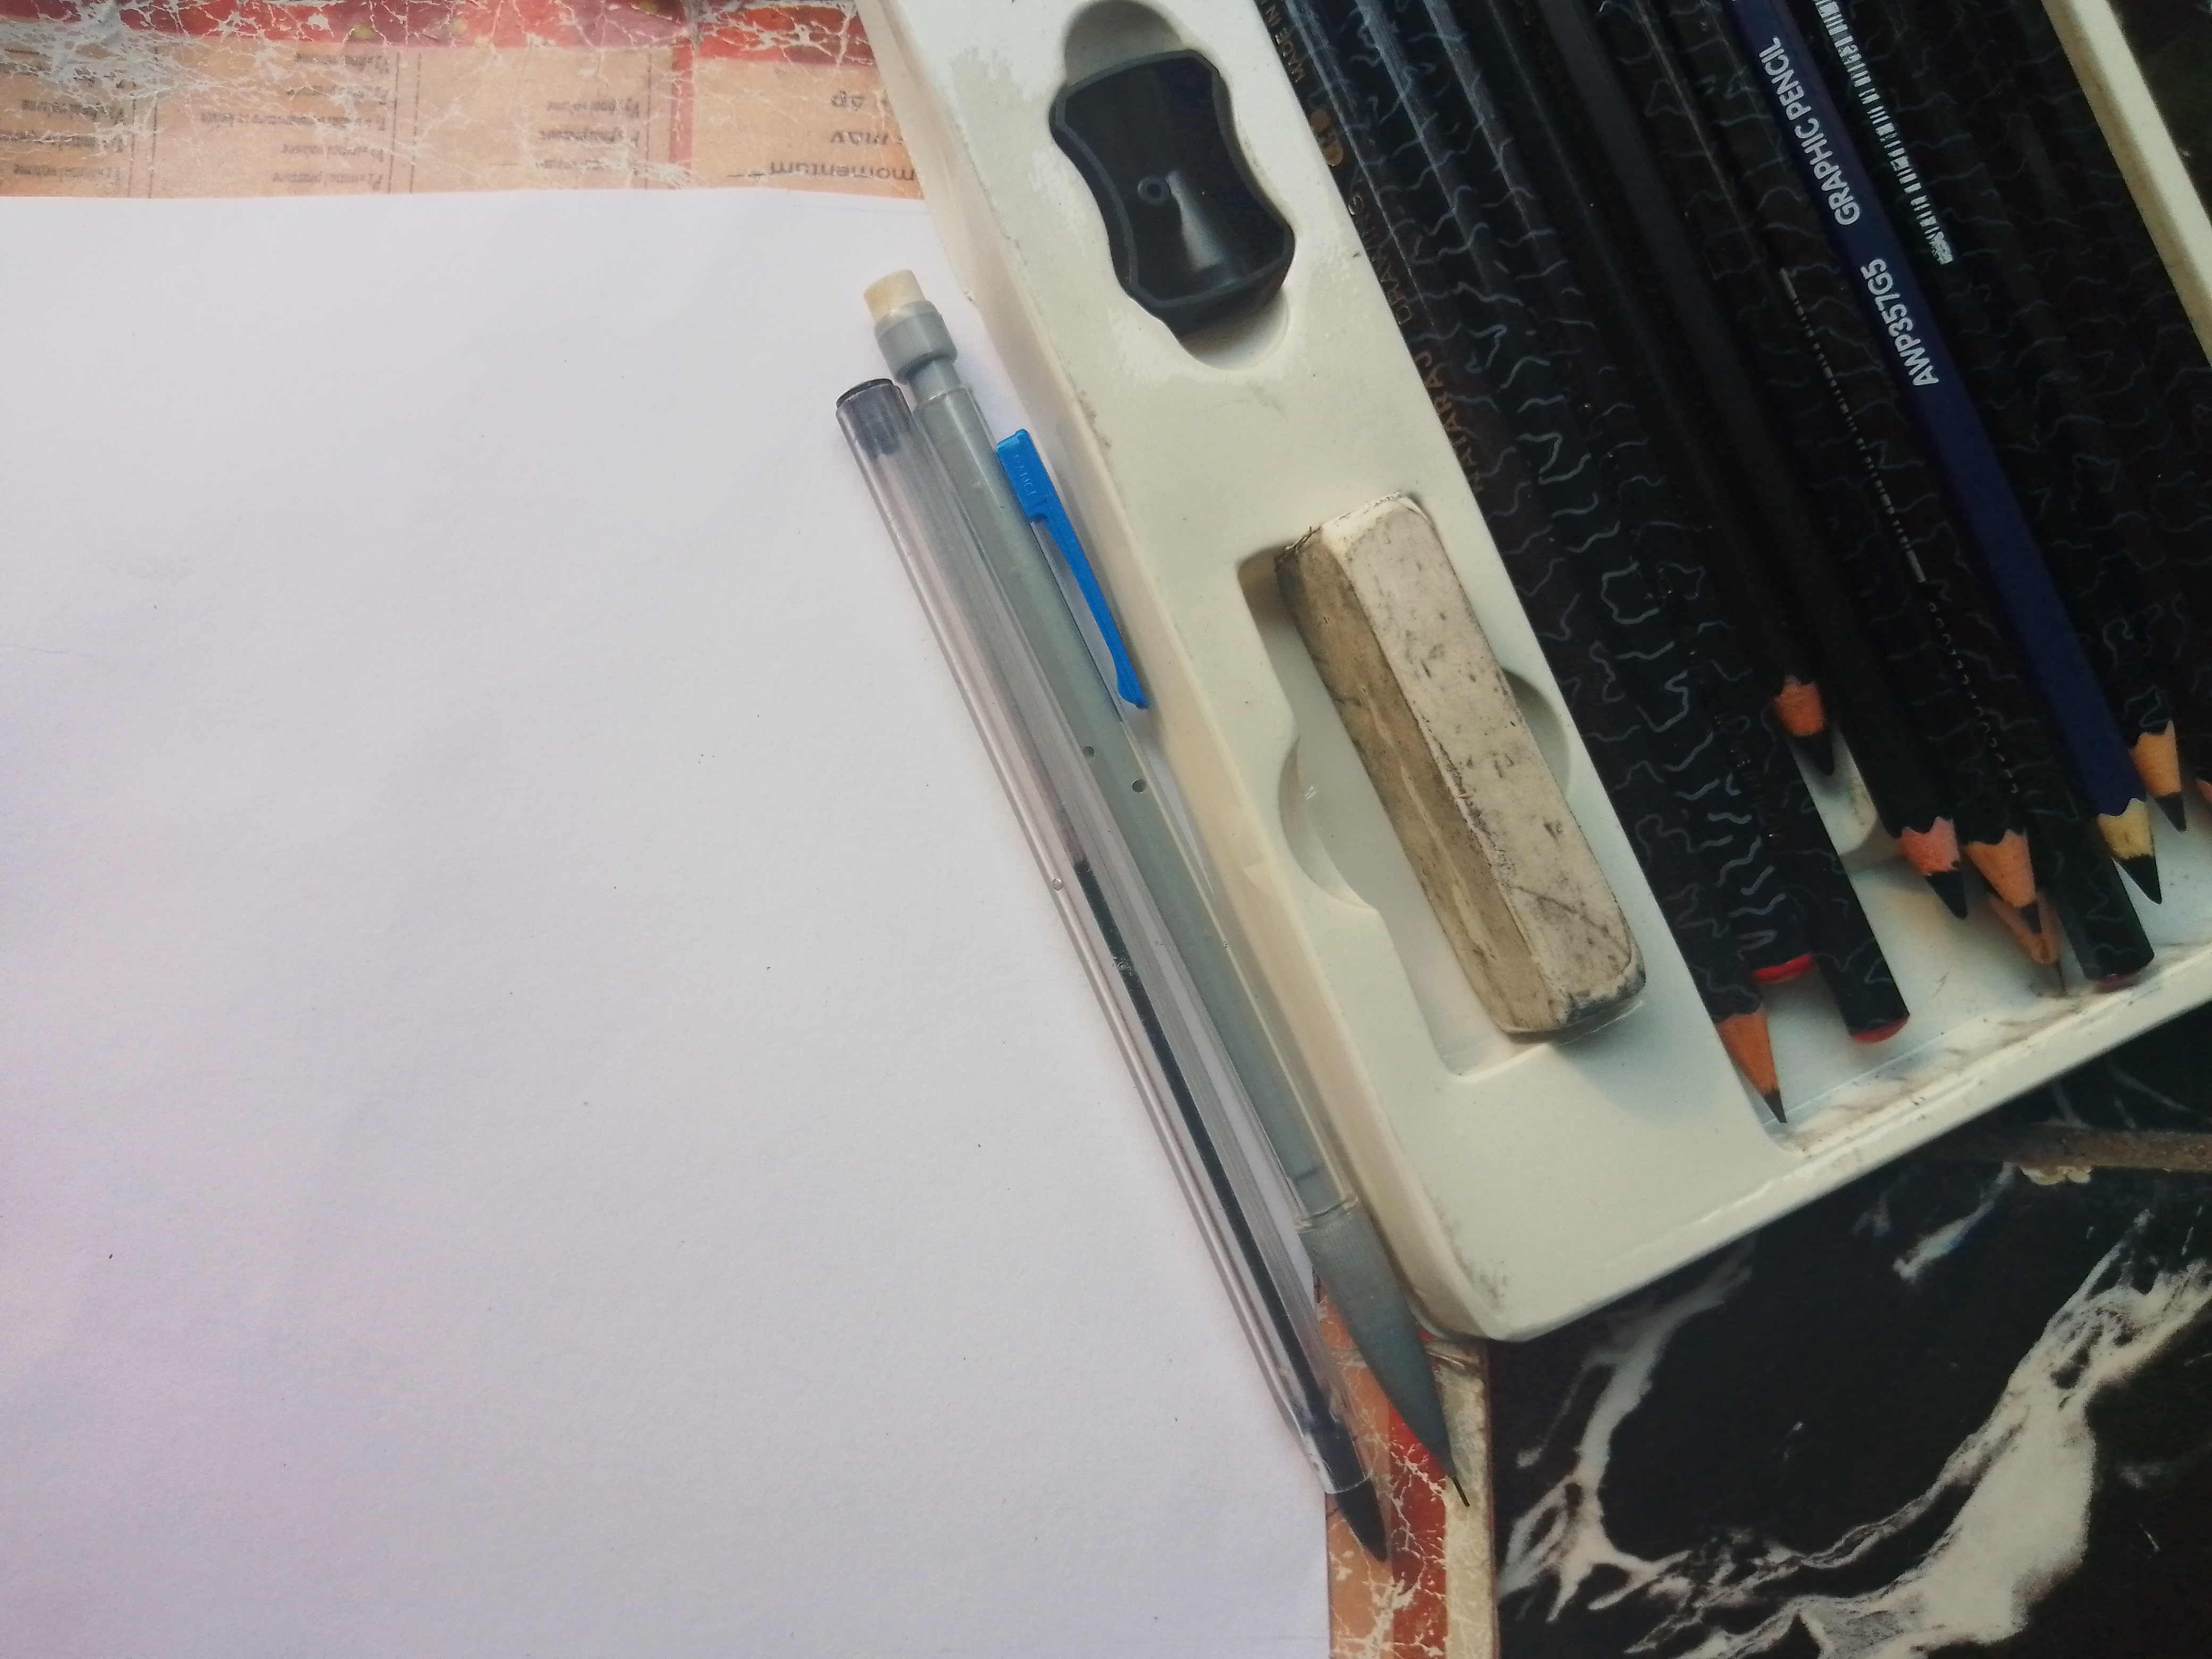
Drawing Materials
• A4 paper
• mechanical pencil
• 2B, 4B, and 6B pencils
• charcoal pencil
• black pen
• eraser
• blending tissue
• sharpener
Step-by-Step Process
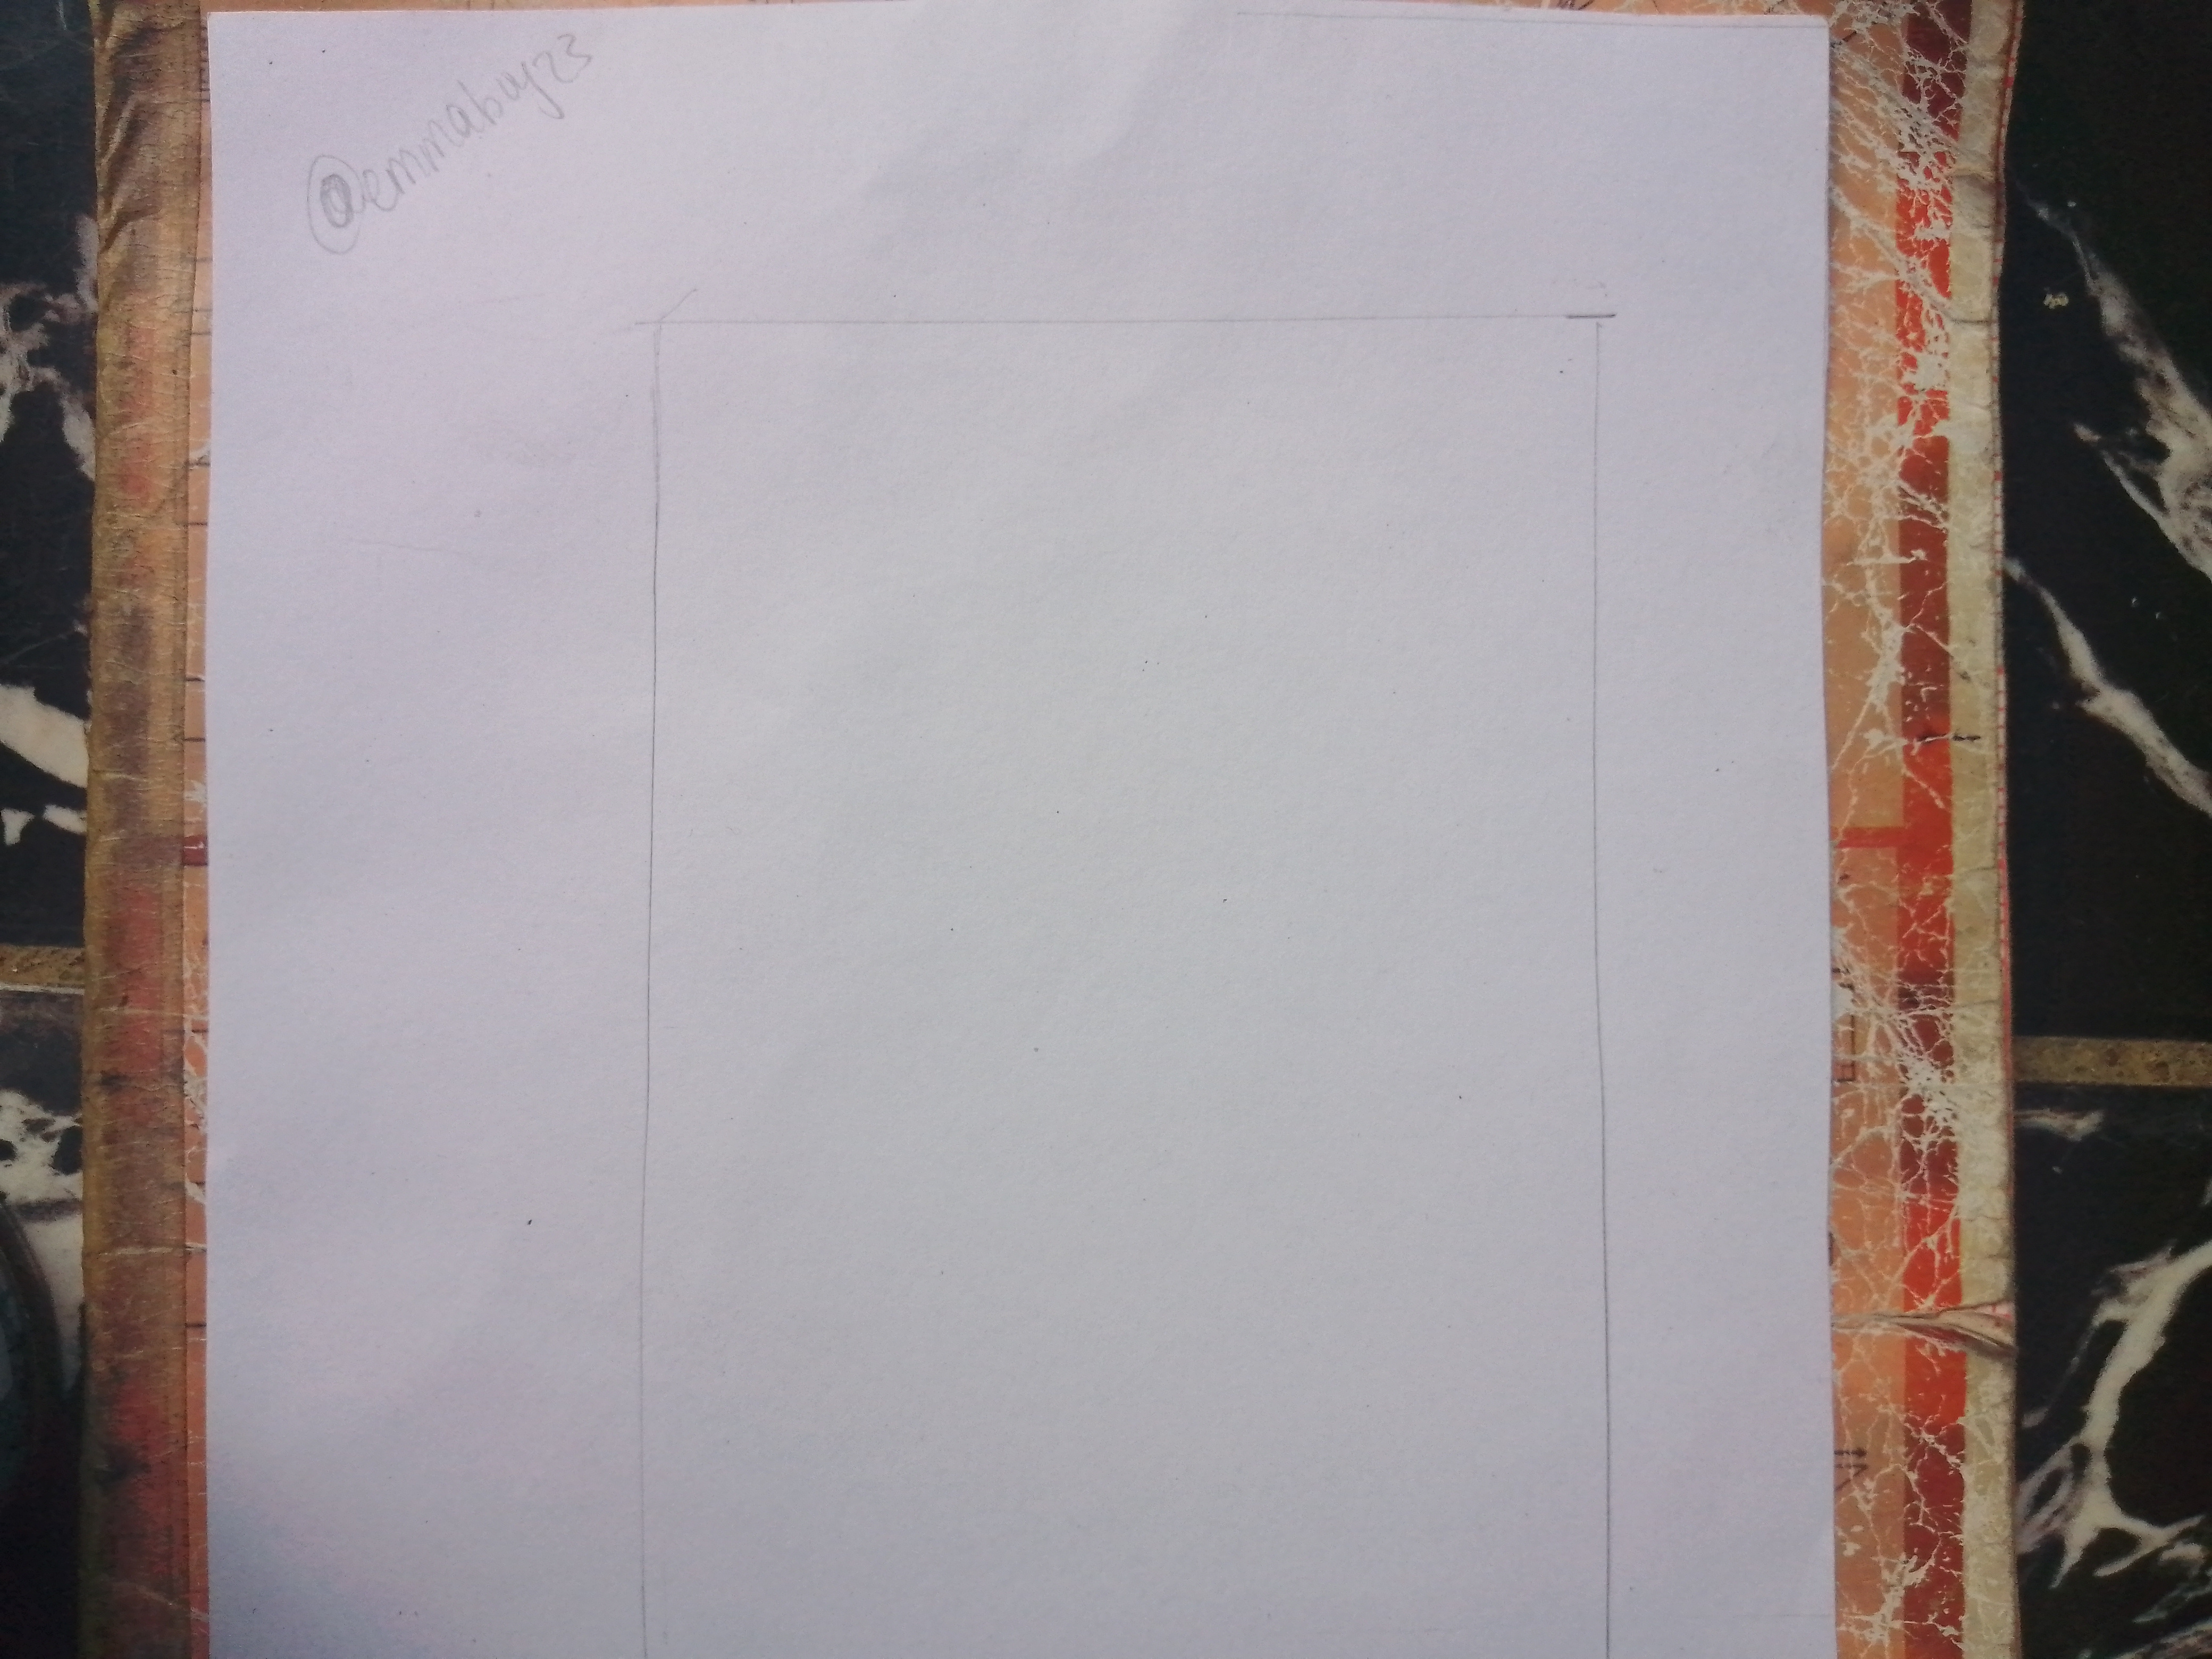
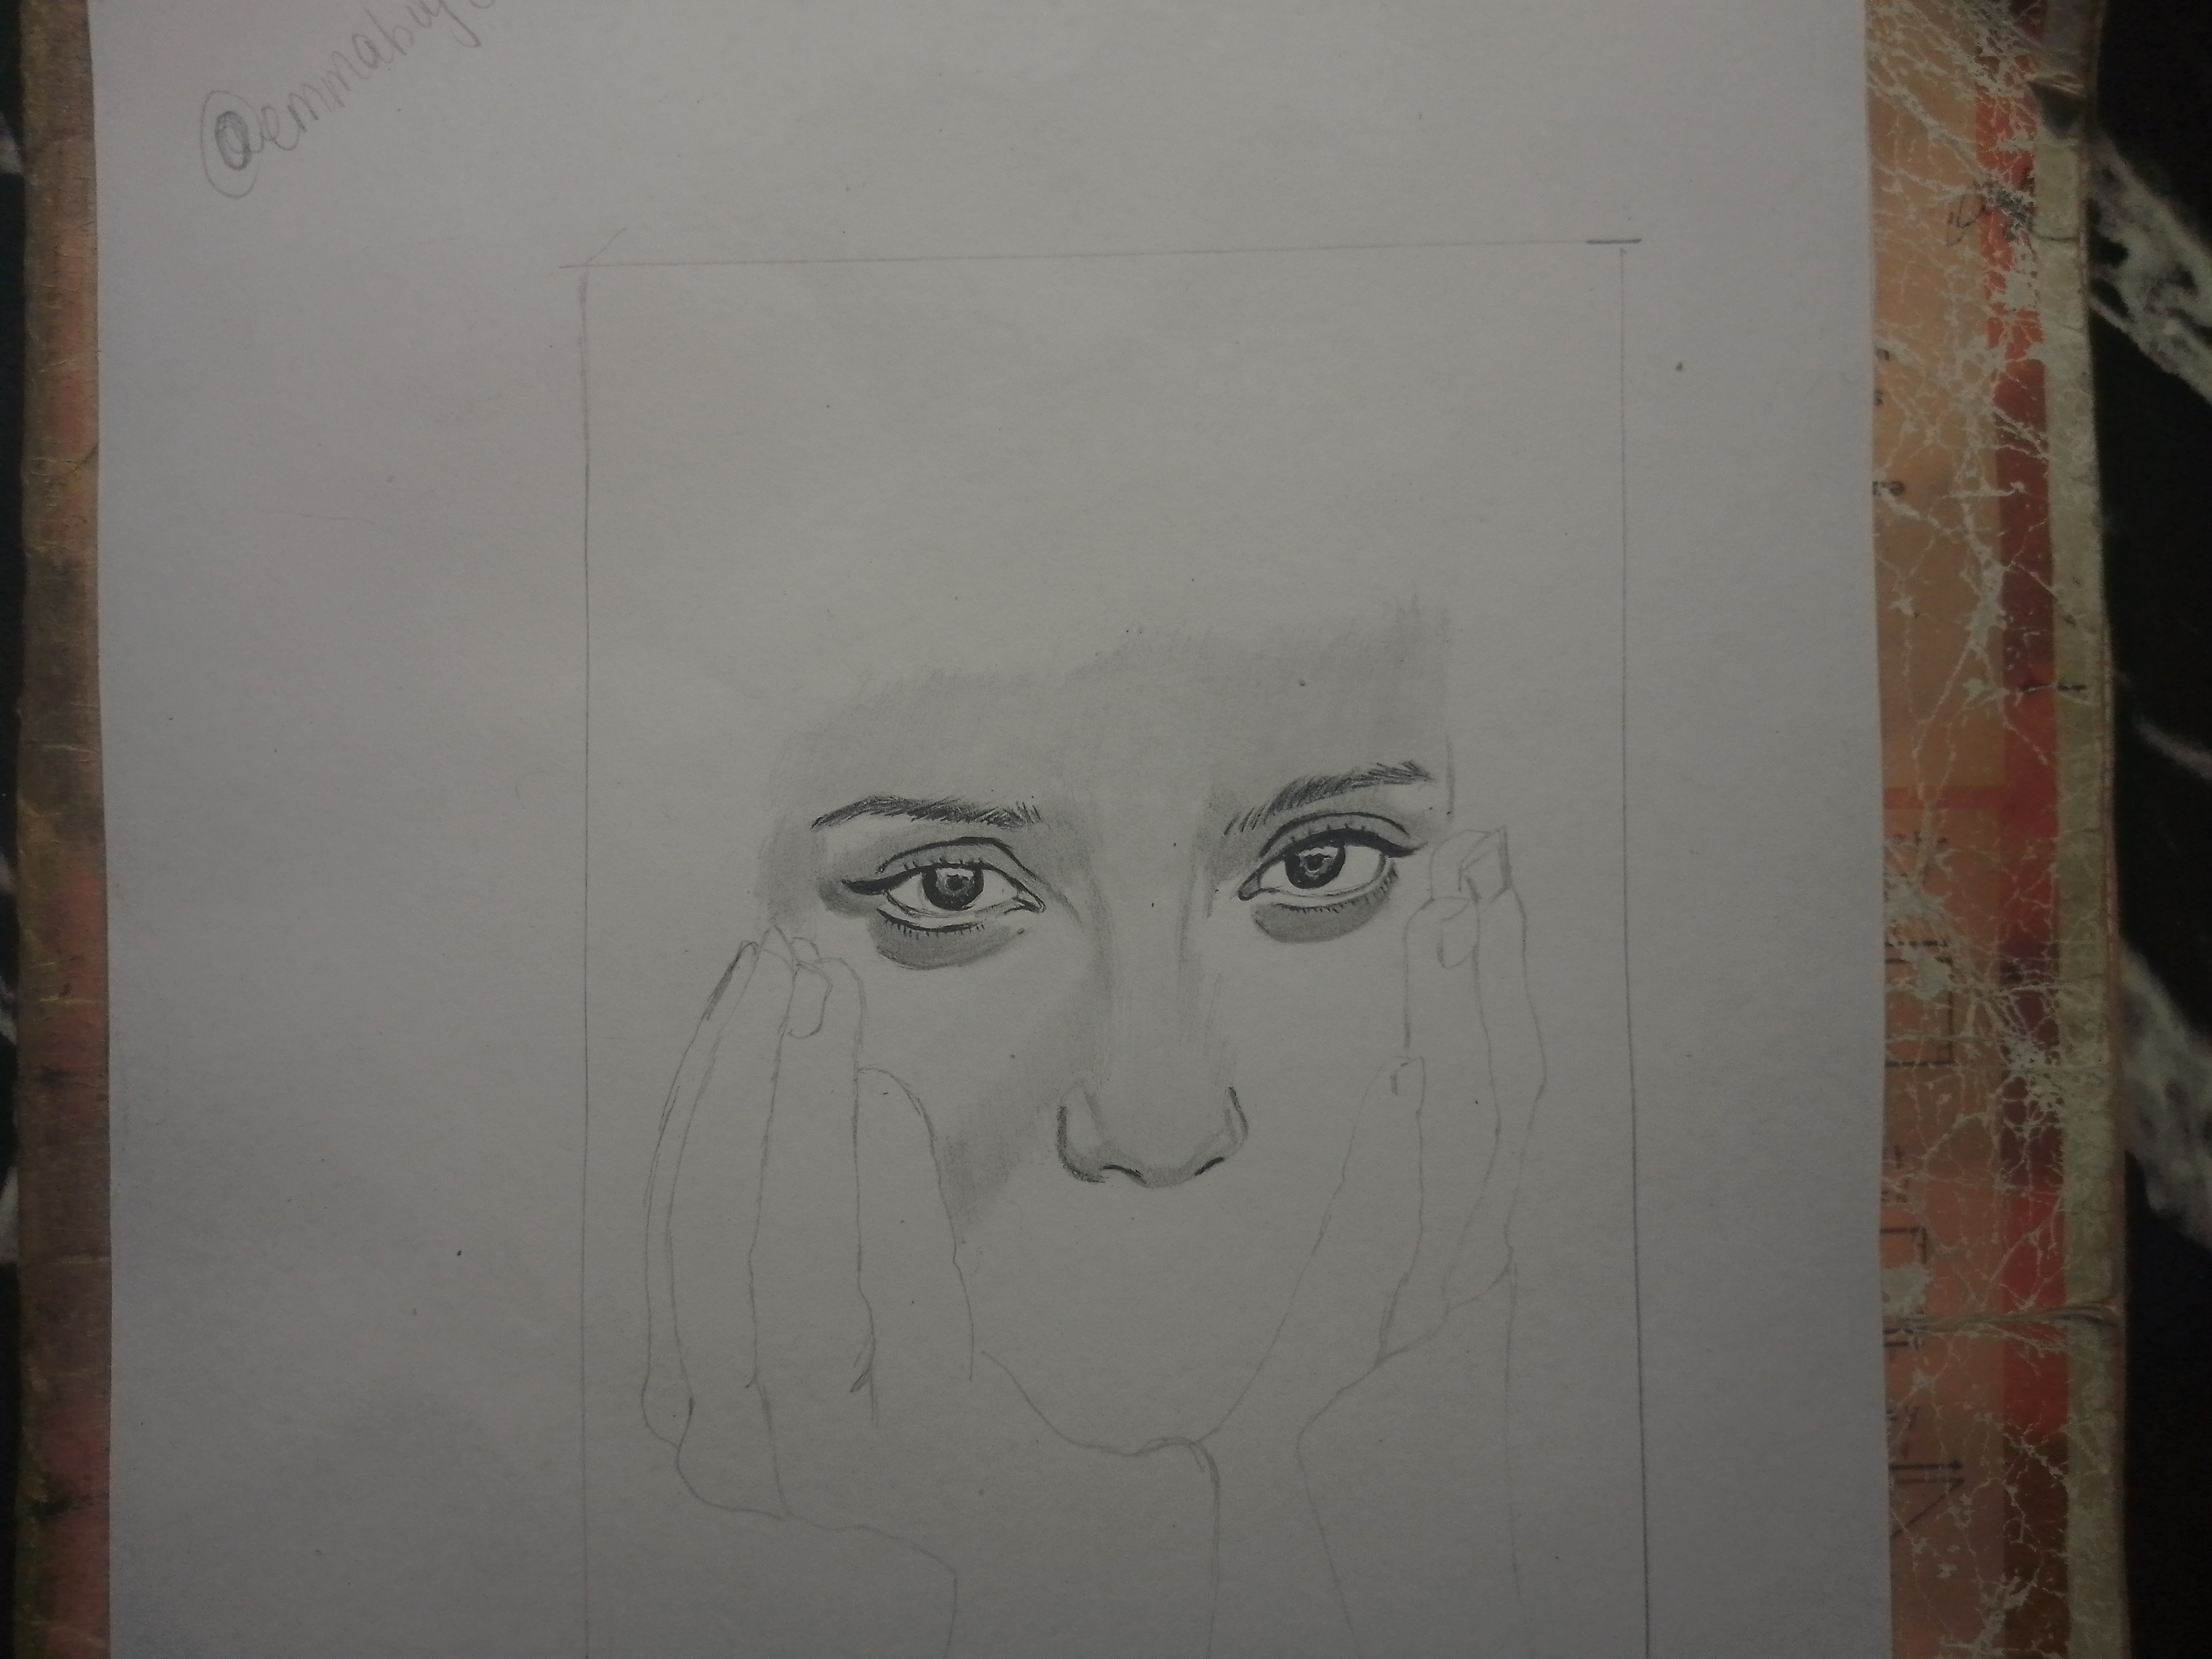
Step 1
I began by drawing a rectangle first, then I began drawing the eyes. Using light layers of graphite, I gradually built the shadows around the eyes while preserving the highlights. This helped create depth and made the eyes appear more realistic.

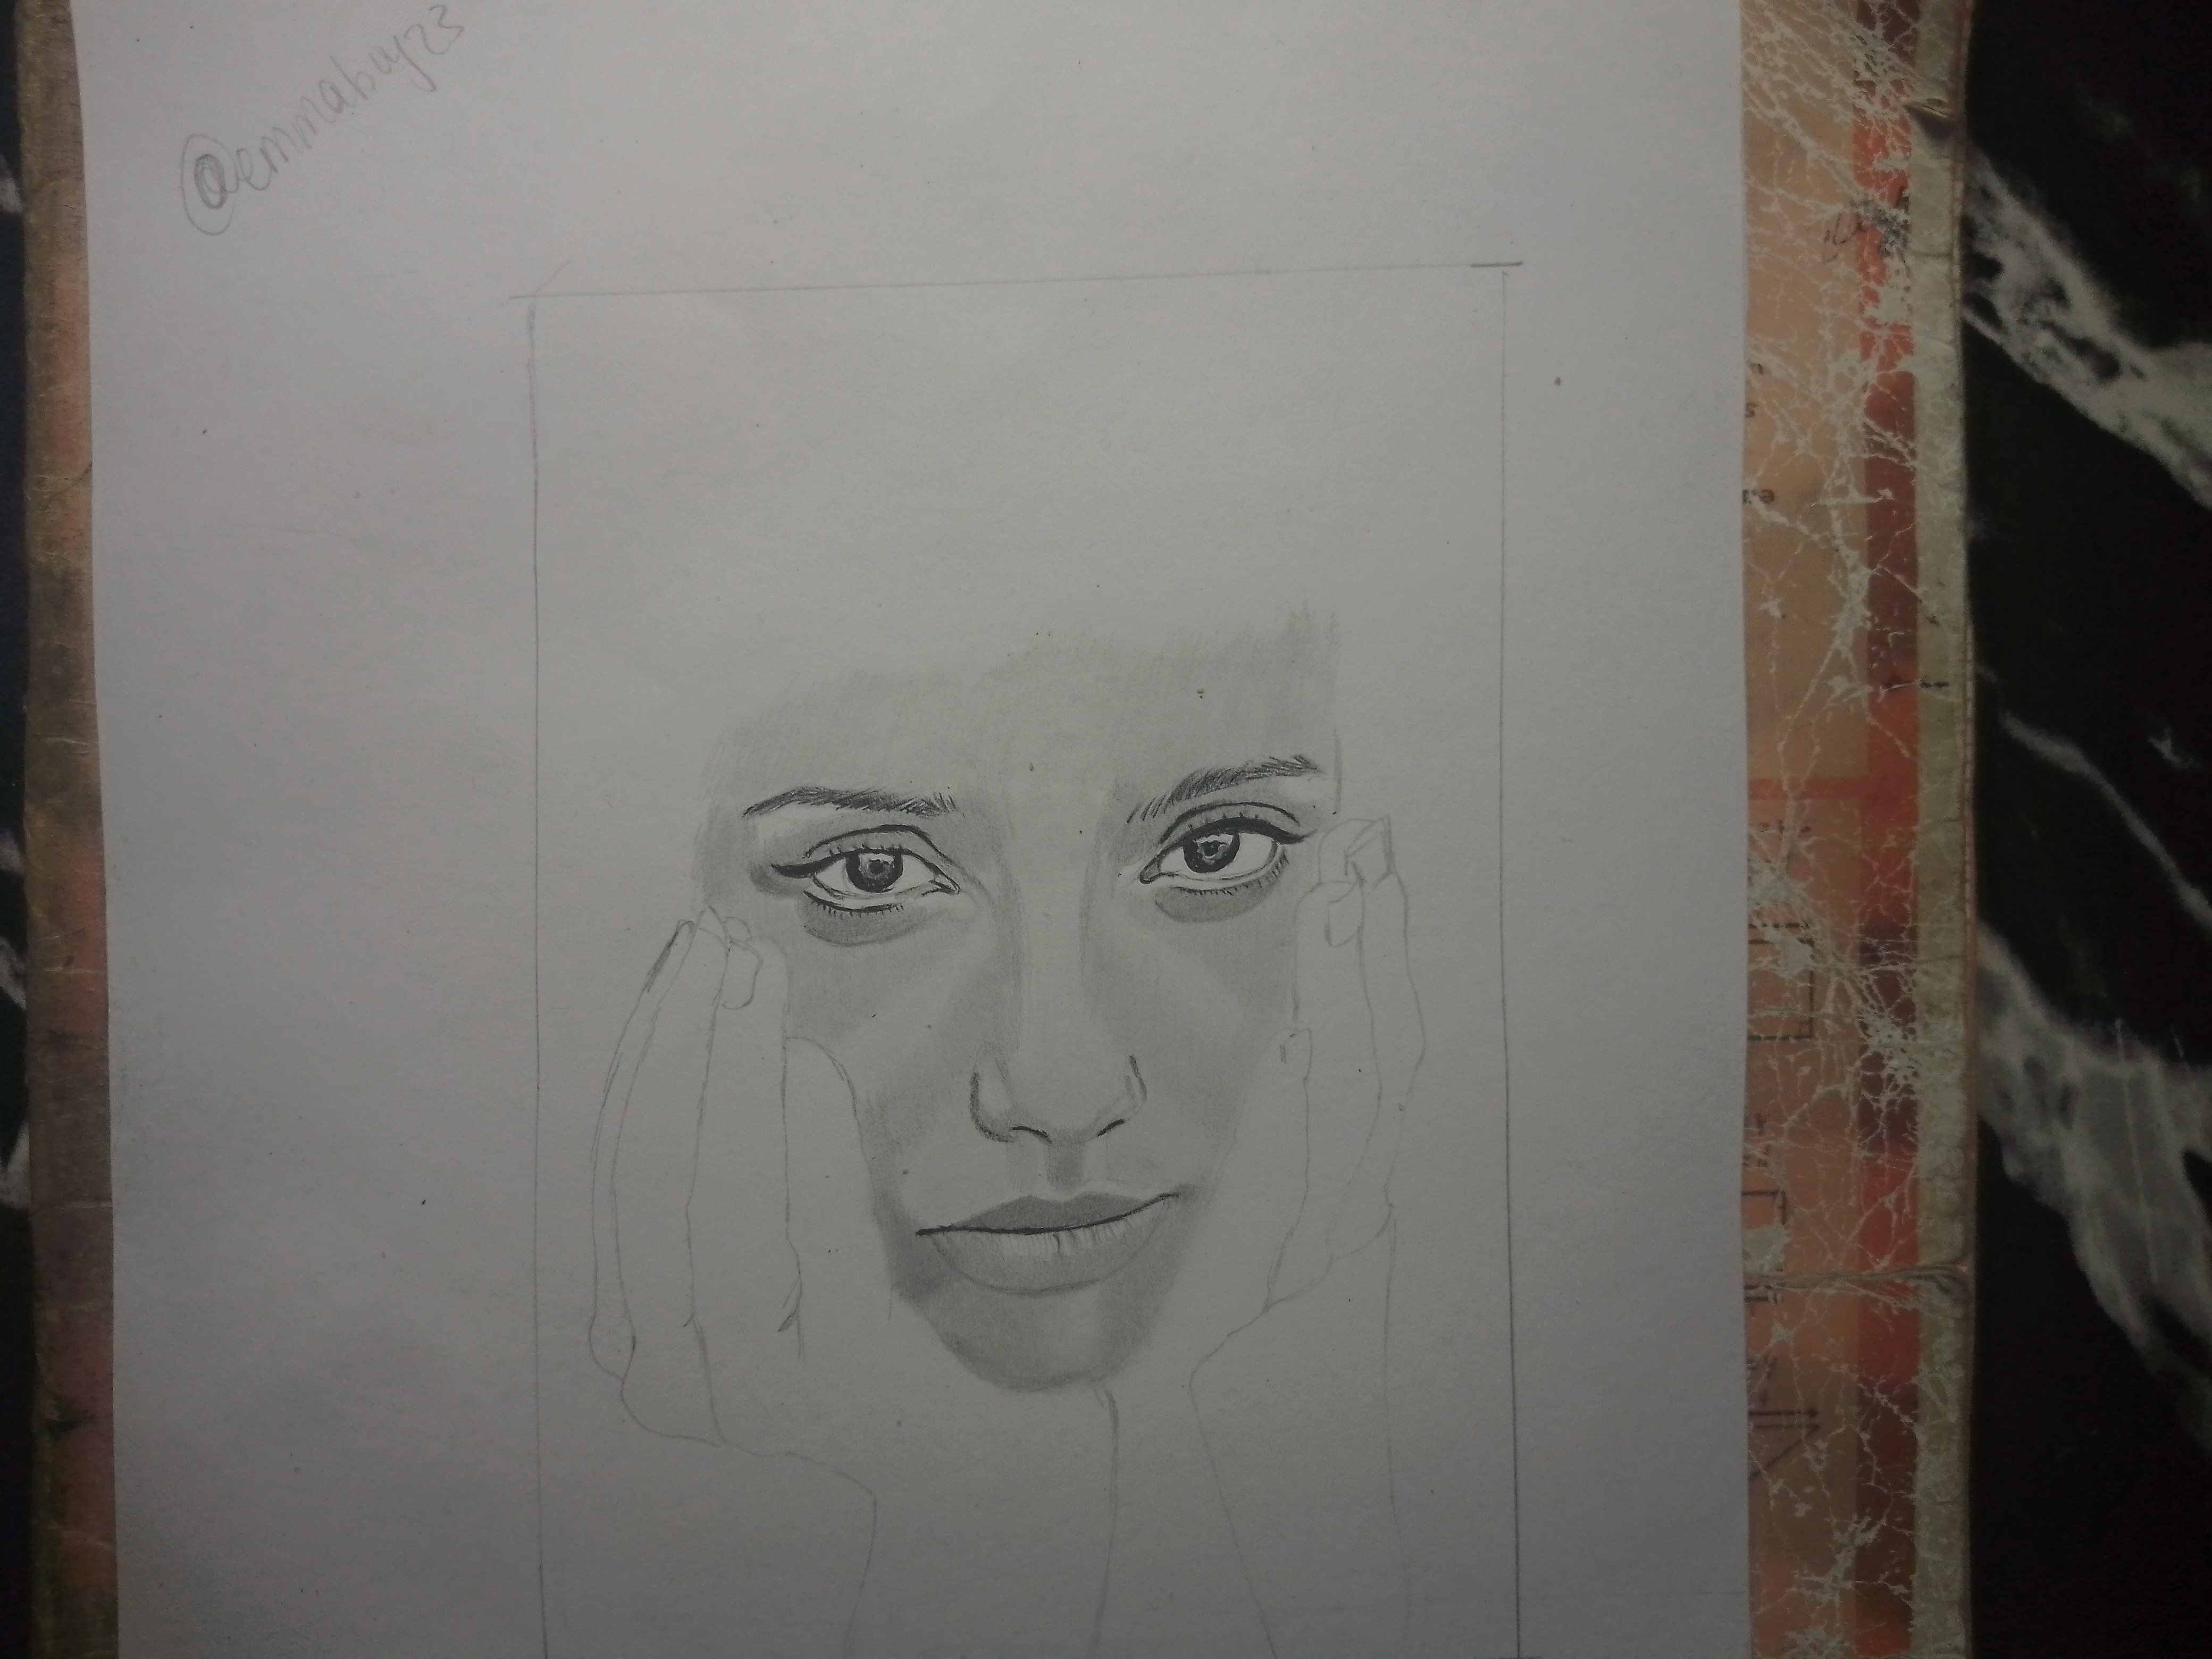
Step 2
After that, the nose and lips were shaded softly to maintain a natural appearance. Then I began shading the face and added the outline for the hands.
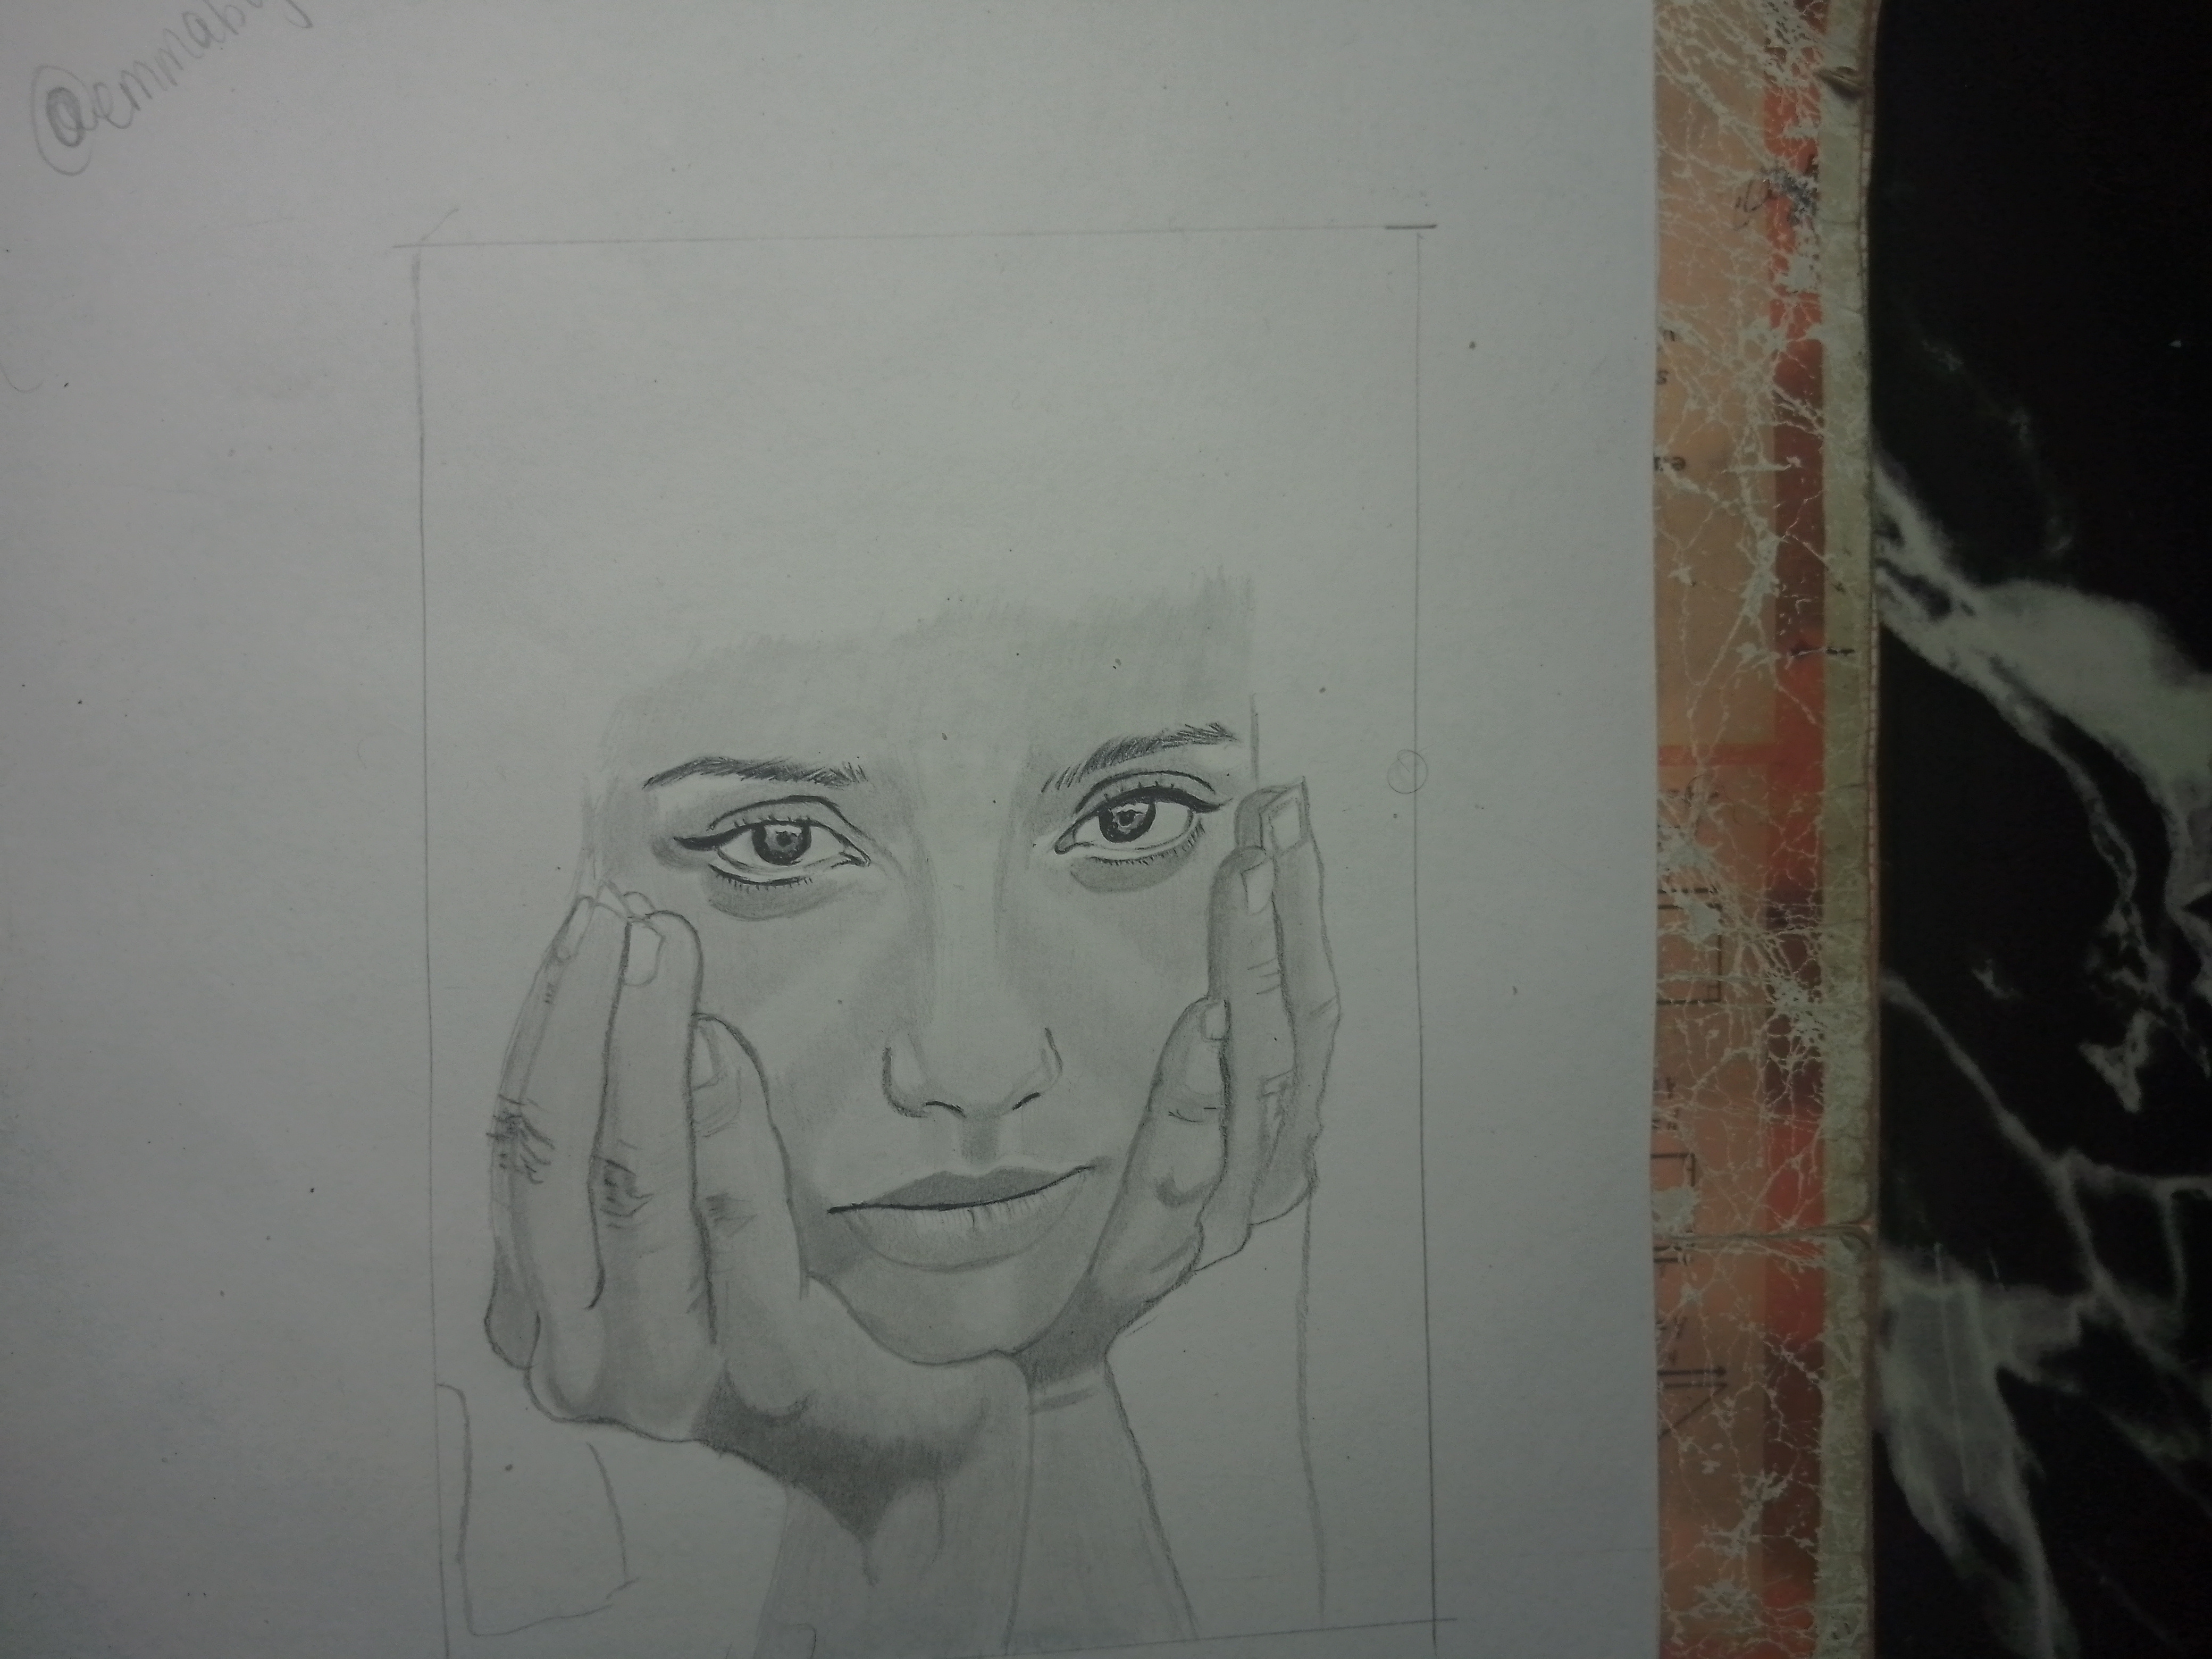
Step 3
The hands were one of the most challenging parts of this drawing. Since they are positioned close to the face, any mistake in proportion would be very noticeable. I carefully studied the structure of each finger and slowly developed the shading. Also, I gradually shaded the face until it took shape.
Step 4
Next I focused on the hair. After completing the facial features and hands, I moved on to the hair. I began by blocking in the darkest areas using a softer graphite pencil. Once the overall shape was established, I added finer strands to create texture and movement.
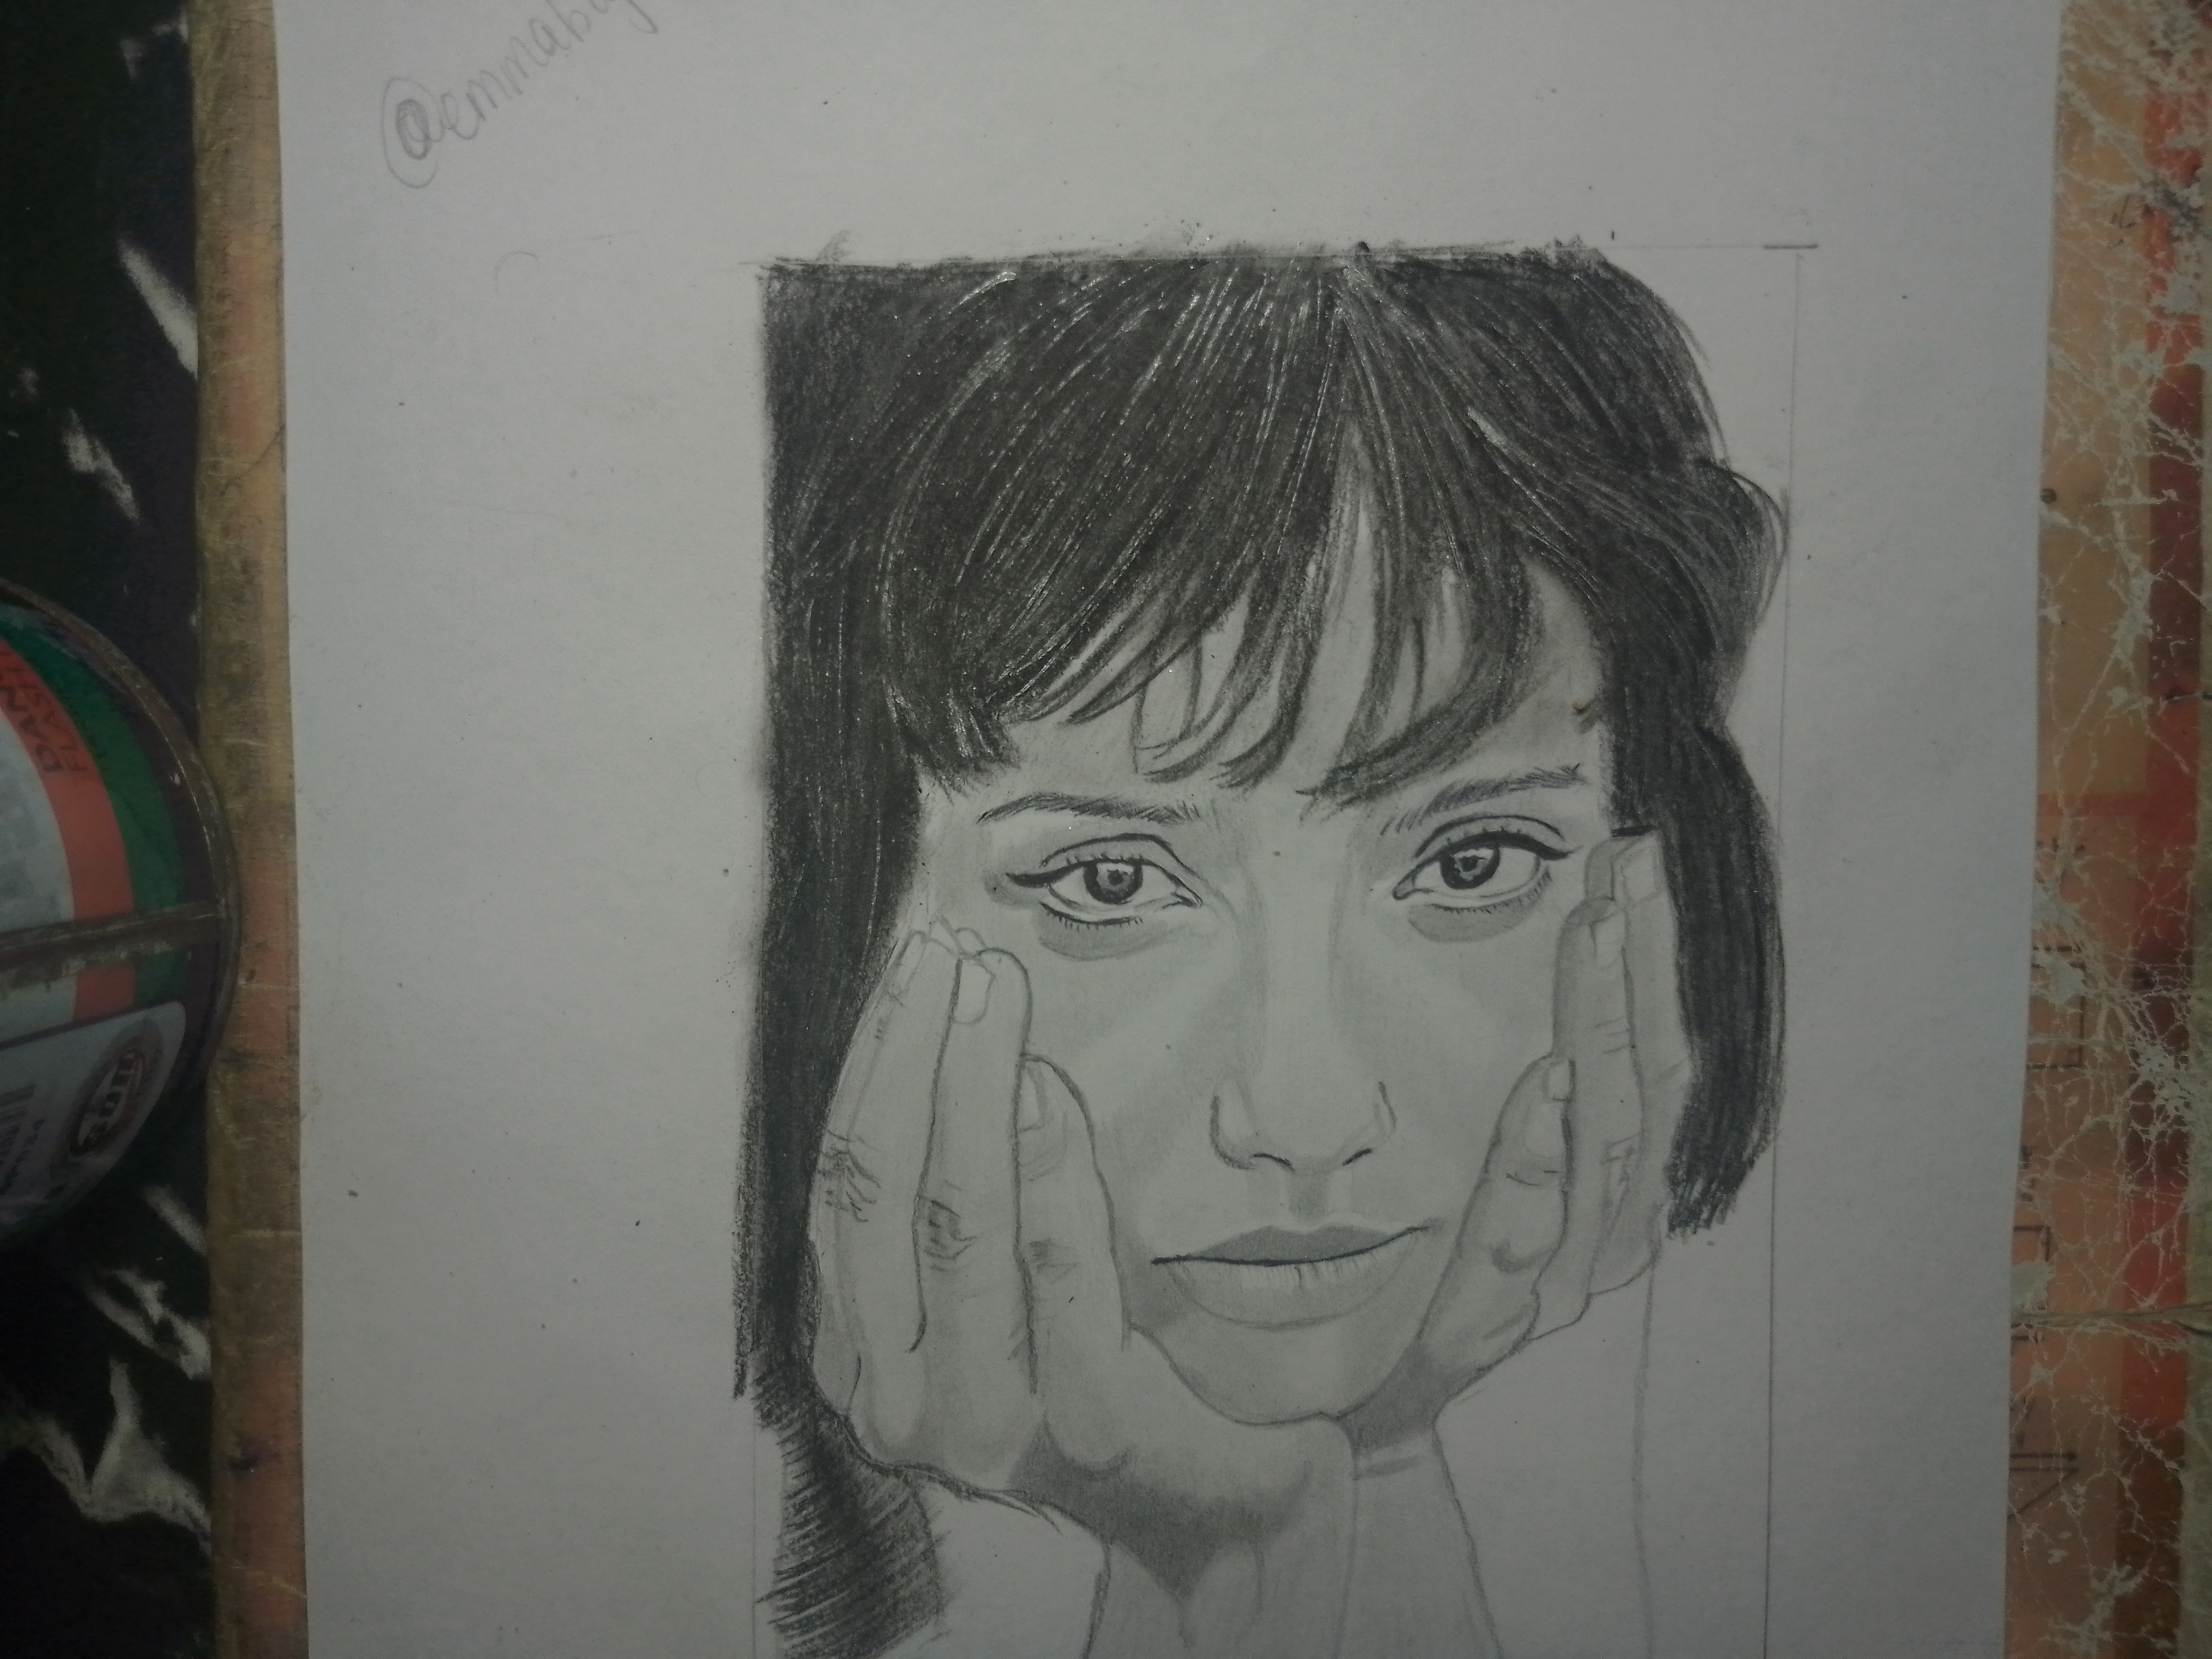
Step 5
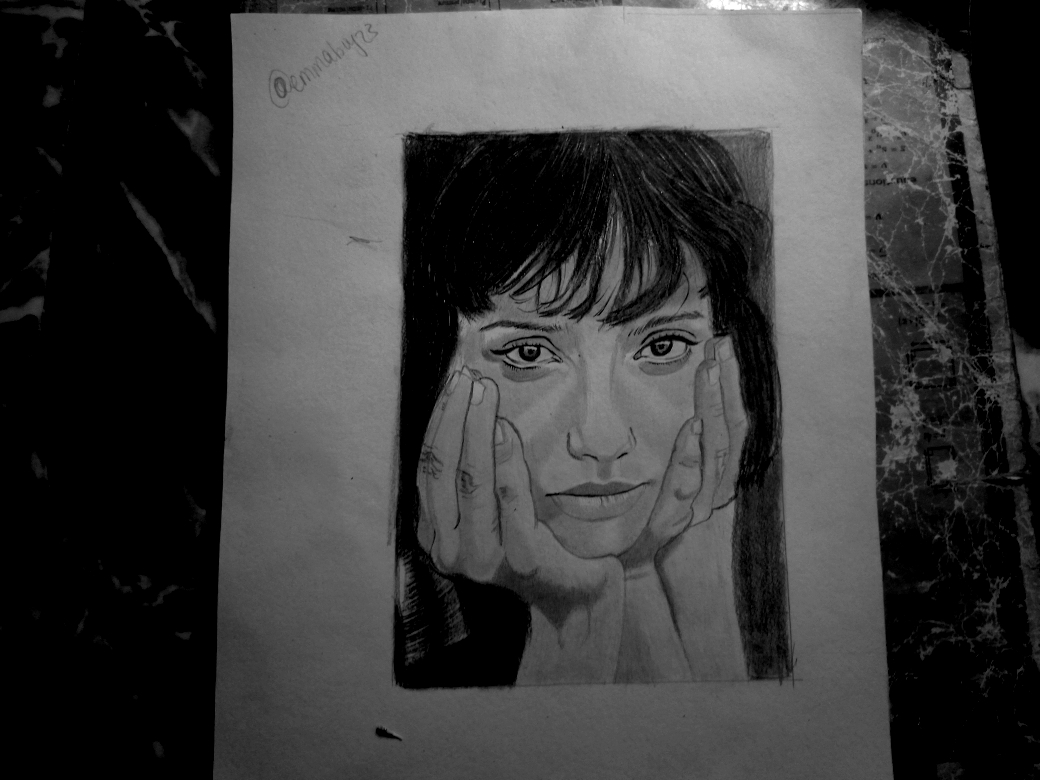
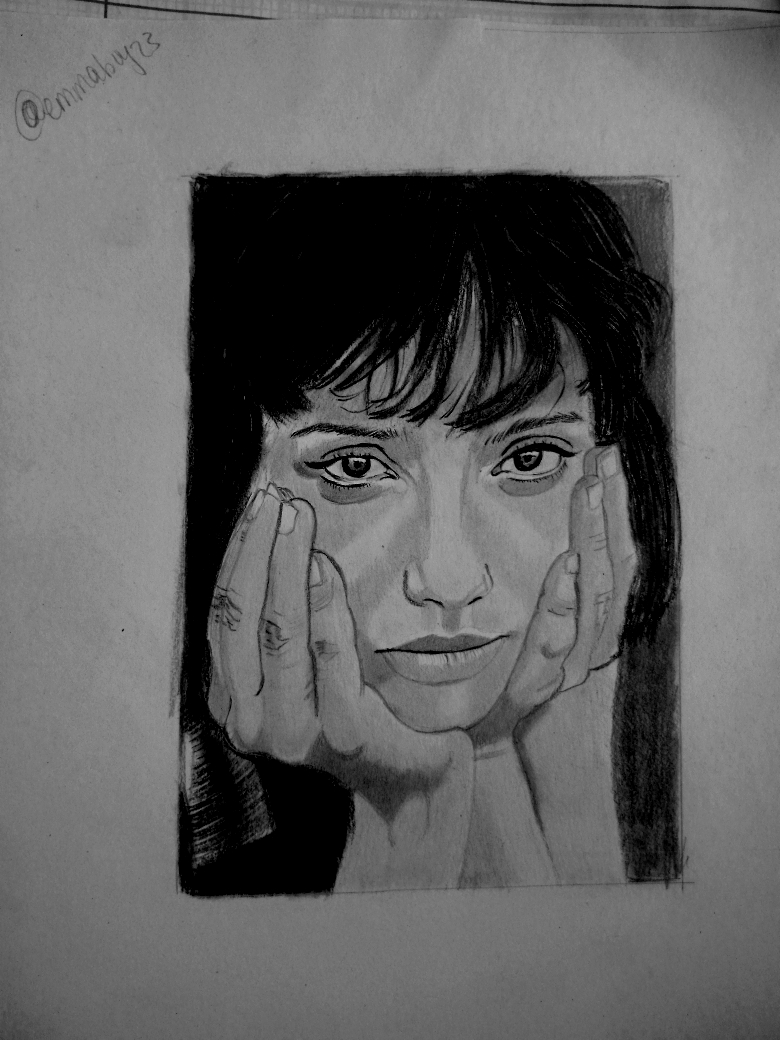
Finally, I worked on the background to enhance the overall composition. A darker background was added to frame the face and increase the visual impact of the portrait.
Step 6
For the final stage, I added final adjustments to the highlights and shadows, then the portrait was complete.
My selfie with my drawing
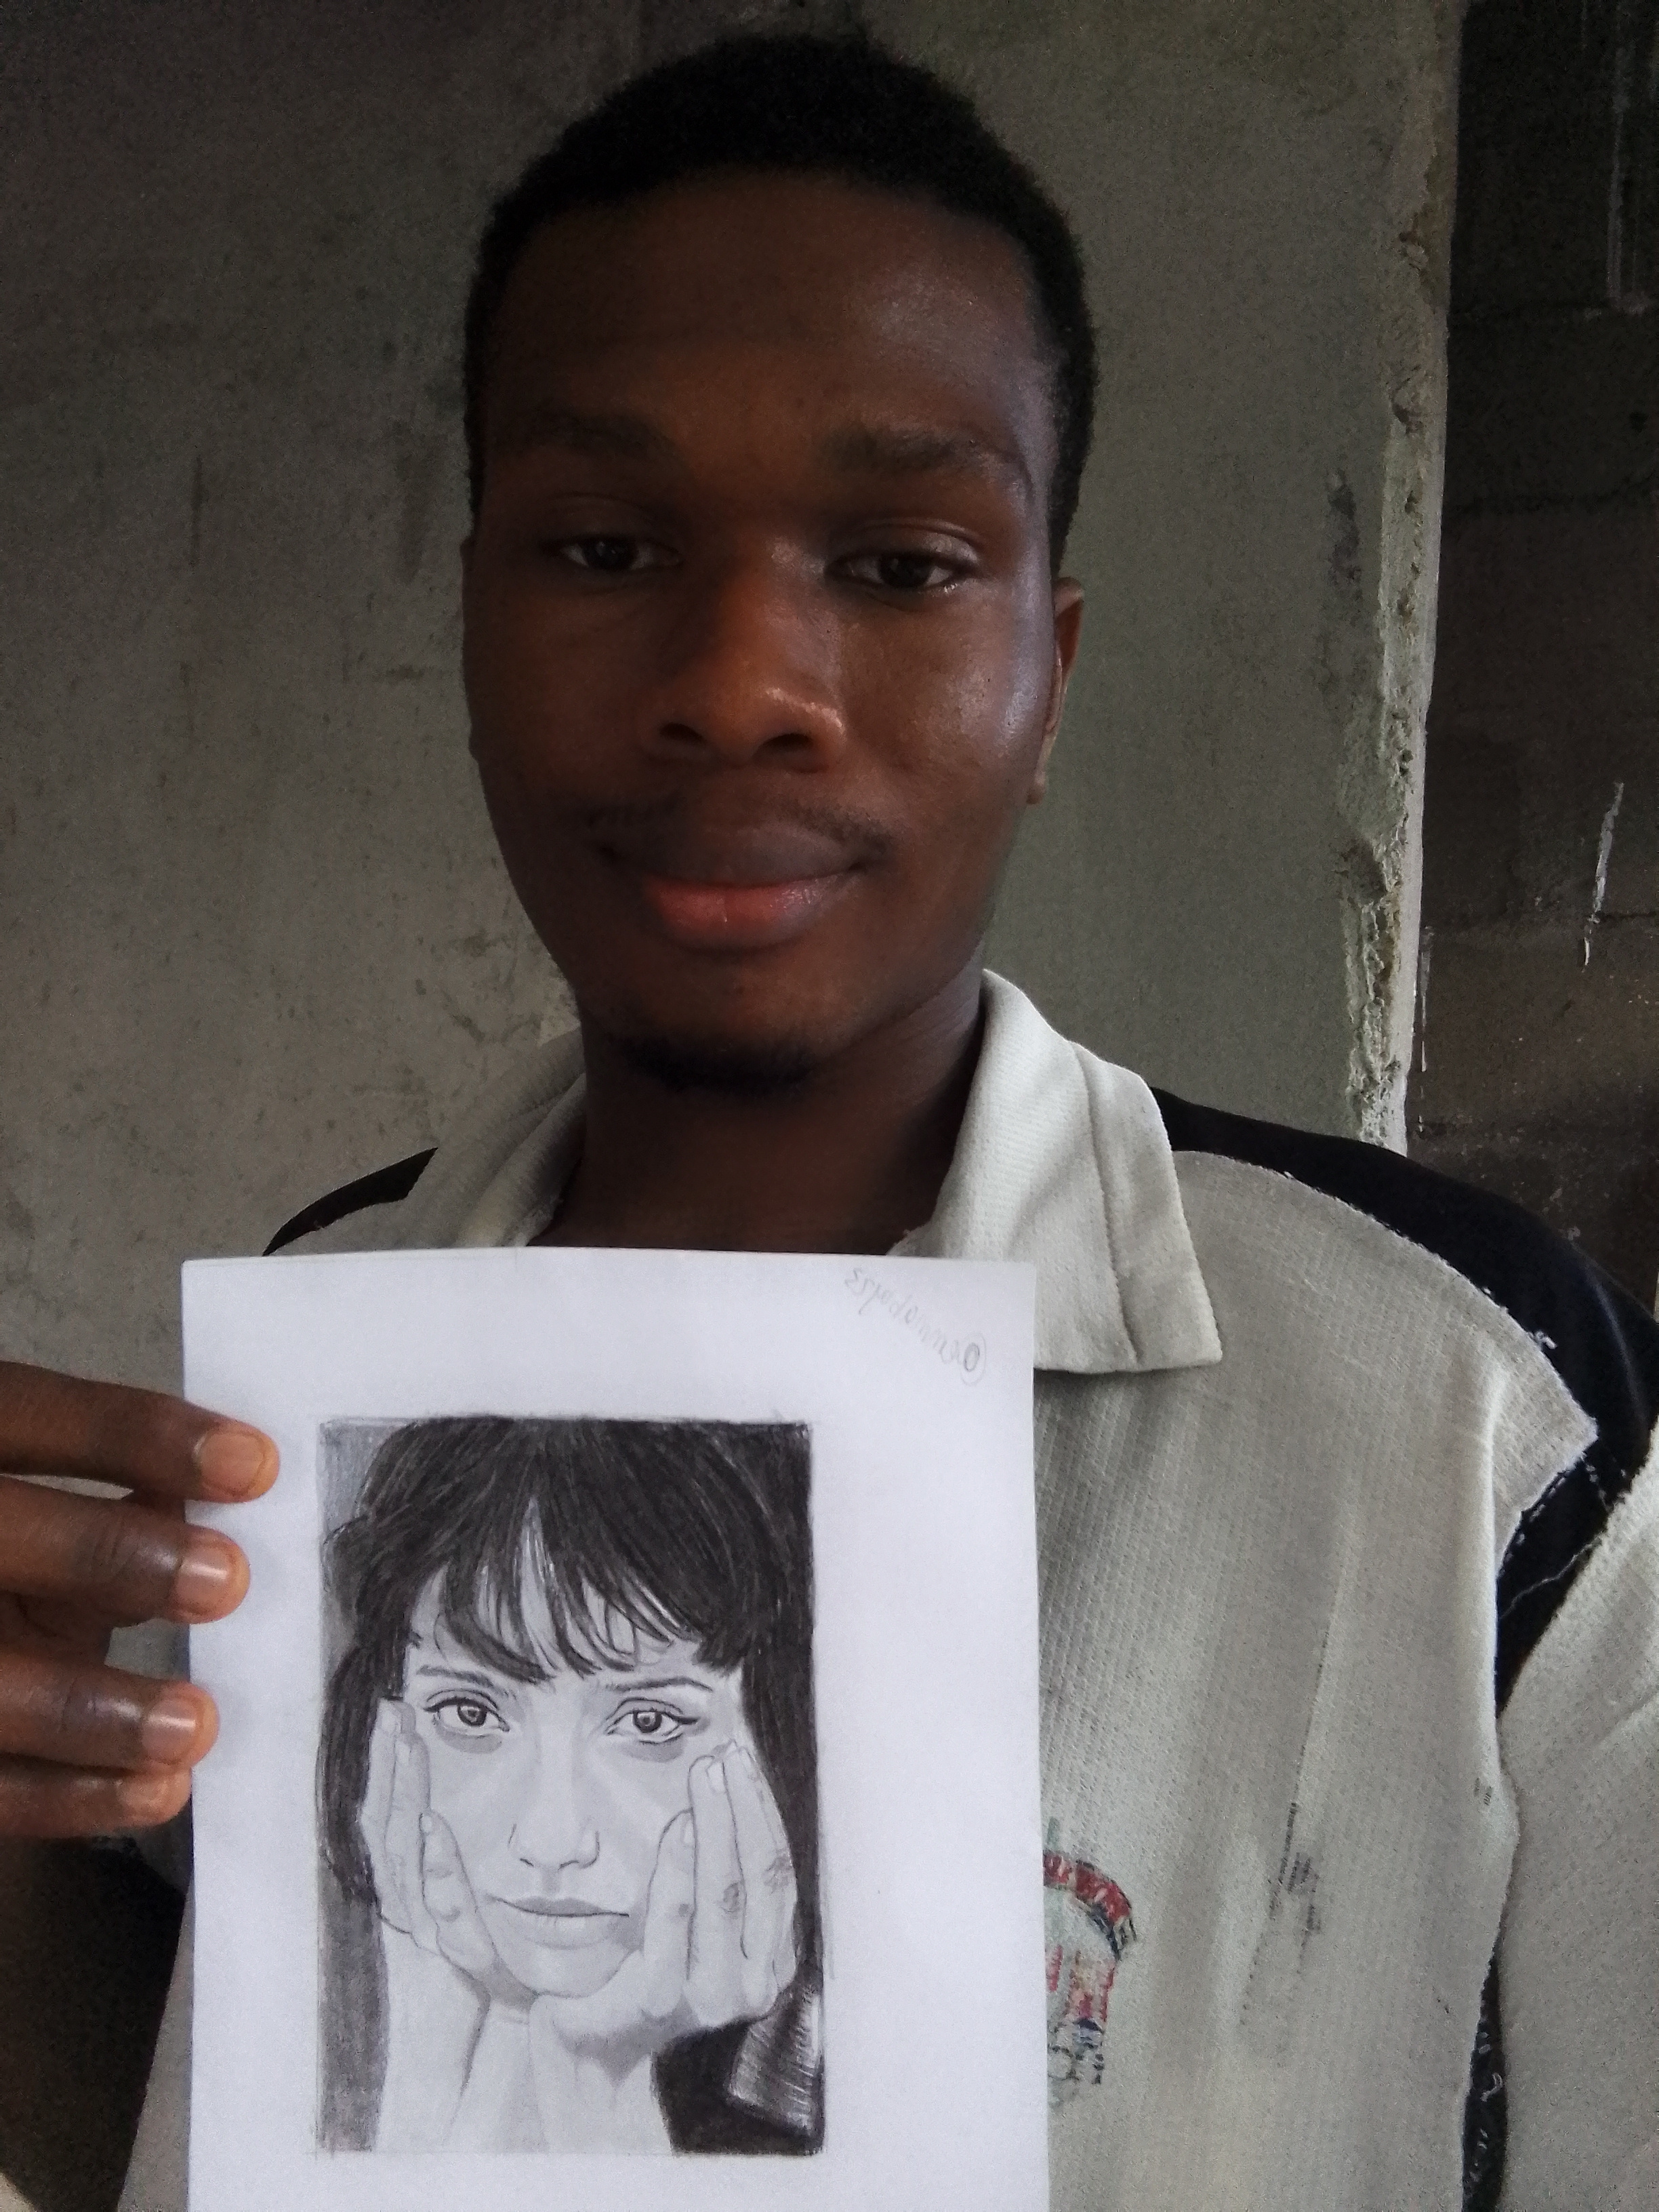
Every portrait teaches me something new, and this piece helped me improve my understanding of facial structure, hand anatomy, and tonal contrast. It was both a challenging and enjoyable experience from start to finish. Thank you for taking the time to visit my post; I hope you enjoyed this step-by-step process. Have a wonderful day, and see you in my next artwork!
Inviting
THANKS FOR STOPPING BY
Posted with Speem
Beautiful drawing, keep it up, and good luck to you.
Curated by: @ahsansharif