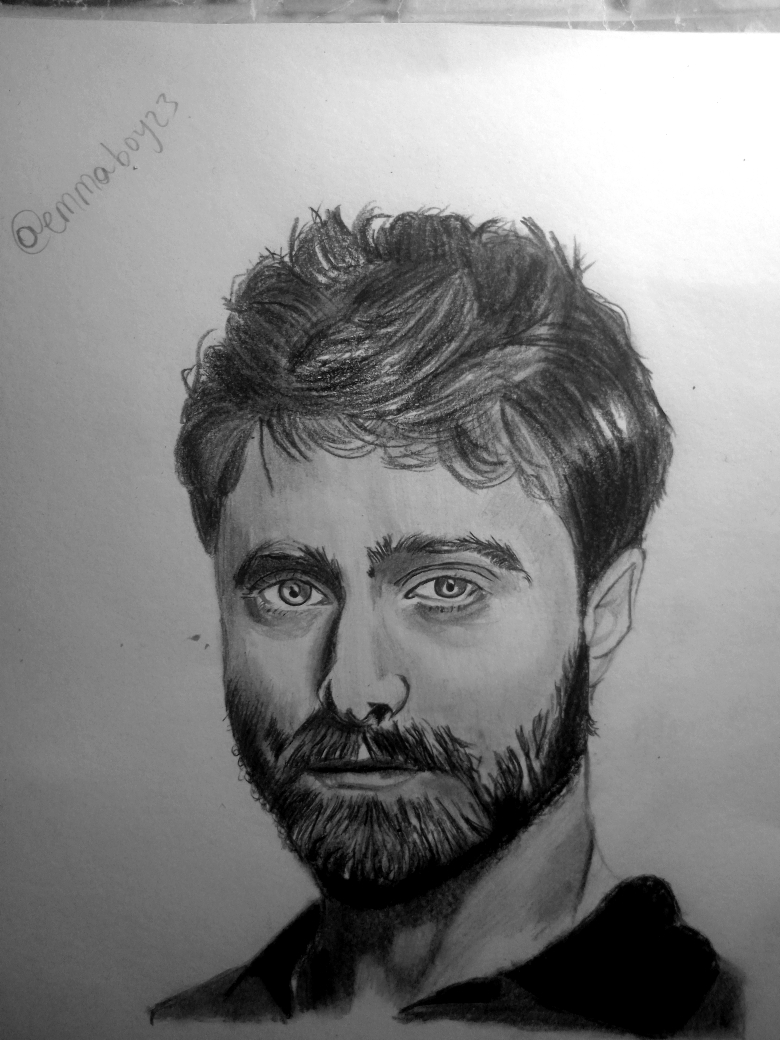
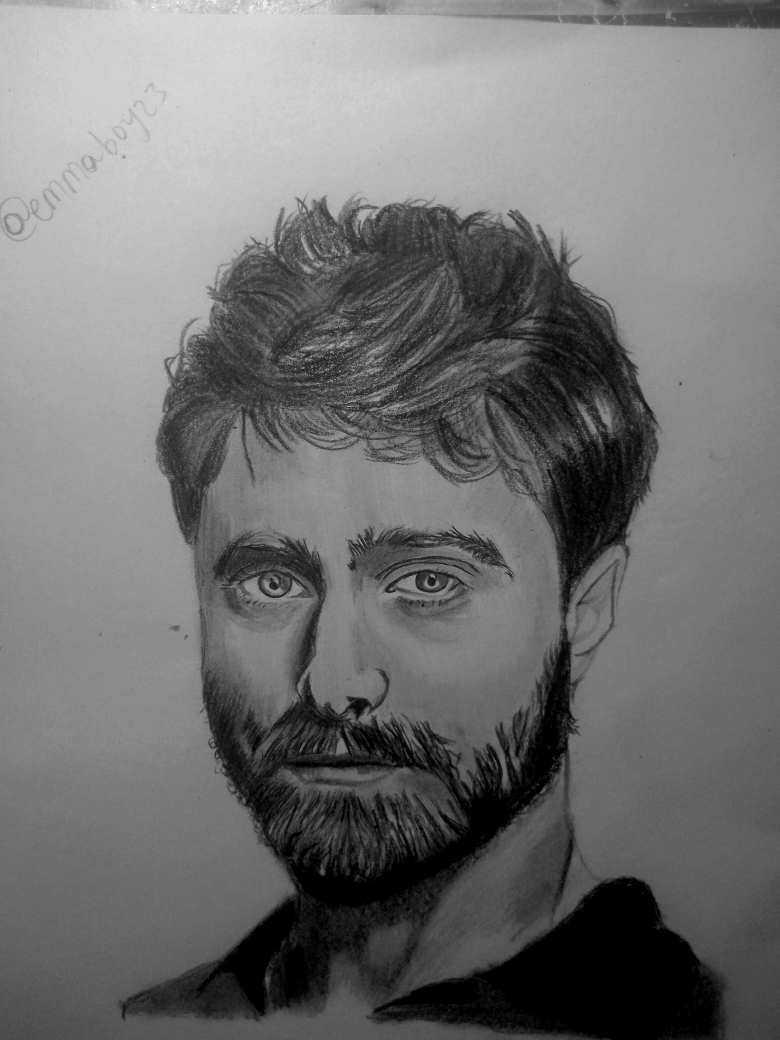
Pencil drawing: portrait drawing of Daniel Radcliffe
Greetings to everyone and the honorable members of this group; it's your favorite artist, @emmaboy23, here again to share one of my recent drawings from my sketchbook. I hope you all like it. Today I’m excited to share another portrait study from my sketchbook, where I challenged myself to recreate the expressive face of Daniel Radcliffe using only pencil. I’ll walk you through my process in a simple tutorial style so anyone can follow along.
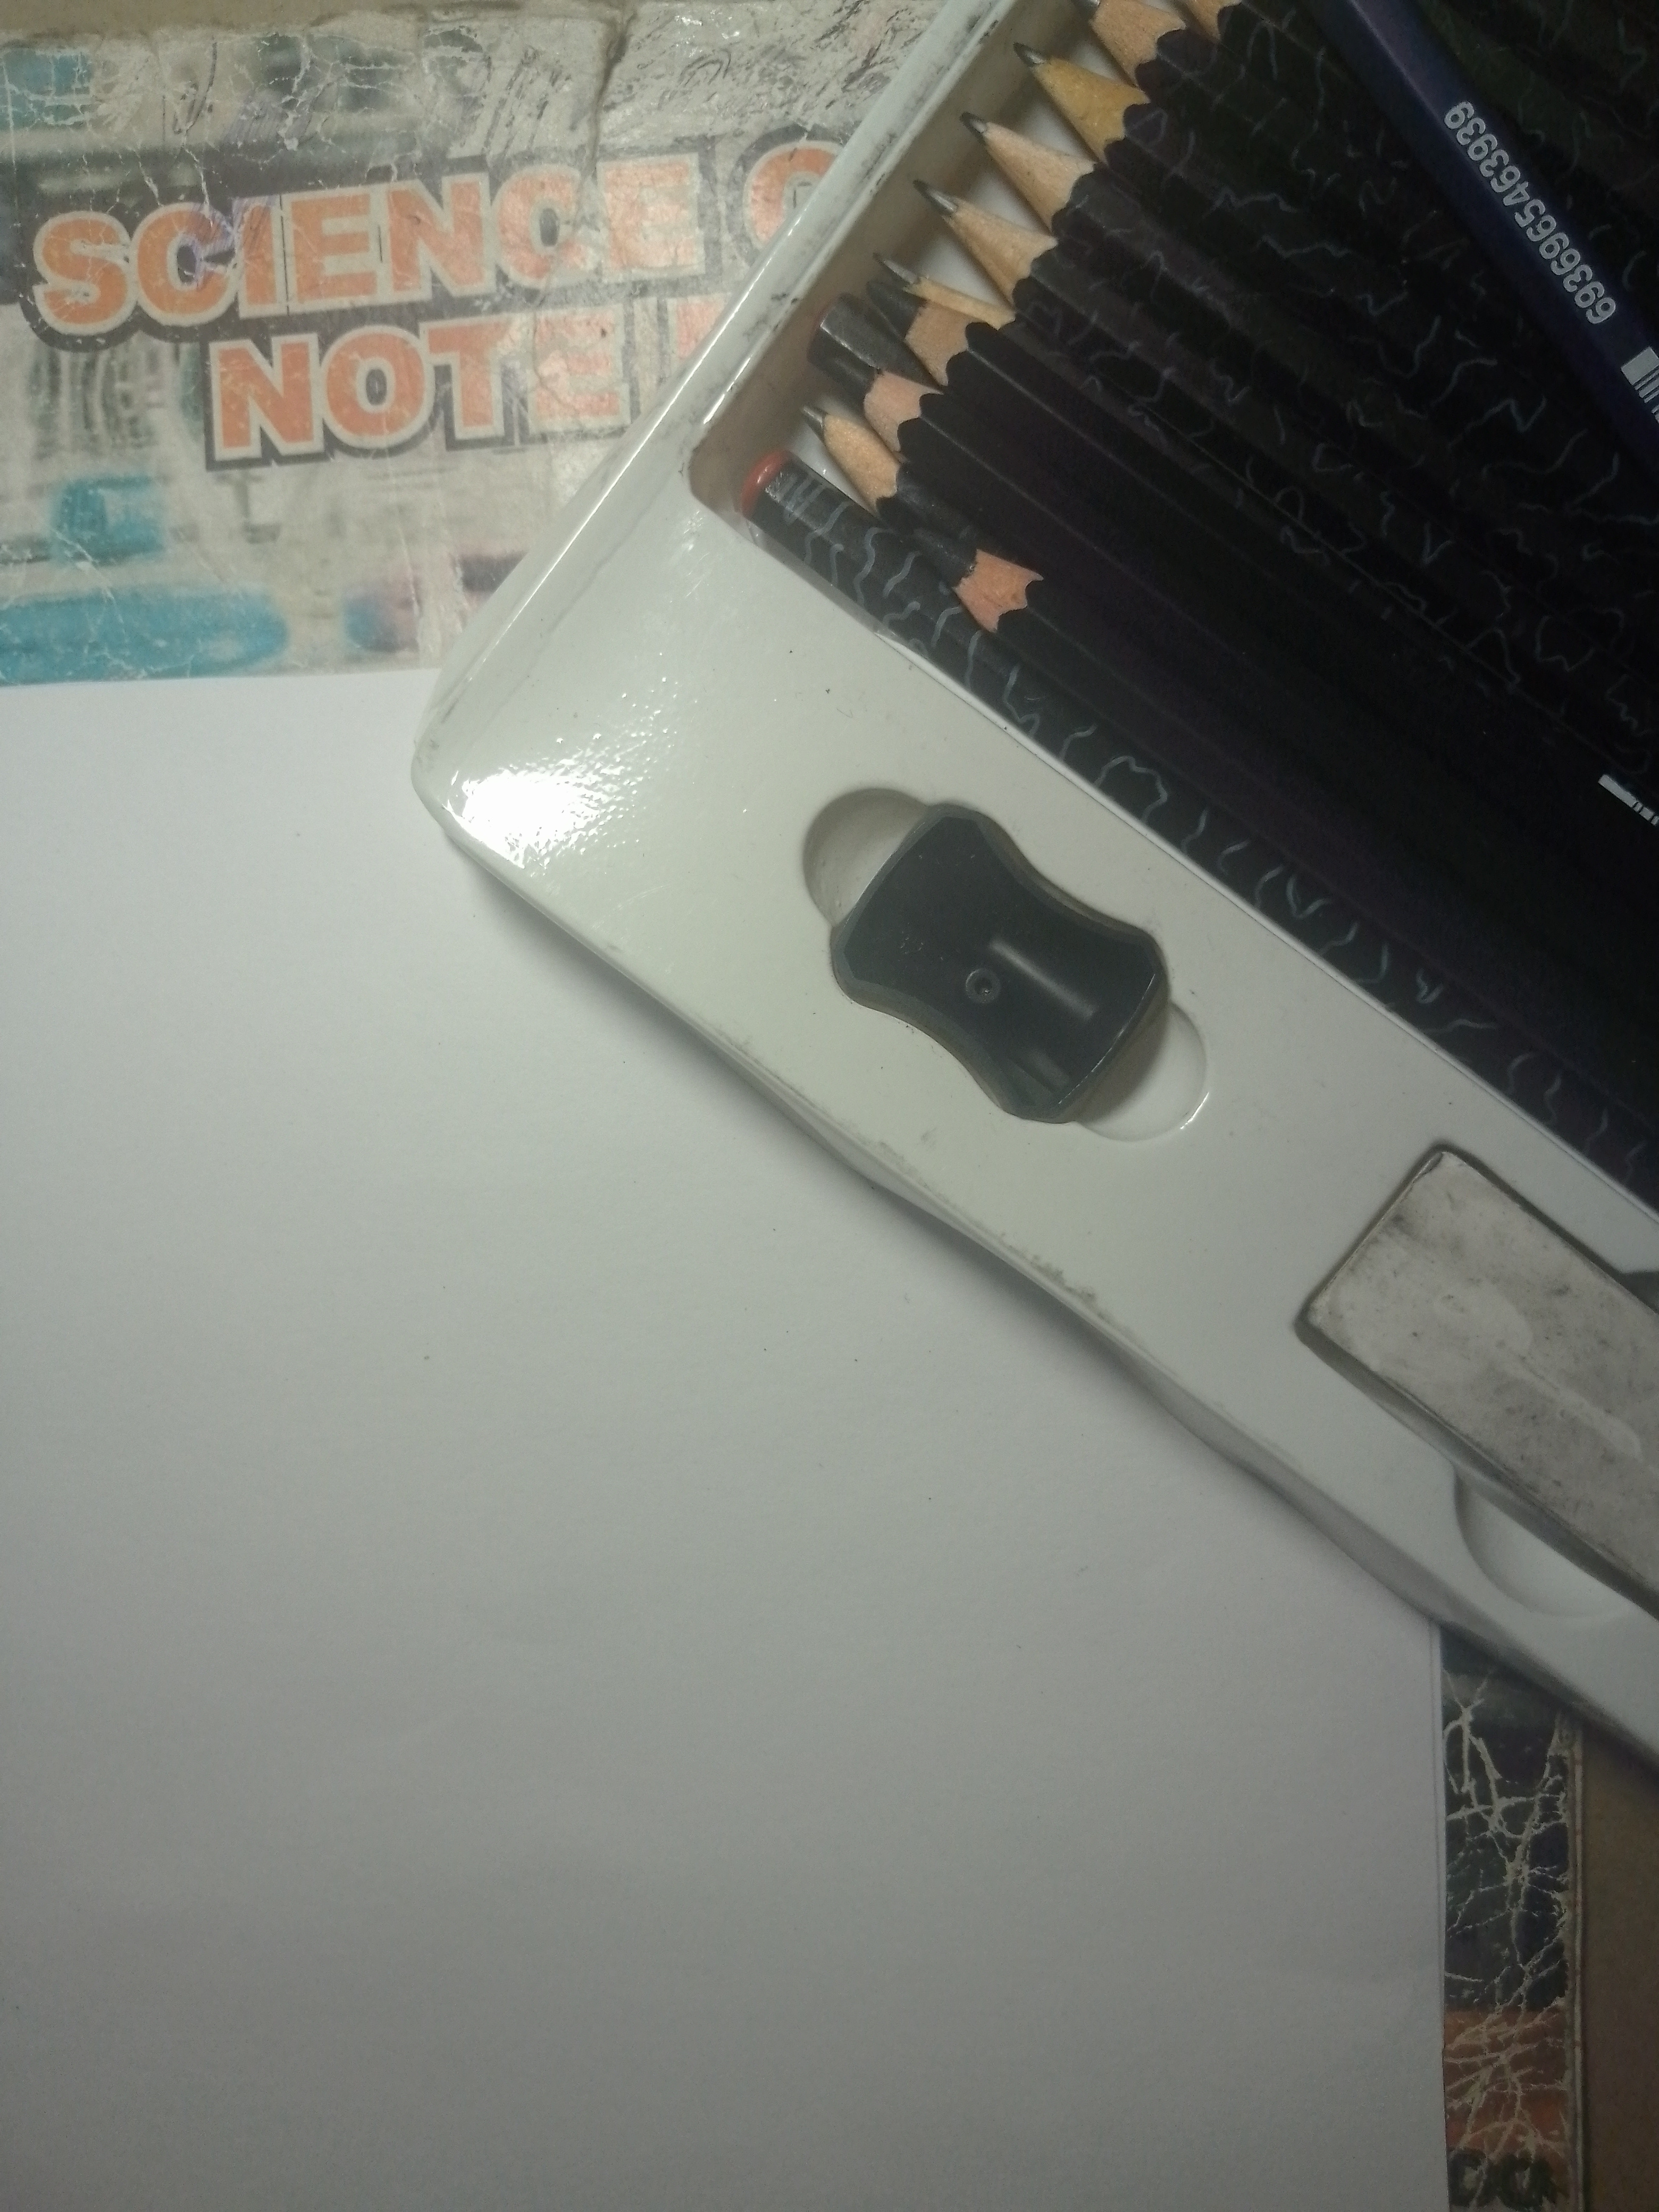
Drawing materials
• A4 paper
• mechanical pencil
• graphite pencils - HB, 4B, 5B, and 6B
• charcoal pencil
• black pen
• eraser
• sharpener
Step-by-Step Process
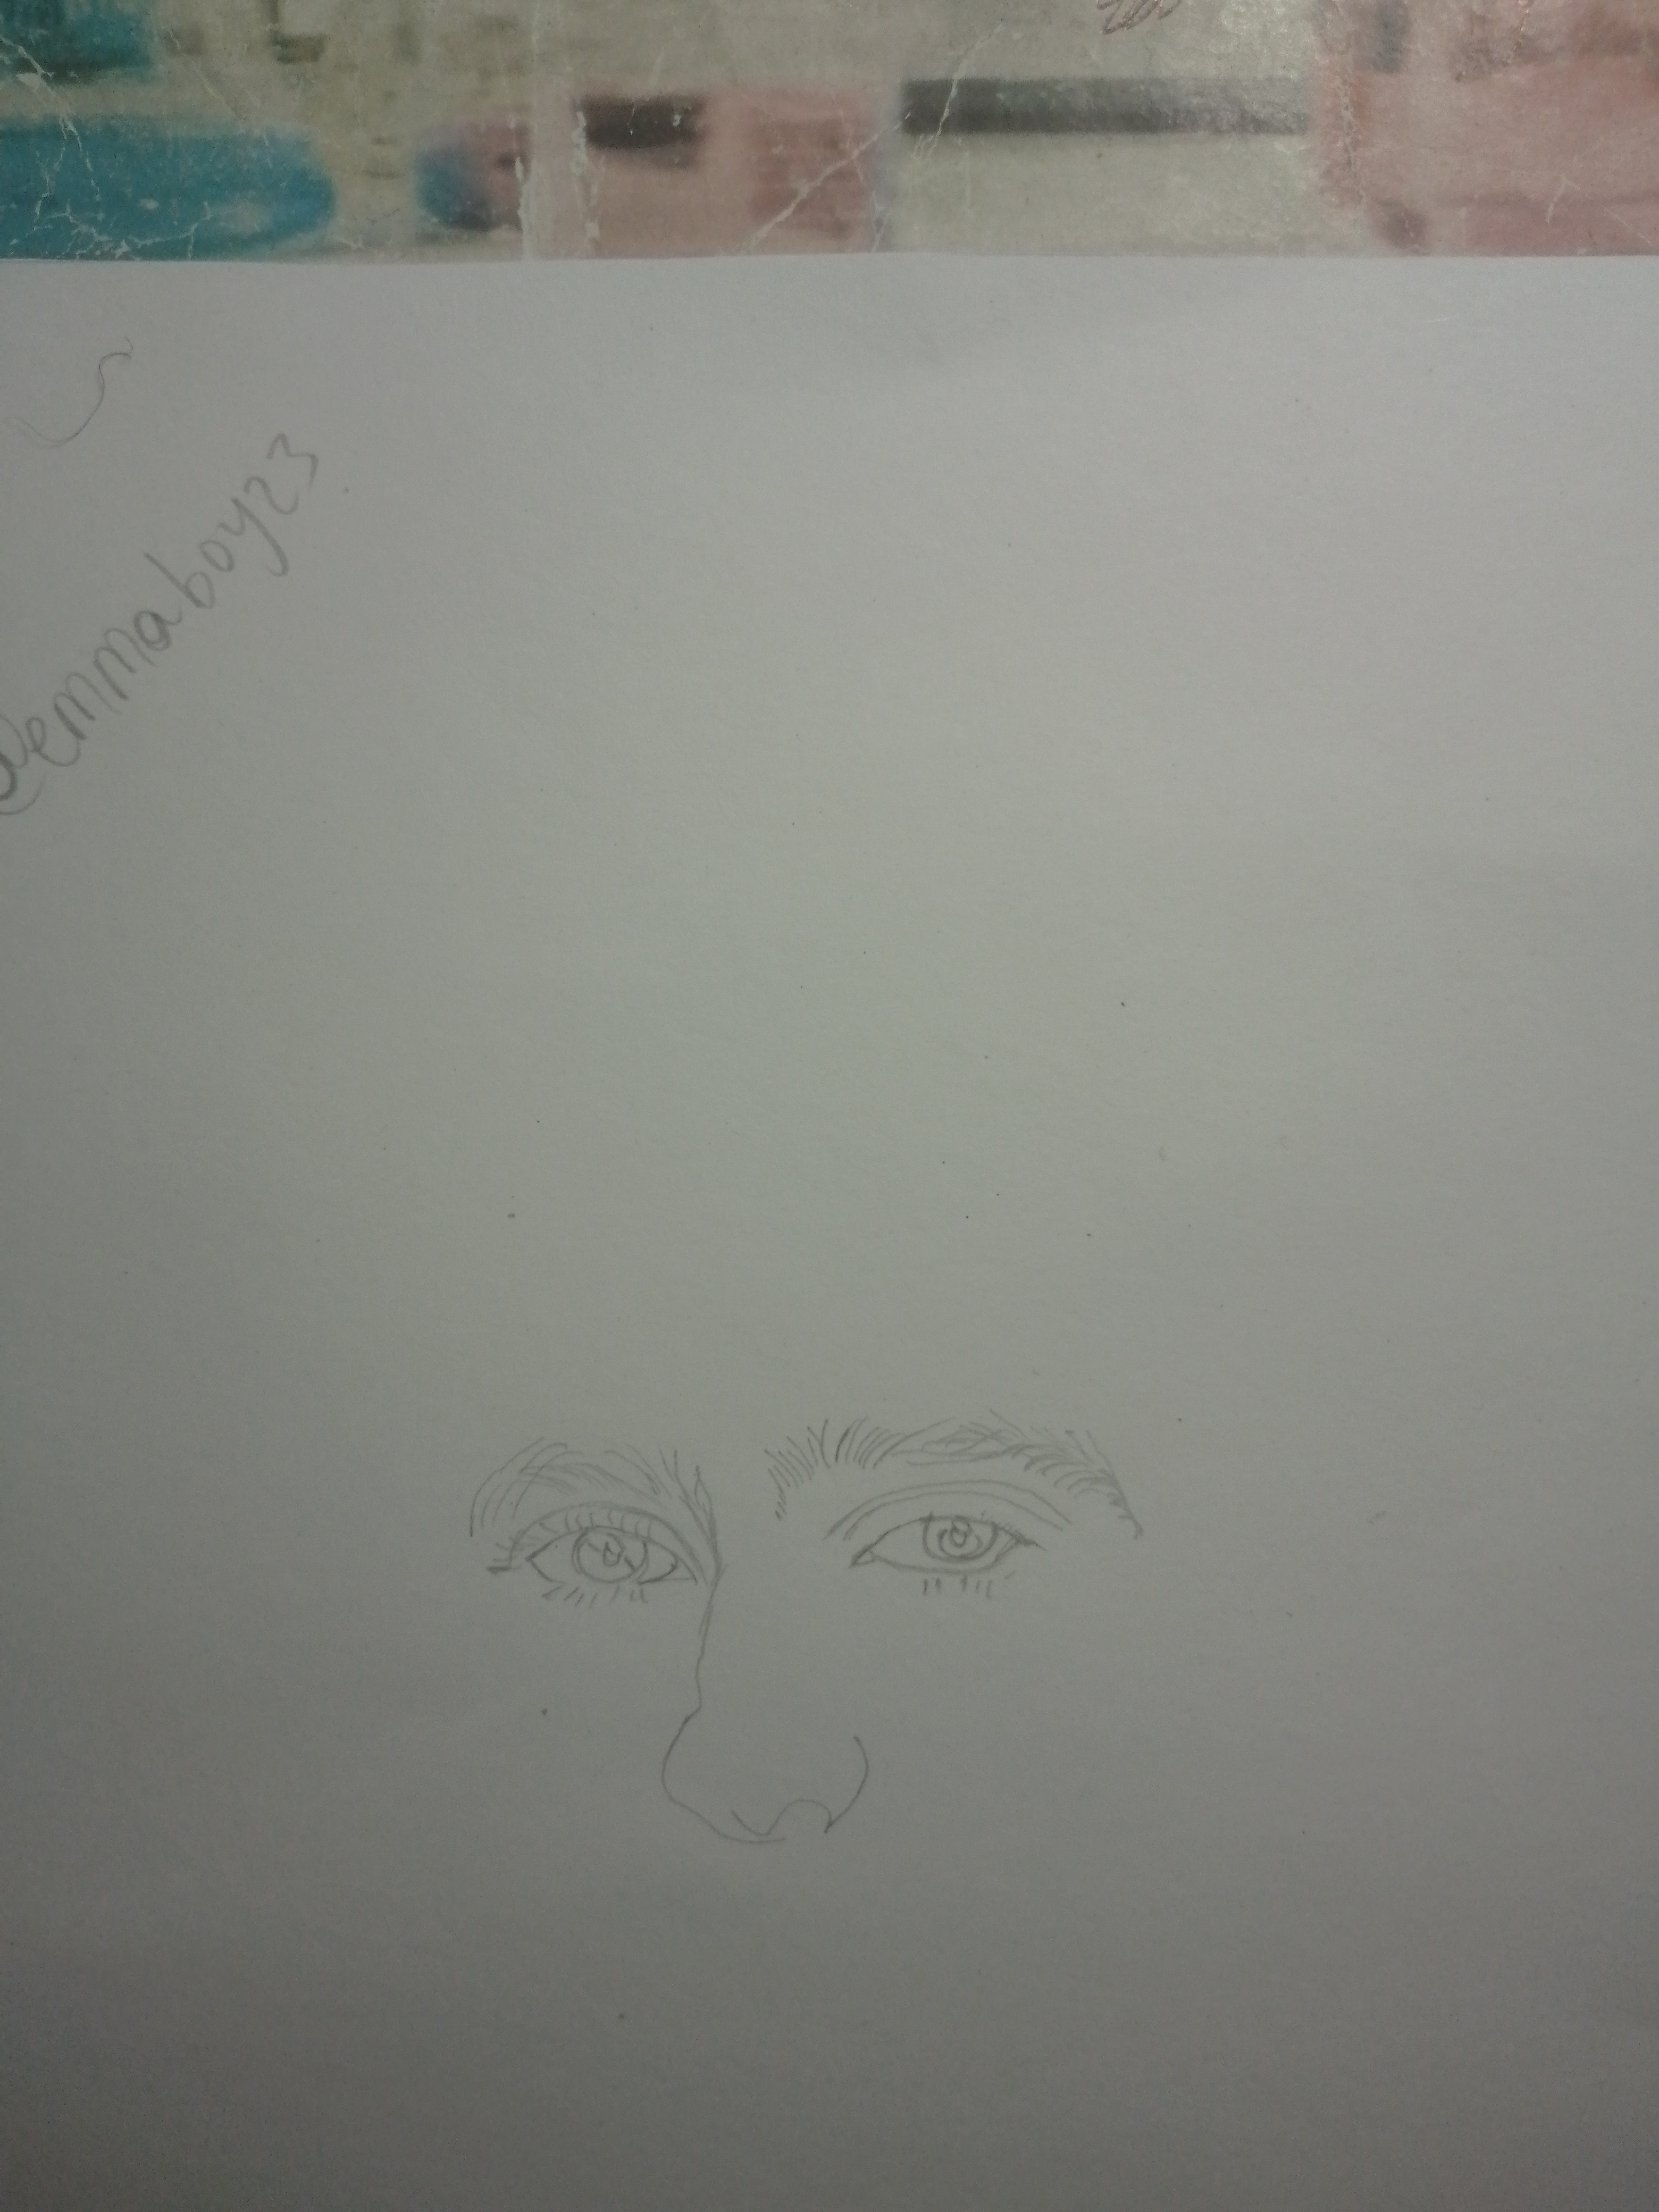
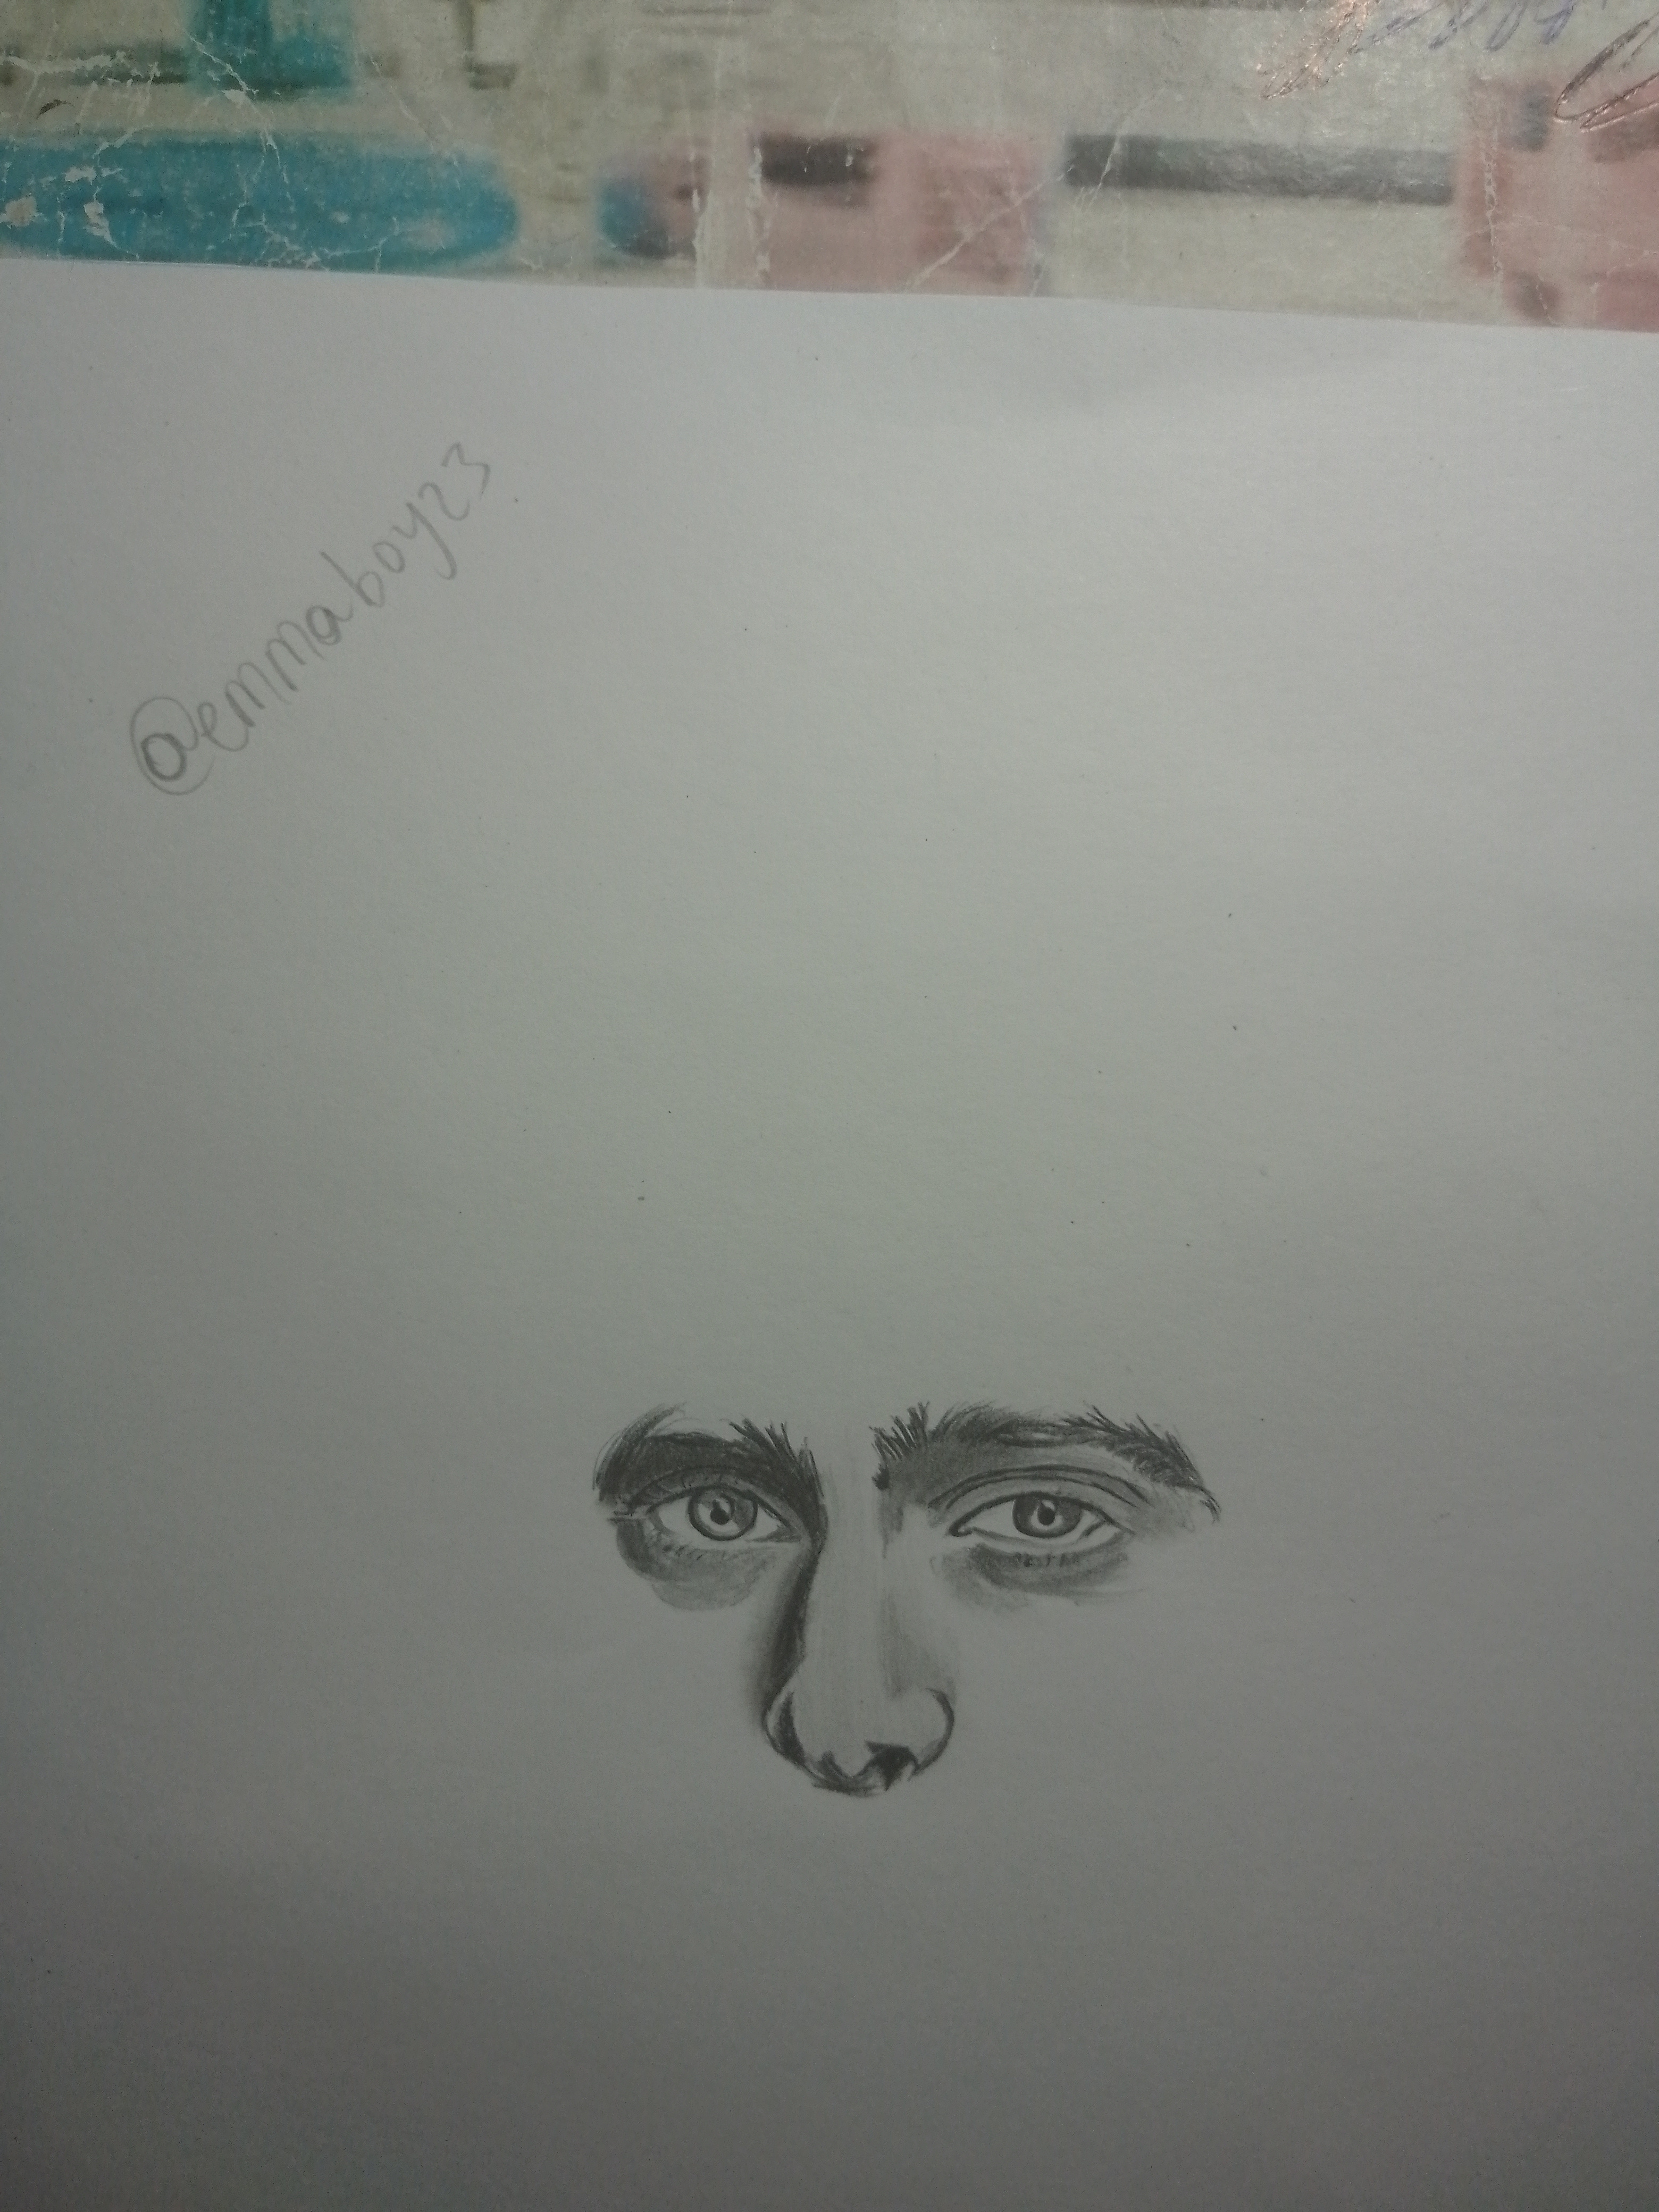
Step 1
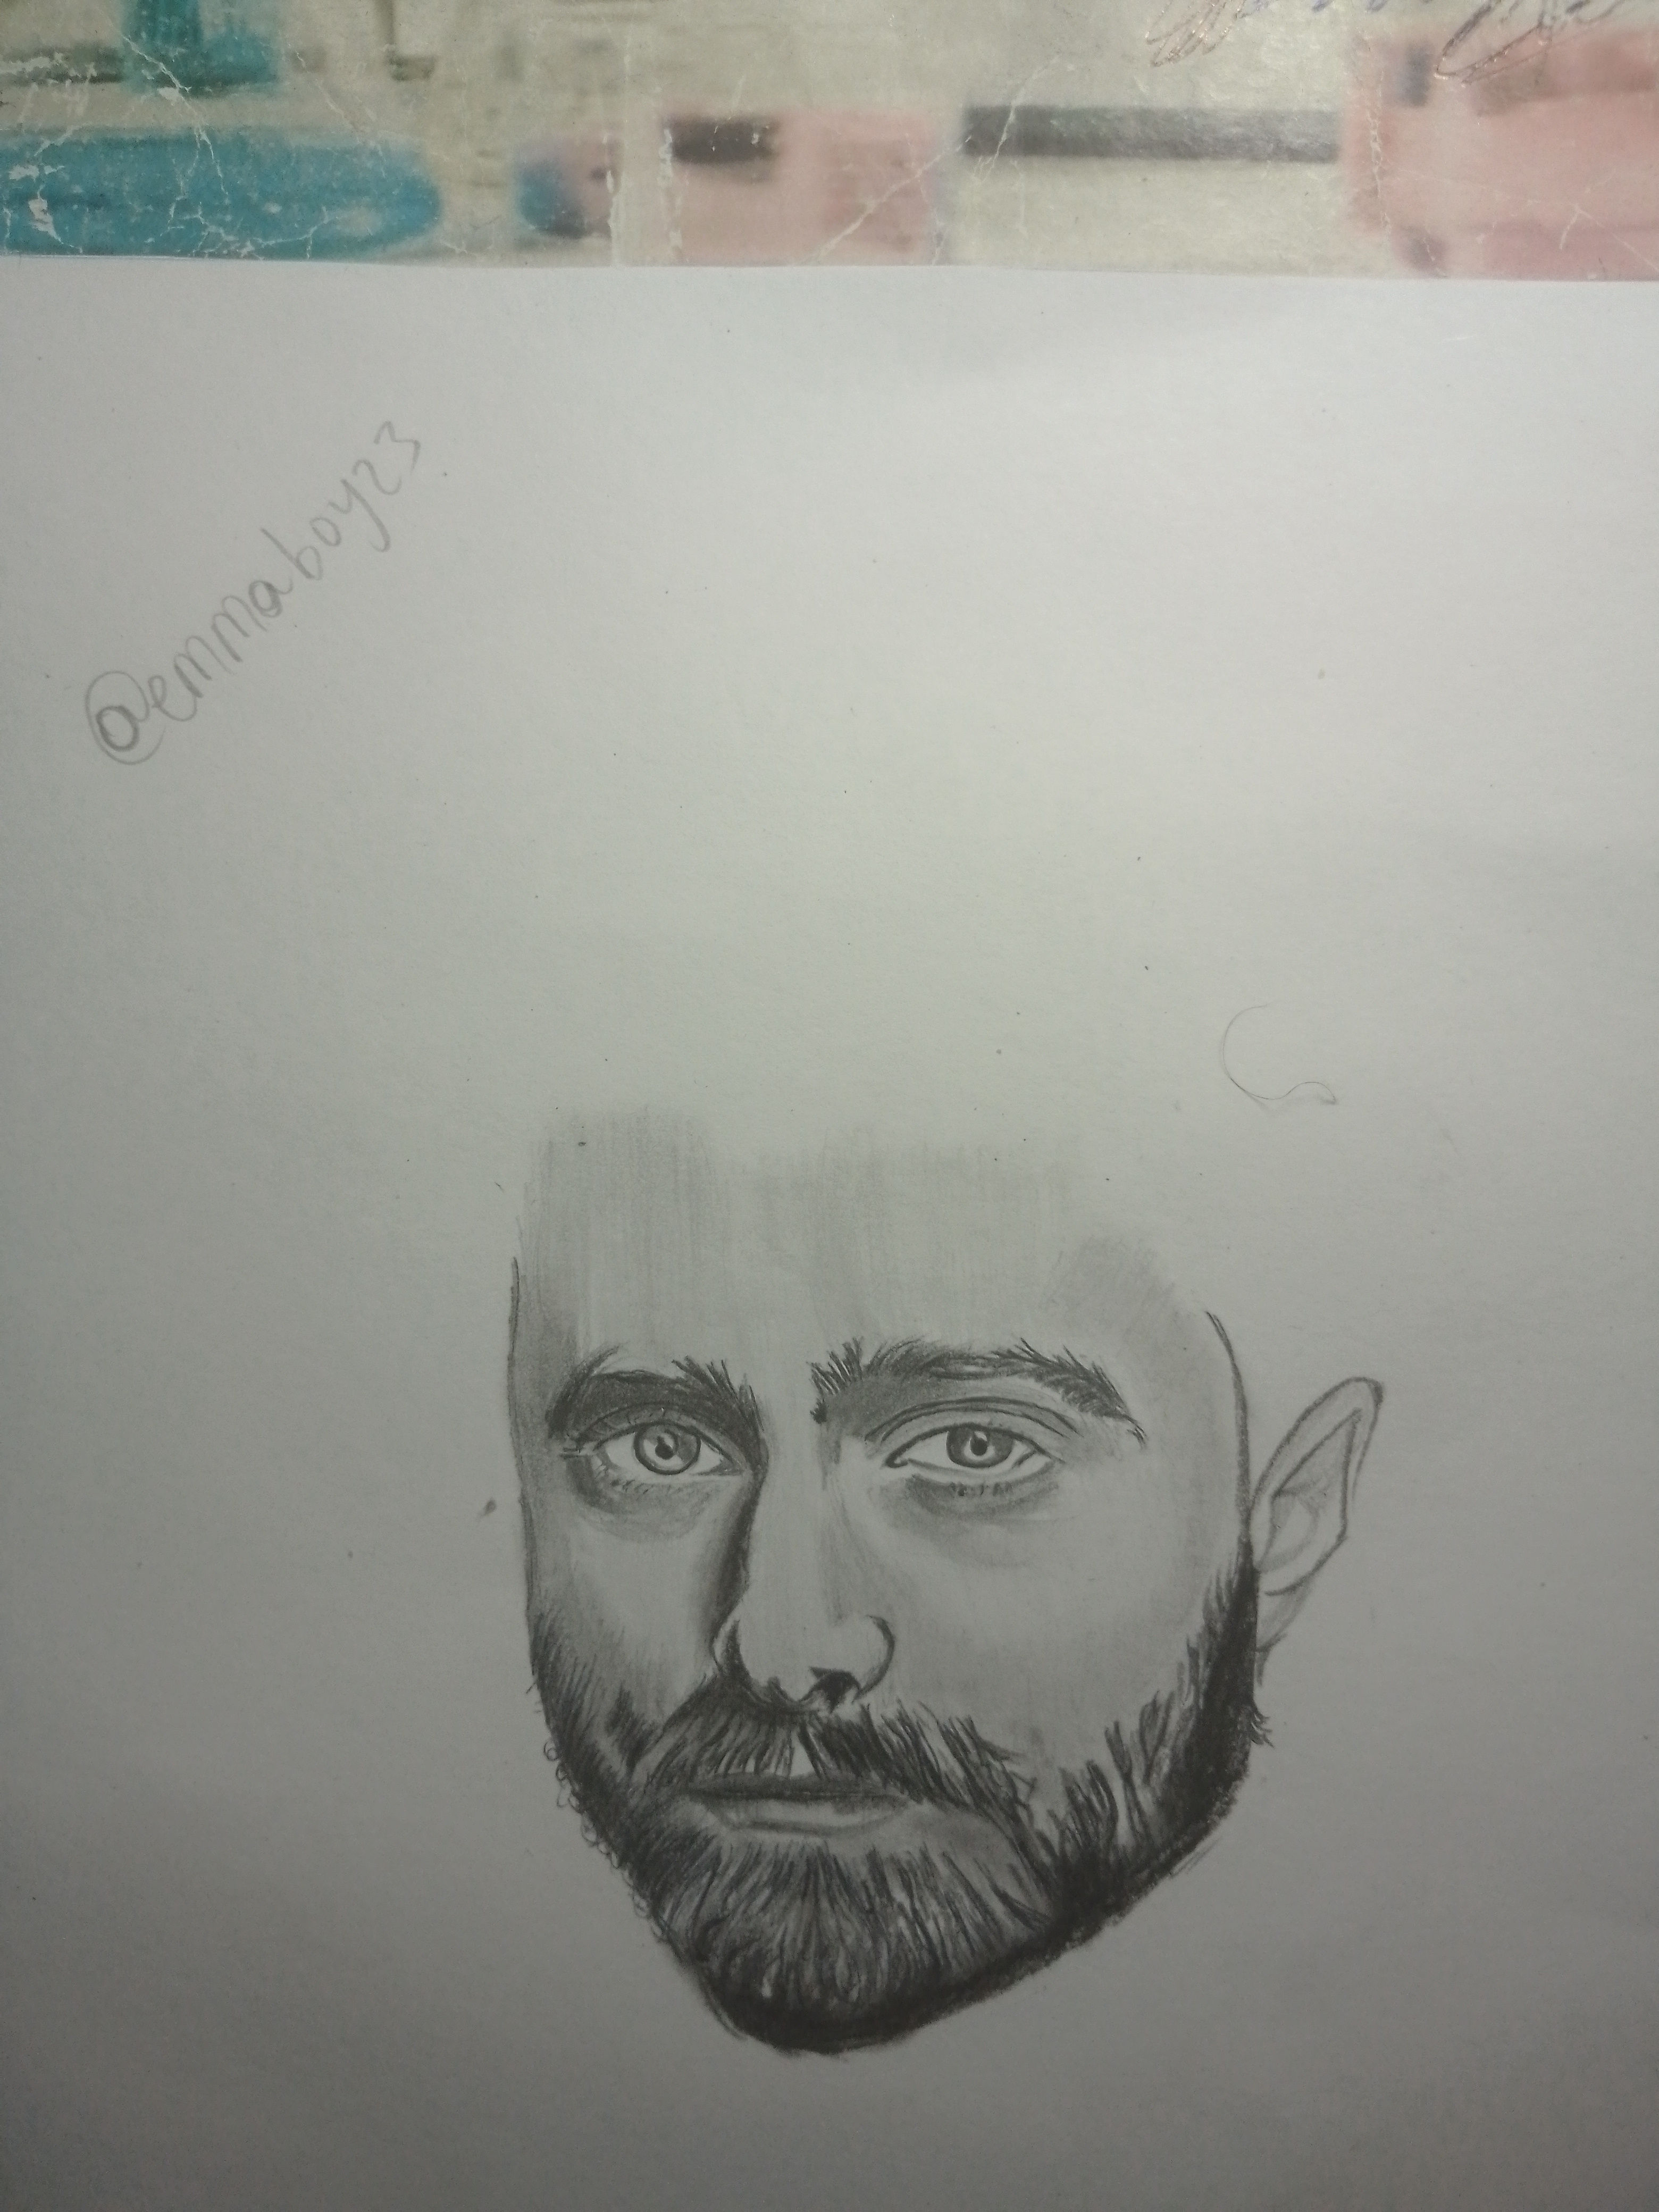
The eyes are always my first focus. I slowly darkened the pupils and added detail to the iris while leaving tiny highlights untouched. This small detail instantly adds life. I used gentle shading around the eyelids and under-eye area to create depth without making it look too heavy.
Step 2
Next I used soft shading to define the nose and lips. Then I shaded the face and added the beard. The beard required a slightly rougher approach, using short, repeated strokes to create a realistic stubble effect while still maintaining the overall shape of the face.
Step 3
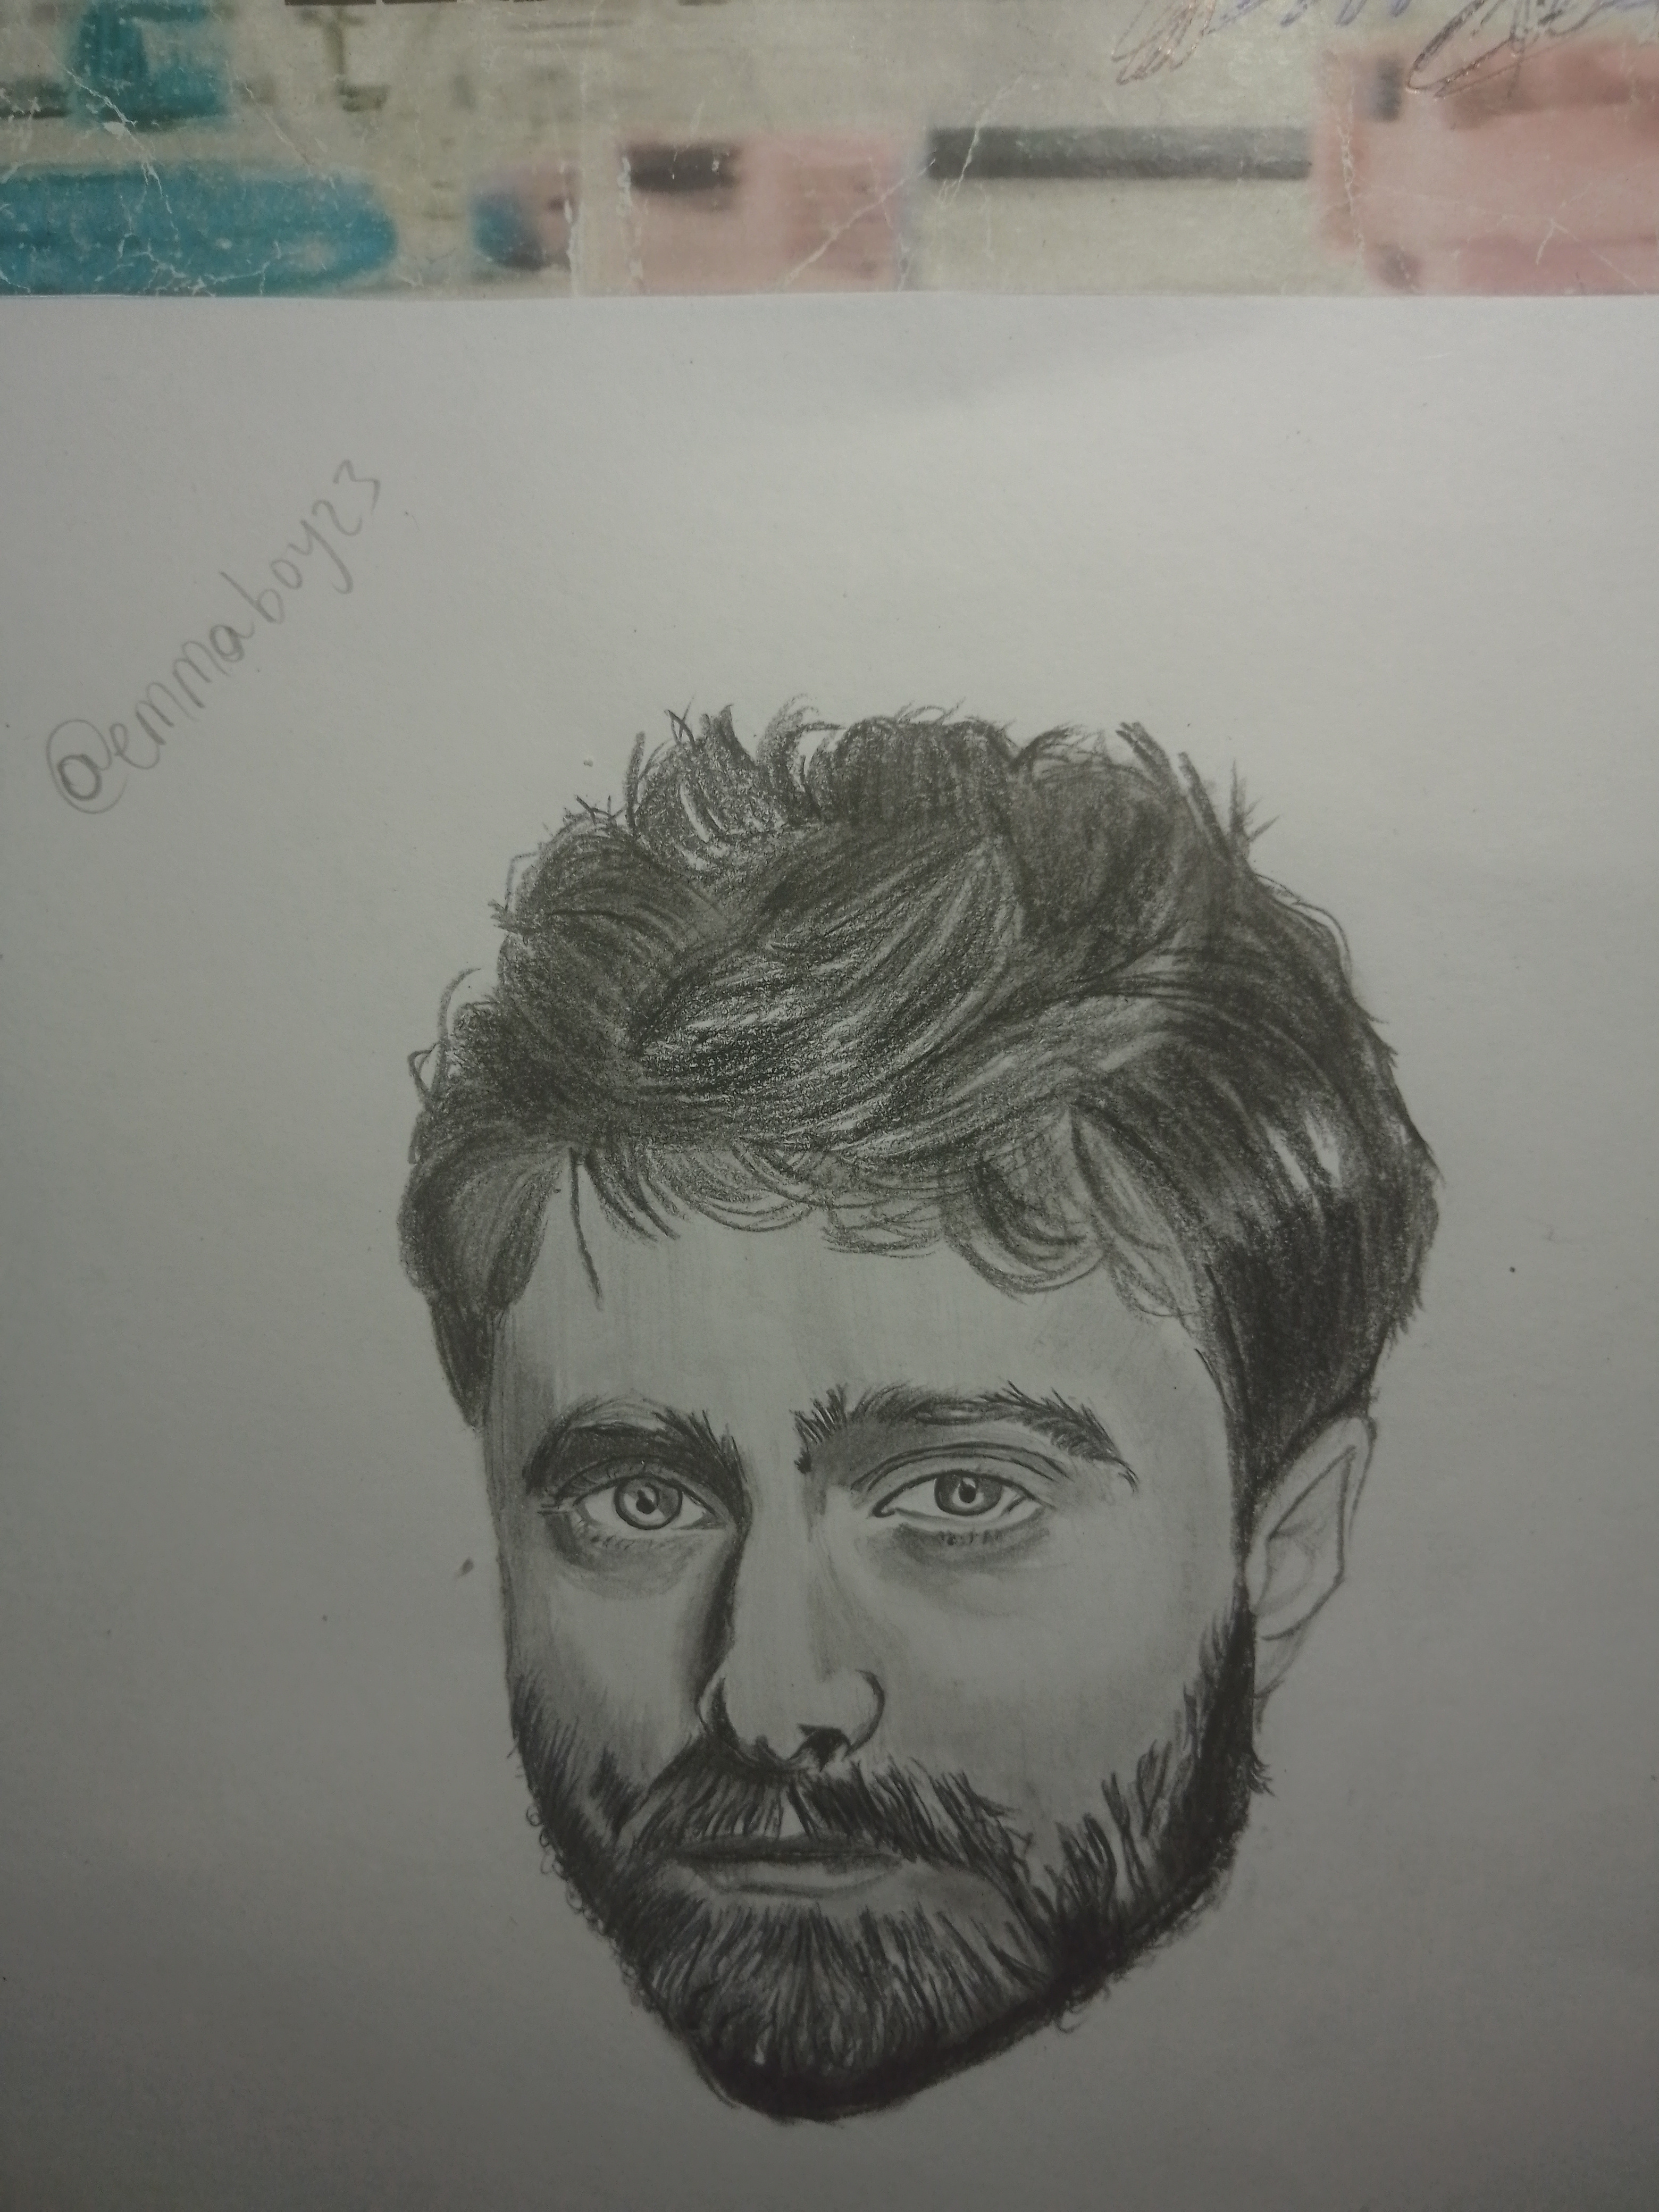
Next was the hair. For the hair, I used loose, directional strokes to follow the natural flow. I layered darker tones in areas with more depth while leaving lighter strands visible for realism.
Step 4
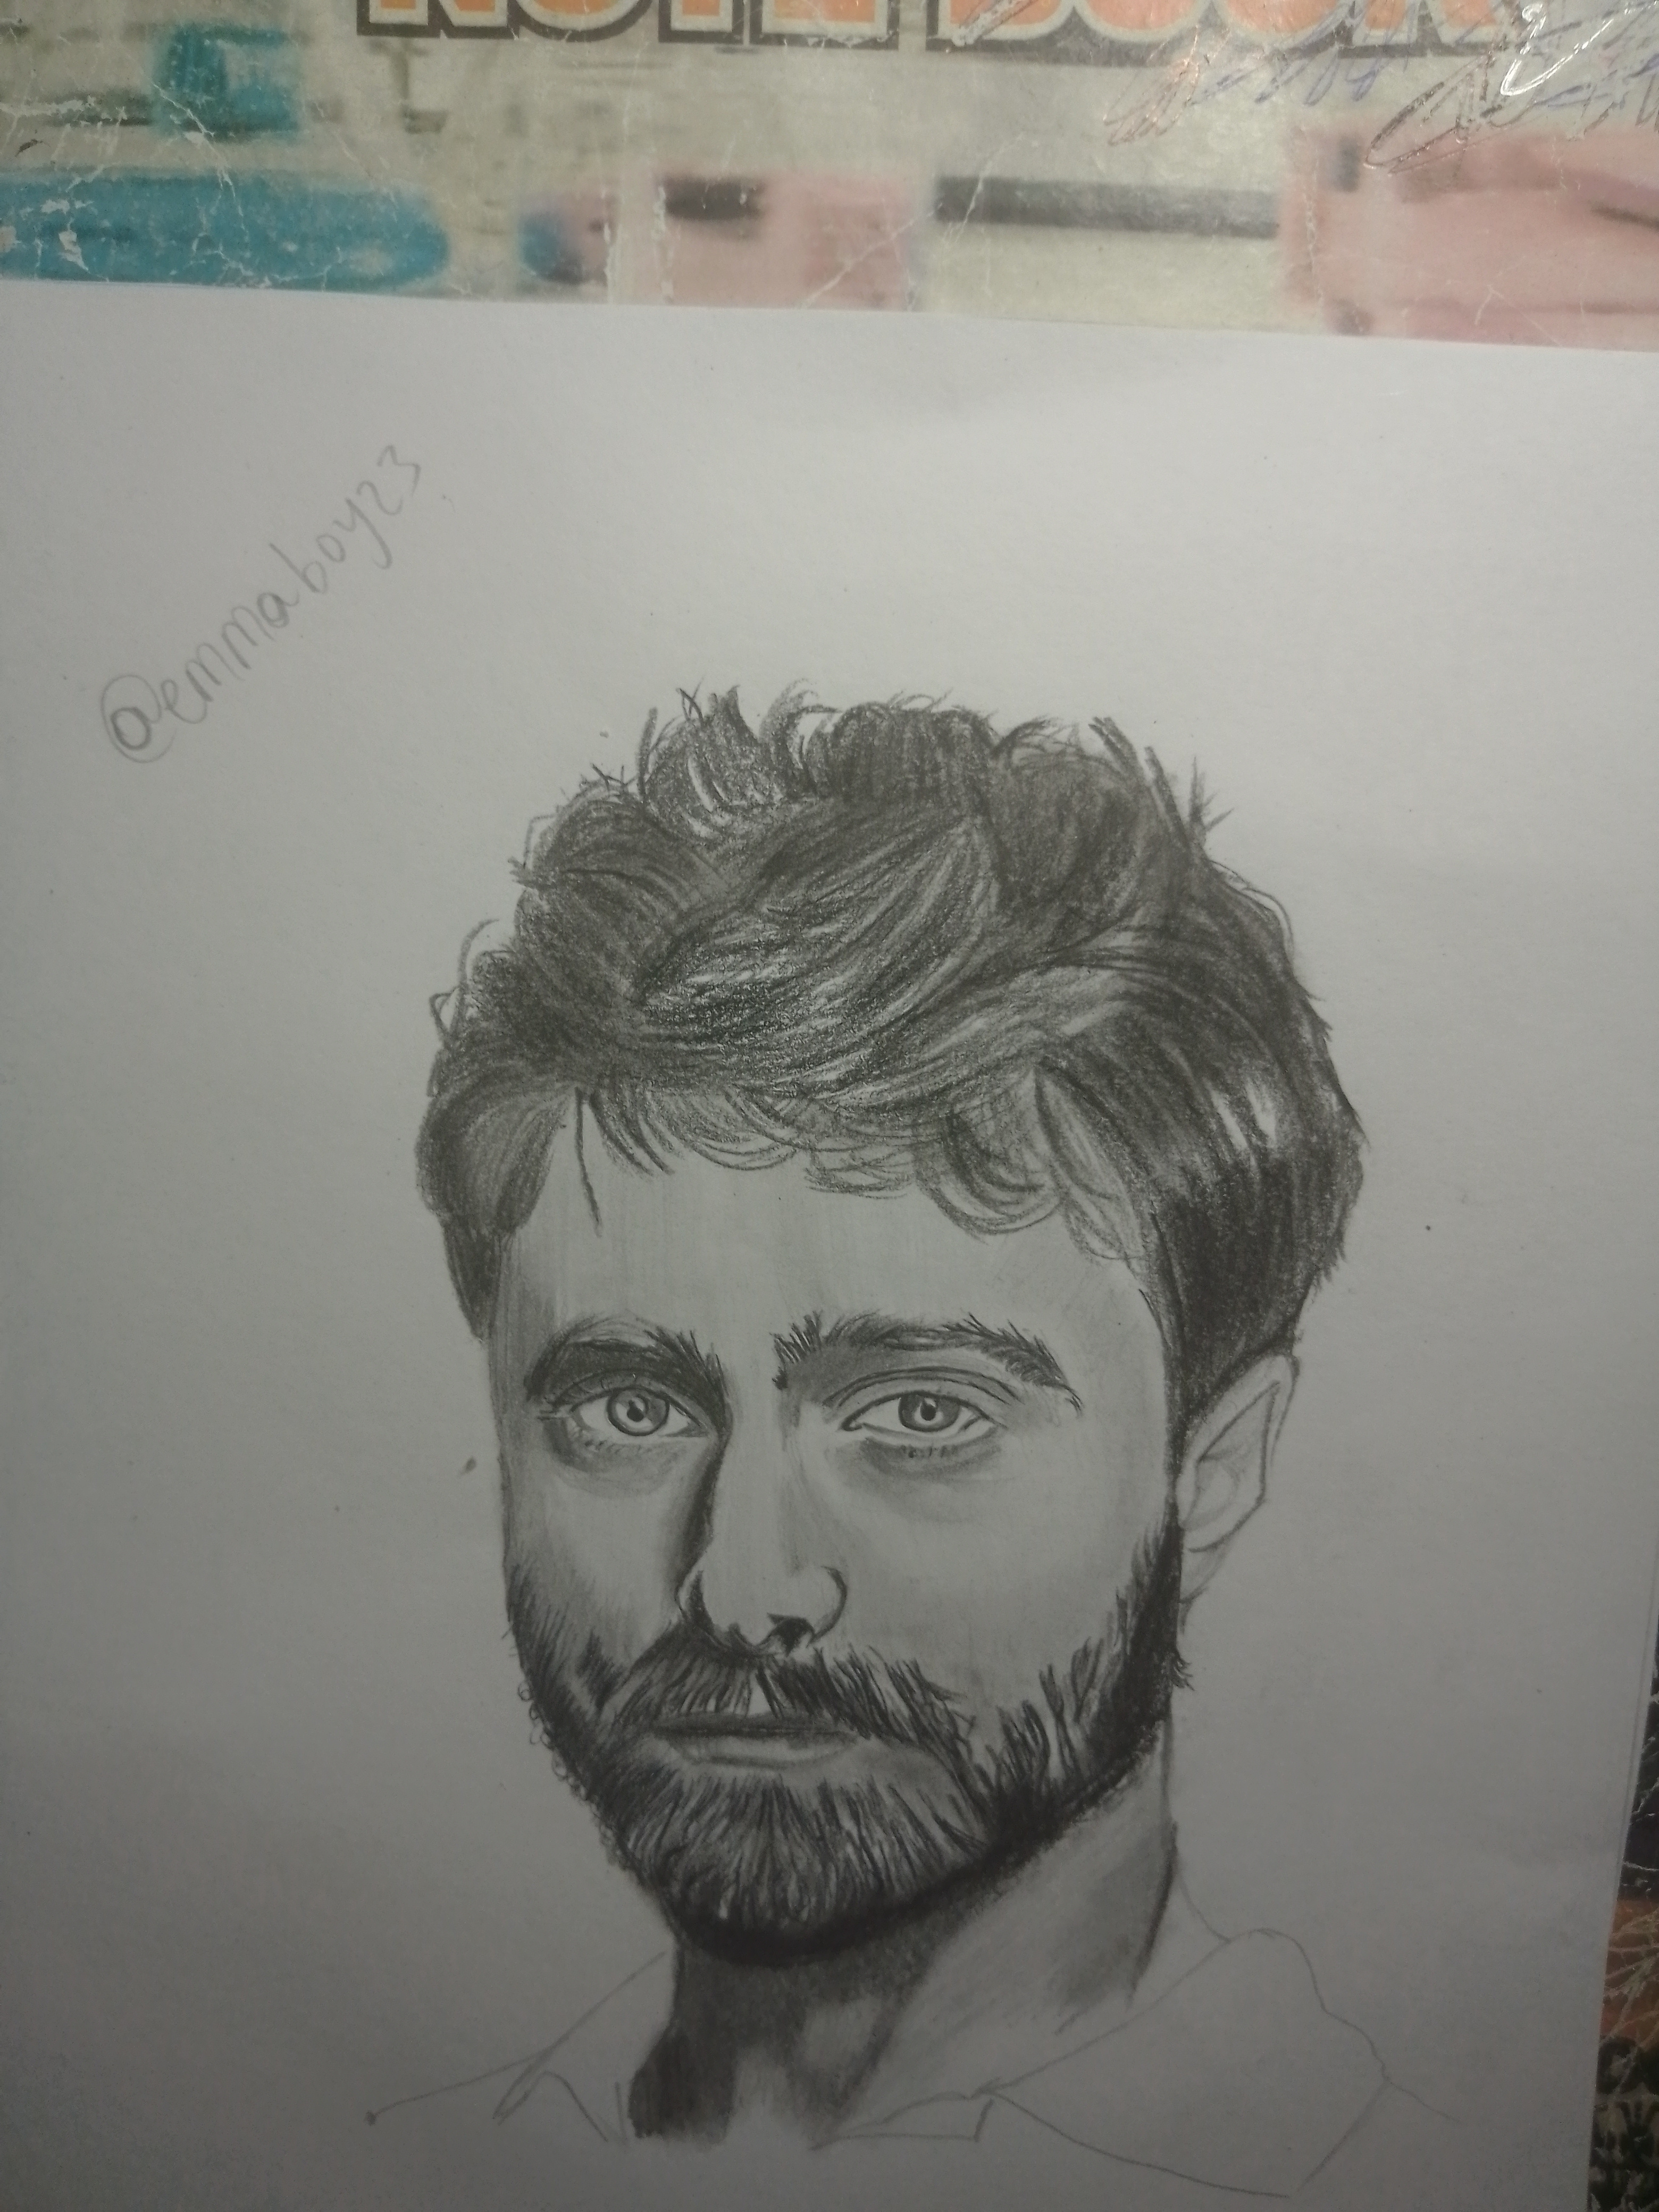
After achieving that part, I then worked on the neck. I gradually strengthened the shadows around the jawline, under the chin, and along the hairline.
Step 5
Here I shaded the clothes that he was wearing.
Step 6
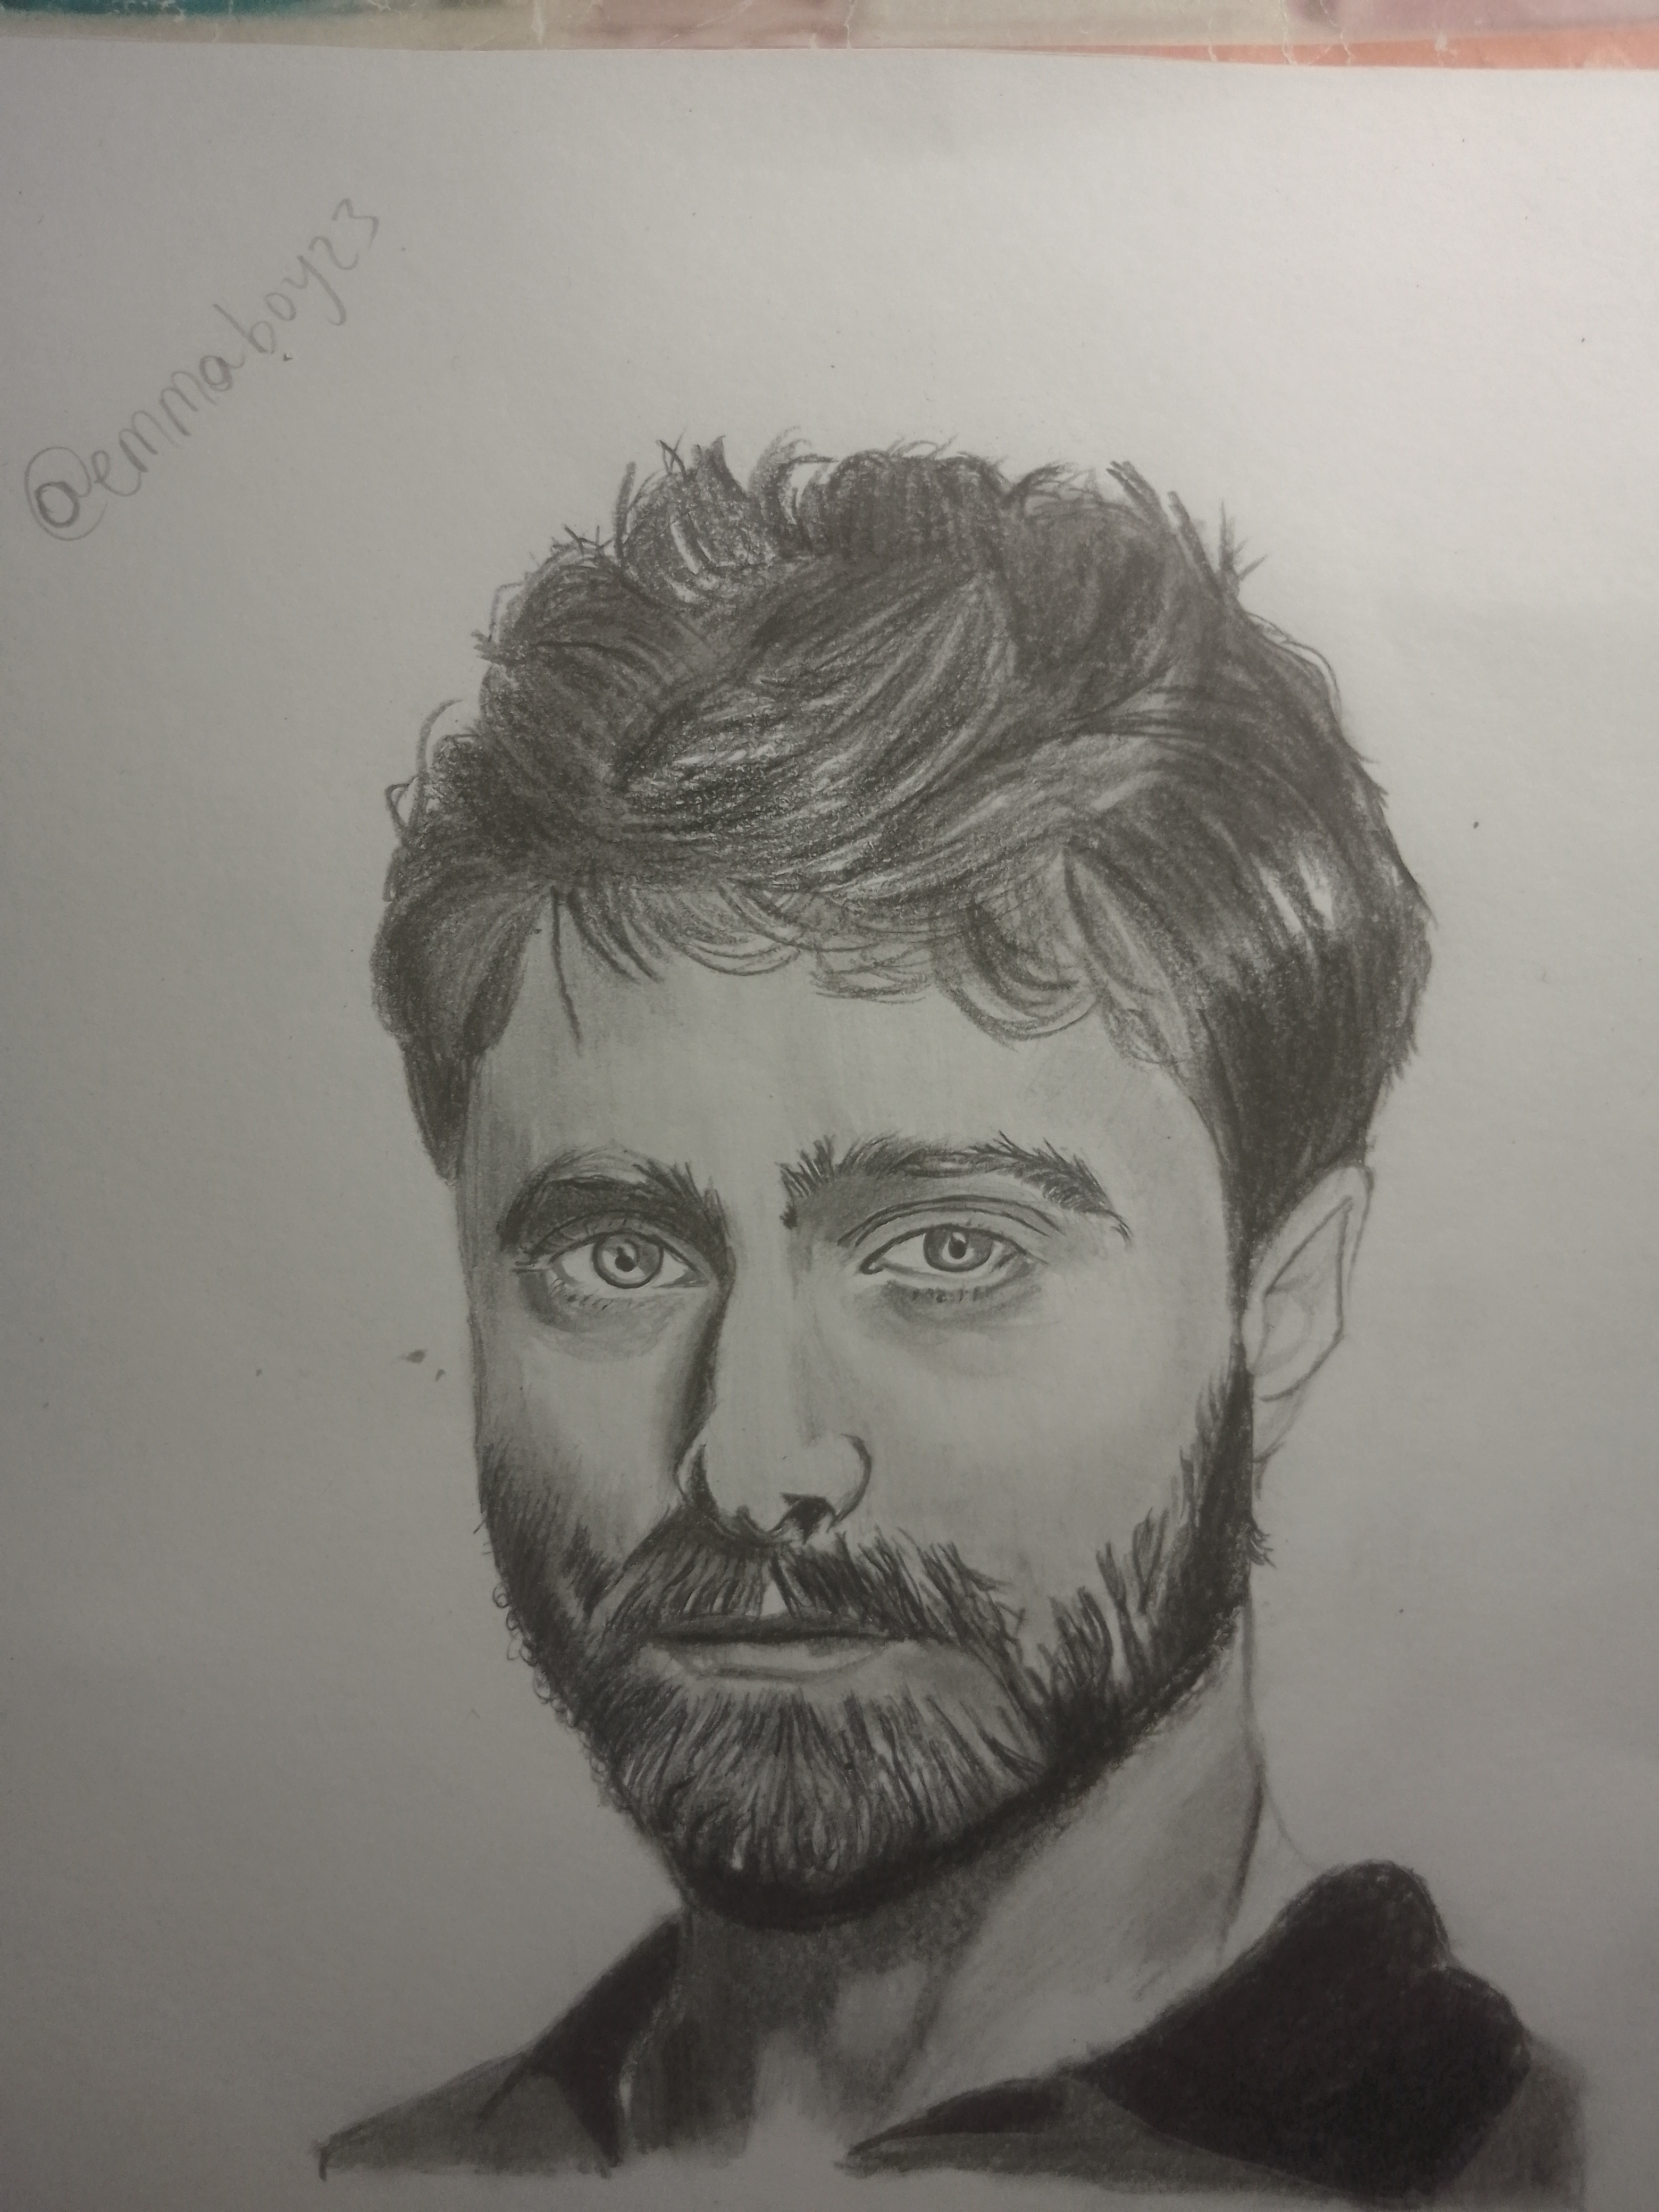
At the end, I stepped back and reviewed the drawing. I darkened key areas, cleaned up edges, and used an eraser to pull out highlights where needed. These finishing touches made a big difference in achieving a more realistic look. Below is my final result.
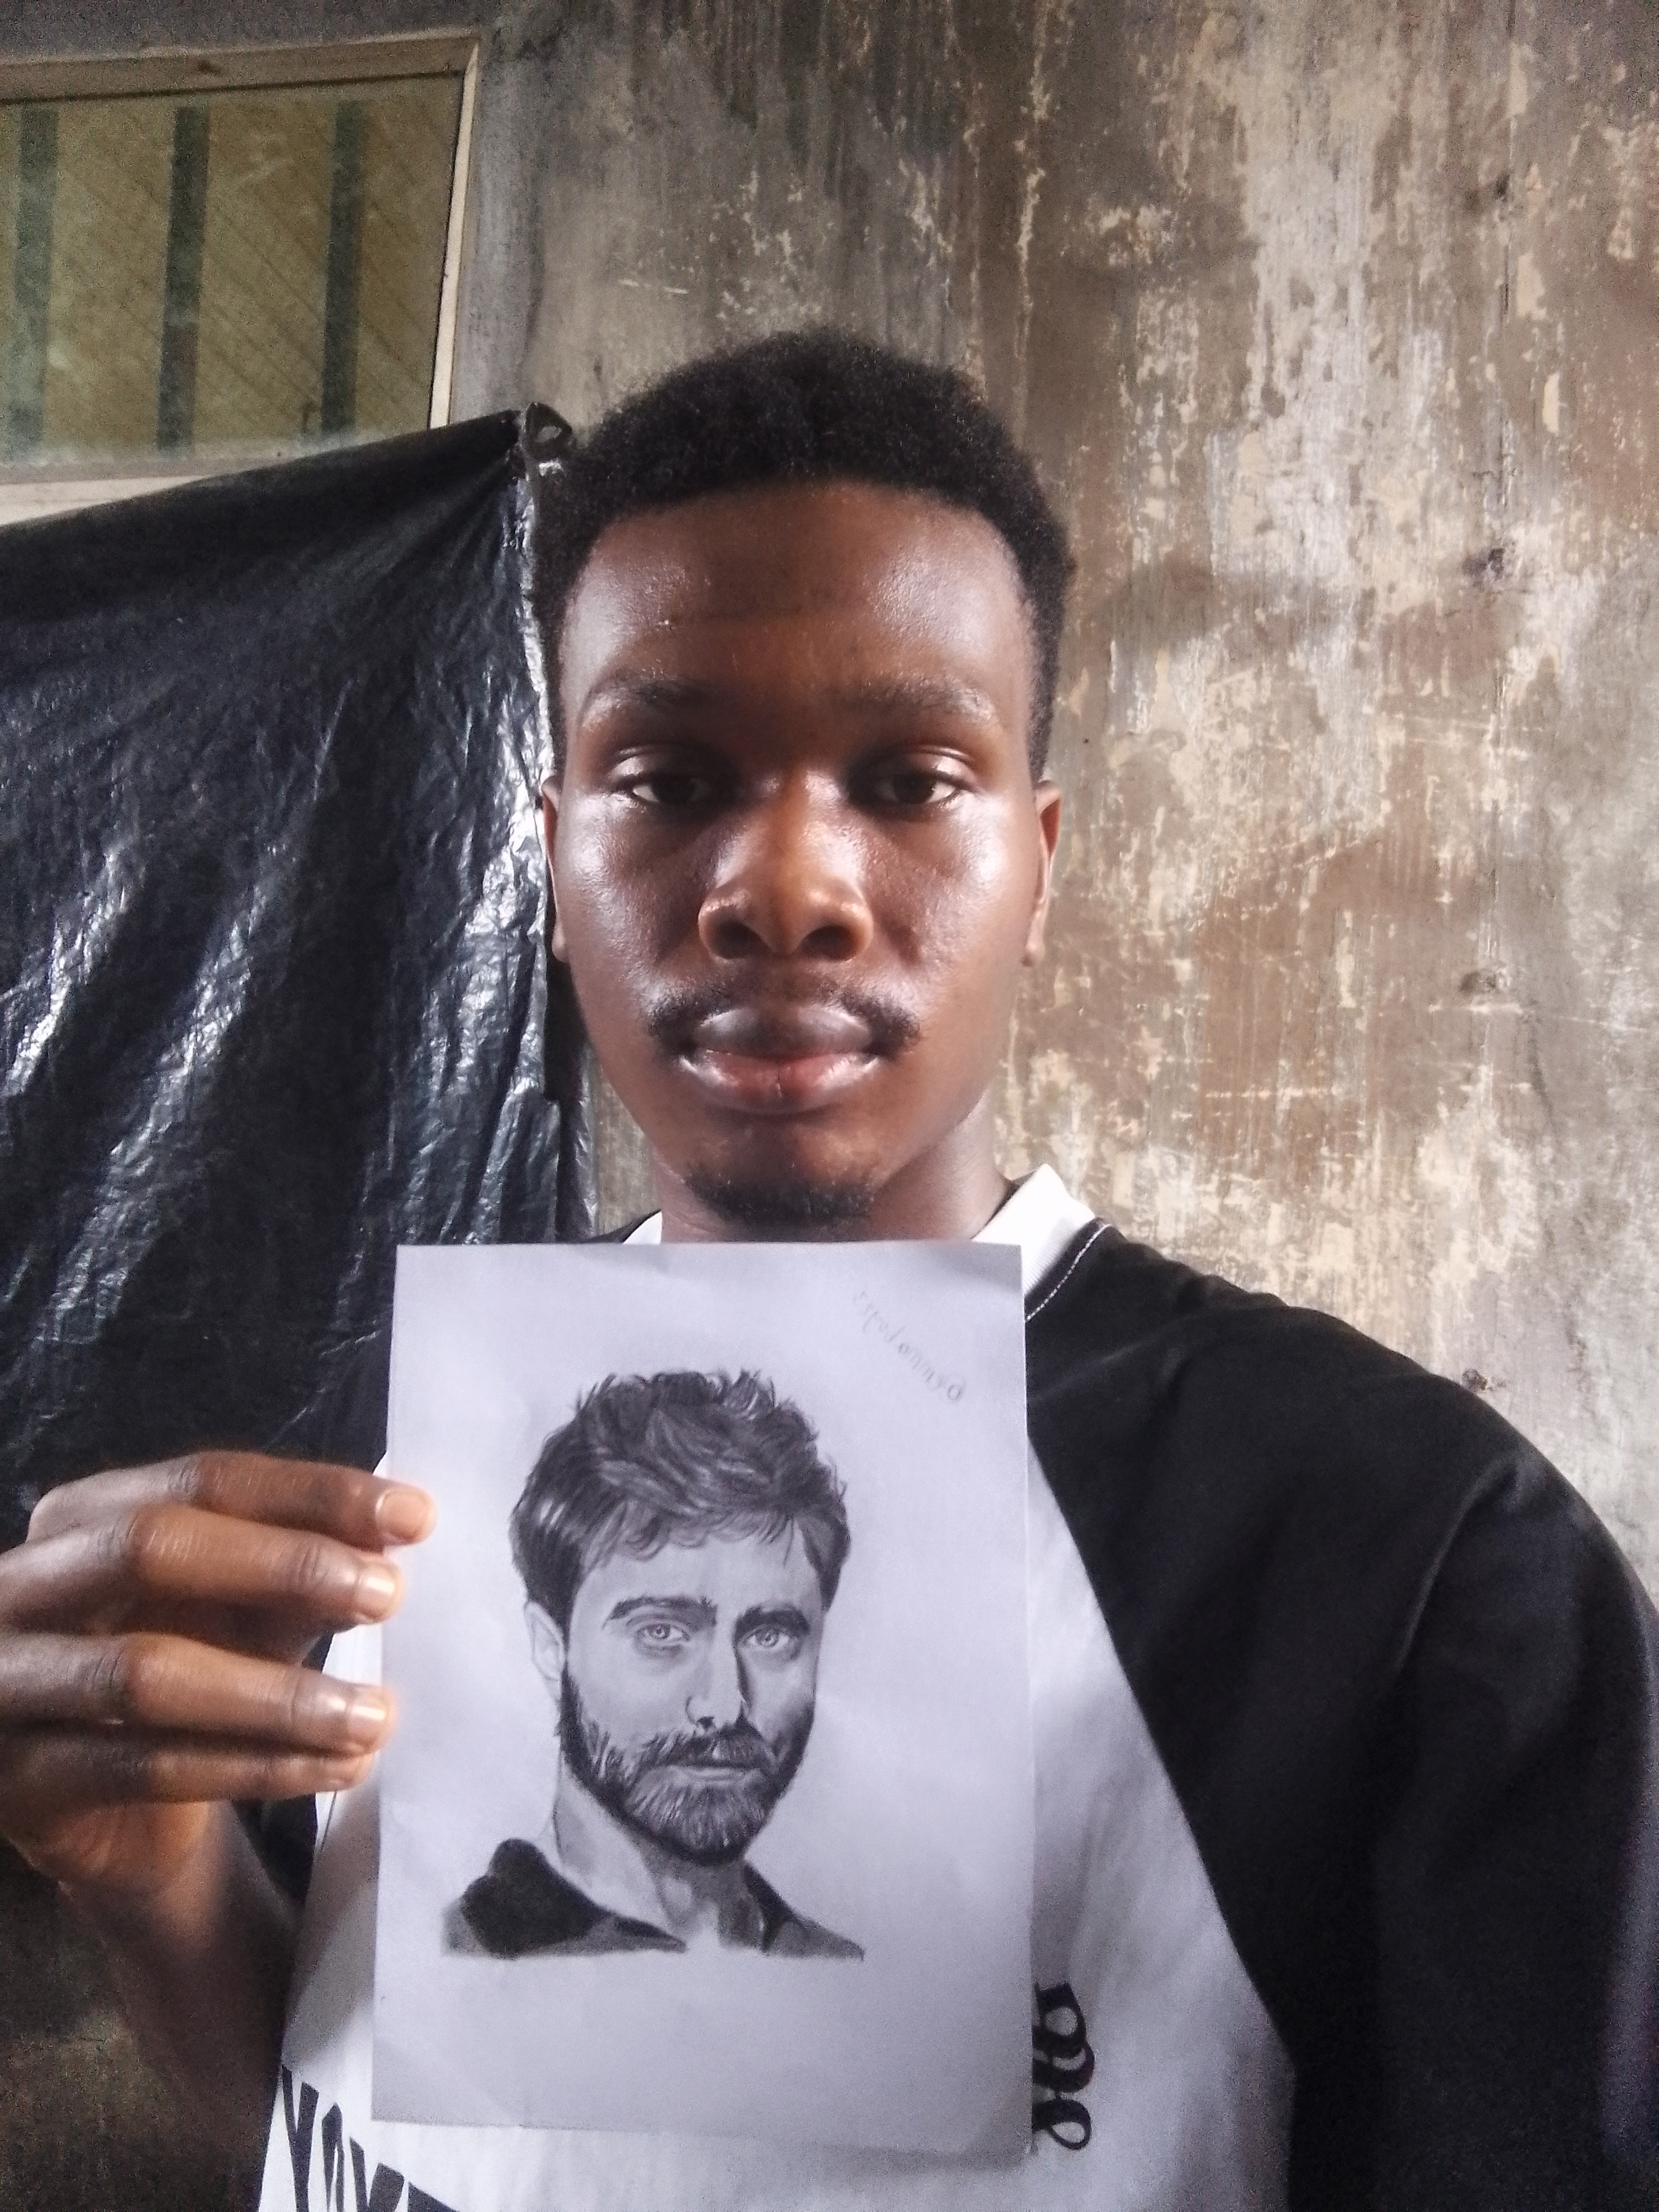
My selfie with my drawing
Drawing a portrait like this is less about perfection and more about connection—learning to observe, interpret, and translate what you see into something tangible. If you’re practicing portraits, take your time and trust the process. You’ll be surprised at how much you improve with consistency. Thank you all for your time, and I look forward to sharing more of my art with you all.
Inviting
Posted with Speem
Your post have been rewarded by the Speak on Steem curator team!
Now become a plus member delegating at least 500 SP
Ways to support us:
Curated by @marvinvelasquez
¡Hi friend!
#play
Video reviewed by speem videos watcher @luisito01
High-Yield Curation by @steem-seven
Your content has been supported!
Maximize your passive income!
Delegate your SP to us and earn high rewards
Click here to see our Tiered Reward System
We are the hope!