My Pencil Art: Drawing A Beautiful Girl With Flowers
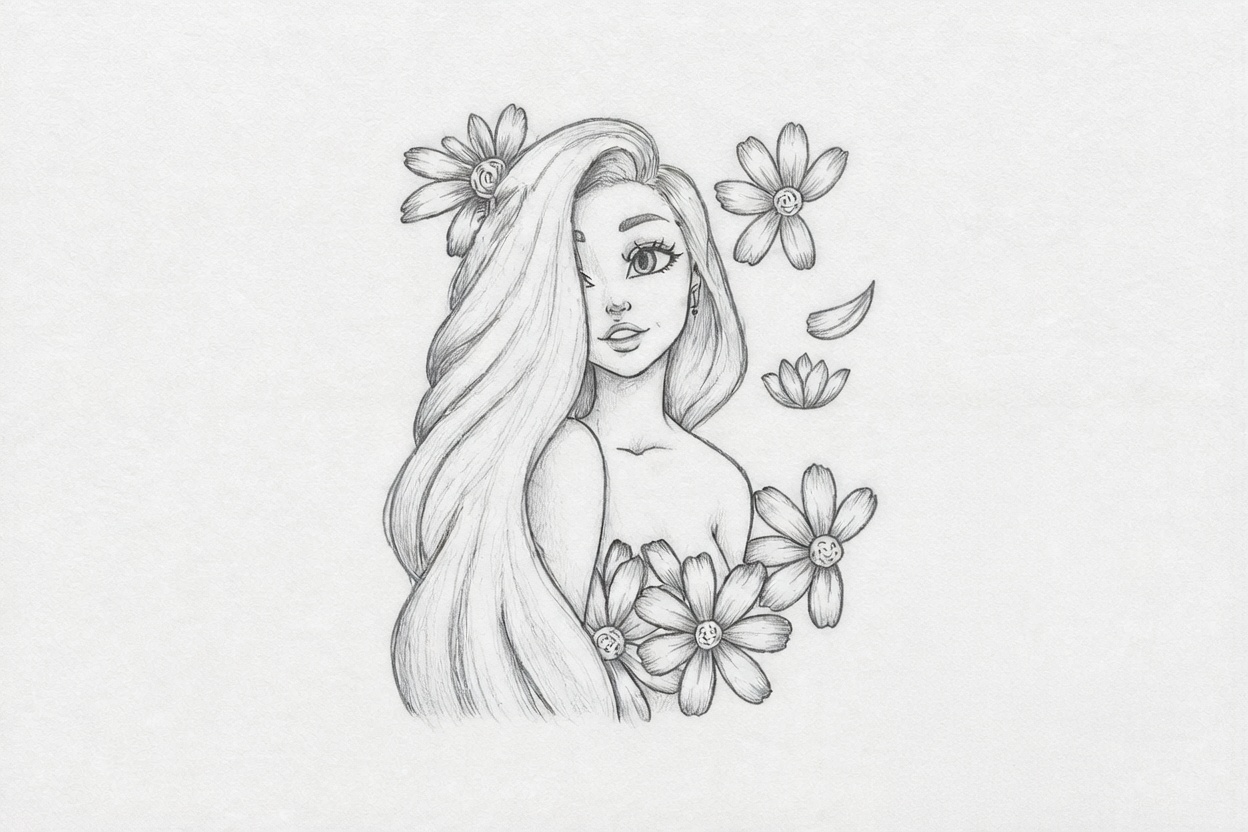
Hello wonderful steemians across the Globe. How are you all doing? I trust you're all doing good. Welcome to another session with yours truly @donsultan. Today I want to share something different with you guys. I actually drew a beautiful girl surrounded with flowers, and I am going to walk you through how I did it step by step. Meeehn, I really enjoyed the process. So let's get into it!
Materials I Used
Before I start, let me list out the materials I used for this drawing:
- Drawing paper (I used A4 size)
- Pencil (HB for light sketching and 2B for darker lines)
- Eraser
- Sharpener
- Blending stump (for shading and smoothing)
These are basic materials, nothing too fancy. You can easily get them around you.
STEP BY STEP PROCESS
Step 1 – The Basic Body Outline
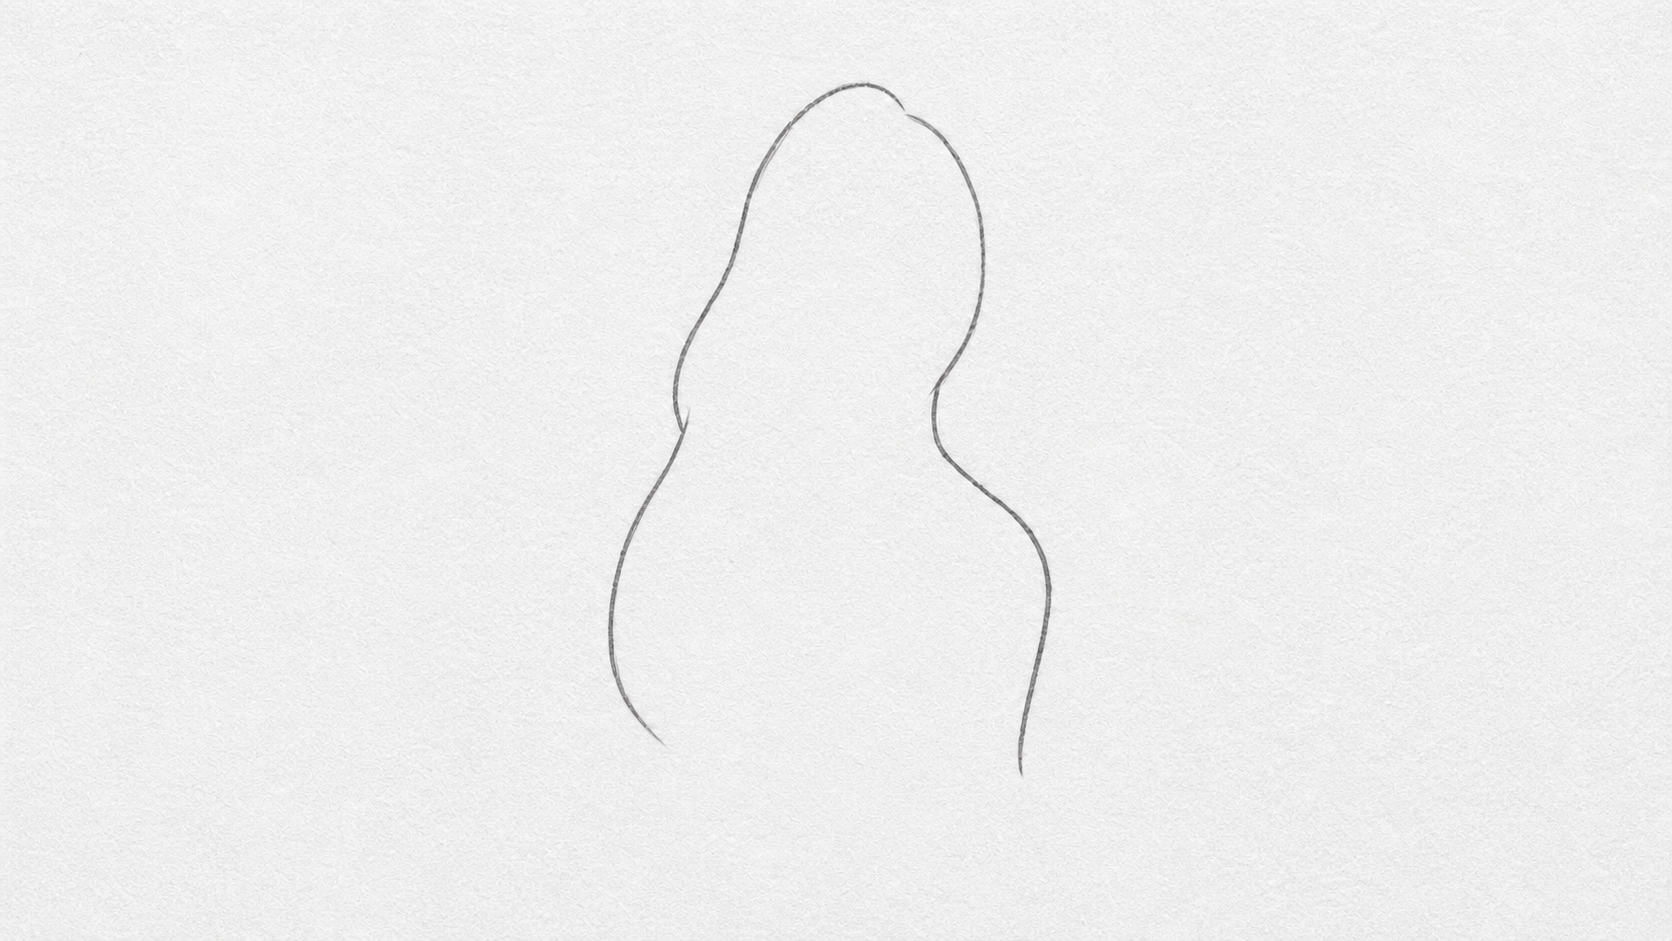
So the first thing I did was to sketch the basic body shape of the girl. It's just a simple outline, like a silhouette. No details at all, just the shape of the head, neck, shoulder and body curve. This step is very important because it helps you get the proportion and position right before adding anything else. I used my HB pencil and drew very lightly so it will be easy to adjust if I make any mistake.
Step 2 – Adding The Hair Structure
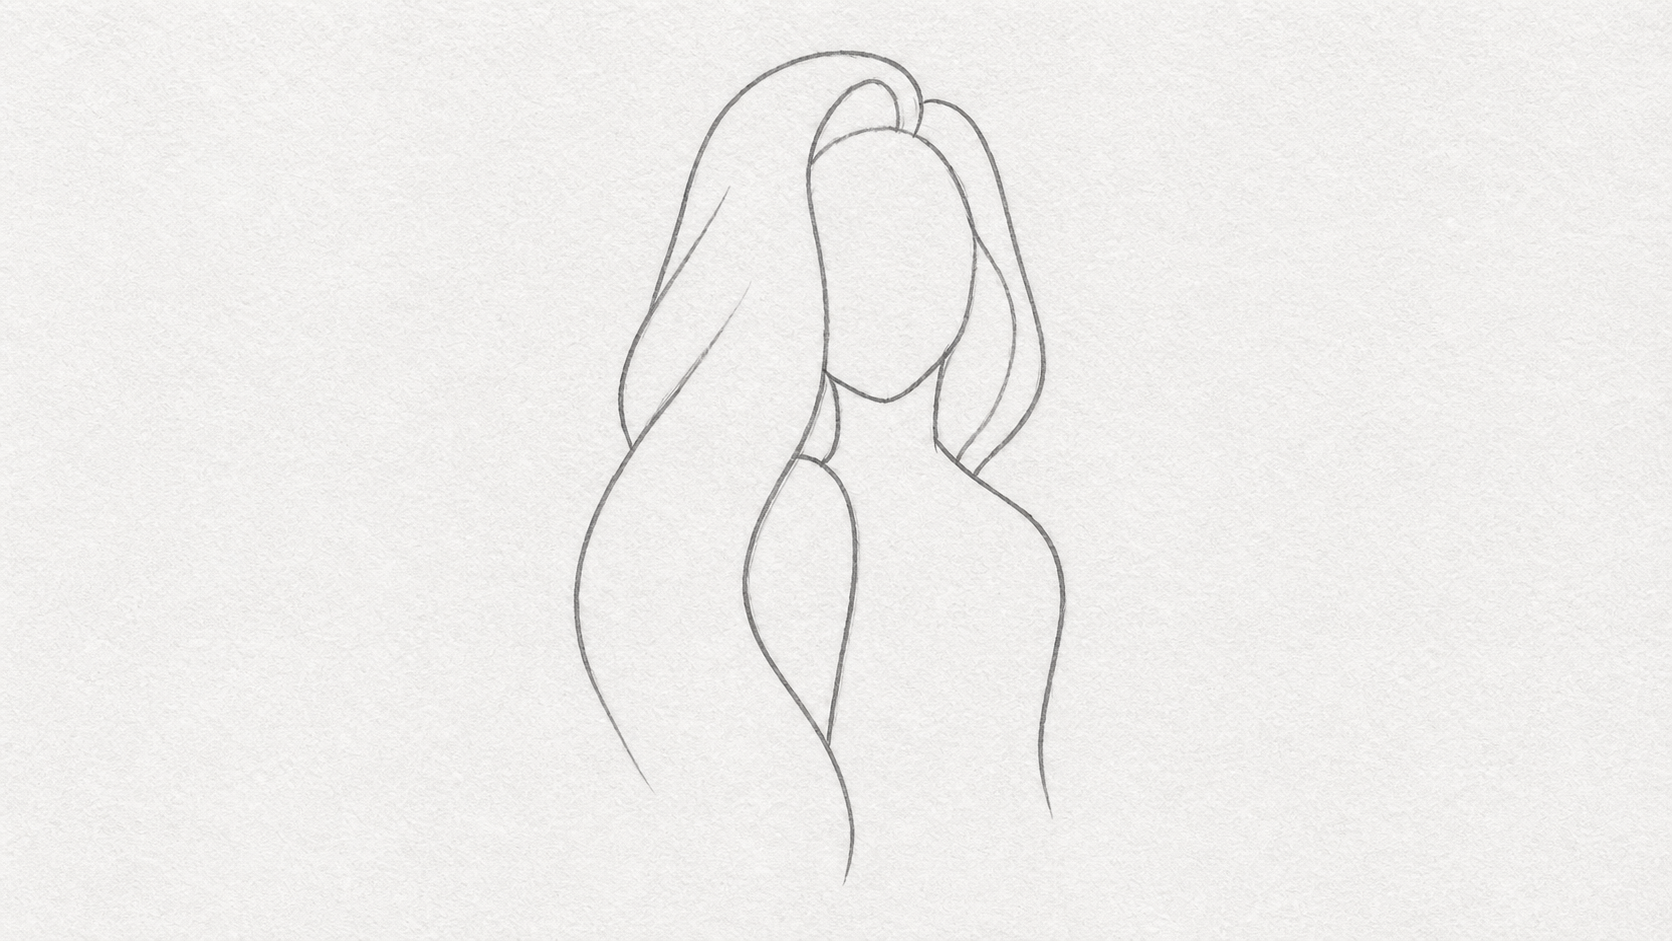
After I got the body shape right, I moved to the hair. I sketched the basic flow of the hair – showing how it parts at the top and falls down on both sides. I also added a ponytail-like section at the top. At this stage, the hair is still rough, no strands or details yet. Just the general shape and direction of the hair.
Step 3 – Drawing The Flowers
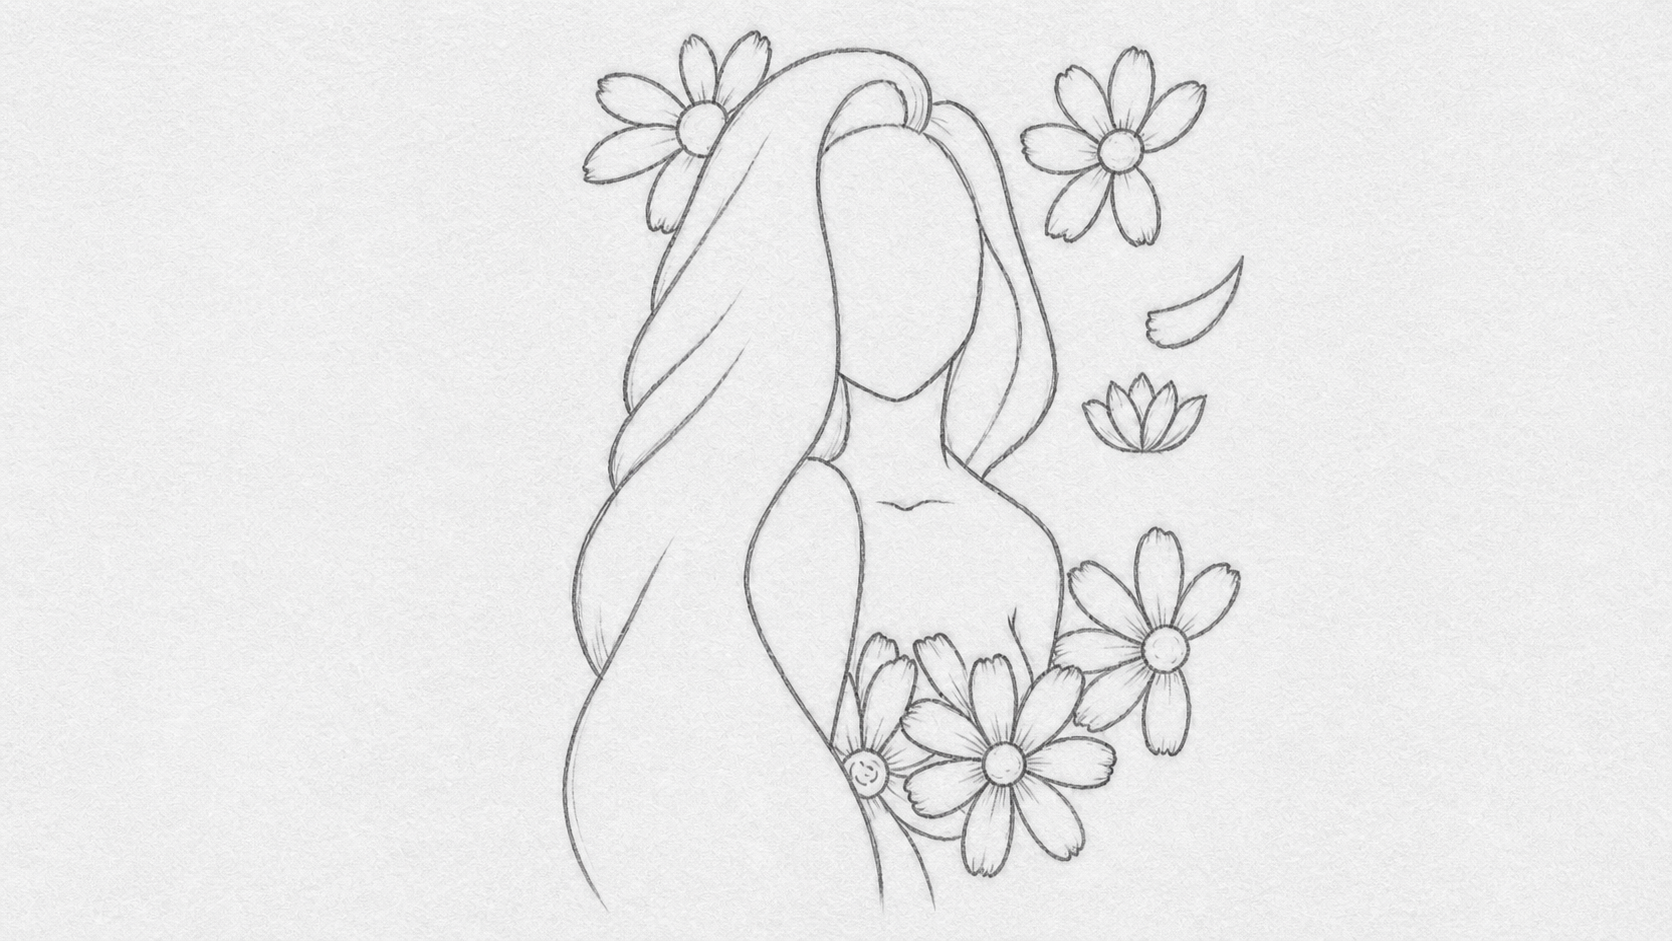
Now this is where it started getting interesting. I added flowers around the girl – big ones and small ones. Some flowers are on the hair, some are floating beside her. I also started adding some light details to the hair and drew a small flower on top of the head. The flowers are simple daisy-style flowers with petals spreading out.
Step 4 – Adding The Face And More Flowers
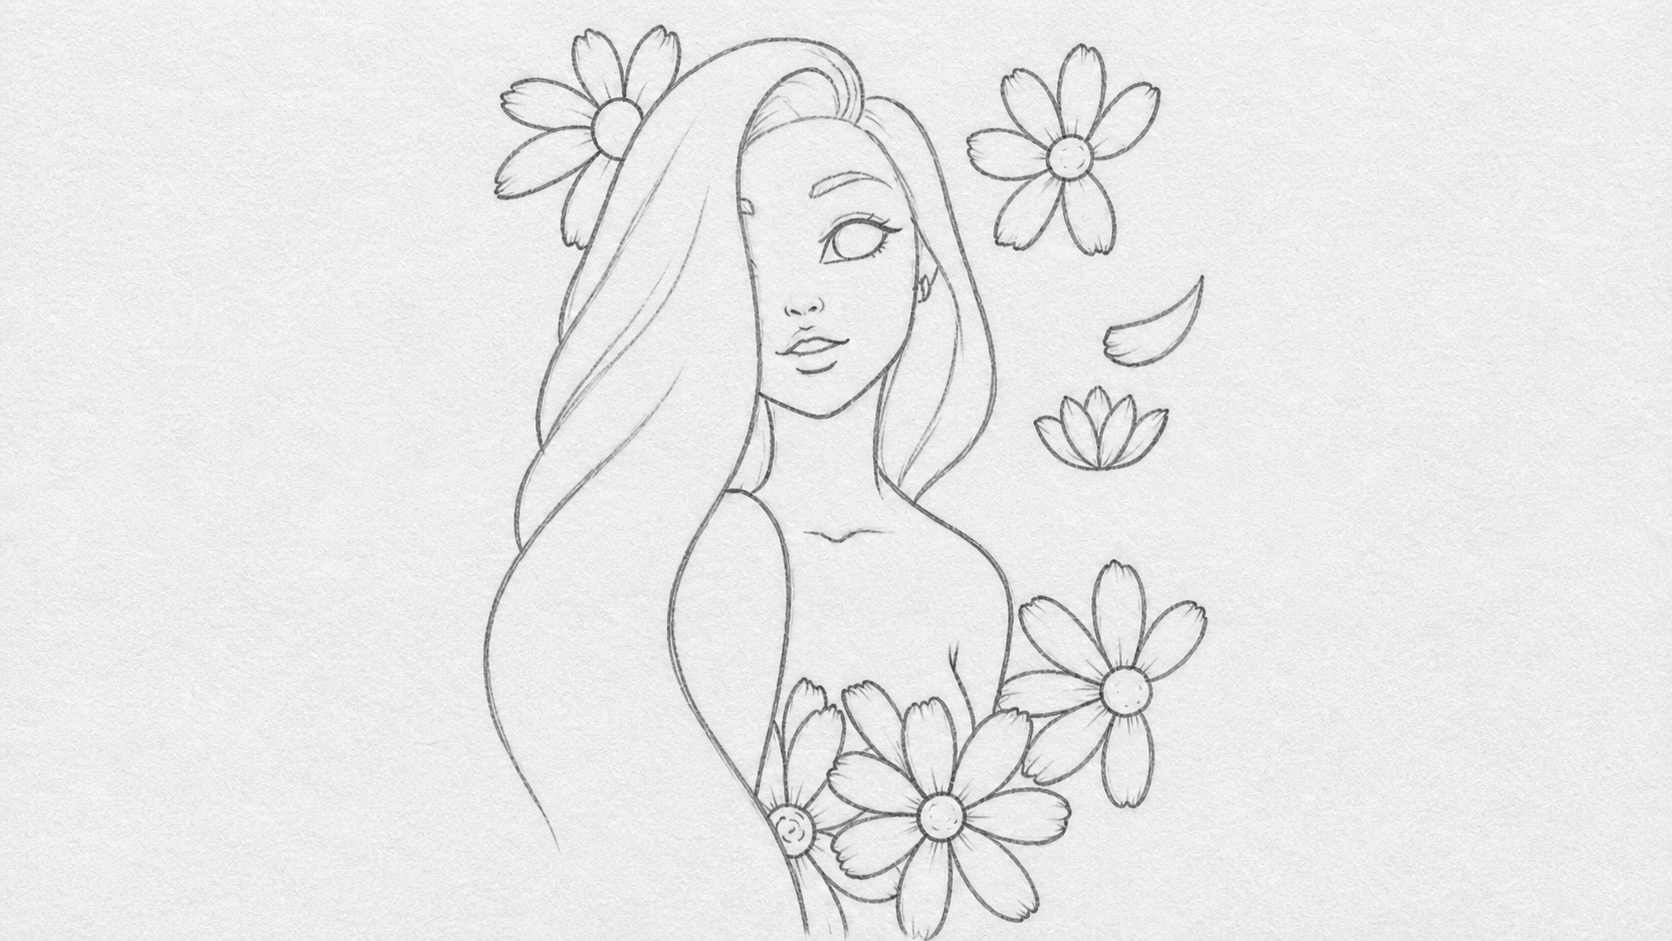
This step was actually the tricky part. I drew the facial features – the eyes, nose, lips and eyebrows. I gave her big beautiful eyes with long lashes. I also added more flowers around her body and refined the ones I drew earlier. At this point the drawing was really starting to come alive. Meeehn, I was happy with how it was looking.
Step 5 – Refining The Details
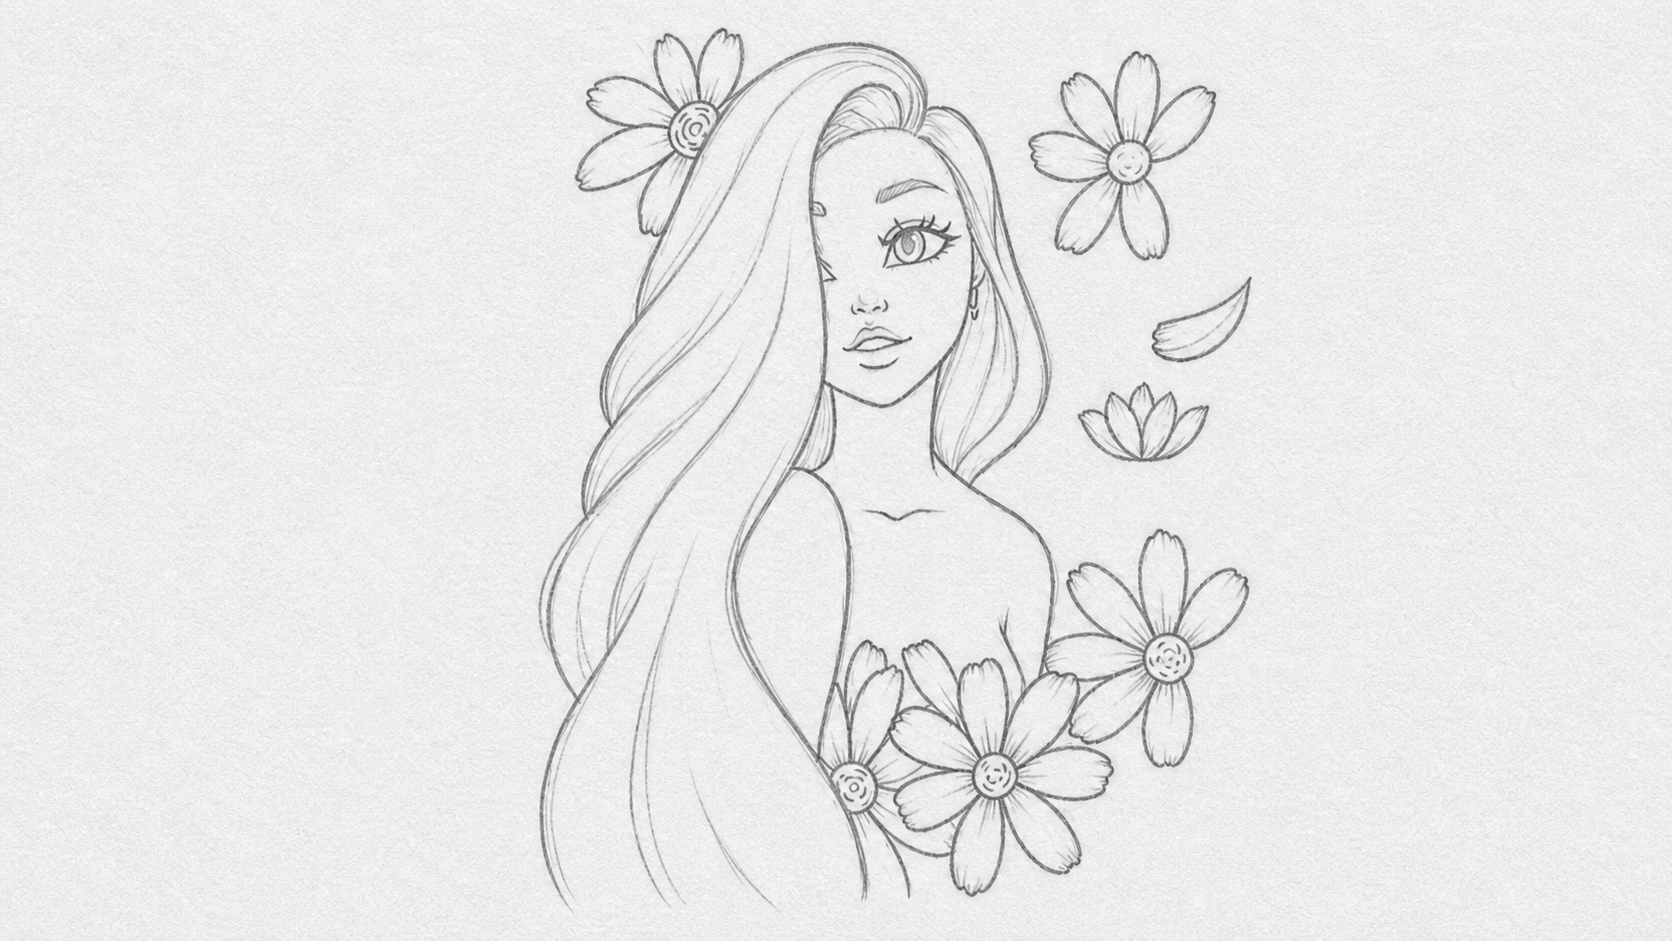
Here, I went deeper into the details. I refined the face, made the eyes more expressive, added more definition to the lips and nose. I also added an earring and made the flower on her head look better. The hair started getting more detailed too with some strands showing. The flowers around her also got cleaner lines and more petal details.
Step 6 – Final Shading And Finishing
This is the final step. I used my 2B pencil and blending stump to add shading to the whole drawing. I shaded the hair to give it depth and volume, added shadows on the face, and made the flowers look more realistic with shading on the petals. I also darkened the outlines to make everything pop. Meeehn, the final result was really satisfying. The girl came out beautiful with all the flowers surrounding her.
Finally
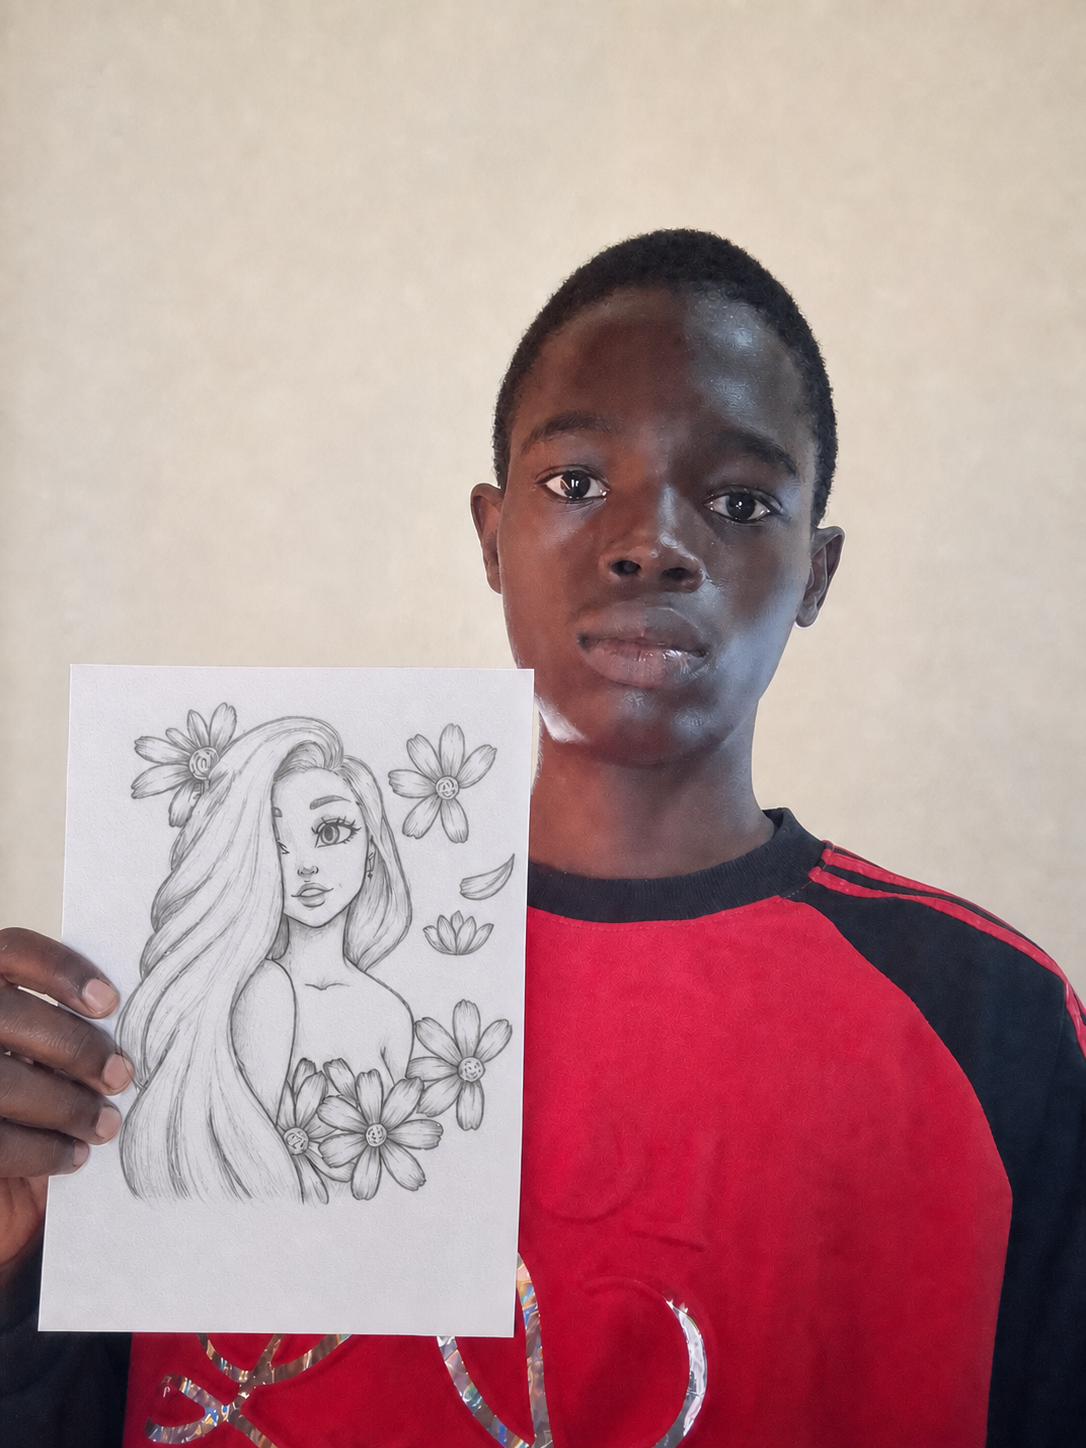
This drawing took me some time but it was really worth it. Drawing step by step like this actually makes it easier because you are not trying to do everything at once. You just take it one step at a time. If you love drawing or you want to start, just grab a pencil and paper and try it out. You don't have to be perfect, just start.
Thank you so much for reading and checking out my artwork. I hope you enjoyed it. If you have any questions or you want me to draw something, let me know in the comments.
Stay creative! ✏️🌸
Upvoted! Thank you for supporting witness @jswit.
Thank you
Hello @jimiaera02, please kindly remove your vote from this post. The pictures are Ai generated. The user said he used an A4 paper, but in the steps, the paper size is big and landscaped. Now in his selfie, it's now an A4 paper. . These are a few evidences.