Making super Mario using clay art
Hello Steemit Community
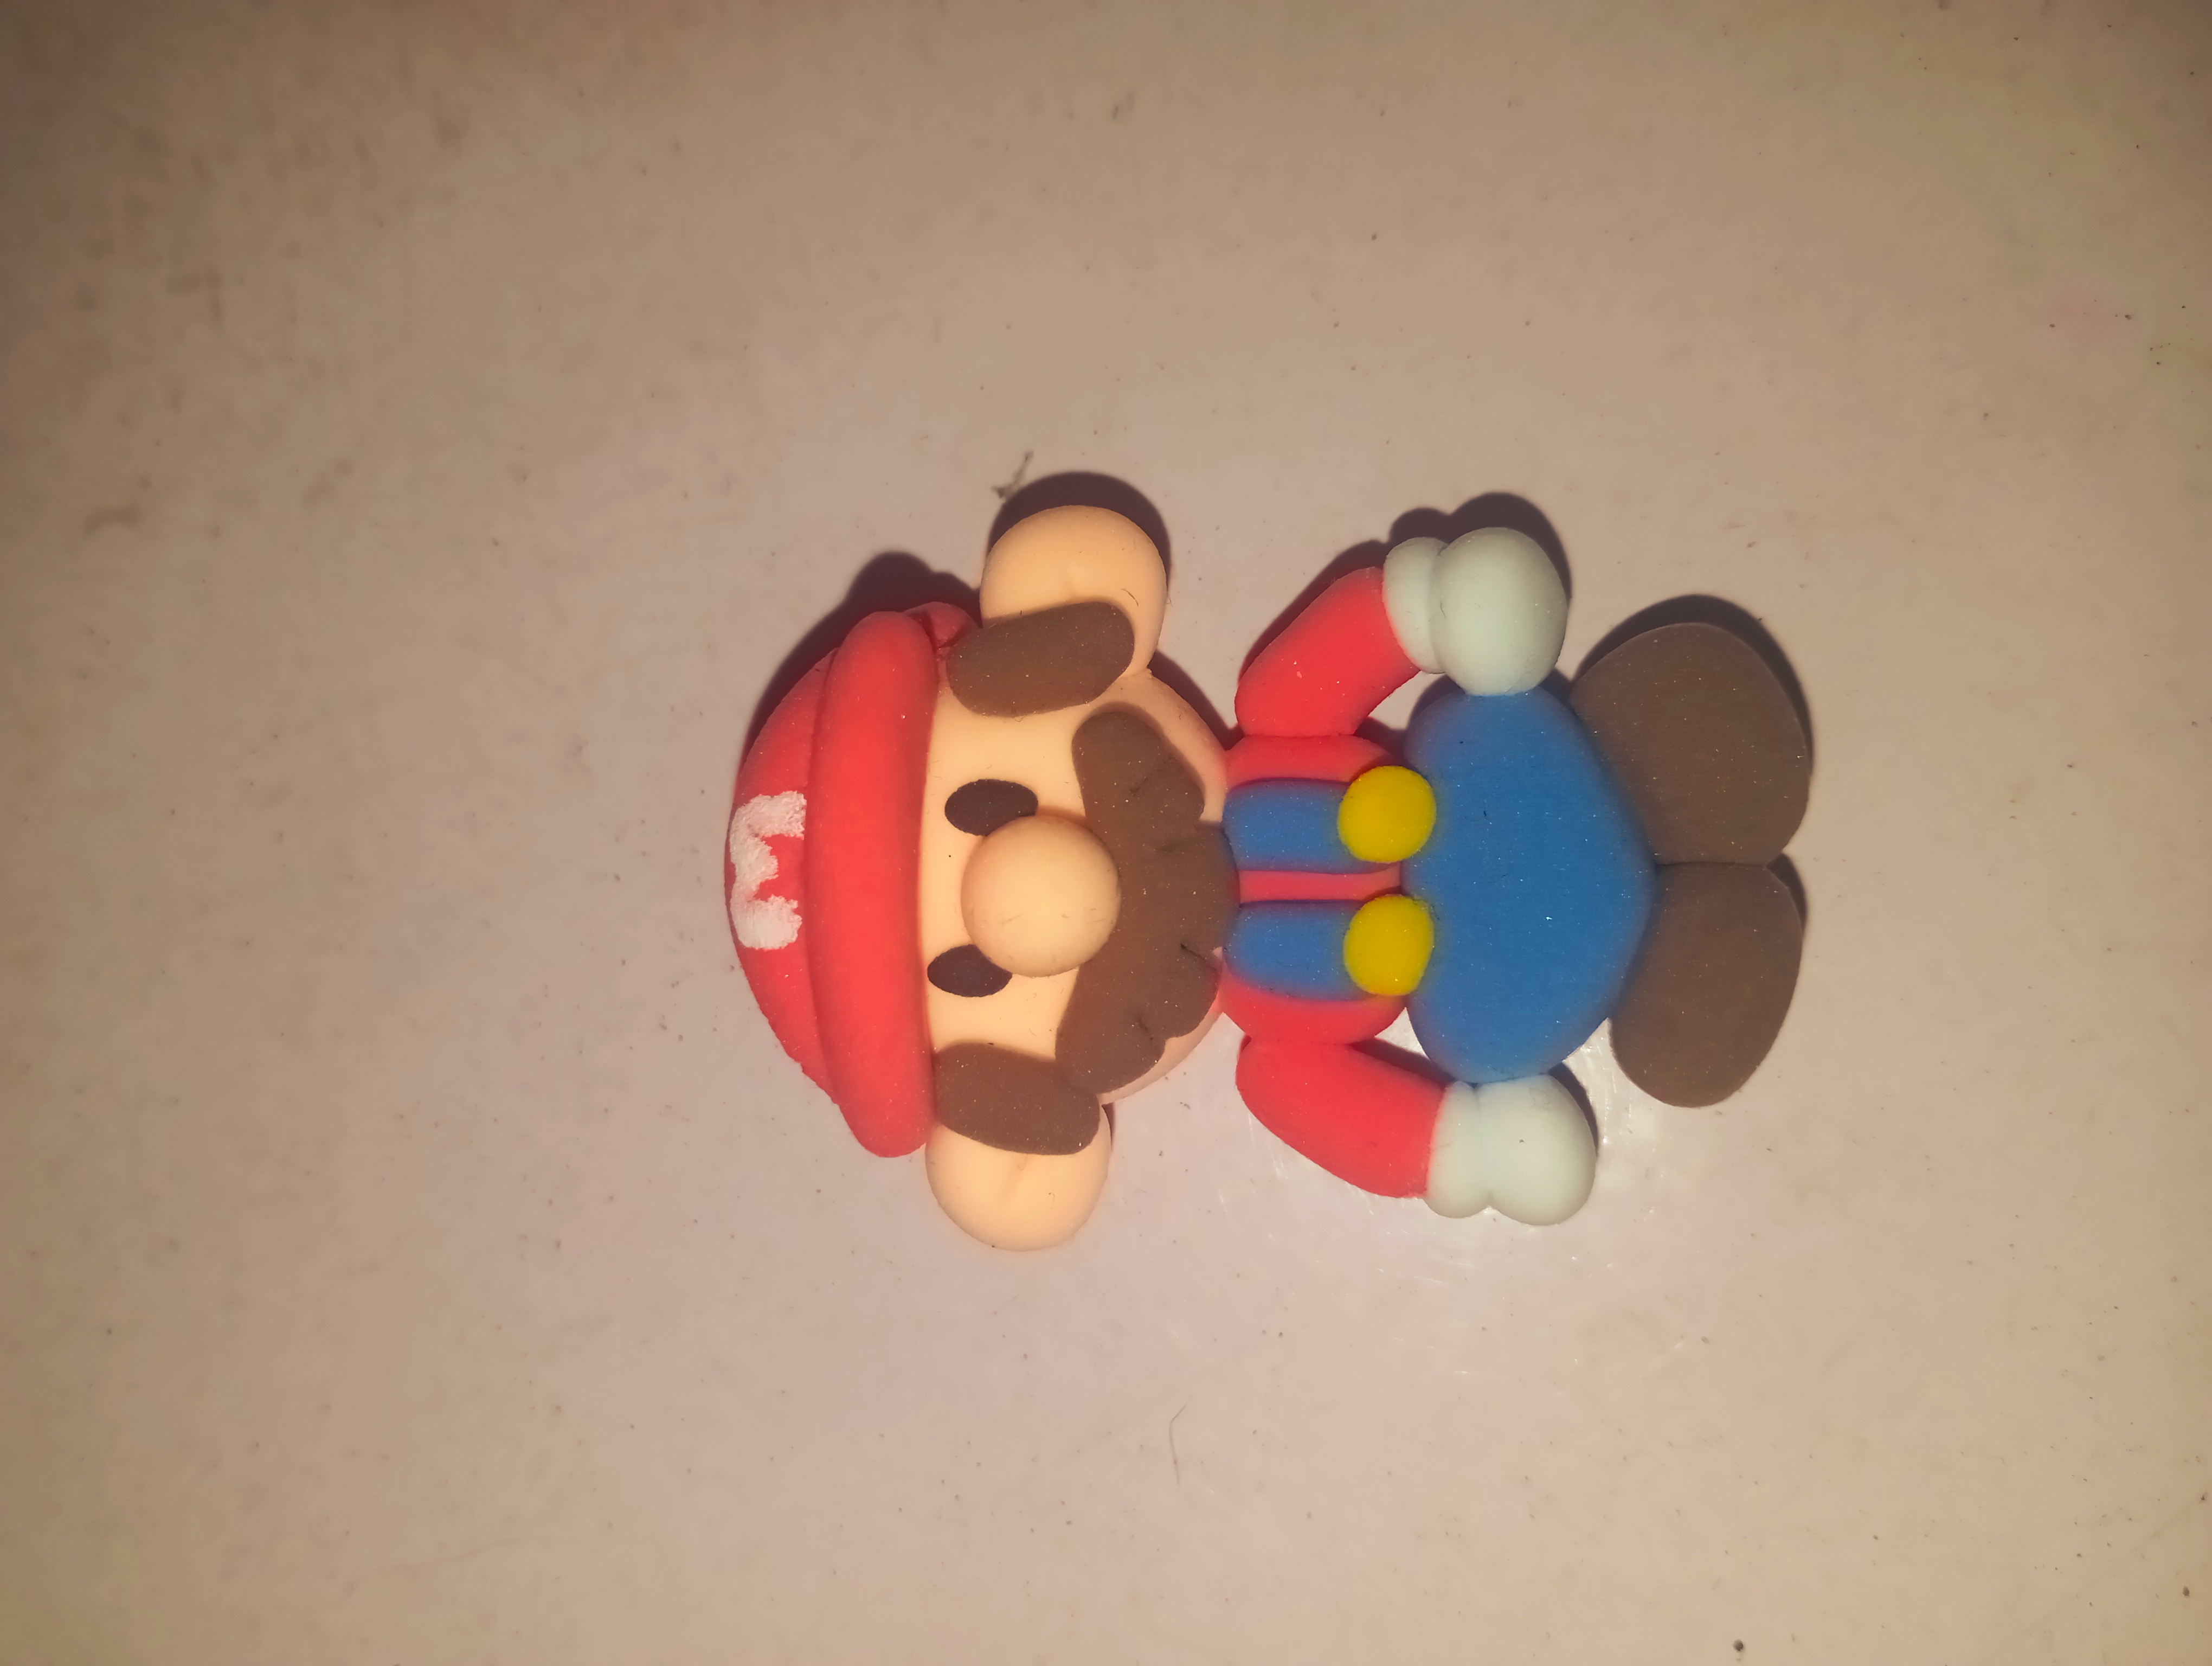
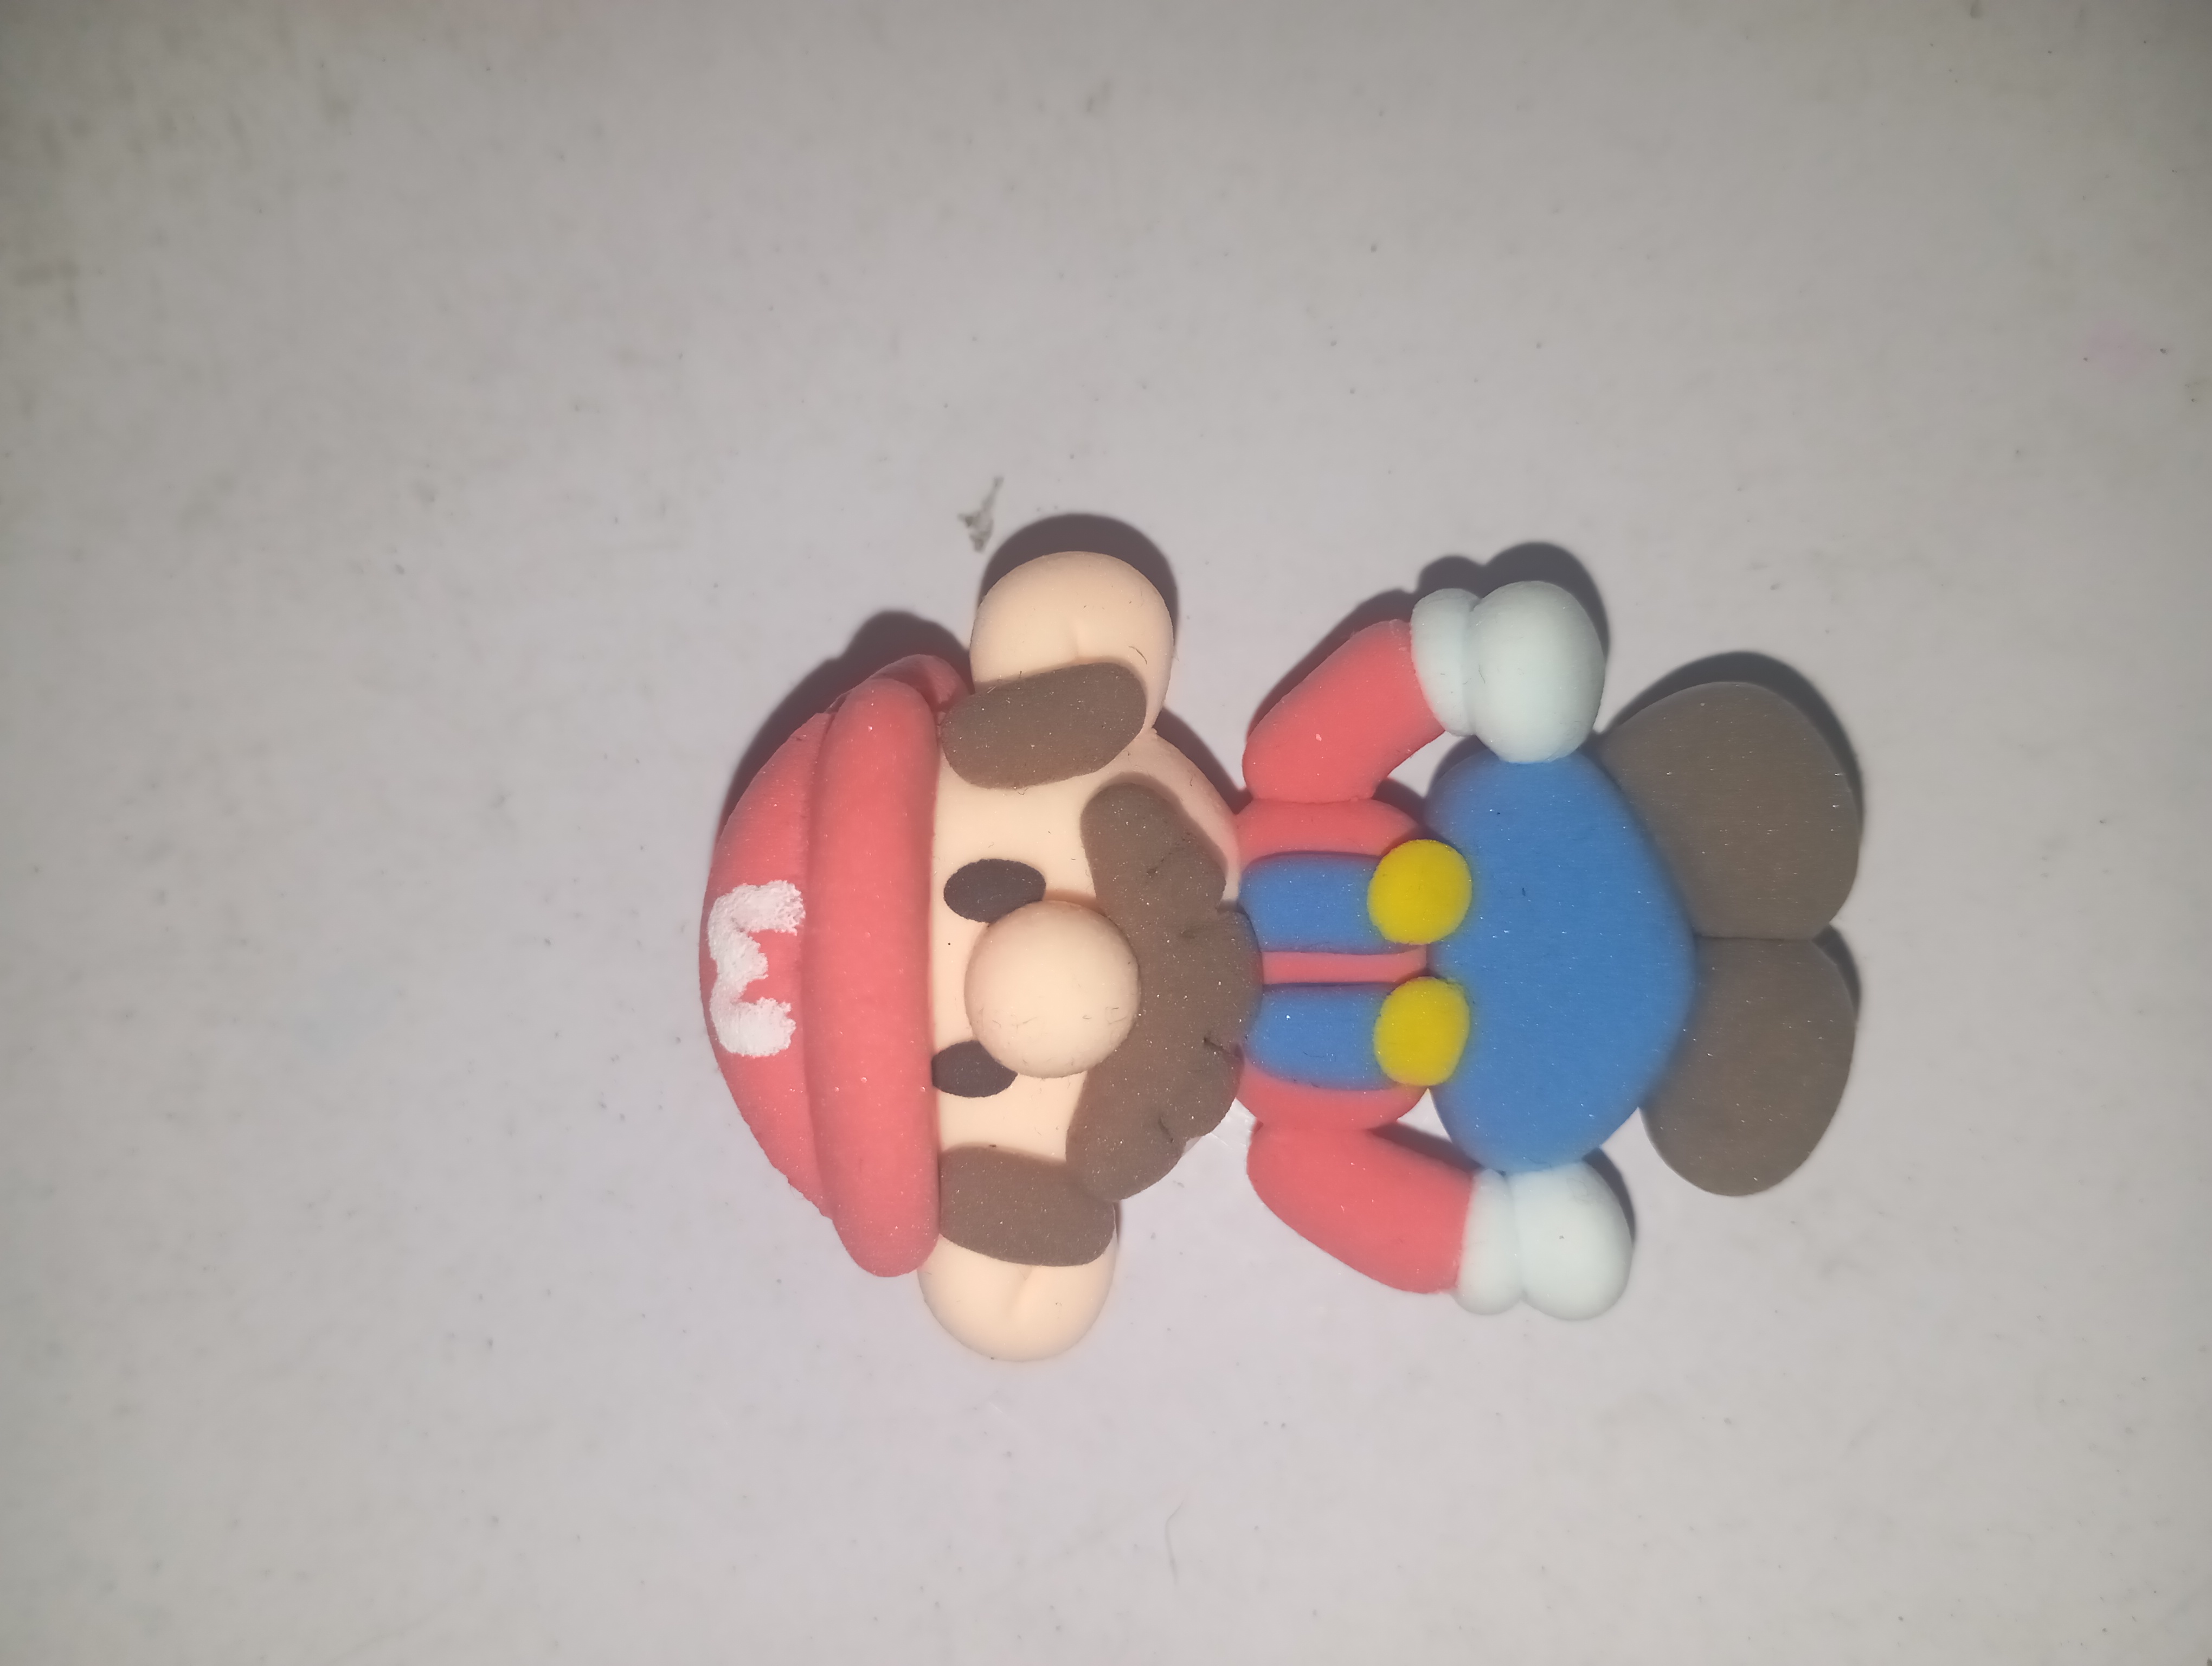
As you can see in the picture, I have made a famous cartoon character out of clay. Today I am sharing the complete step-by-step method of creating the same so that you too can easily create it.
🧱 Equipment required
Skin color (light pink/beige) Clay
Red, blue, yellow, white and brown clay
Cutter or toothpick
Smooth surface
Soft cloth (for cleaning)
Step-by-step method
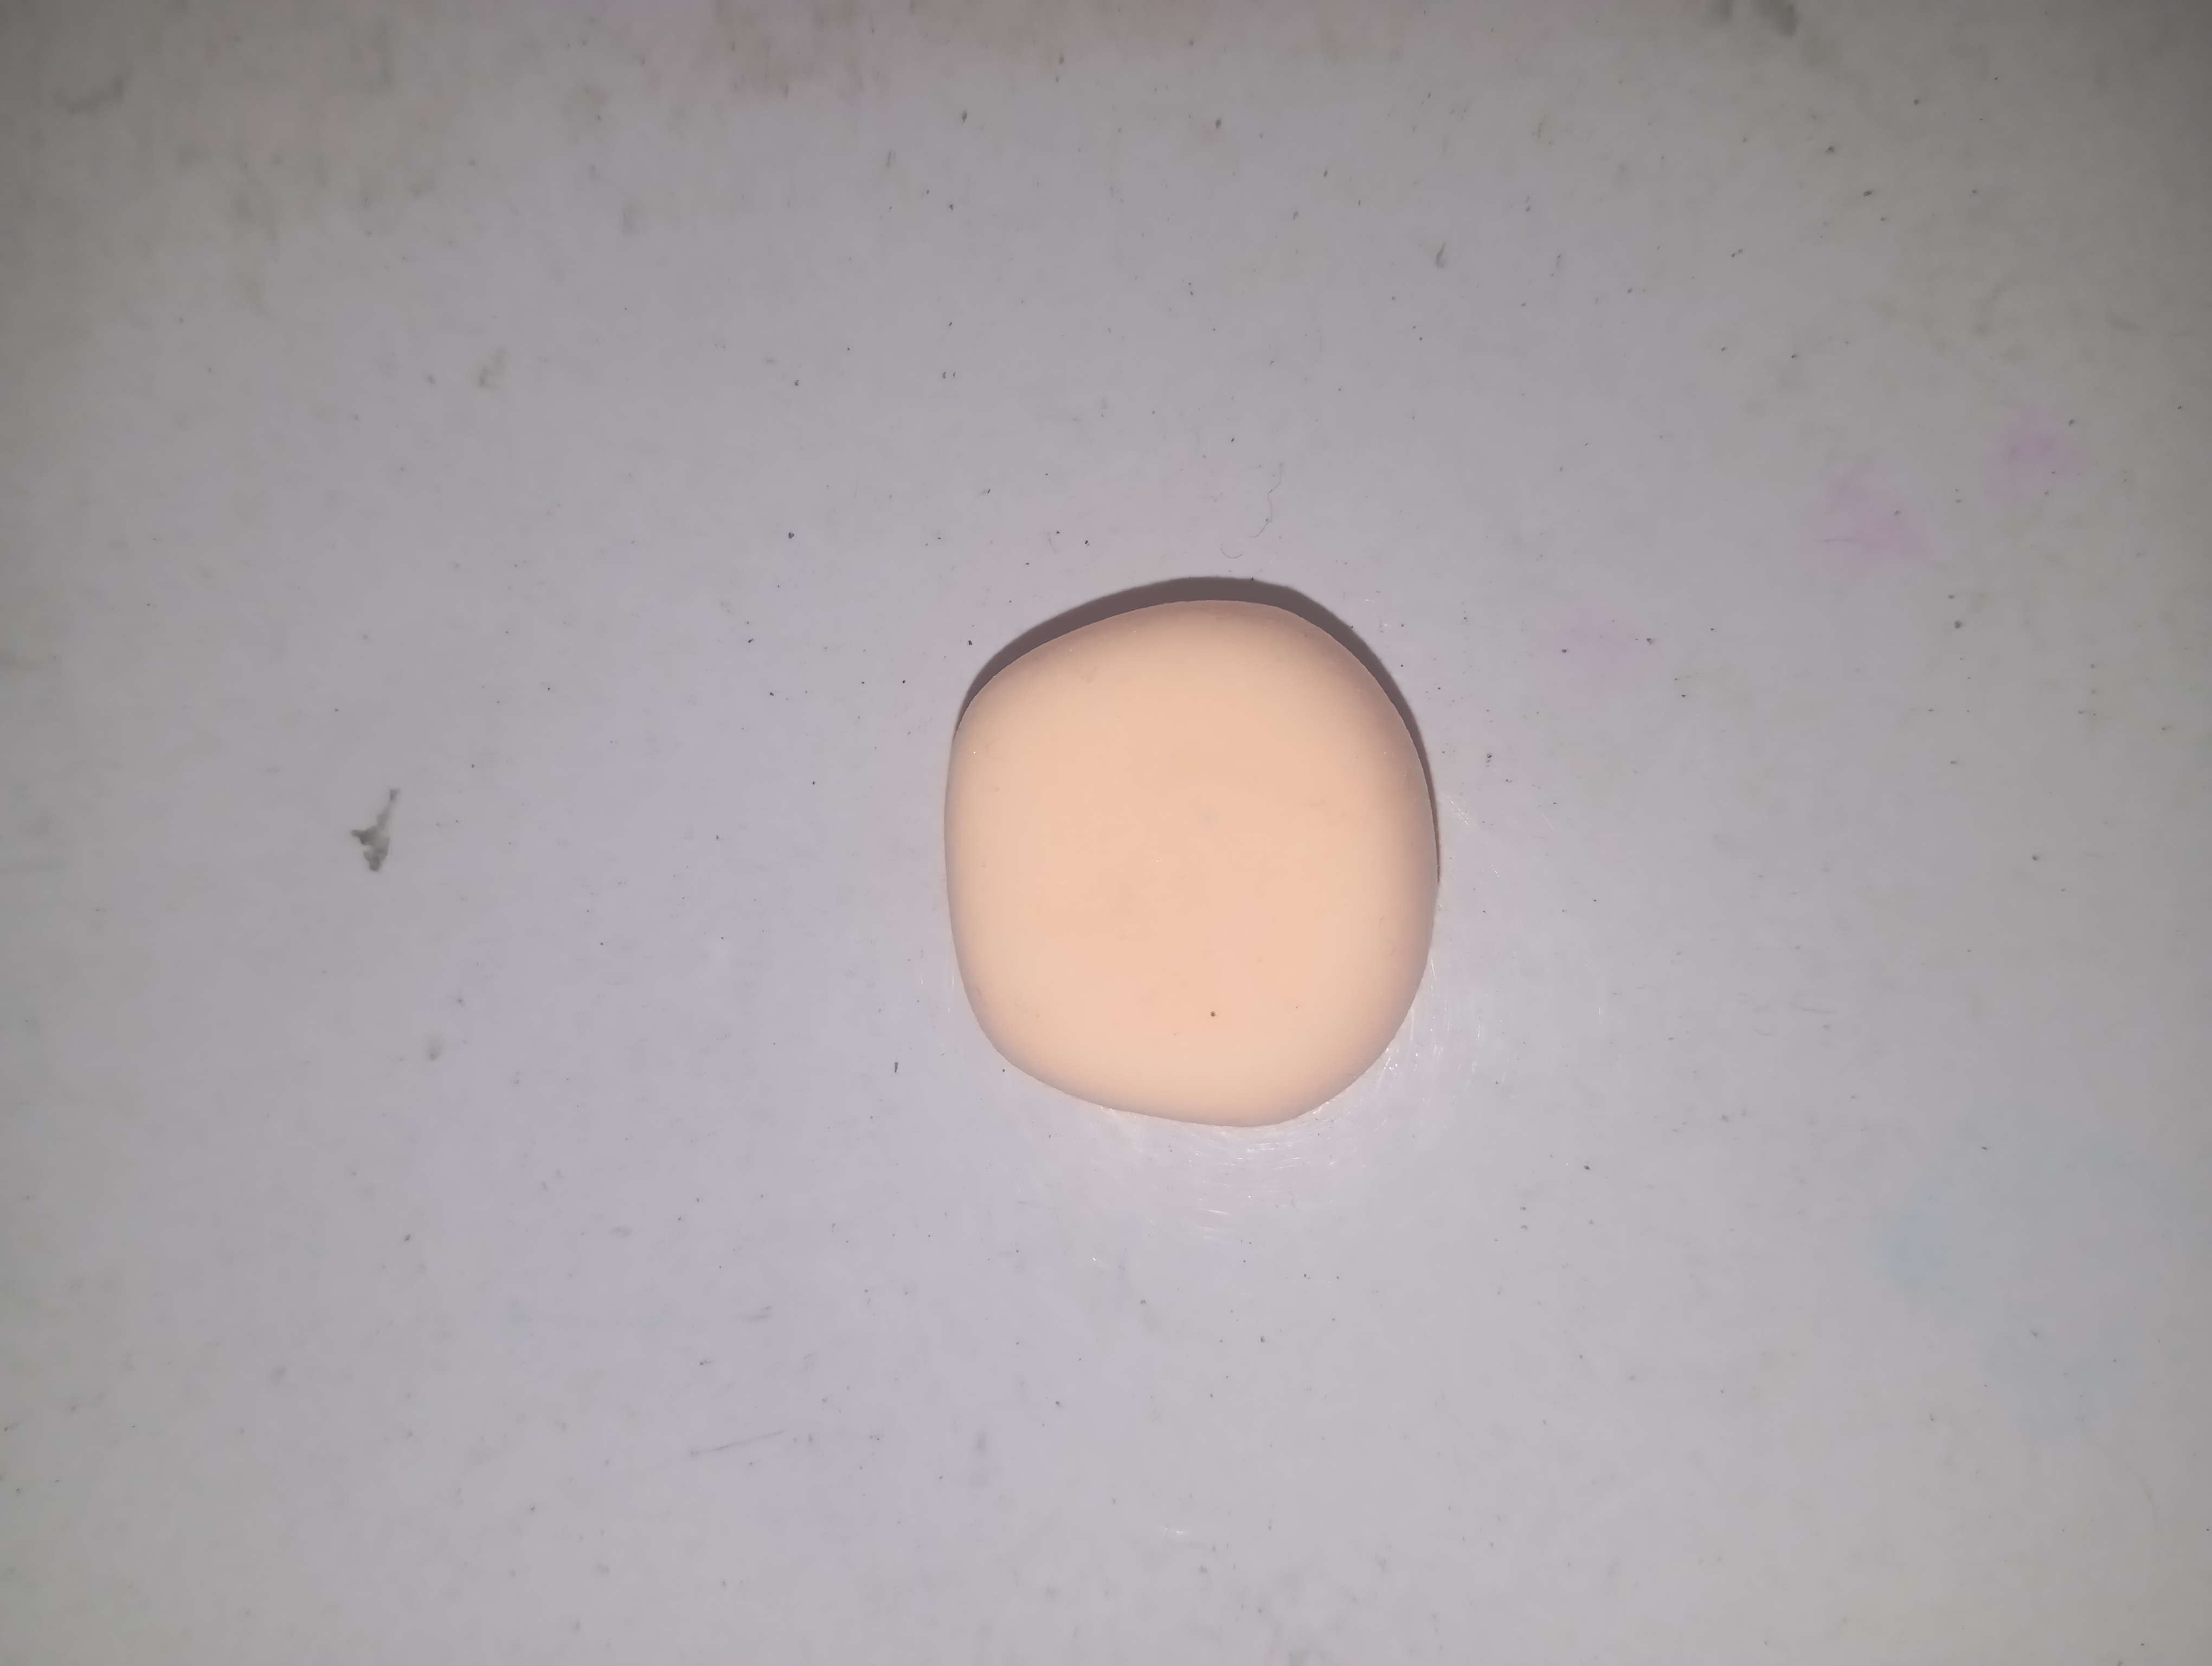
1️⃣ Foundation of the face
Soften the Skin Color Clay thoroughly. Make a medium sized round and slightly flattened shape. Smooth the edges with your finger.
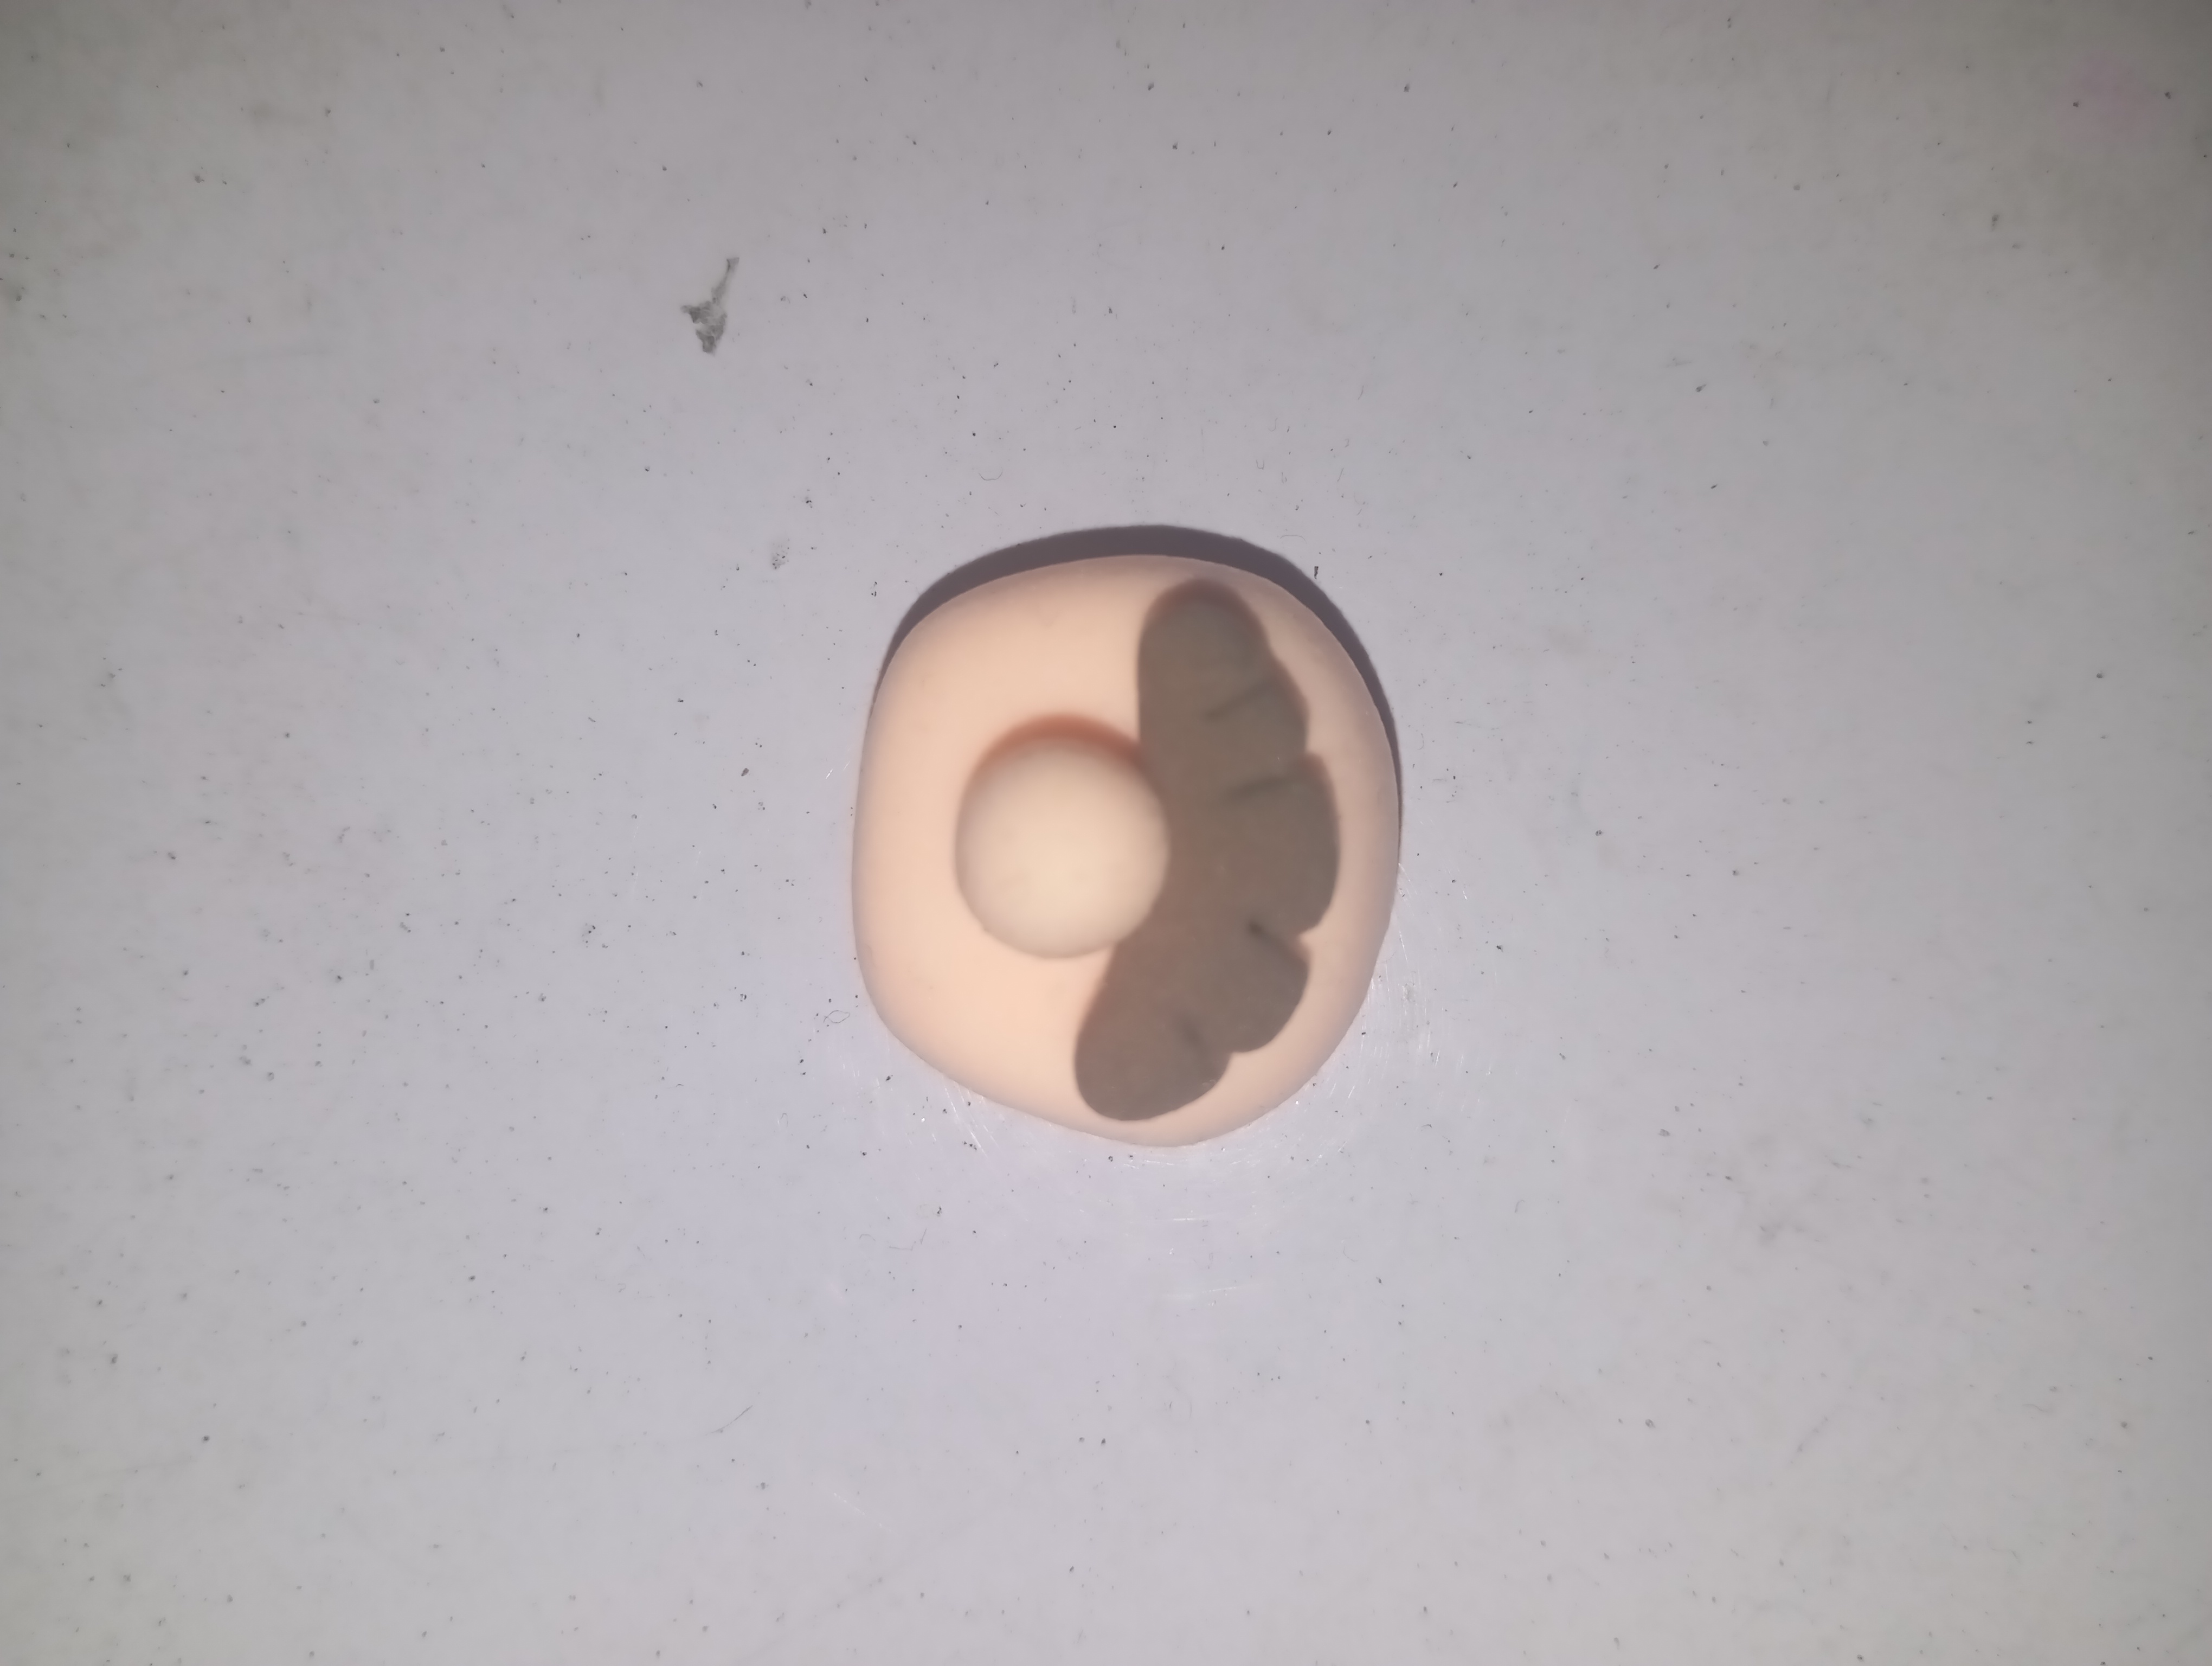
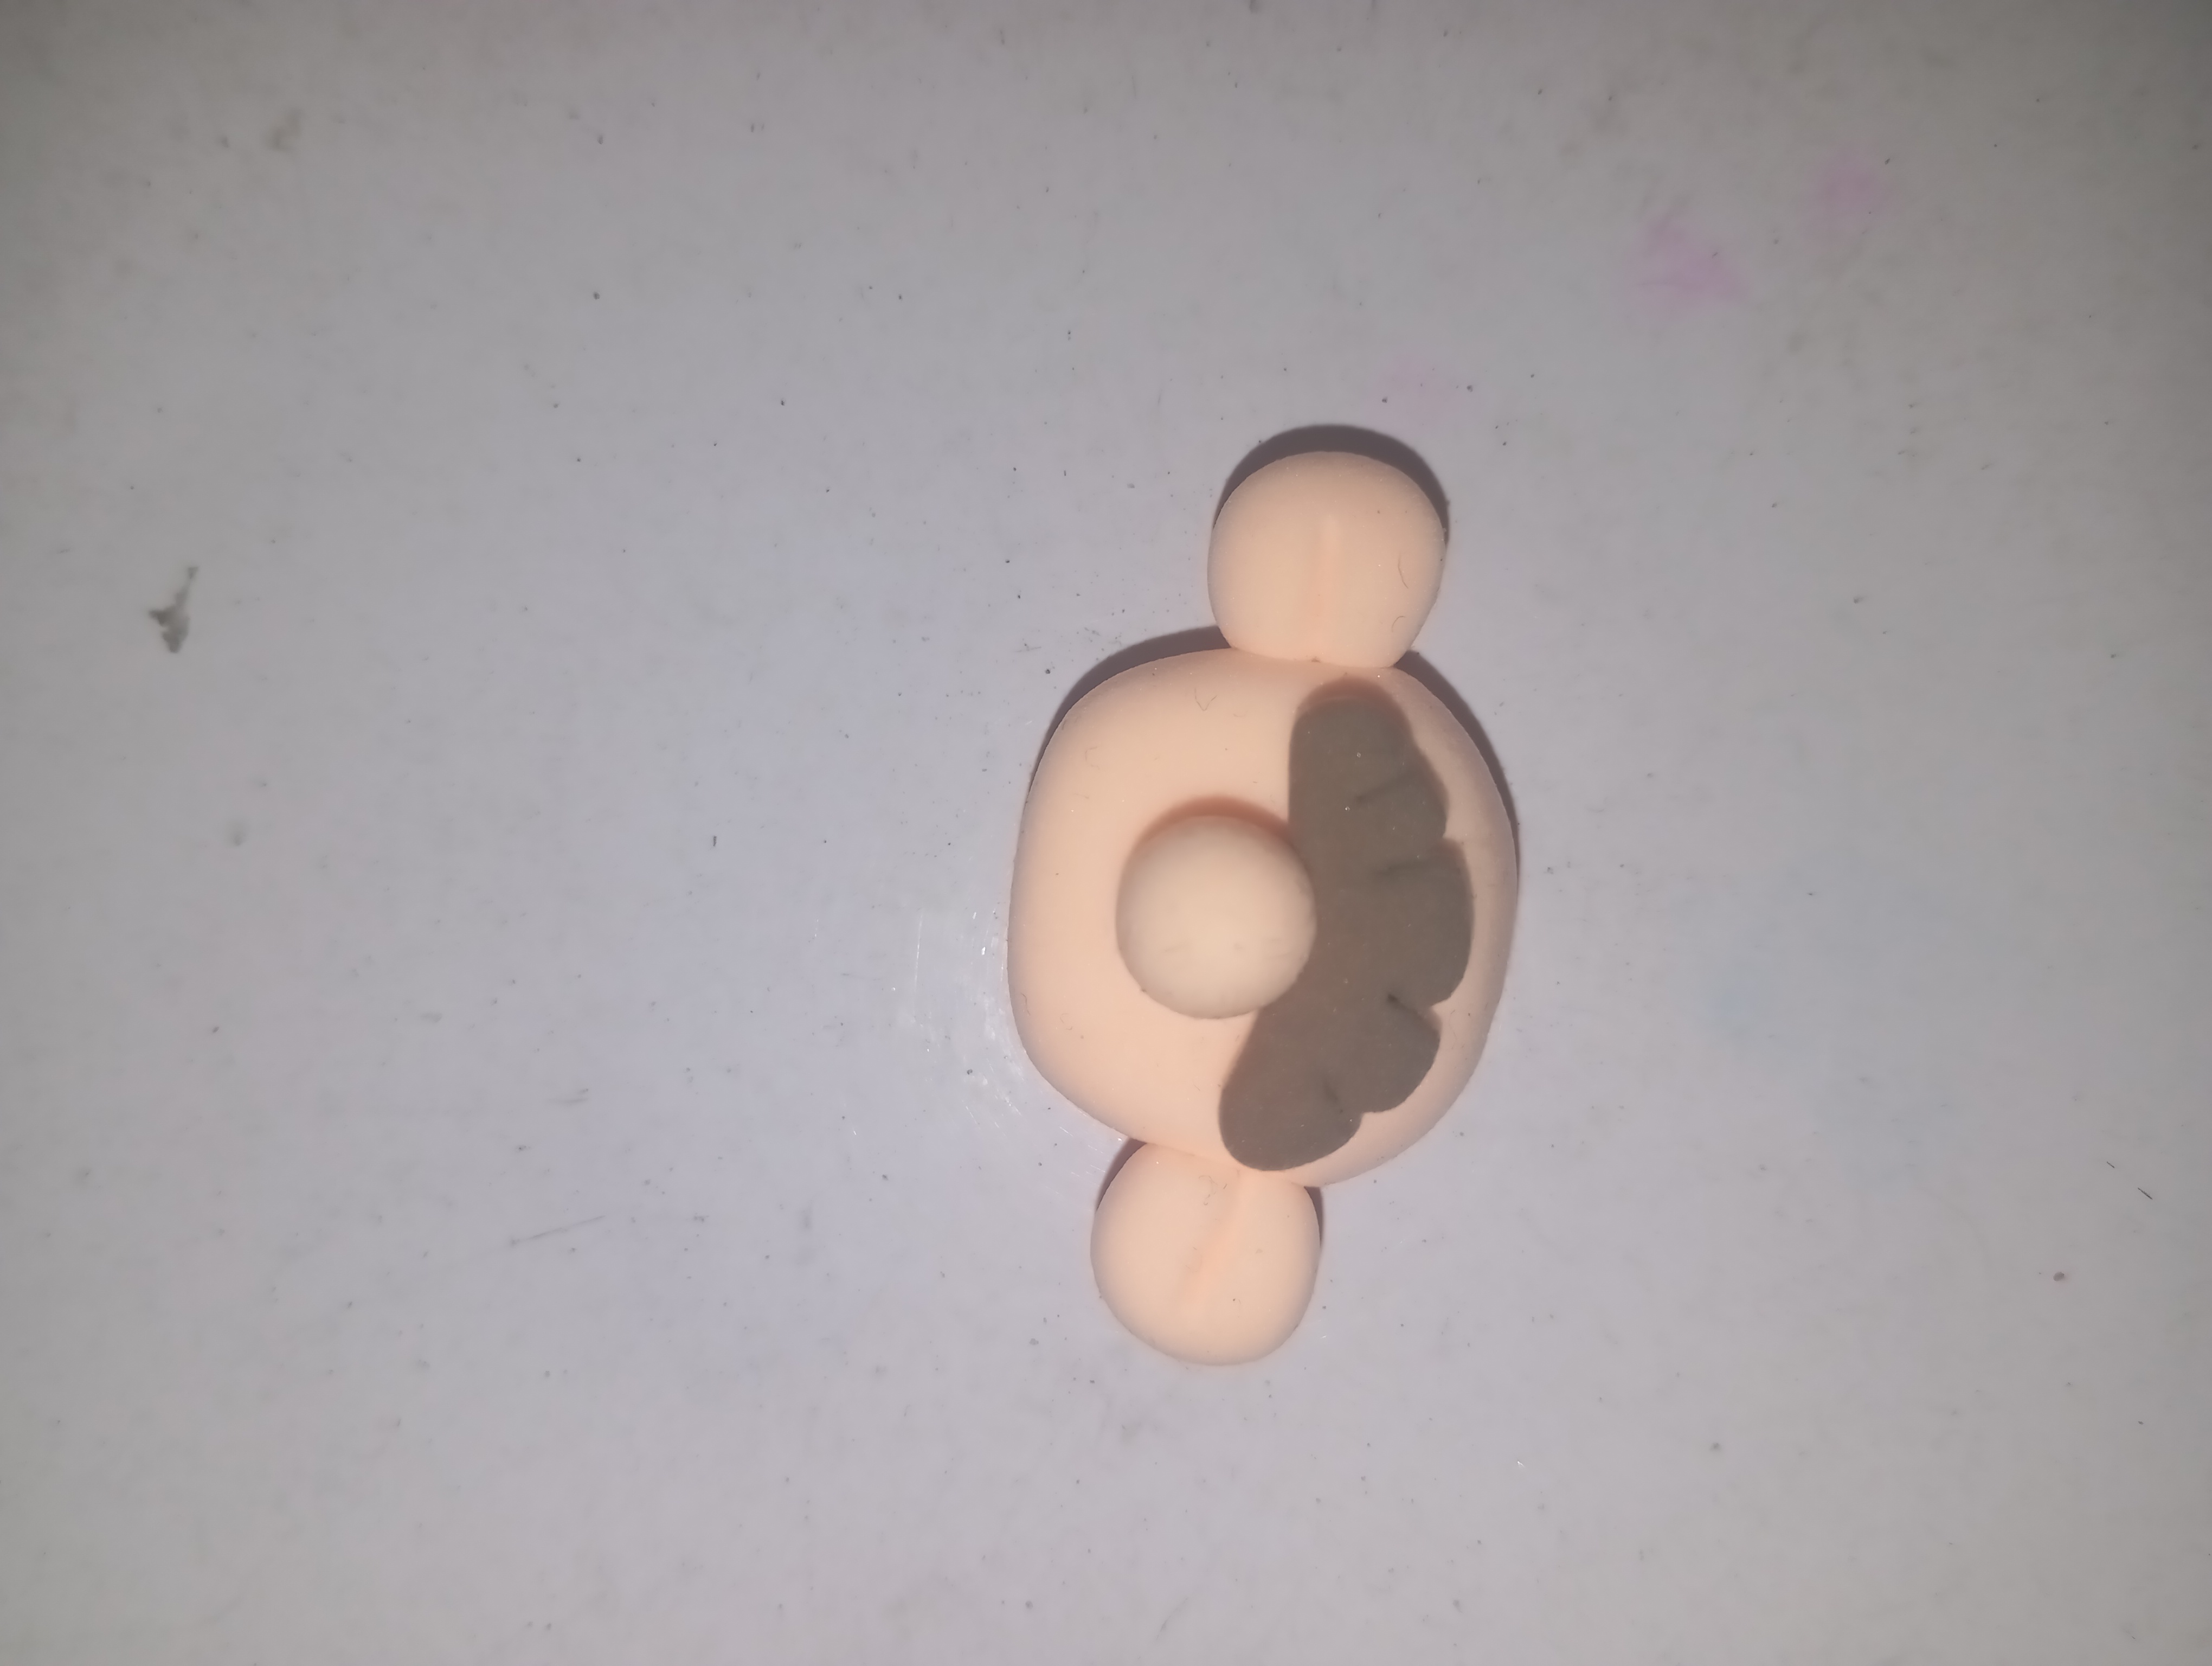
2️⃣ Nose and mustache
Make a small round piece for the nose and place it in the center of the face. Shape a mustache with brown clay and fit it under the nose. Tighten the joint by applying slight pressure.
|
|
|
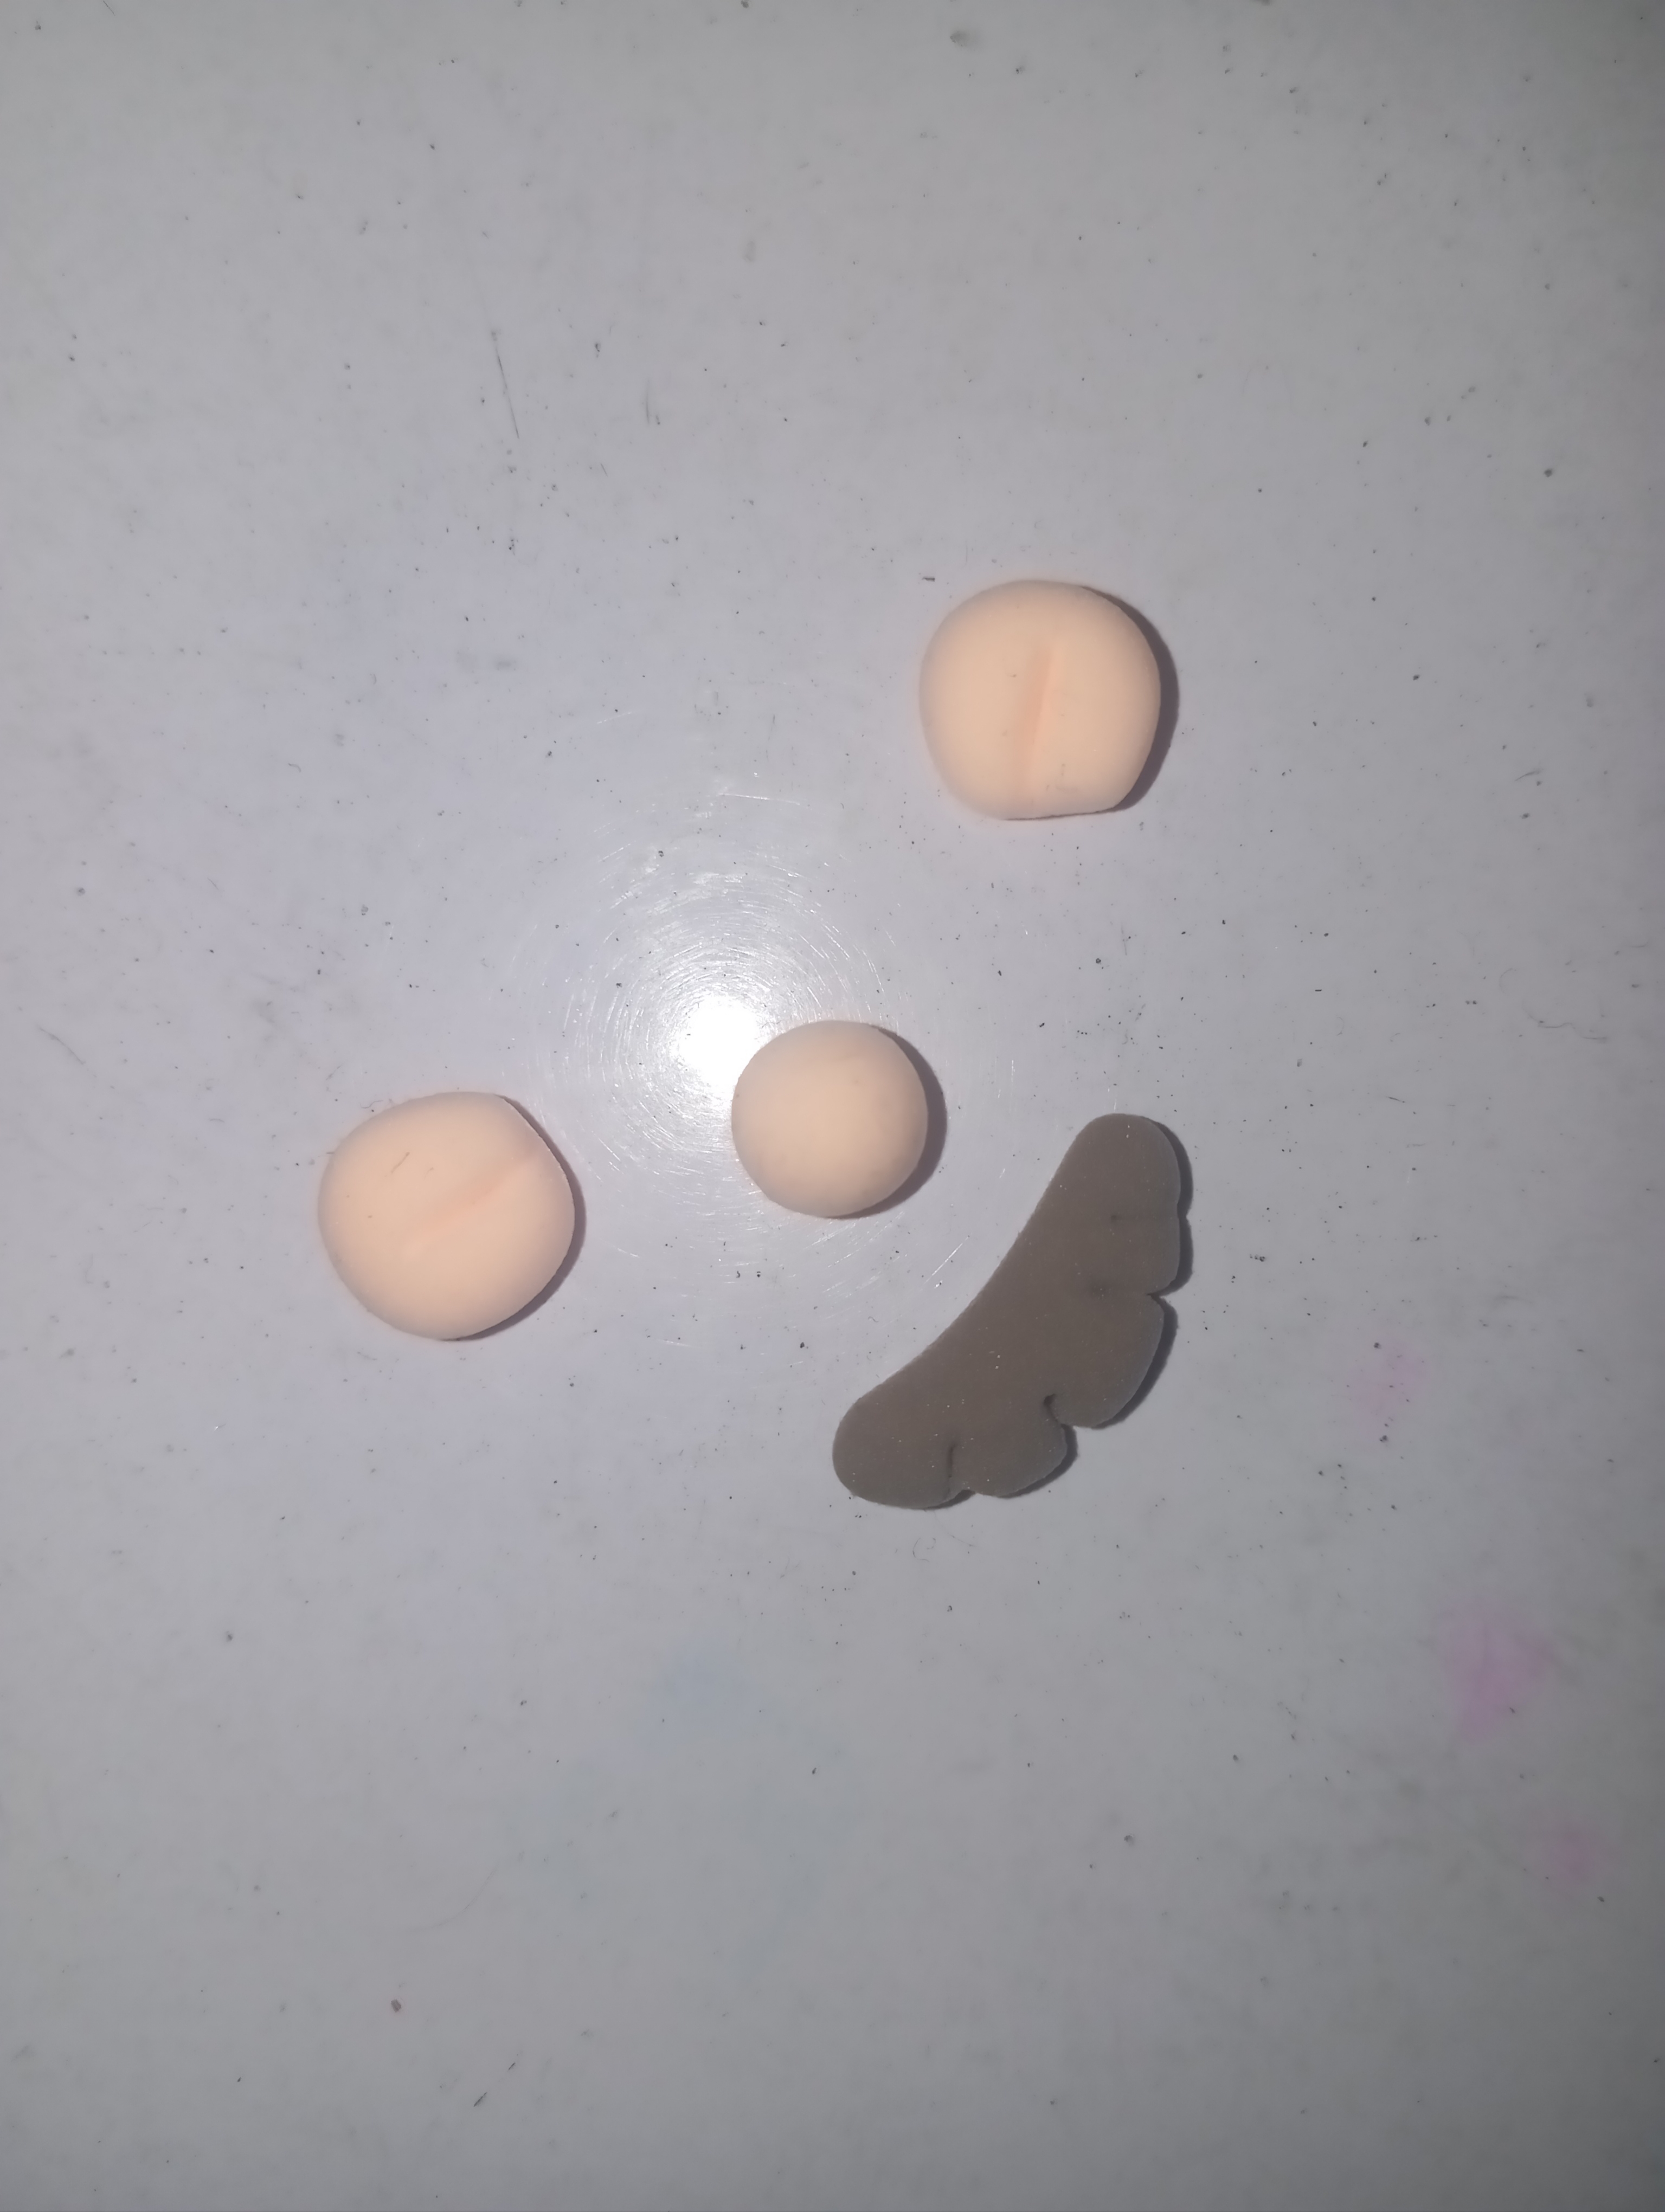
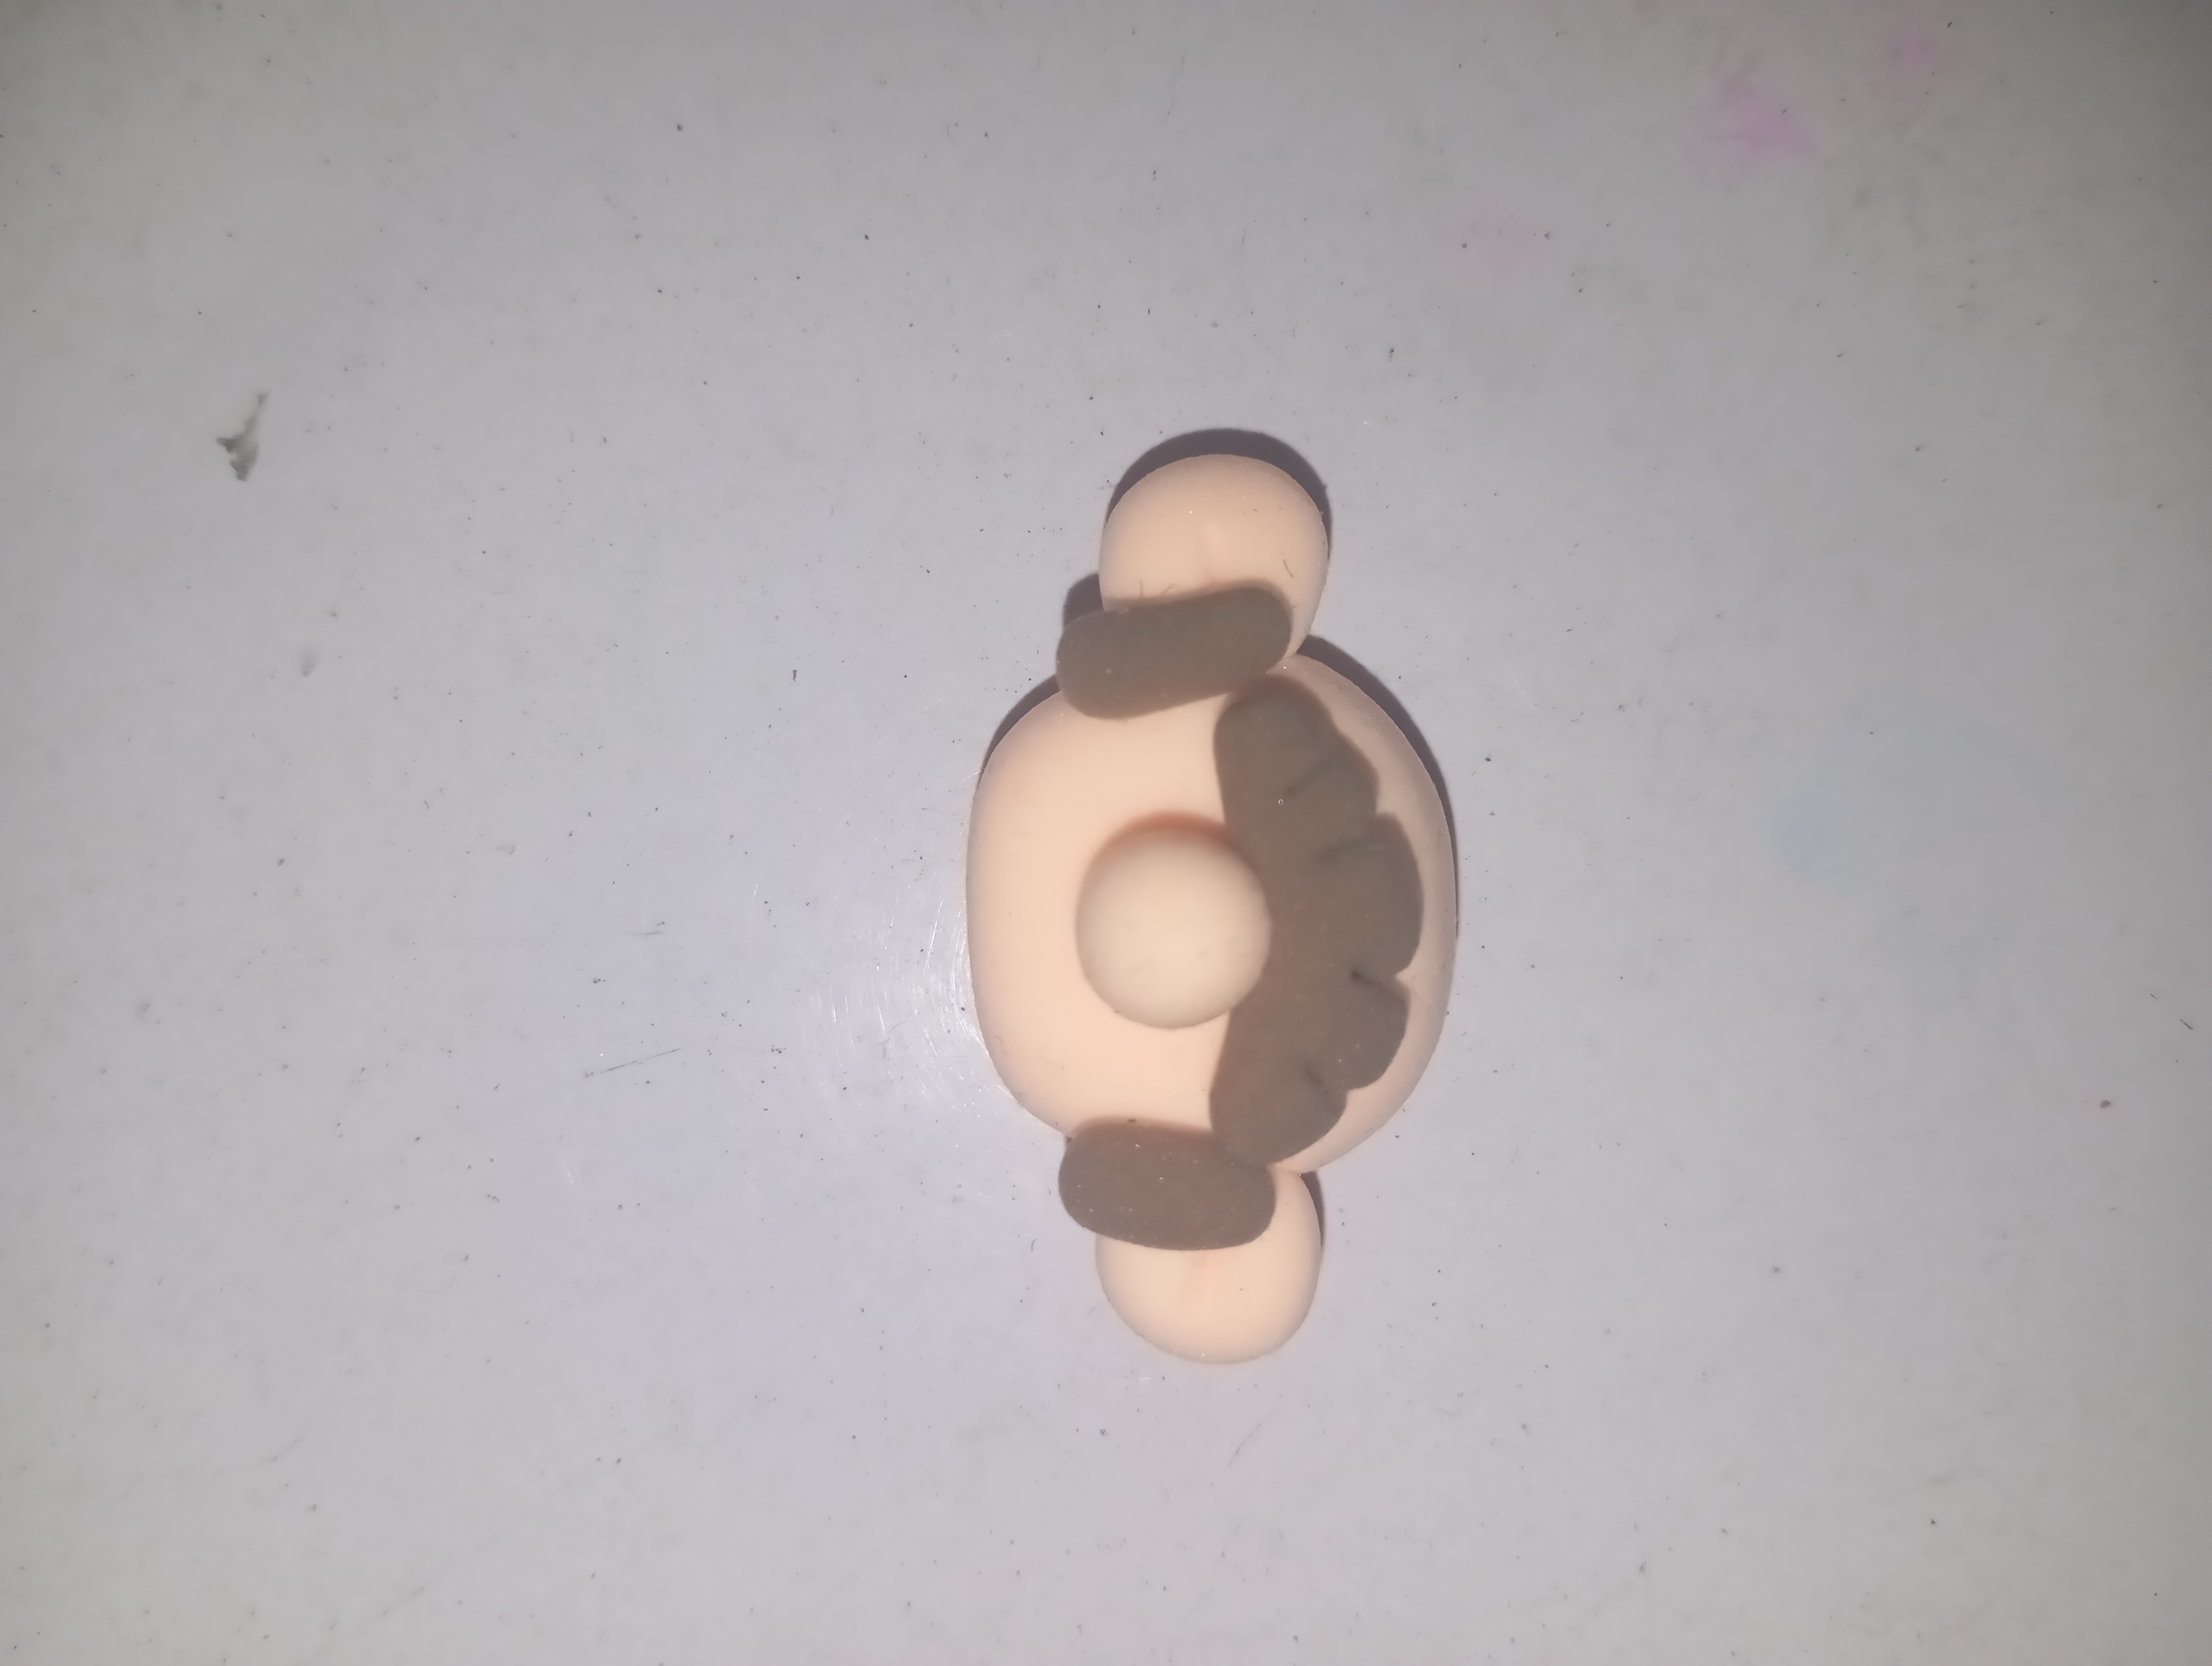
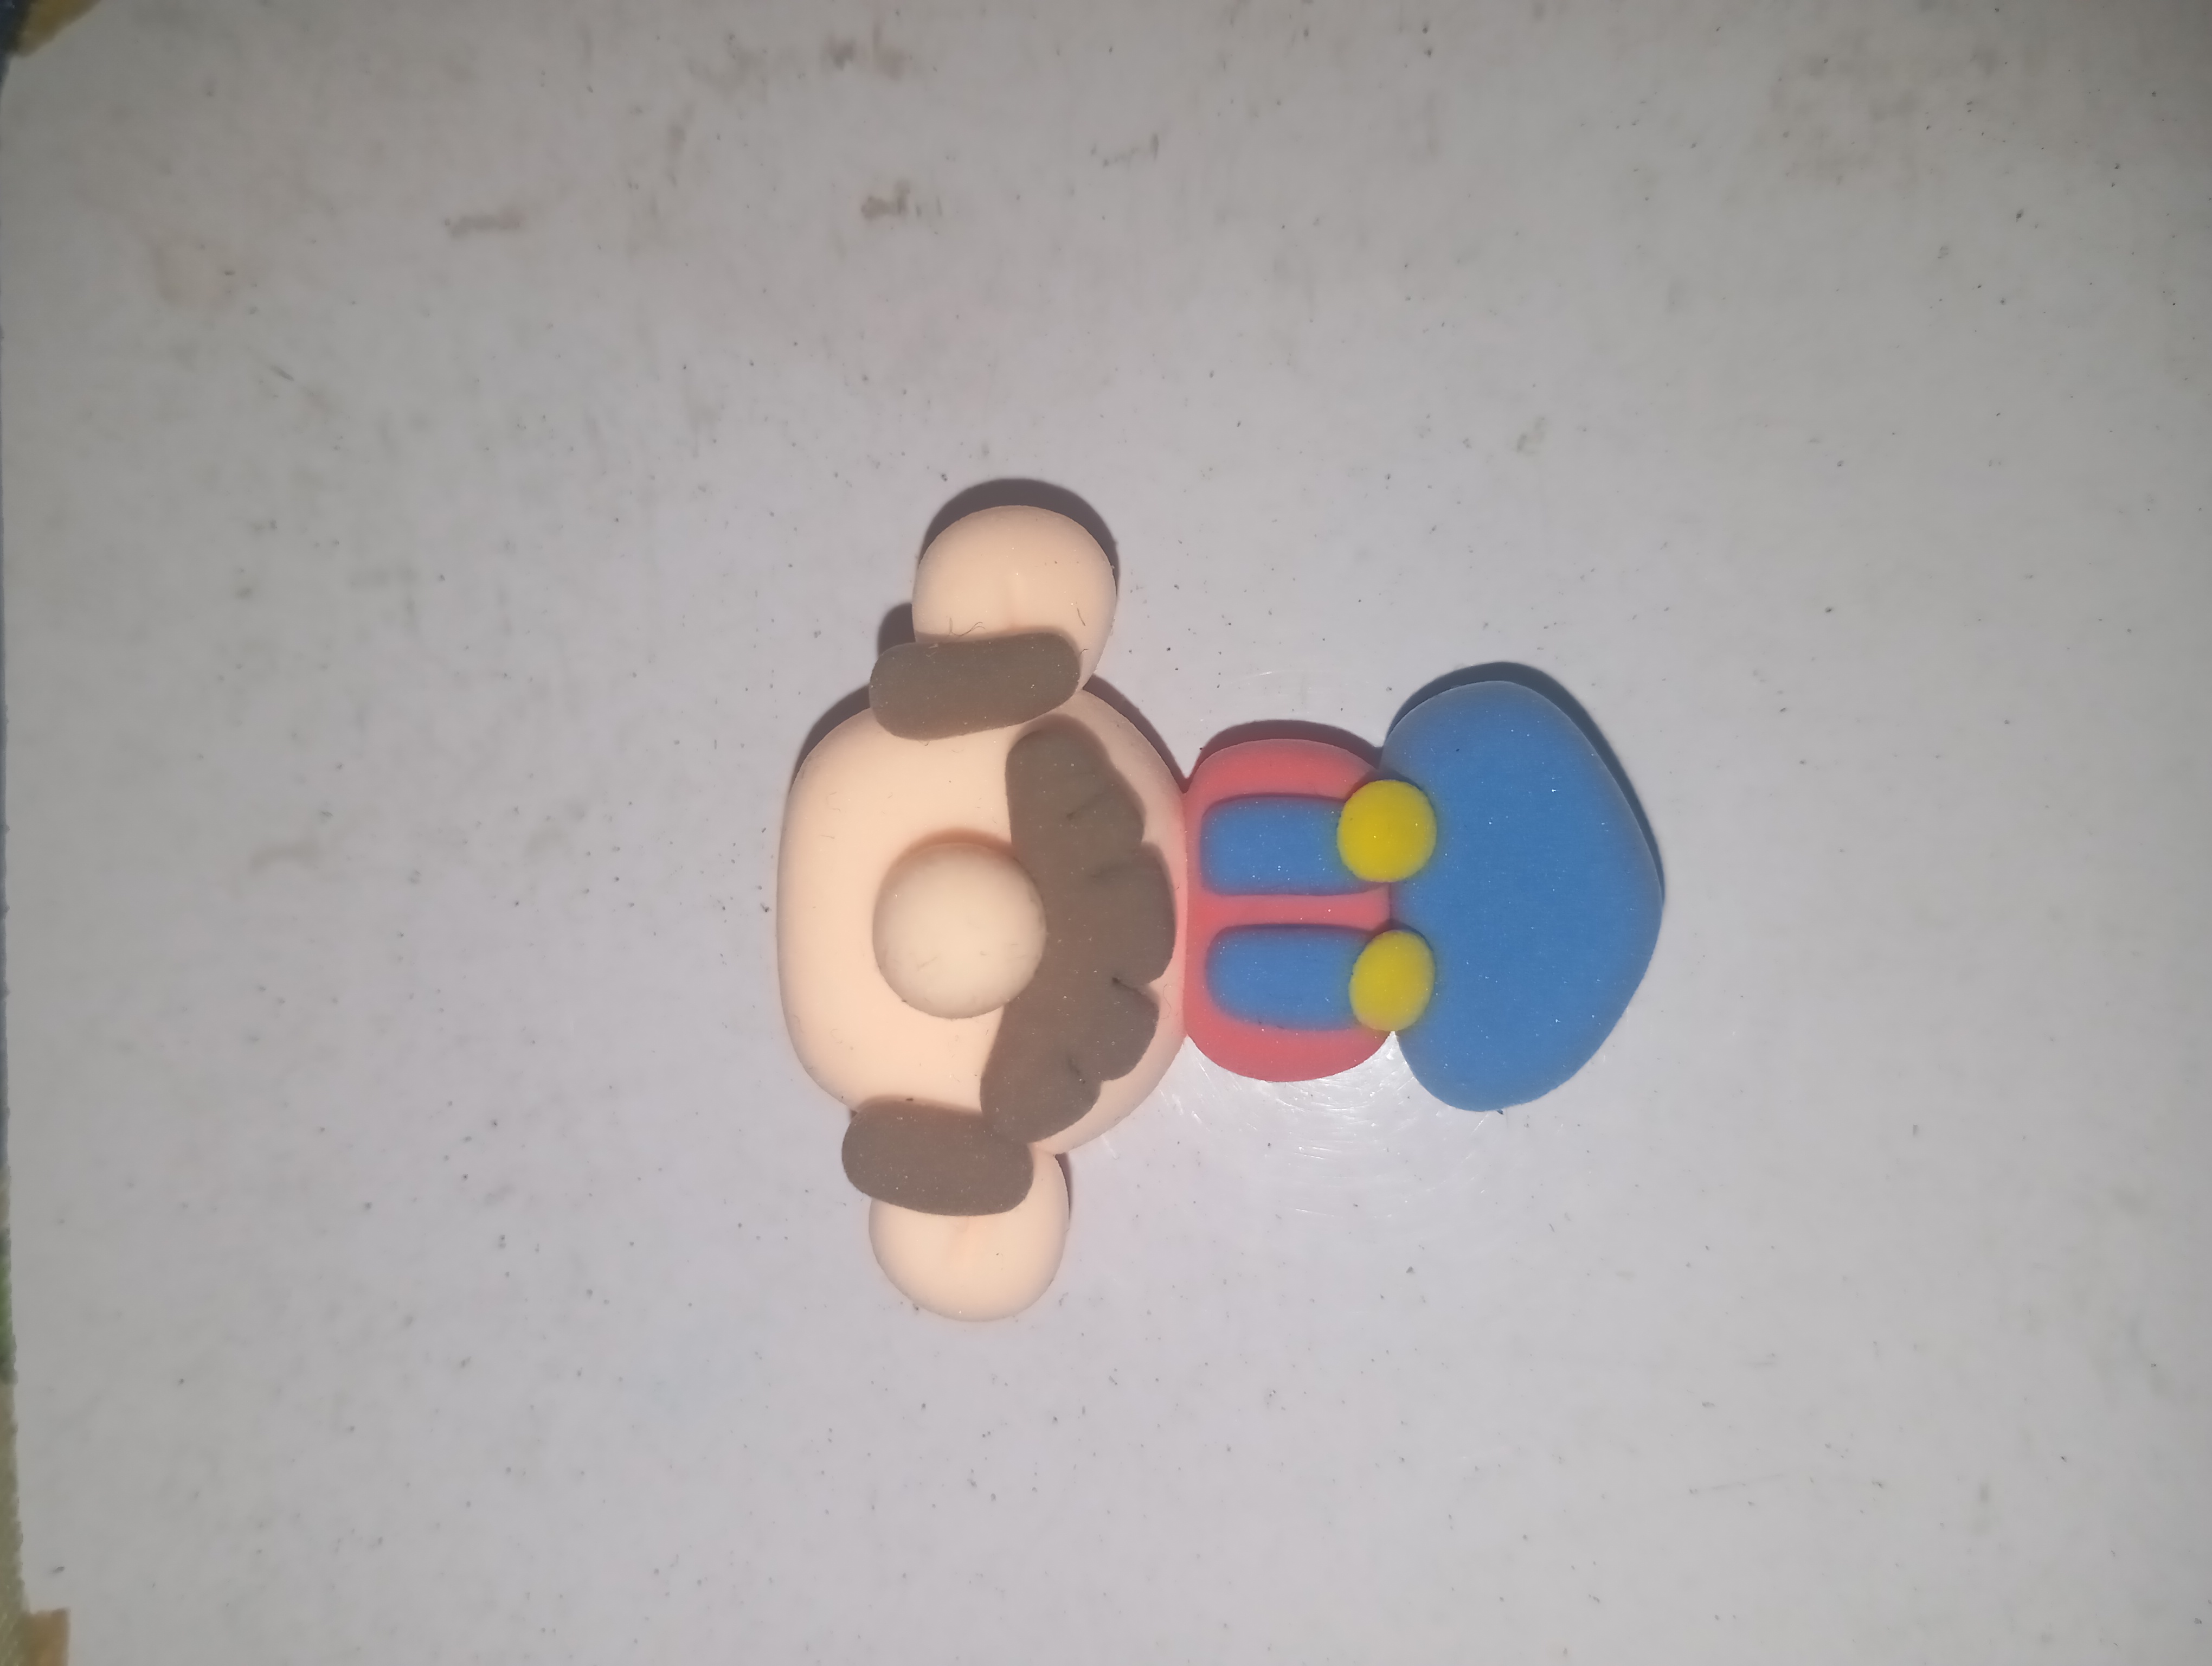
3️⃣ Ears and eyes
Make two small round pieces and attach the ears on both sides. Make black dots on top by adding thin white pieces for the eyes. Draw eyebrows with a fine line.
|
|
|
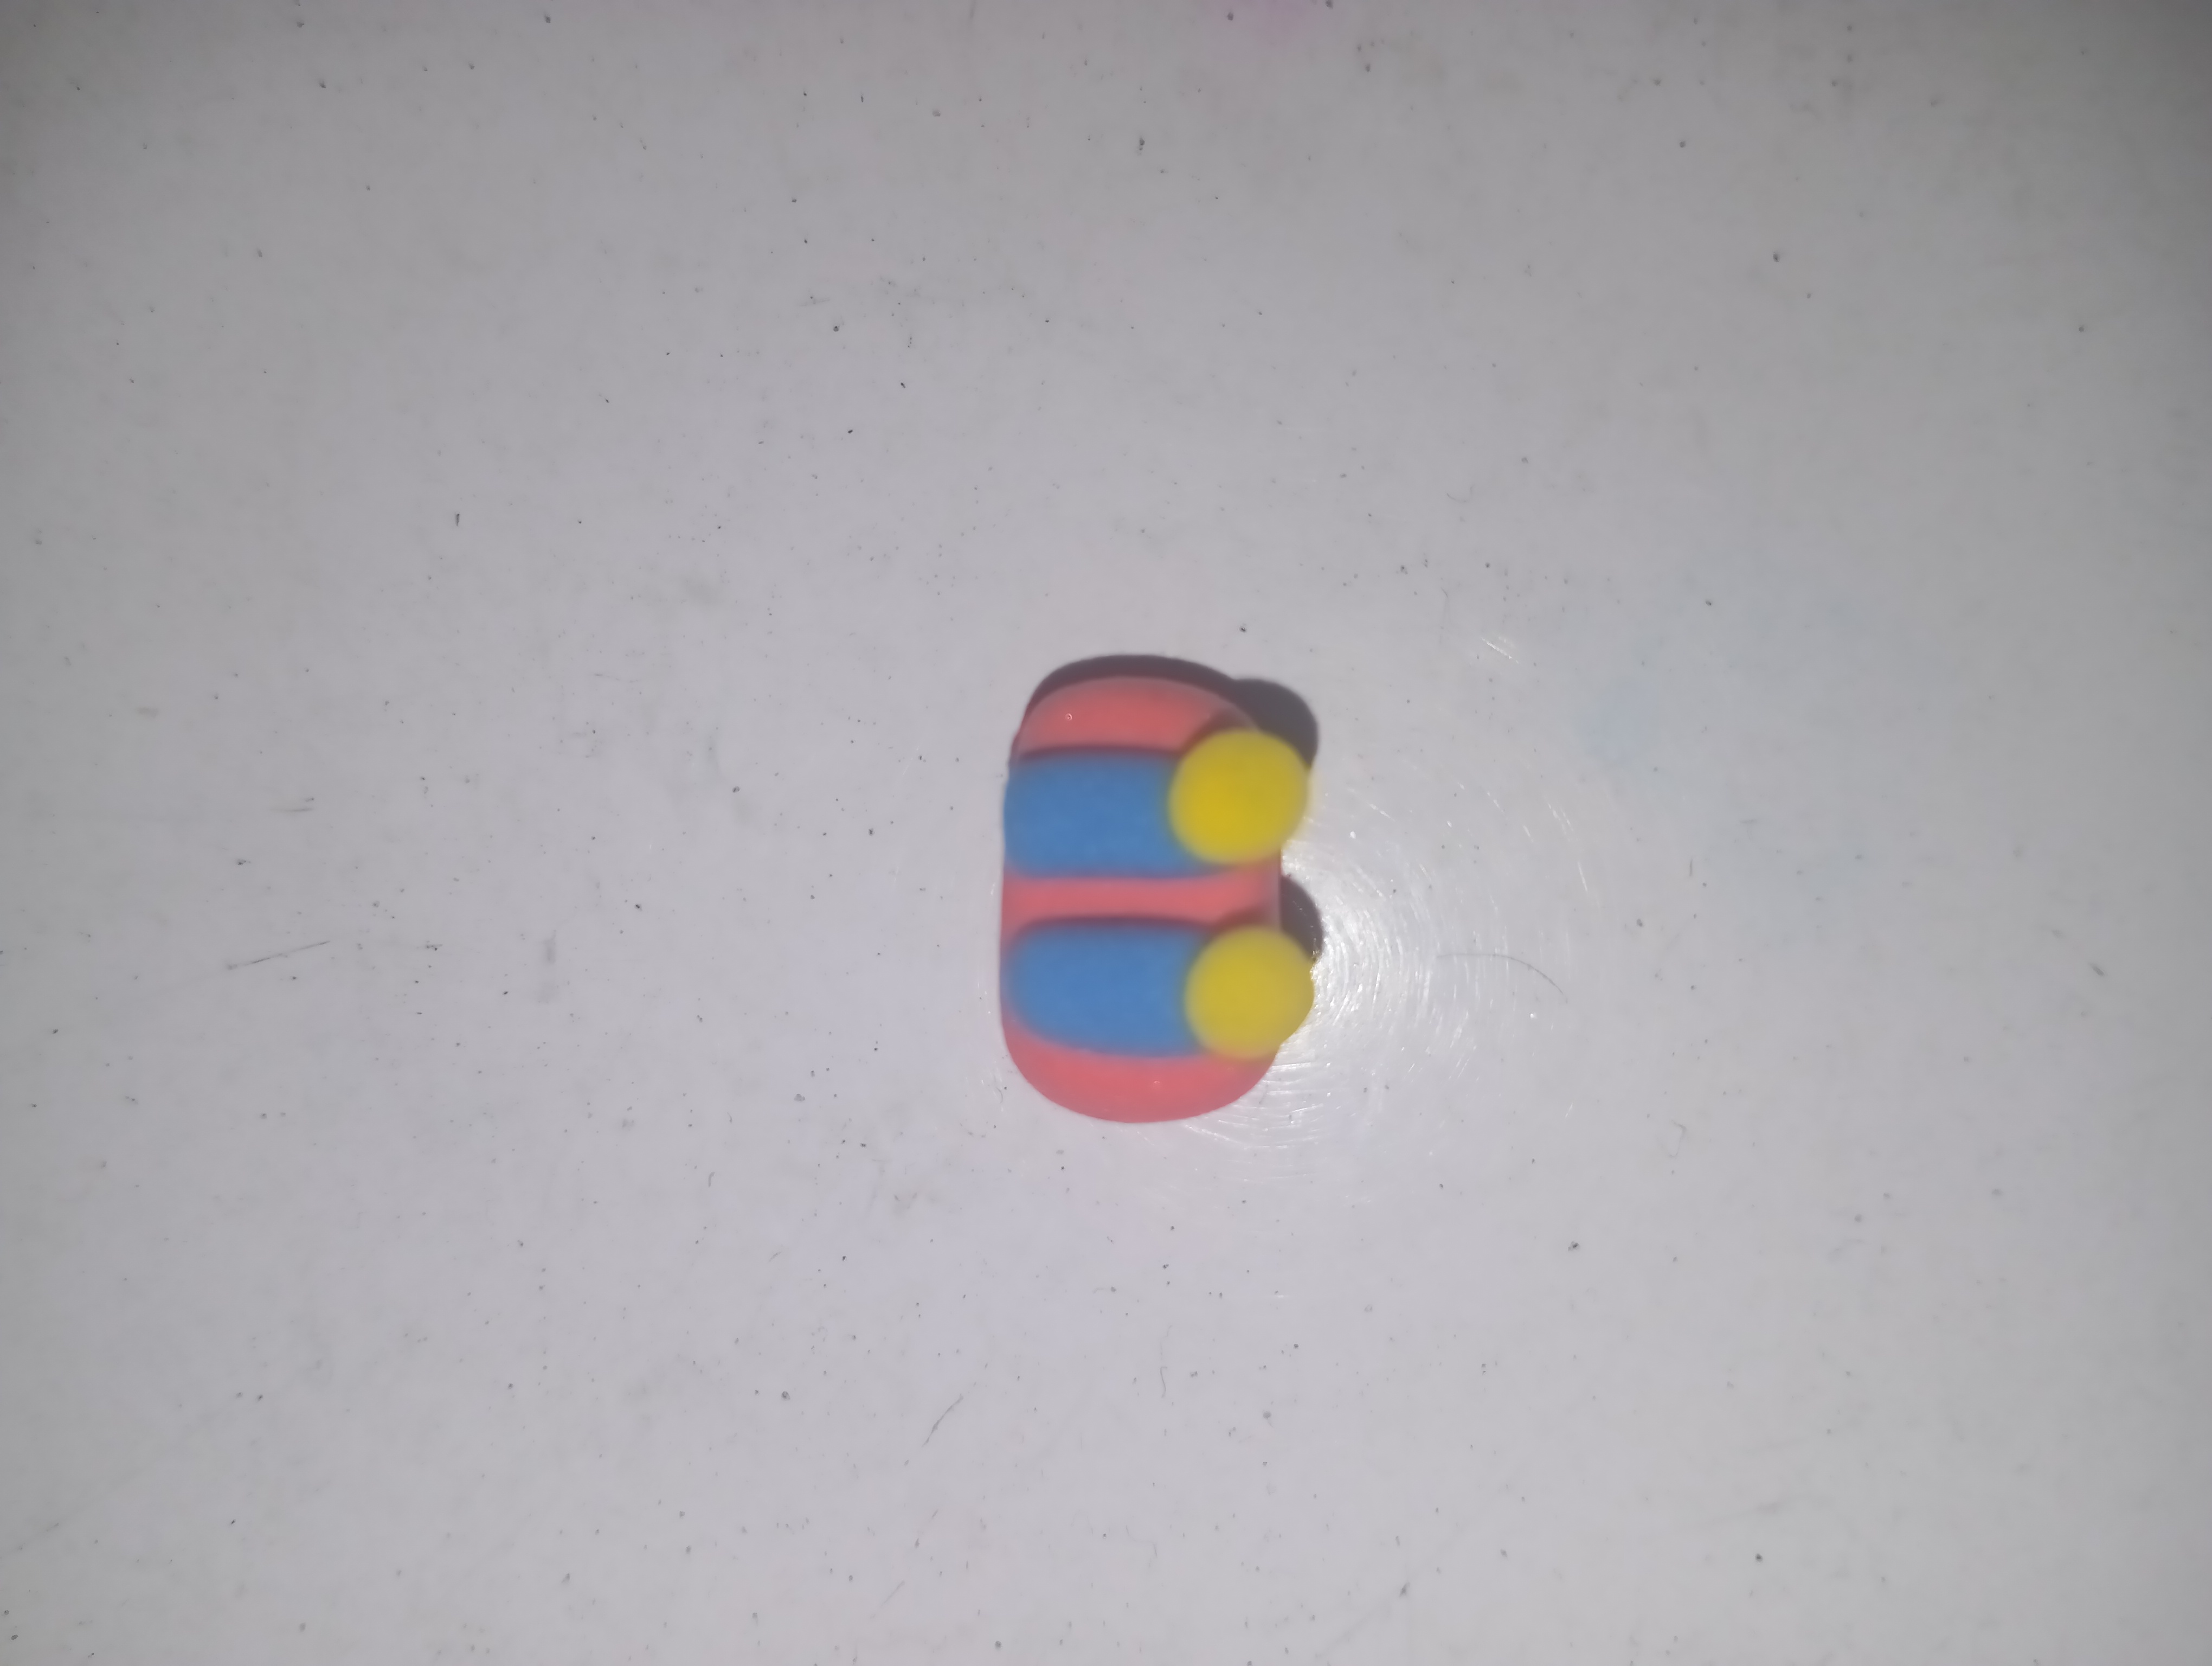
4️⃣ Preparation of the body
Prepare the pants by making a semi-circular shape out of blue clay. Make a shirt from the red clay and fold it over the blue part. Make two small round buttons of yellow color and attach them to the front.
|
|
|
|
|
|
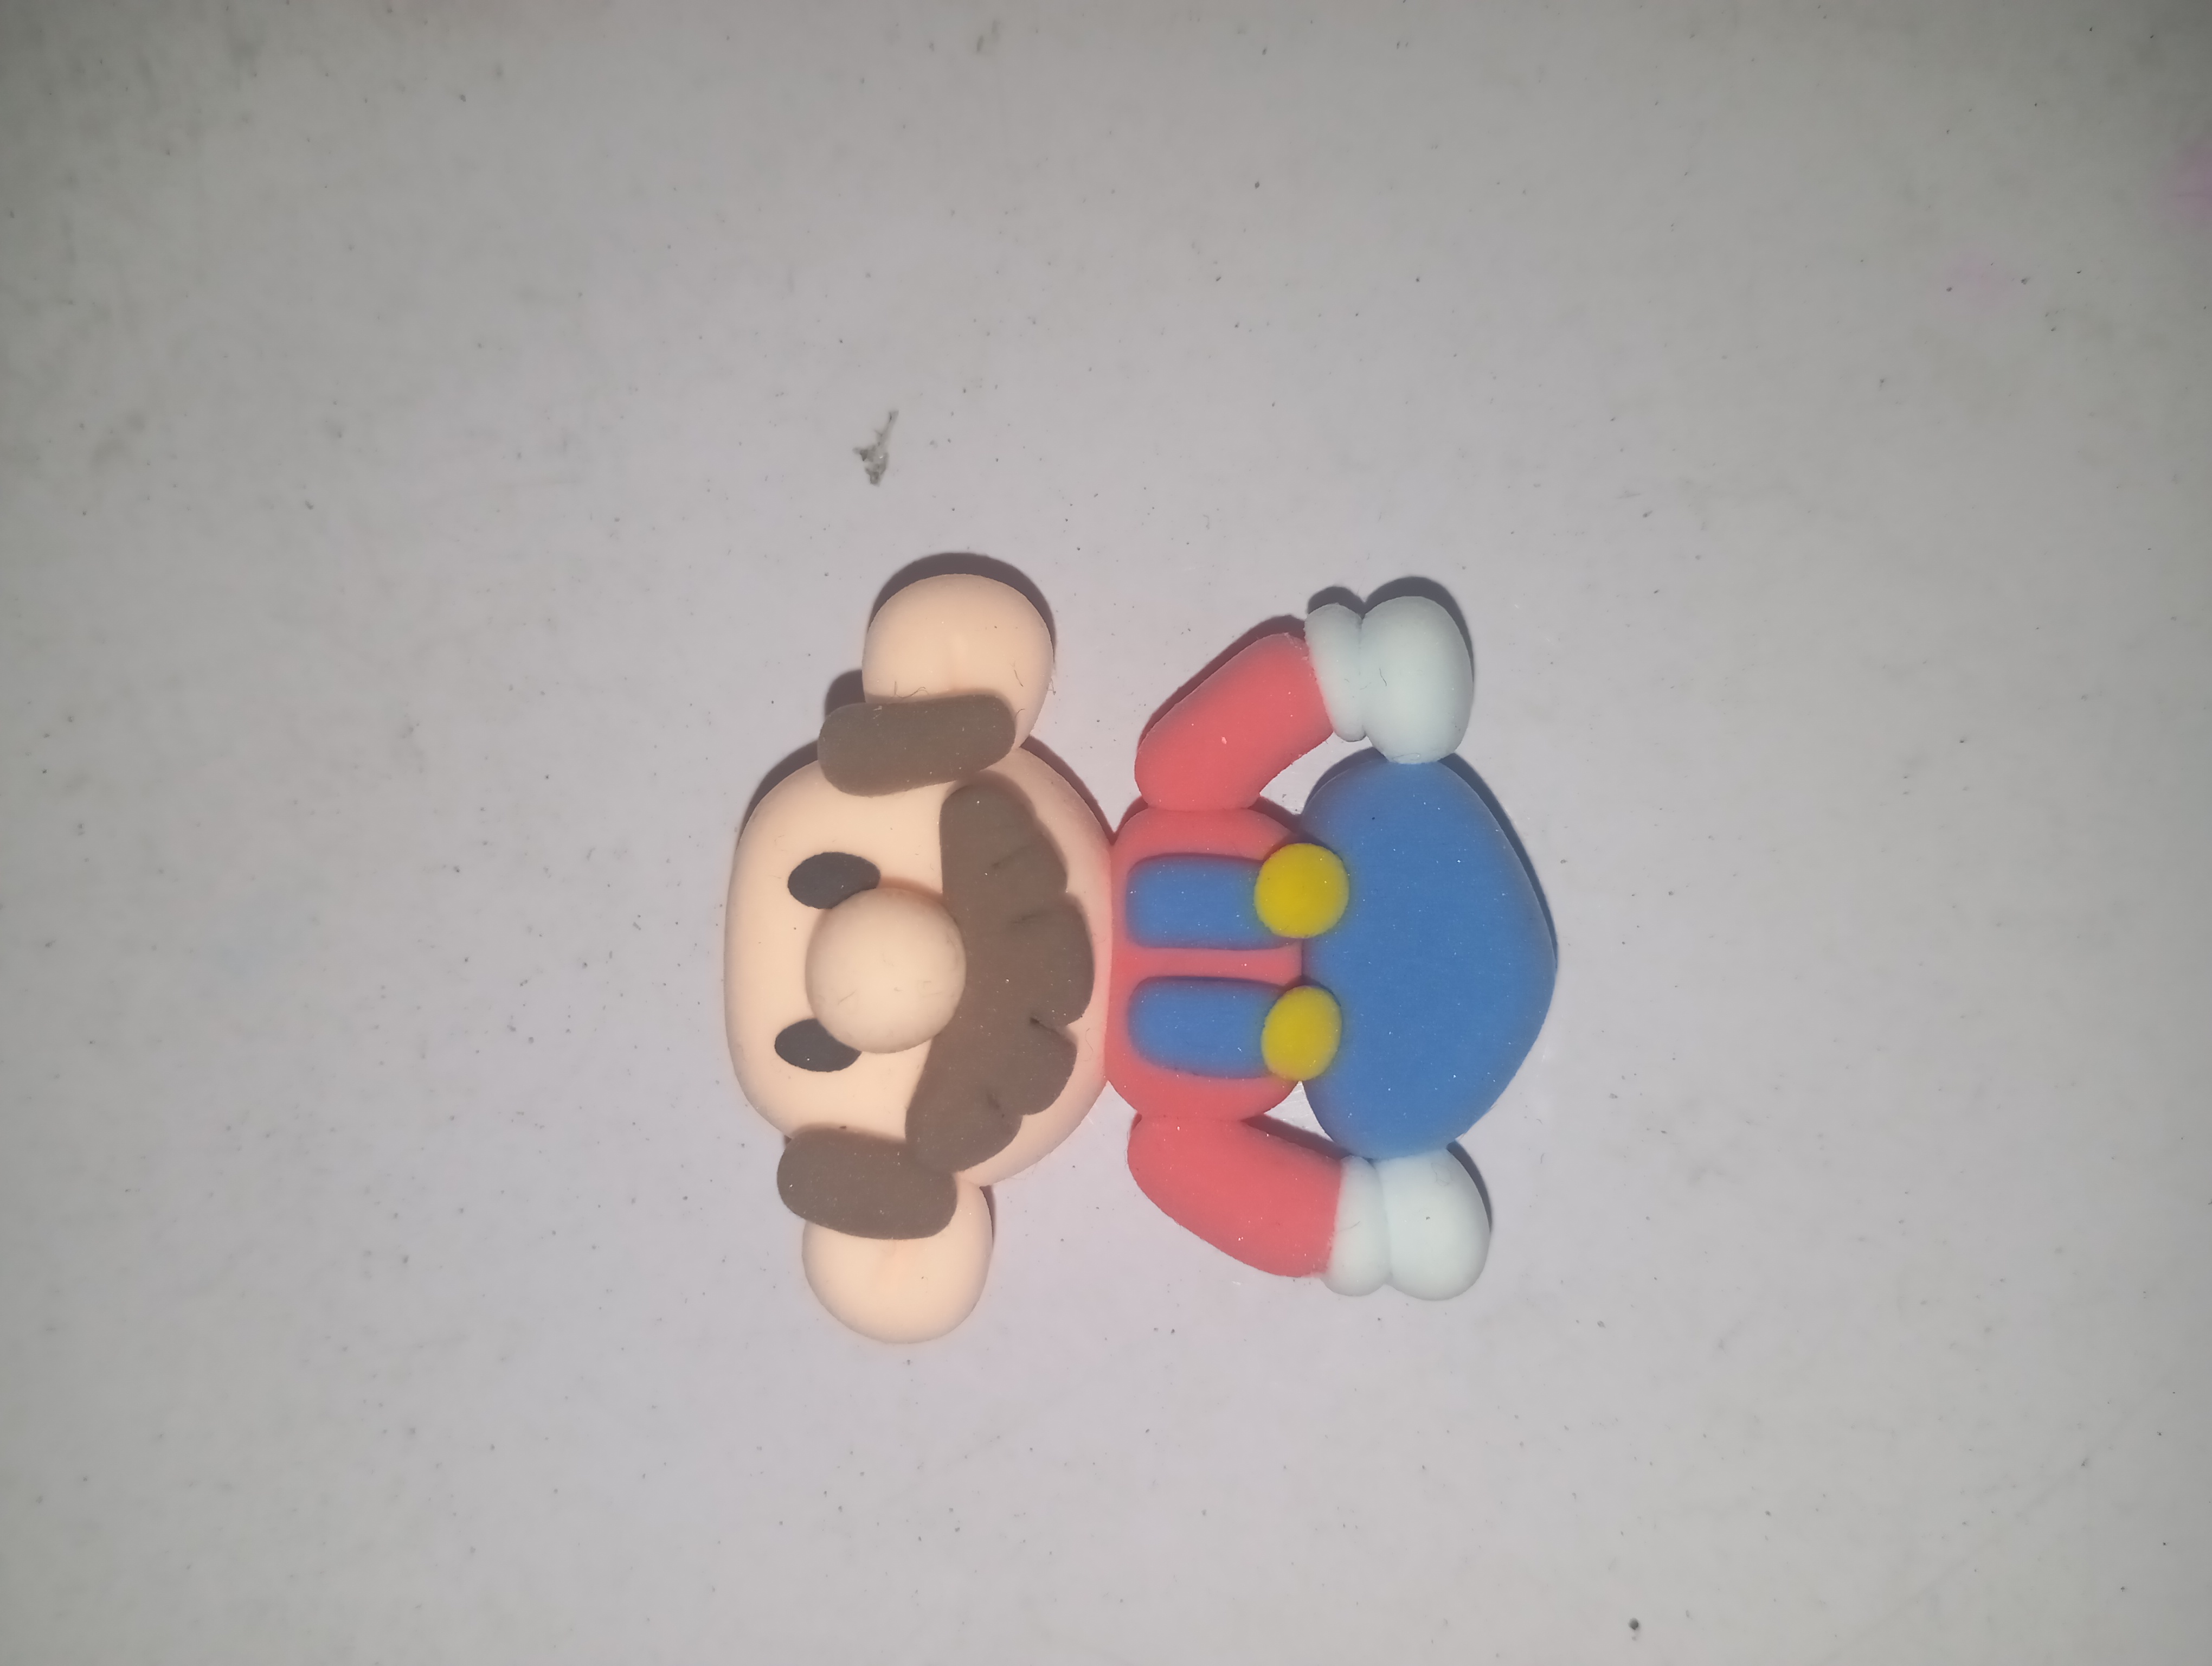
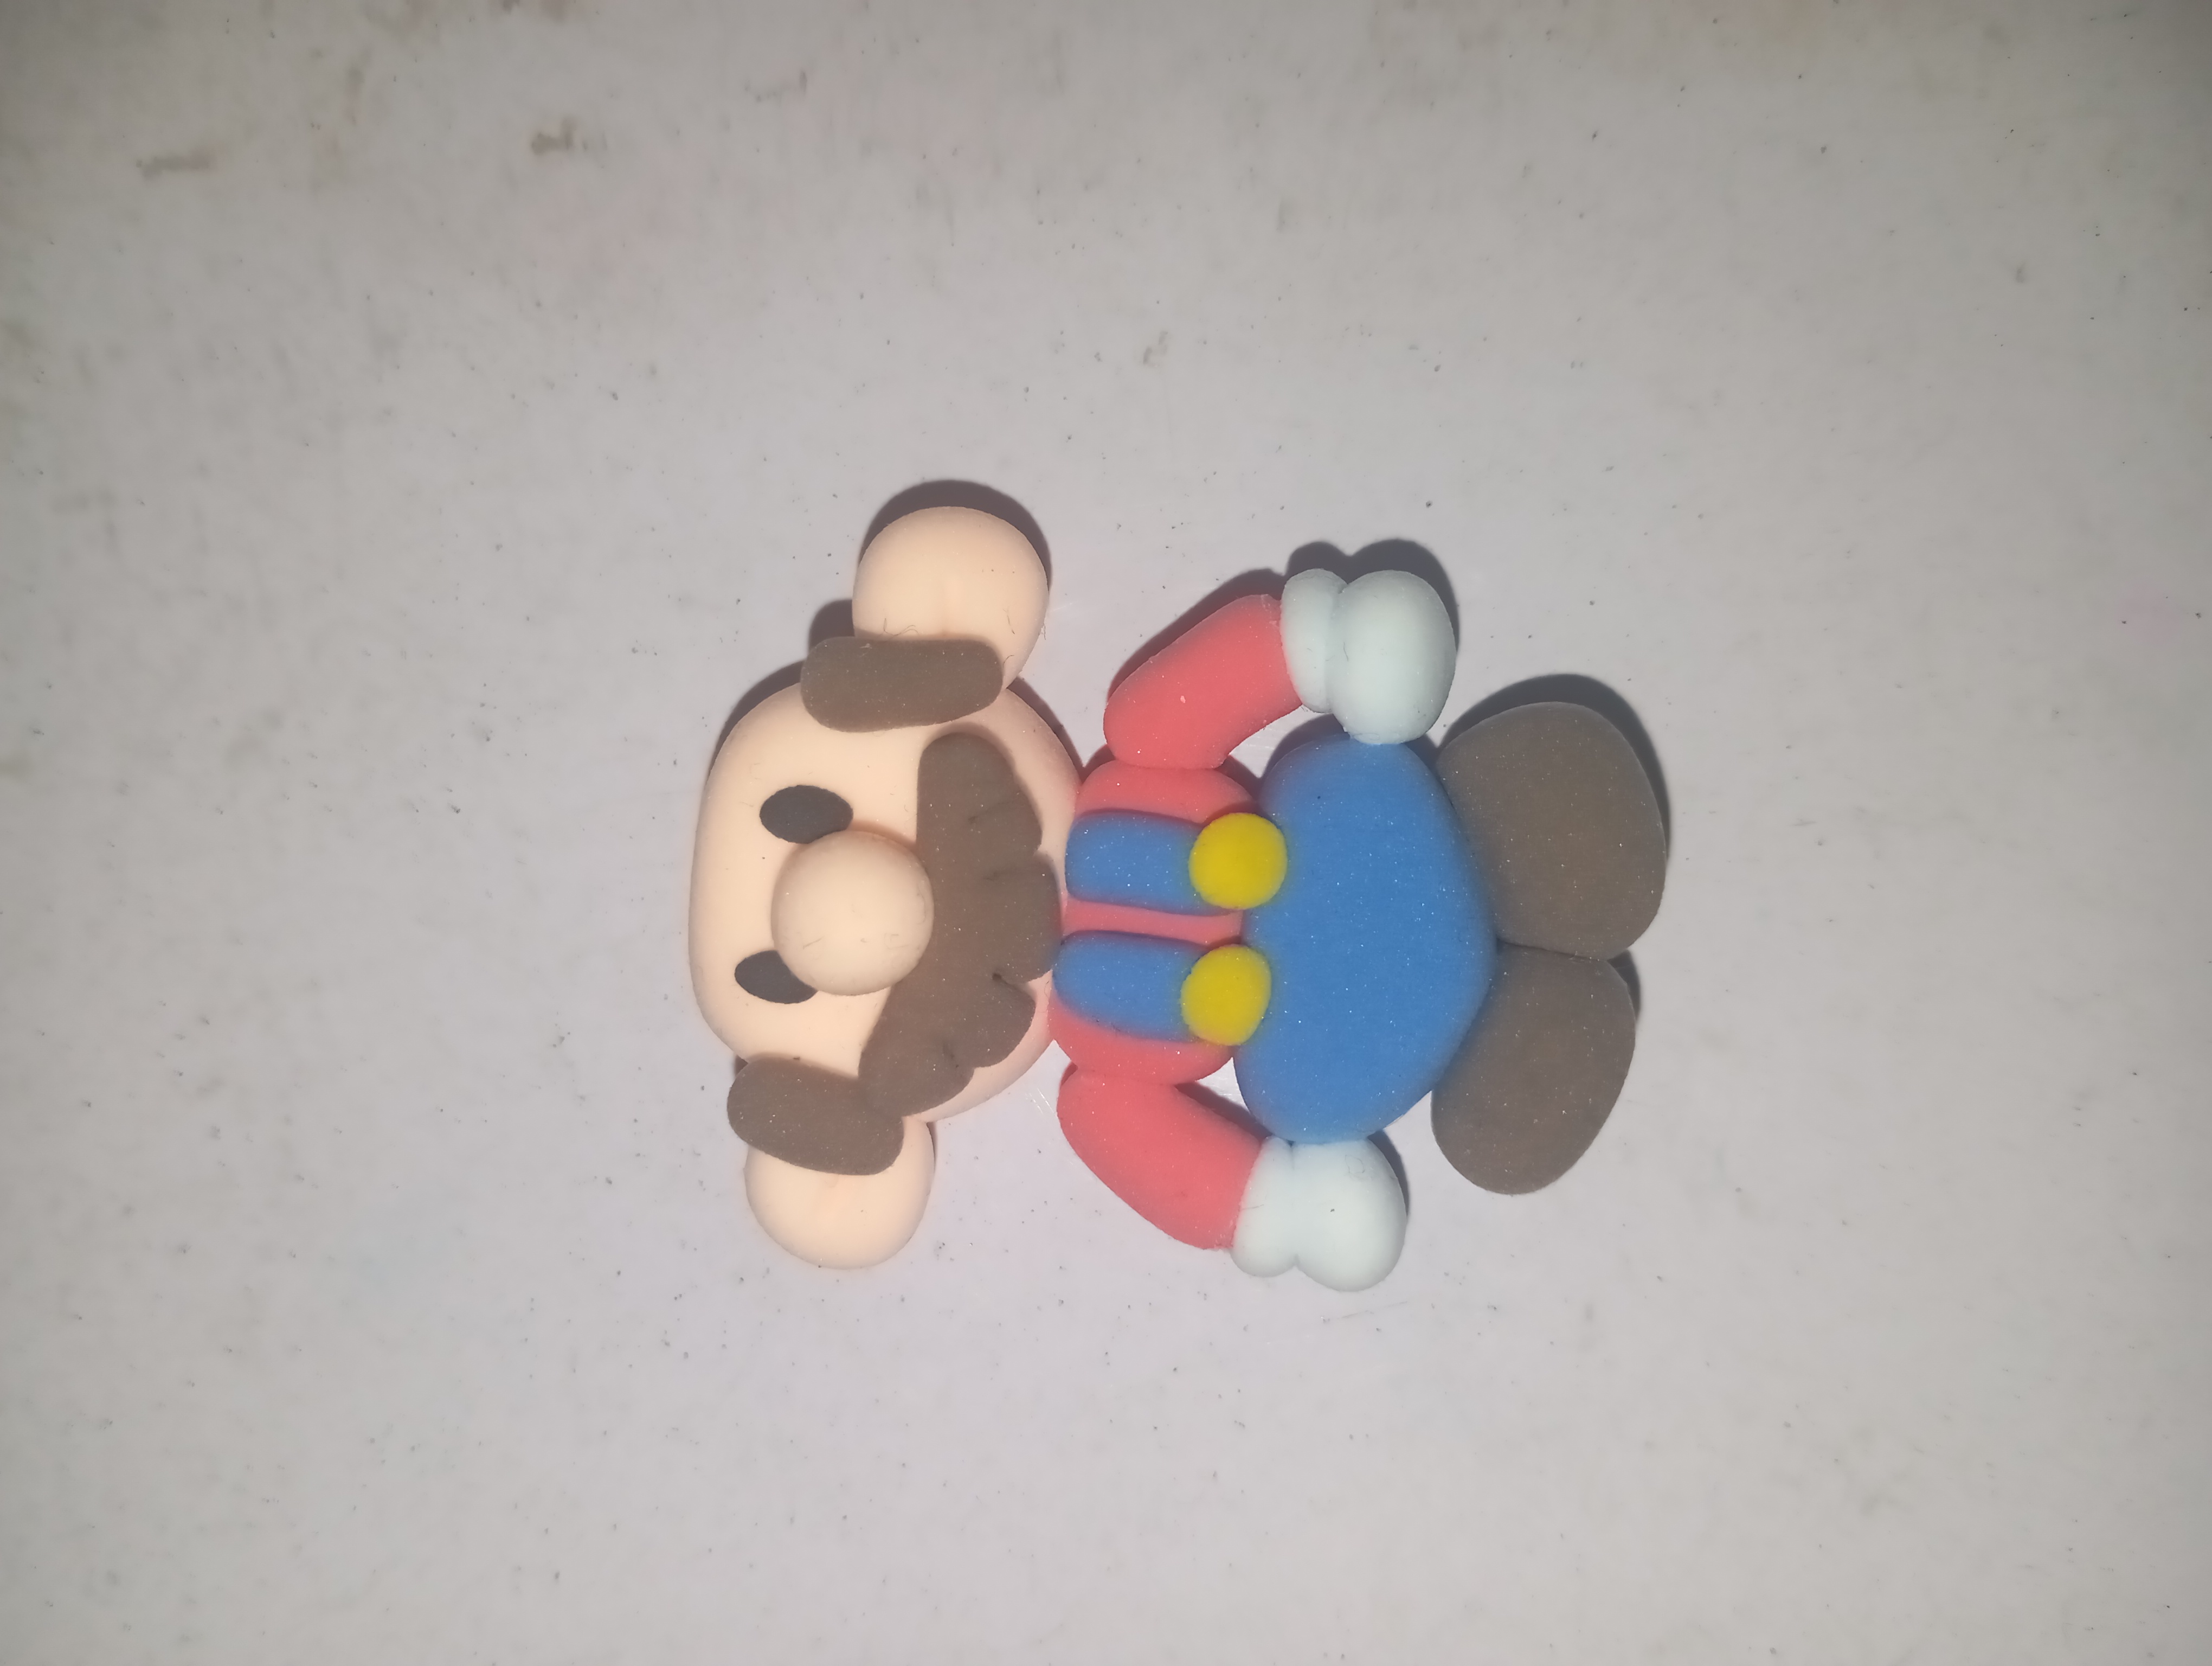
5️⃣ Shoes
Make two oval shapes out of brown clay. Apply evenly under the body.
|
|
|

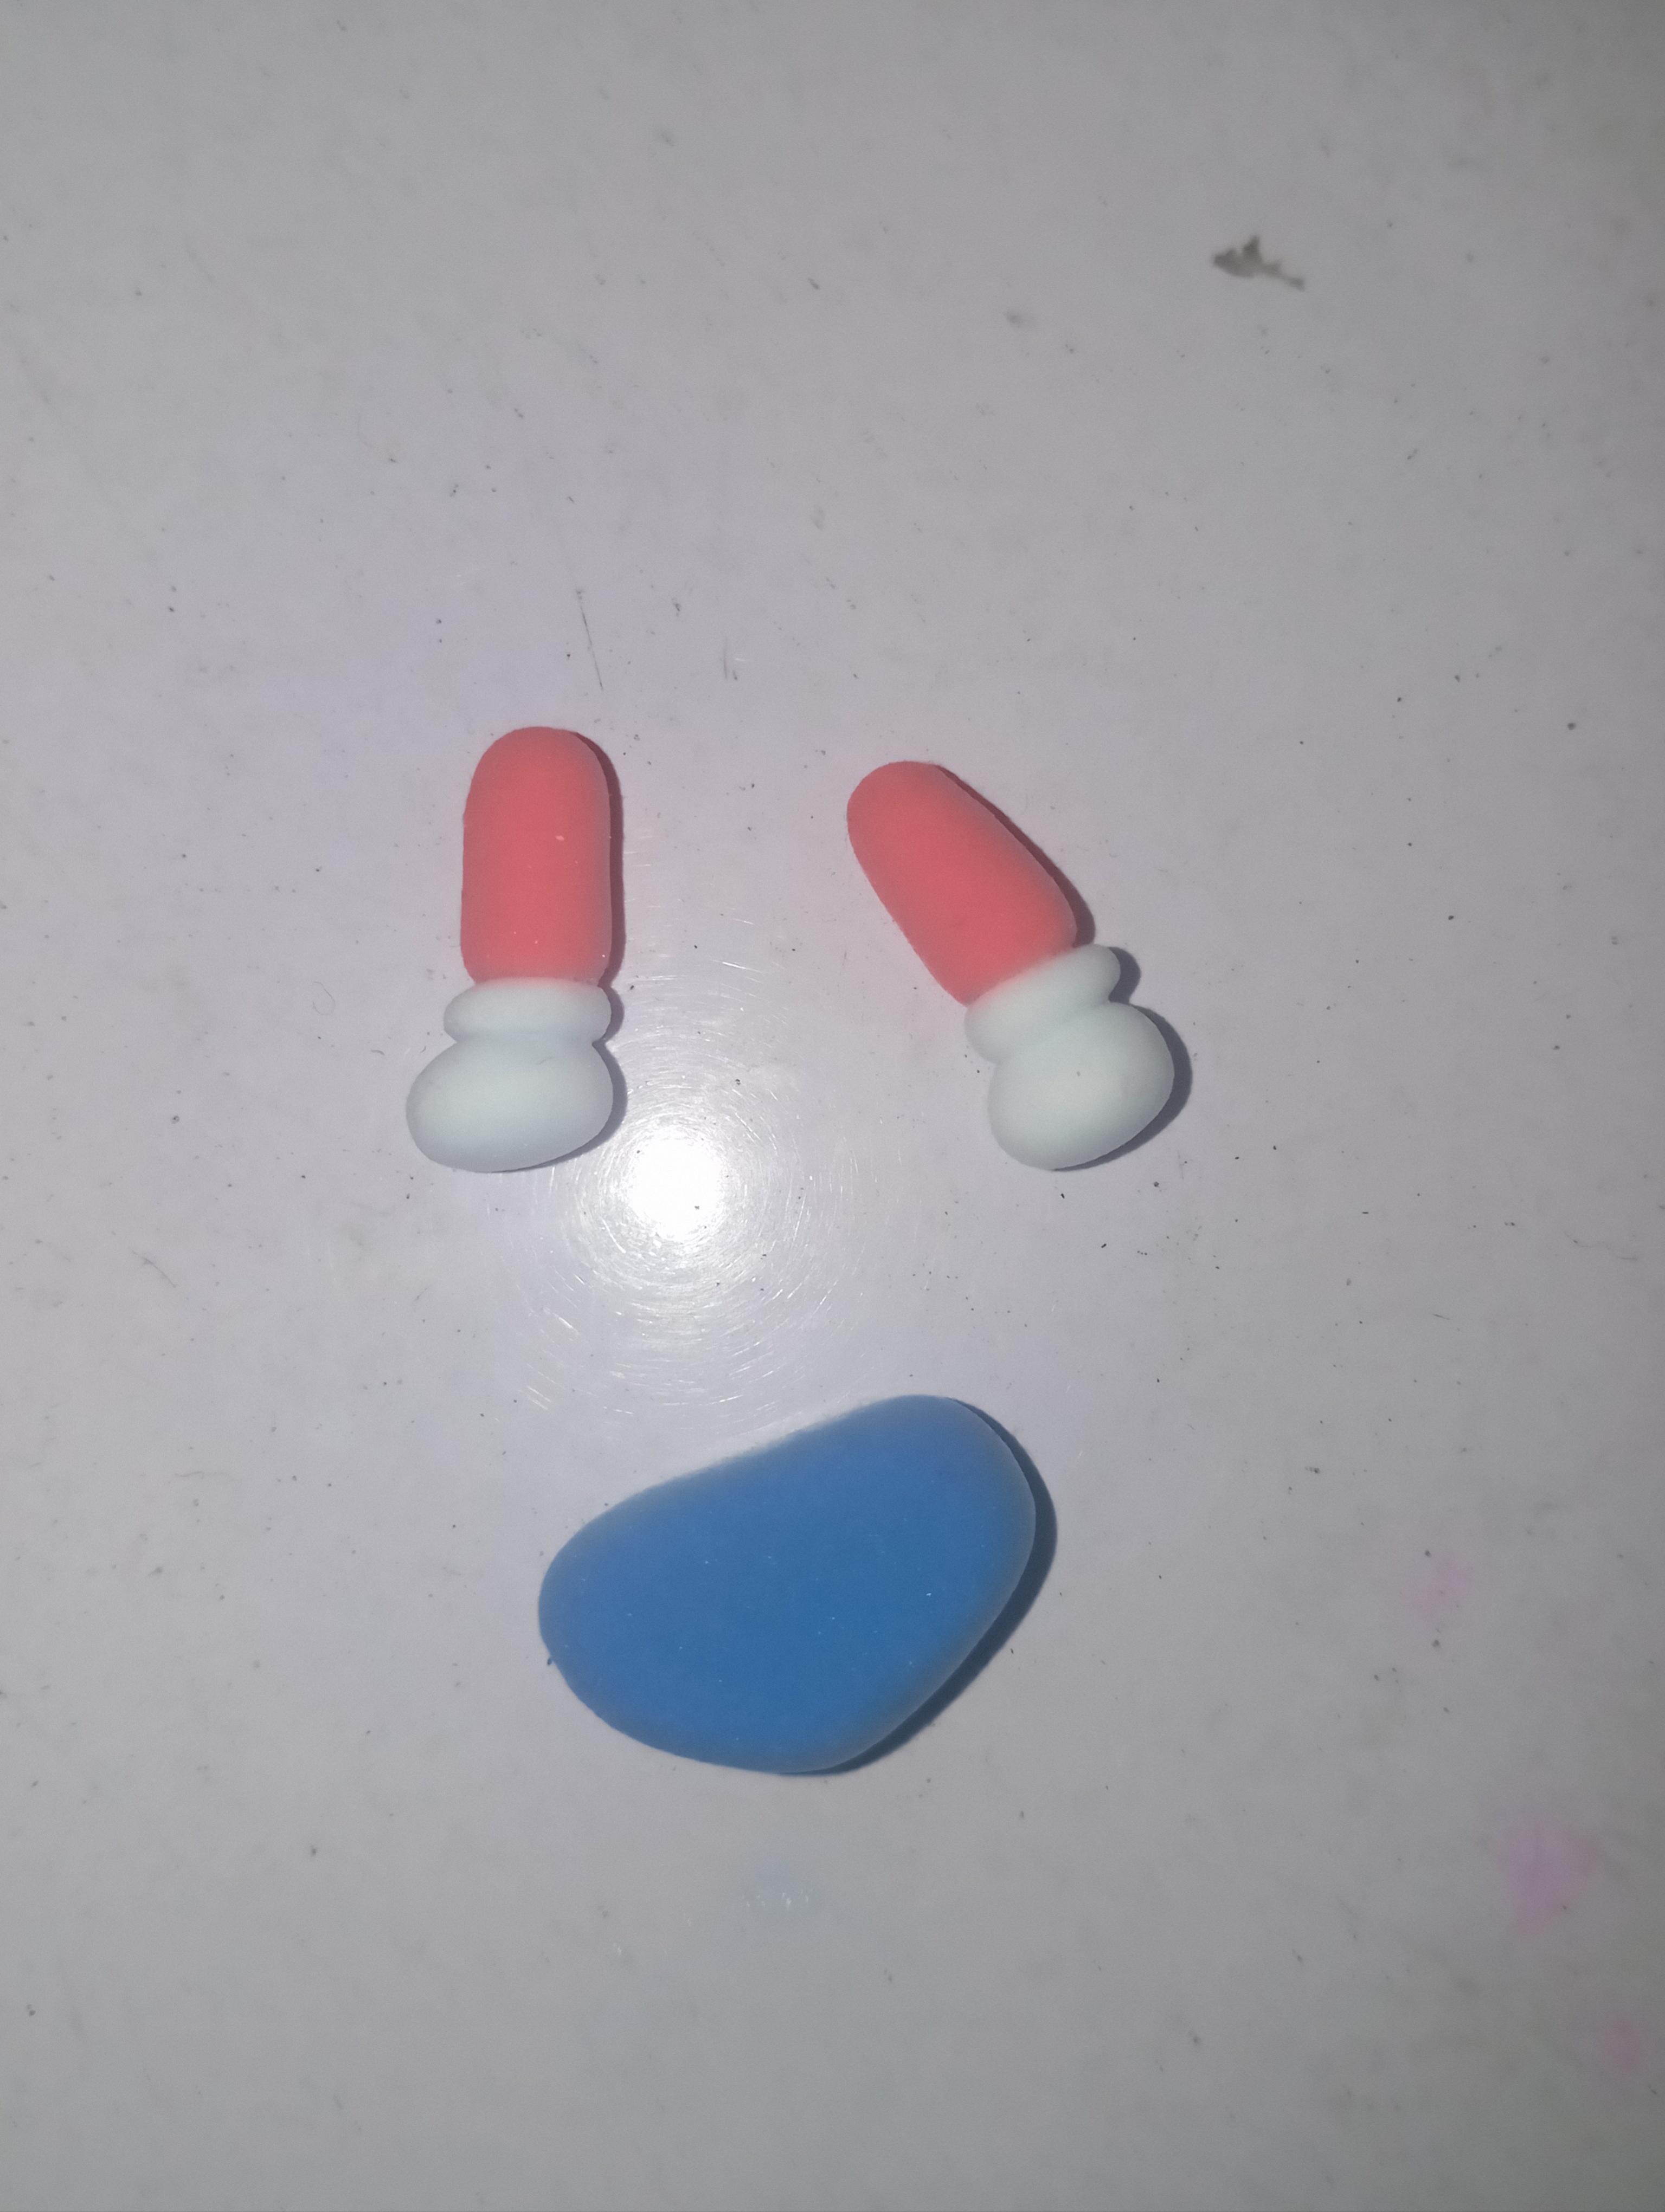
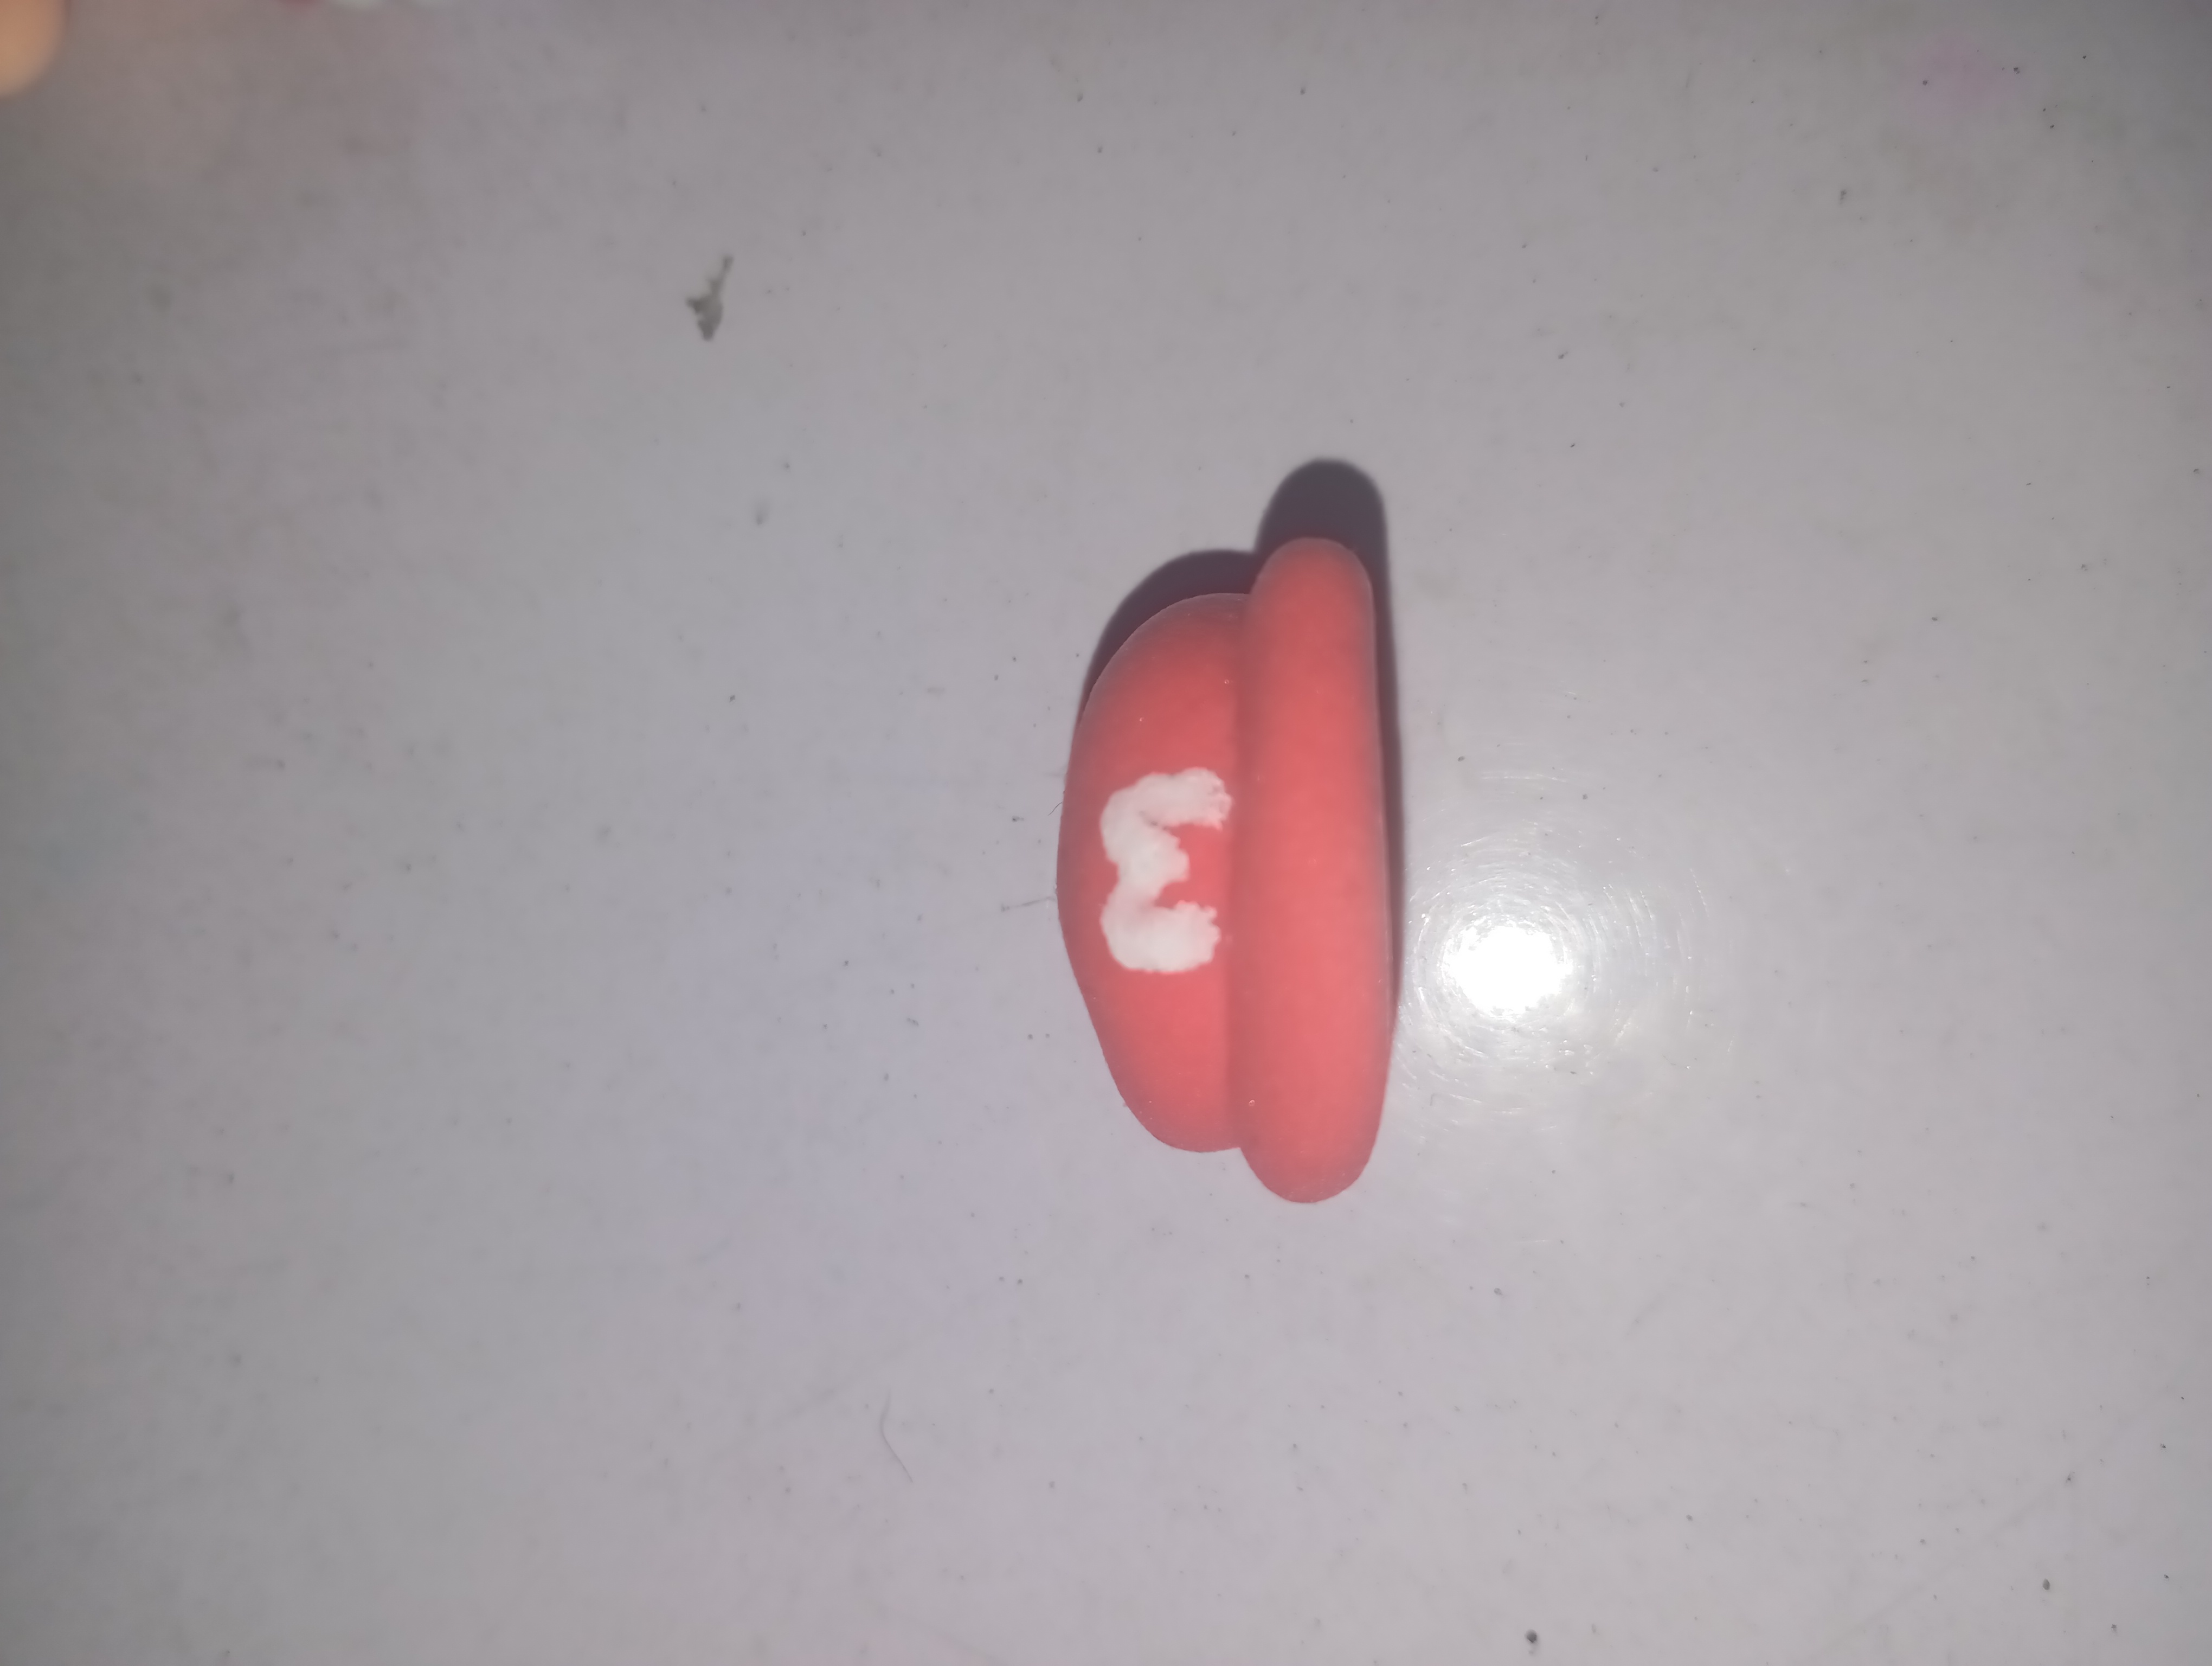
6️⃣ hat
Make a round hat out of red clay. Make a white mark or letter in front. Carefully place on the head and fix.
|
|
|
The final touch
Clean all edges with finger or toothpick.
If there is a mark, smooth it slightly.
Allow it to dry after completion.
Always keep your hands clean before mixing the colors so that the colors don't spoil. Work with patience, because beautiful art takes time.
Hope this step by step guide will be helpful for you. If you make one, be sure to share!
With Warm,
@mohammad1076
X link
https://x.com/i/status/2024214008681902234