Pencil drawing || Capturing a Joyful Expression
Hello everyone!,
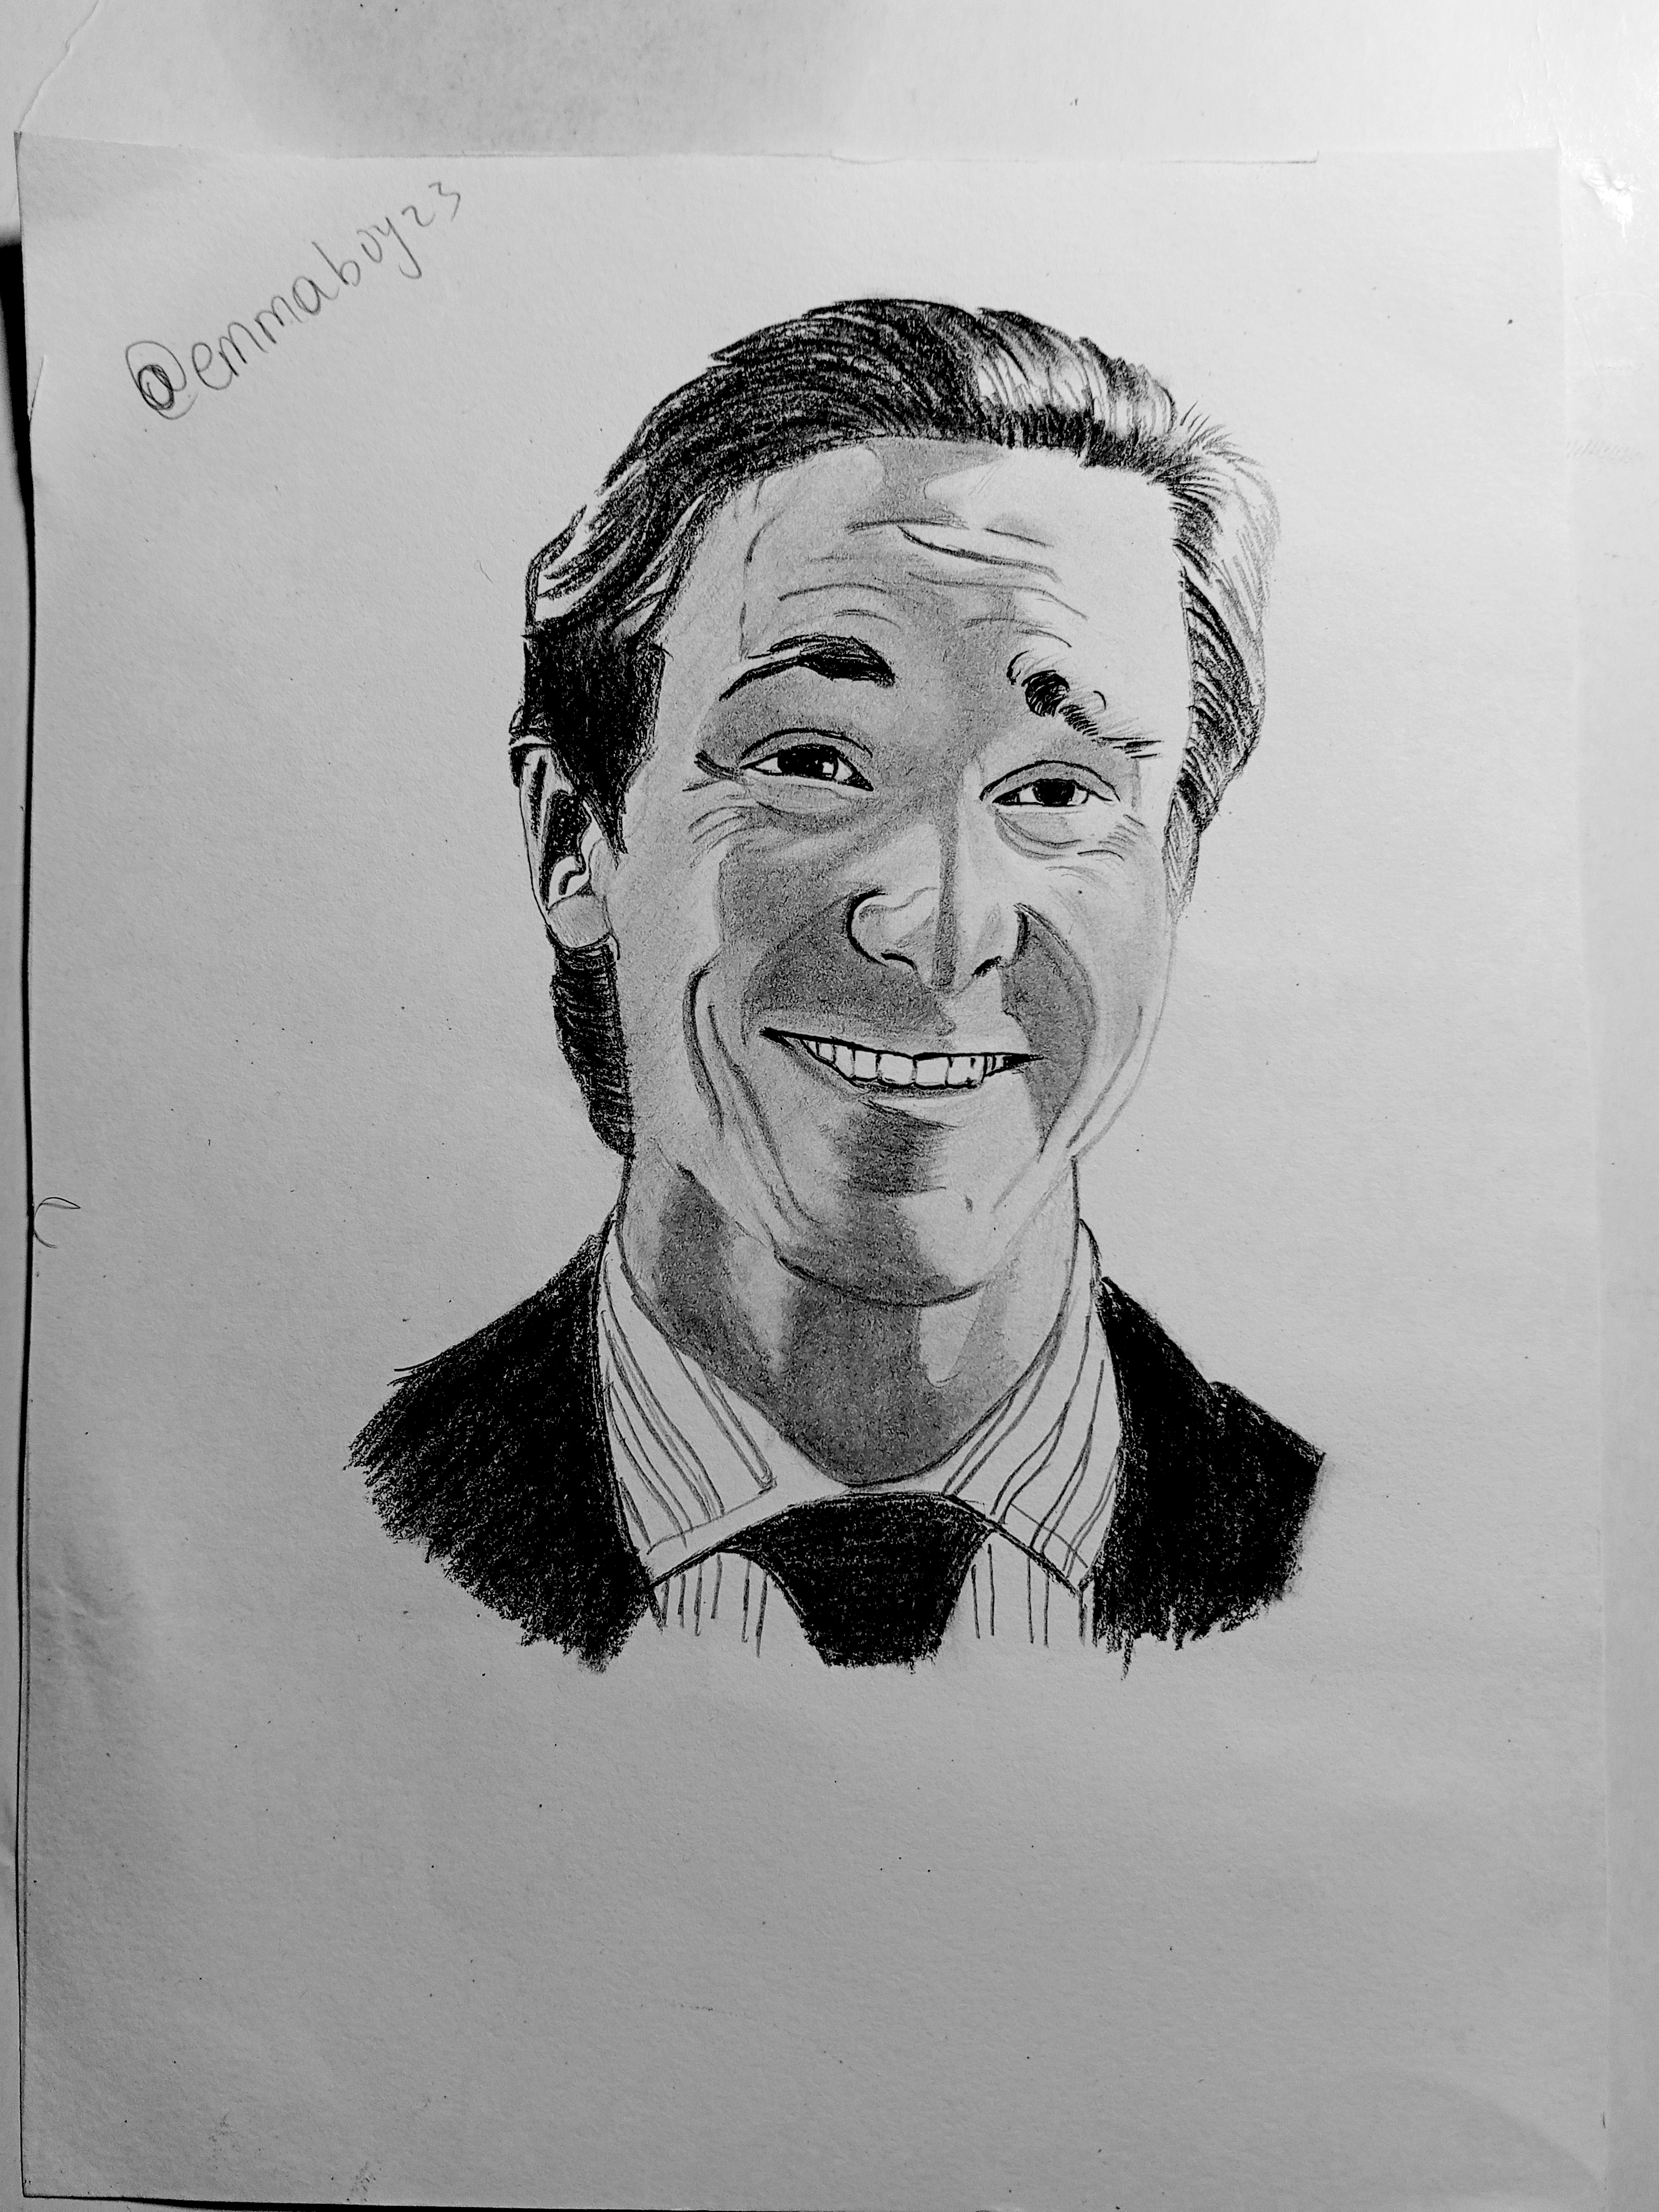
Greetings to all my fellow Steemians and art lovers!, hope everyone is doing okay and well. Today I am excited to be sharing another pencil drawing with you all and i hope you like it. This artwork was an enjoyable piece for me because I wanted to focus on capturing a cheerful expression and showing how different shades of graphite can bring a face to life. A good portrait is not only about getting the eyes, nose, and mouth in the right places. It is also about making the drawing feel alive. For this drawing, I decided to keep things simple and work mainly with graphite pencils on paper, let me take you through the process step by step.
Materials Needed
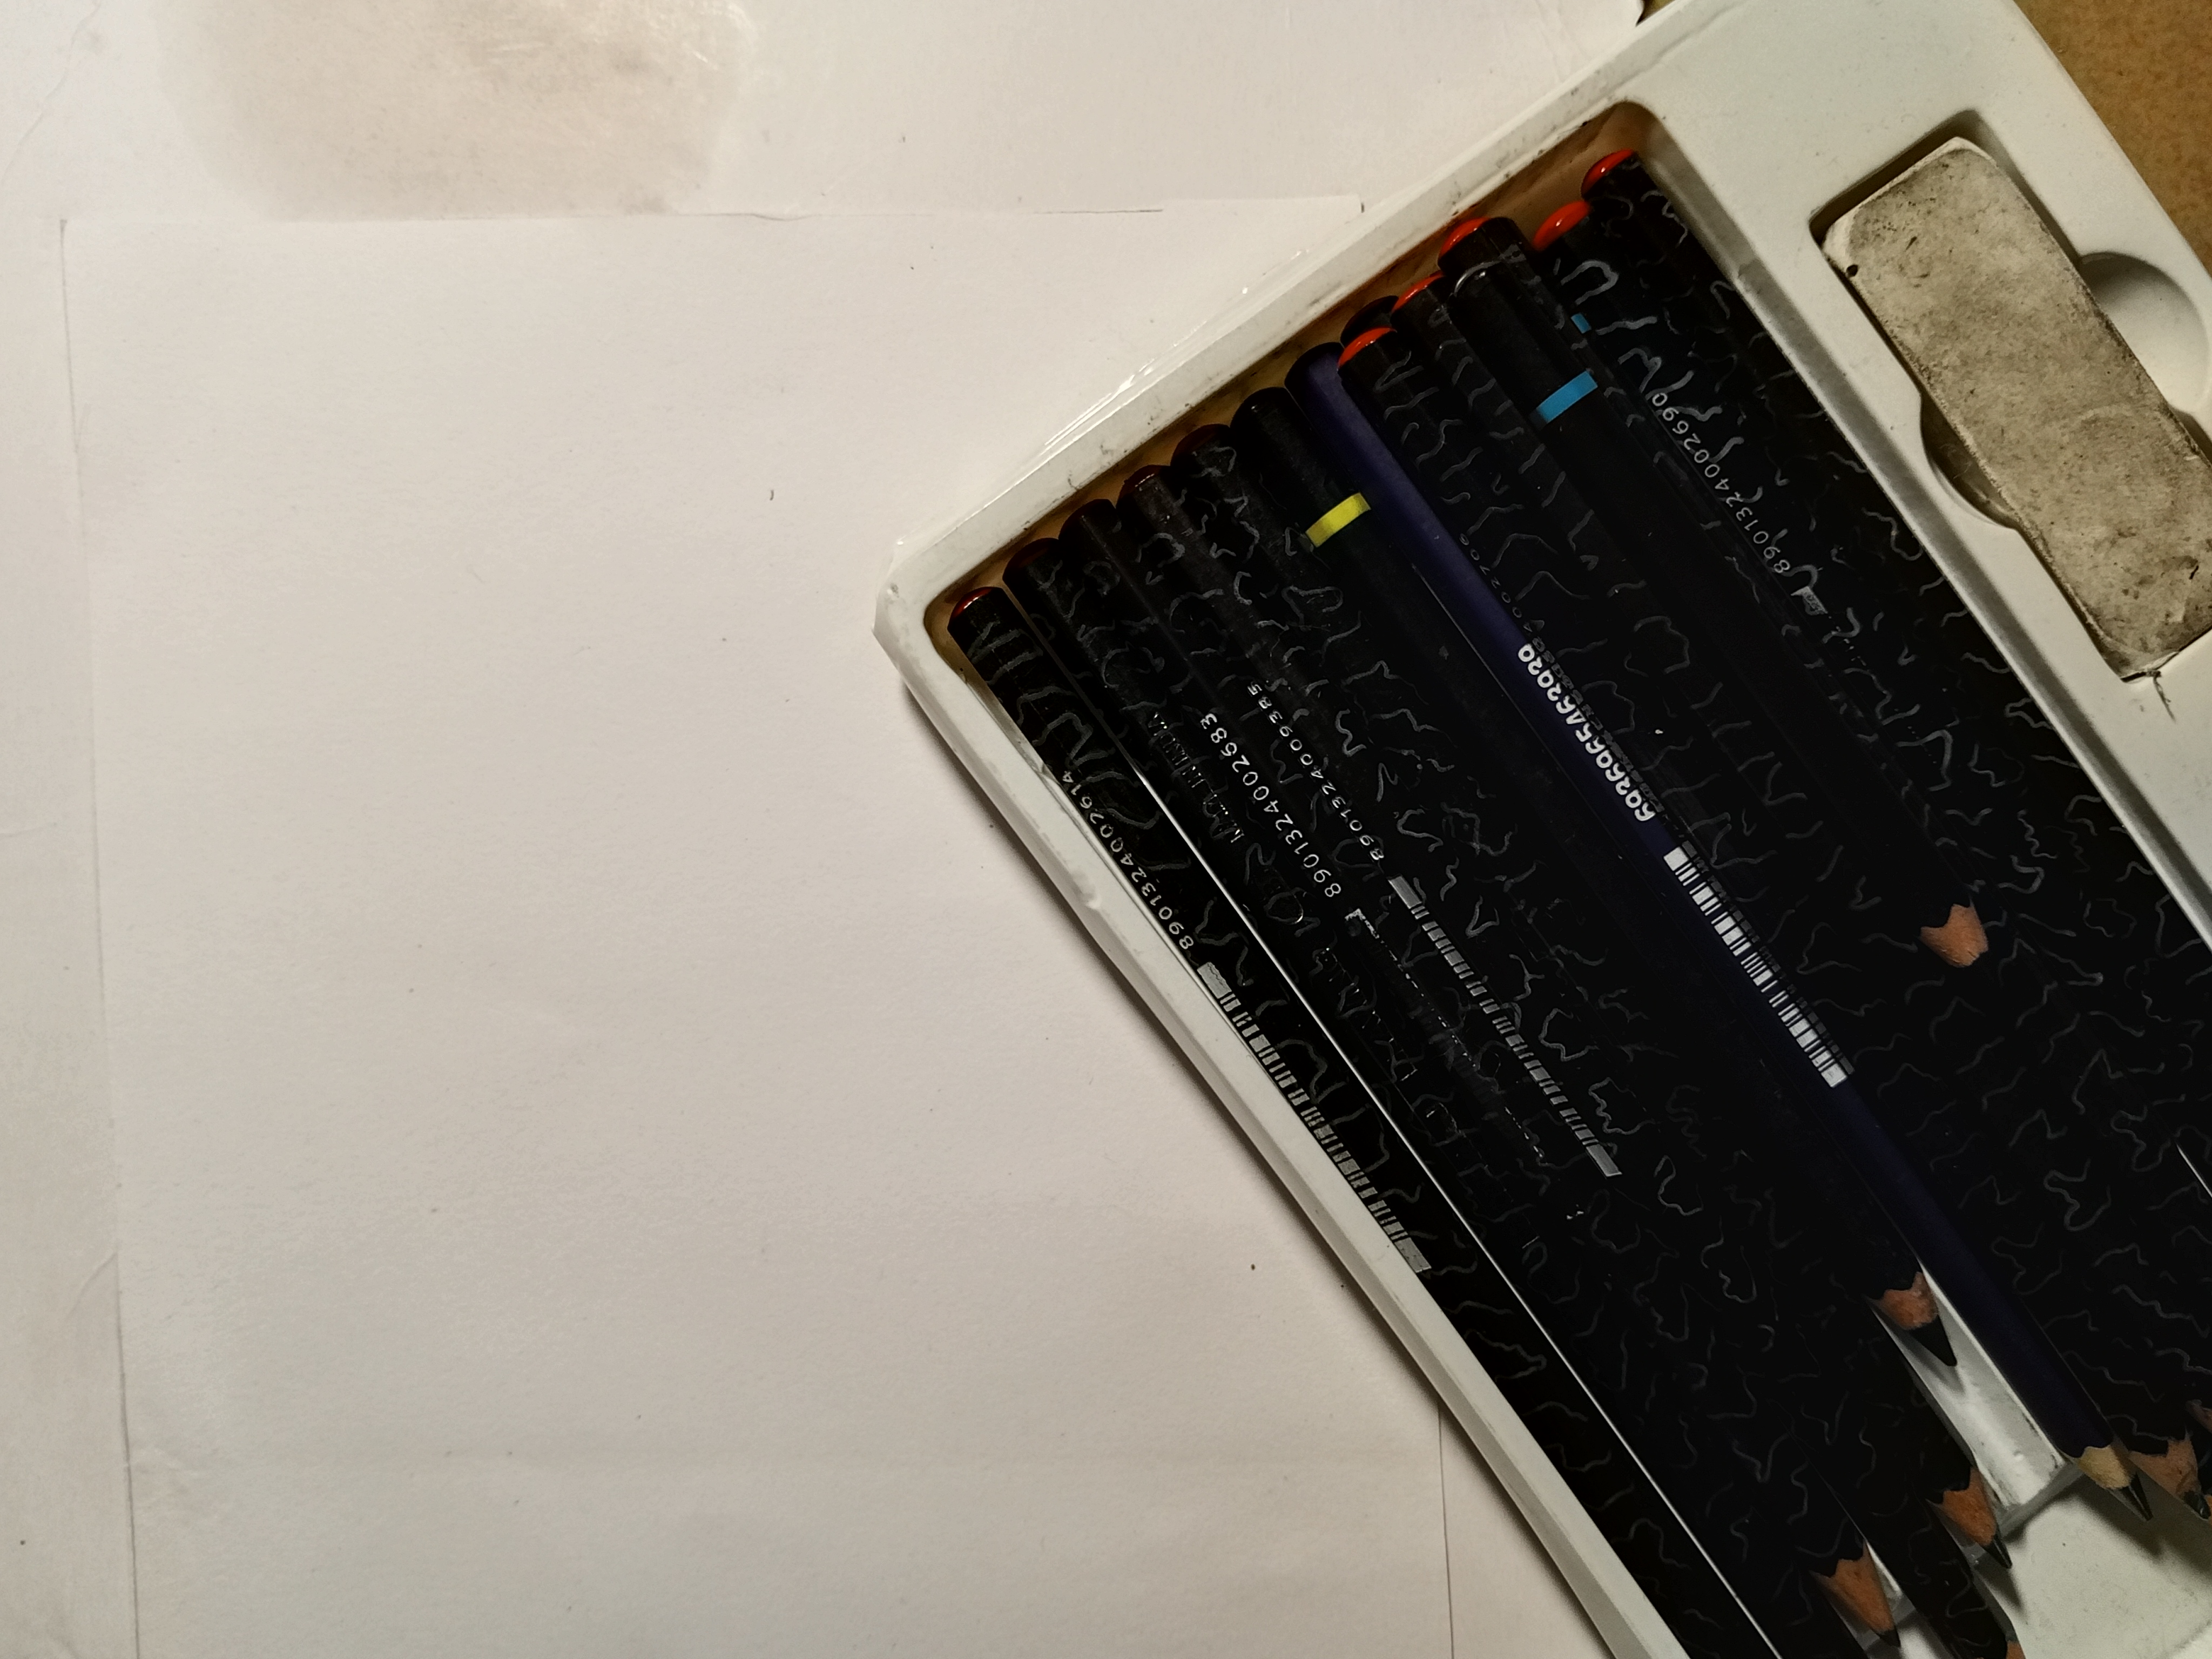
• A4 paper
• 3B, 4B and 6B pencil
• graphite pencil
• charcoal pencil
• black pen
• eraser
• pencil sharpener
• tissue or blending material
Step by step process
Step 1
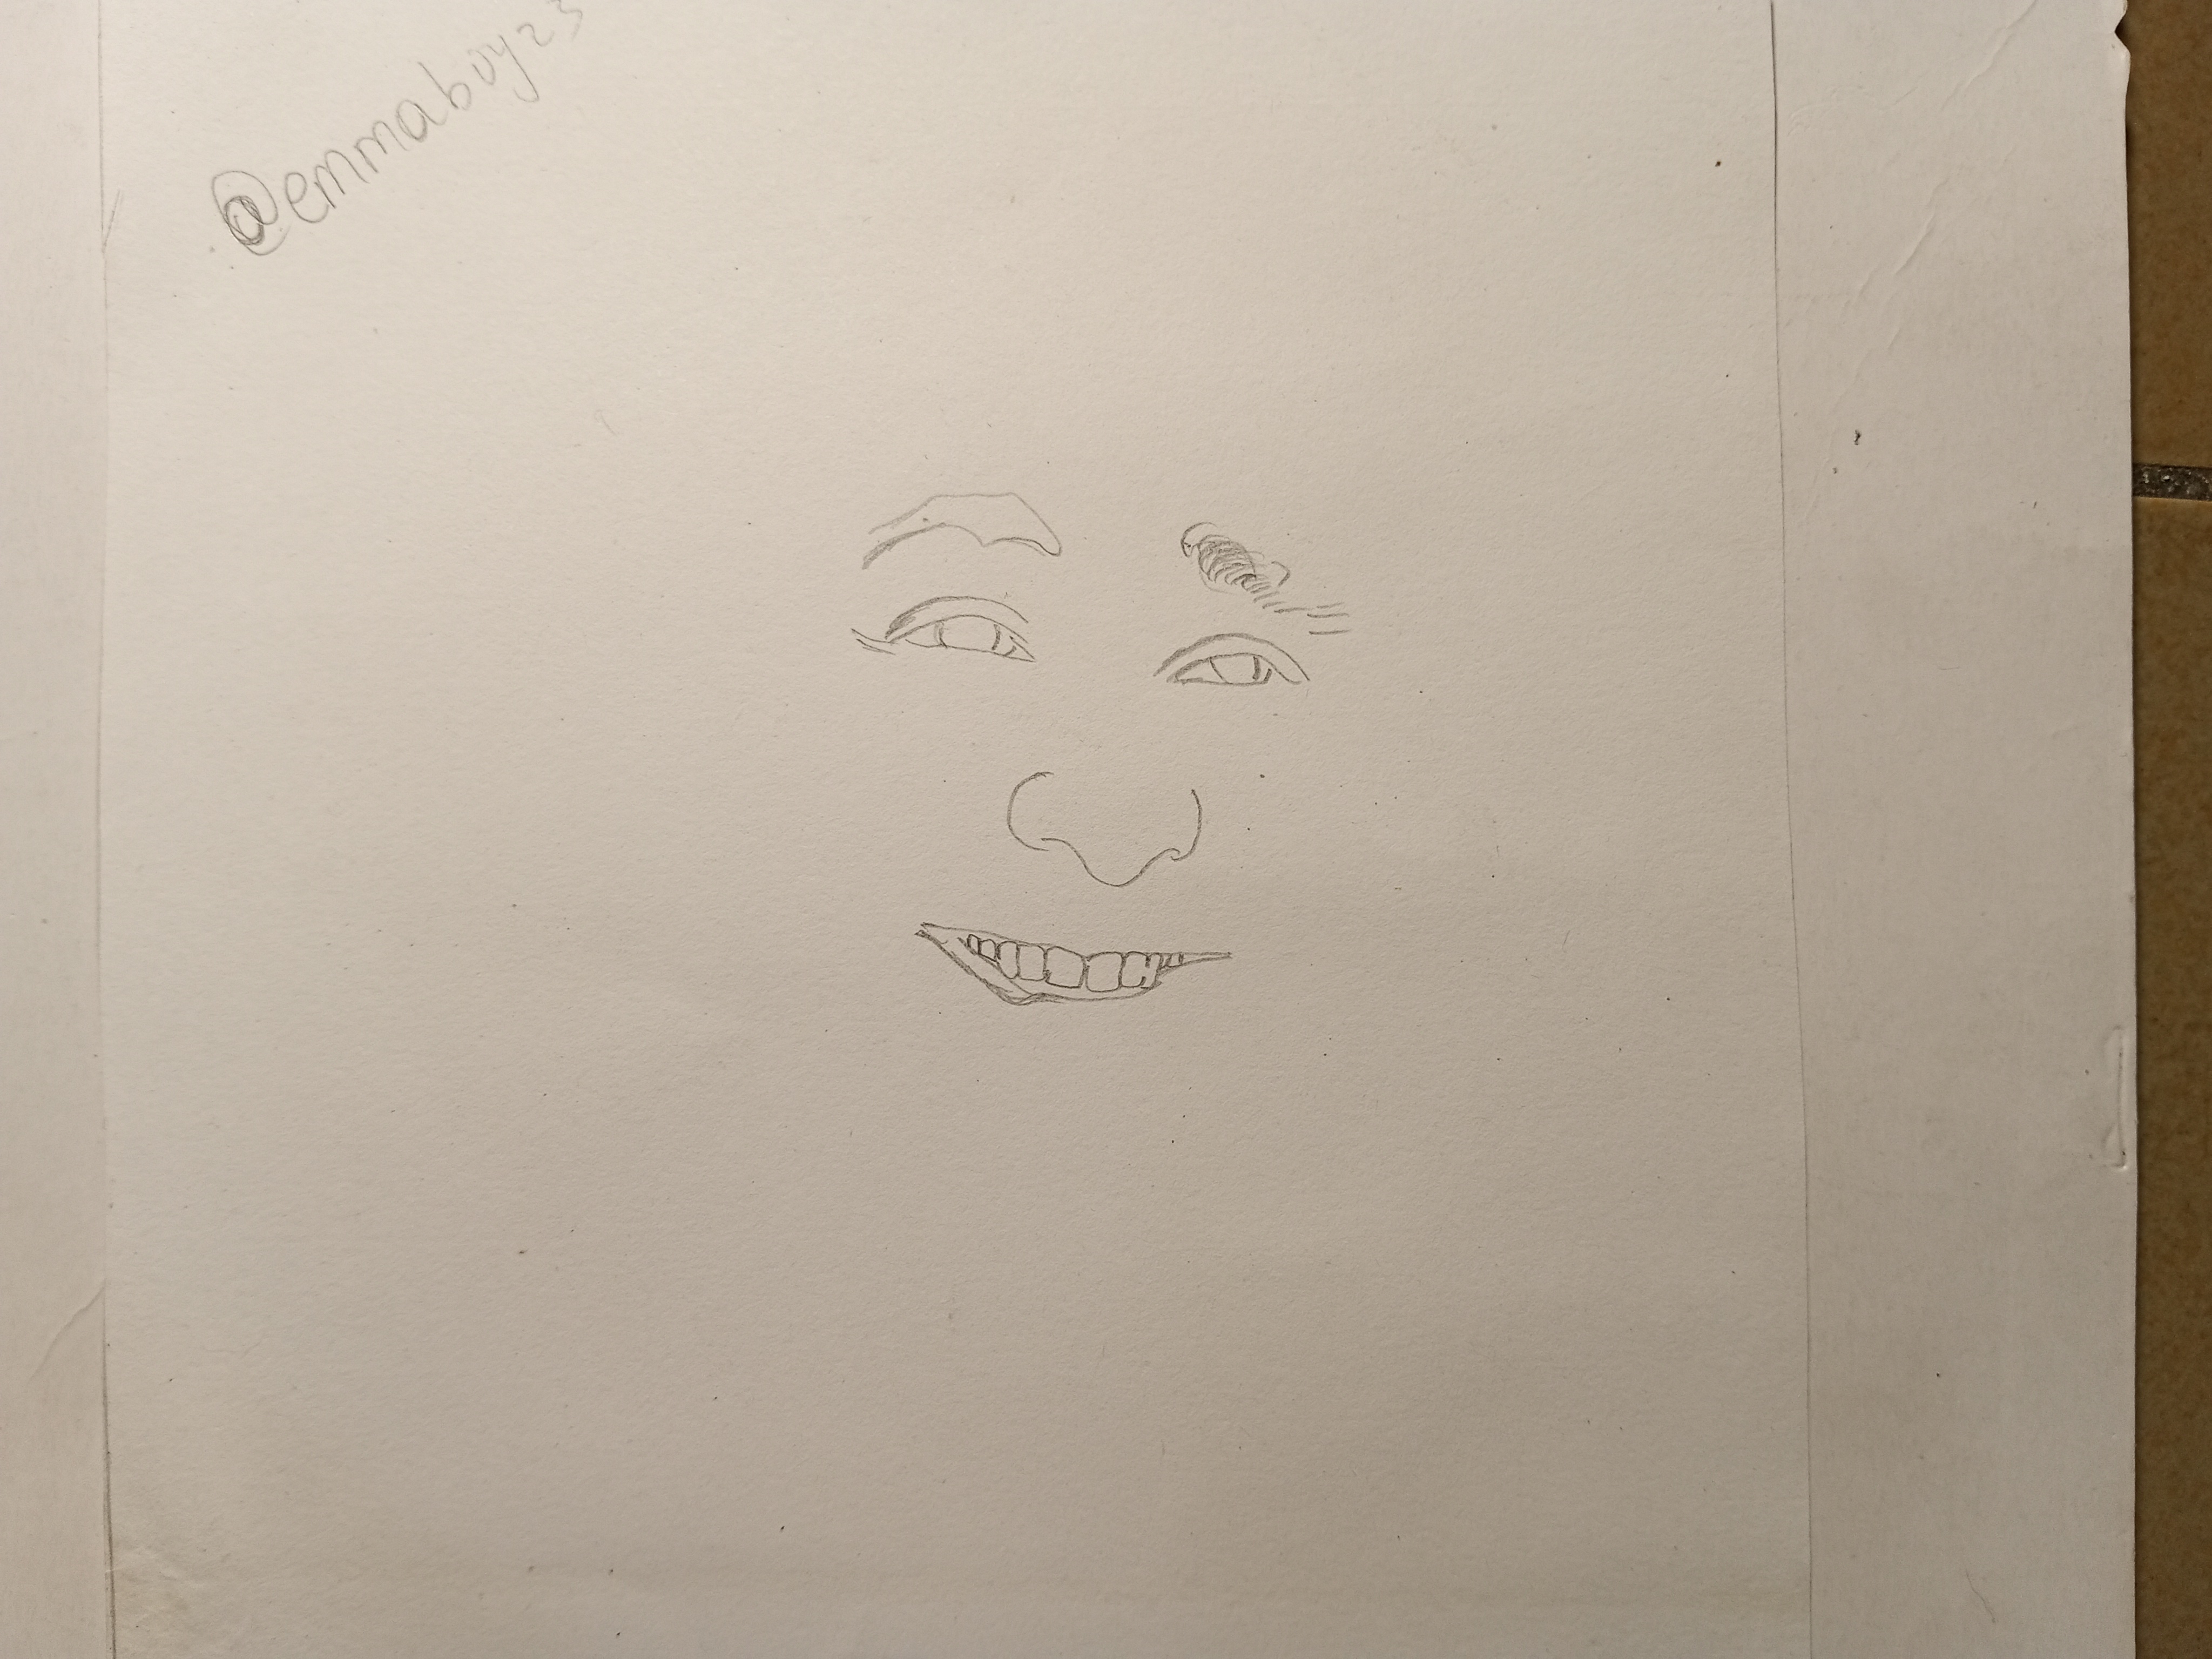
First, I started by making a very light outline of the head. I avoided pressing my pencil too hard because these first lines were only construction guides. I carefully observed the shape of the face and marked the positions of the eyes, nose, mouth, and ears.
step 2
Next, i focused on shaping and shading the face. After completing the basic structure, I started developing the eyes. The eyes are one of the first places I like to concentrate on because they help establish the personality of a portrait, Then i began to shade.
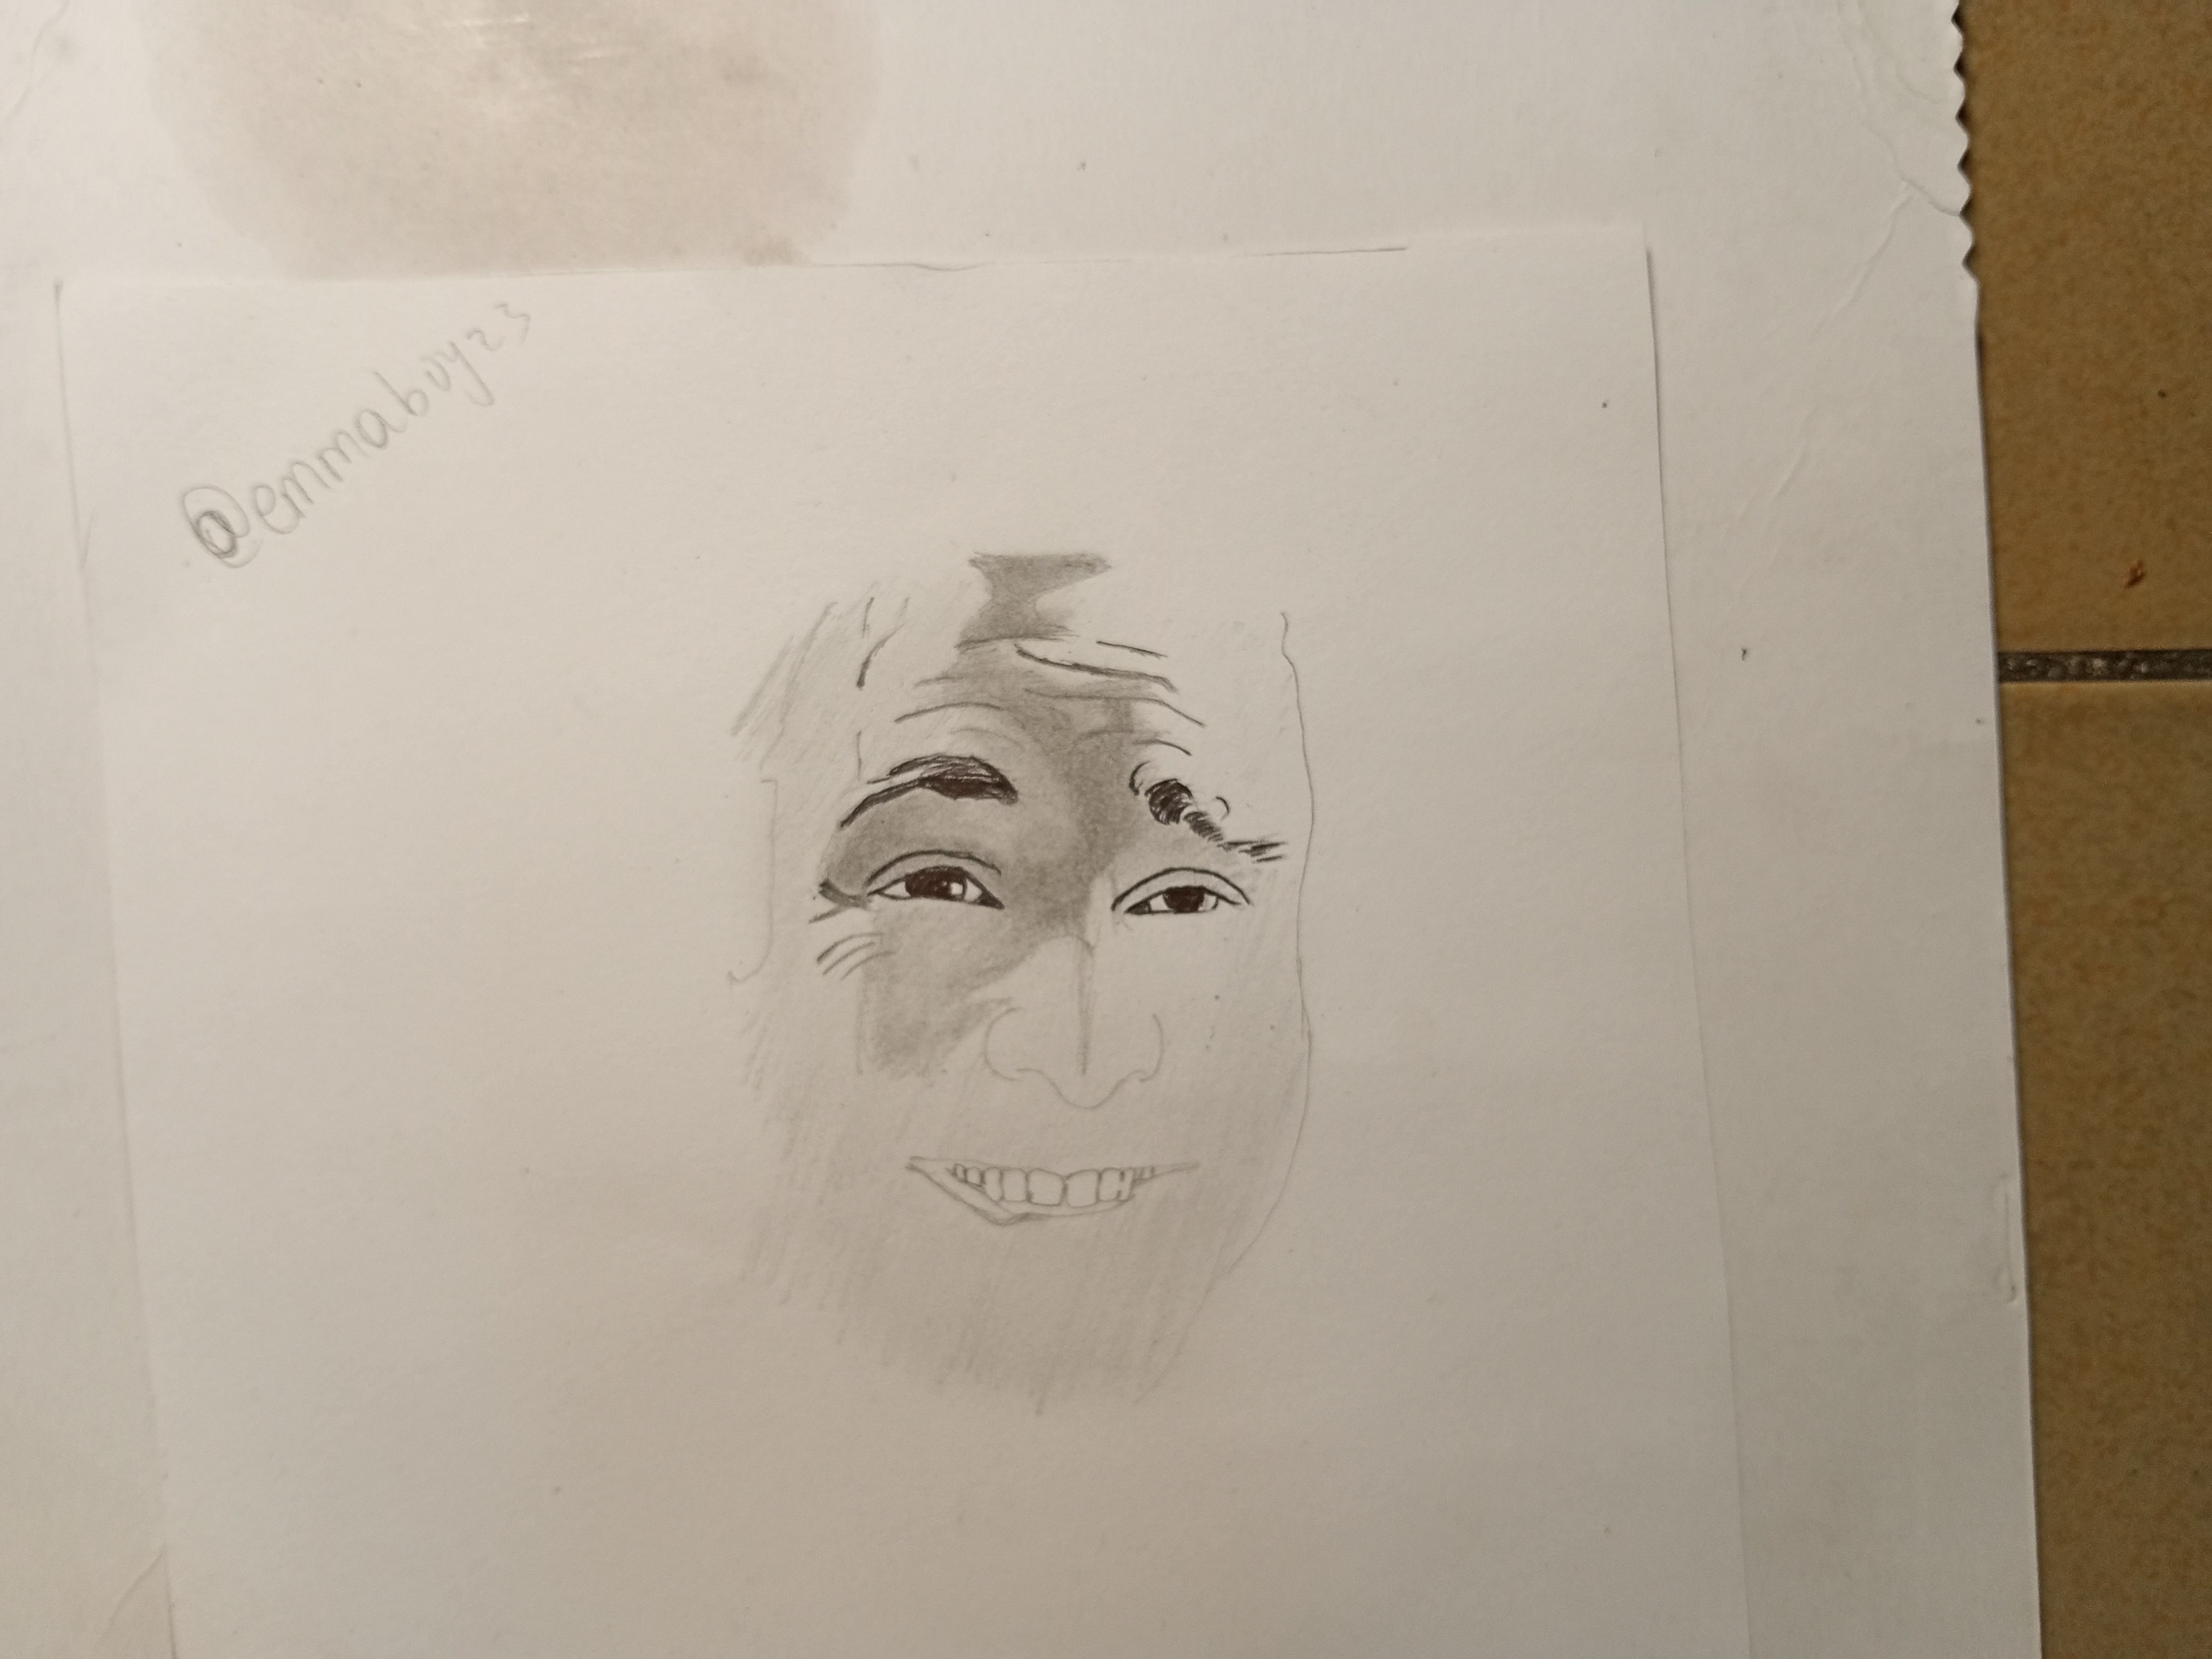
step 3
Next, I also started shading the cheeks and the areas beneath the eyes. This helped me give the face more volume and made the features appear three-dimensional. After that I also carefully worked on the lips and teeth, using different shades of graphite to separate the individual areas.
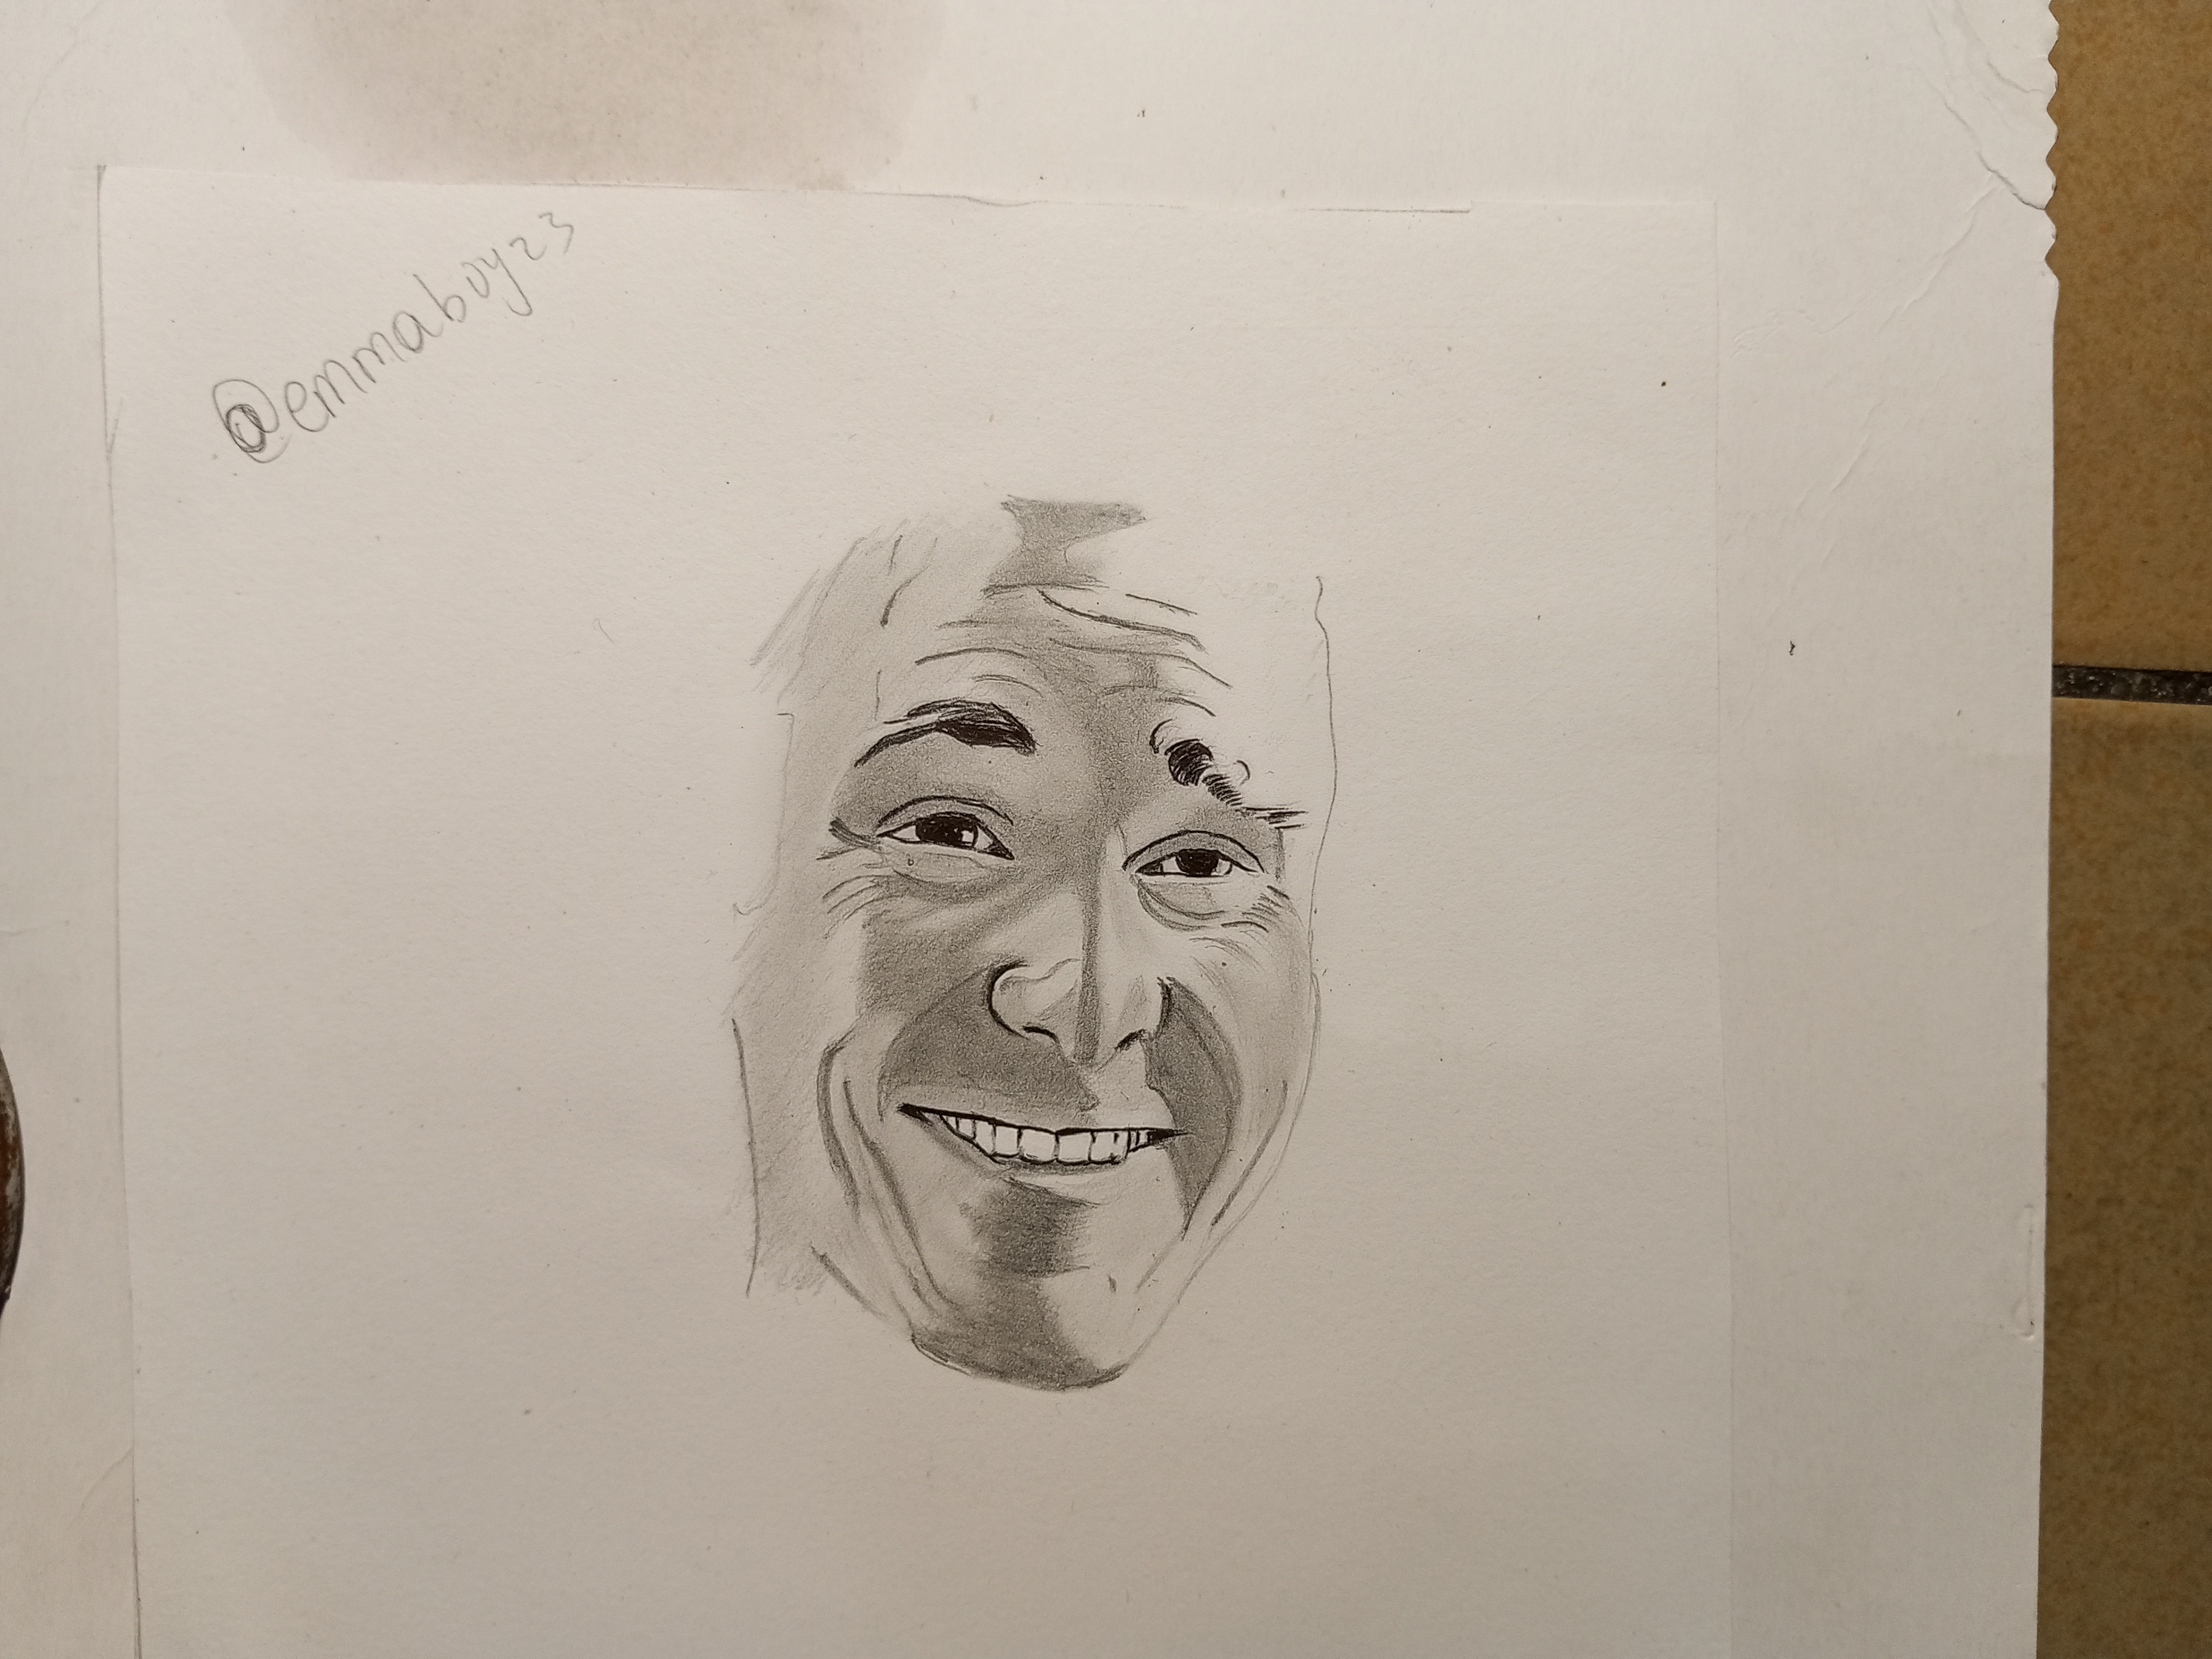
step 4
After working on the main facial features, I moved to the hair. I first created the overall dark shape using heavier pencil strokes. After establishing the main mass, I added individual strokes following the direction in which the hair was flowing.
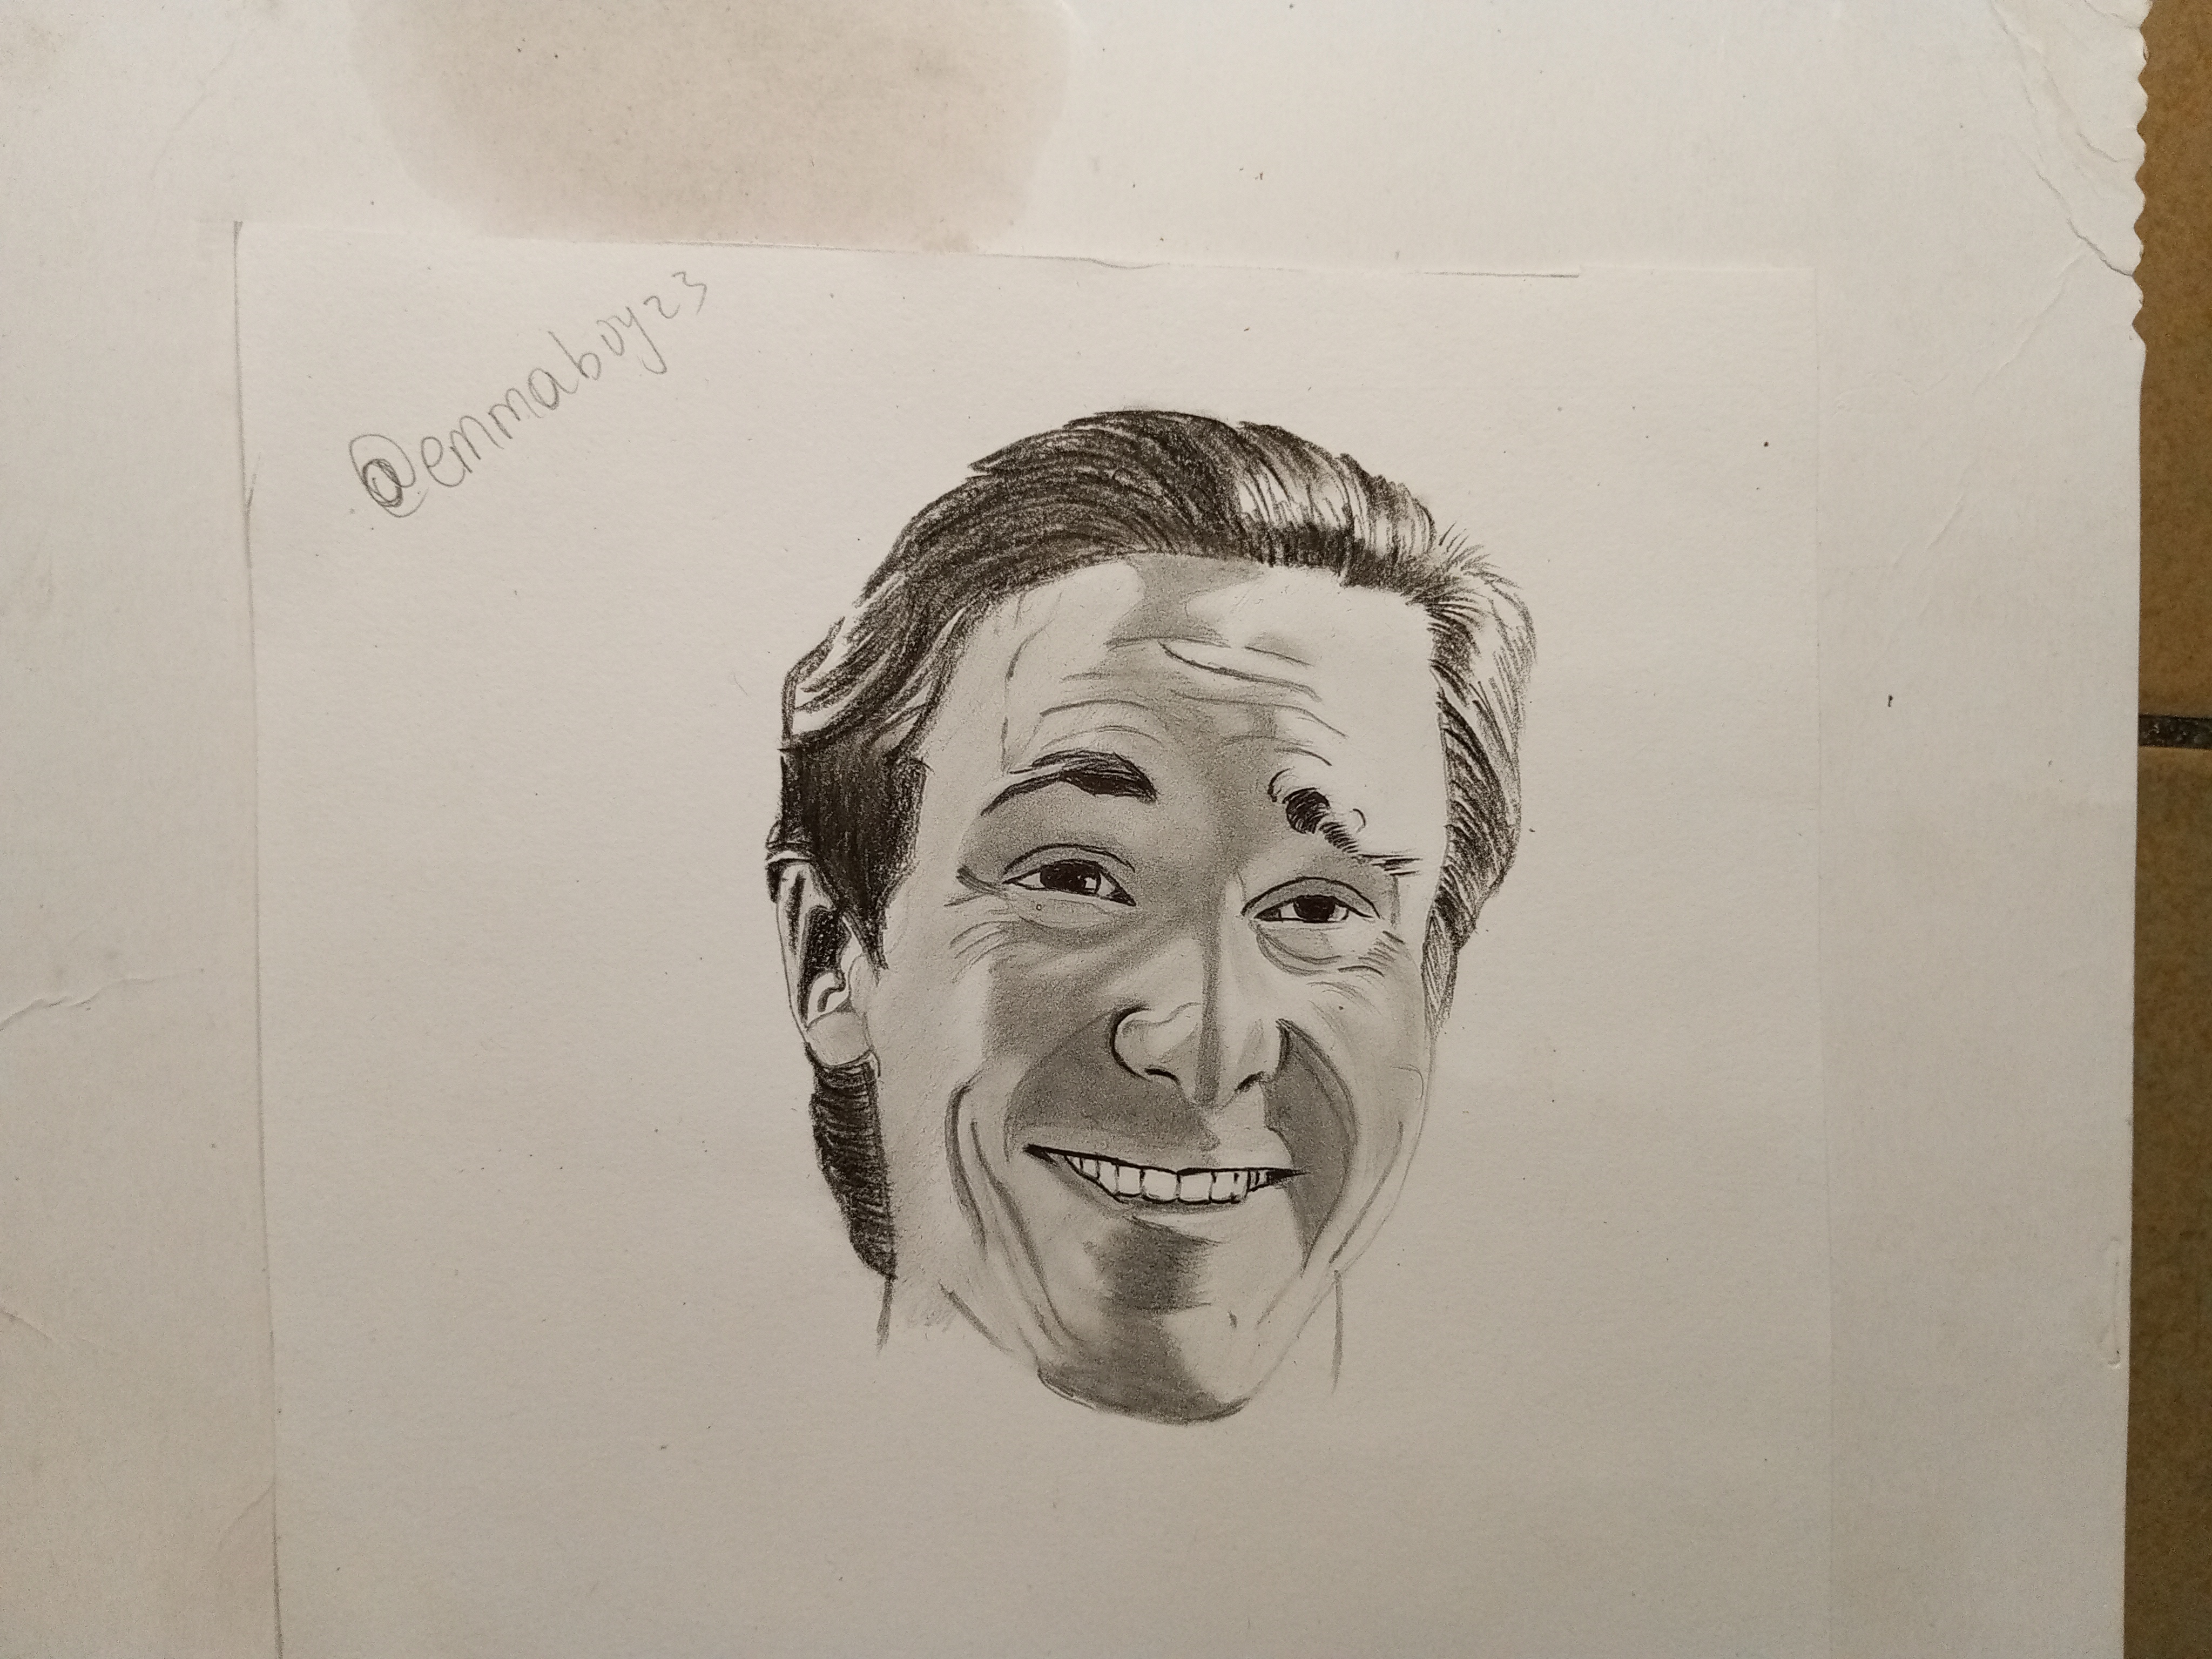
step 5
After that, I then moved down to the shirt, tie, and jacket. For the jacket, I used darker graphite shading to create a strong contrast against the lighter face. I added lines to the shirt and worked on the tie as well.
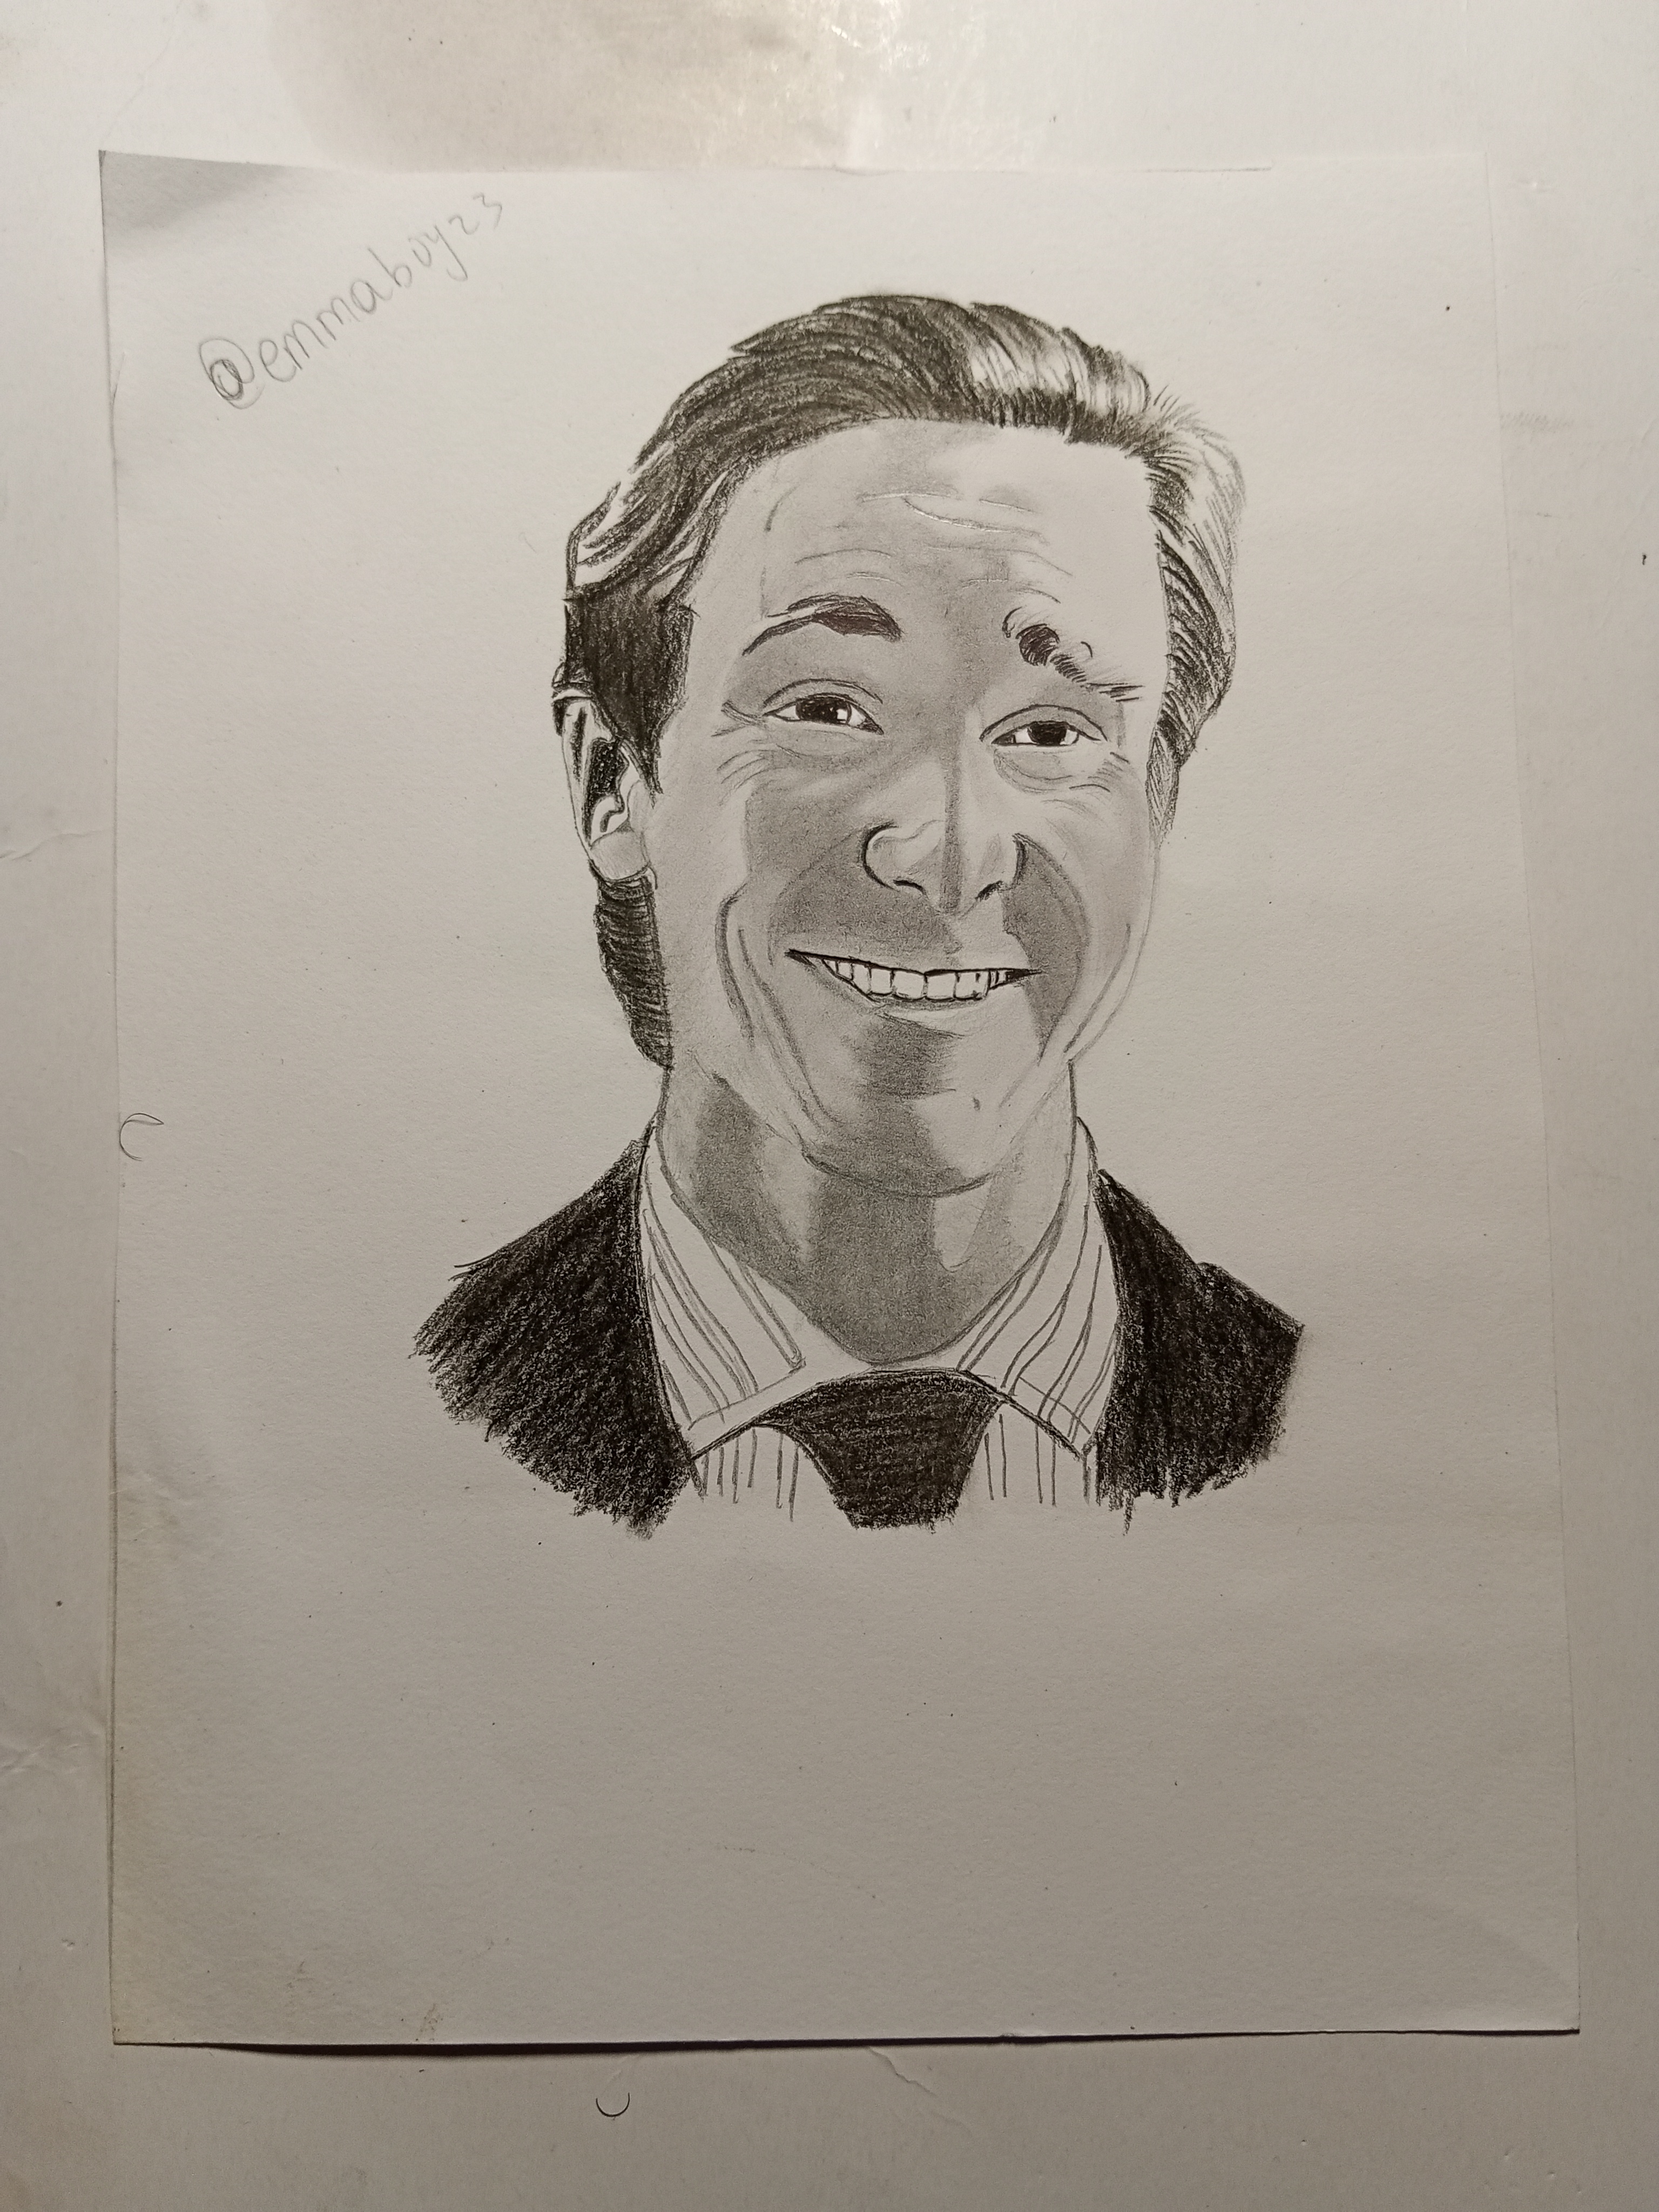
step 6
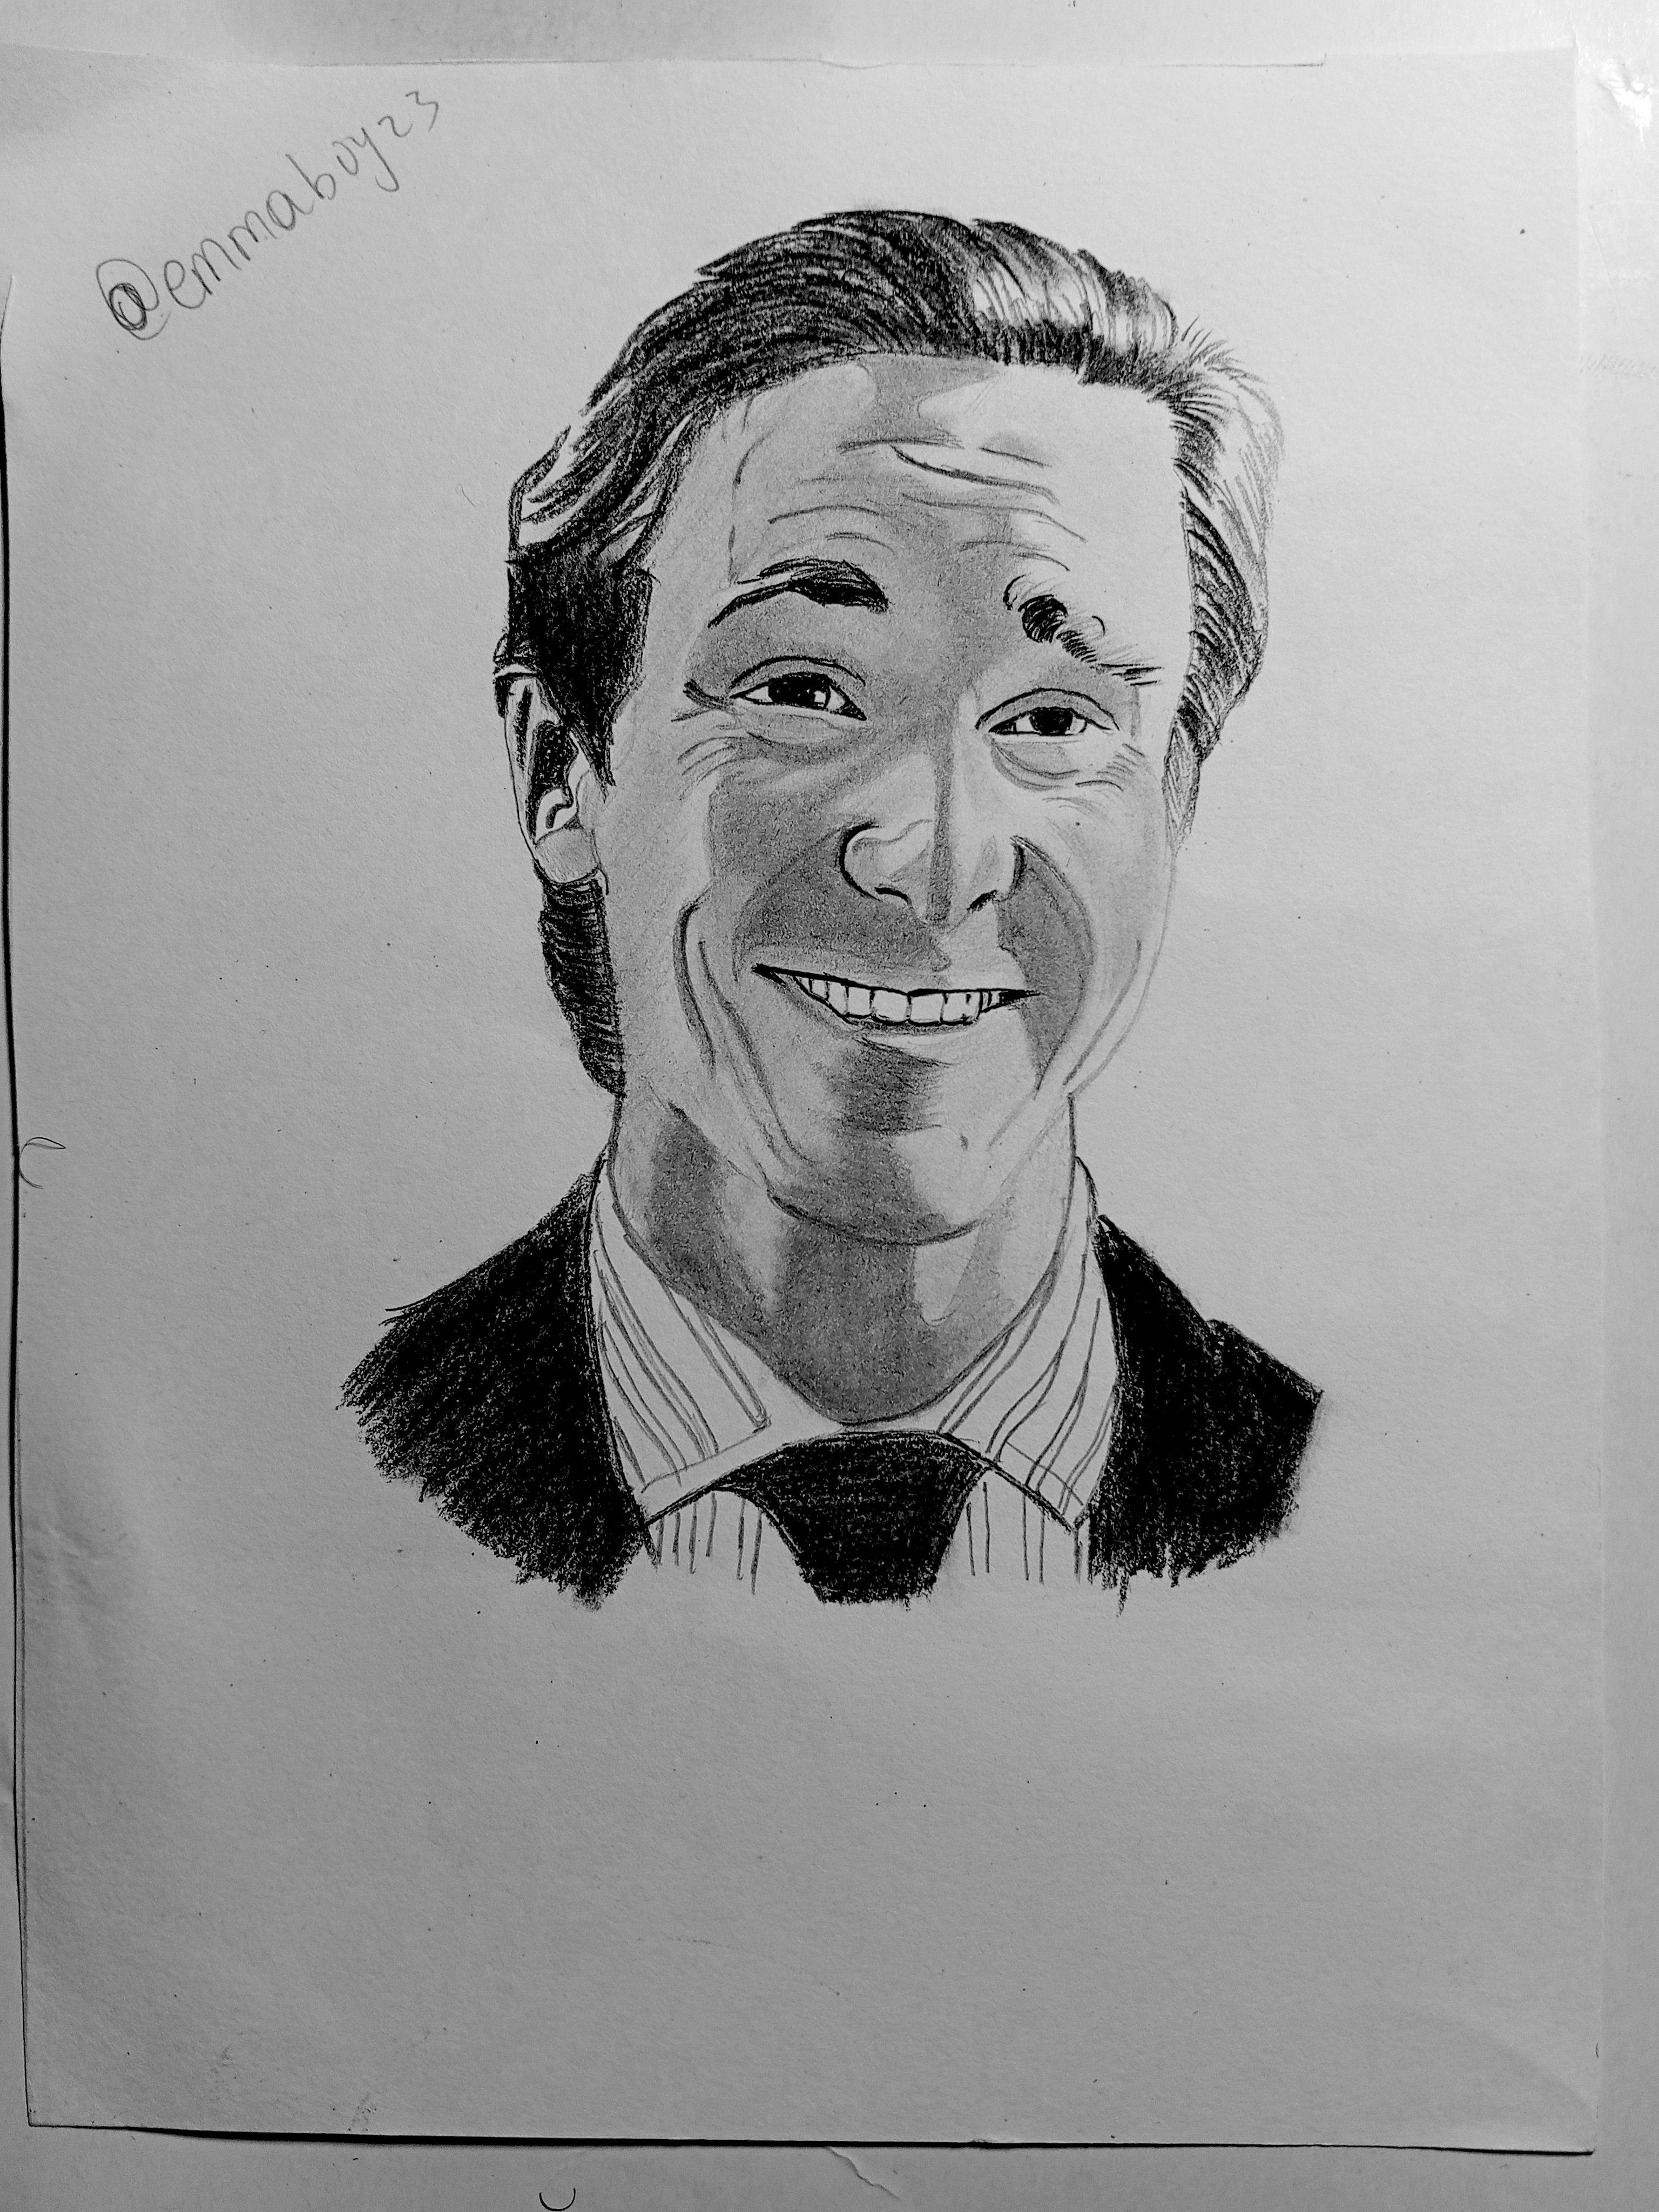
Then finally, I looked carefully at the entire portrait and strengthened the darker areas where necessary. I added more depth beneath the chin, around the neck, cheeks, and hair. This helped the face appear more realistic and gave the drawing a stronger sense of dimension. Below is my final result.
My selfie with my drawing
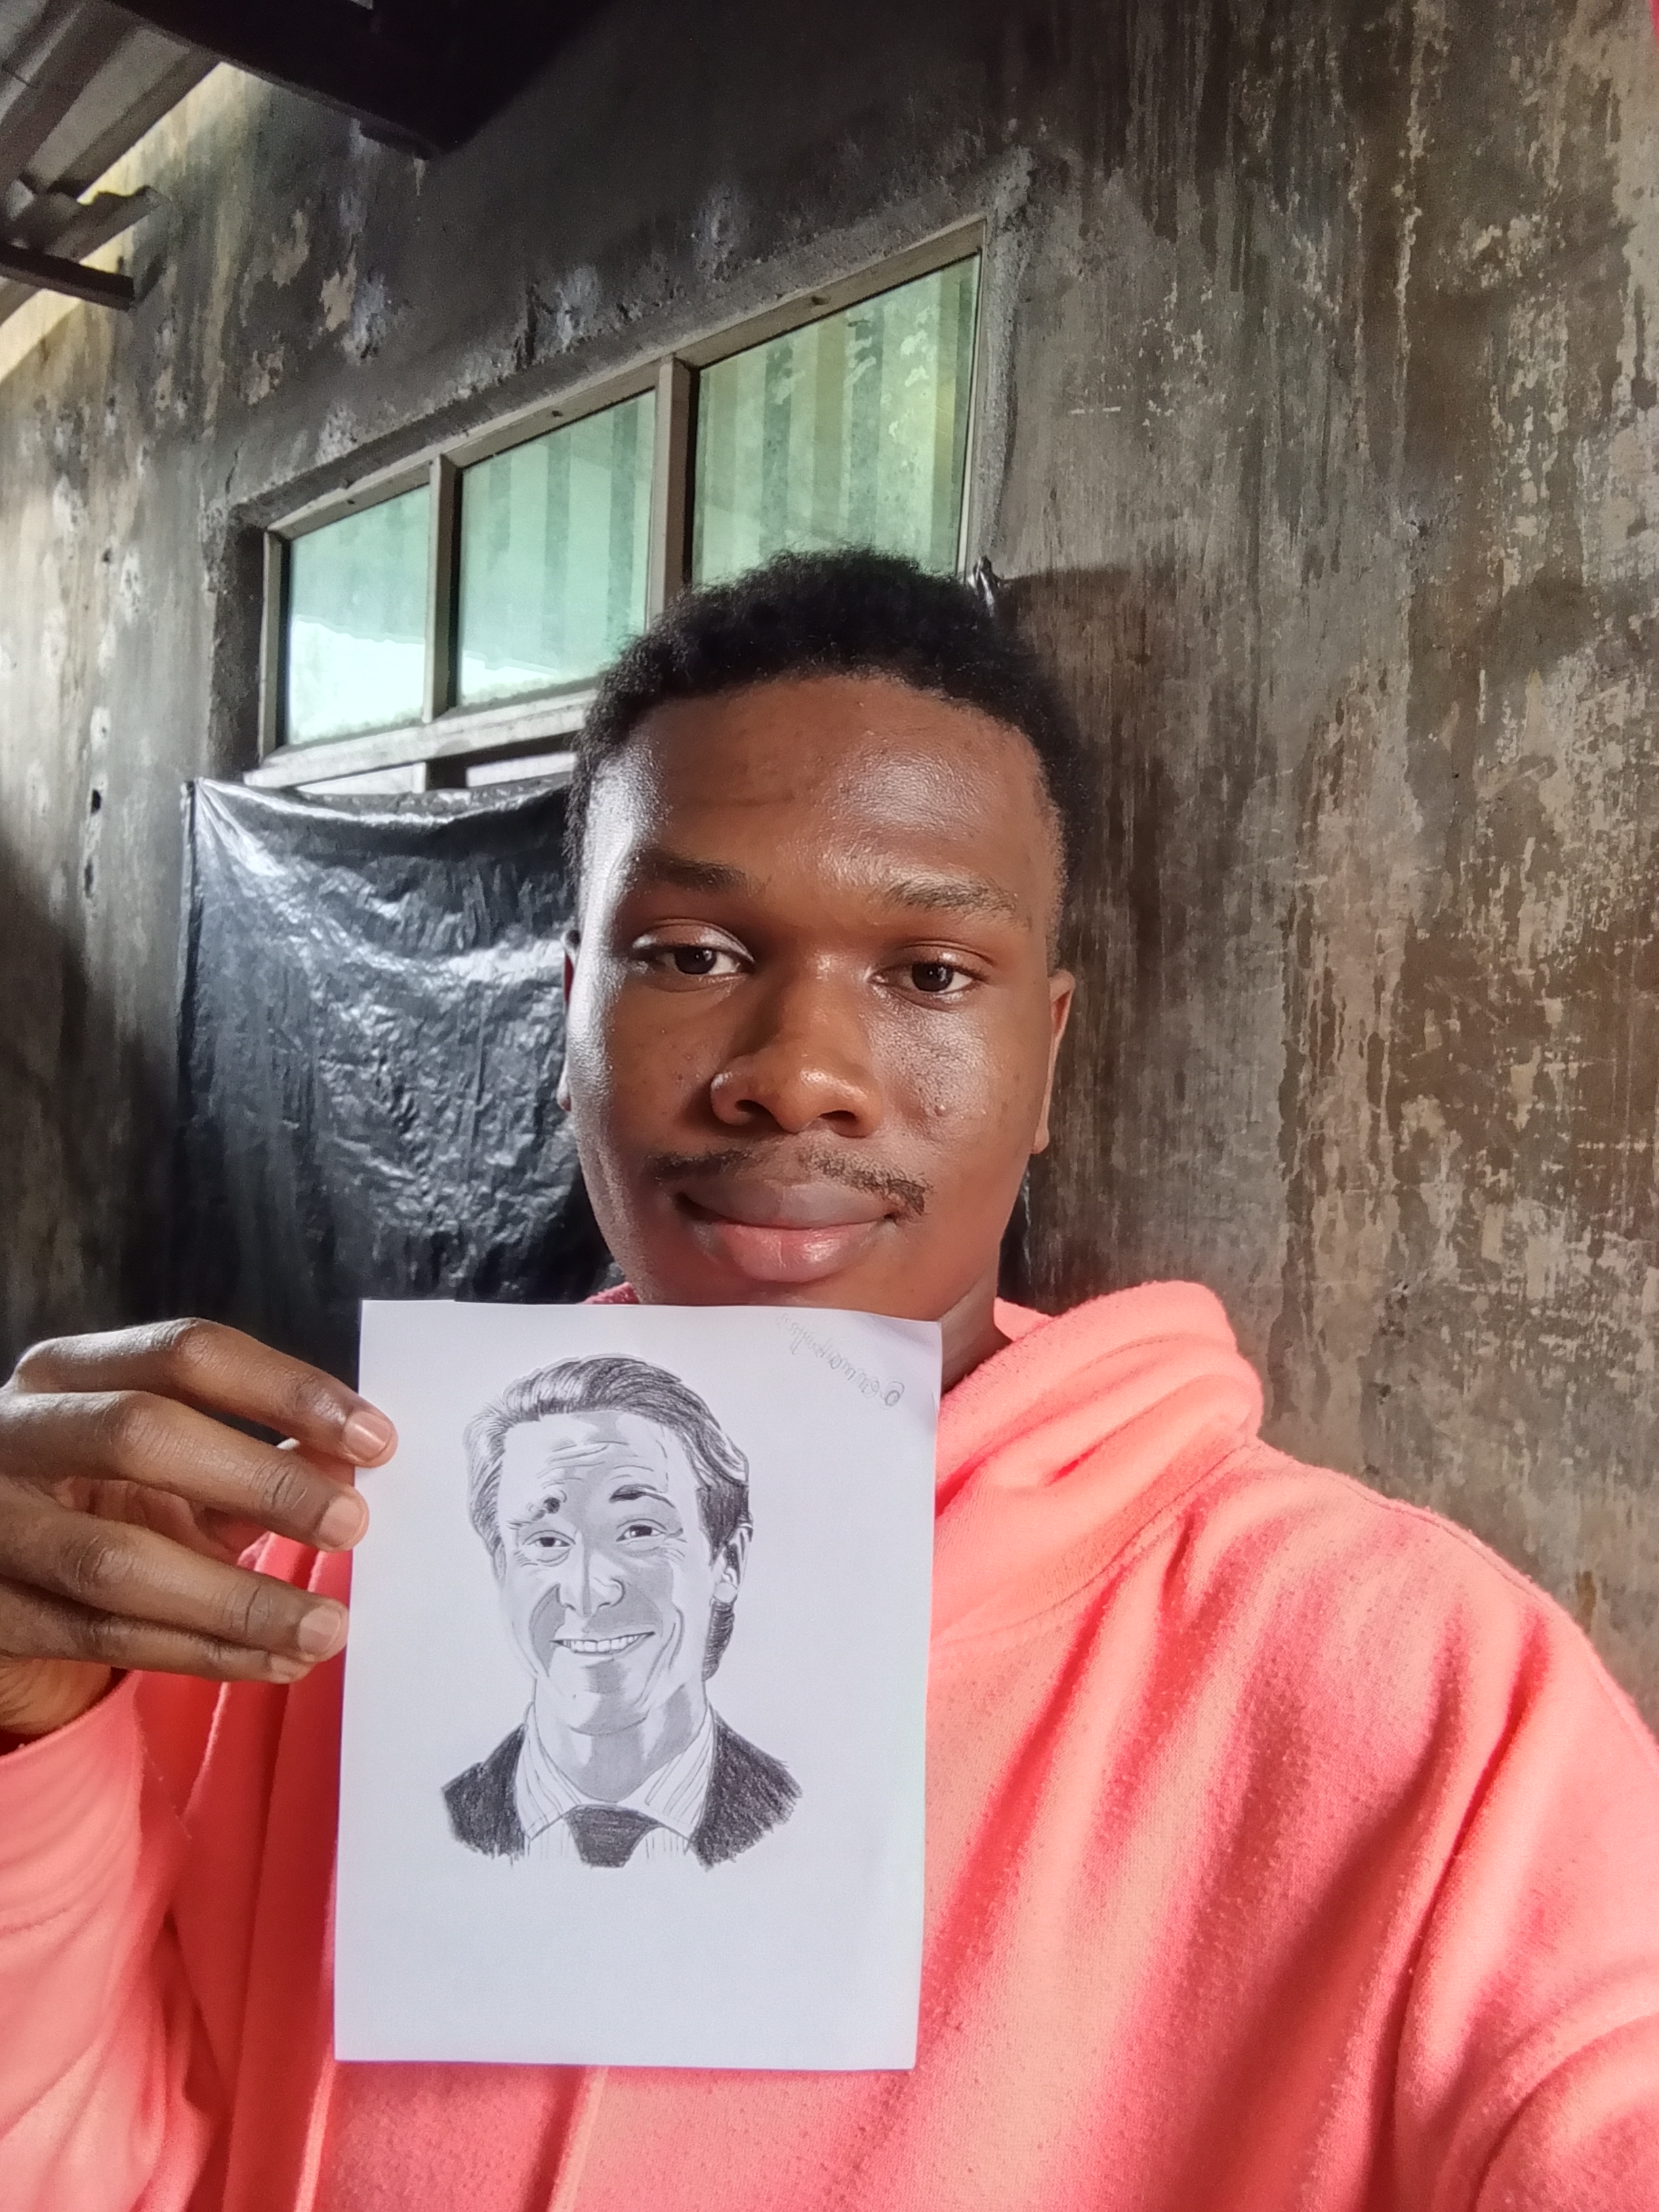
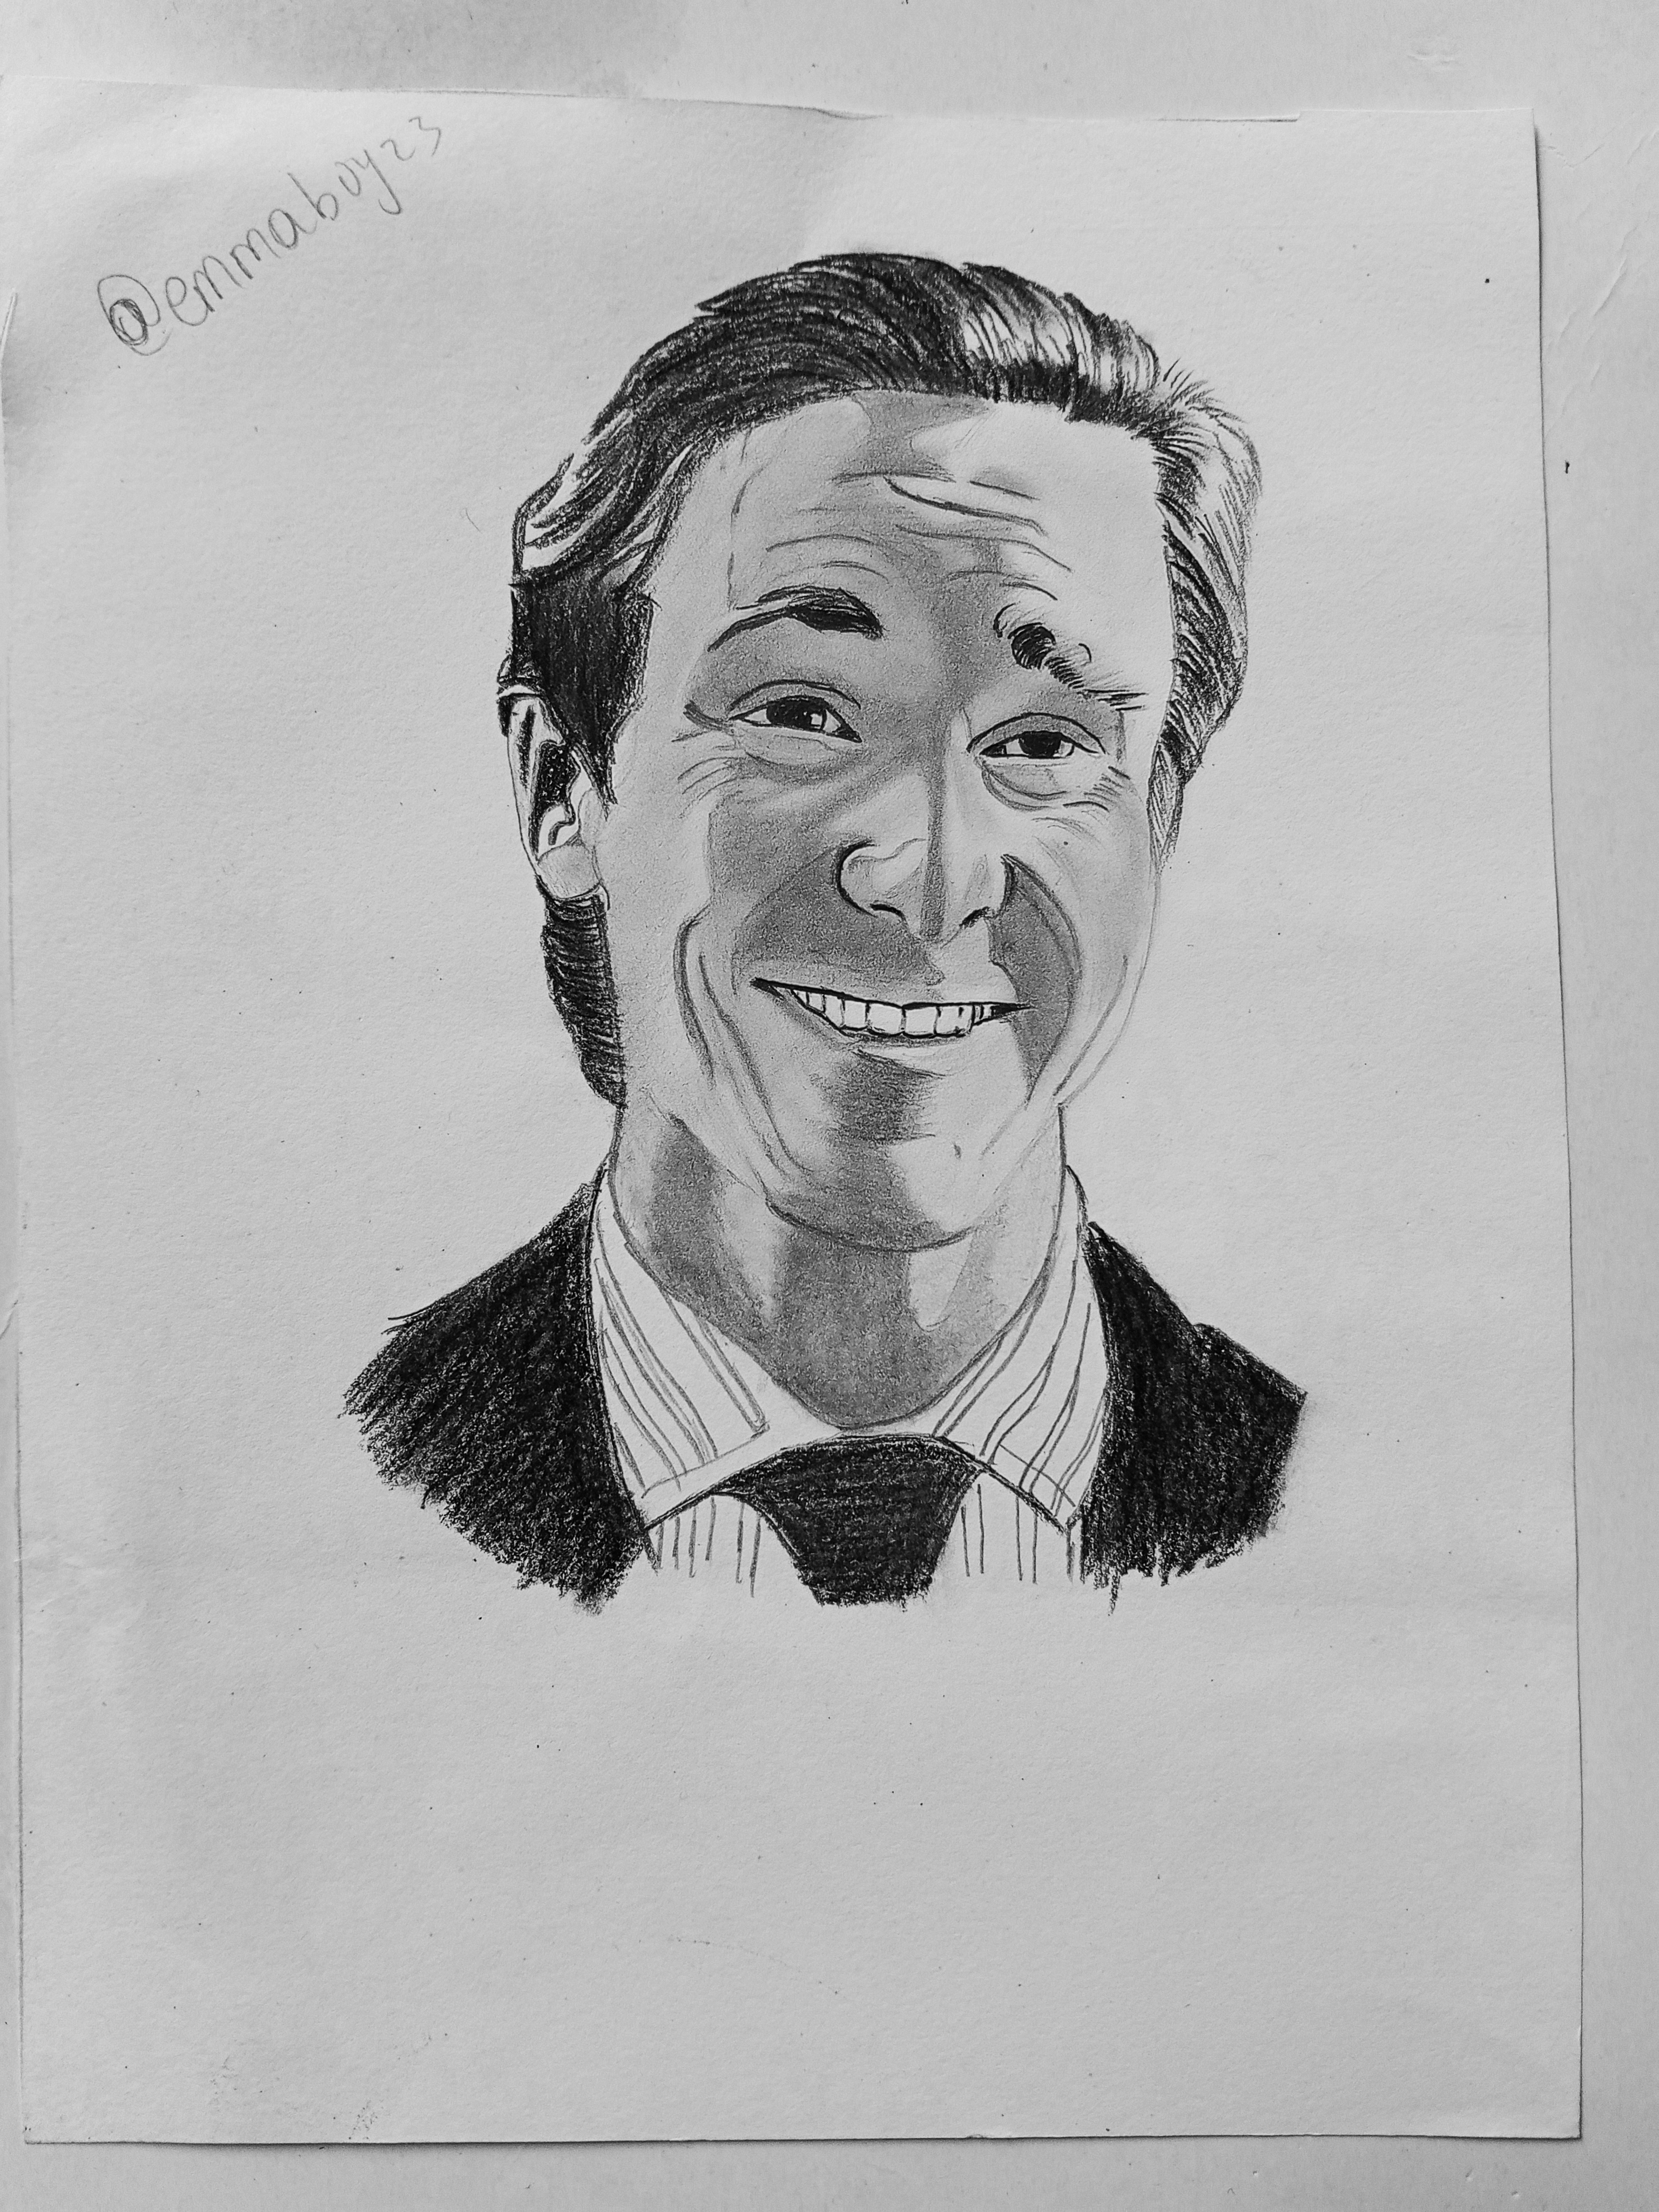
Creating this piece took time, patience, and several layers of graphite. Some areas were easy, while others required me to slow down and observe carefully, That is part of the artistic process for me.
Thank you so much for visiting my post and supporting my artwork. Until my next artwork, keep your creativity alive and remember that every blank page is an opportunity to create something meaningful.
Inviting
@green015
@m-princess
@maryam86 and
@shimulakter
Posted with Speem
My twitter promotion link
https://x.com/i/status/2083349557992149001
Your post have been rewarded by the Speak on Steem curator team!
Now become a plus member delegating at least 500 SP
Ways to support us:
Curated by @marvinvelasquez