SHOW YOUR SKILL TALENT TIME W105 👉 ART, INNOVATION, HANDMADE, UPCYCLING, PHOTOGRAPHY, POETRY & MORE
AI Generated

peace be upon you to all steem kids & parents! |
|---|
Hi, how are you all? I hope you are all good. I am participating again in this contest that our beloved ma'am organizes every week. This is a very beautiful competition in which we not only show our skills but also the skills of our friends. I have drawn a very beautiful drawing today. Which I am sharing with you guys step by step. I hope you will like it. So let's get started.

Here is 👇 material used in this drawing |
|---|
| Sr | Materials |
|---|---|
| 1 | Art book |
| 2 | Sharpener |
| 3 | Eraser |
| 4 | ✏️Lead Pencil |
| 5 | Black pointer |
| 6 | Dark Black color |
✿Bismillaherahmanuraheem✿
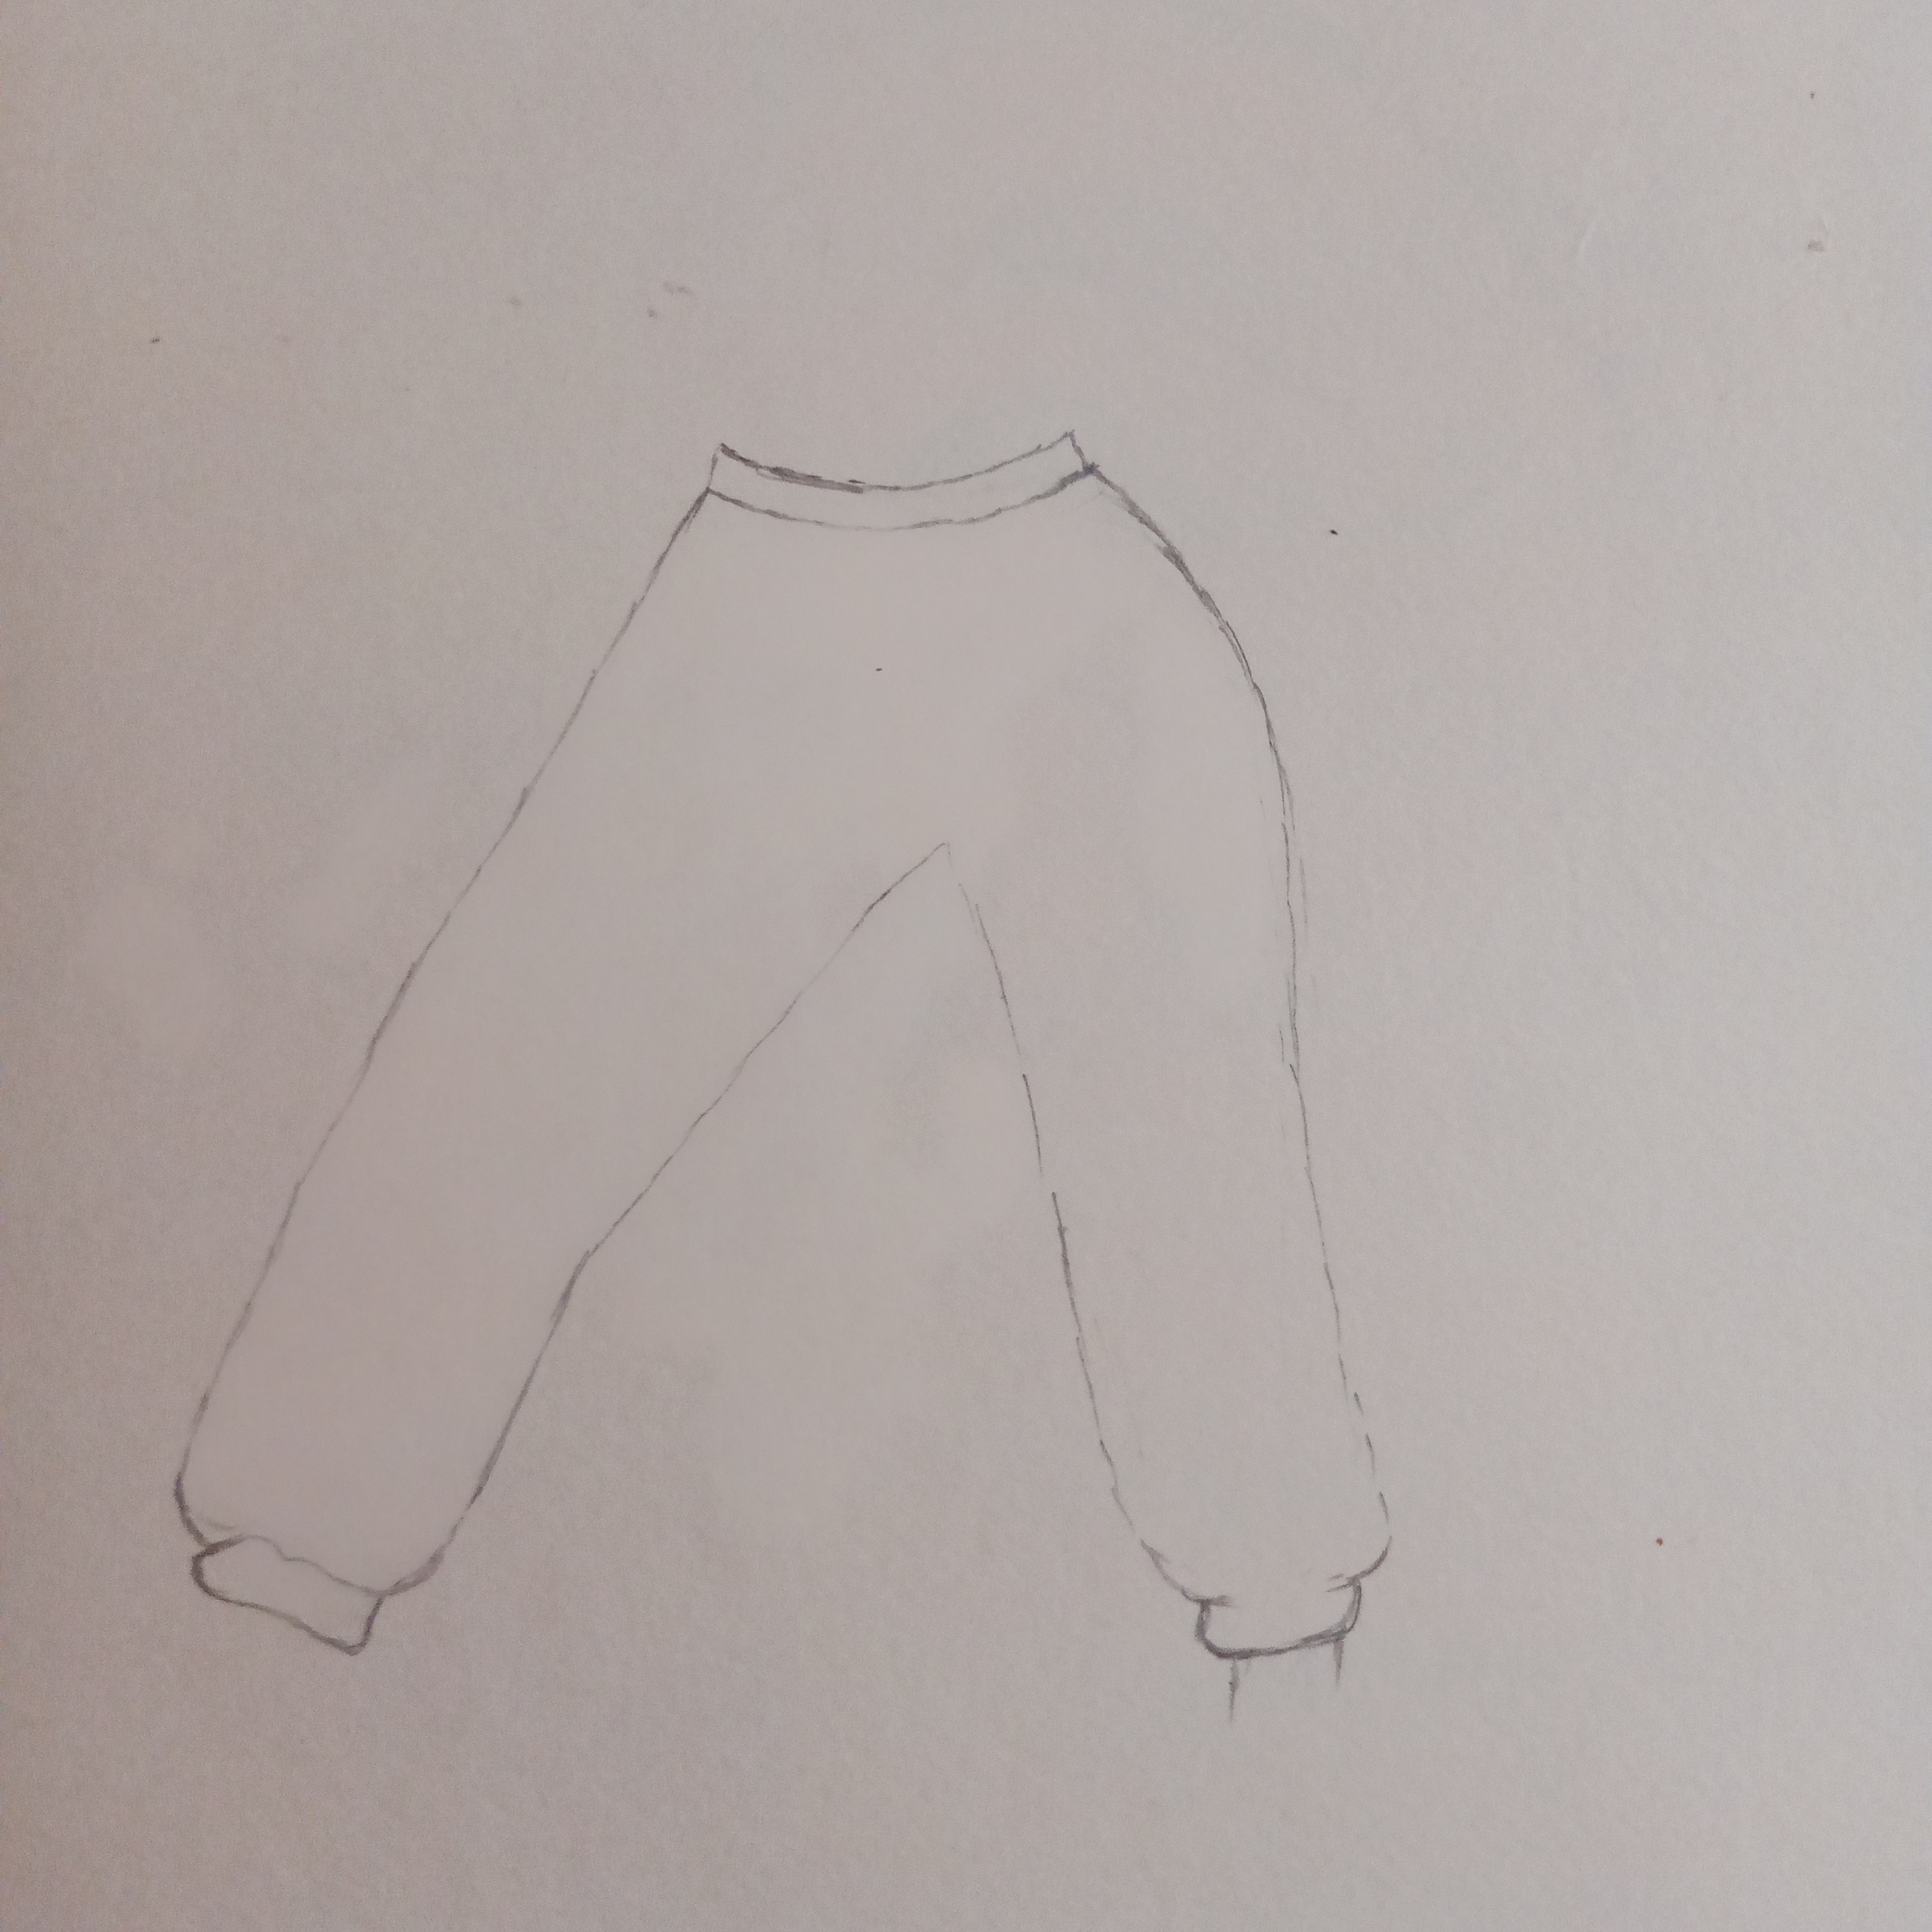
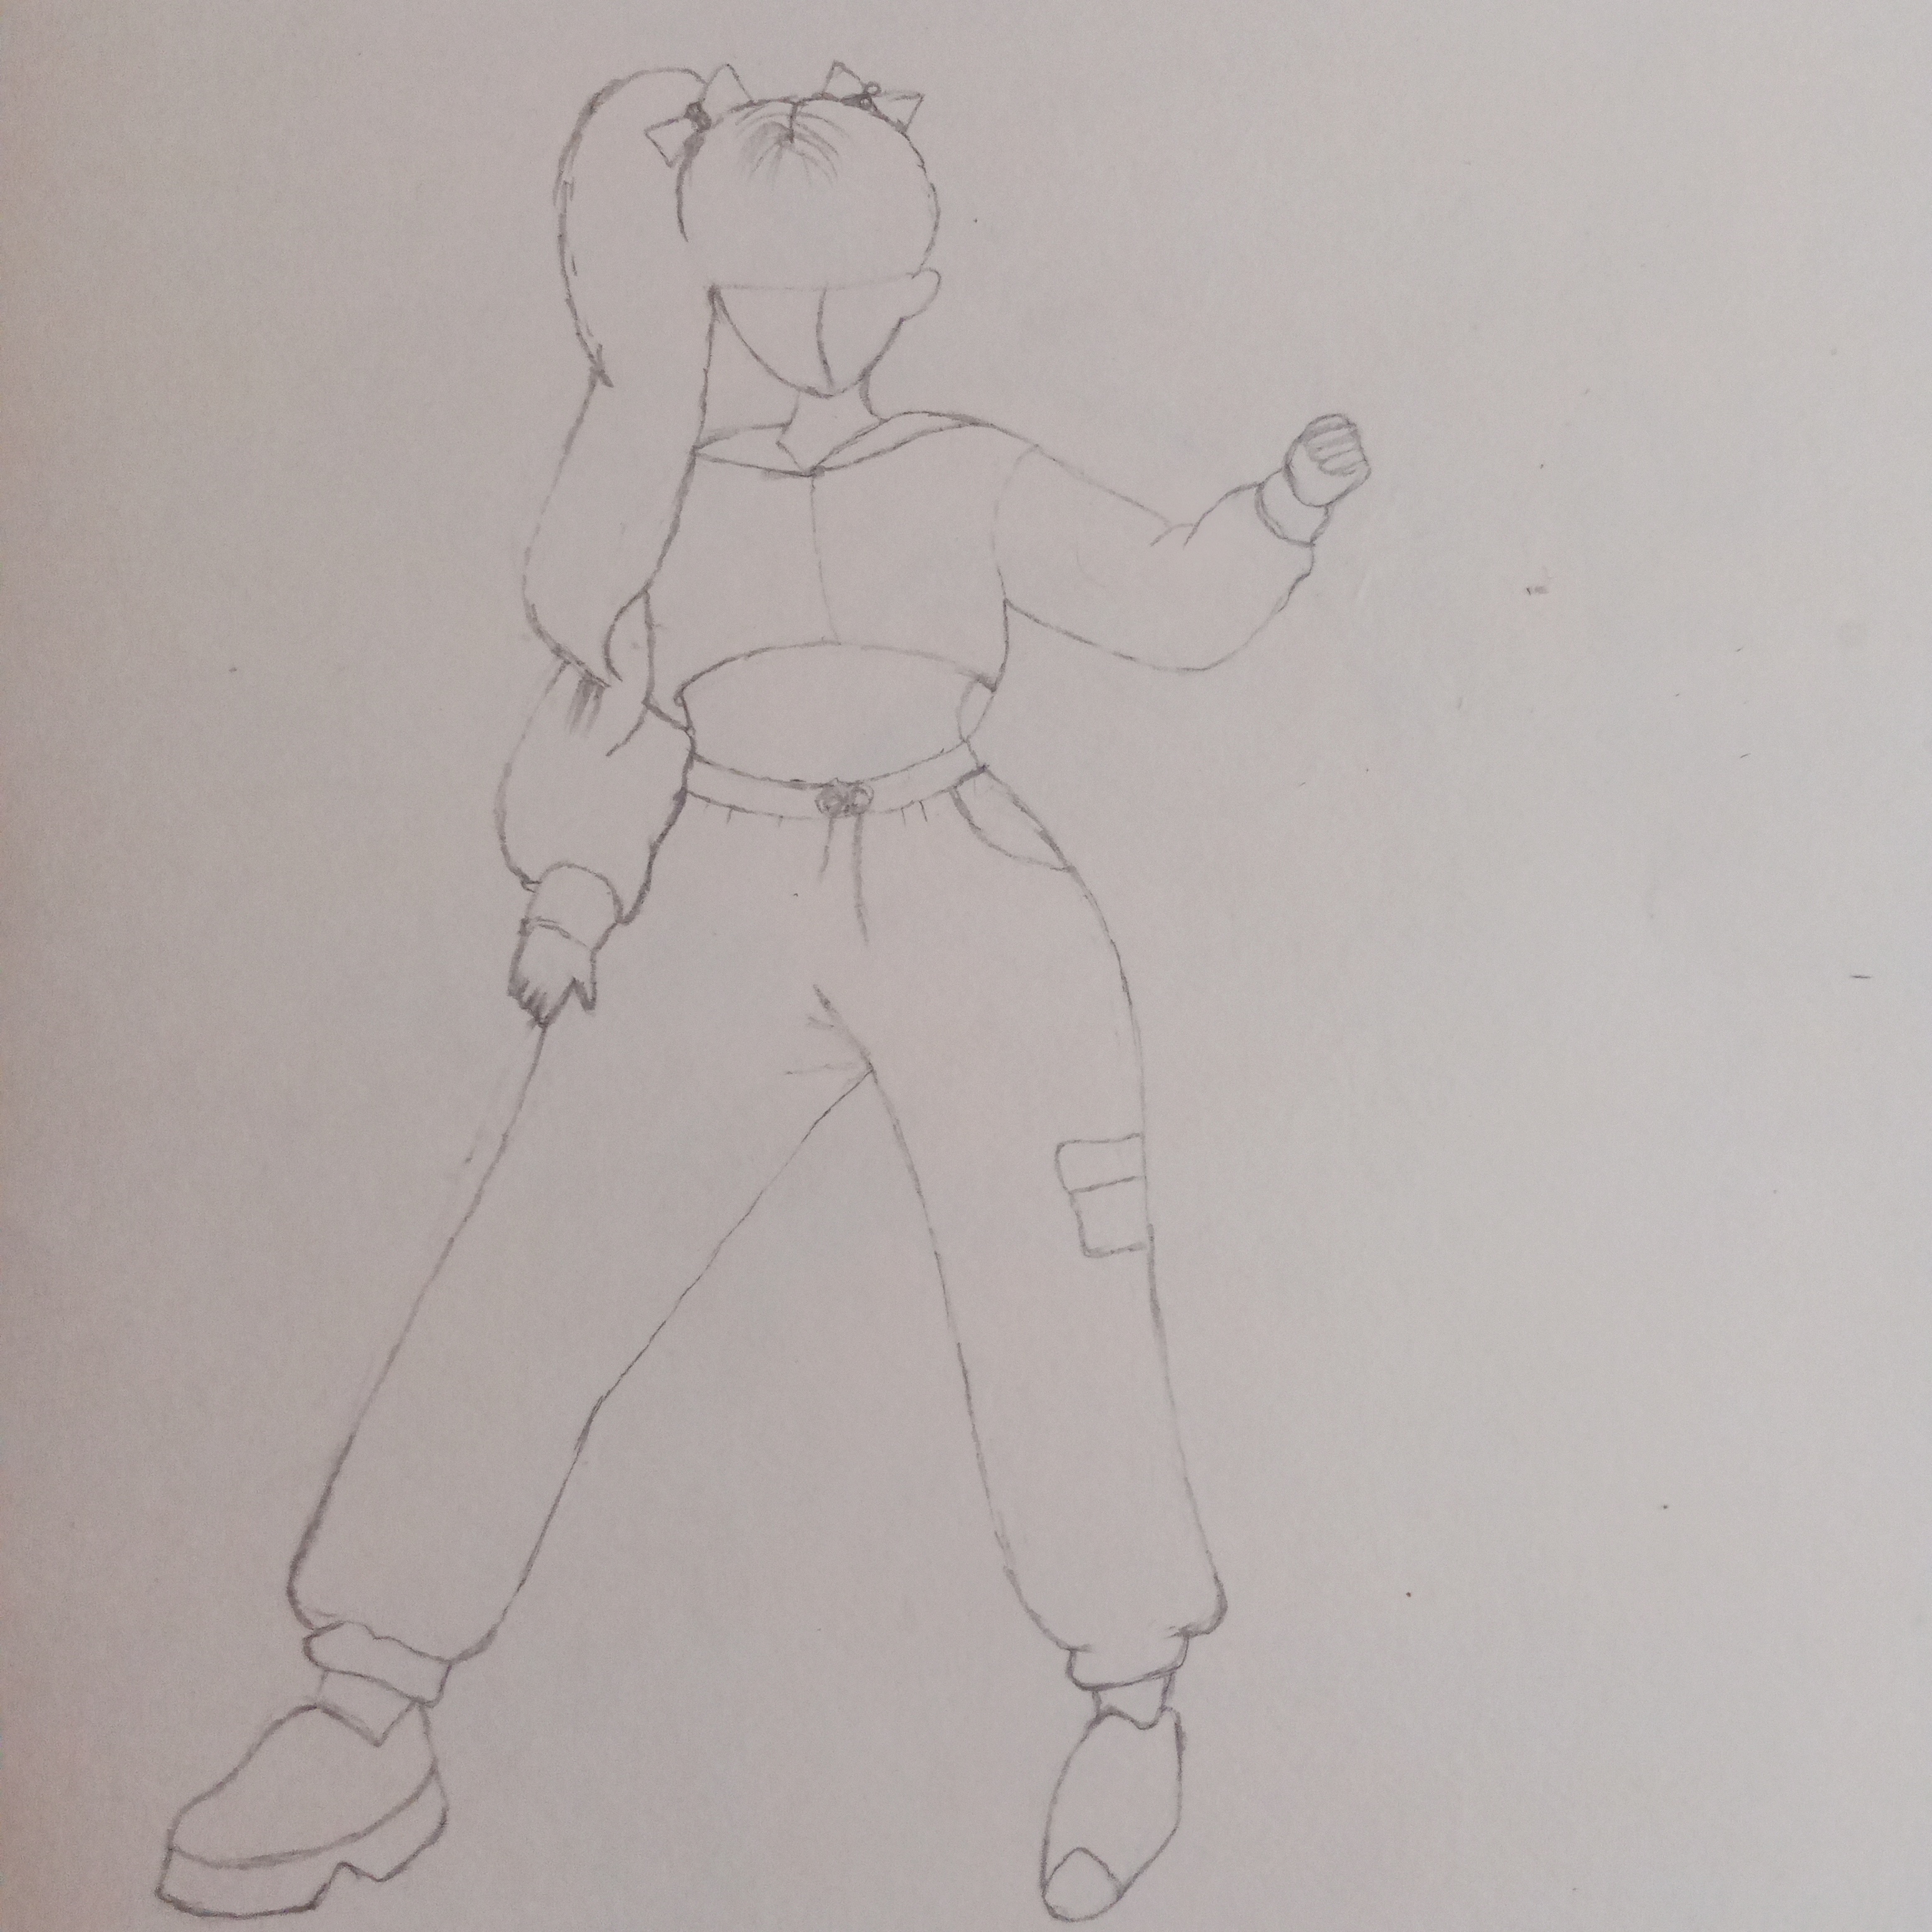
In first stage of this drawing I started drawing the girl's pants. First I drew the full shape and outline of the pants. So that the lower body was in the correct proportions. Then I drew the structure of both legs of the pants and highlighted its loose style. Then I added the waist. The folds of the pant legs, and the details of the pockets. I also drew the inner lining and the wrinkles of the fabric. To make the pants look more realistic and beautiful. At the end of this stage the full outline of the pants was completed. Which formed the basis for the rest of the drawing.
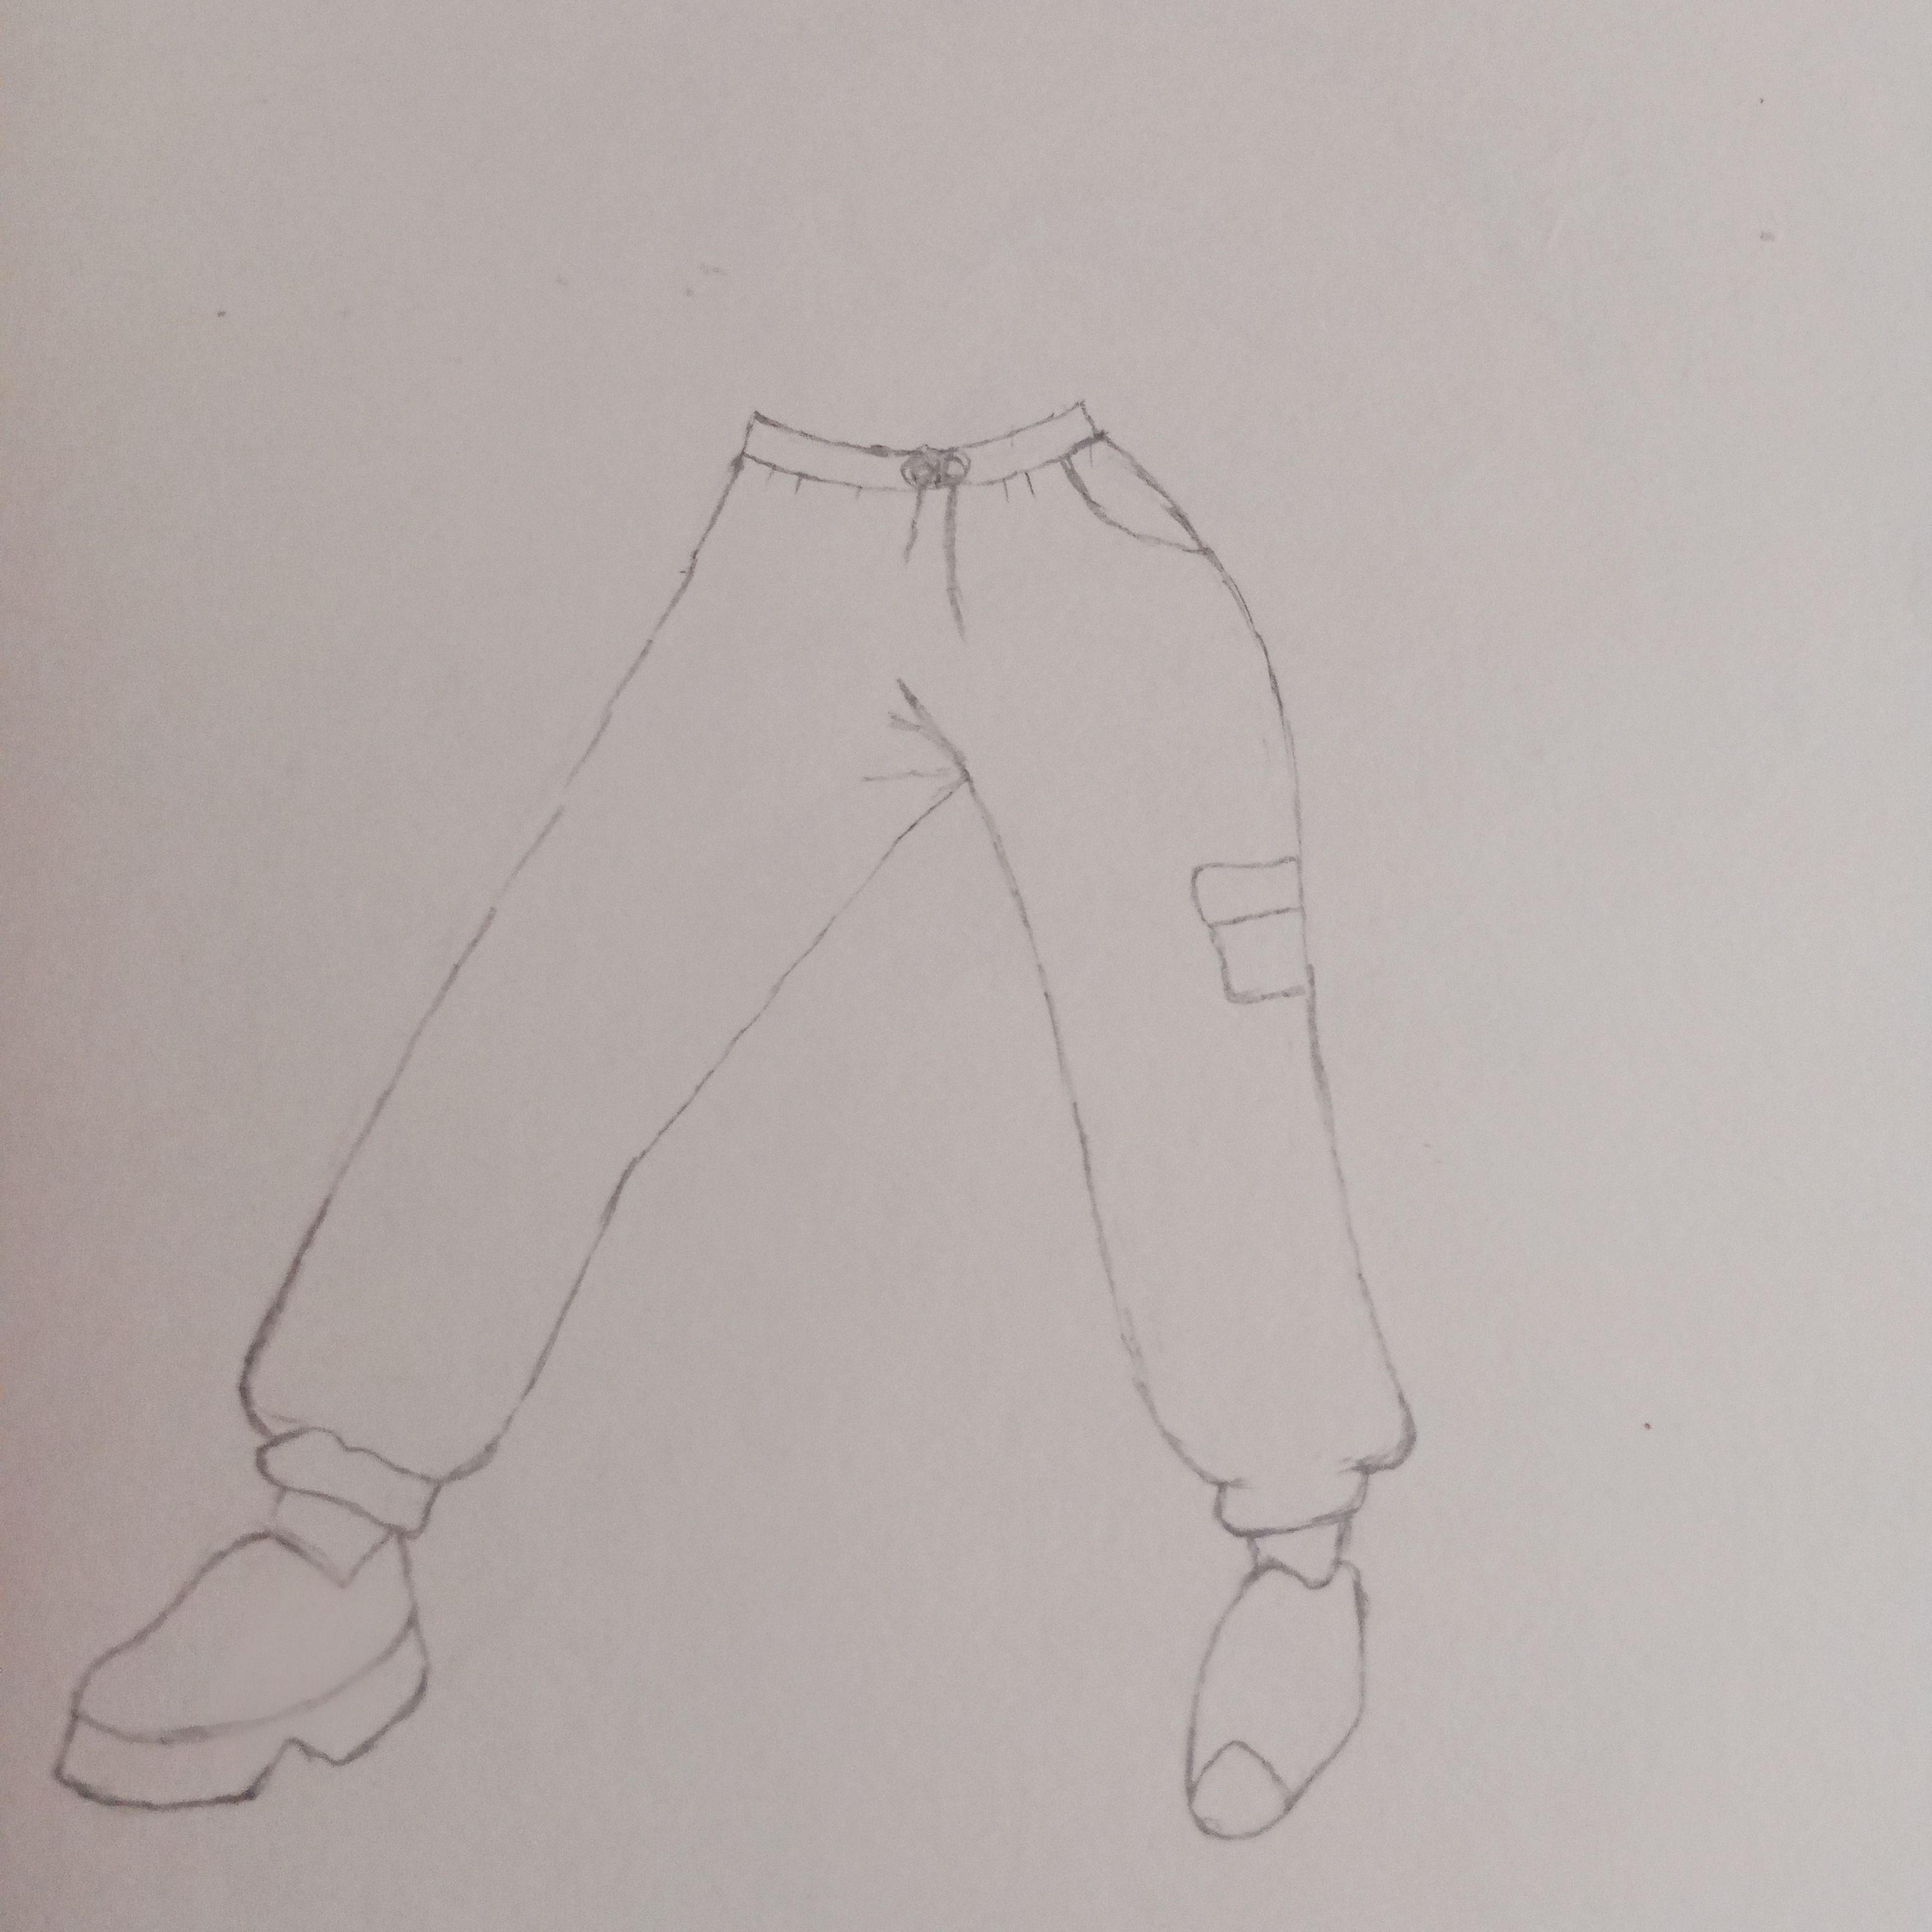
In second stage I worked on more details of the pants. First I drew the pockets of the pants clearly. So that the outfit looked more beautiful and closer to reality. Then I focused on the vest area. And carefully completed all the designing folds and fine lines there. I tried to make the texture and style of the clothes stand out. So that the drawing would be attractive. I made the shoes under both the legs and added their shape sole and other necessary details. Upon completion of this stage the pants vest and shoes were completely finished. And the overall personality of the character began to look more clear.
In third step I worked on the upper body of the girl. First I sketched out the outline of her shirt and beautifully highlighted. The shape of the dress so that the character's style was clear. After that I drew some initial parts of the face. Including the outline of the face and a few basic details. Then I drew the left arm and carefully drew the left hand. I drew the fingers of the hand in such a way that they felt bent. As if the girl was holding something in her hand. After this step the overall structure of the character began to look more clear and balanced.
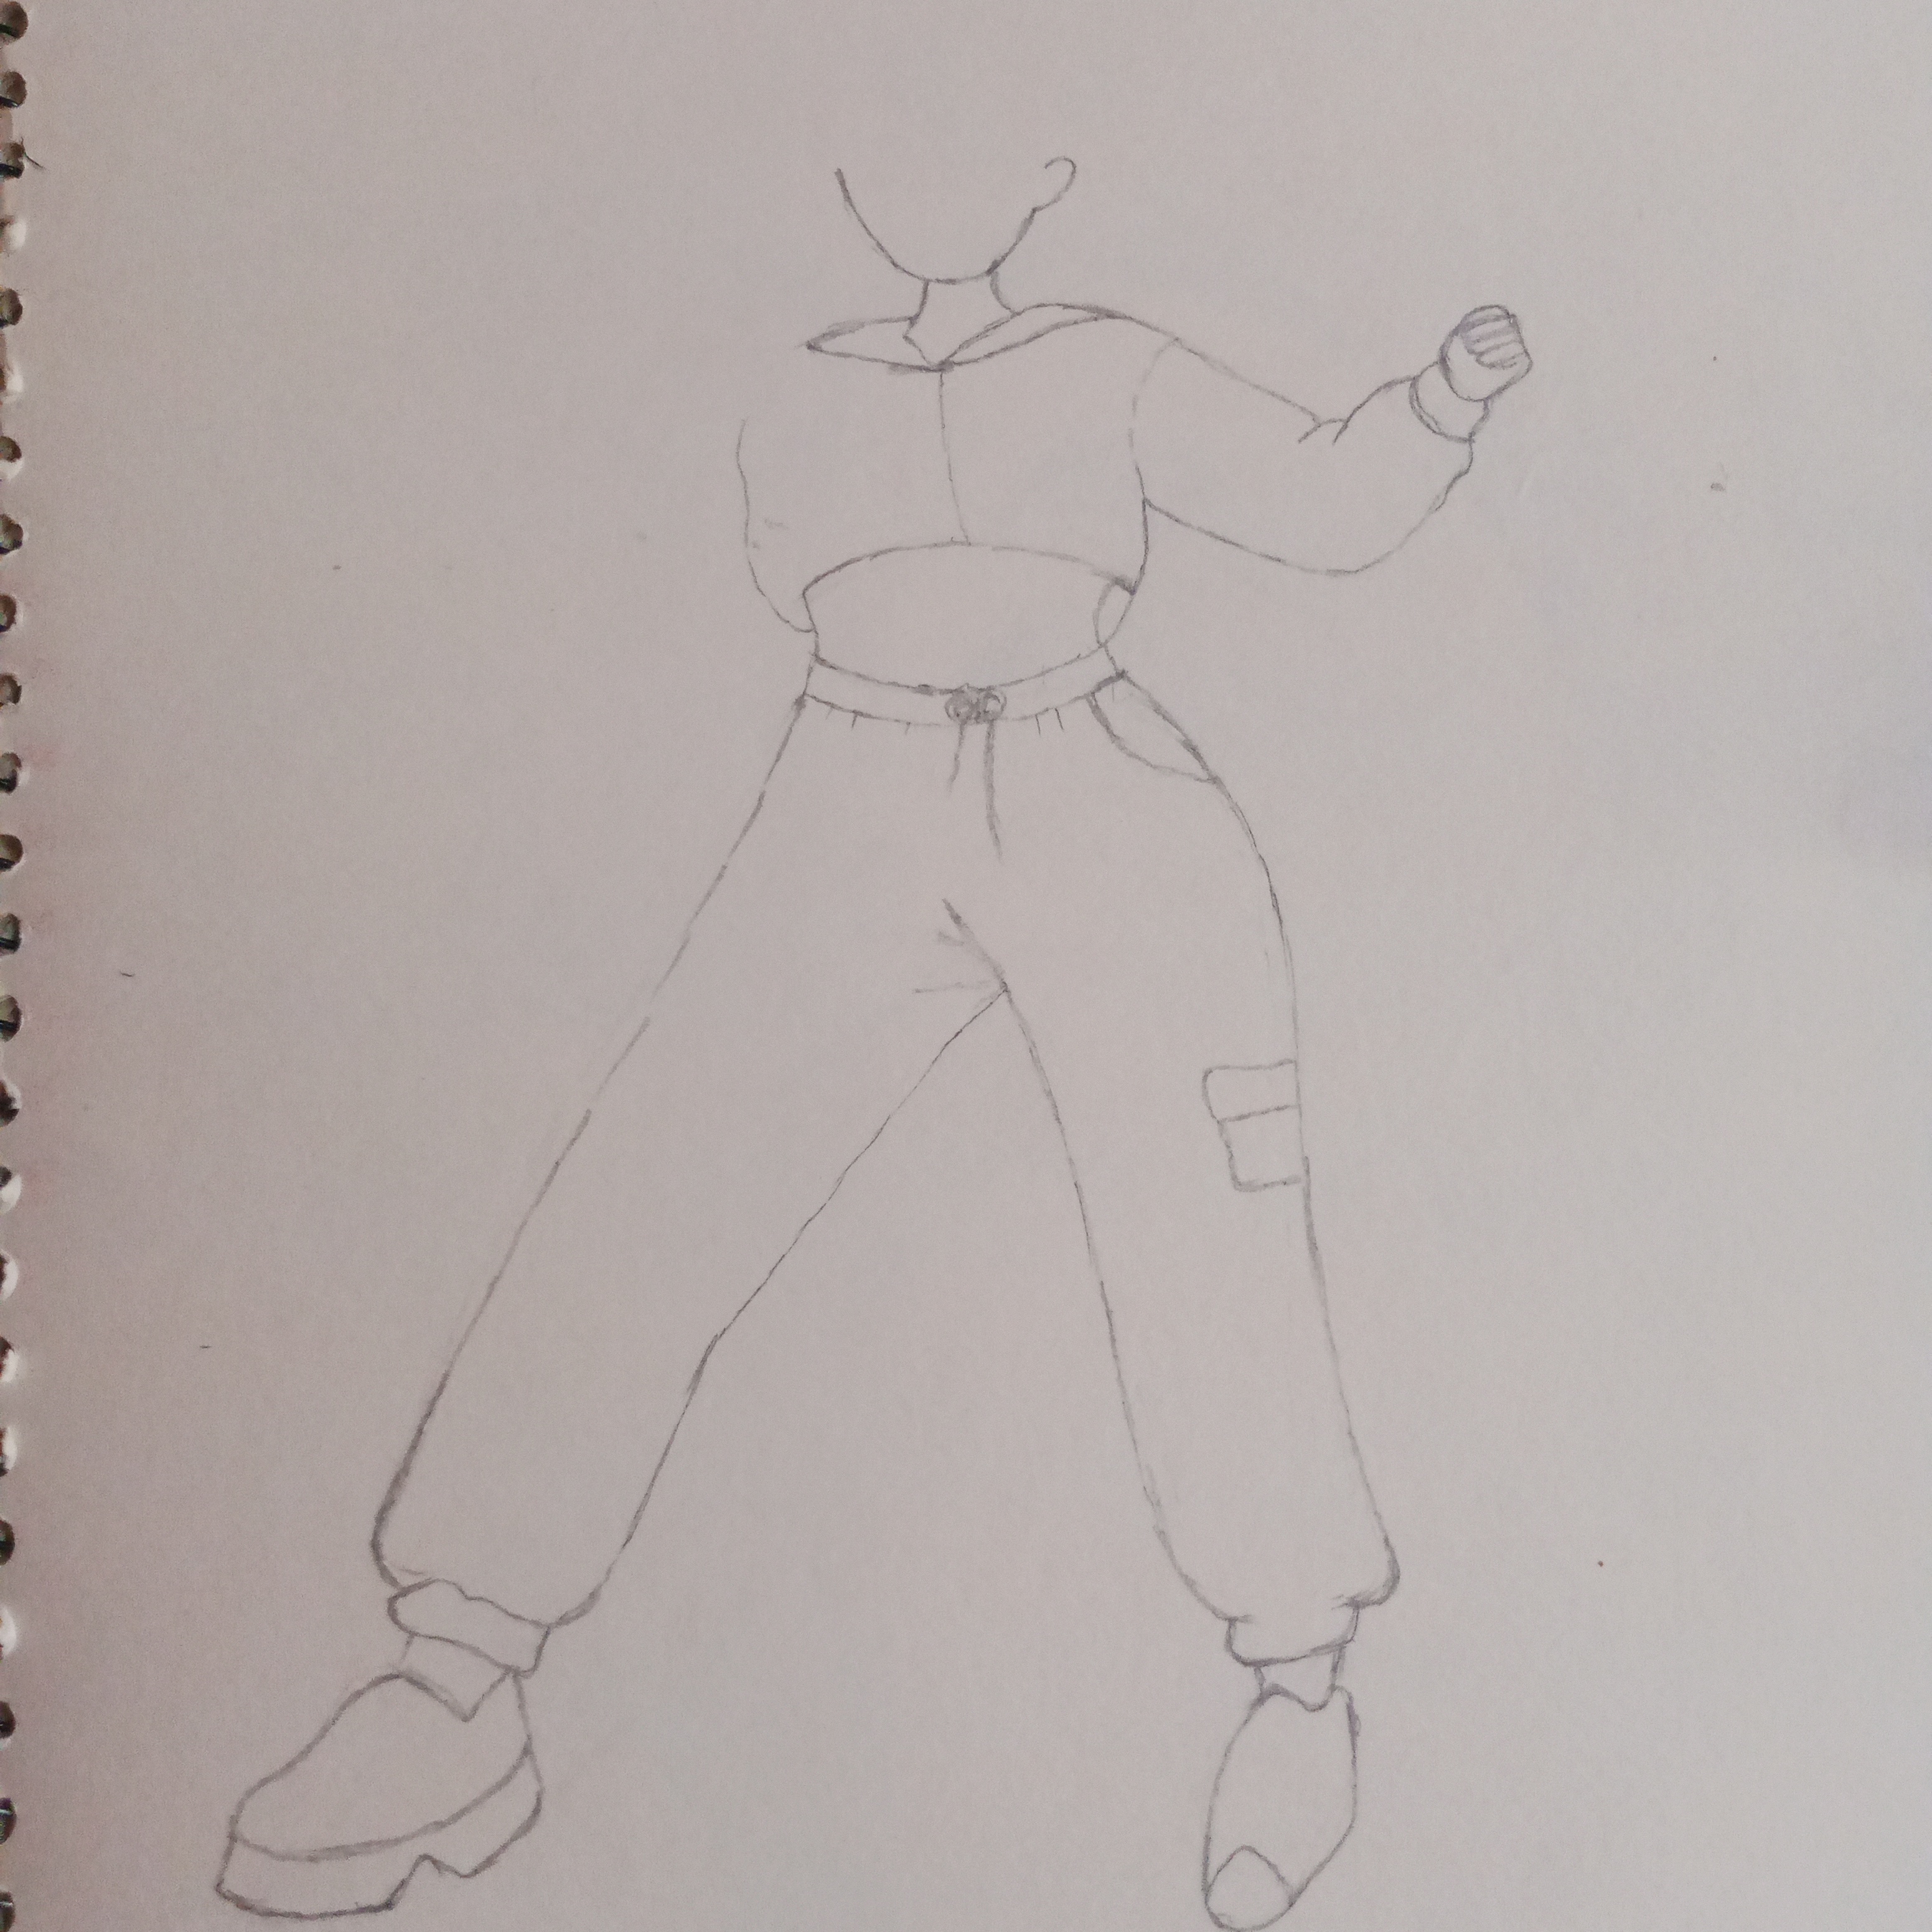
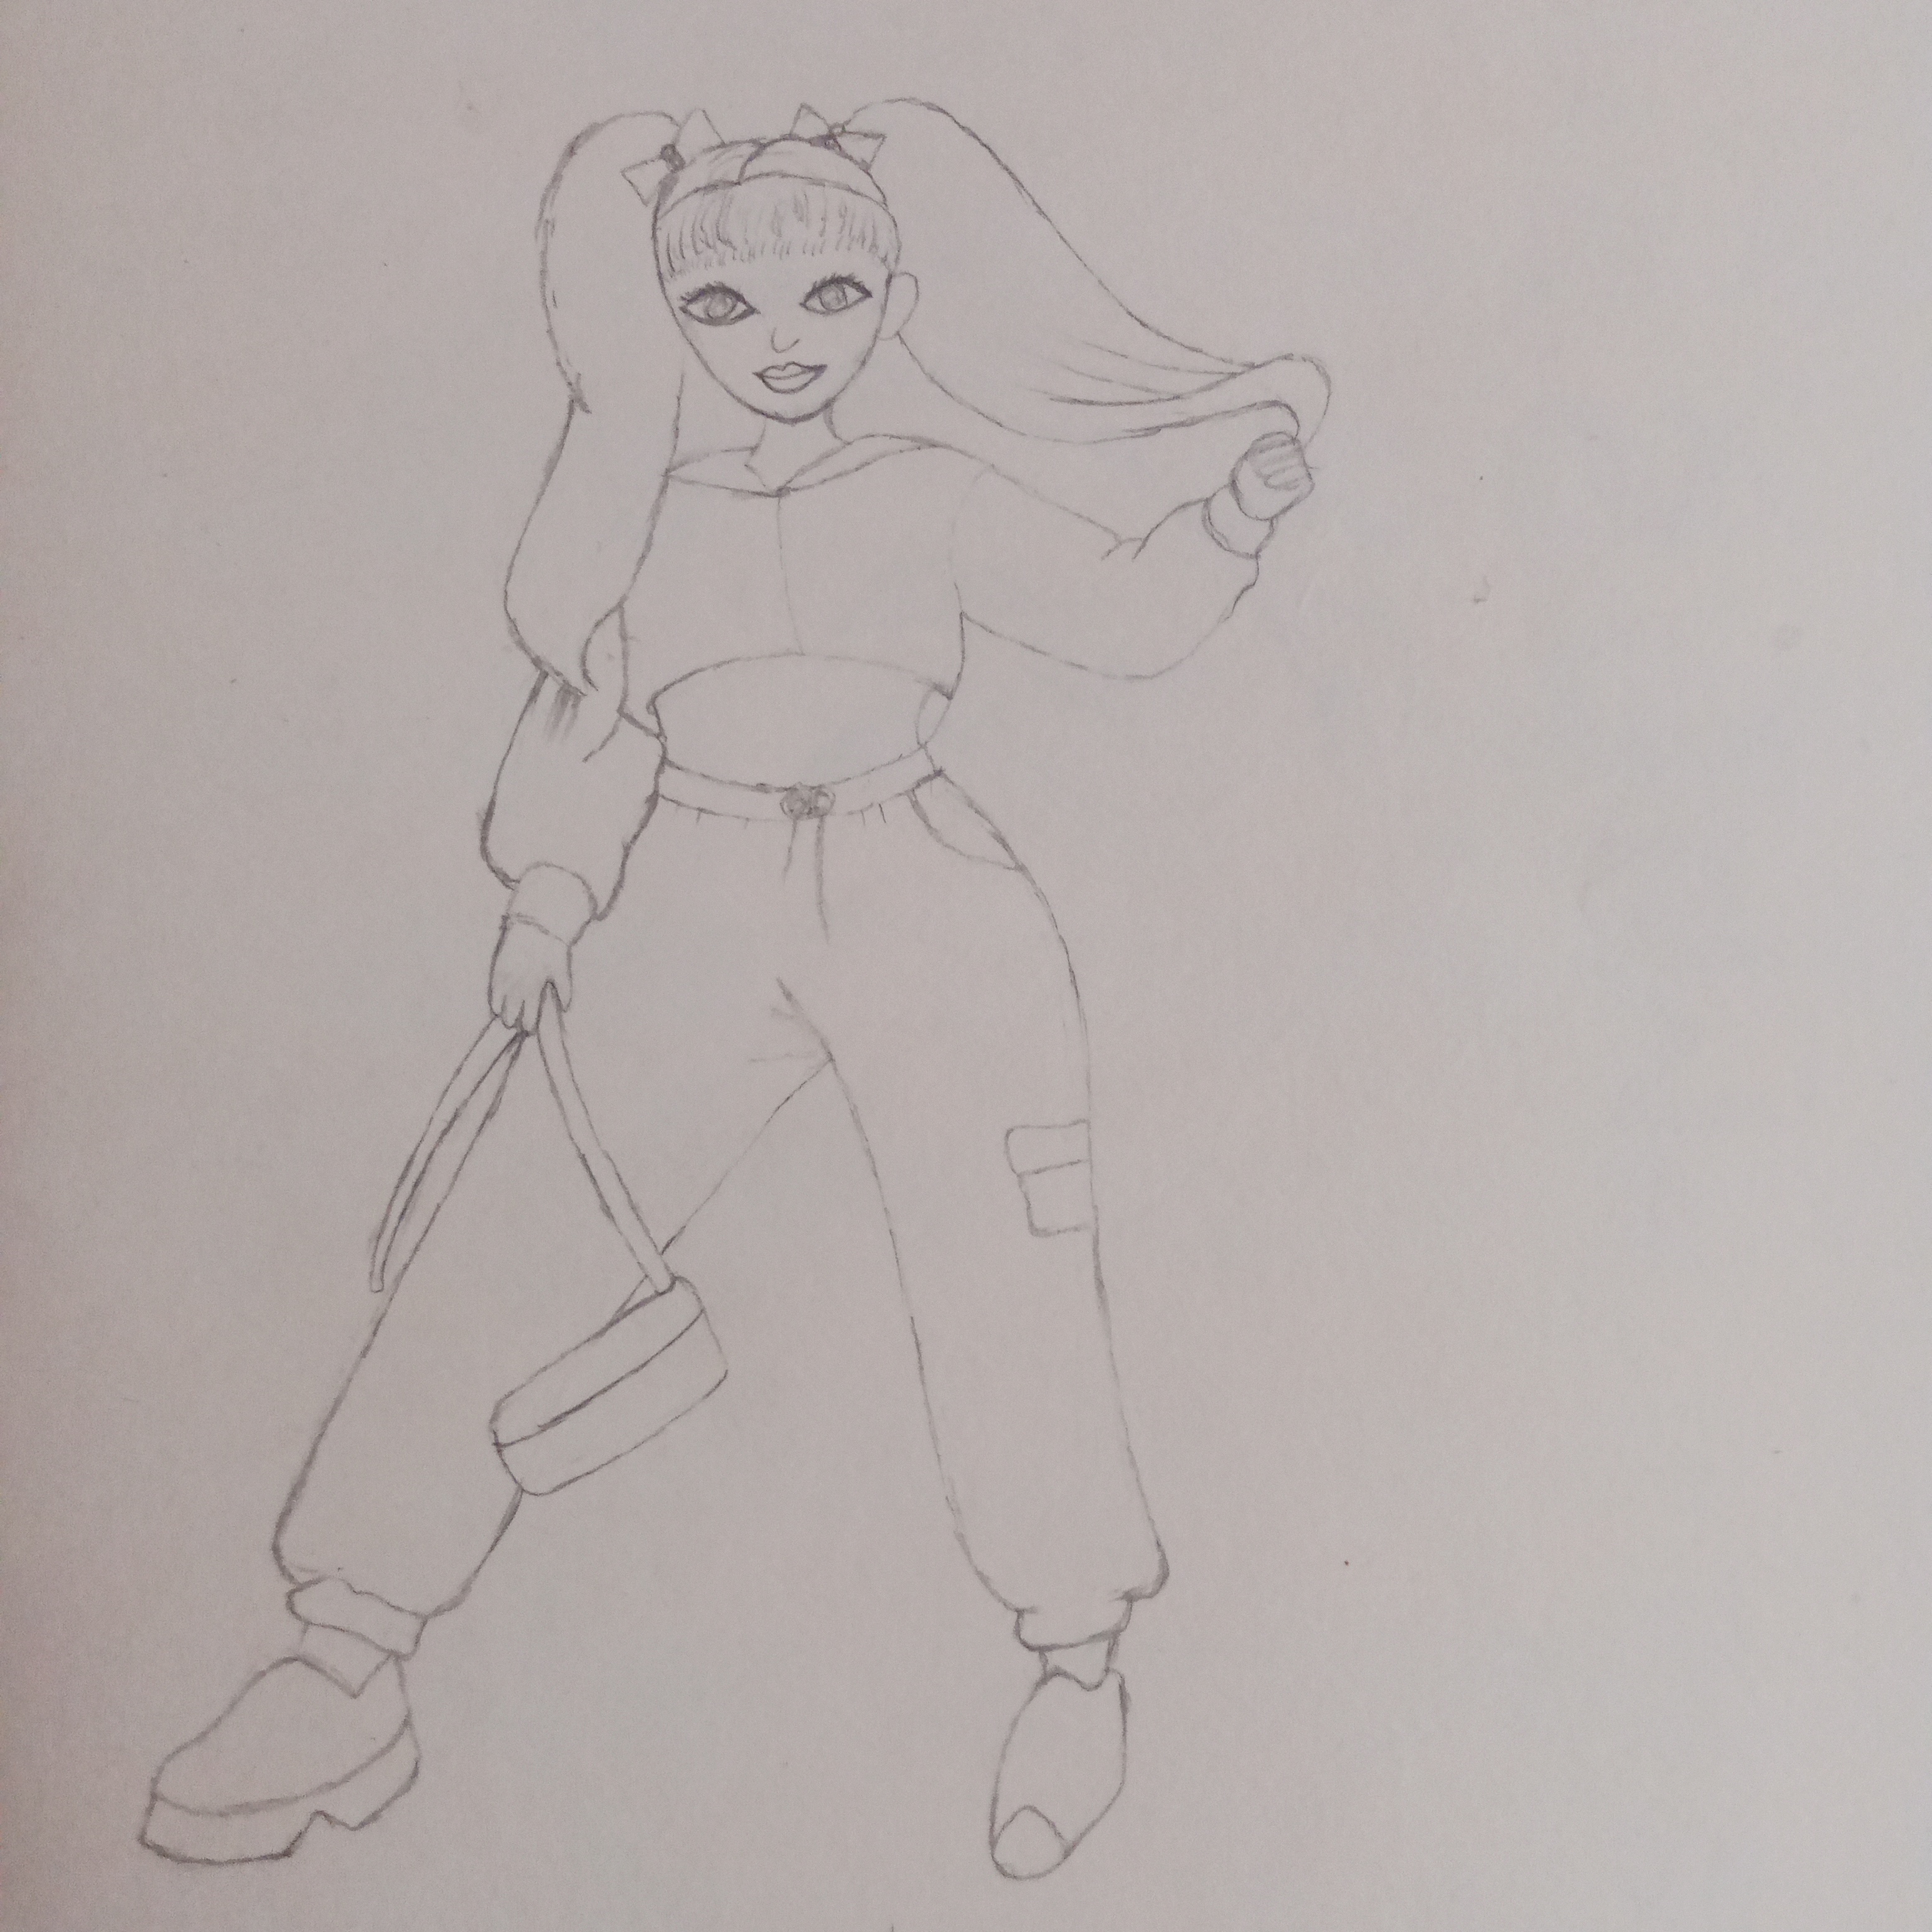
In fourth step I started to finish the girl's face. First I finished the outline of the face. So that her shape looked clear and balanced. Then I drew the top of the head and the hair. I designed the girl with two high ponies. And added beautiful designs of the ponies on both sides. Then I completely drew the ponytail on the right side and her hair. While leaving the hair on the left side for later. Then I made the right arm and hand. I positioned the hand in such a way that. The girl looked standing with her right hand on top of her right leg. Which made the character's style feel more confident and attractive.
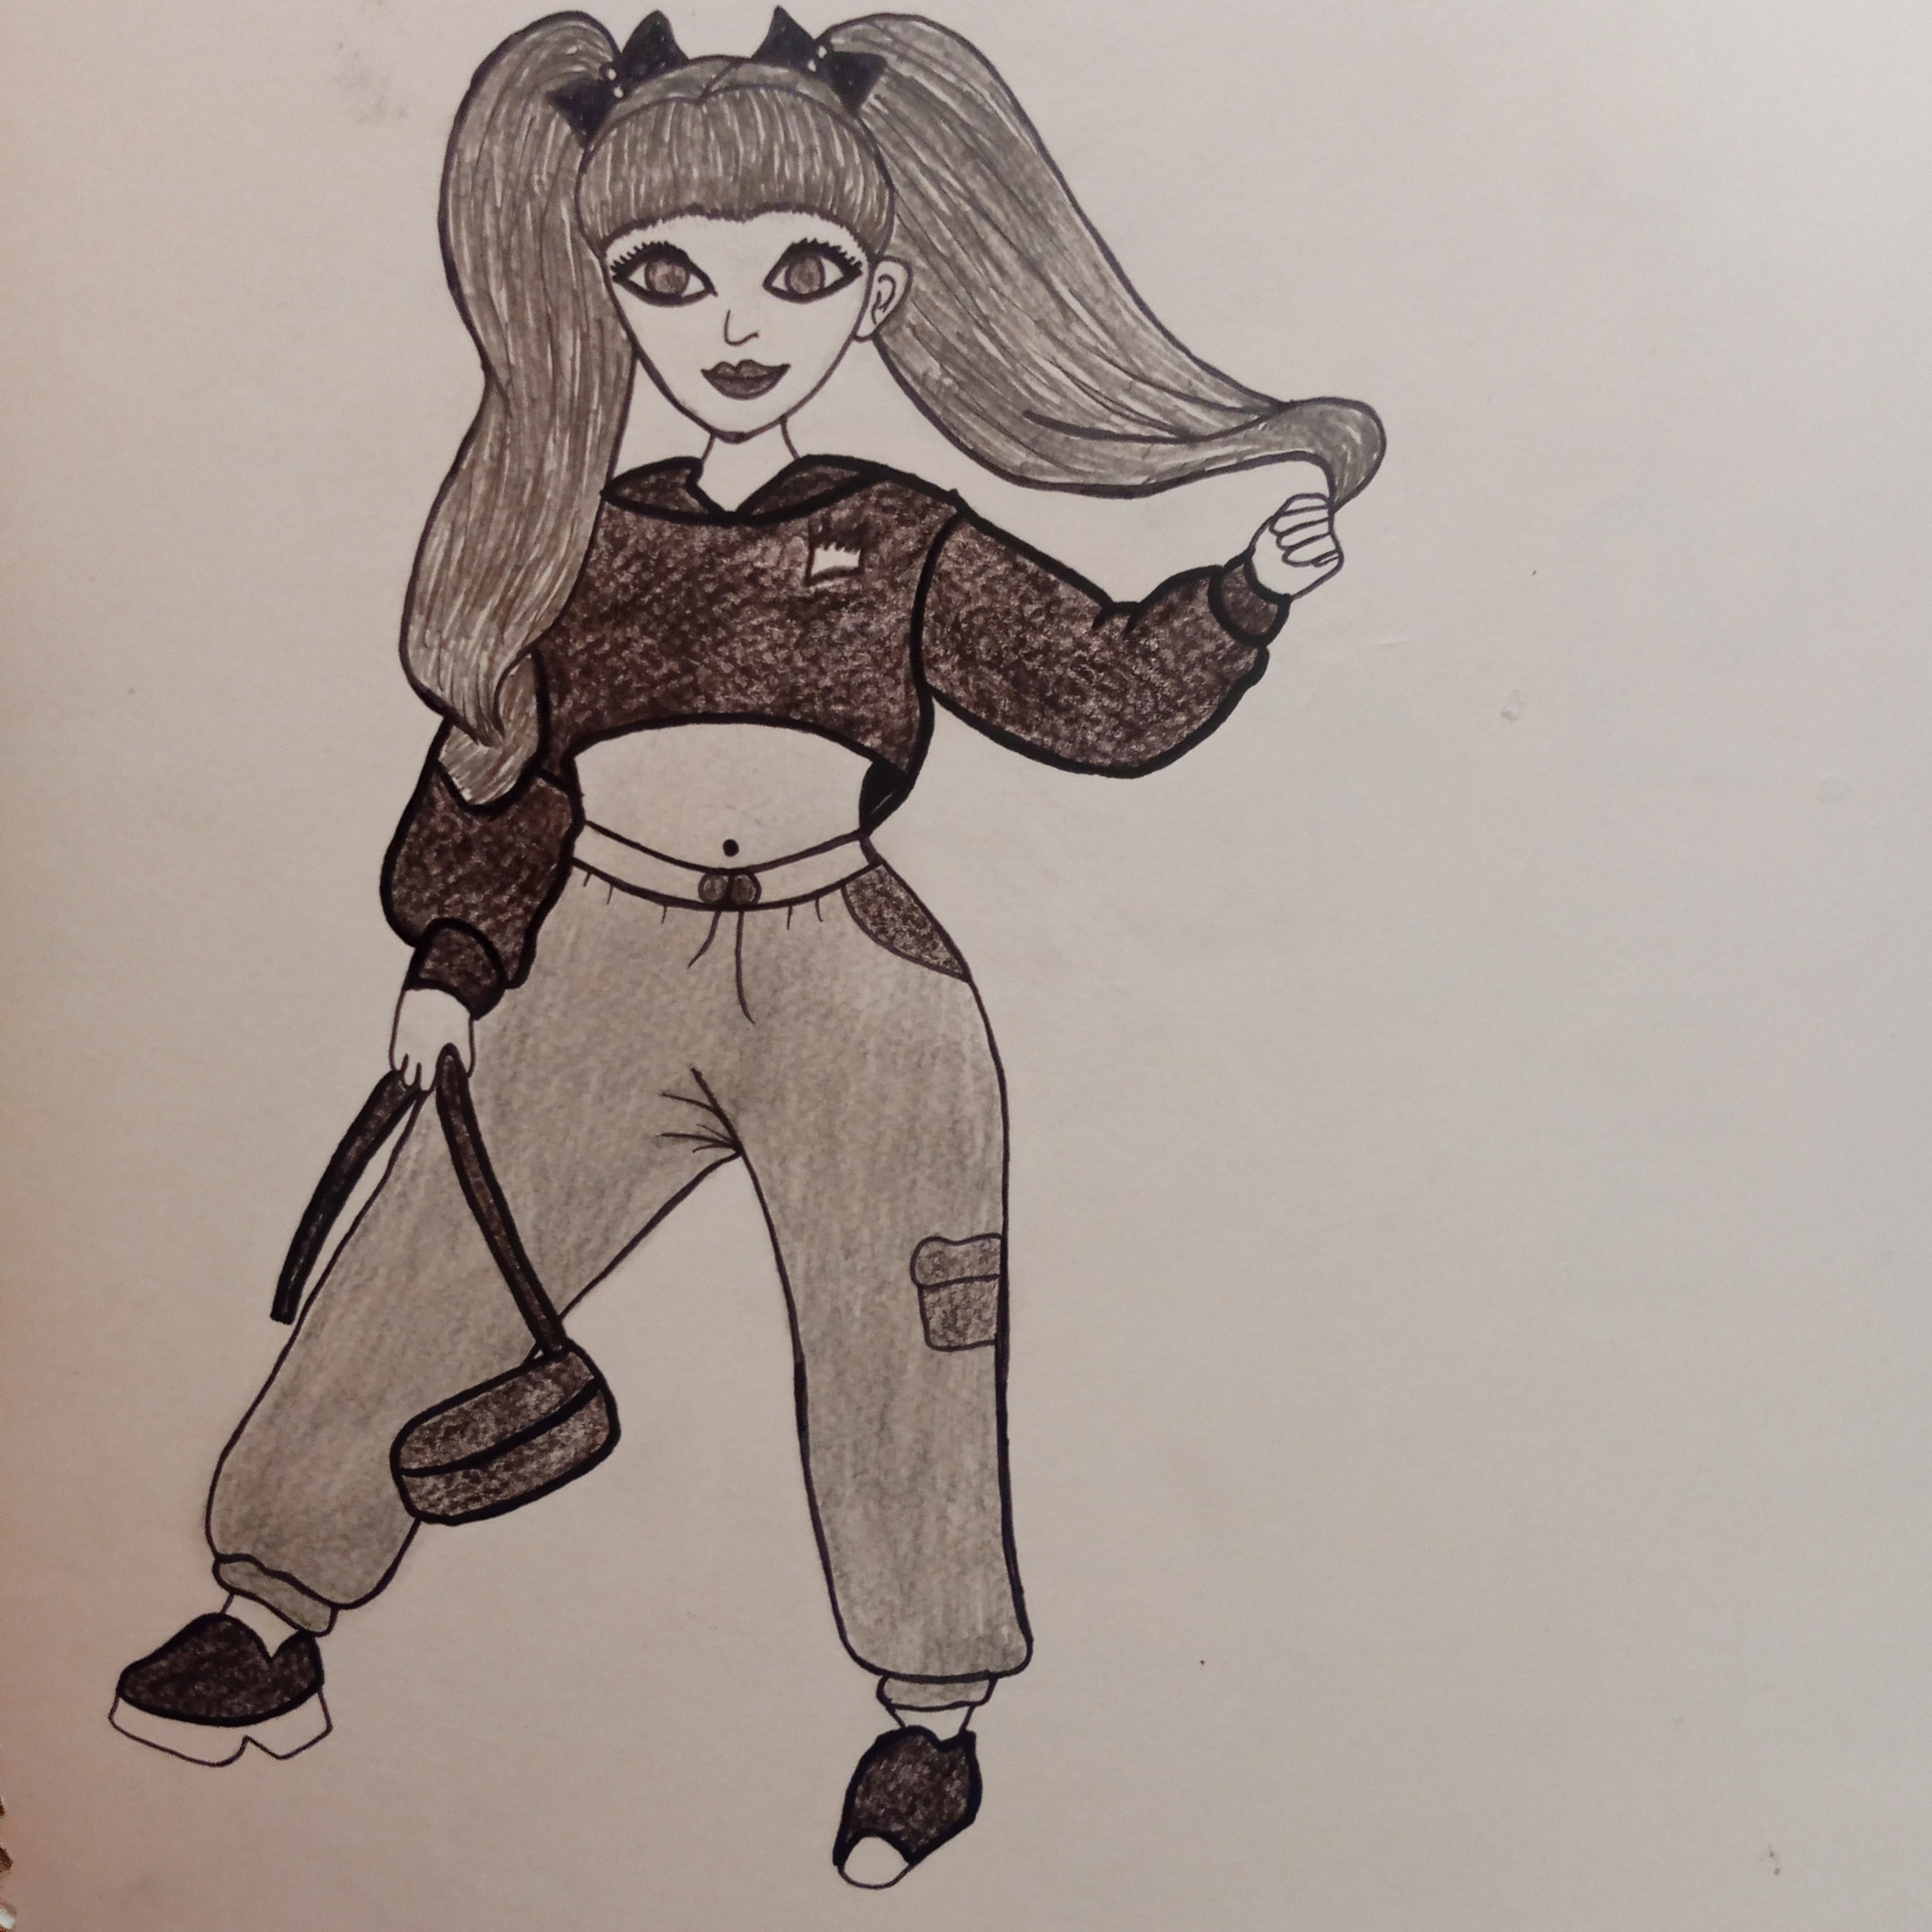
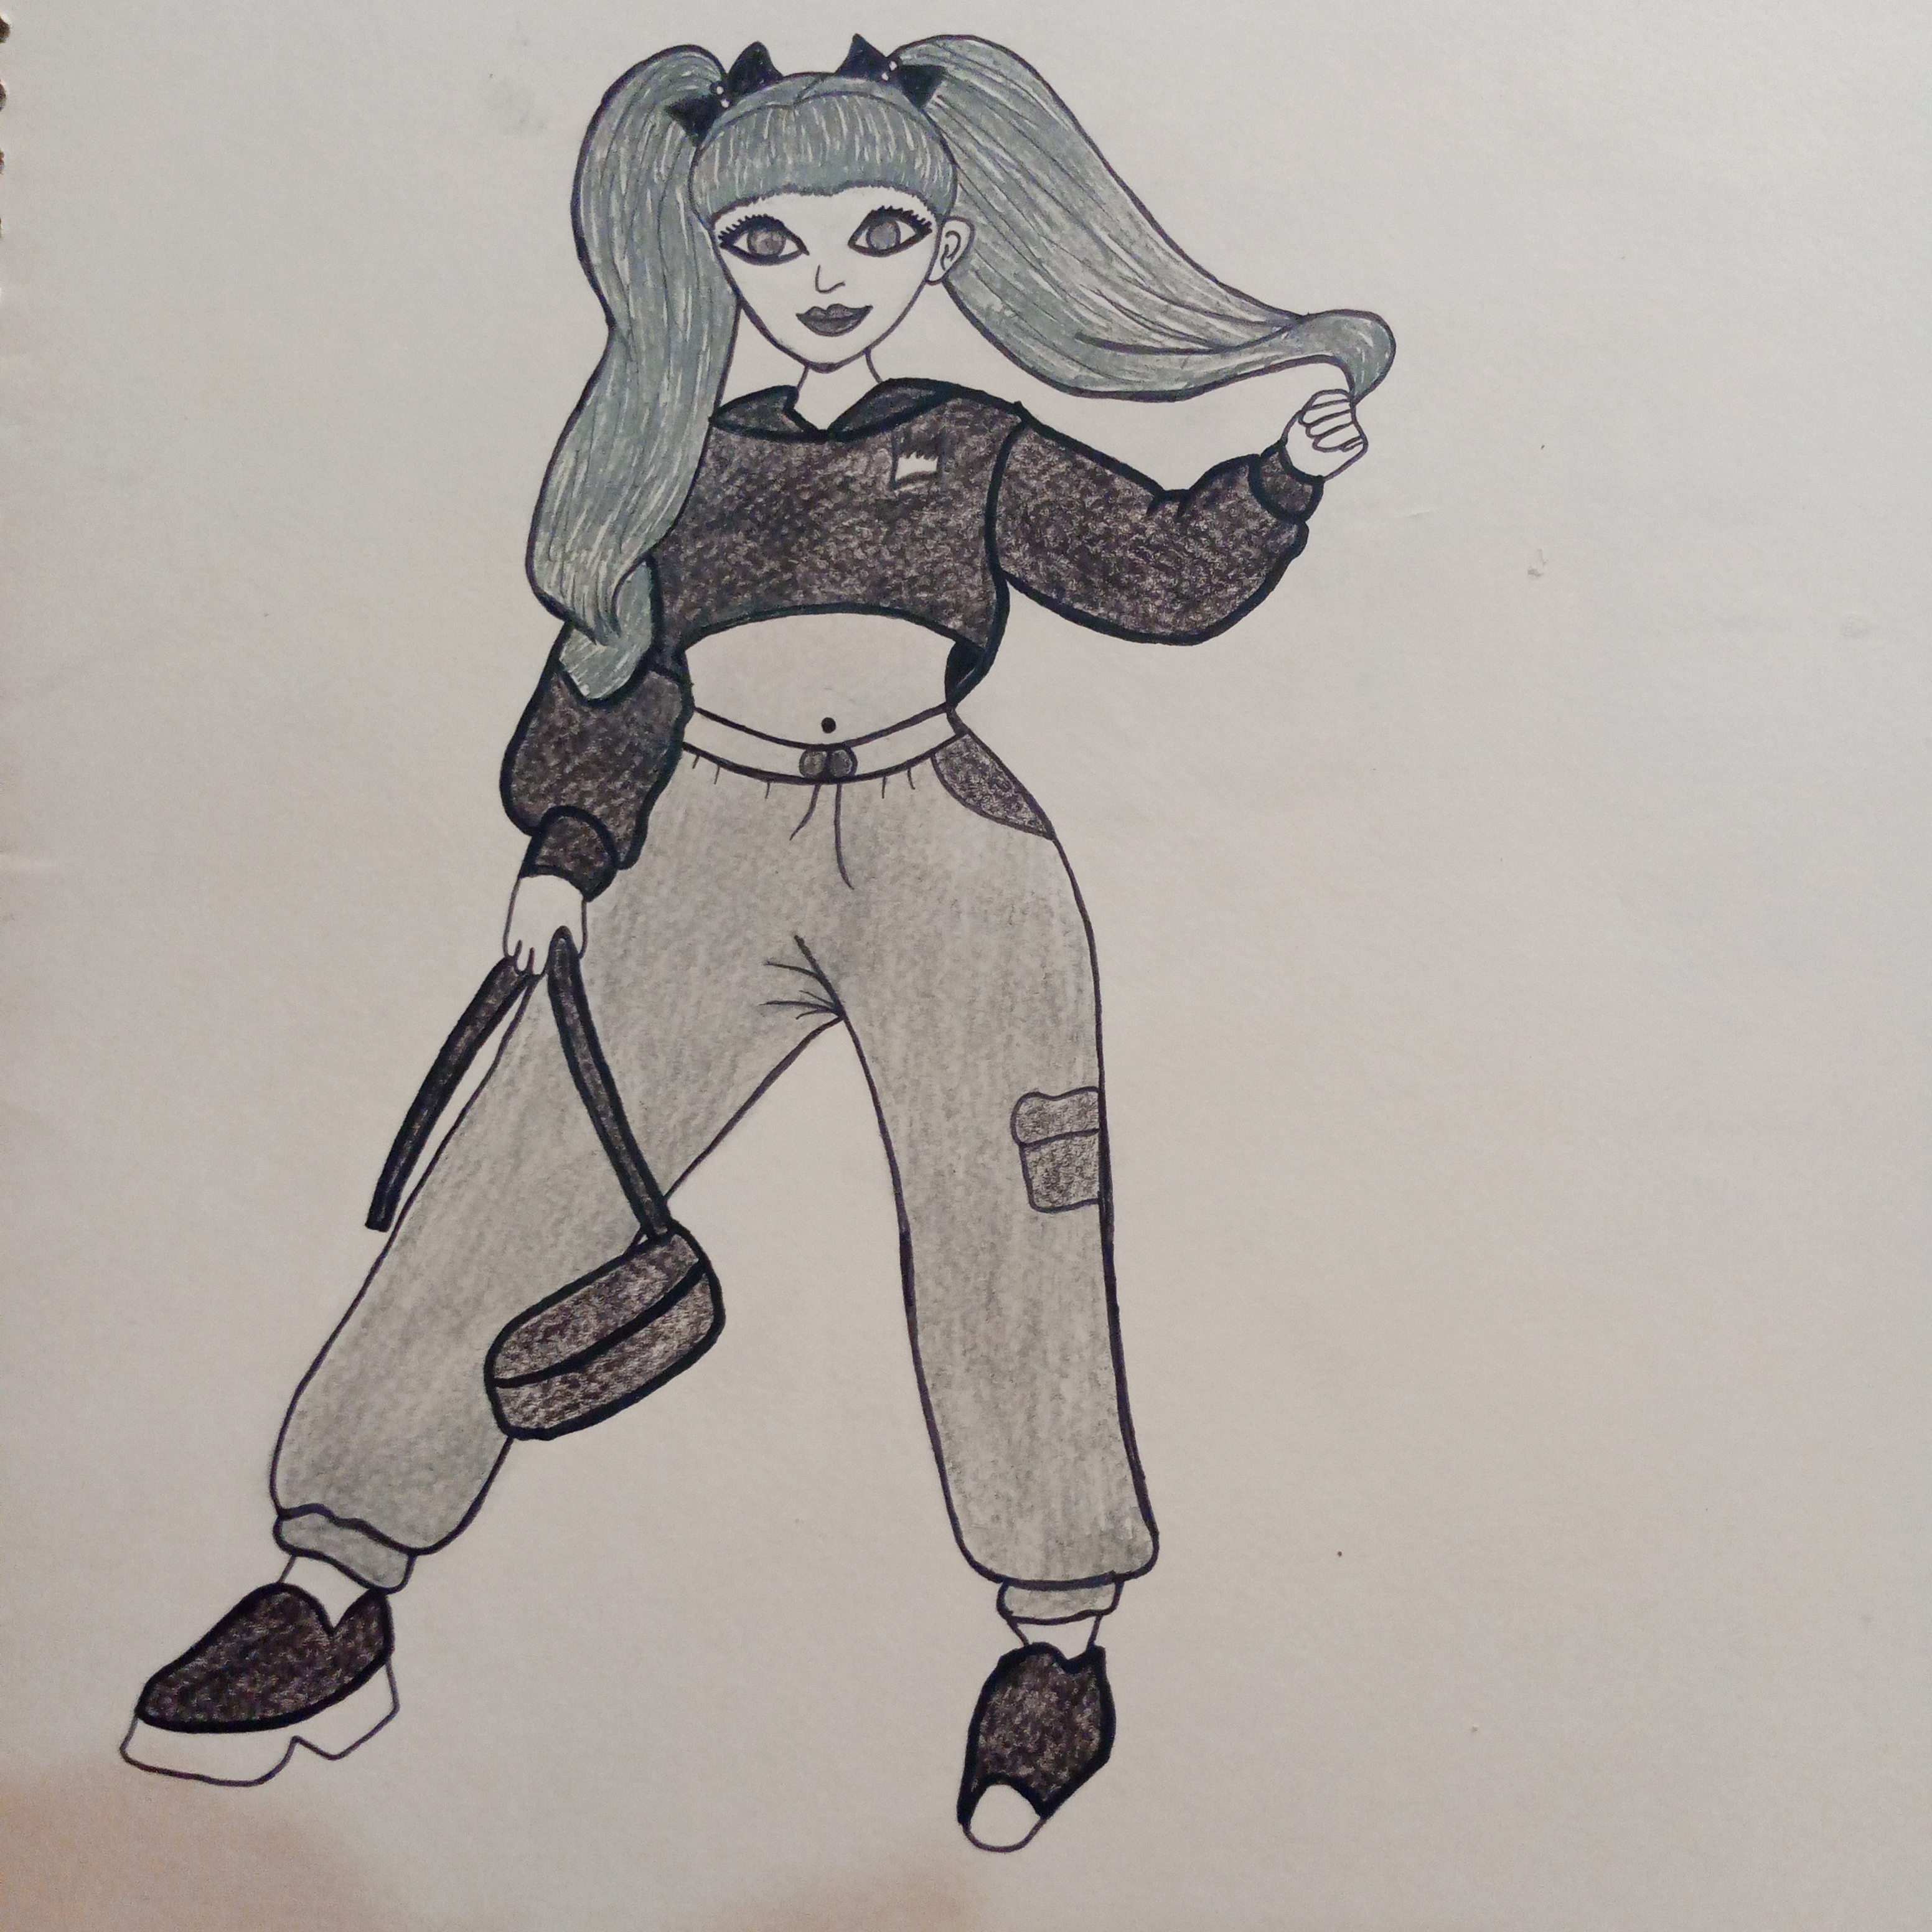
In fifth step I completed the ponytail on girl’s left side and the hair tied to it. I drew the hair in such a way that it looked. As if the girl was lightly holding her ponytail with her left hand. Which made the character’s style look more beautiful and charming. After that I worked on the fine and important details of the face. I drew her big beautiful eyes. Which are one of the most prominent features of this drawing. Then I drew the nose in a simple but proportional way. And added a slight smile on the lips. So that the facial expression feels soft and friendly. To create more beauty I also added baby hair coming on the forehead. Finally I drew a beautiful purse in the right hand. The girl is shown hanging near her leg. And this detail made the drawing more stylish and complete.
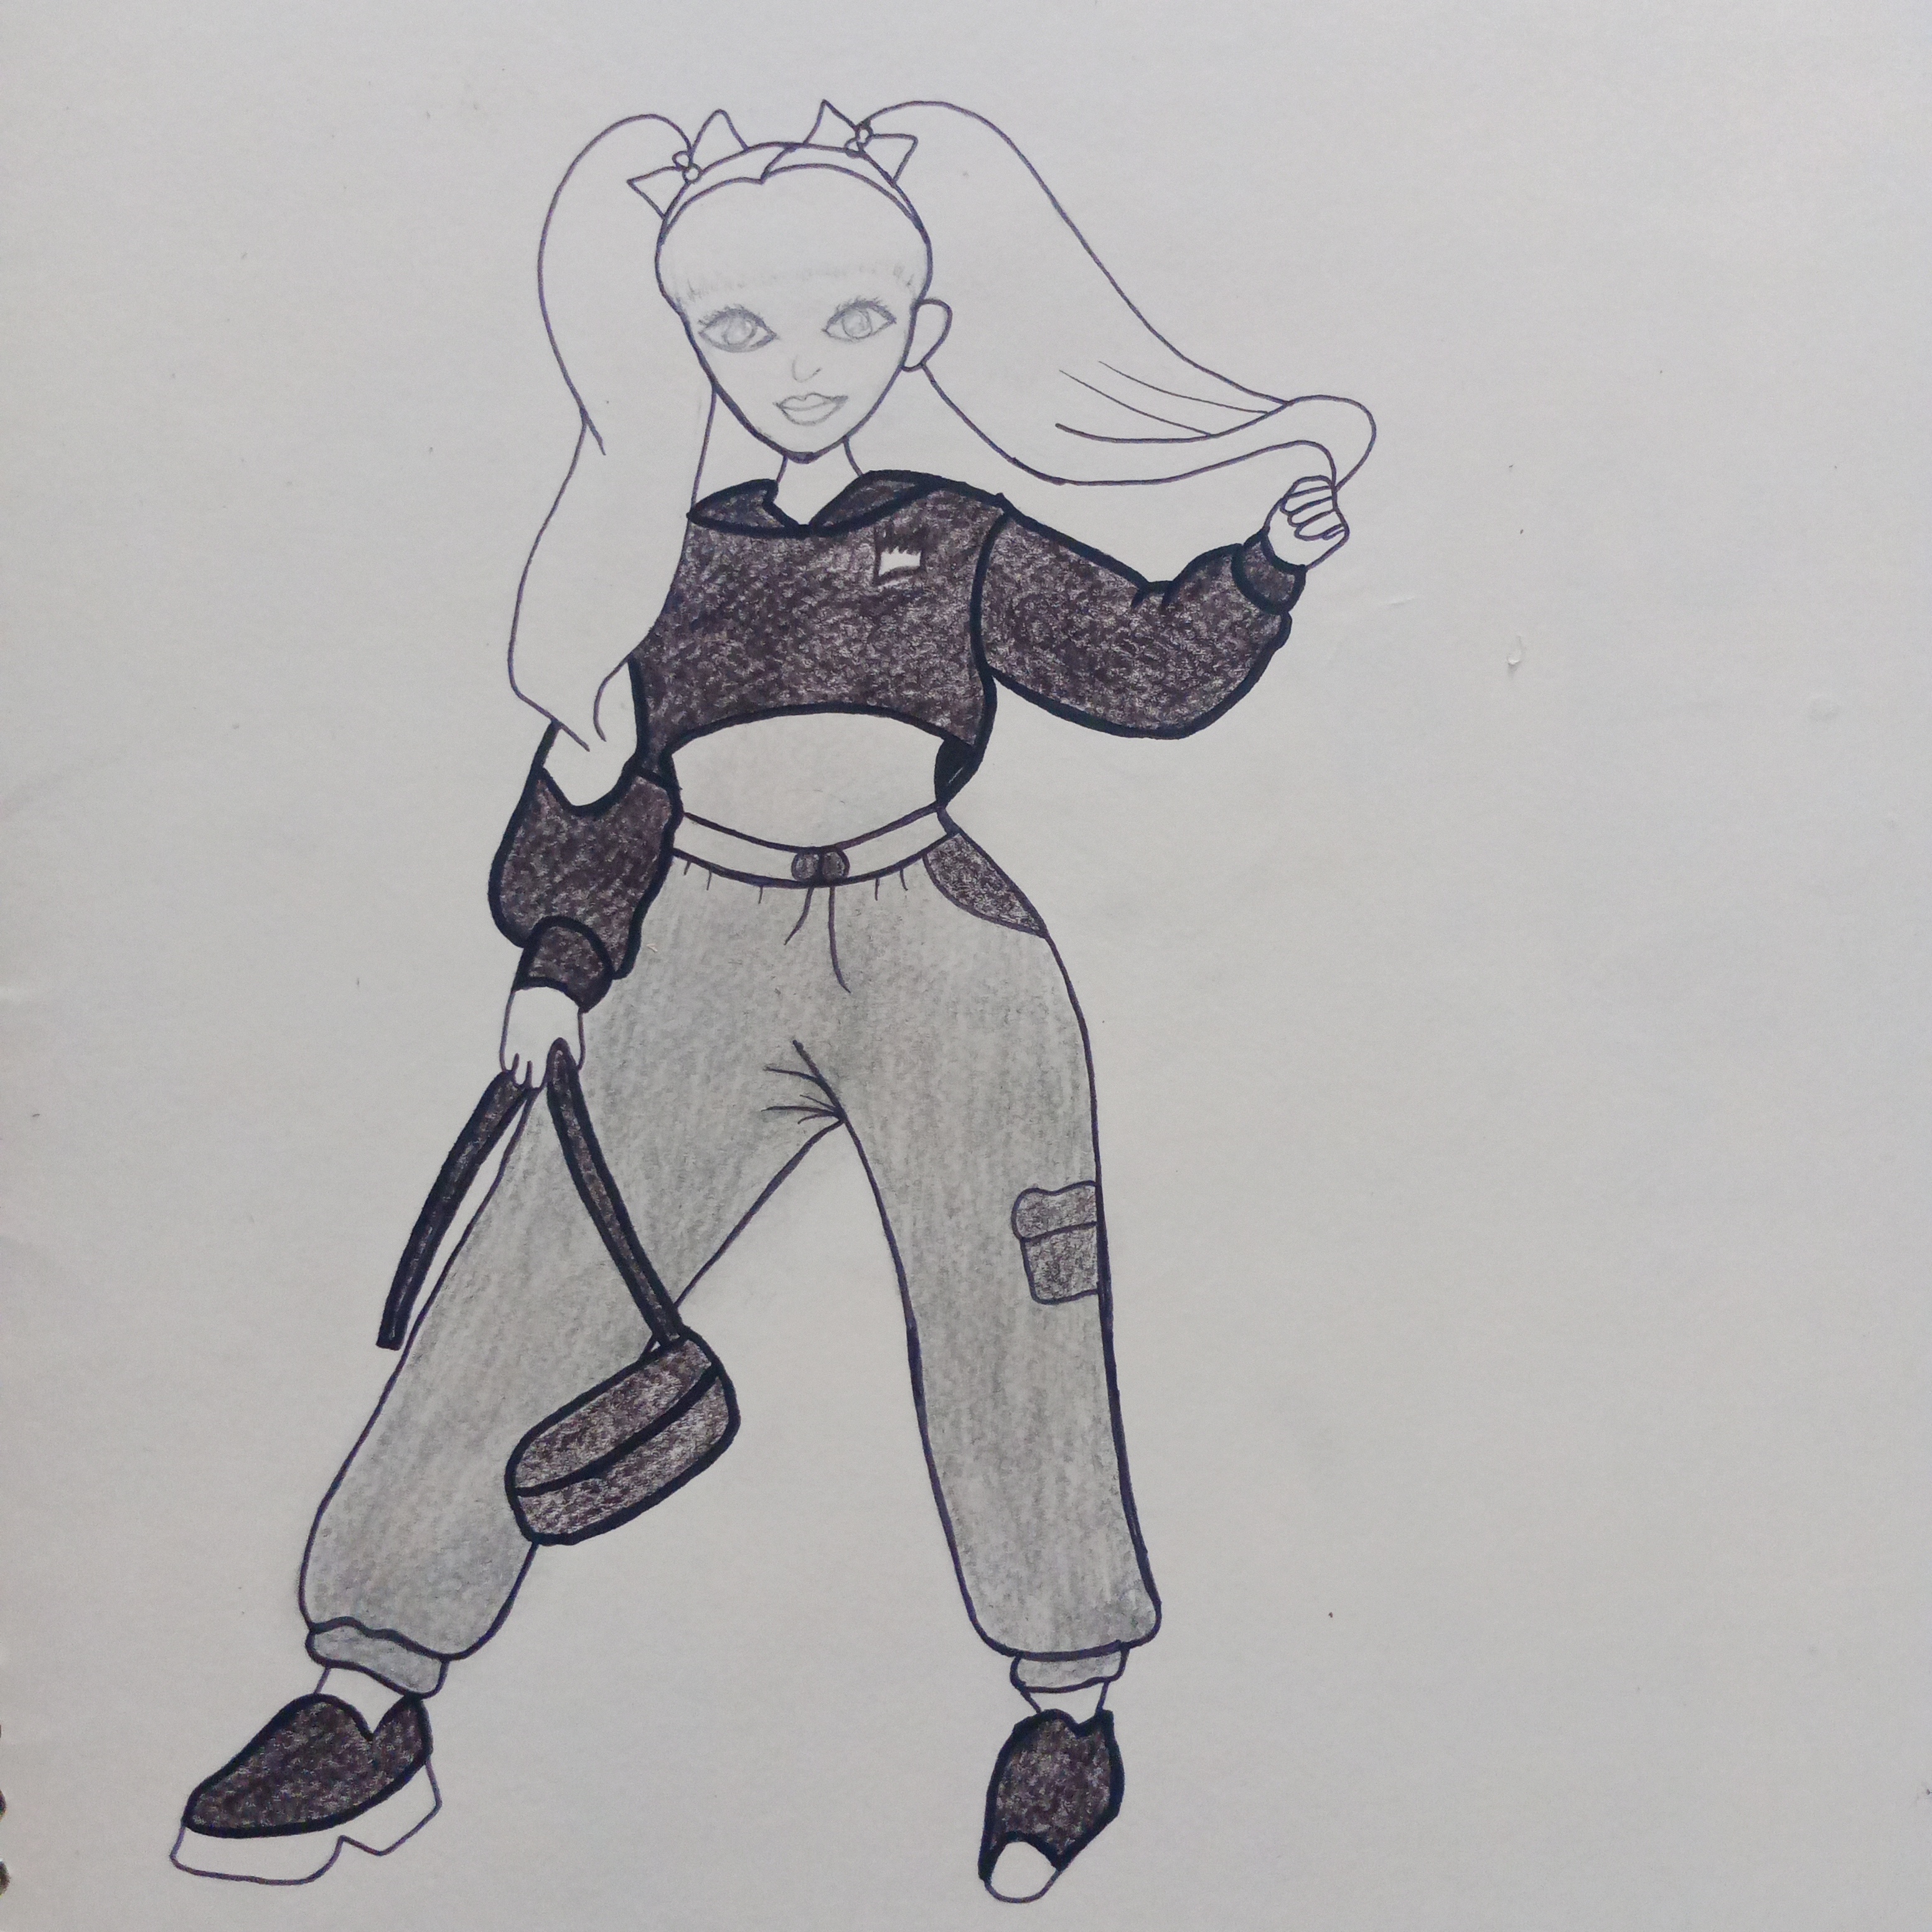
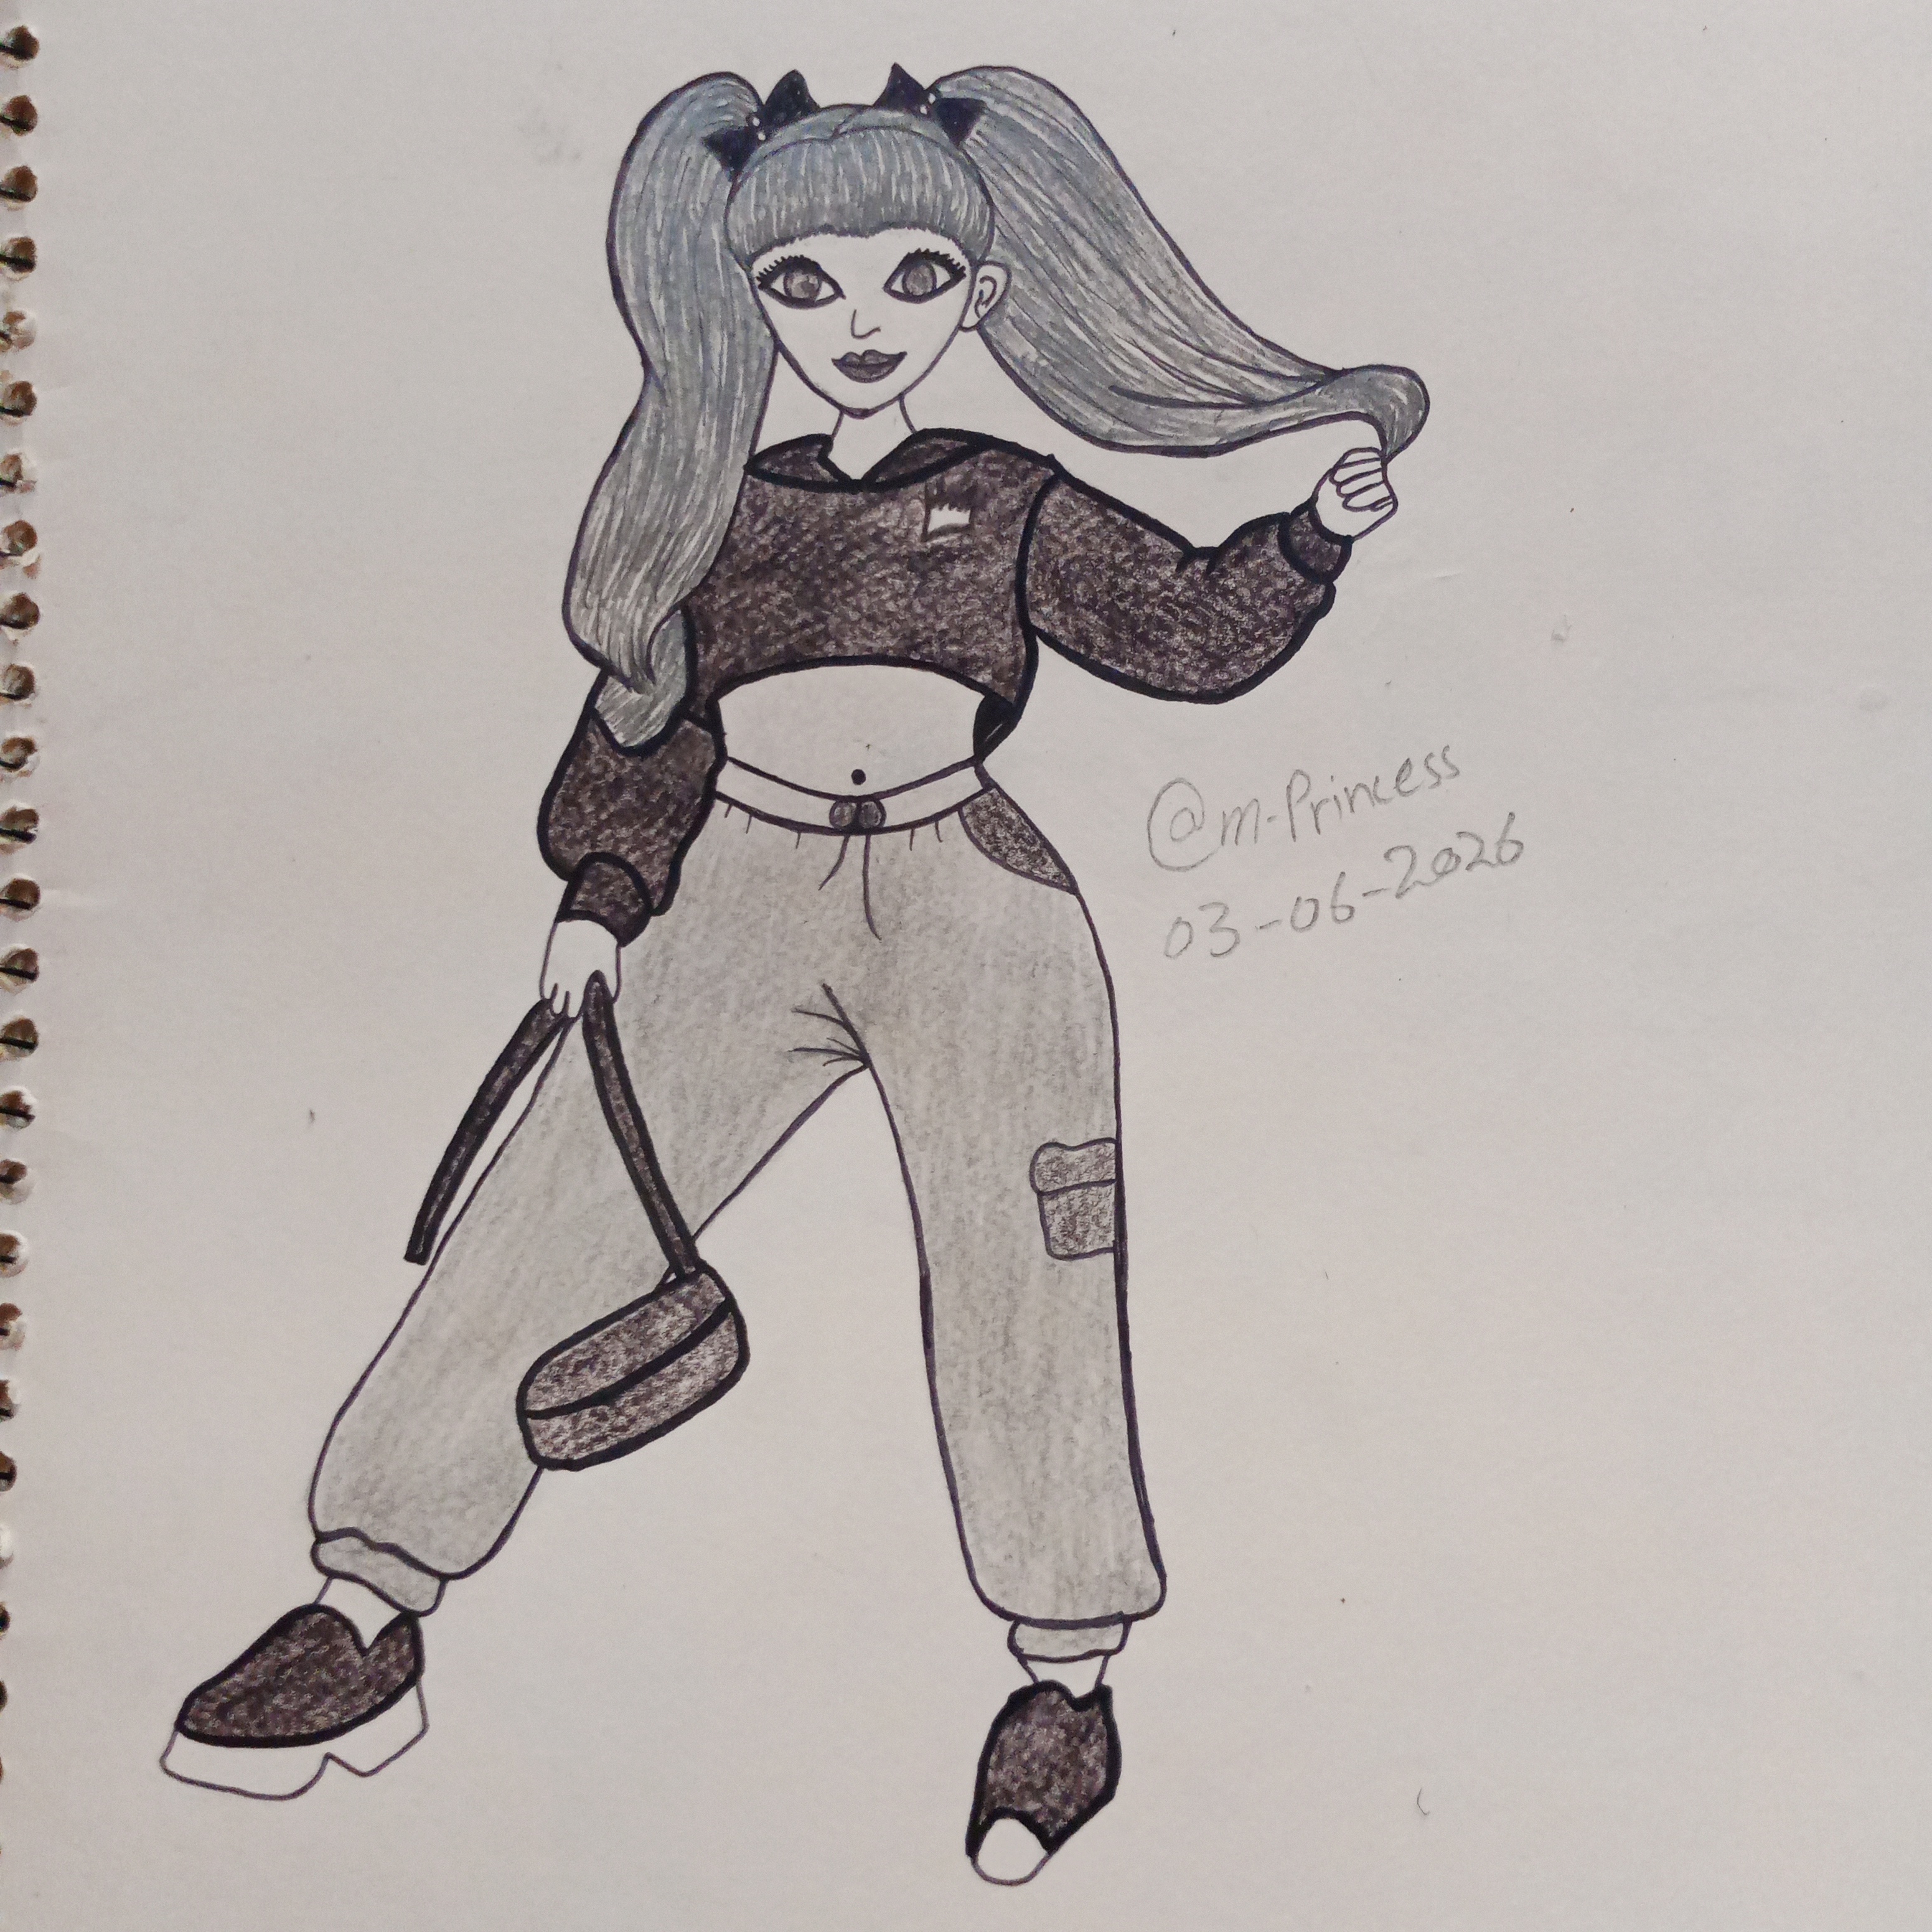
In final stage I outlined the entire drawing with black painter. So that each part looked clear and prominent. After that I started the shading process. The pants were softly shaded with a light gray pencil shade to give it a natural layer and depth. The shirt was designed with dark black shading. Which created a beautiful contrast between the dress and the pants. The hair was further highlighted with fine lines. And layers to make its structure and style clear. The shoes were also completed with a dark black shade. Which made them look more realistic. The eyes were beautifully highlighted with a thick outline. Which made the facial expression more attractive. Finally the fist and other small parts were also shaded. And thus this beautiful and stylish drawing was completely finished.
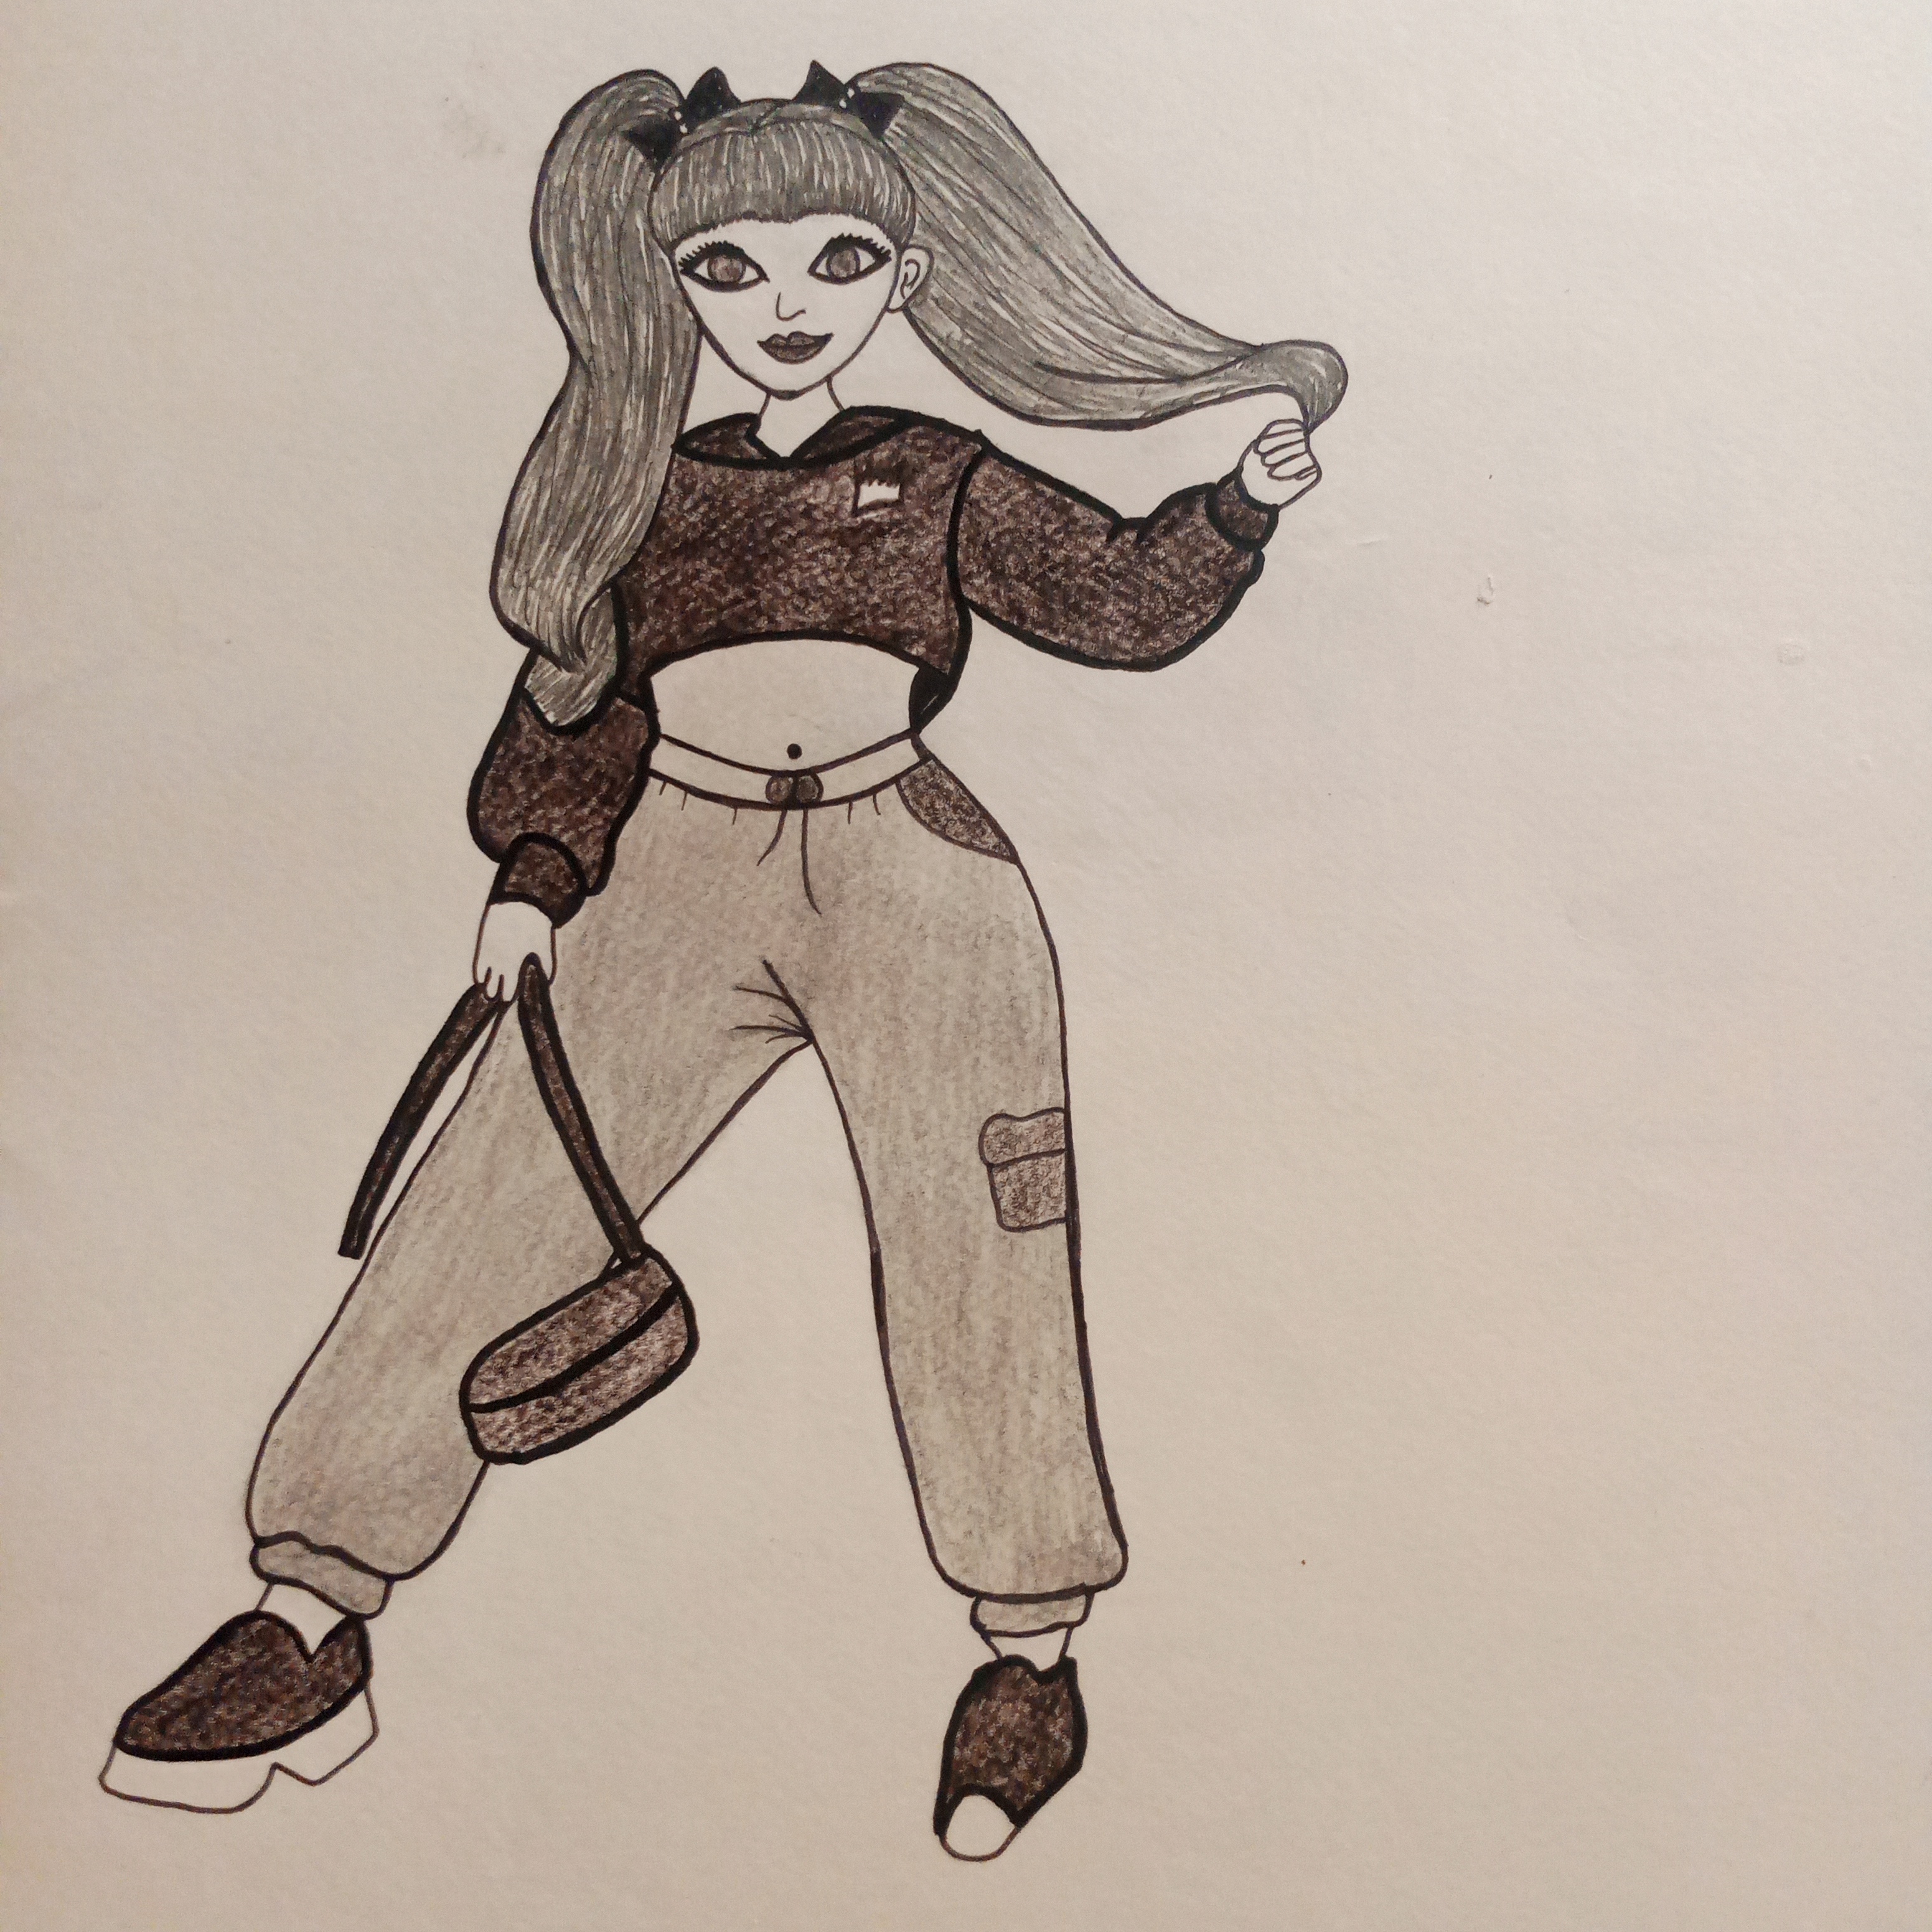
Final picture:
 |
|---|
 |
|---|
Until next time, stay awesome, and keep on reading.
Thank you for being with me.
|
|---|

Thank you ma'am for your support 💕.
Greatings and blessings dear ma'am.
🎉 Congratulations!
Your post has been upvoted by the SteemX Team! 🚀
SteemX is a modern, user-friendly and powerful platform built for the Steem community.
🔗 Visit us: www.steemx.org
✅ Support our work — Vote for our witness: bountyking5