All in one contest Week 35 -- " Making Wall Mats with Colorful Paper and Cardboard. "
Assalamu Alaikum
Assalamu Alaikum
How is everyone doing today? I hope you are all happy, healthy, and doing great. Alhamdulillah, I am also doing well by your prayers. And that’s exactly why I’m here once again—to share a brand new blog with all of you. ণecoming a great blogger is not just about writing—it’s about the perfect combination of knowledge, experience, and creativity. The stronger these three qualities are within a person, the more impactful and engaging their content becomes. A truly skilled blogger has the power to capture attention, hold it, and leave a lasting impression through every single post. In today’s world, where content is everywhere, only creative and meaningful work stands out. That’s why we should always focus on improving ourselves, learning new things, and expressing our ideas in unique and creative ways.Let’s keep creating, keep inspiring, and keep growing together.
Today, I am here to participate in another wonderful competition organized by @steemkidss in the Steem Kids & Parents community. This competition includes various topics where everyone has the opportunity to showcase their creativity. It is truly a beautiful initiative, and I would like to sincerely thank @steemkidss for organizing it. I am very happy to share my creativity through this blog today. In this post, I will present a making Wall Mats with Colorful Paper and Cardboard project that is simple.

Required Materials
- Glue Gun Adhesive
- Scissors
- Gum
- Colored Paper
- Cardboard
Required Details :
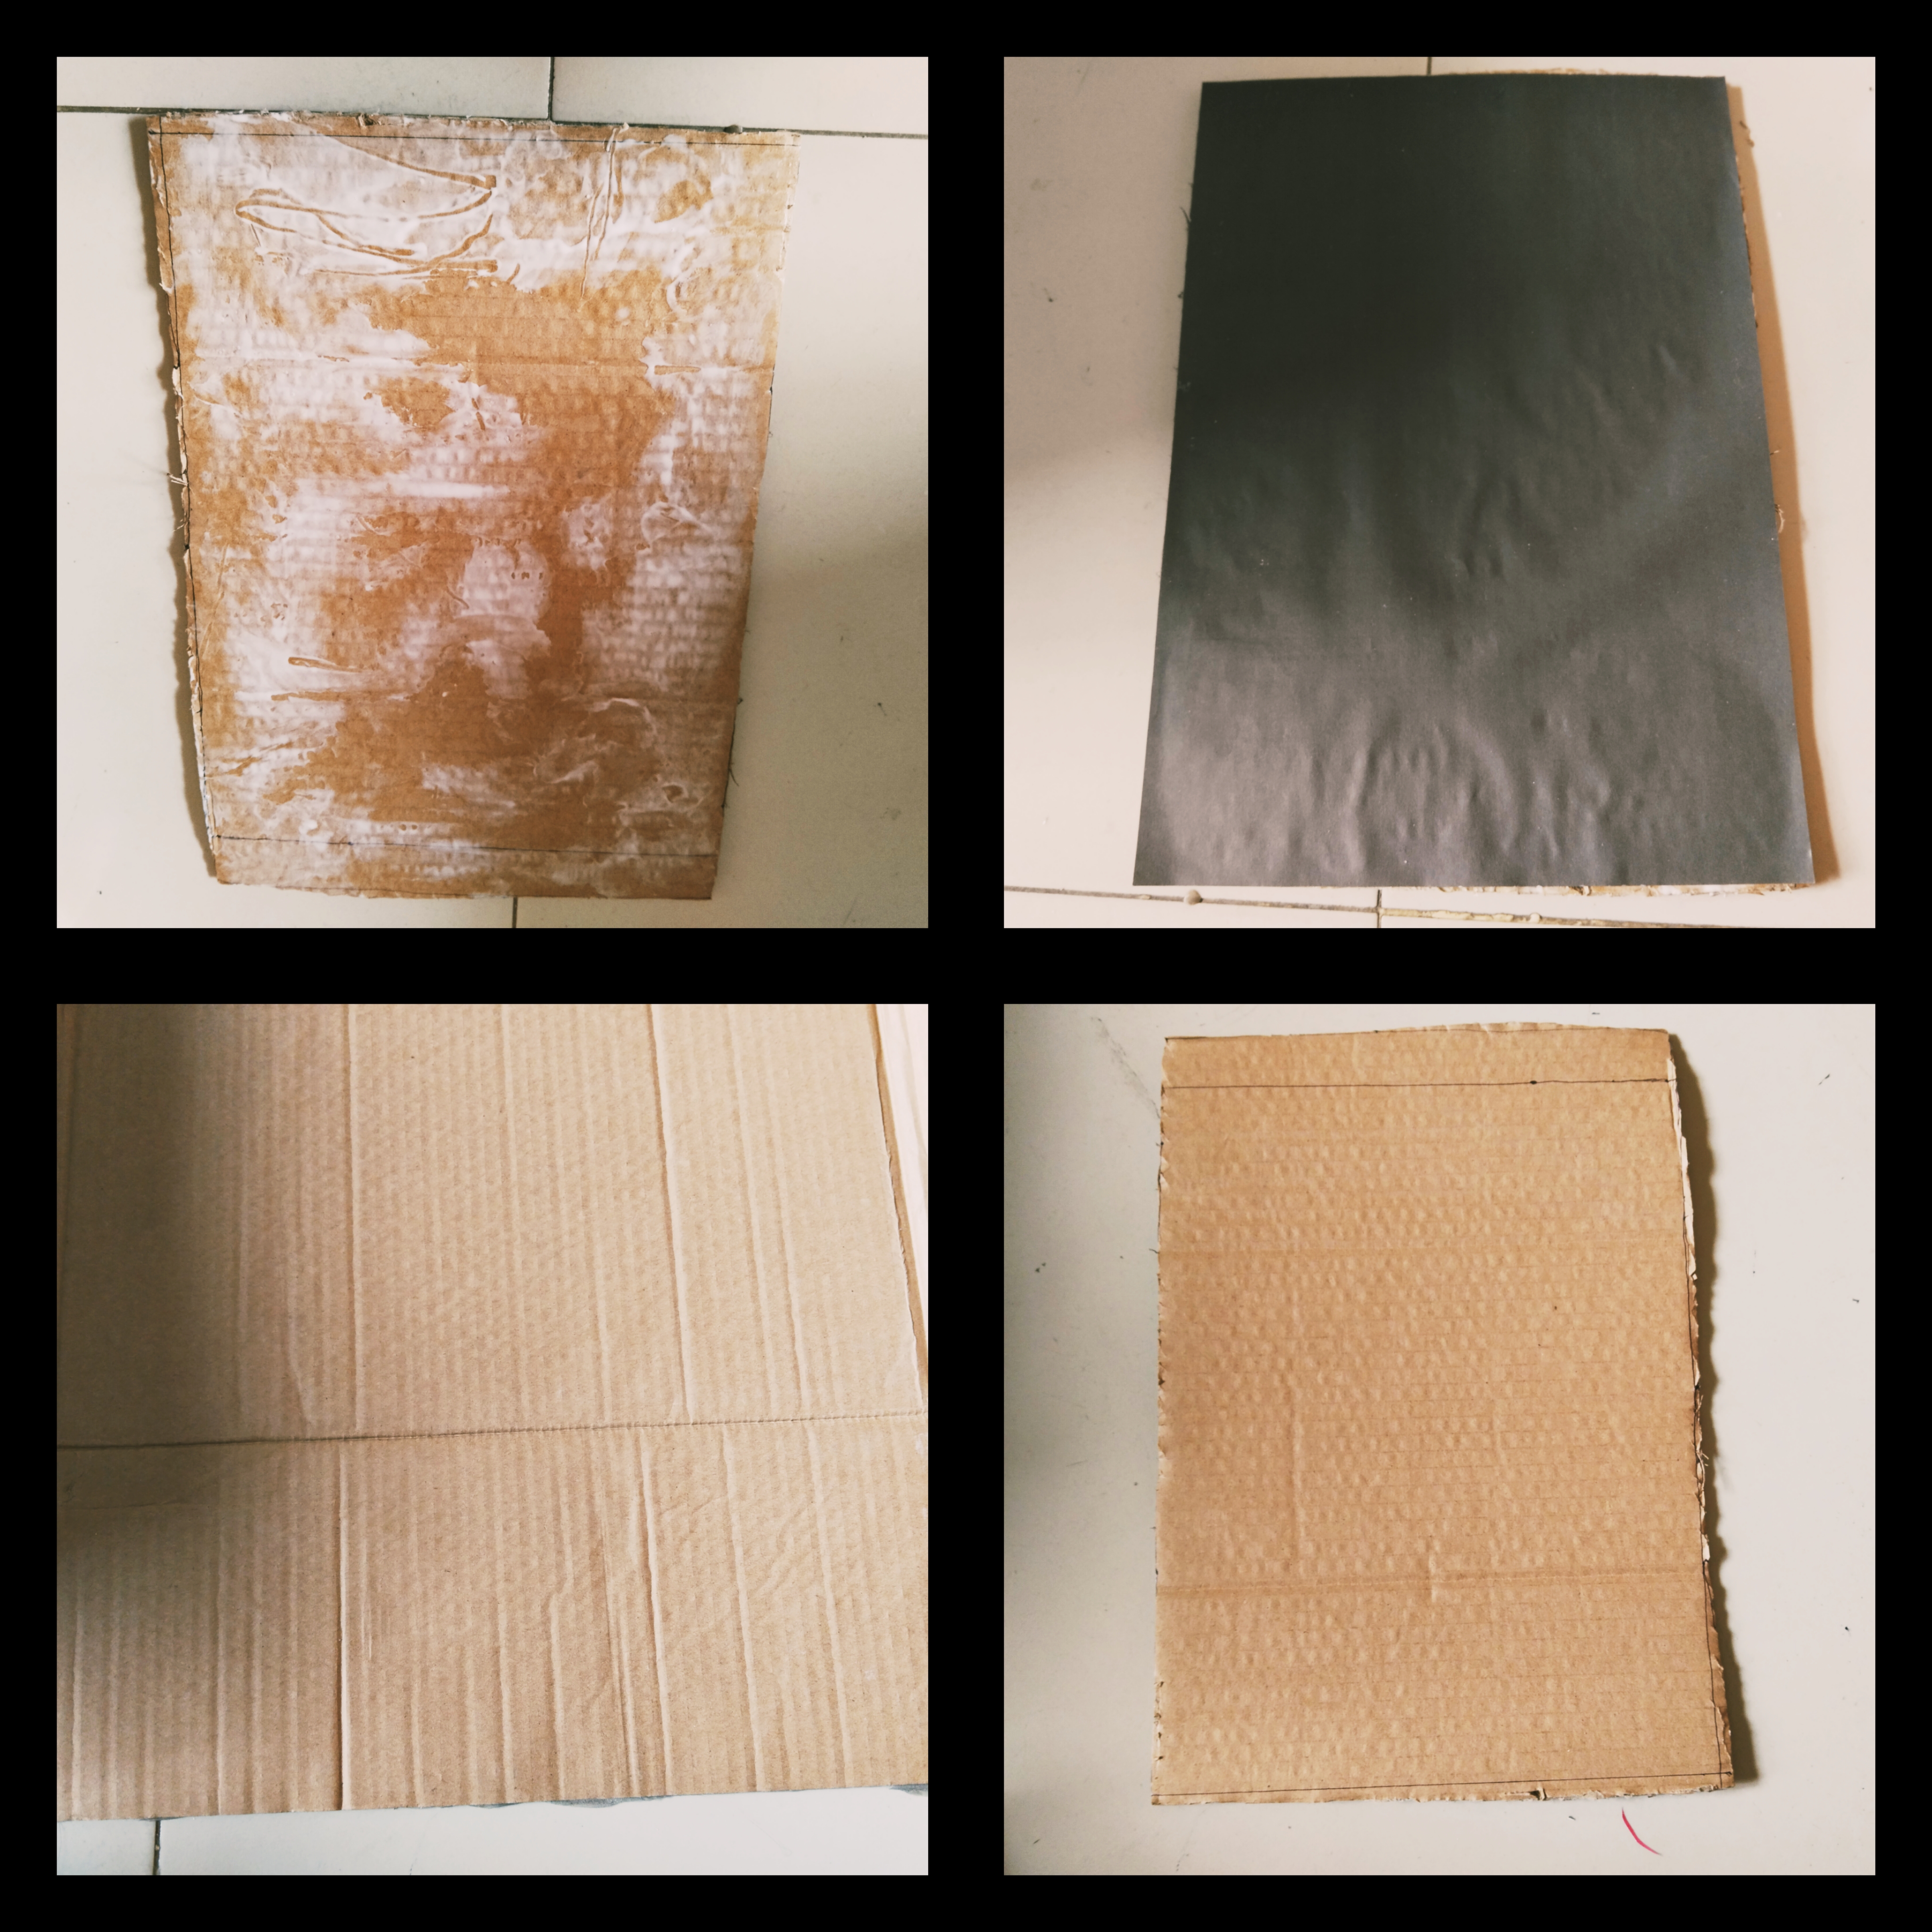
Step-1 :
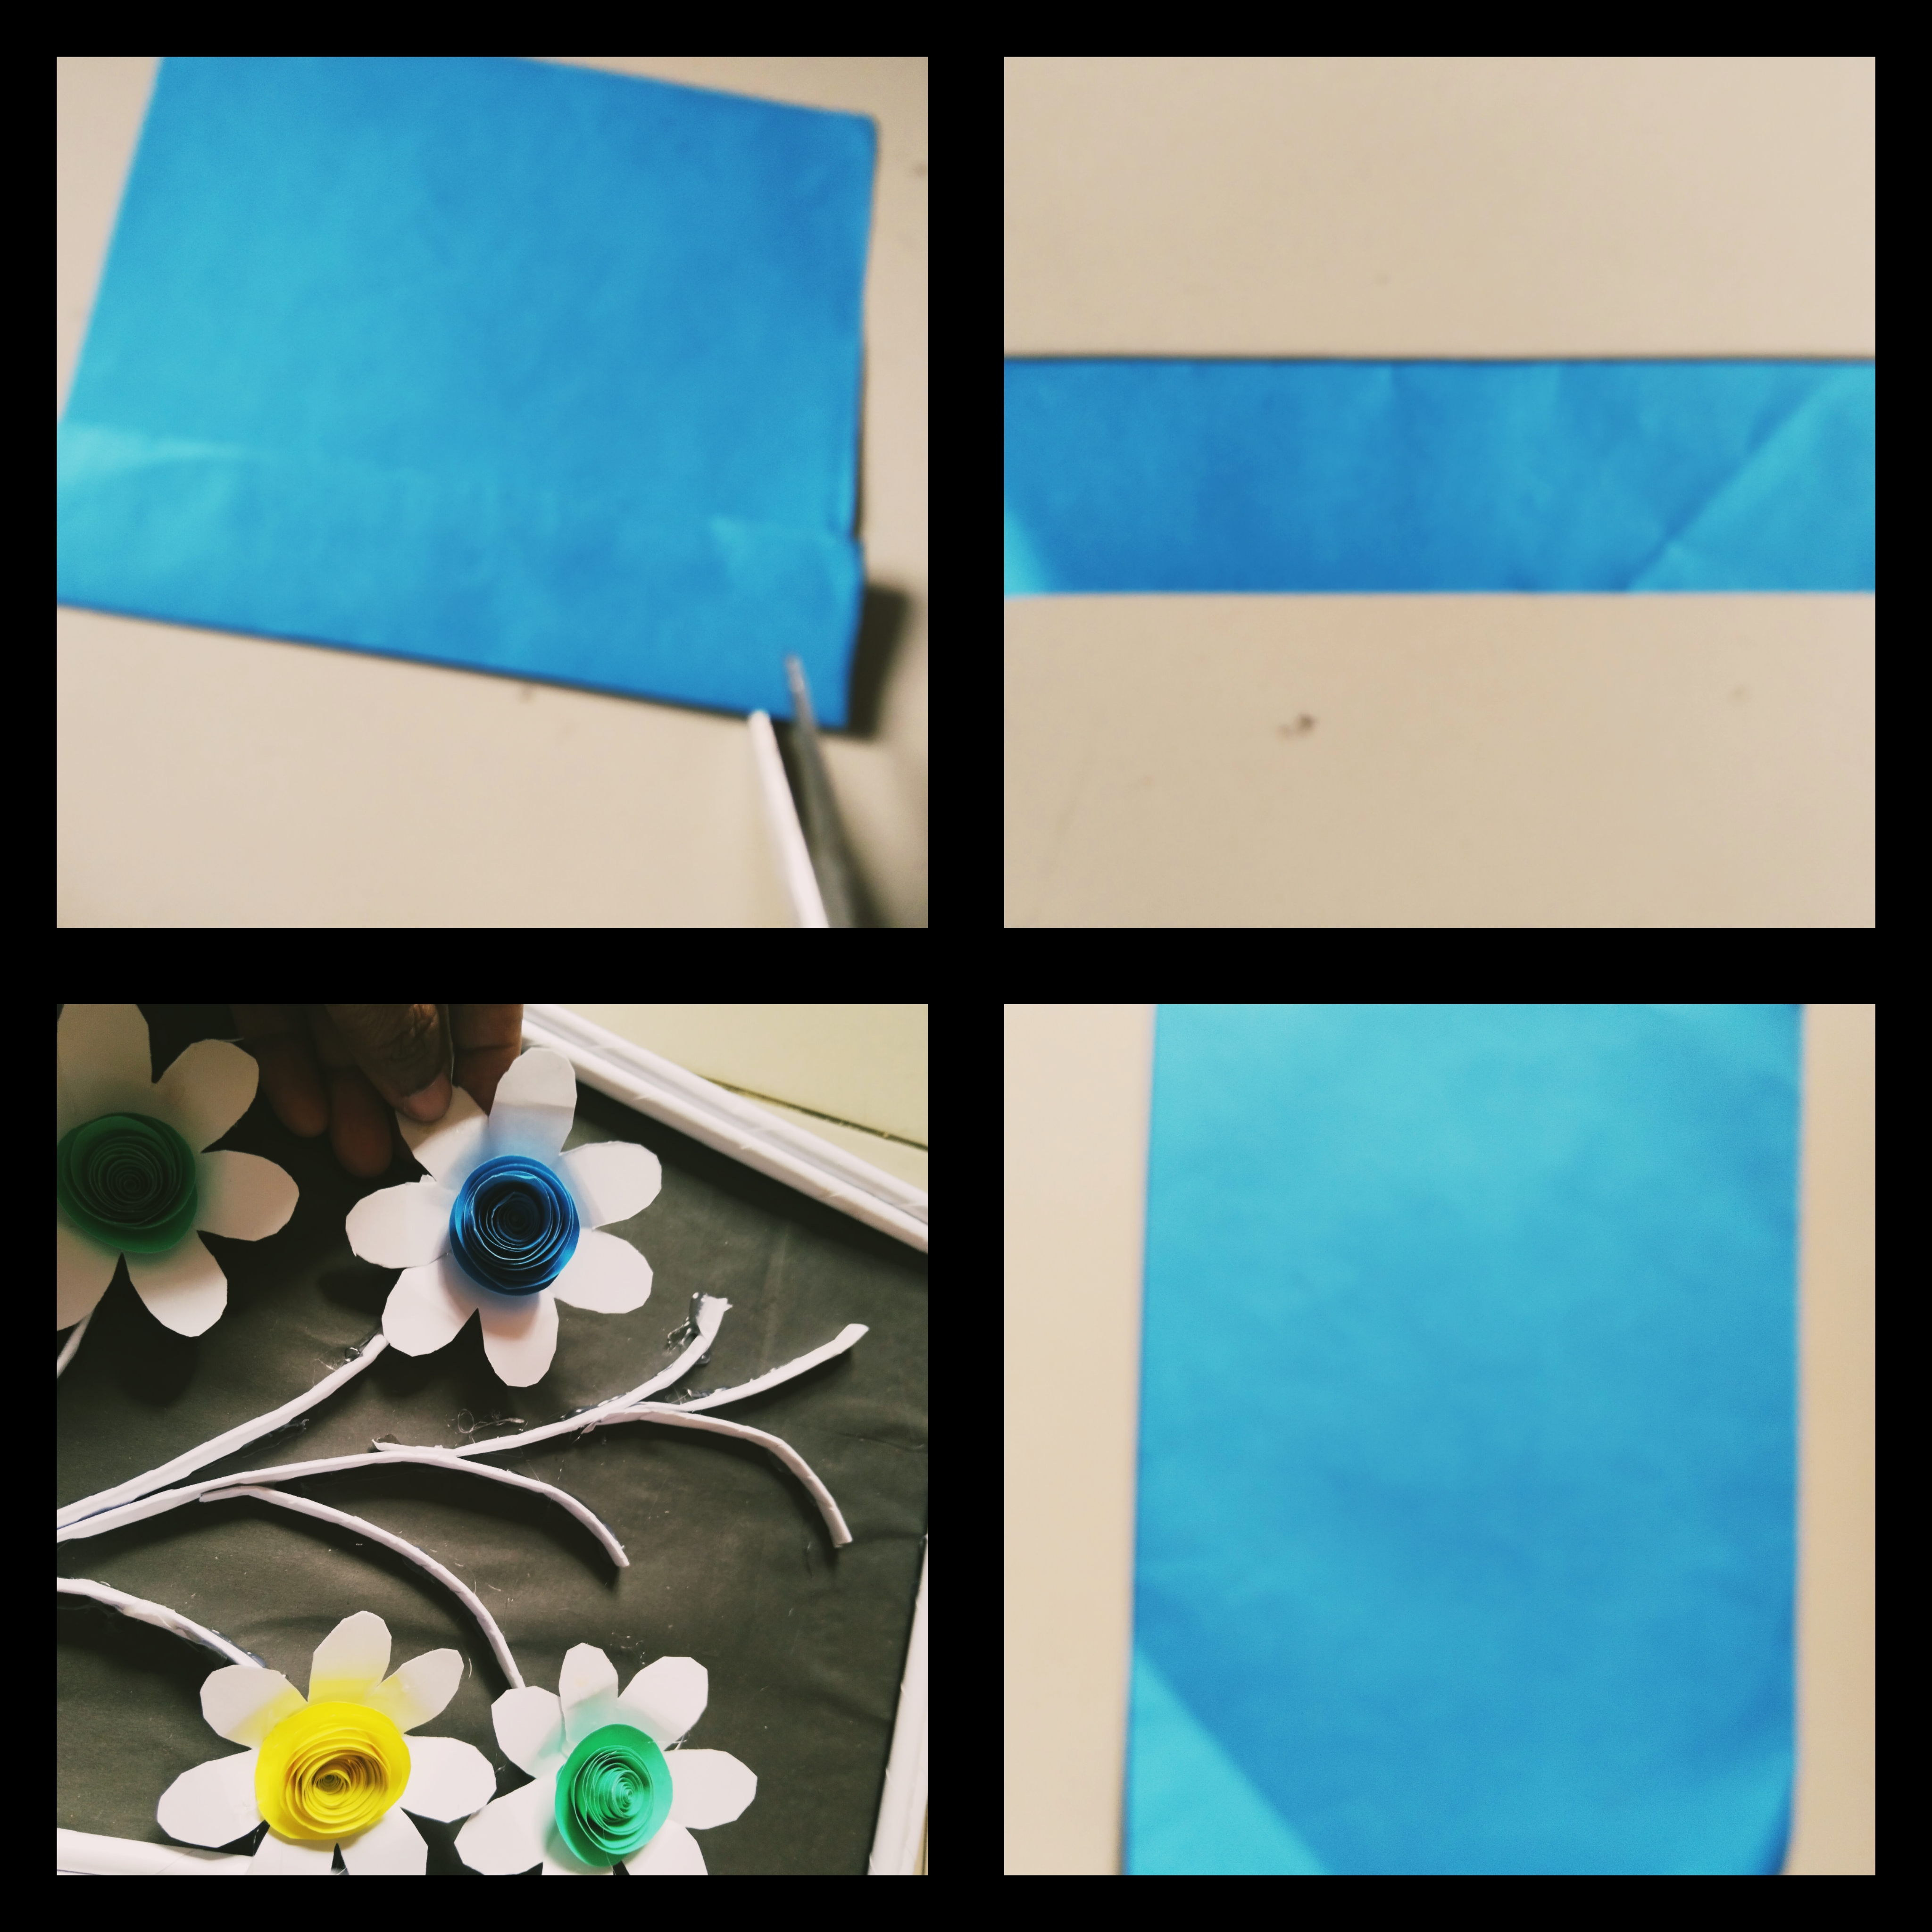
First, I cut the cardboard to the required size and applied glue all over the board. Then, I carefully placed a colorful black paper on top of it and adjusted it neatly.
Step-2 :
Then, I rolled a white paper into several thin stick-like shapes. After that, I joined the thin sticks together in pairs using glue and made four sturdy strips.
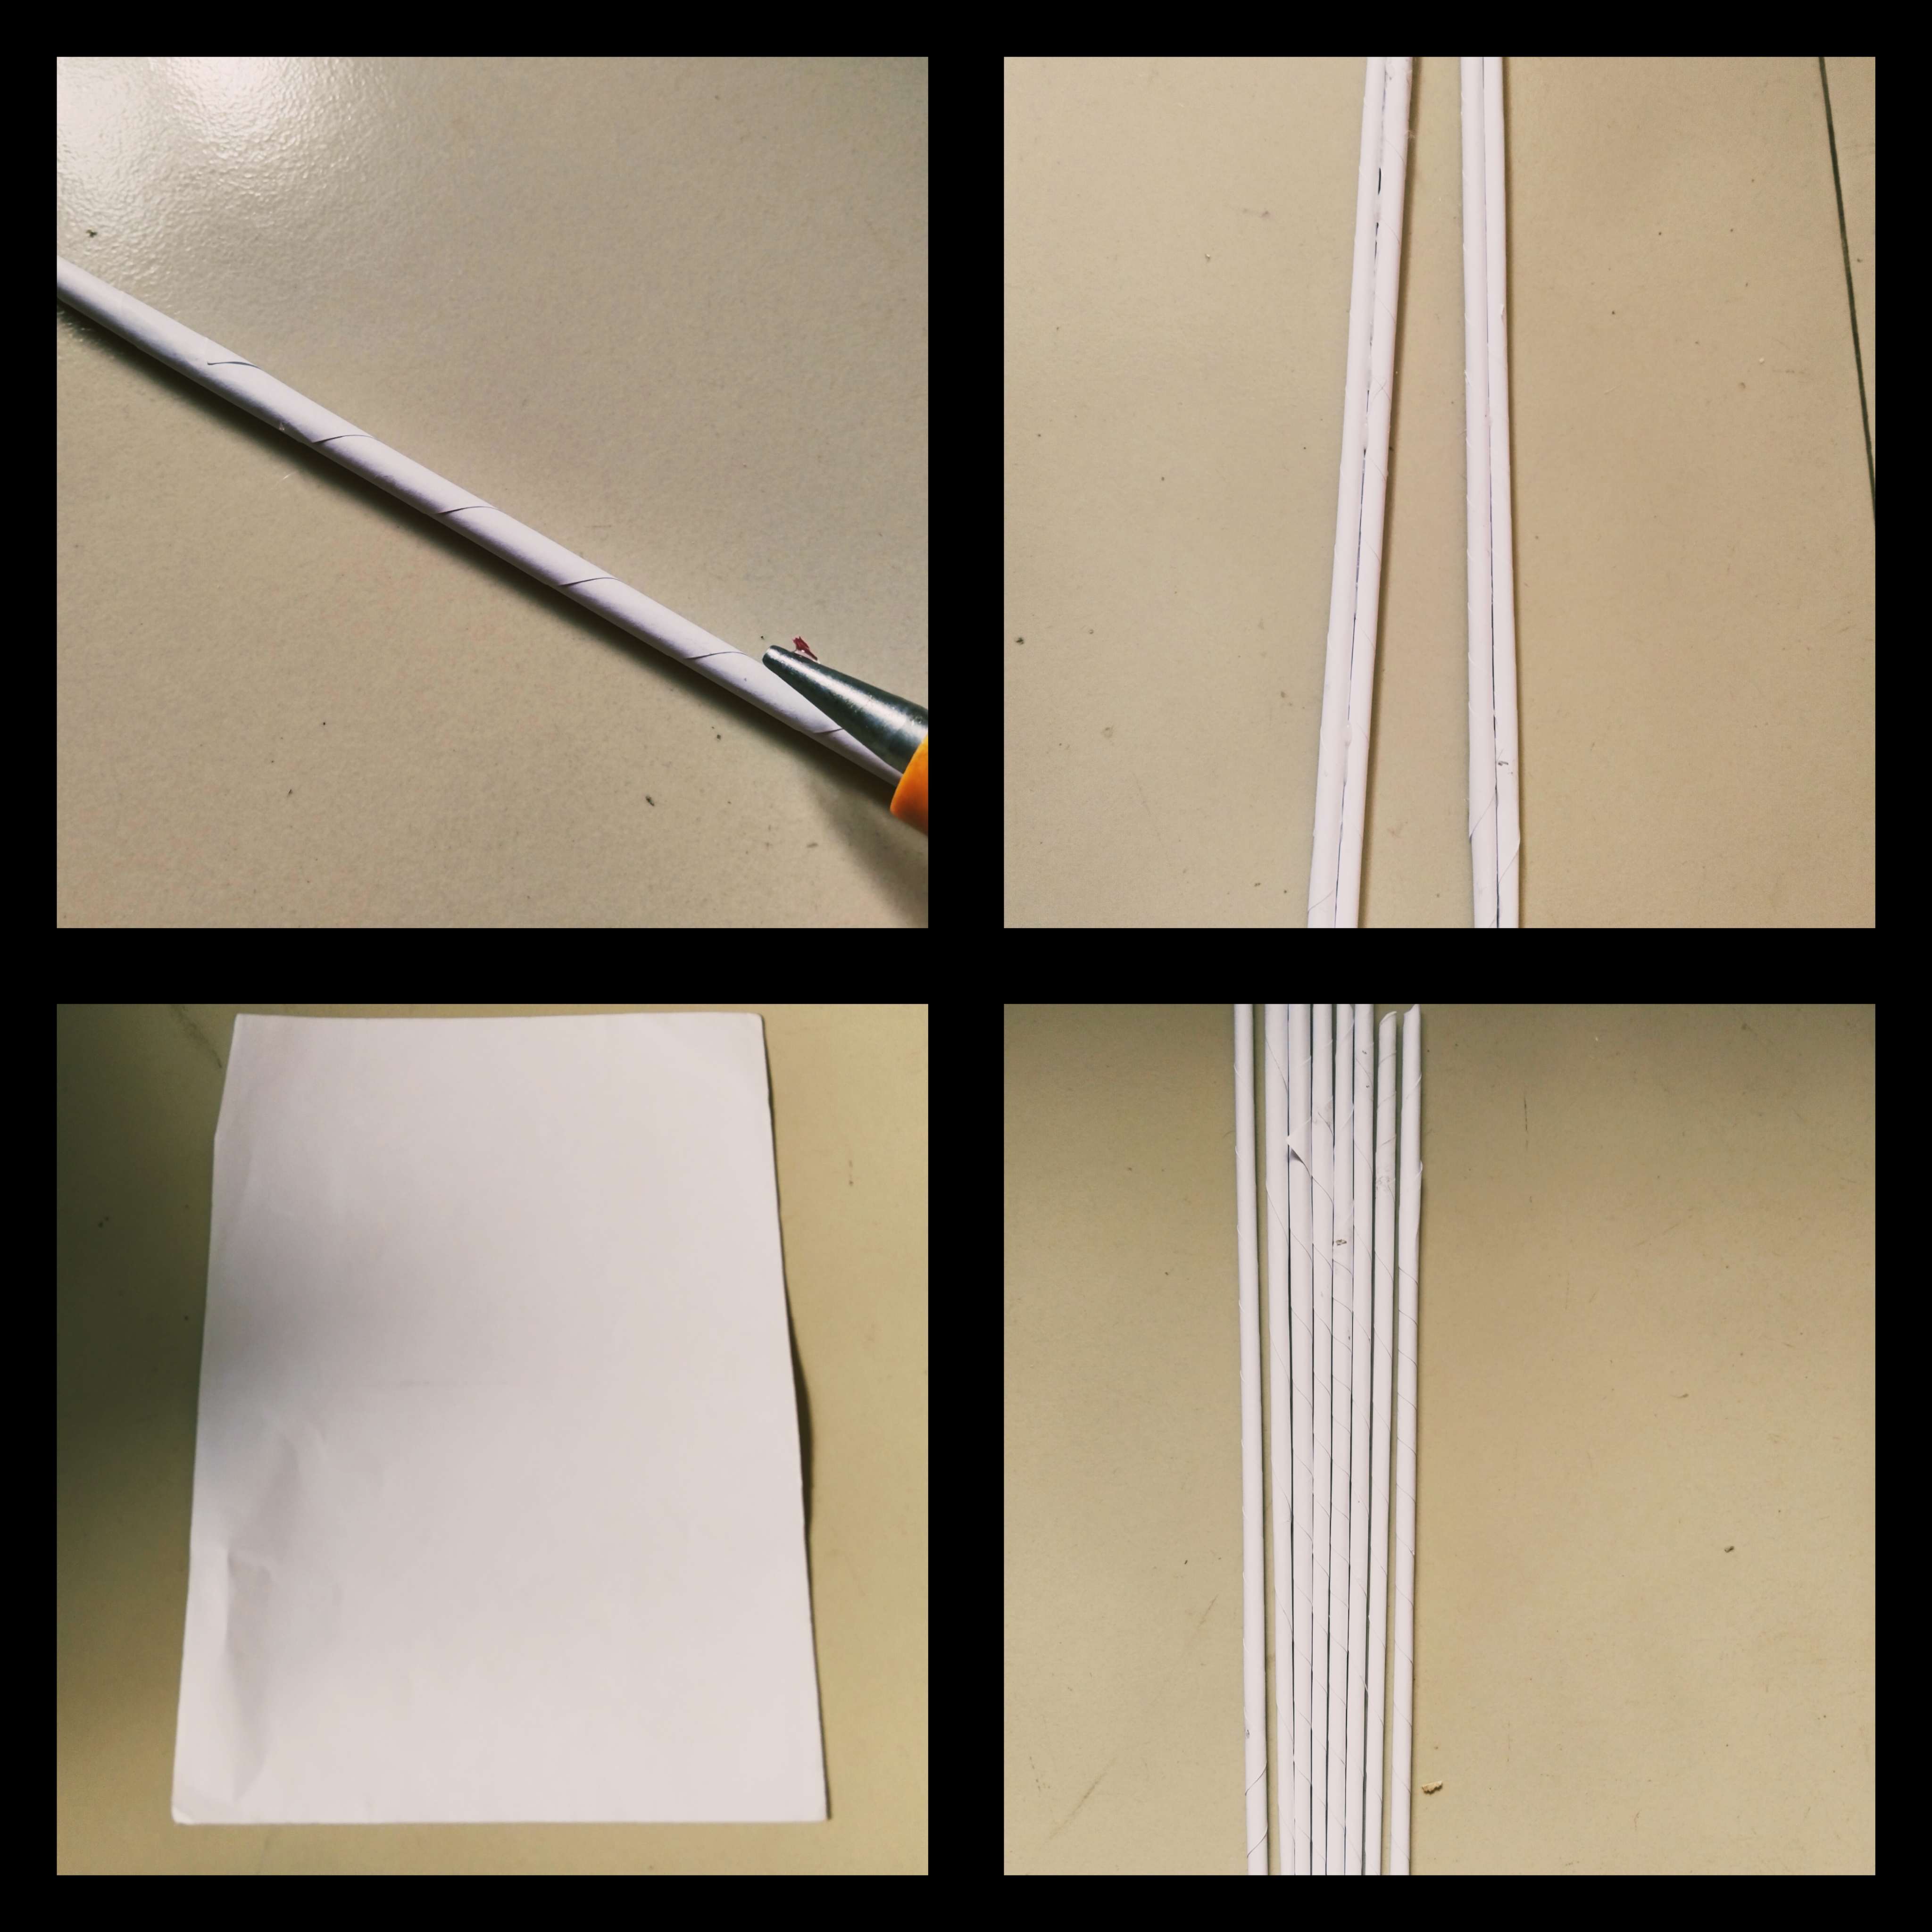
Step-3 :
After that, I prepared the sticks and attached them beautifully around the cardboard of the wall mat using a glue gun, adjusting them carefully along the edges of the board.

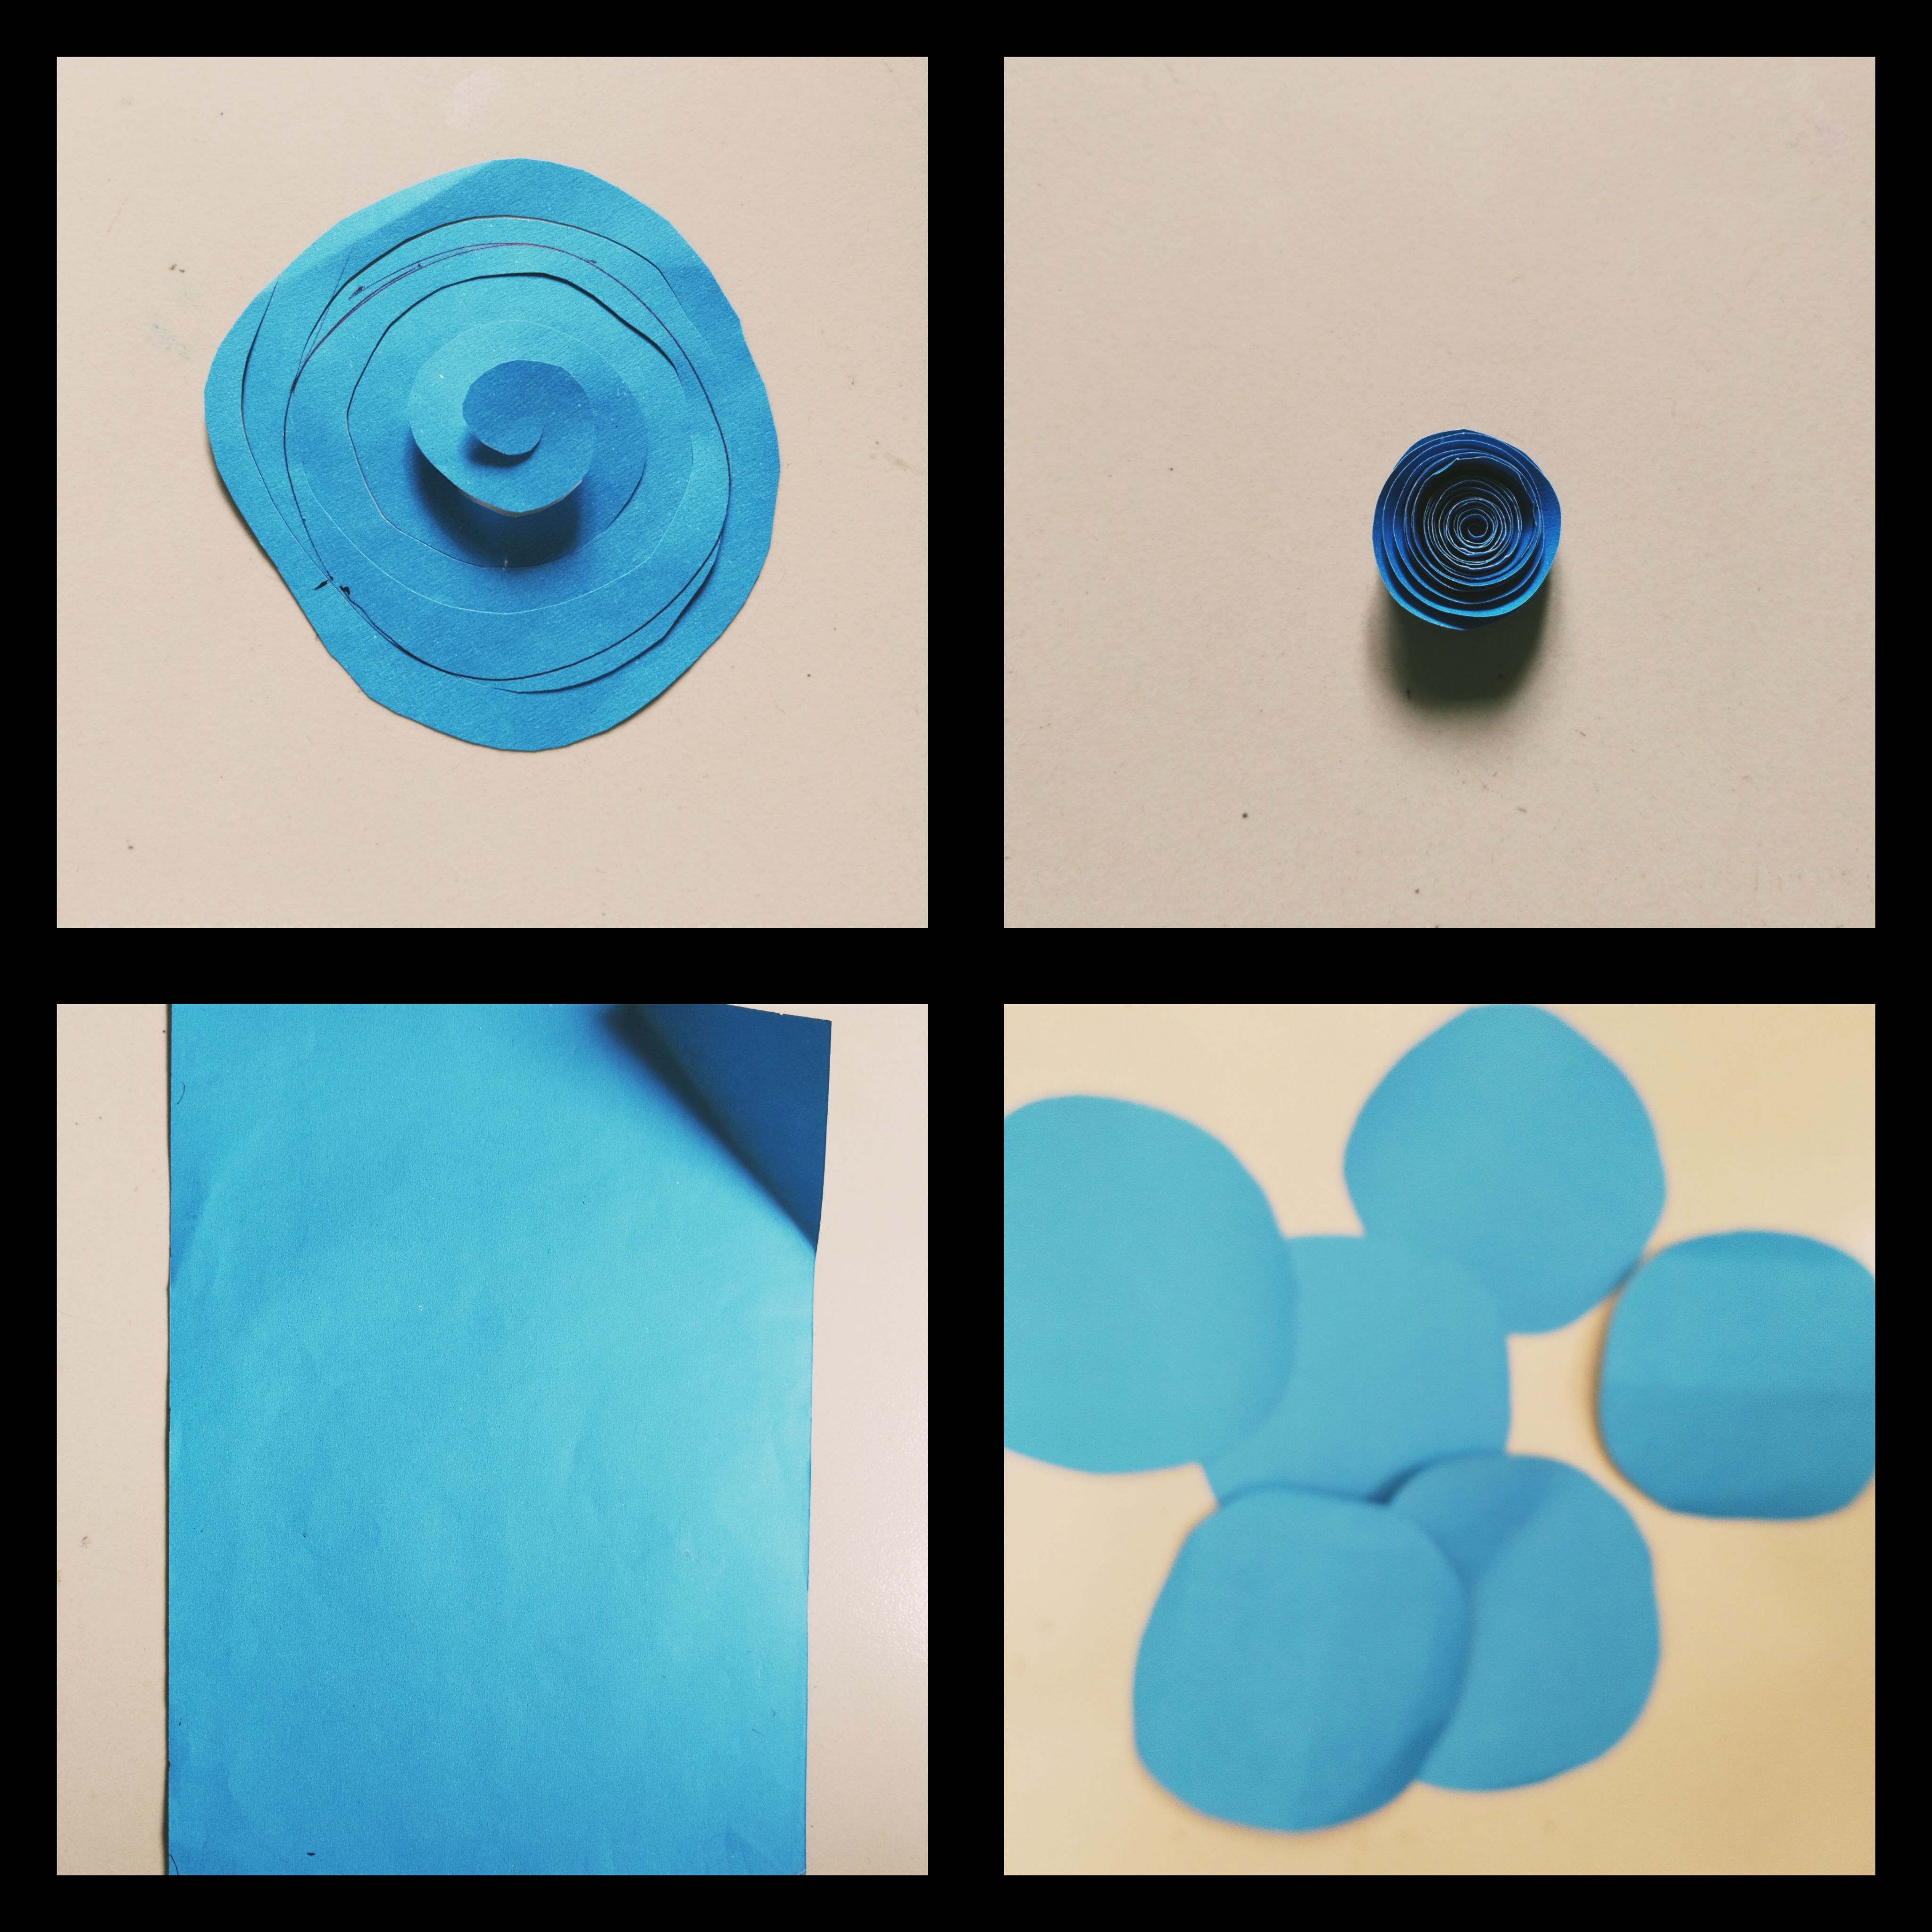
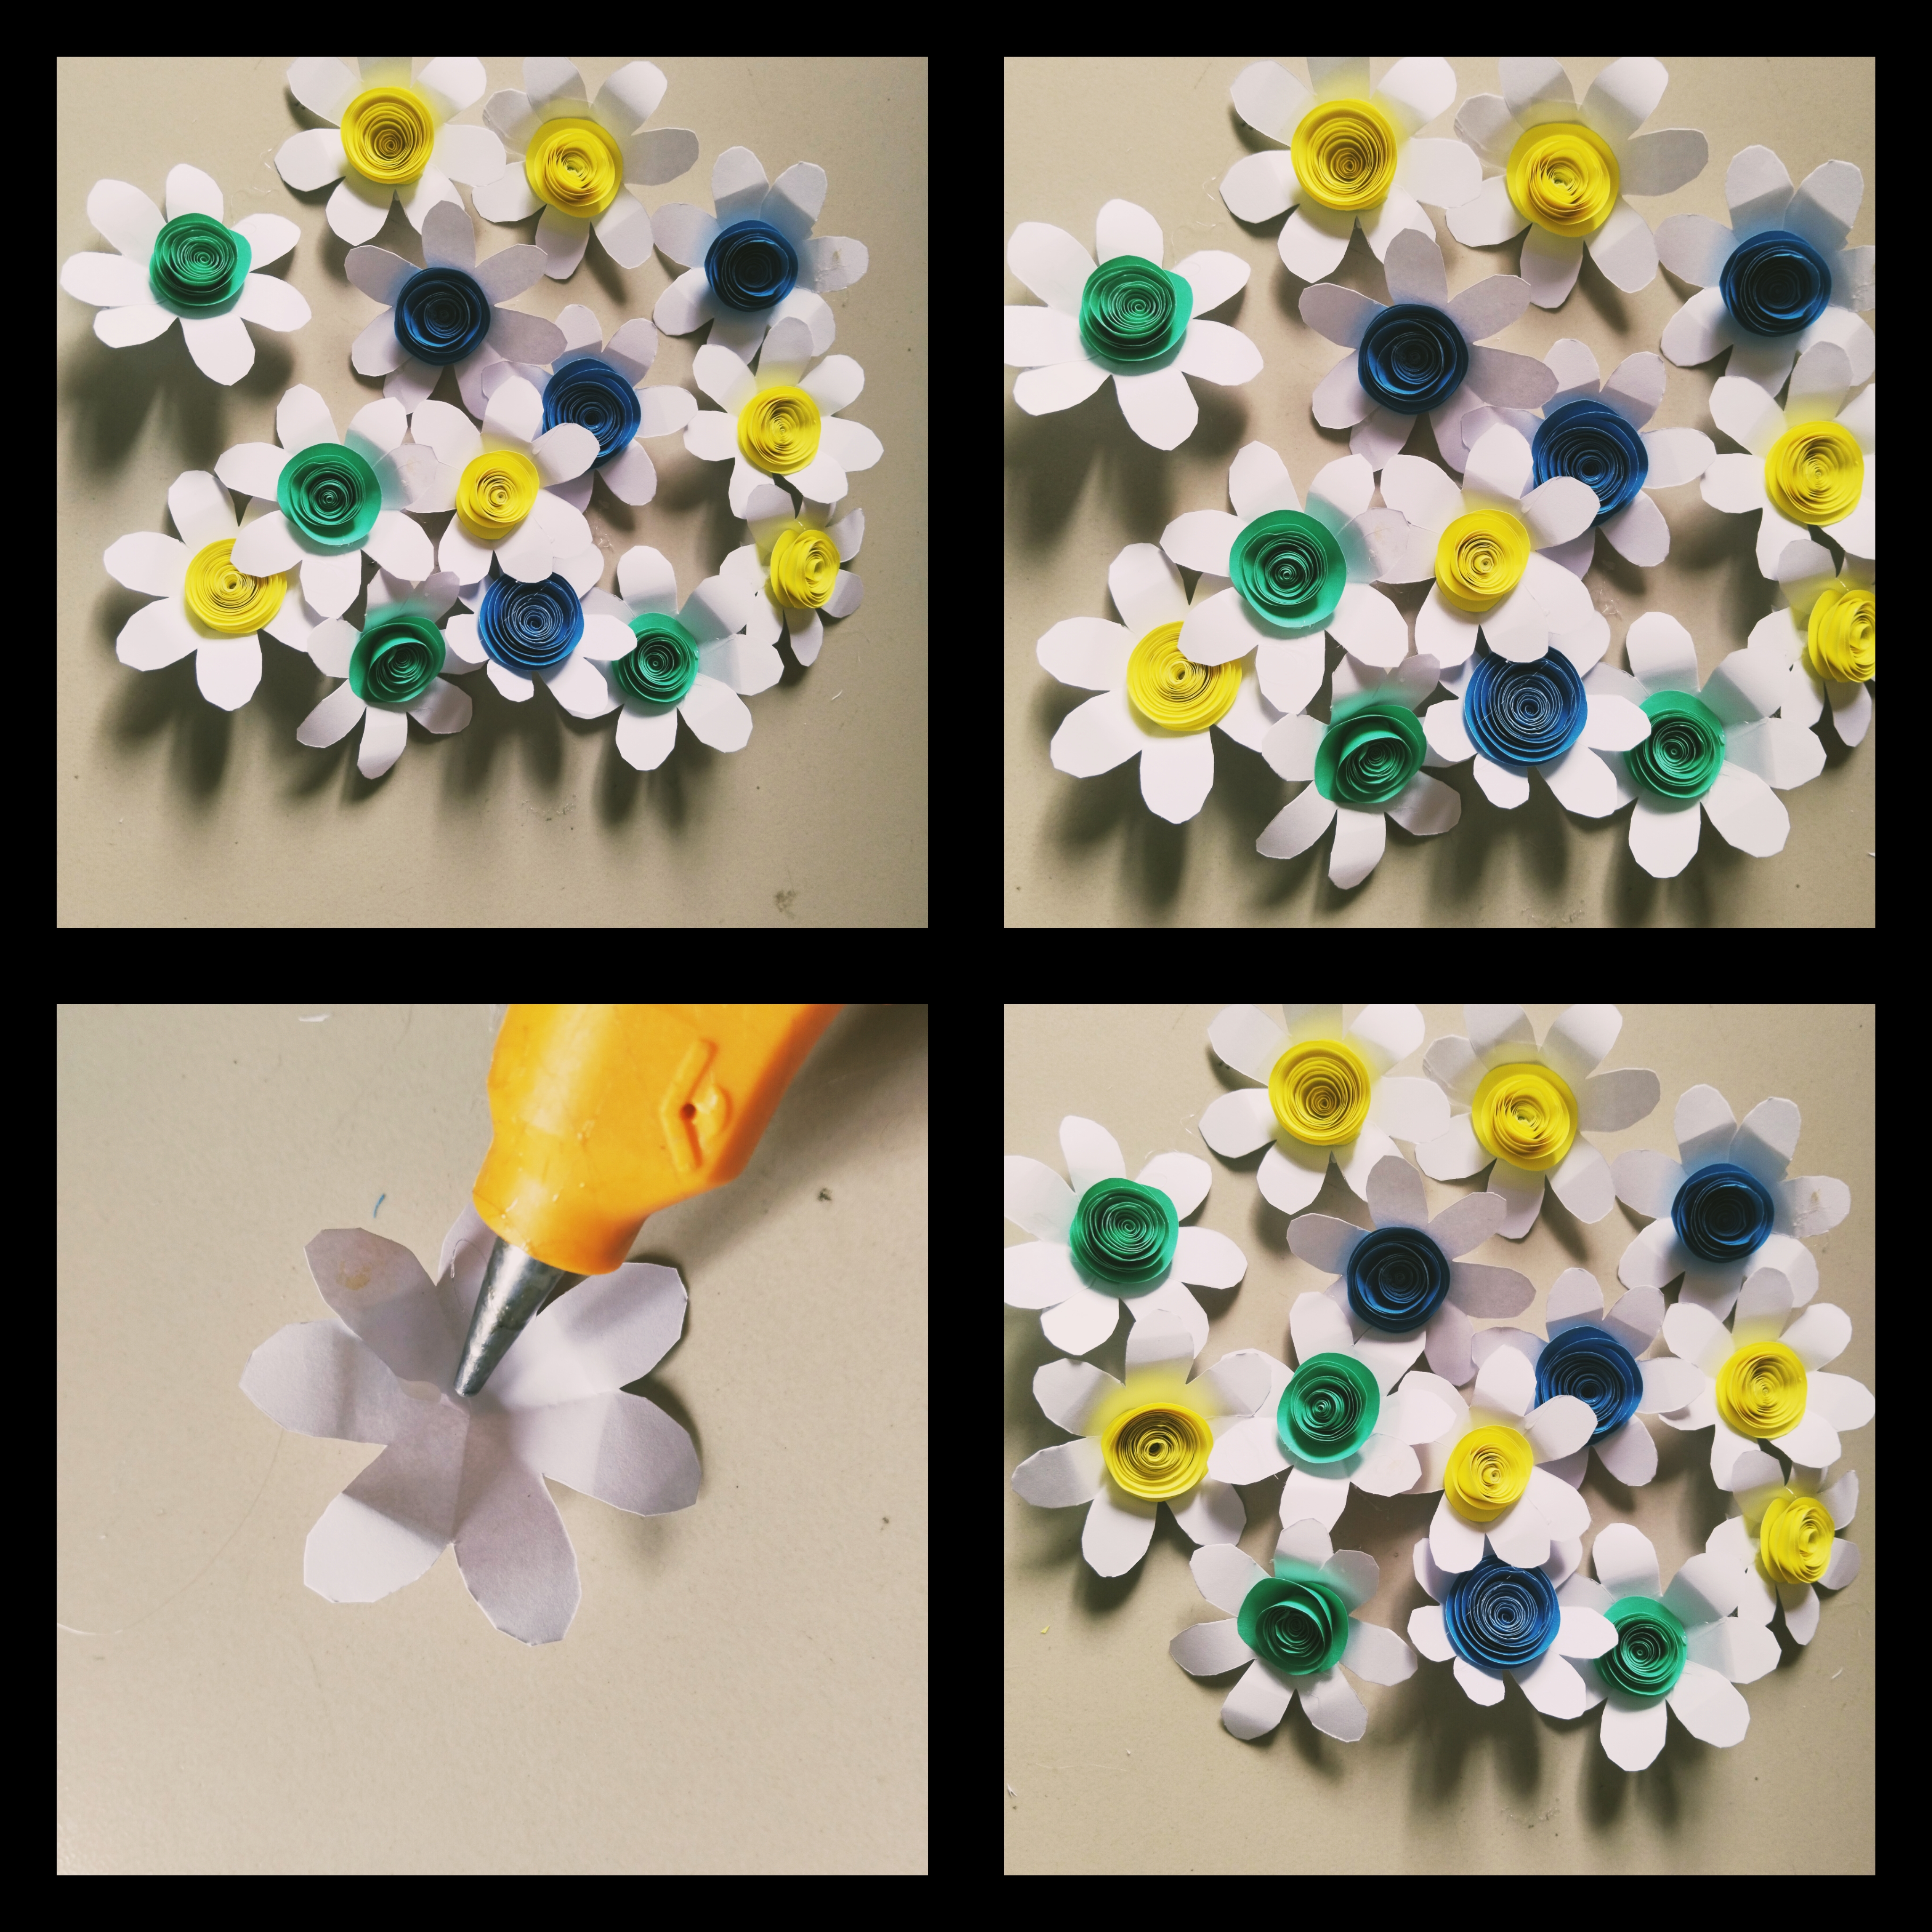
Step-4:
Next, I took a blue colored paper and cut it into several round pieces. Then, I cut each circular piece in a spiral shape like a jalebi swirl and turned them into beautiful rose flowers.
Step-5:
Then again, I took yellow and another colored paper and followed the same process to make several rose flowers in the same way. Actually, while making these crafts, it becomes quite difficult to take many photographs at the same time.
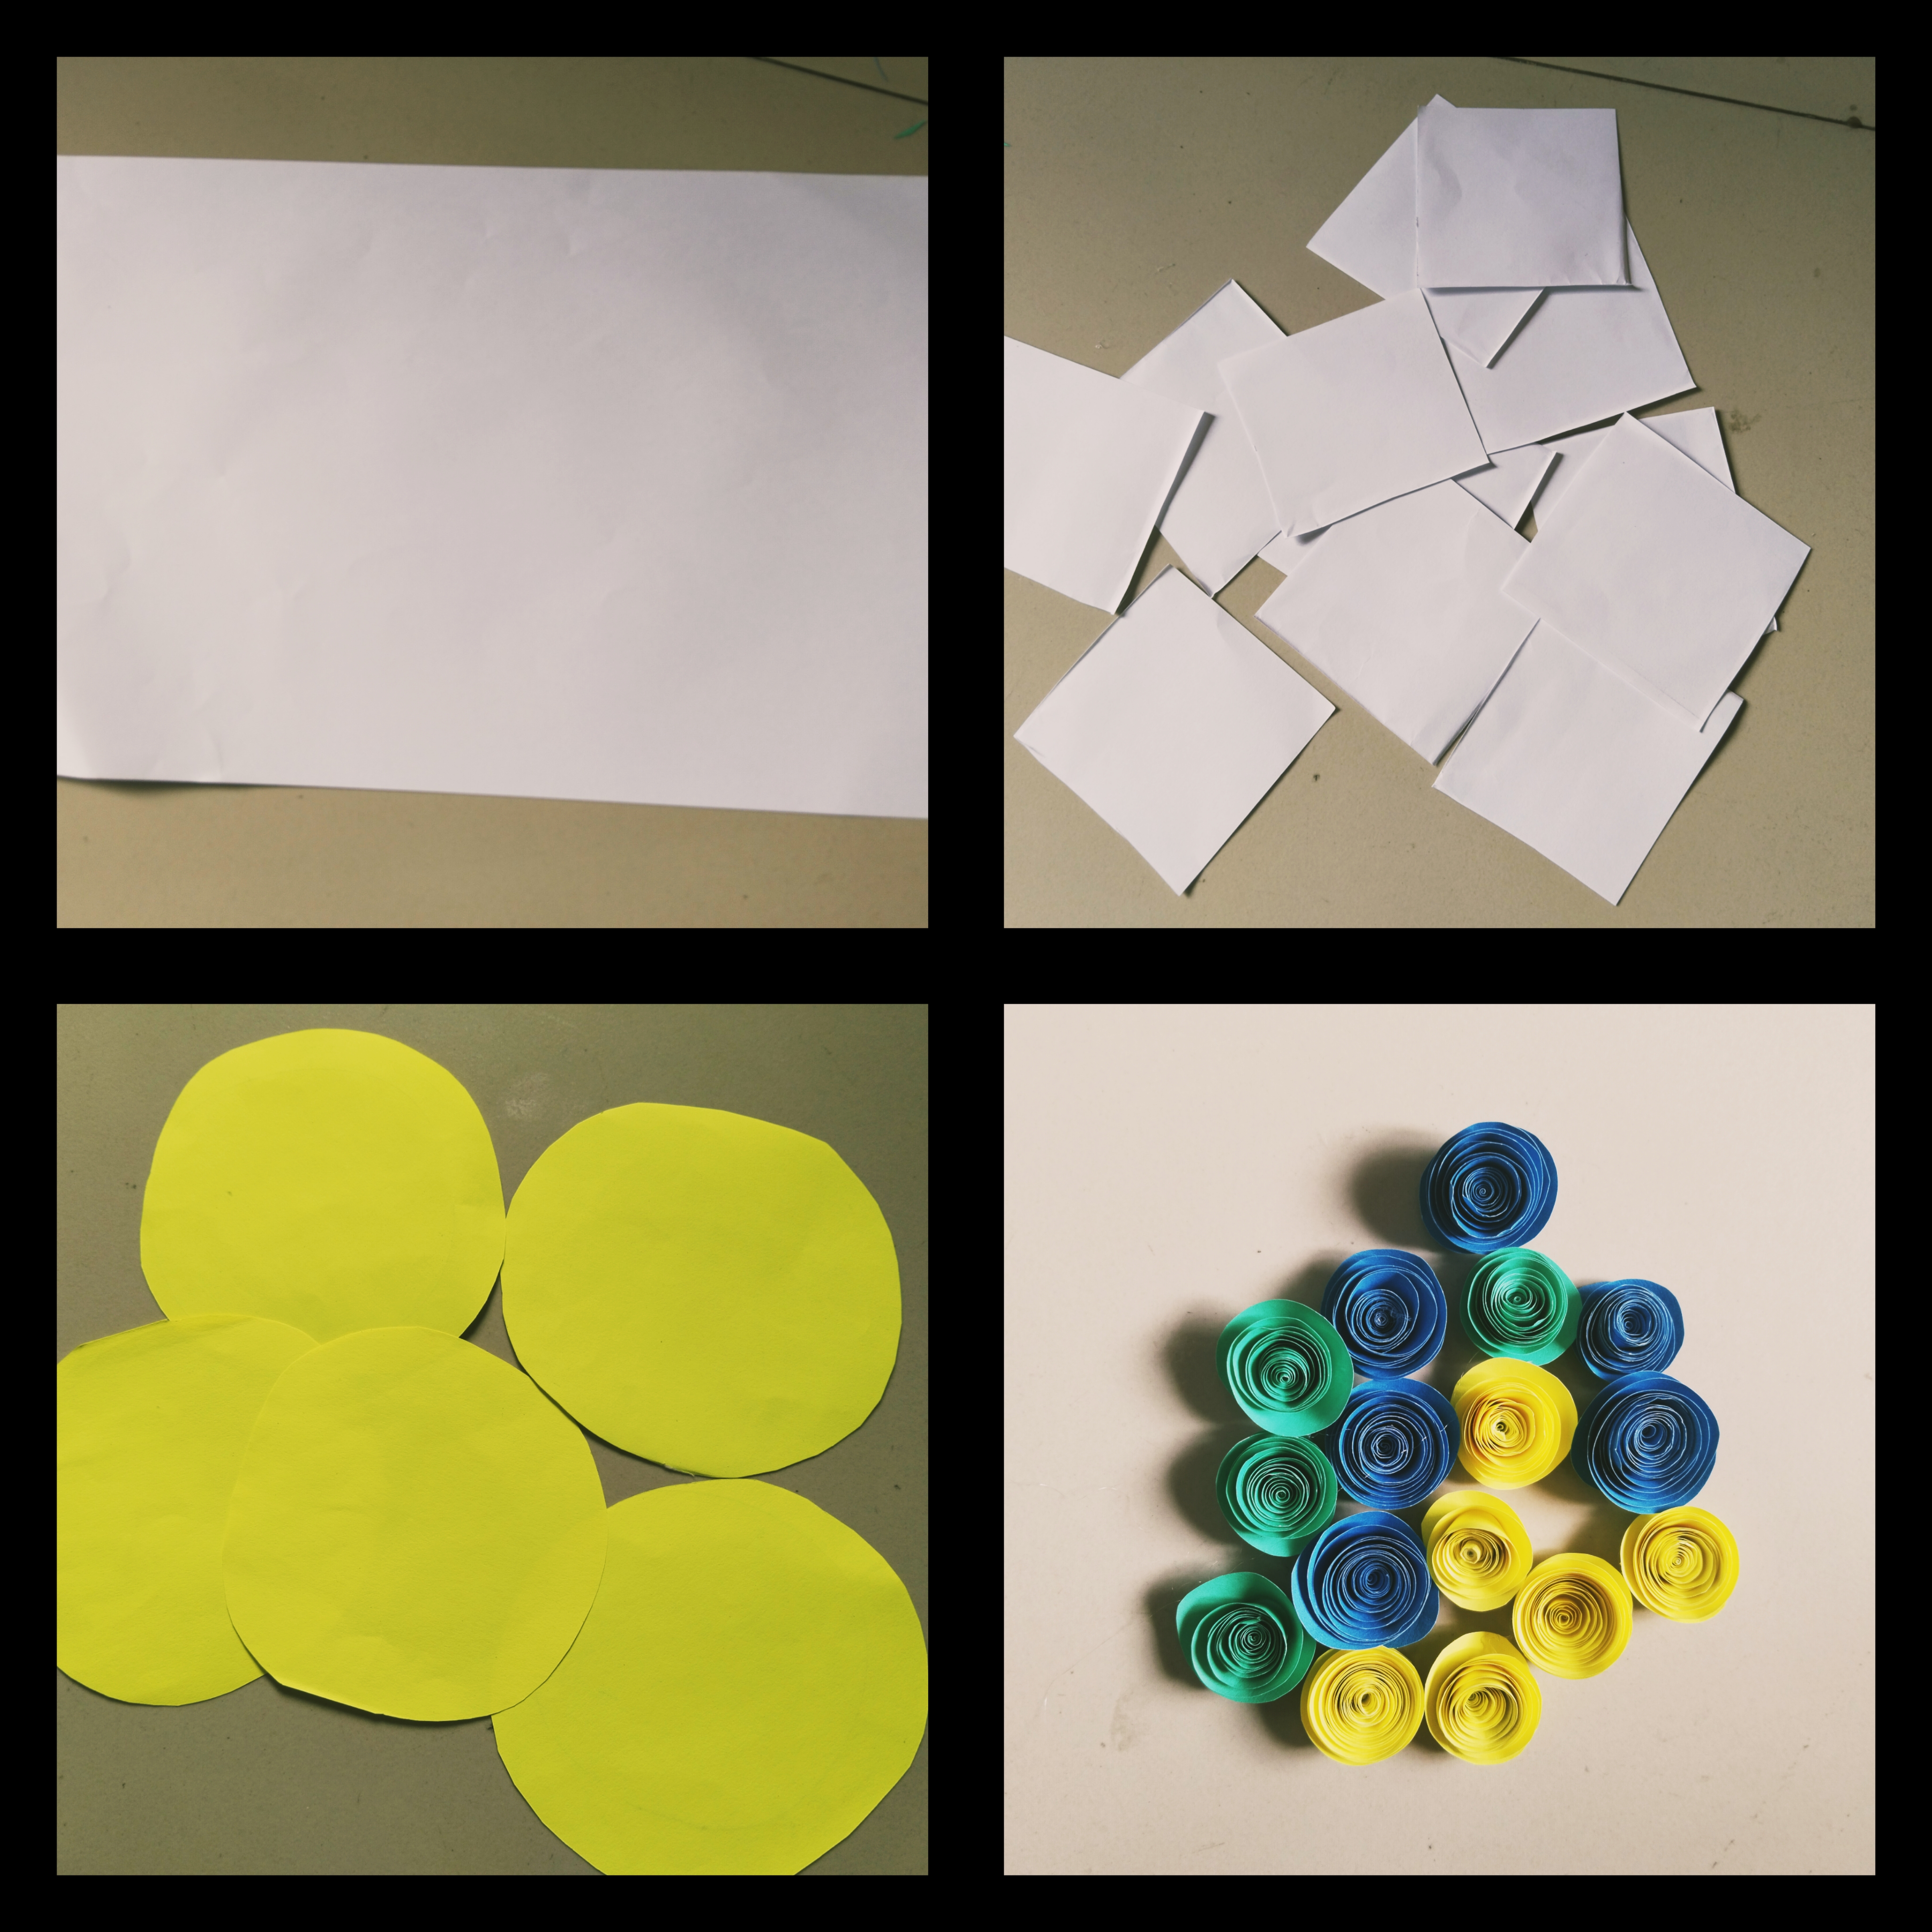
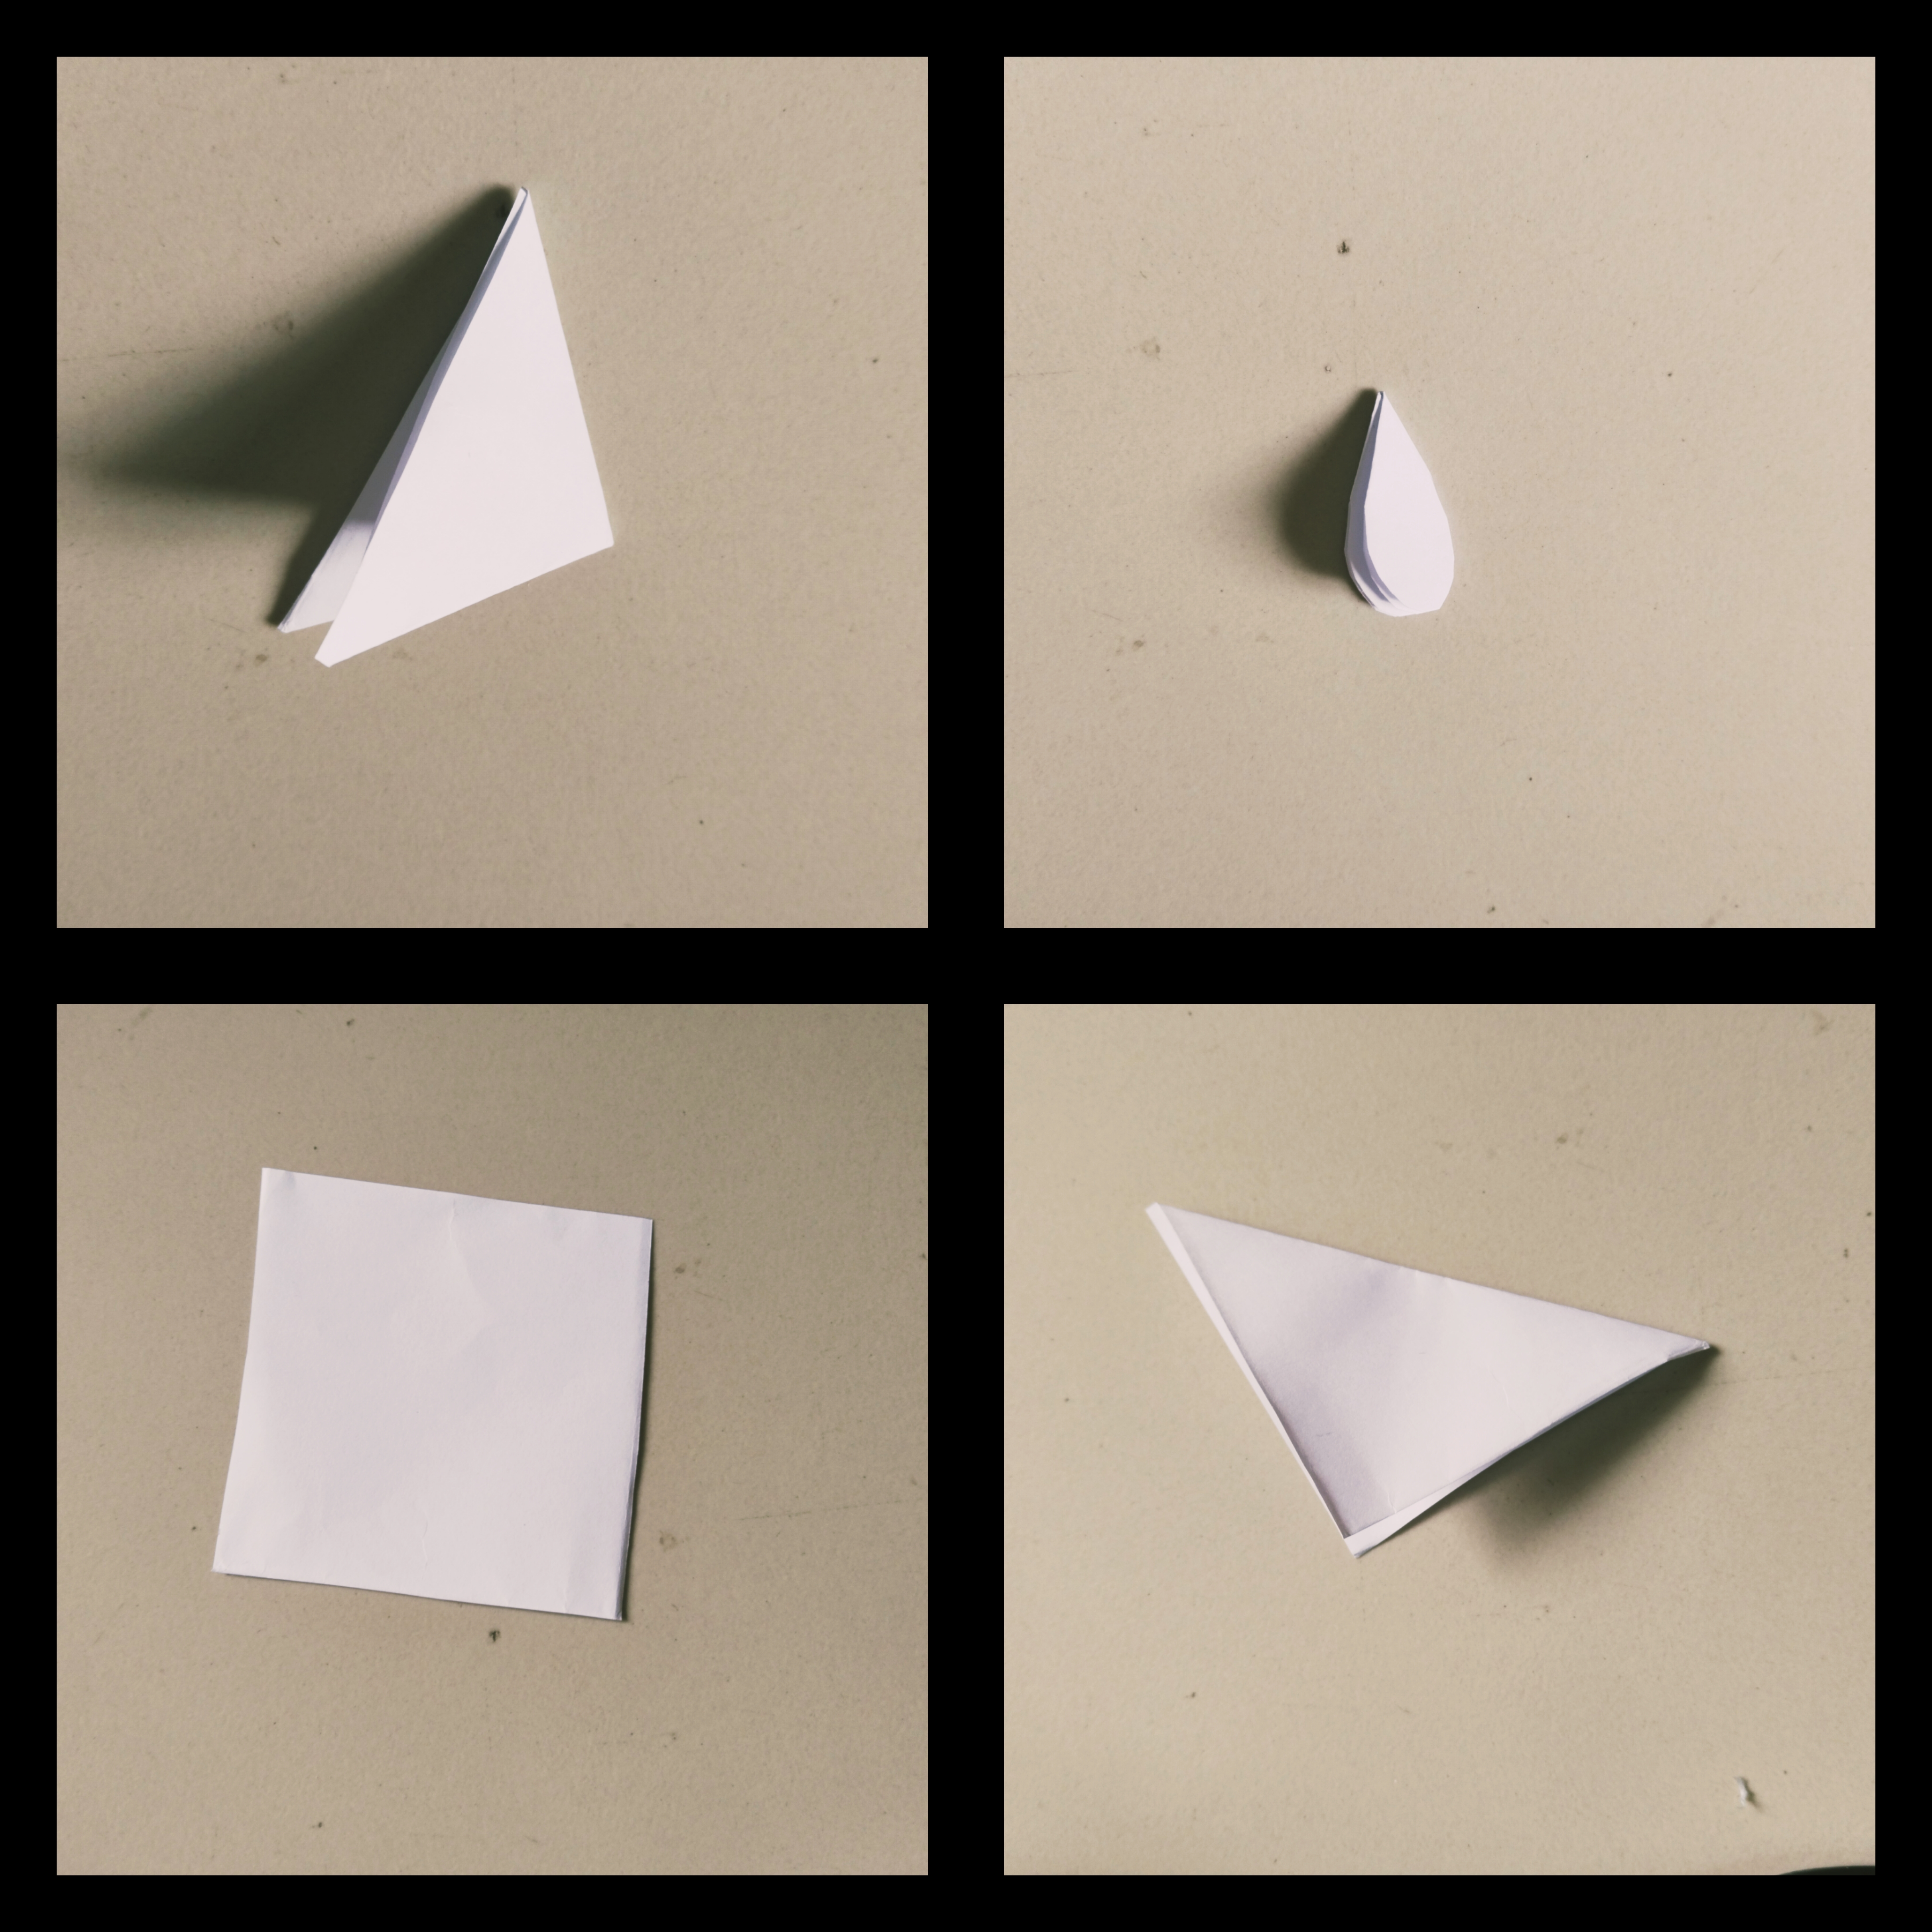
Step-6 :
Next, I took a piece of white paper and cut it into several square shapes. Then, I folded each piece of paper in half, and after that, I folded it once more. Finally, according to my imagination, I carefully cut the folded paper into a beautiful flower petal shape.
Step-7 :
Taking each of the previously cut paper pieces, I repeated the same folding process and made many flowers. Then, from those flowers, I carefully cut one petal from each flower to shape and design them even more beautifully according to my imagination.
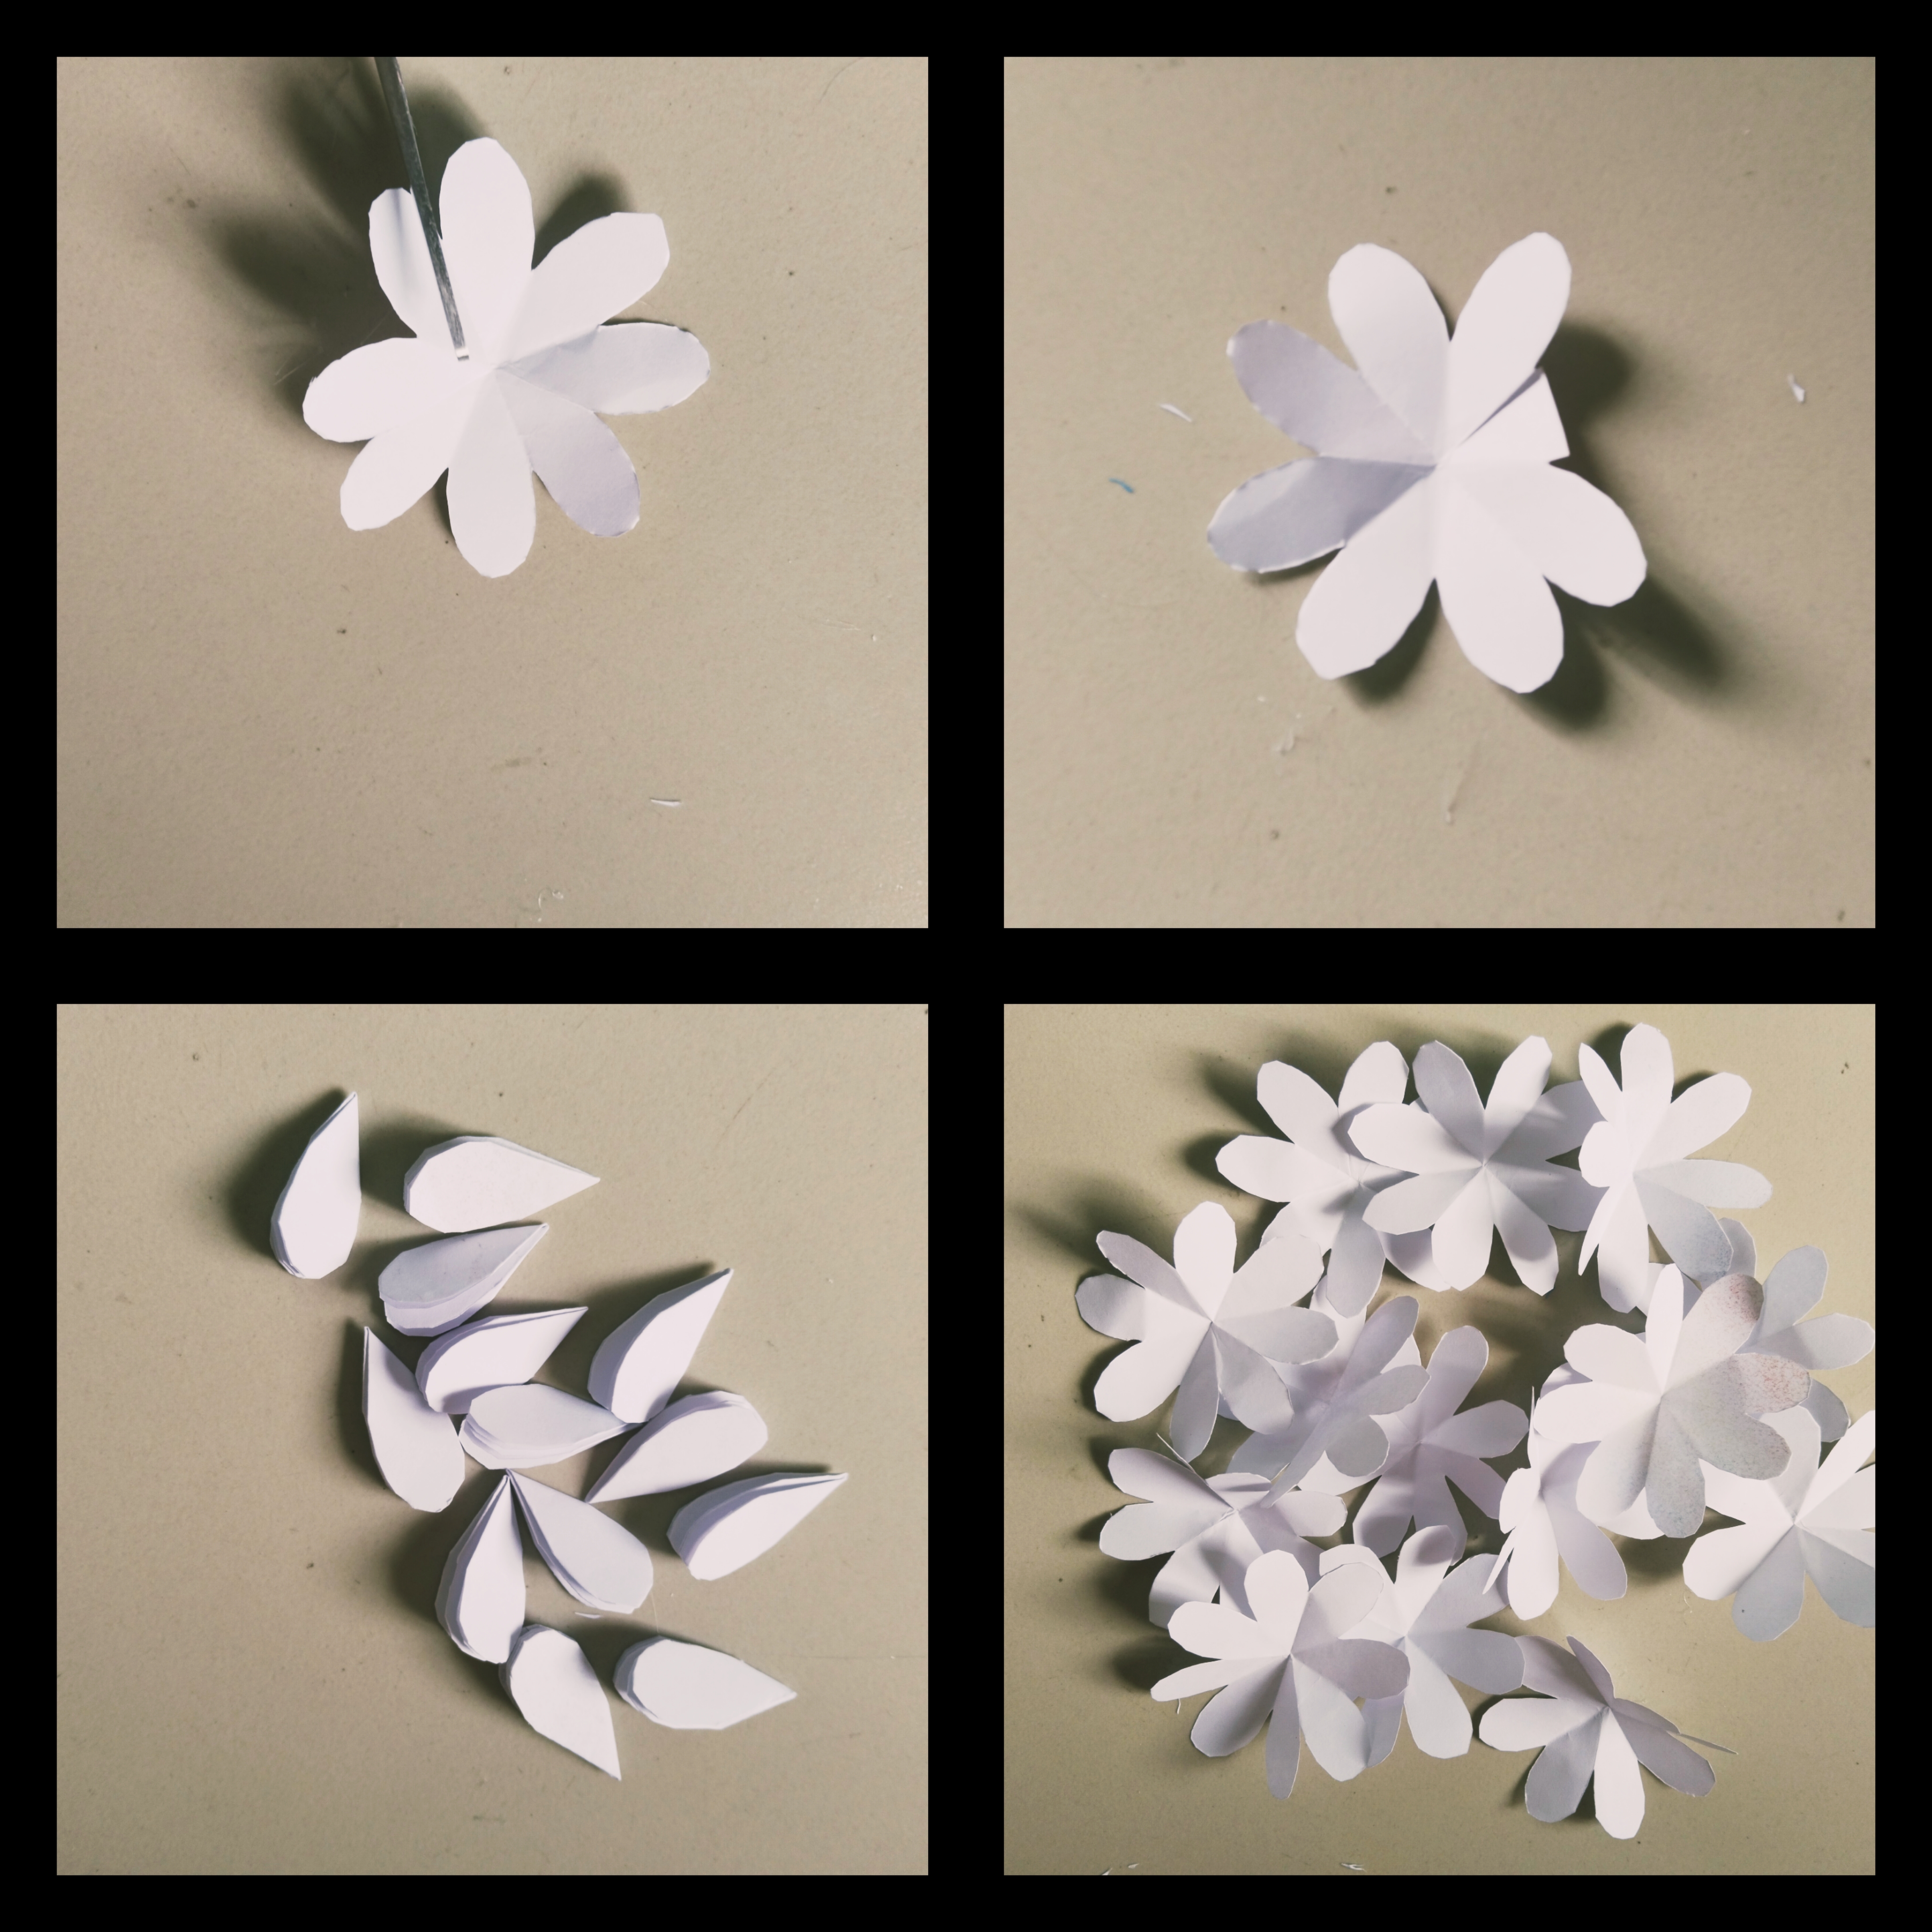
Step-8:
After cutting the flower petals in this way, I joined them together beautifully using glue and carefully made the flowers. Then, with the help of scissors, I gave the petals a nice finishing touch on the board and designed the flowers once again according to my imagination. In this way, I completed making the flowers beautifully.

Step-9:
Then, one by one, I attached the handmade roses using glue and prepared many beautiful flowers together for the wall mat.
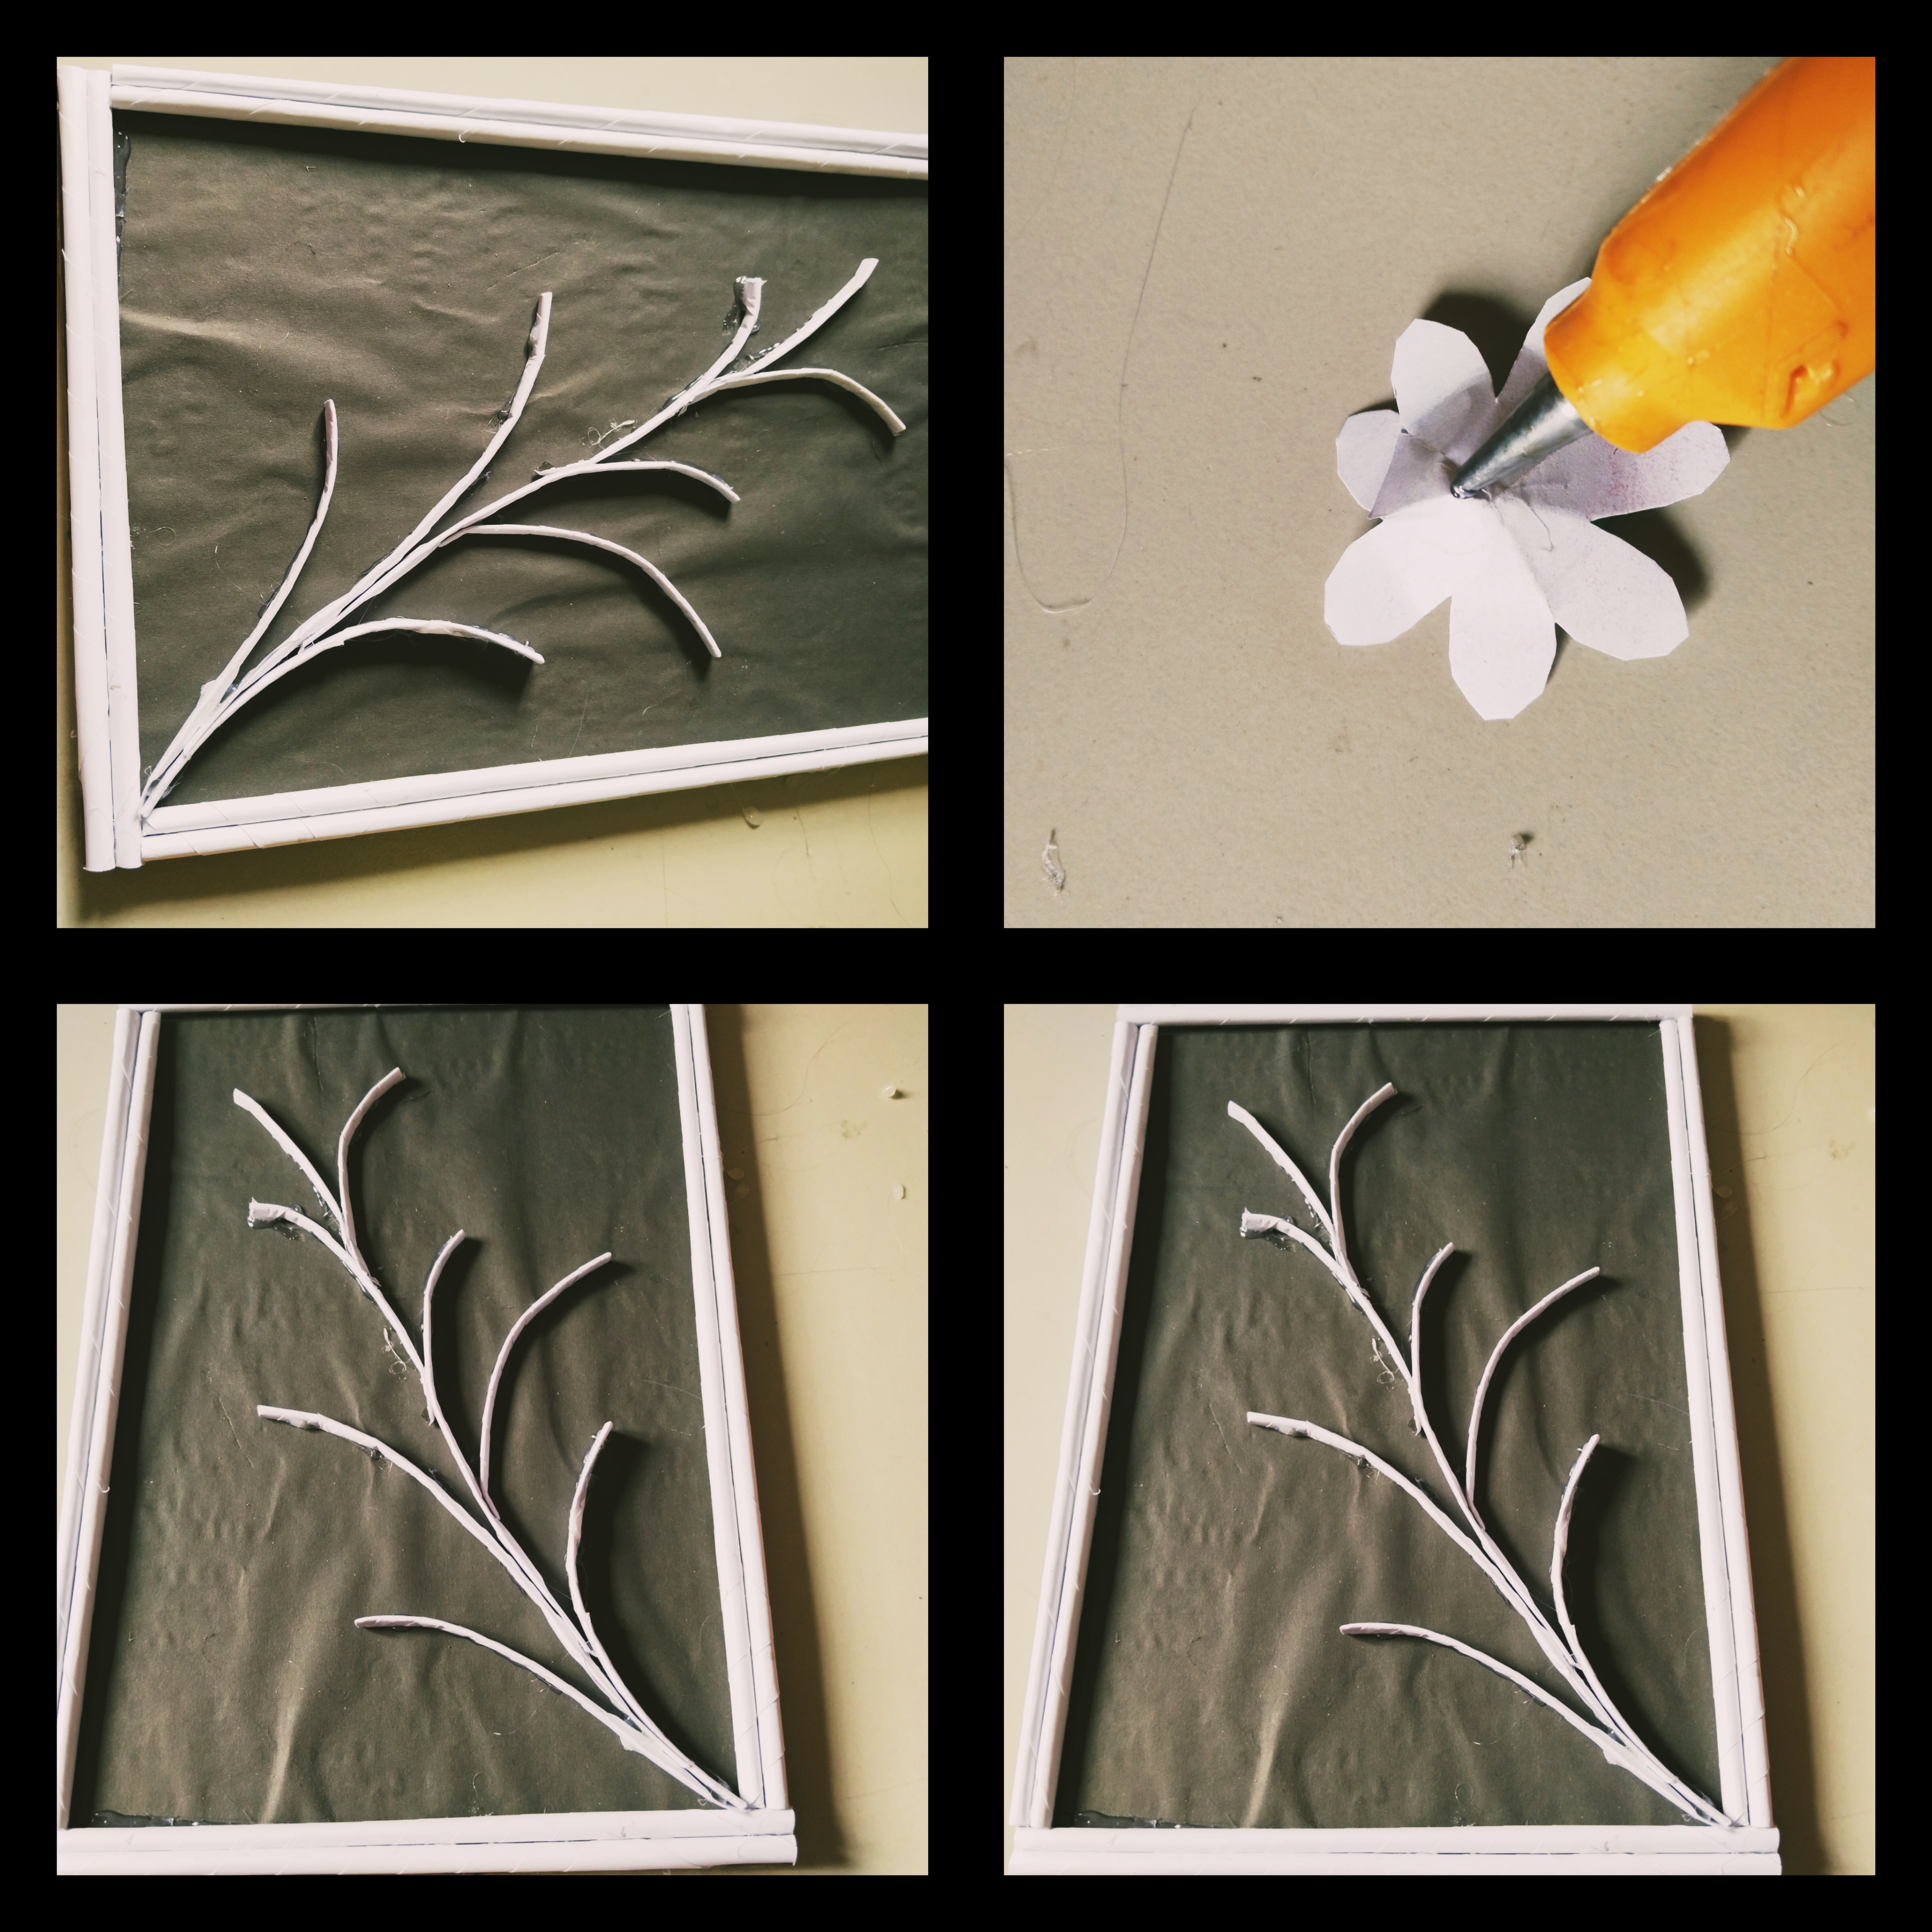
Step-10:
Next, I cut some white paper to make the flower branches and rolled the papers into several sticks. Then I flattened and bent the sticks by hand to give them my desired shape. After that, I designed each branch according to my imagination and attached them one by one onto the board using glue.

Step-11:
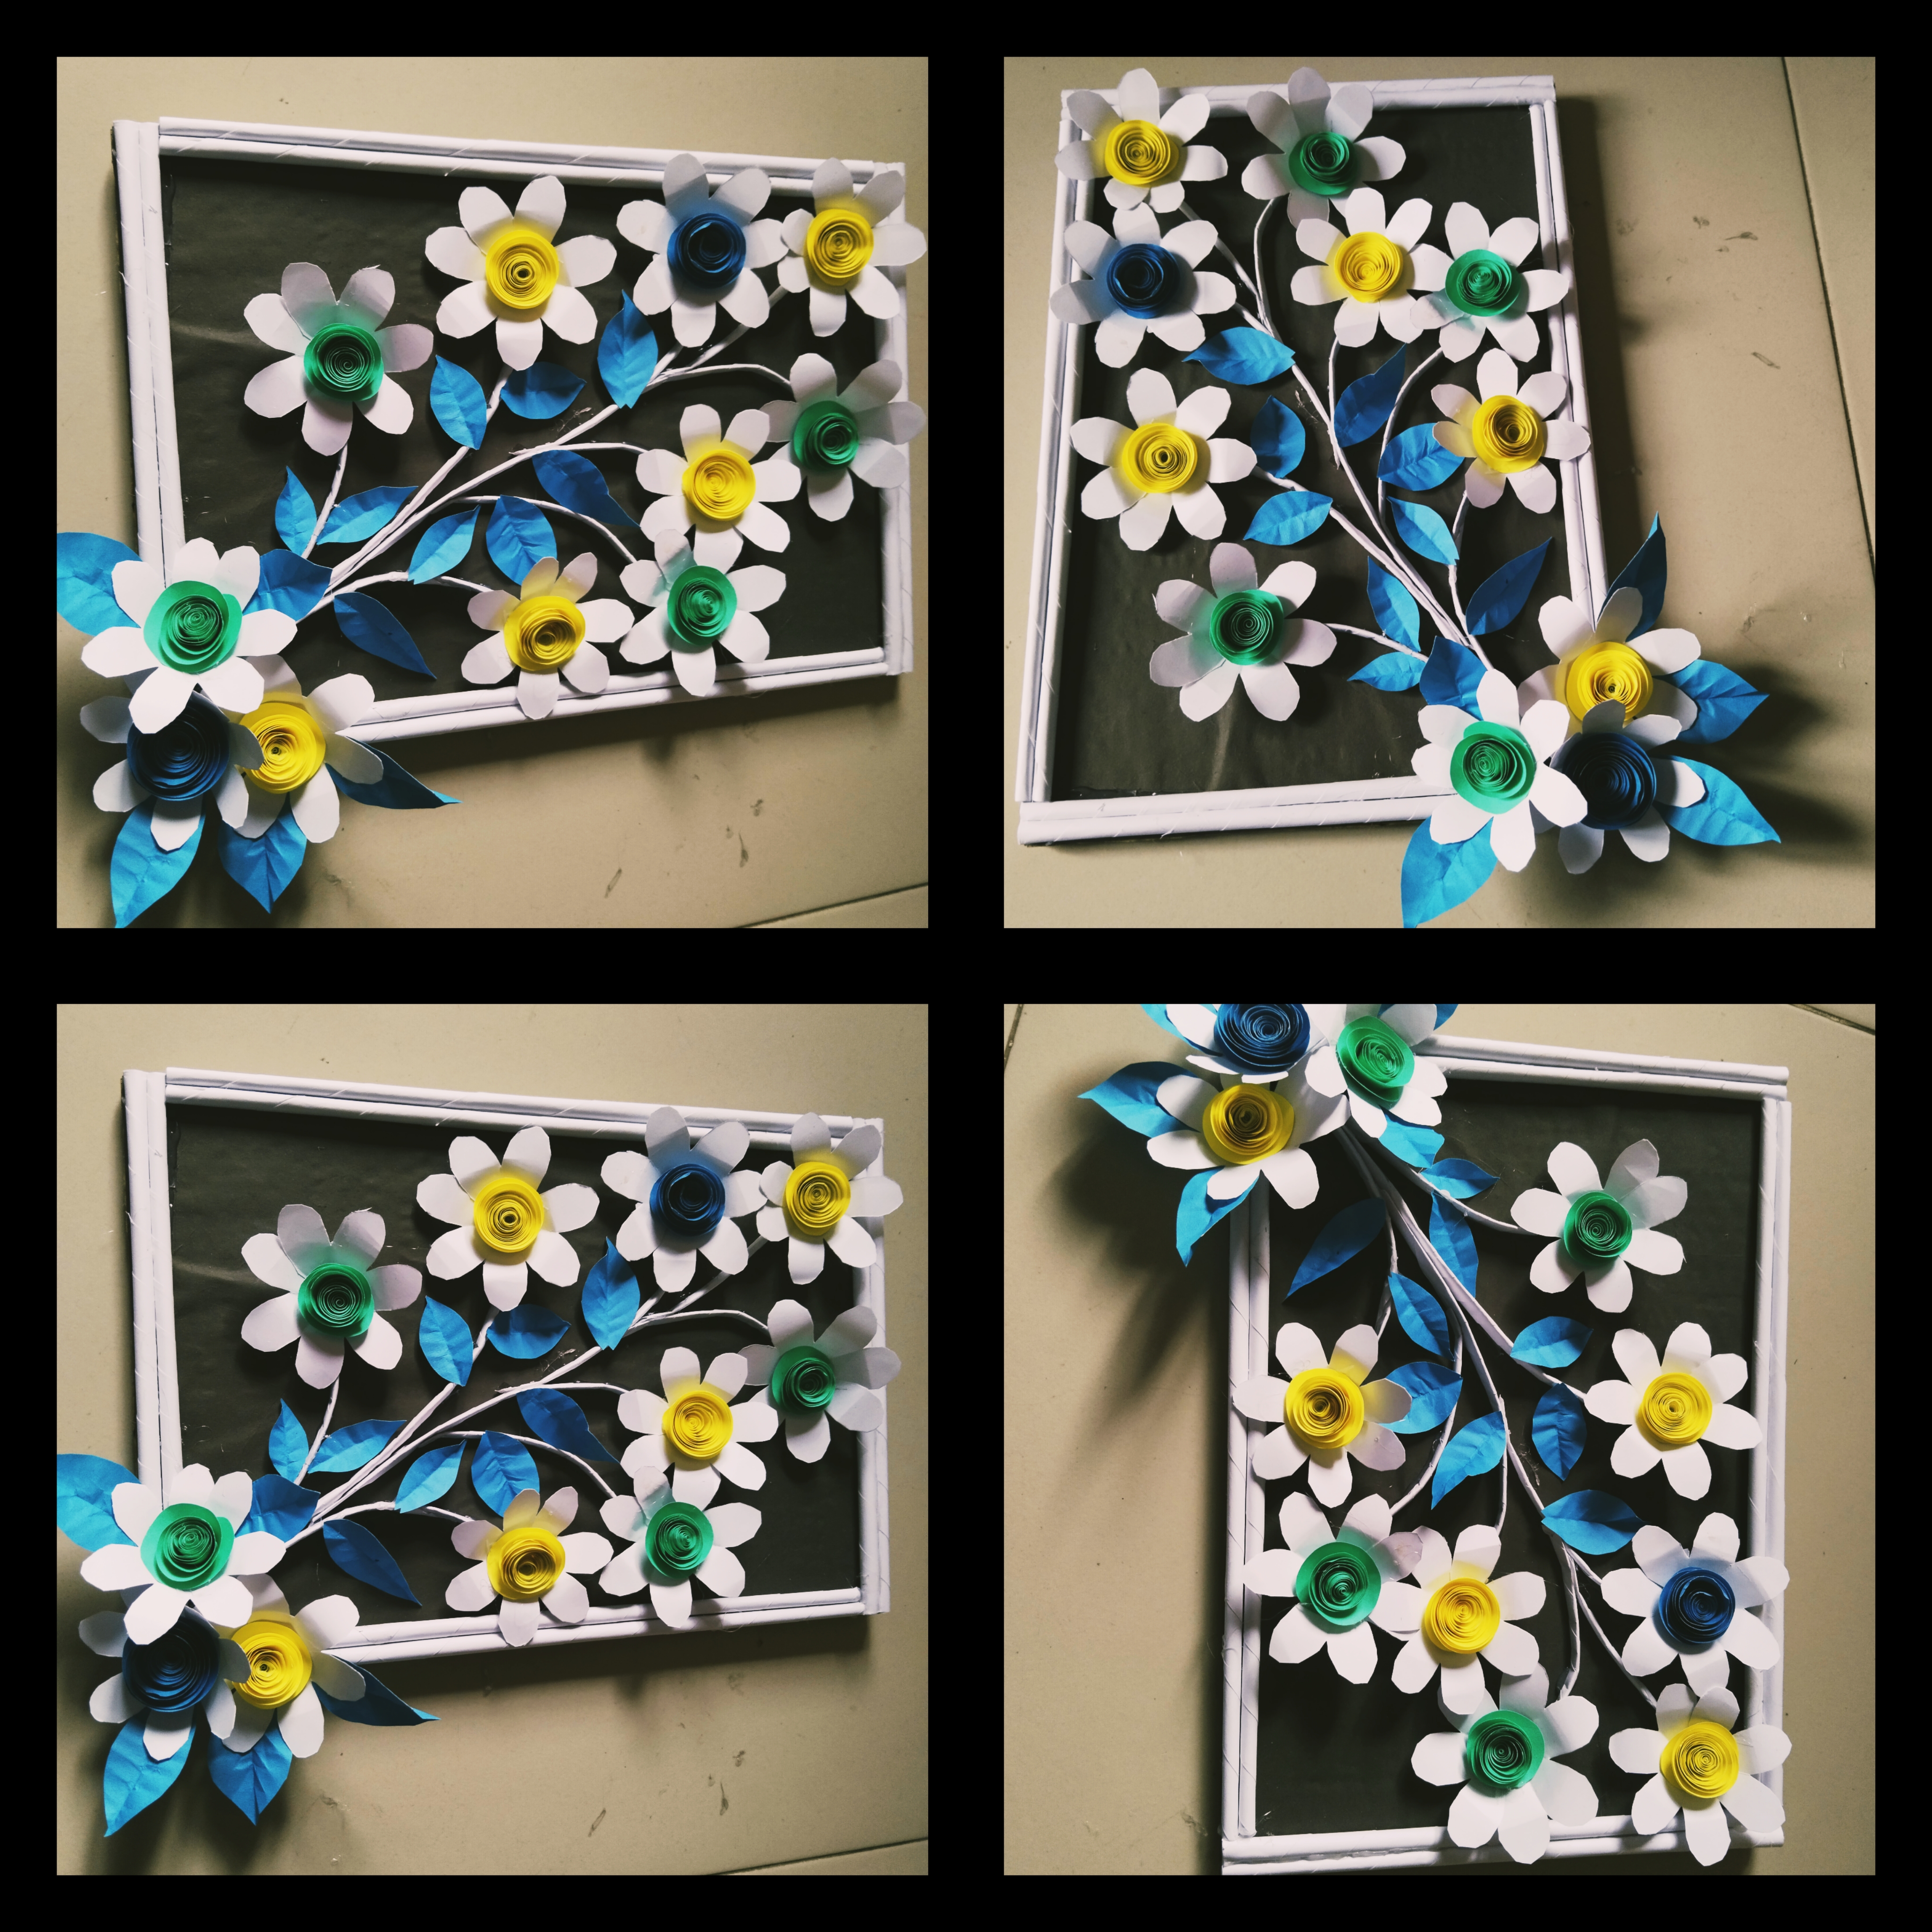
When the branches were completely fixed onto the board, I applied glue gun adhesive to the back side of the handmade flowers and started placing them beautifully on the wall mat board according to my liking. Although, it was quite difficult to work with one hand and take photographs with the other all by myself.
Step-12 :
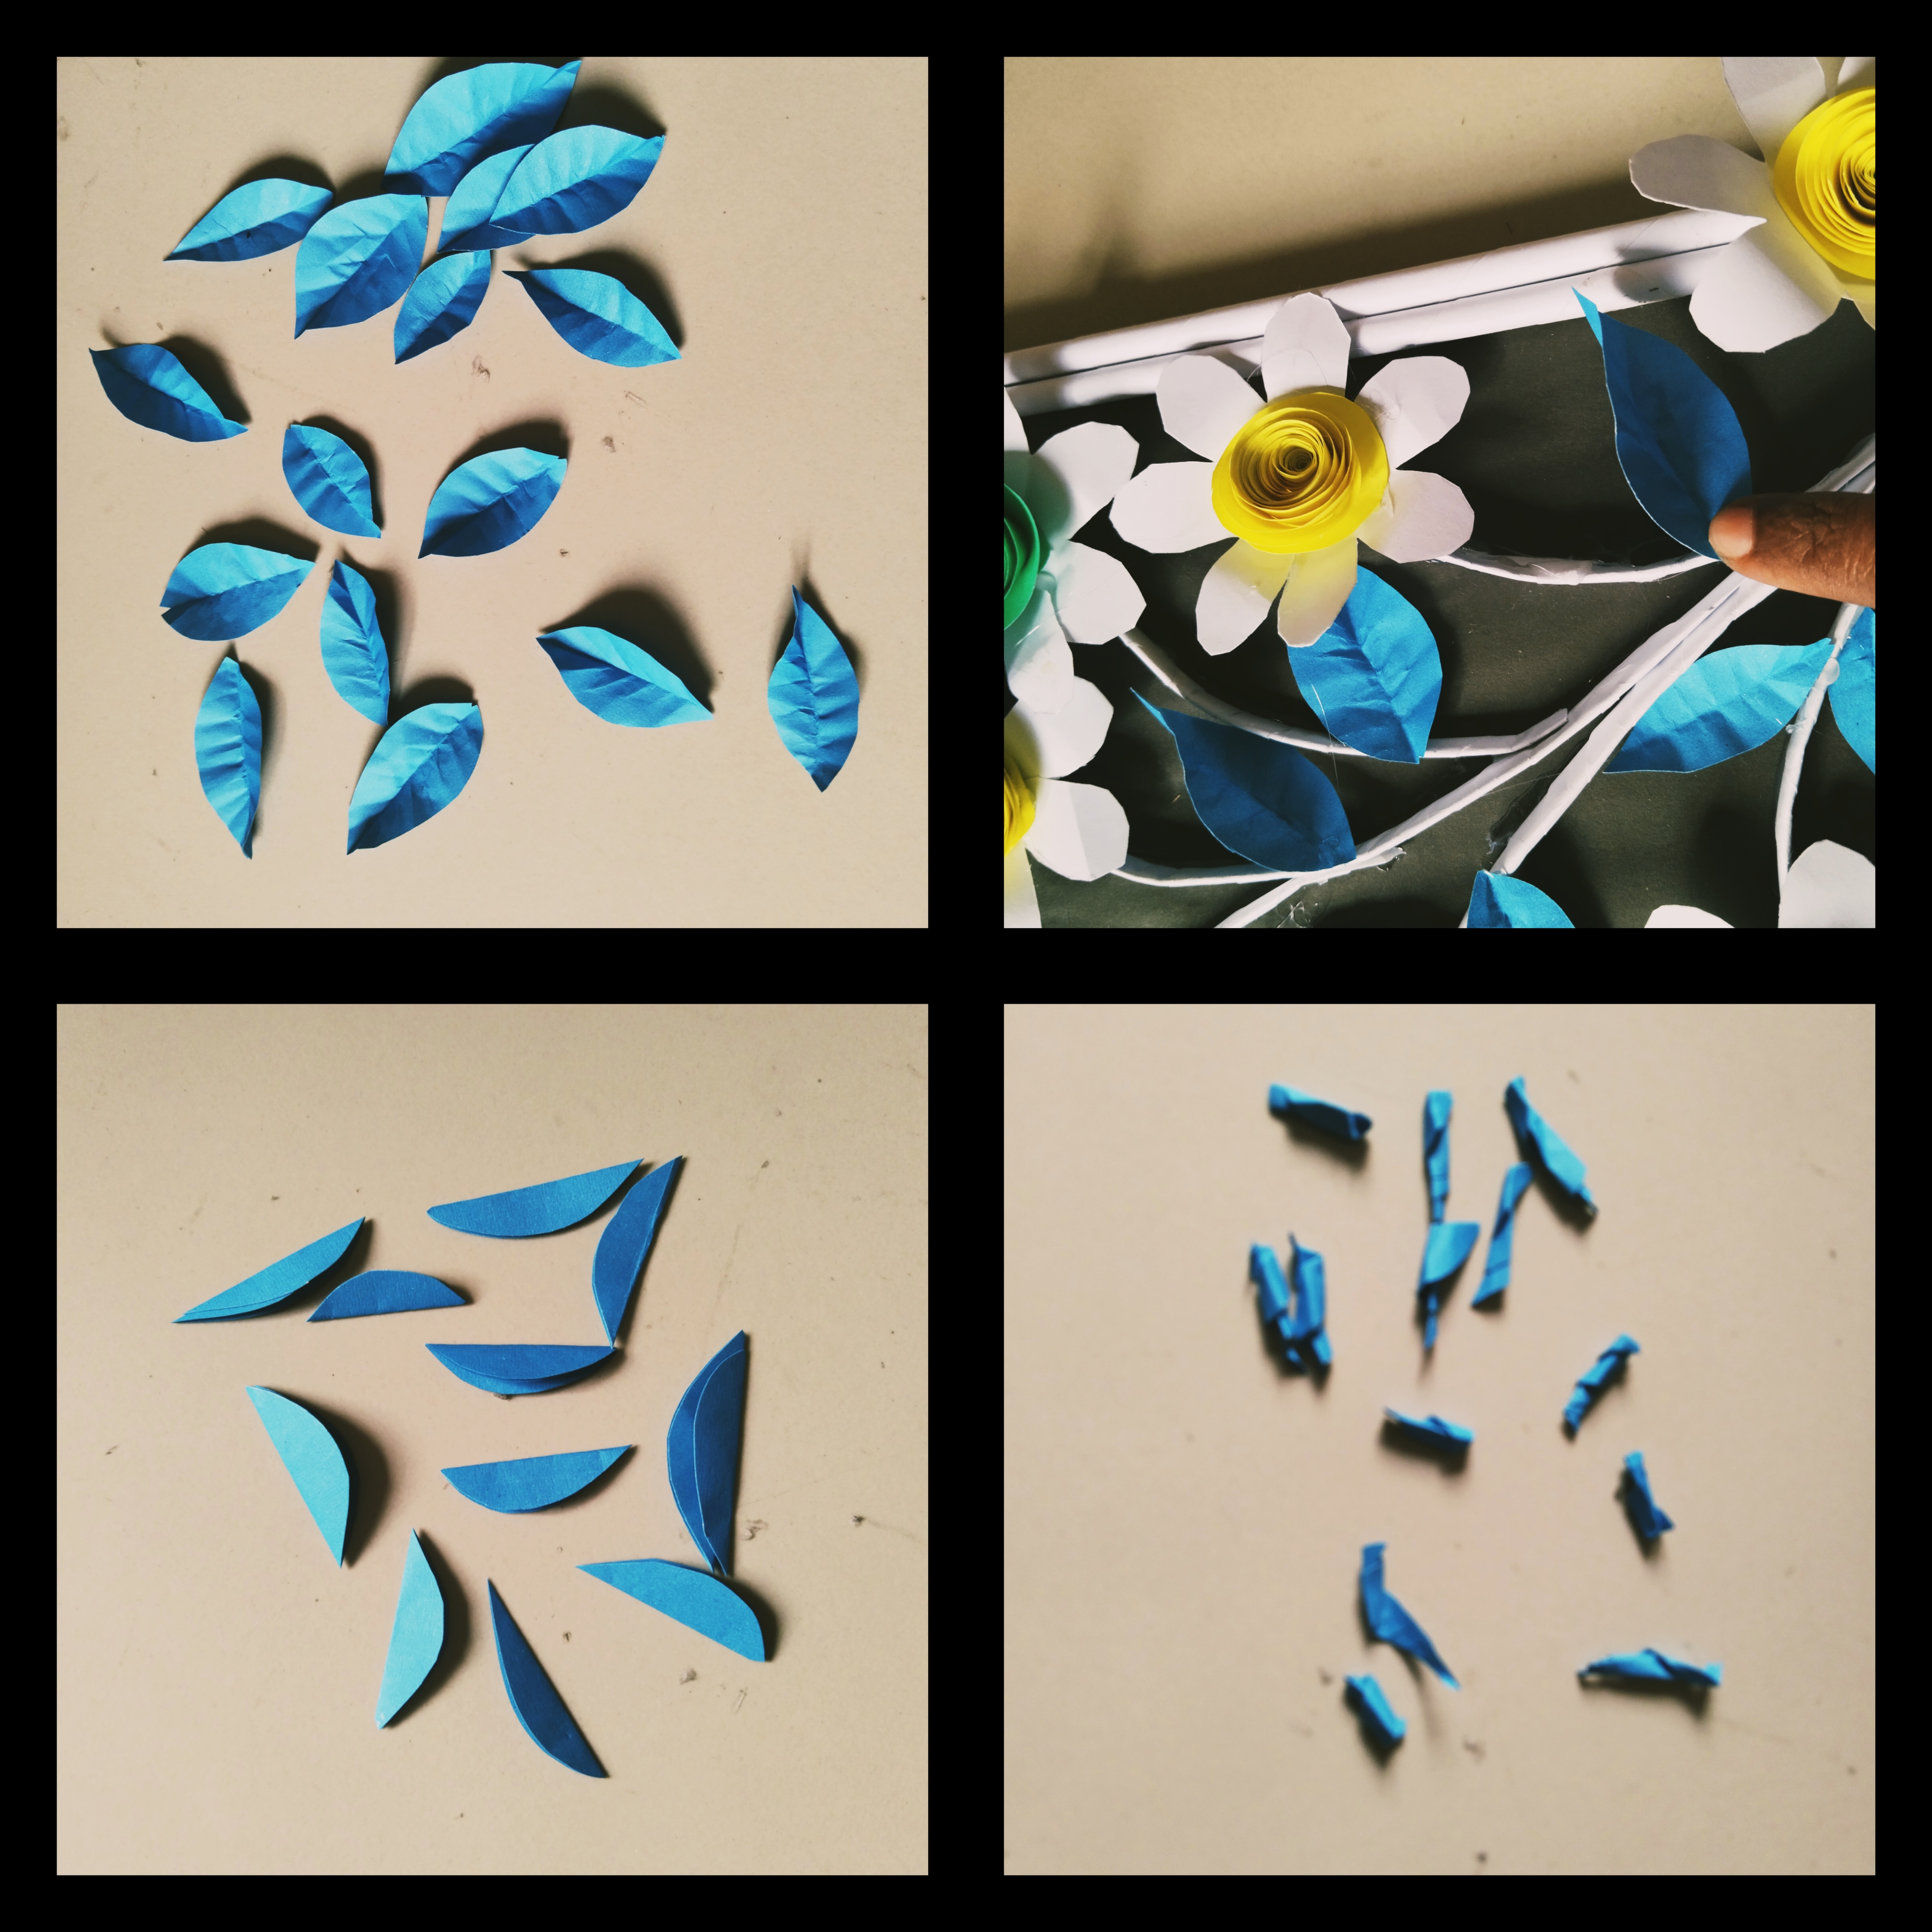
After placing some of the flowers, an idea came to my mind that adding a few leaves to the branches would make the wall mat look even more beautiful. No sooner thought than done. I took another piece of green paper, folded it several times neatly, and cut it into leaf shapes to make the leaves.
Step-13 :
Then I cut the leaves according to my desired shape and designed them beautifully on the board. After that, I arranged all the flowers and leaves together with the branches on the cardboard, using glue to adjust and place everything perfectly according to my imagination.
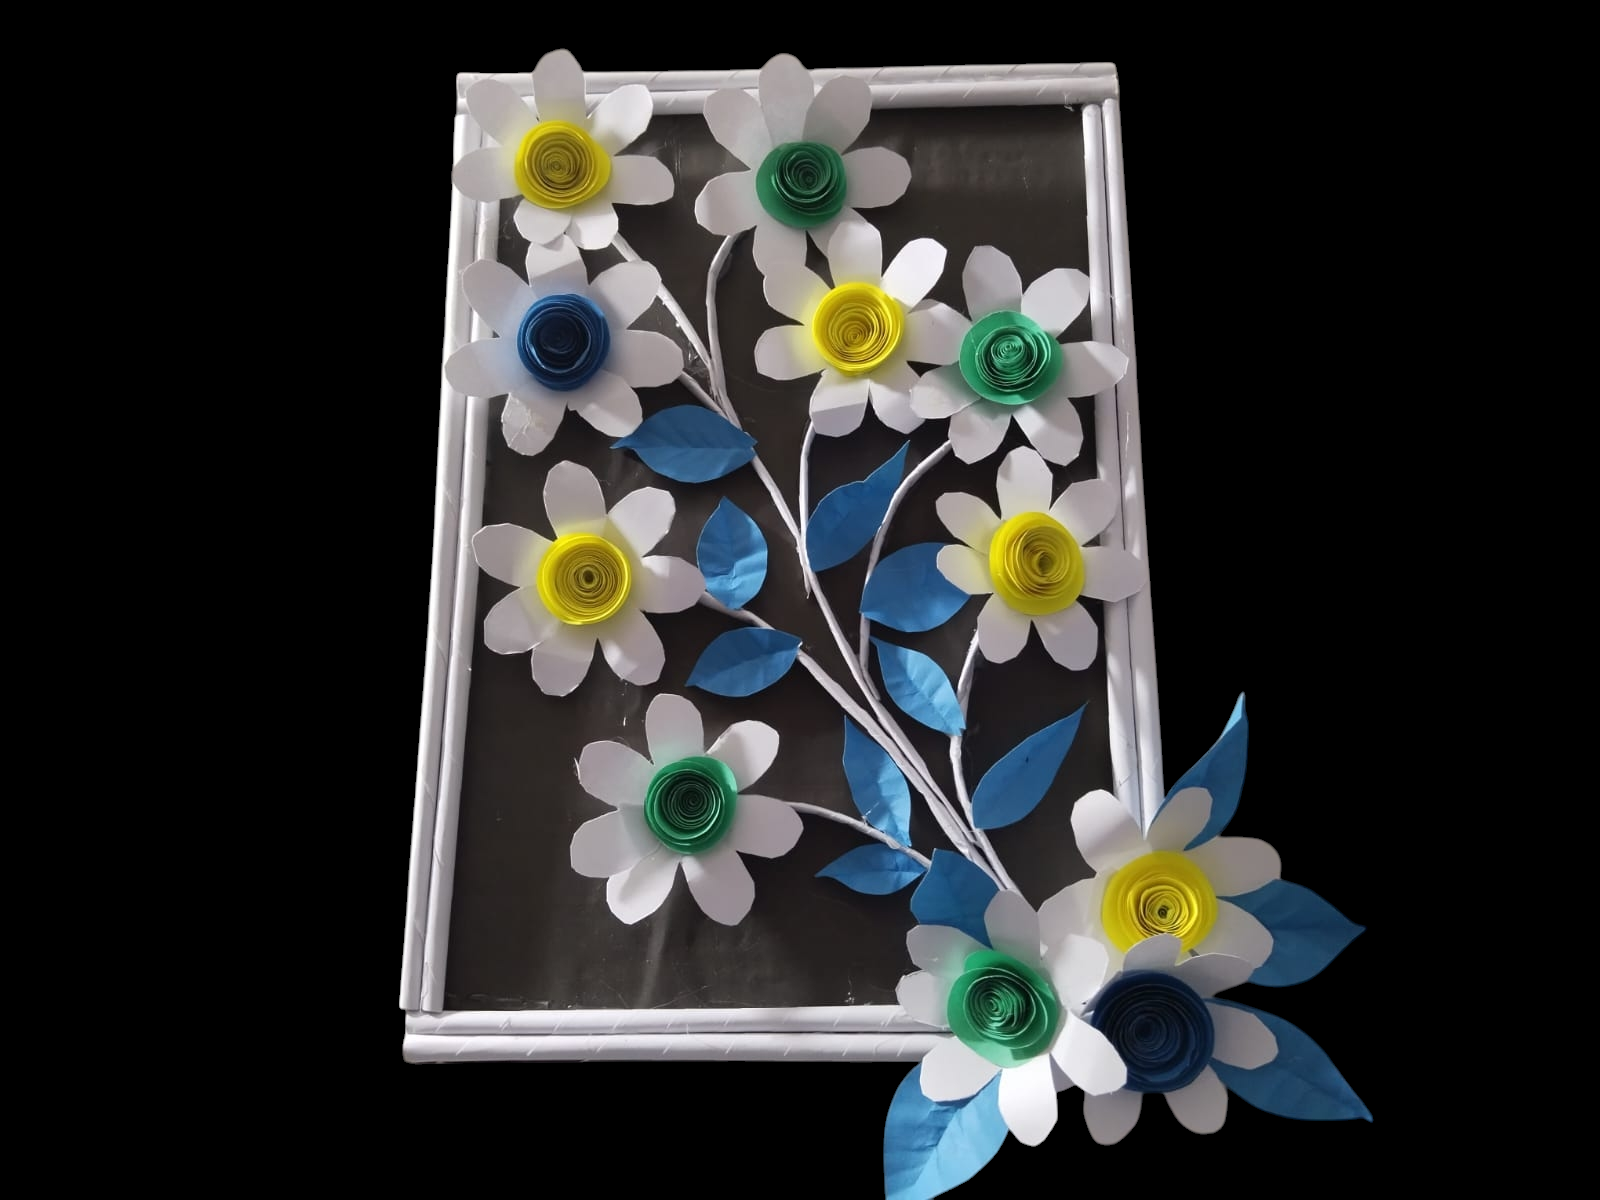
Last Step :
Then I checked carefully to see if anything else needed to be added. When I realized that my wall mat was completely finished, I felt really amazed looking at it 👌. I kept thinking about when I would hang it on the wall. Finally, I used masking tape on the back side of the wall mat and attached it to the wall. And in this way, my beautiful handmade wall mat was successfully completed today.
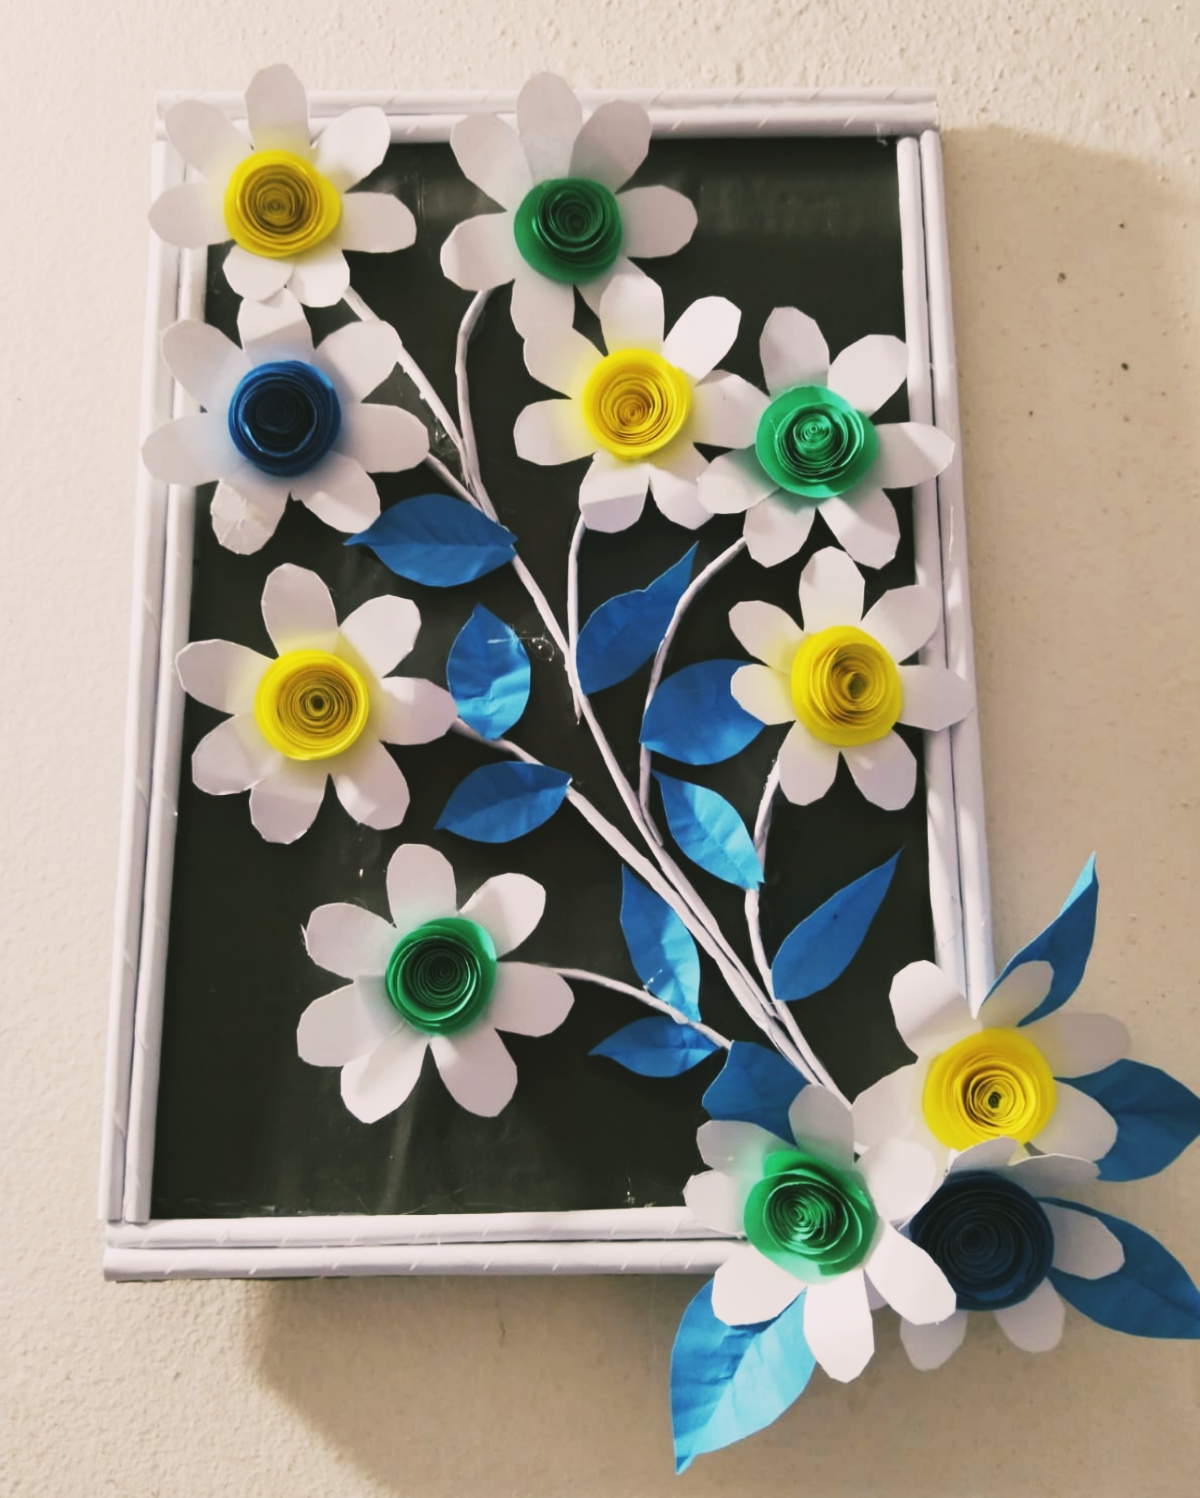
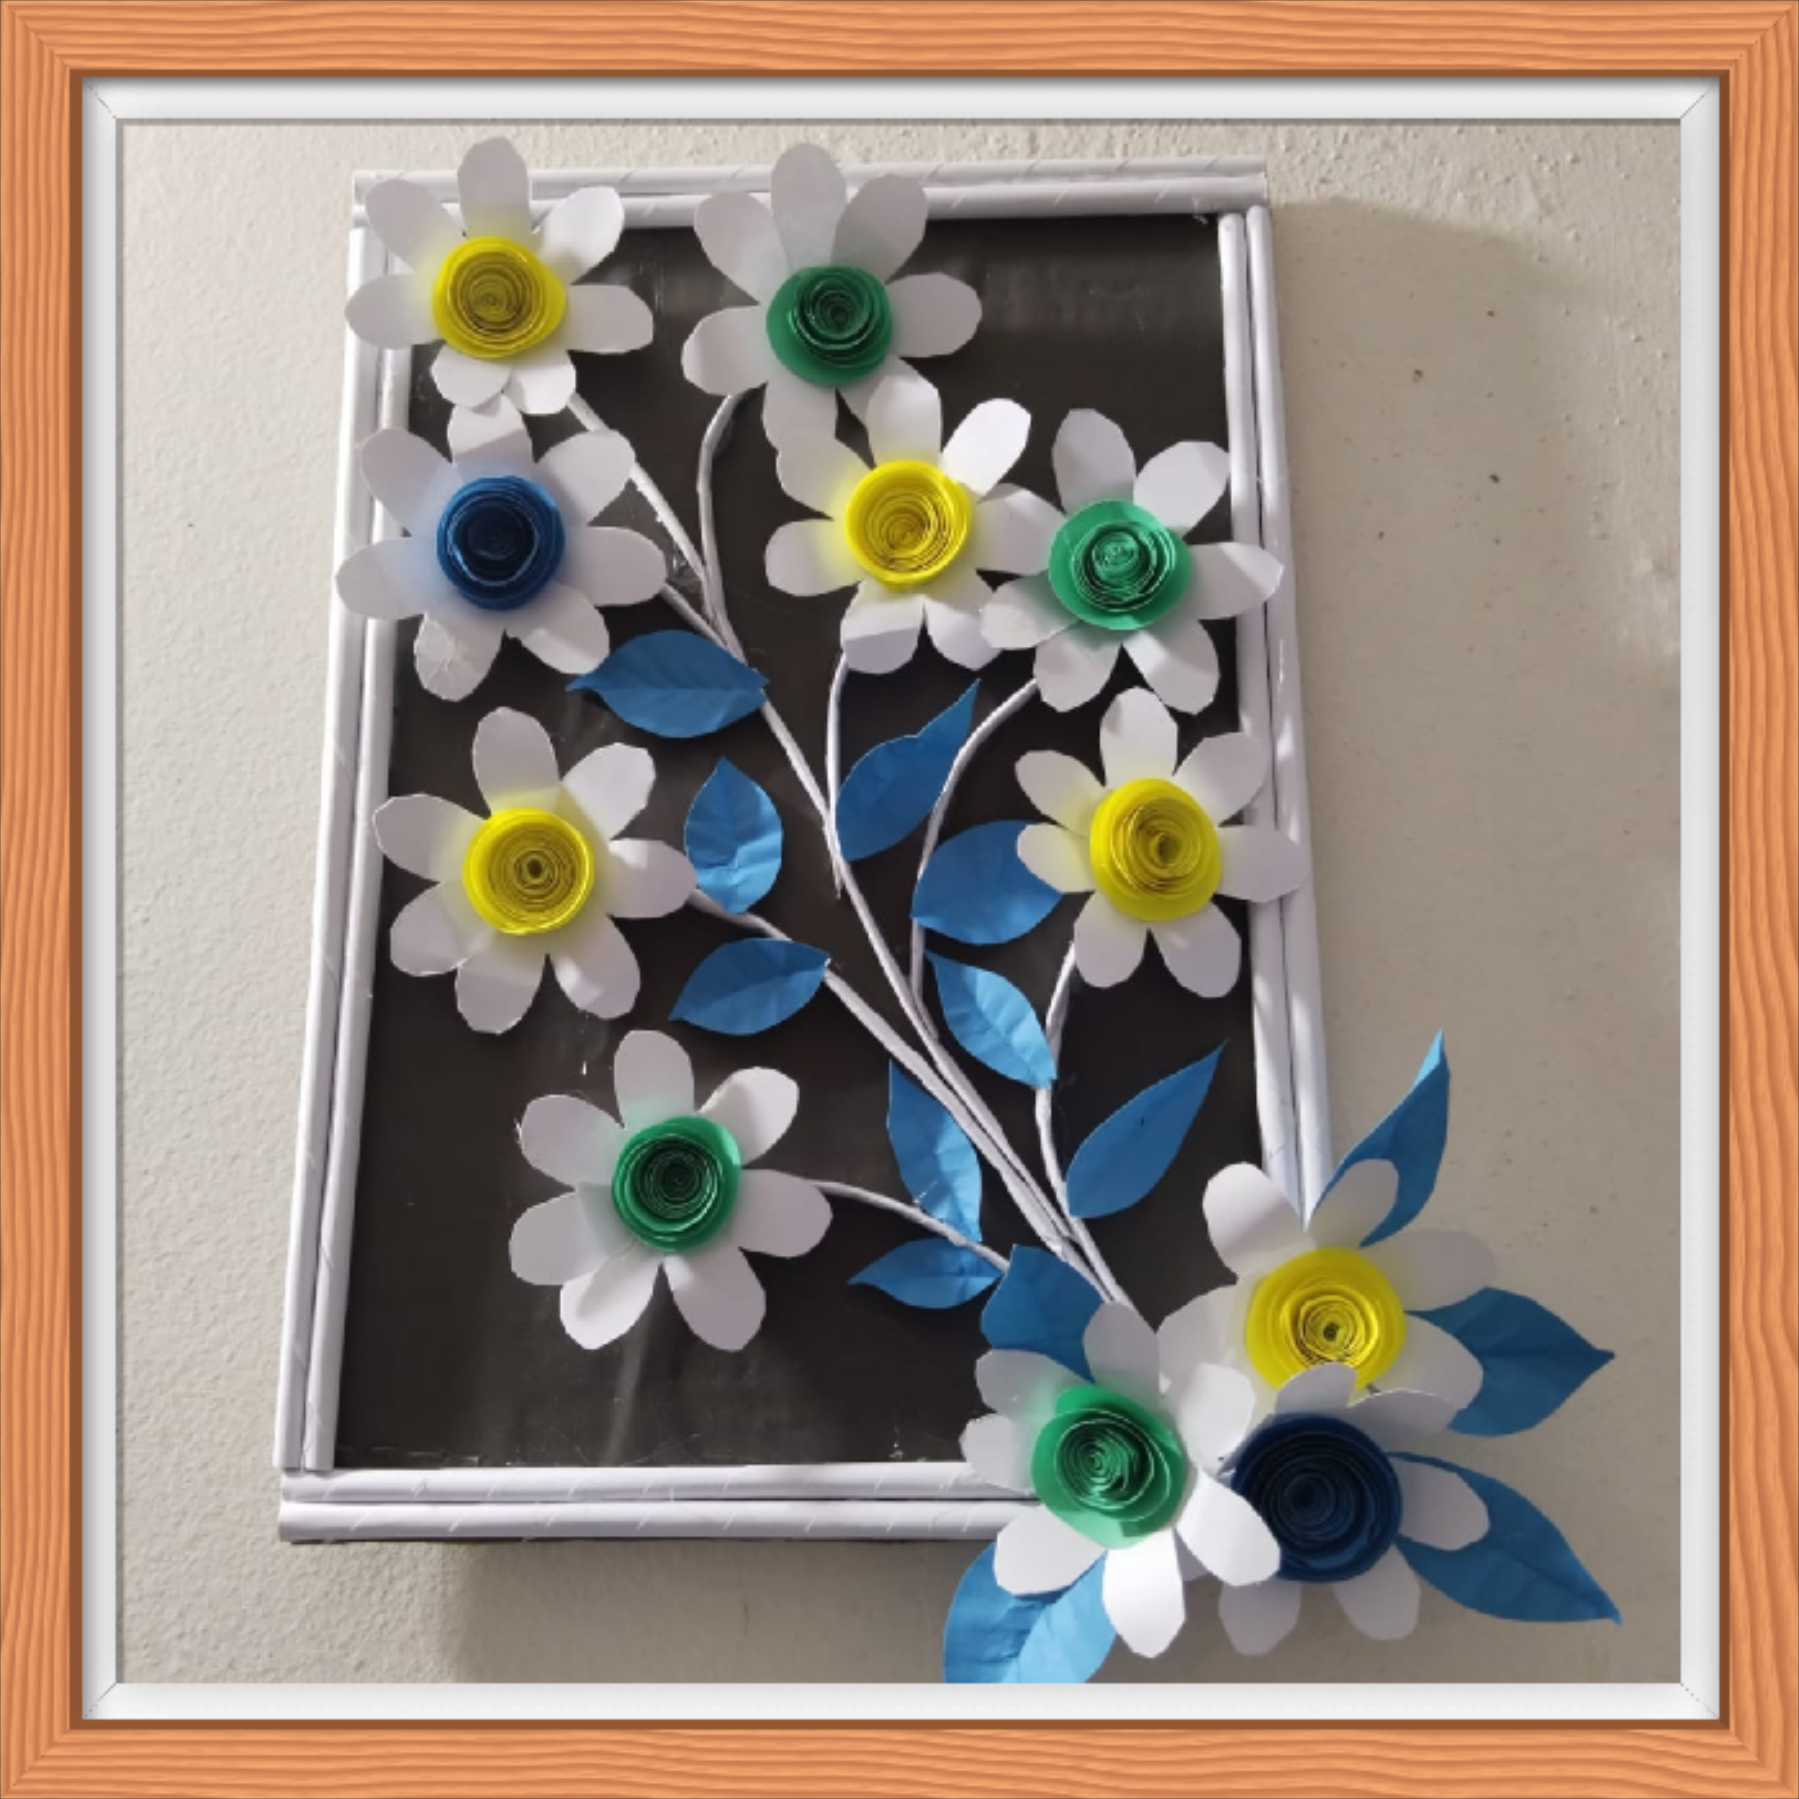
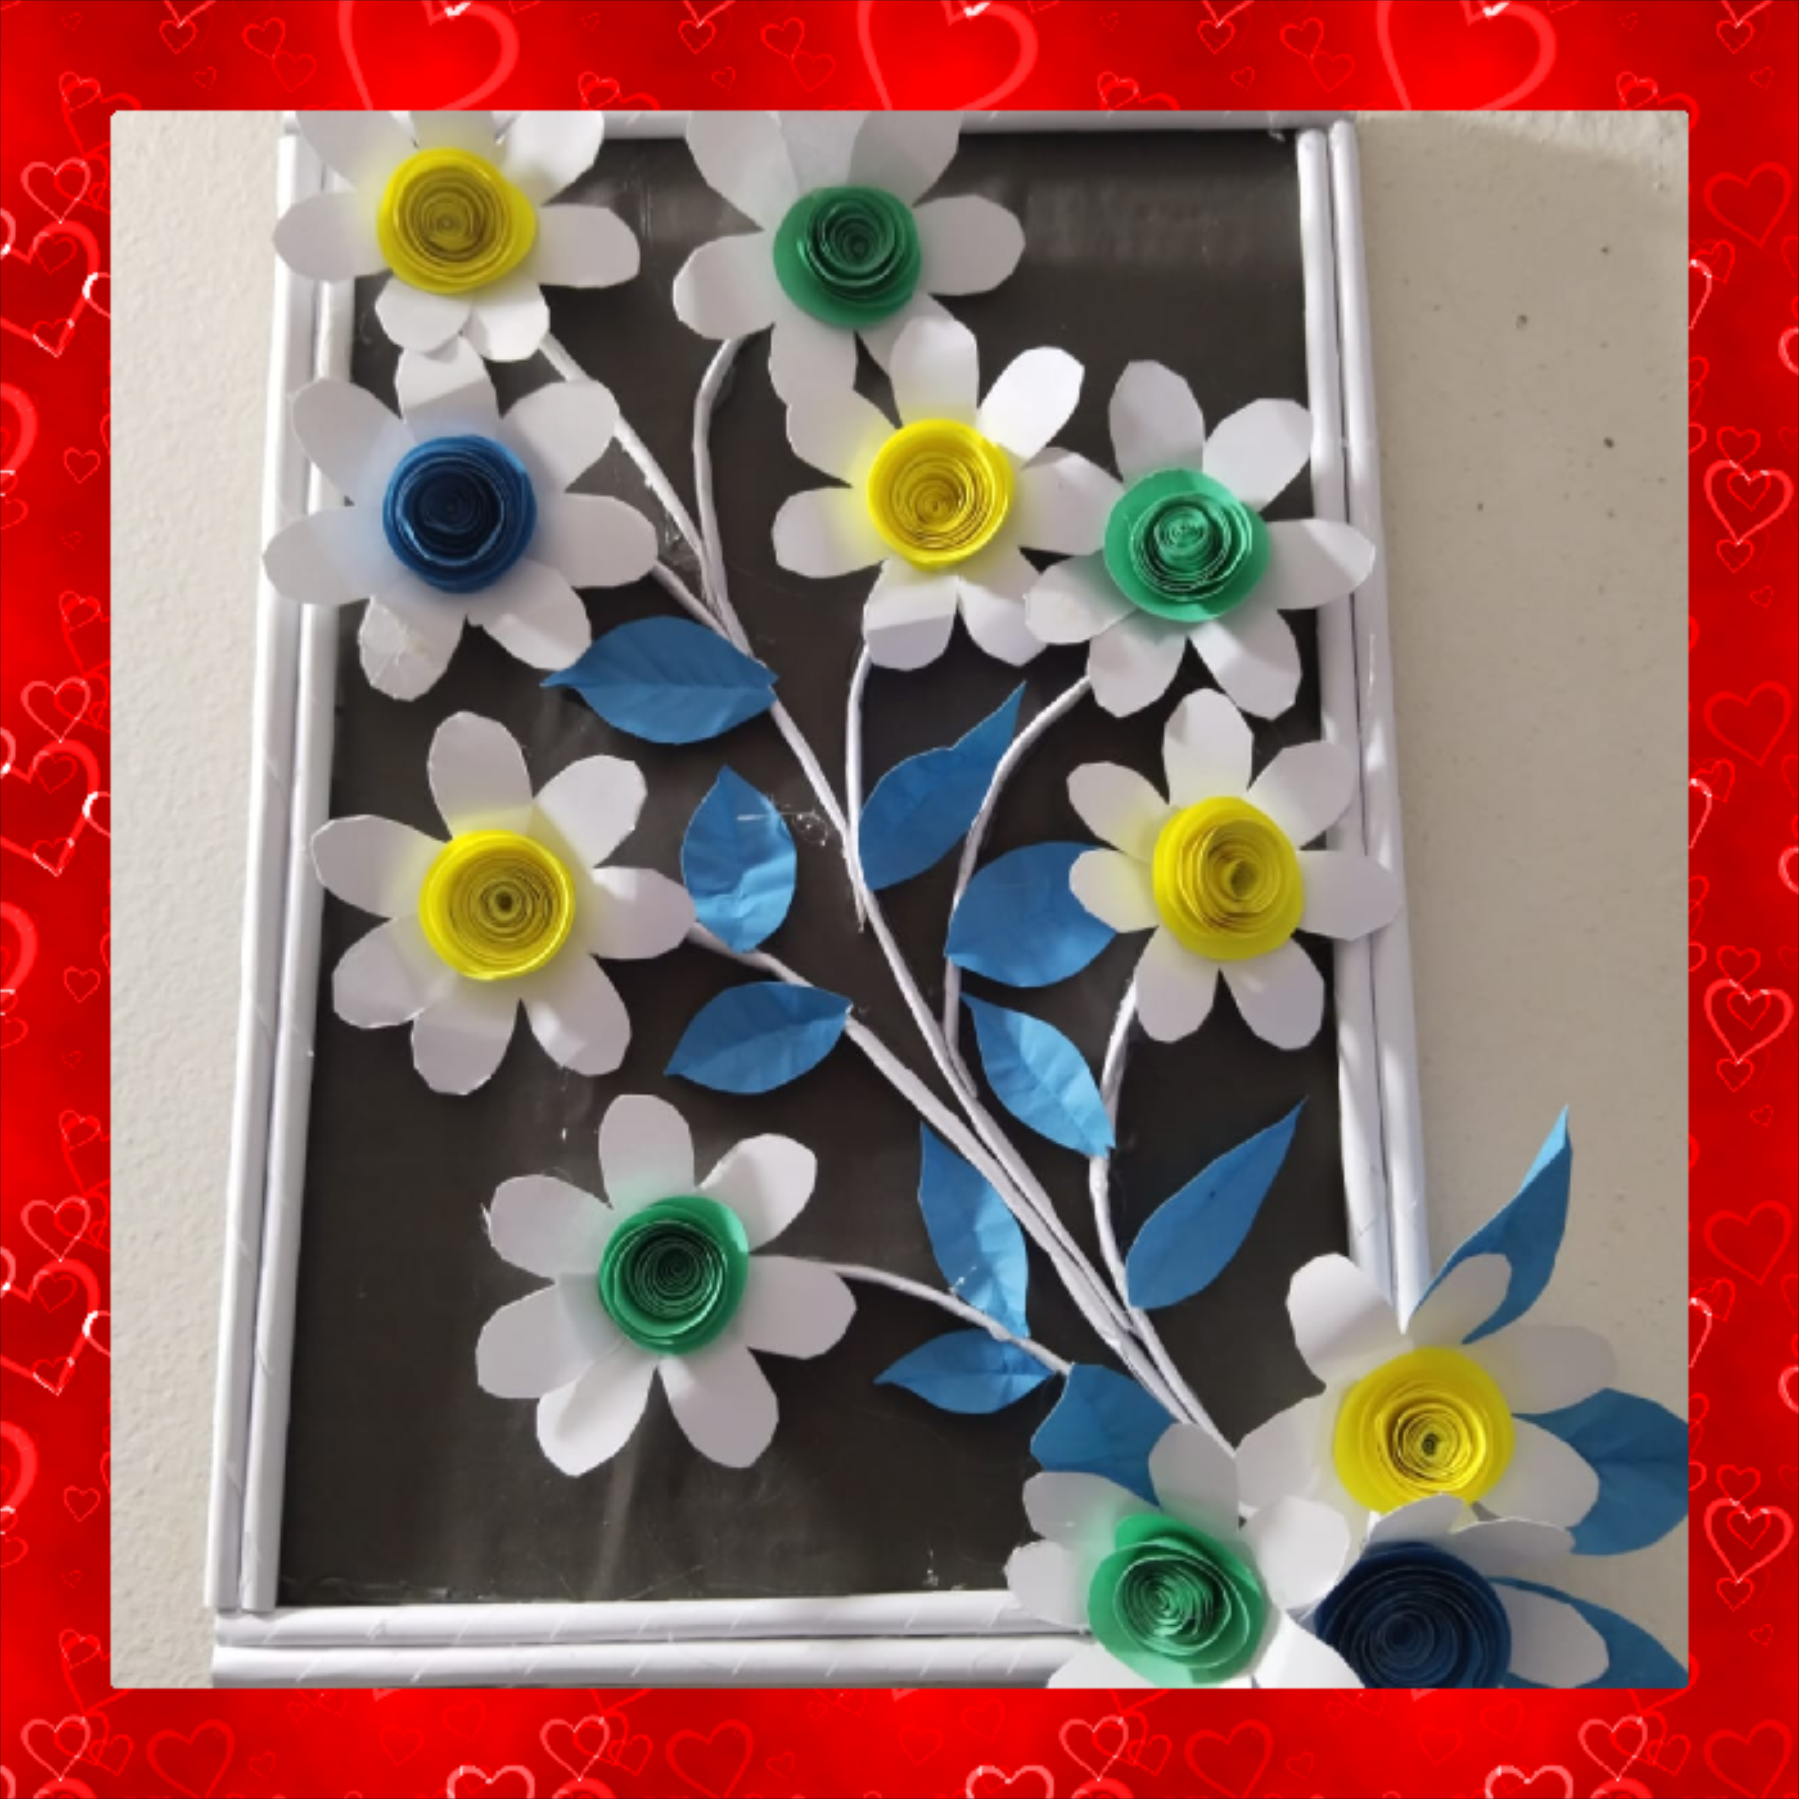
Final Output :
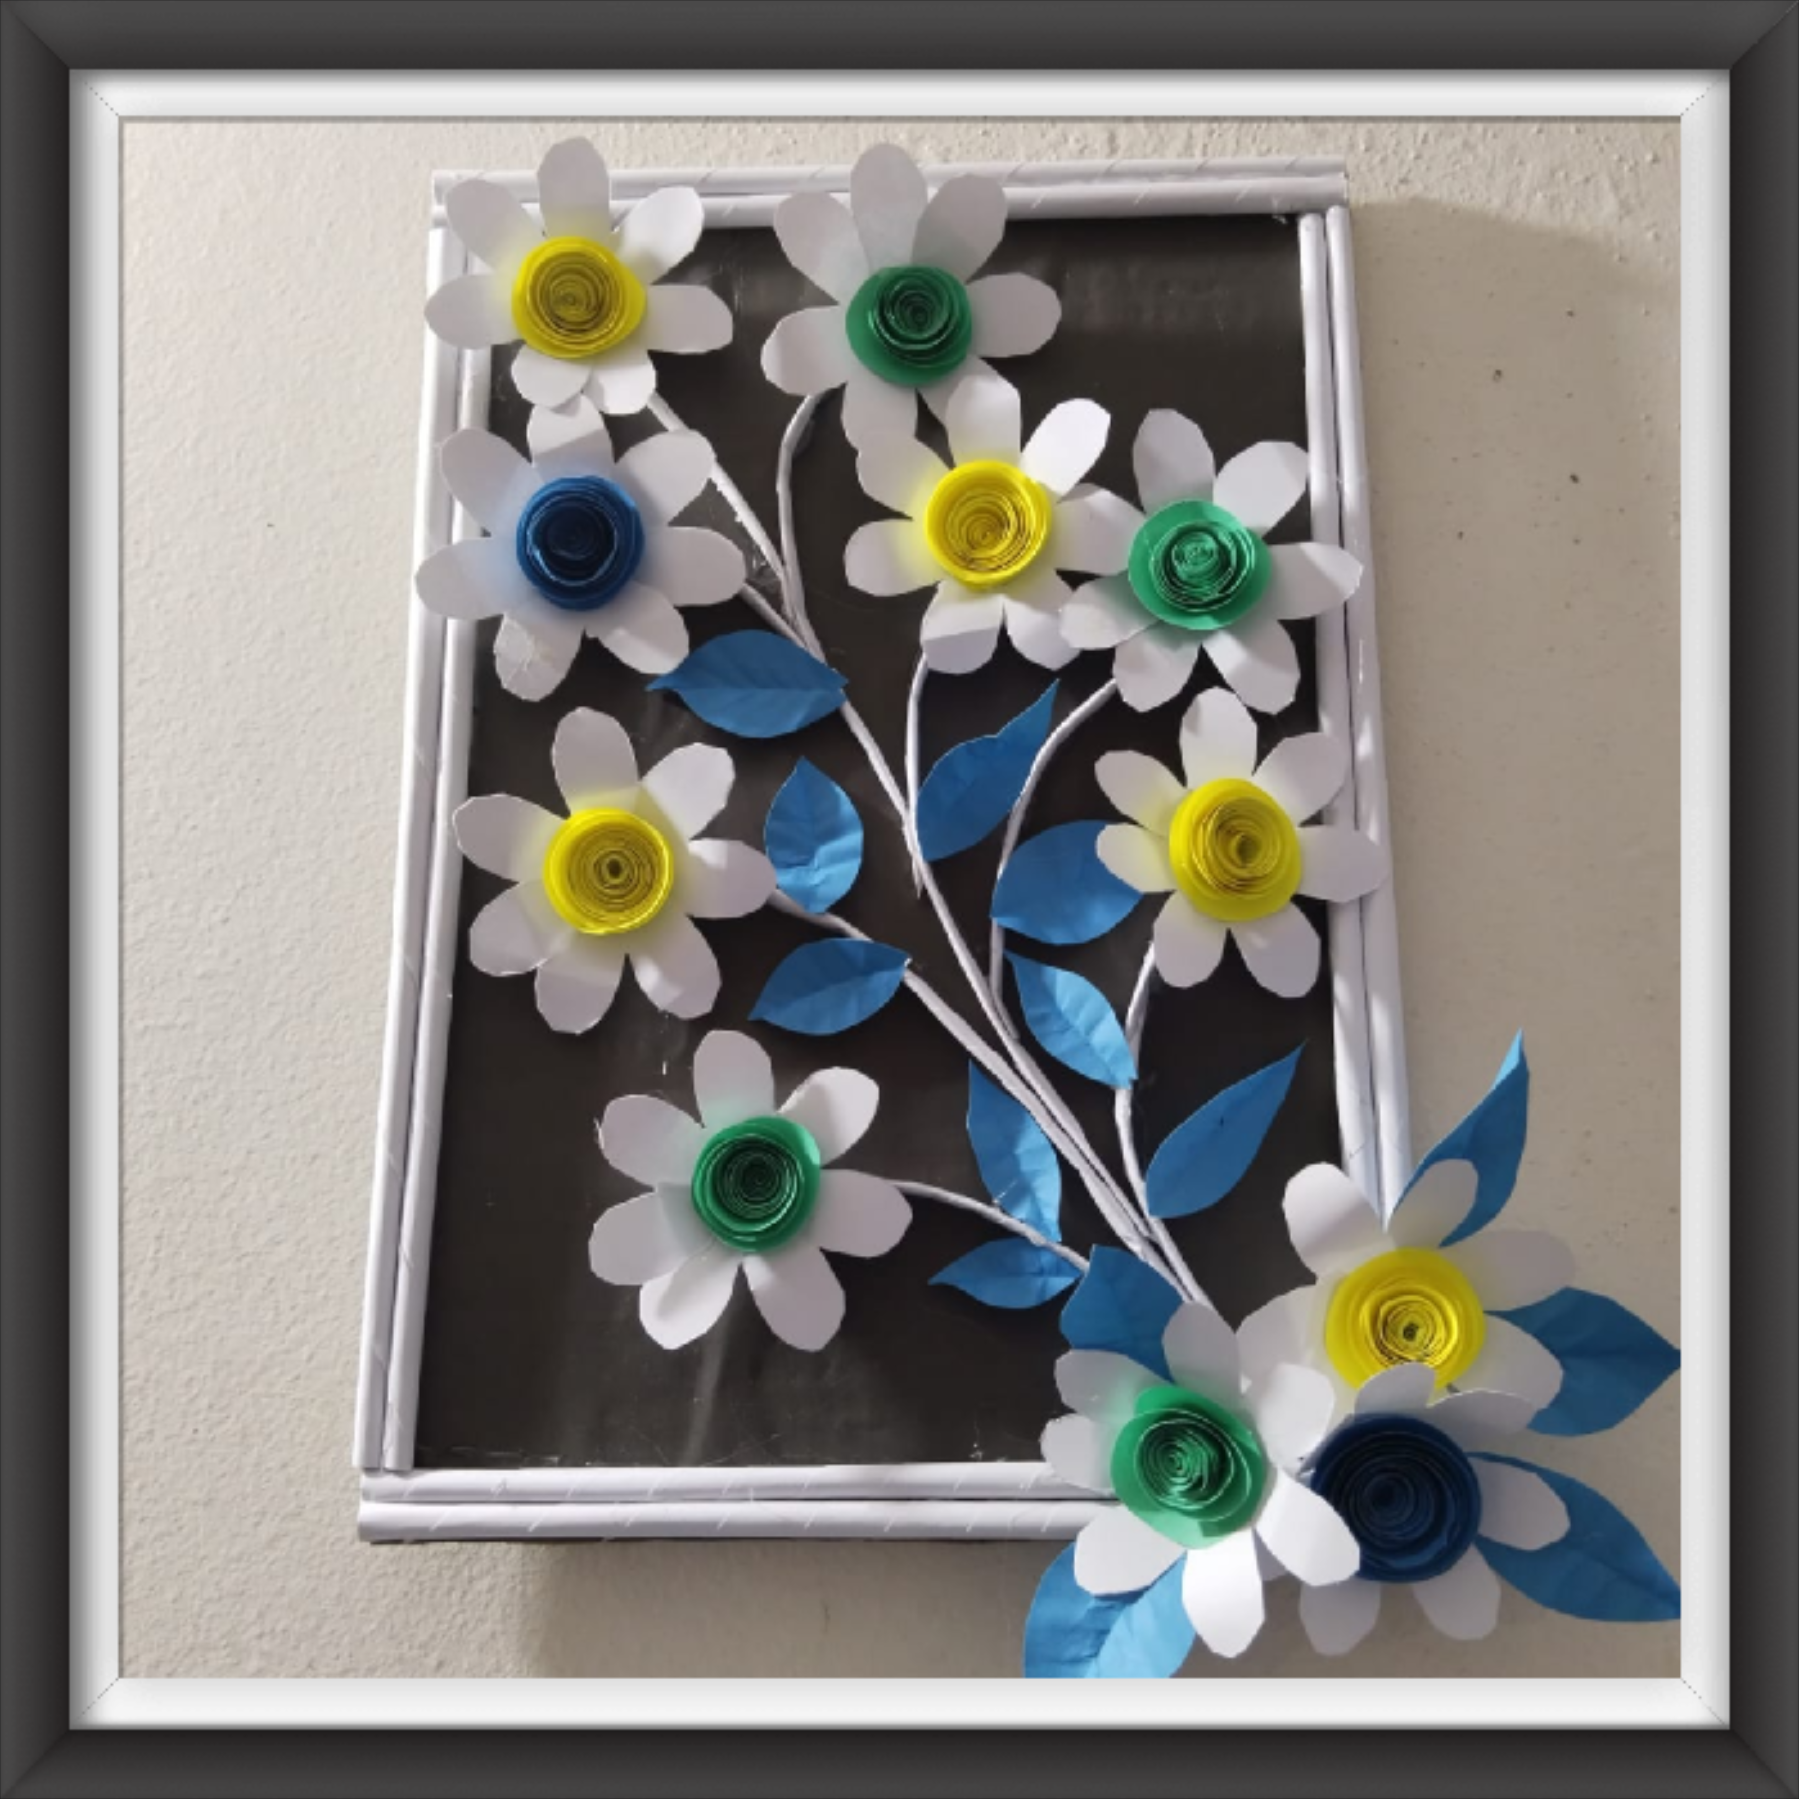
I am very happy to be able to participate in today's contest. For this, I would like to thank @steemkidss for organizing such a beautiful contest.
Conclusion
Thank you all for staying with me to this end. I also appreciate your support. Once again, thank you @steemkidss for organizing this contest. I invite @kawsarahmed, @shimulakter and @mahfuzanila to join the contest.
Post Details
Category Diy
Device- vivoY19s
Location Bangladesh

Congratulations, your publication has been supported using @steemkidss, our official account! This is because you have participated in the all in one contest for the week. The percentage upvote was increased to 70% keep participating! This is the reward. Keep active! Keep publishing quality publications in our community!
Share your post on X
Done
https://x.com/i/status/2053531255195816117
Turning colorful paper and cardboard into beautiful wall mats is such a smart idea. The combination of colors made the design look lively and attractive. Your step-by-step process was easy to understand, and the finished work shows patience, effort, and real creative talent. Amazing work and bravo