Goodbye Old Mesh, Hello Fresh Air: How I Replaced My Bug Screens
Replaced My Bug Screens

It’s been a little over a year since I installed these bug screens, and they’ve started failing. Direct sunlight, rain, and other elements took a toll... including my kids Most of the worst damage goes to the credit of my little girls.
For some time now I noticed the screens needed attention, but I kept putting it off. Today was the day I had to roll up my sleeves and handle this needed home upgrade.
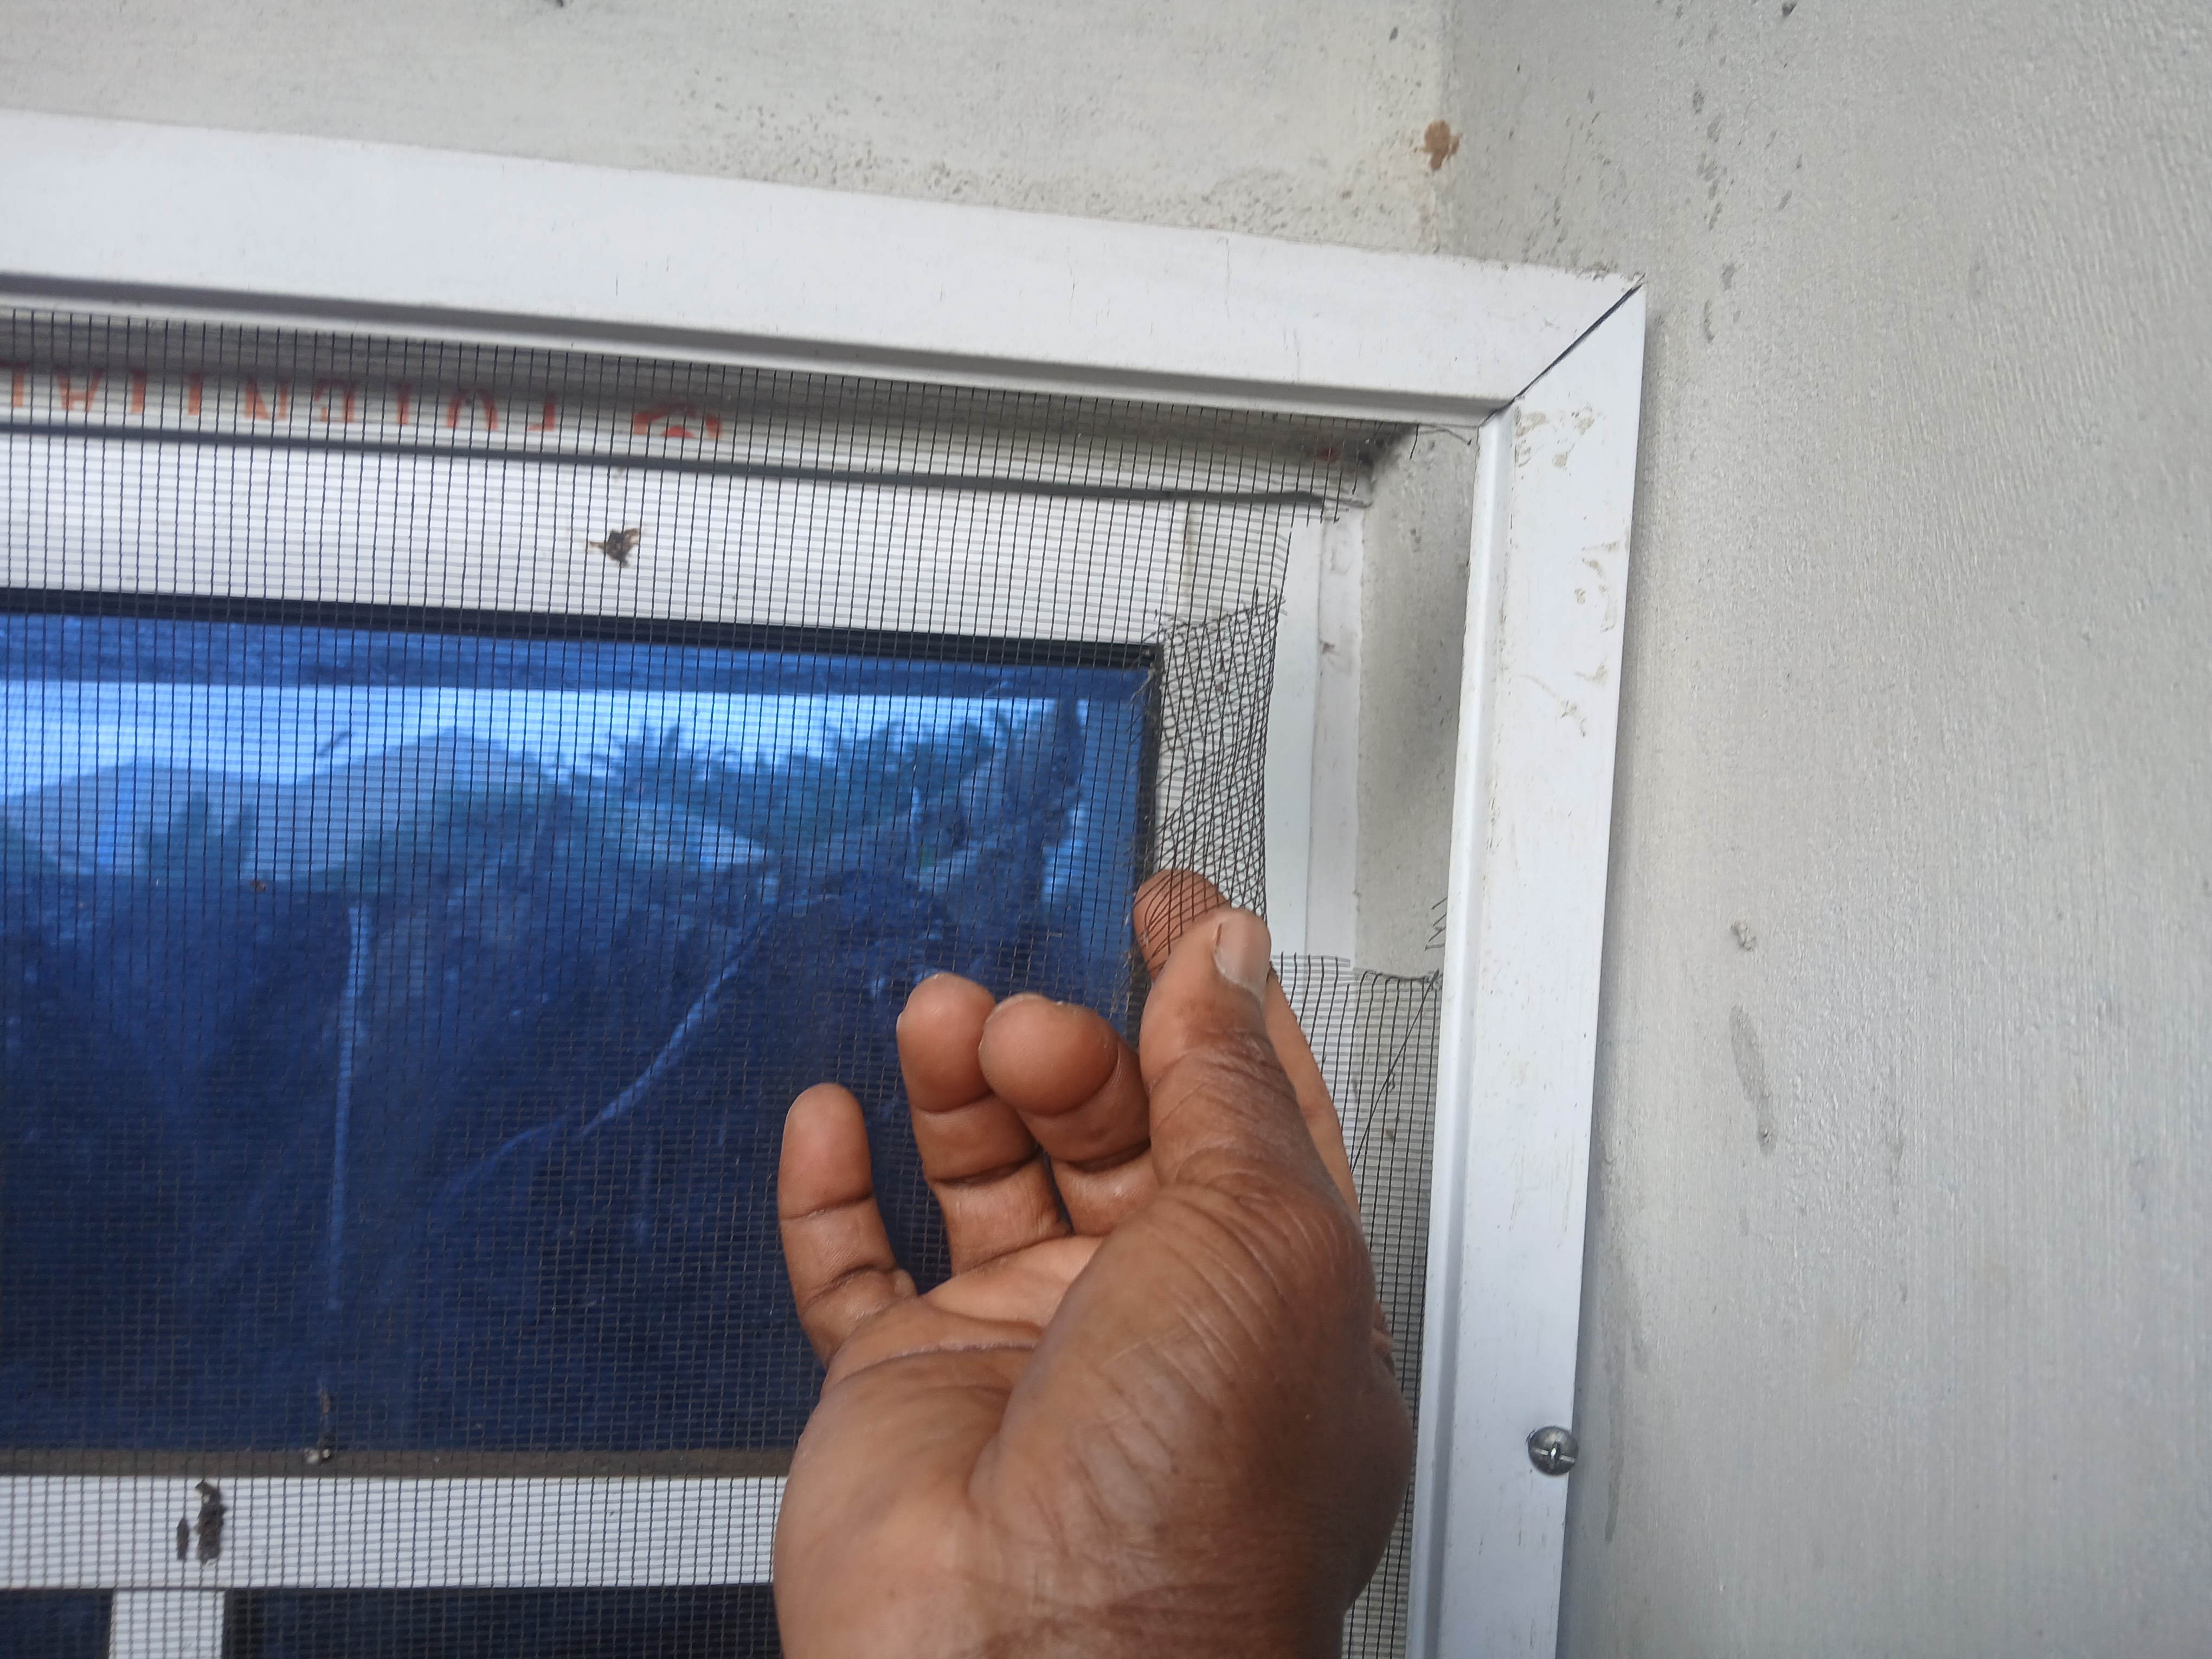 | 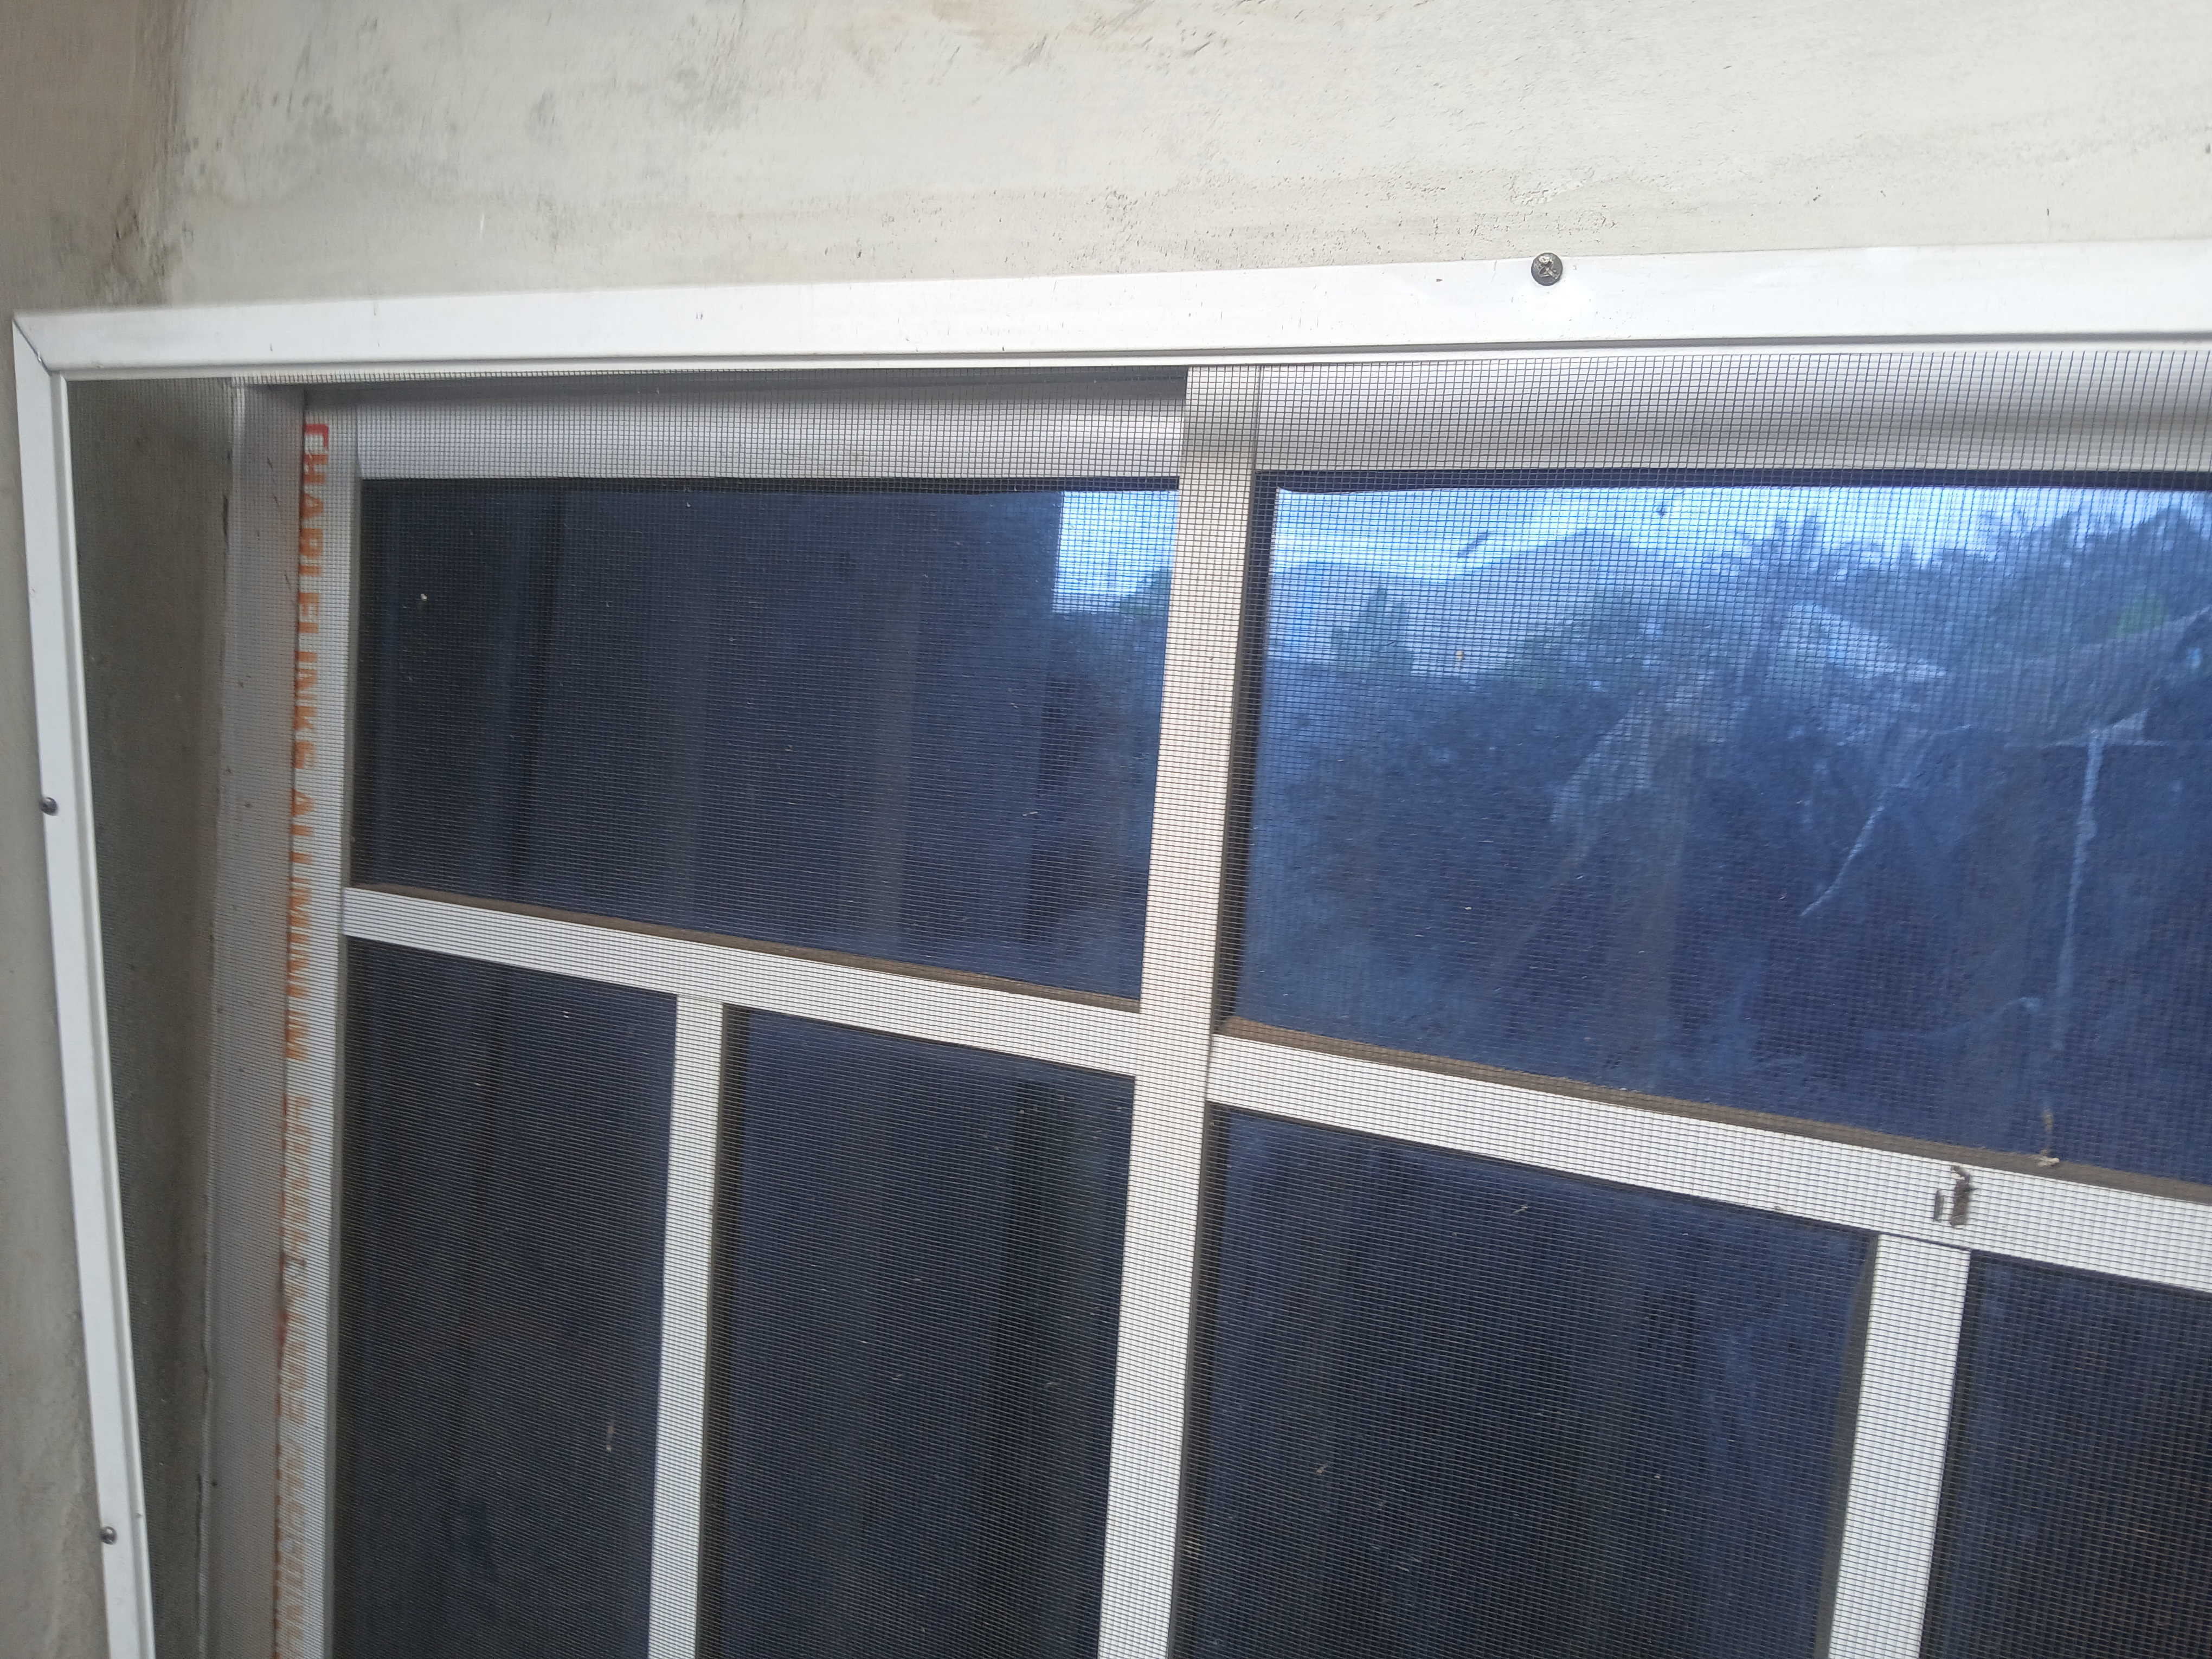 |
|---|
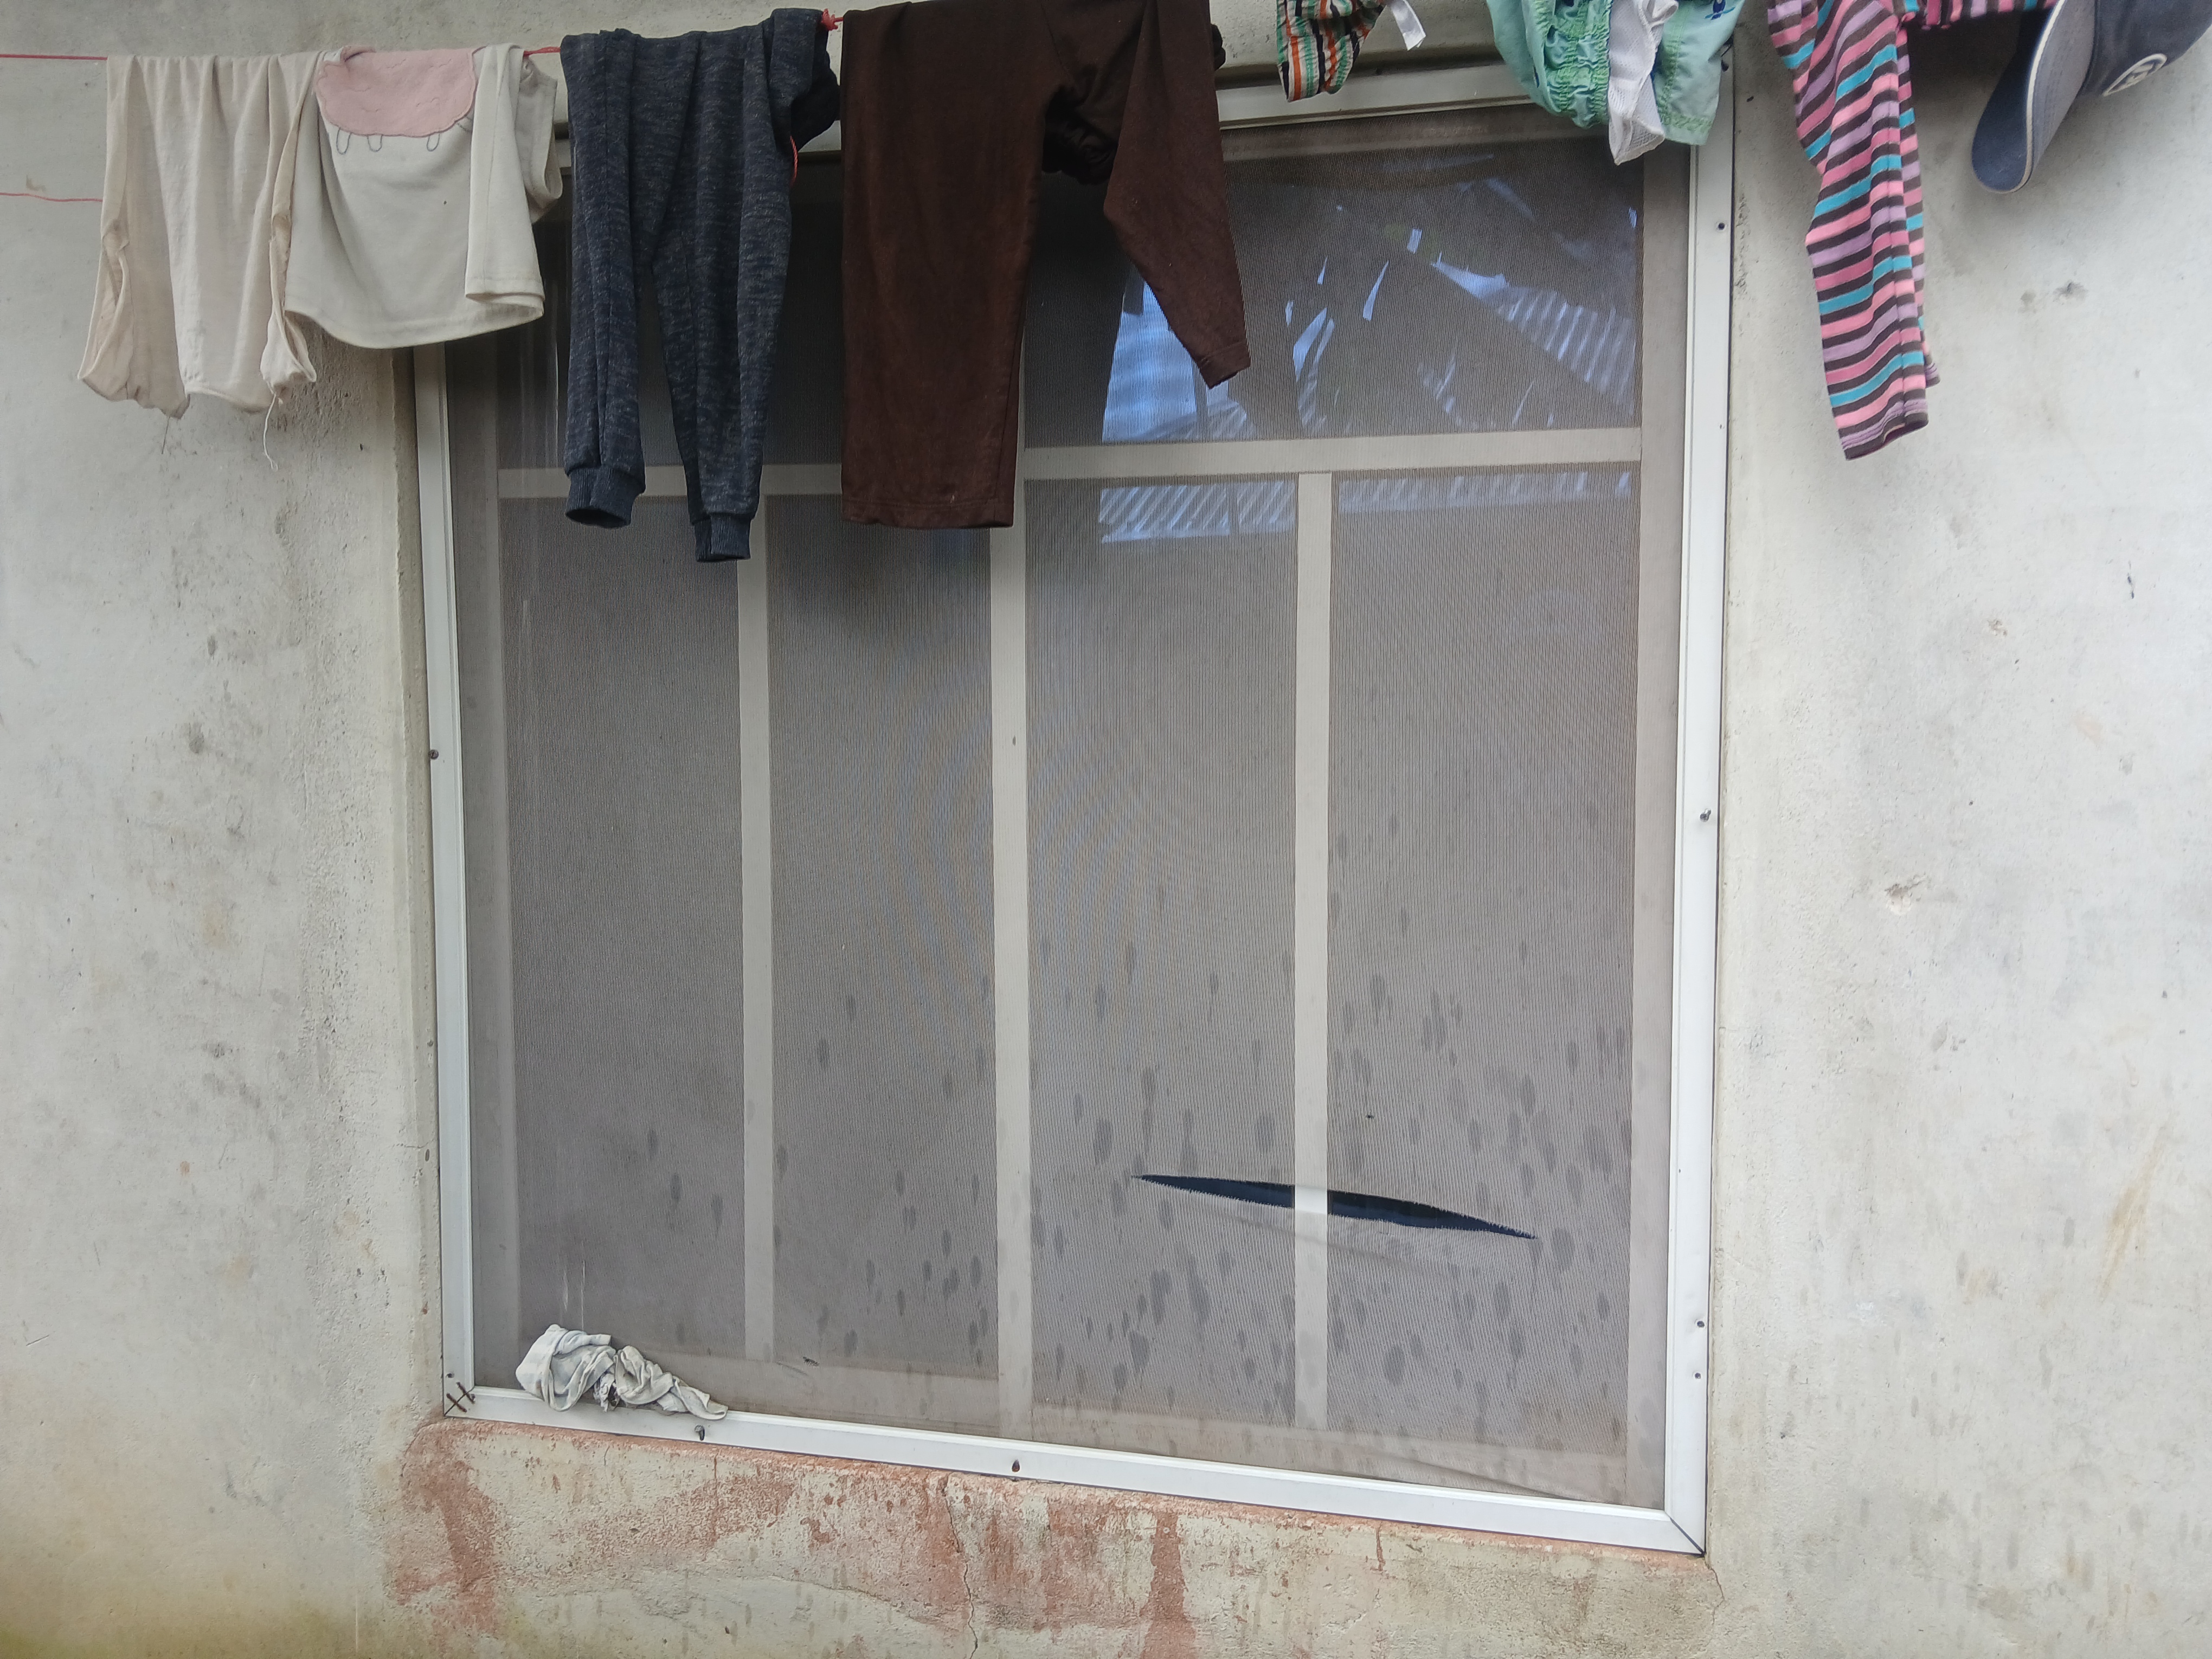
It’s easy to see the net was torn at one end and the frame was falling off the other, creating openings that let bugs in. Because of that, the glass on those windows was always kept locked. Keeping it locked stopped bugs, but it also kept fresh air from coming into the house.
Locally we call this bug screen a “mosquito net” because mosquitoes are the main reason we install them. Without this screen, you’d need a can of insect spray and have to sleep with all screenless windows closed. An average can of insecticide aerosol is ₦2,500 — that’s about 48 Steem at the current exchange rate.
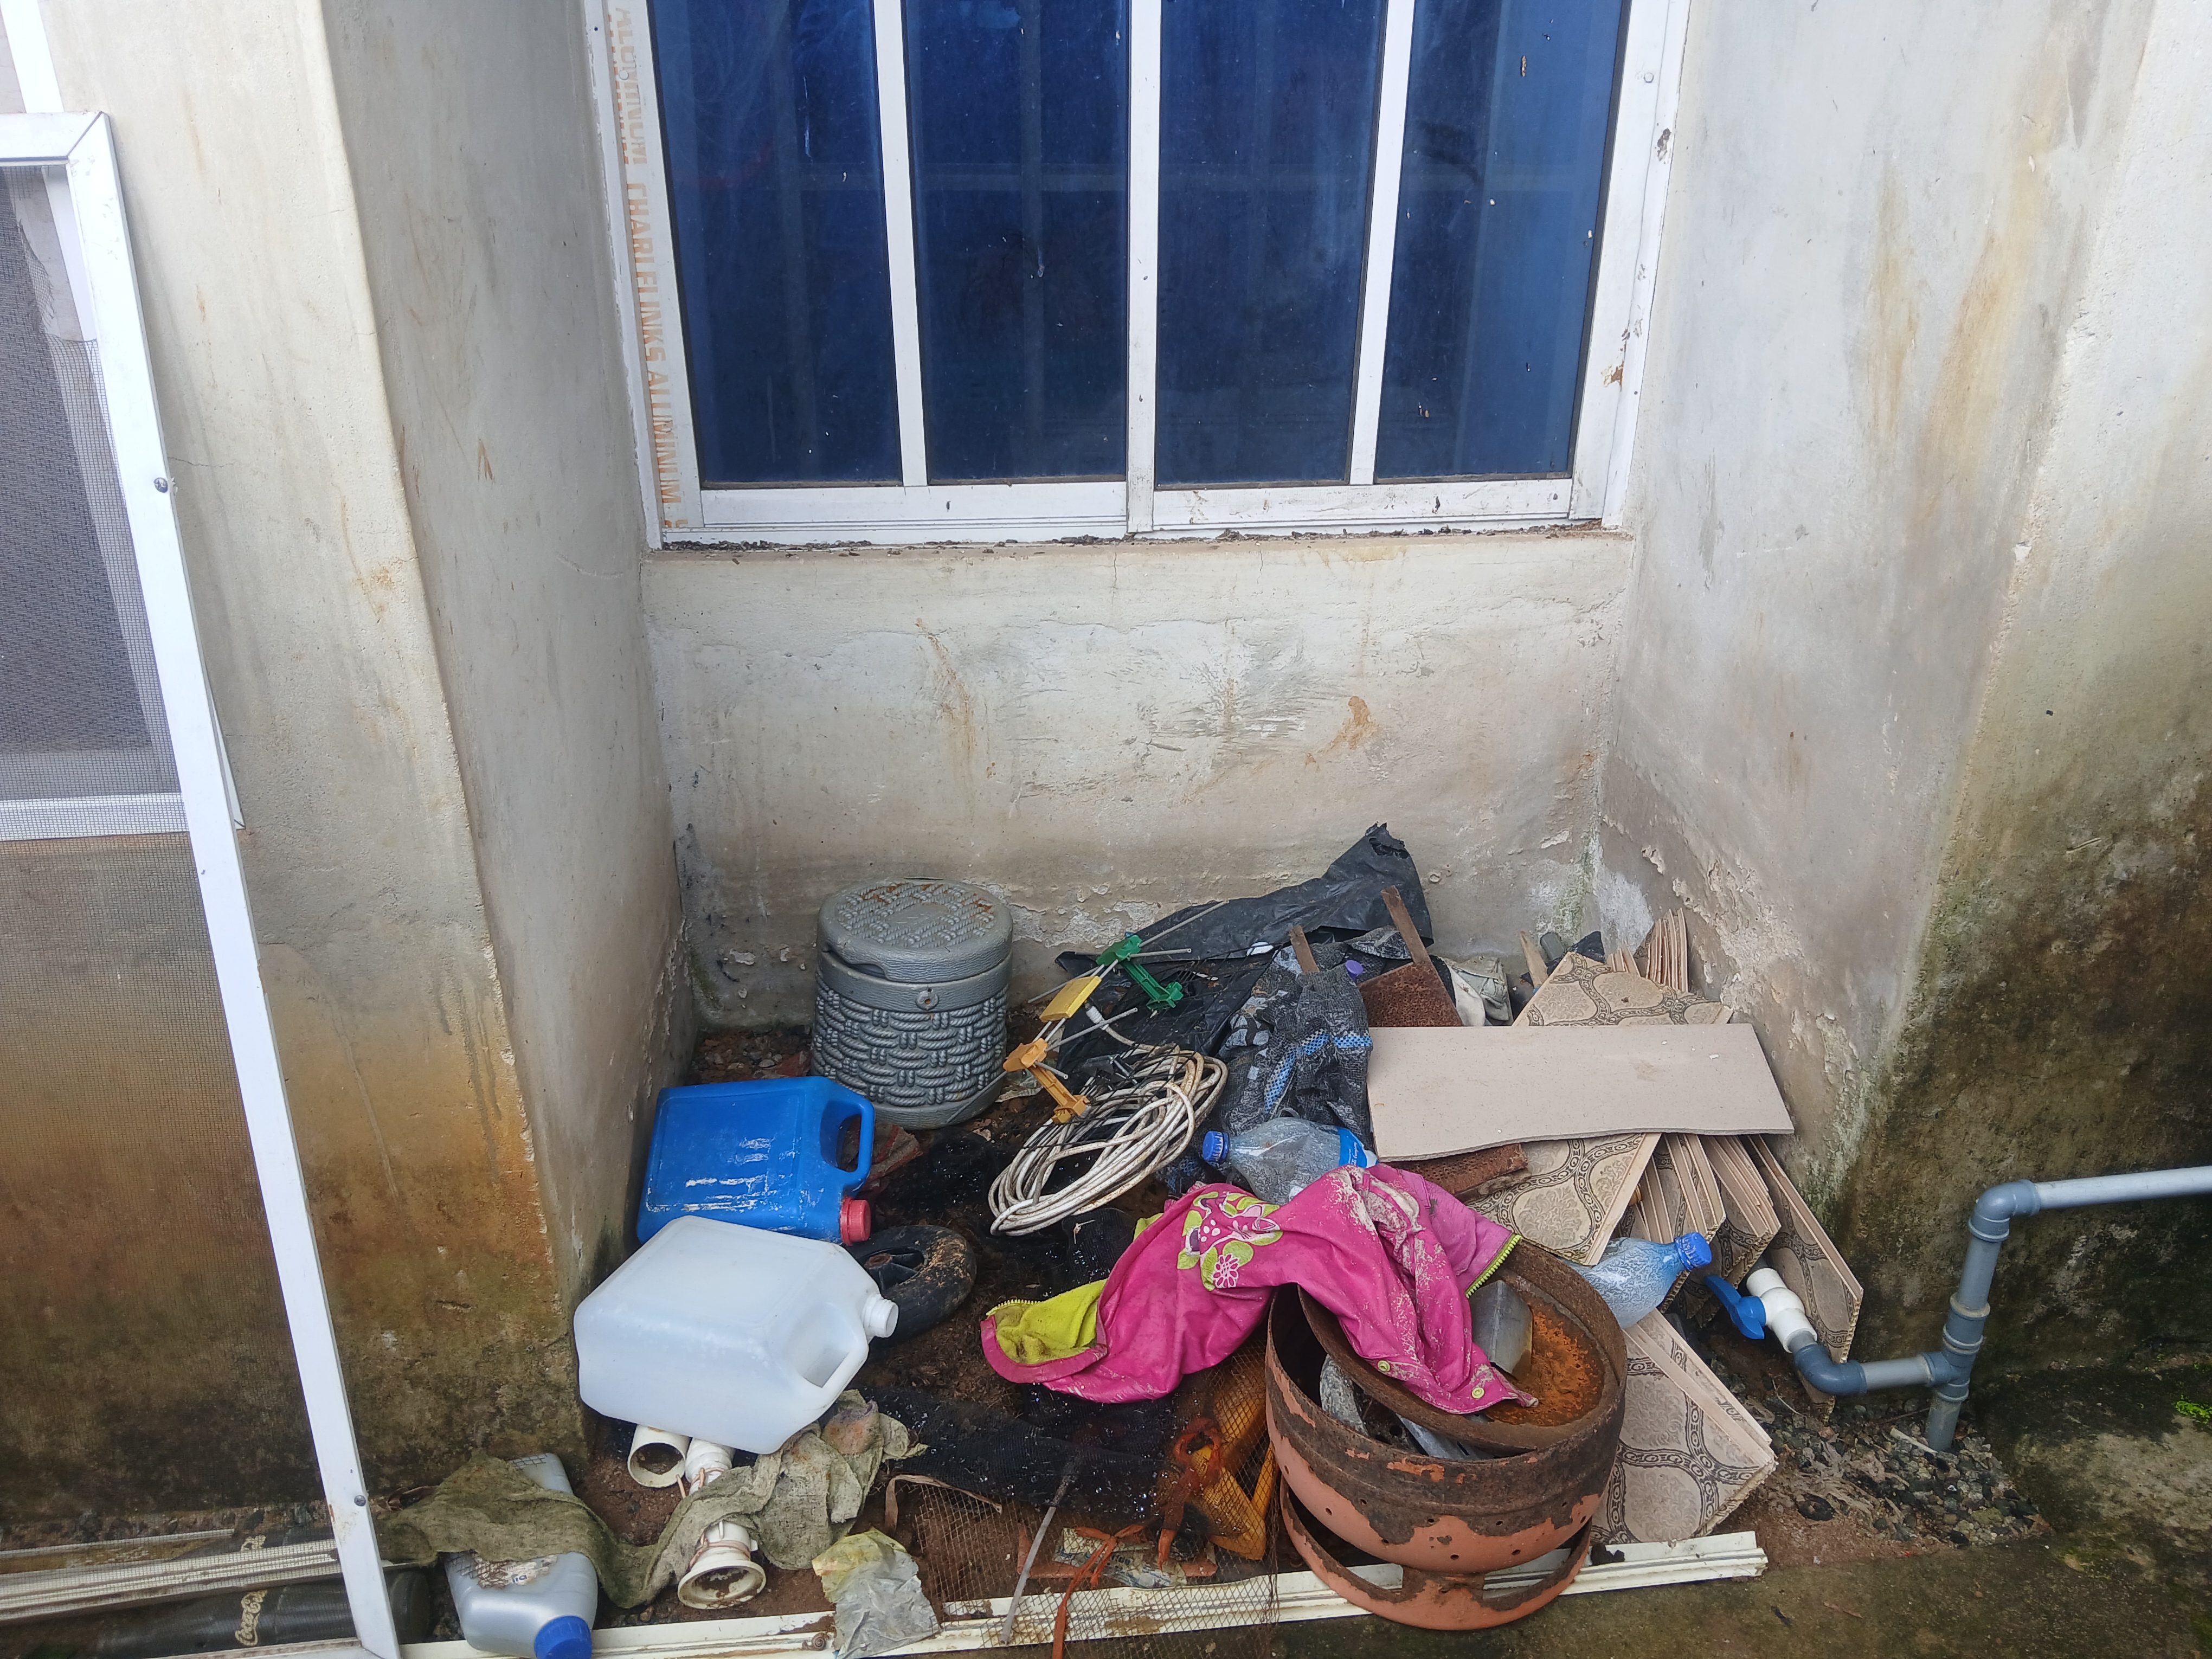
I decided to use this opportunity to clean up the area and restore it to its original look. It took a little over one hour to evaluate and transform this small space into a nice corner.
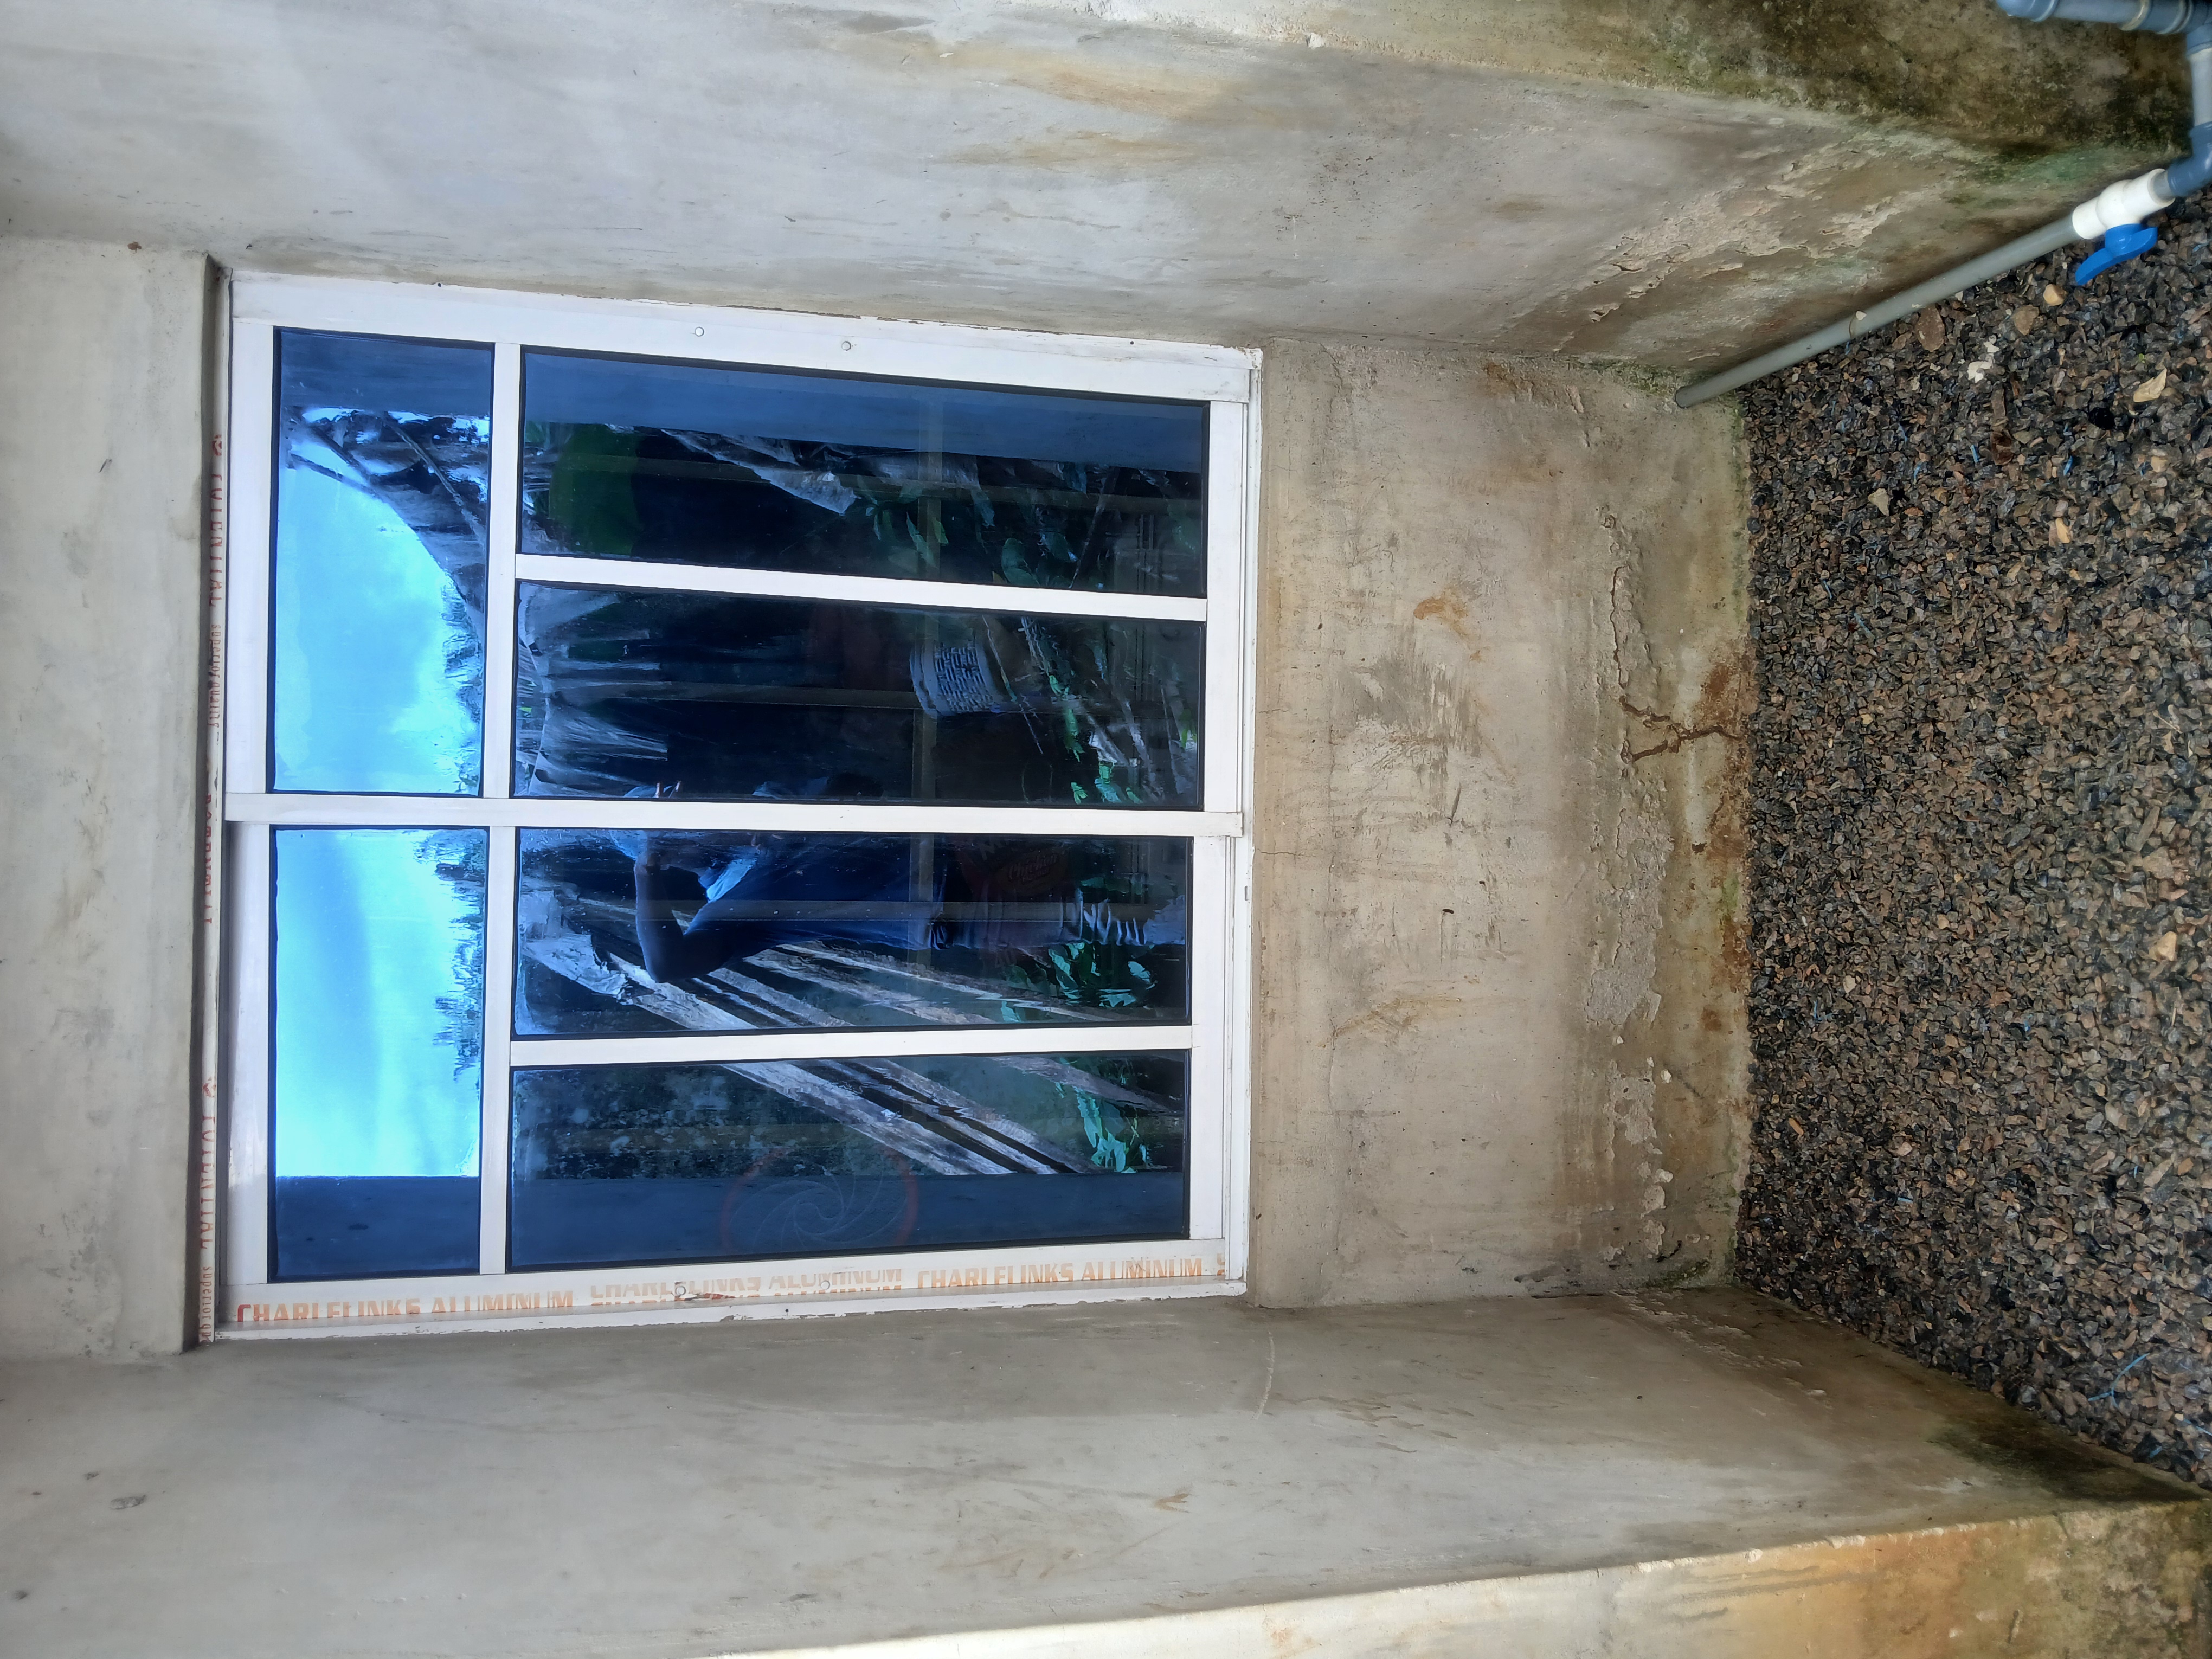
I didn’t have to buy anything because I still had a spool of leftover bug screen from last year. On inspection, it was still in excellent condition. I also had leftover screws — a little more than a dozen. I plan to reuse the screws that are currently holding the screen. I’ll probably only need one or two extra.
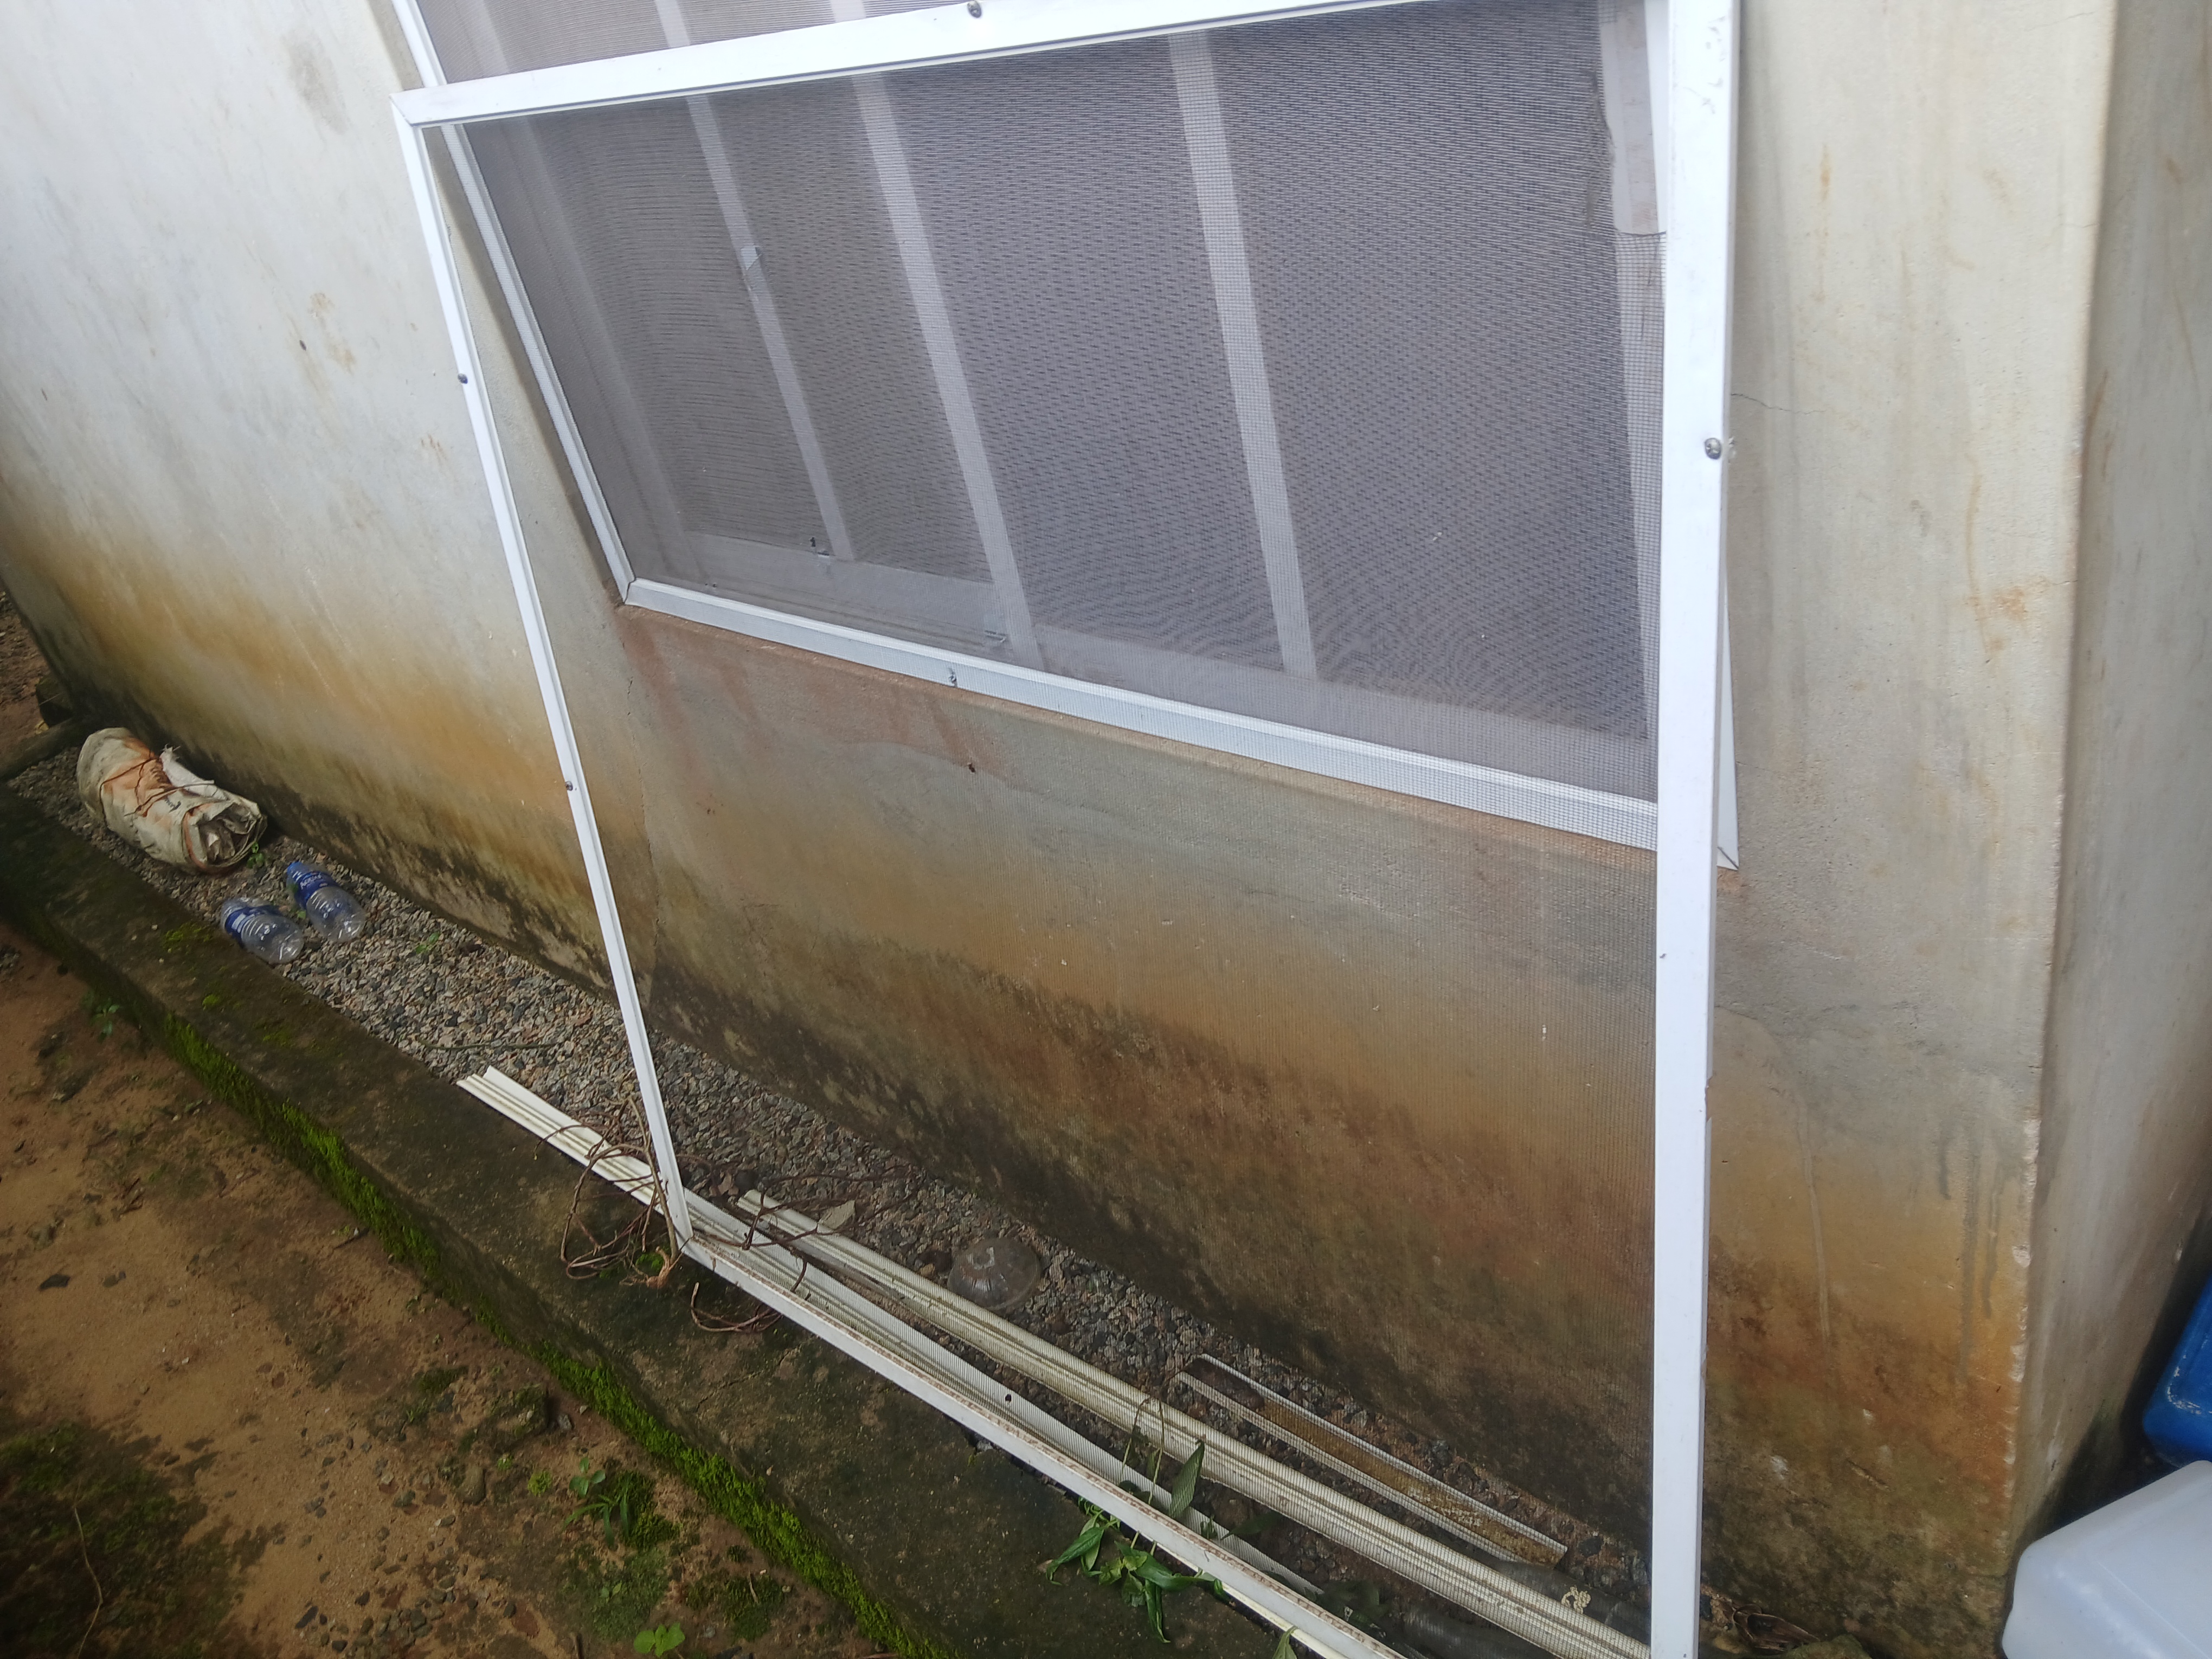
First I had to unscrew the frame holding the bug screen. I needed some space and a level floor to remove the old net and fit in the new one.
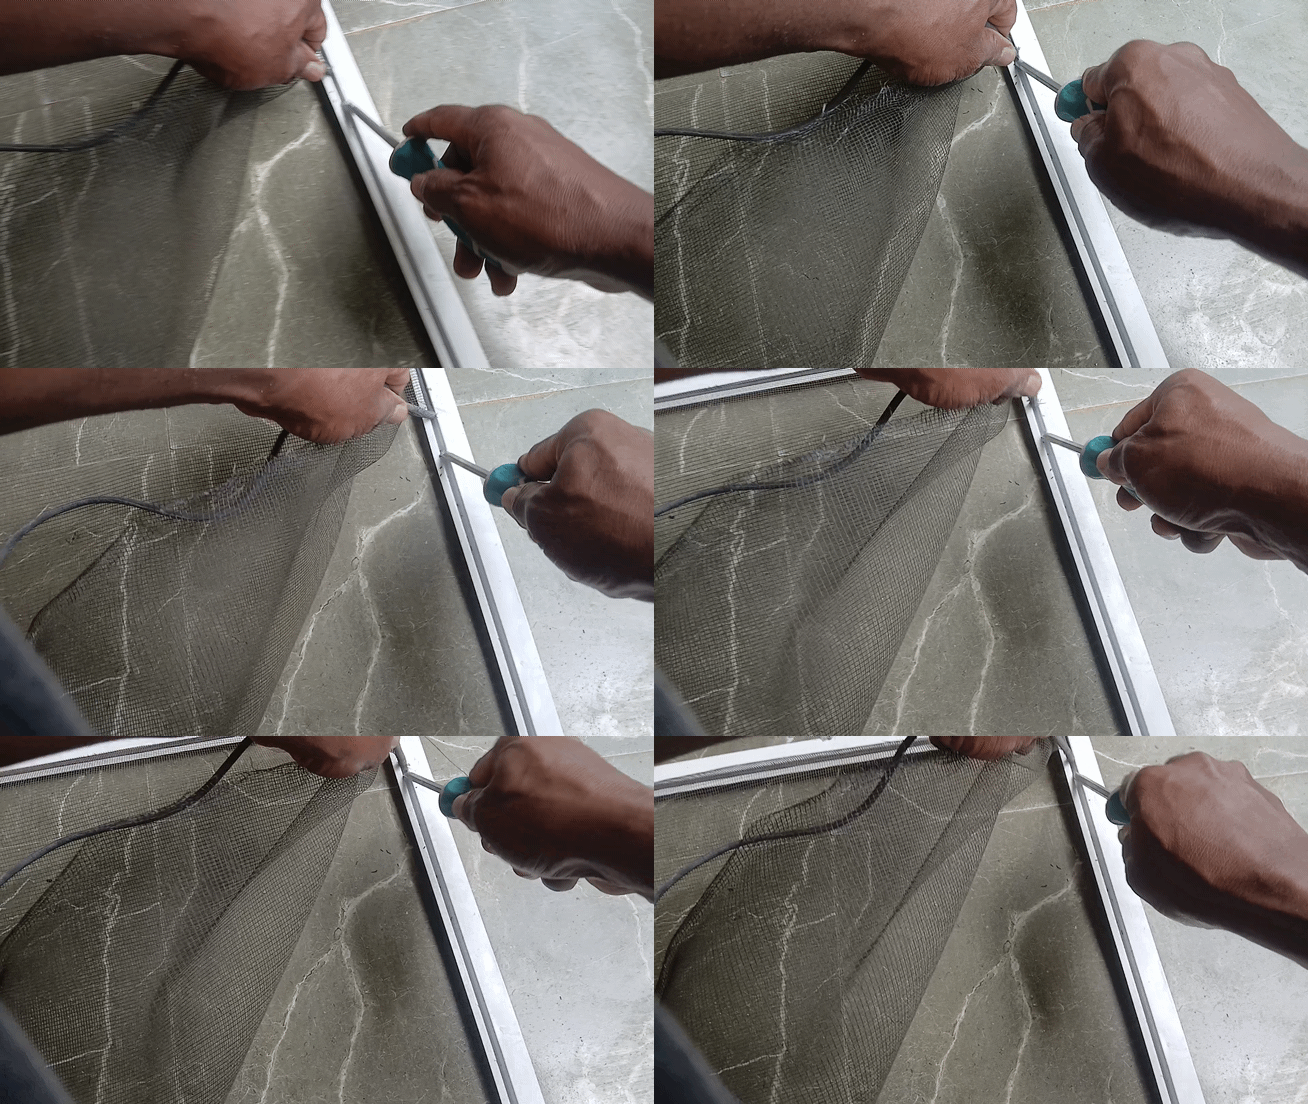
The net was attached to the frame with soft rubber pressed into the groove around the edge. The rubber was soft and had to be removed carefully. I used a screwdriver to expand the grooves and pull the rubber and net out. Since I wasn’t buying anything, I planned to reuse the rubber too.
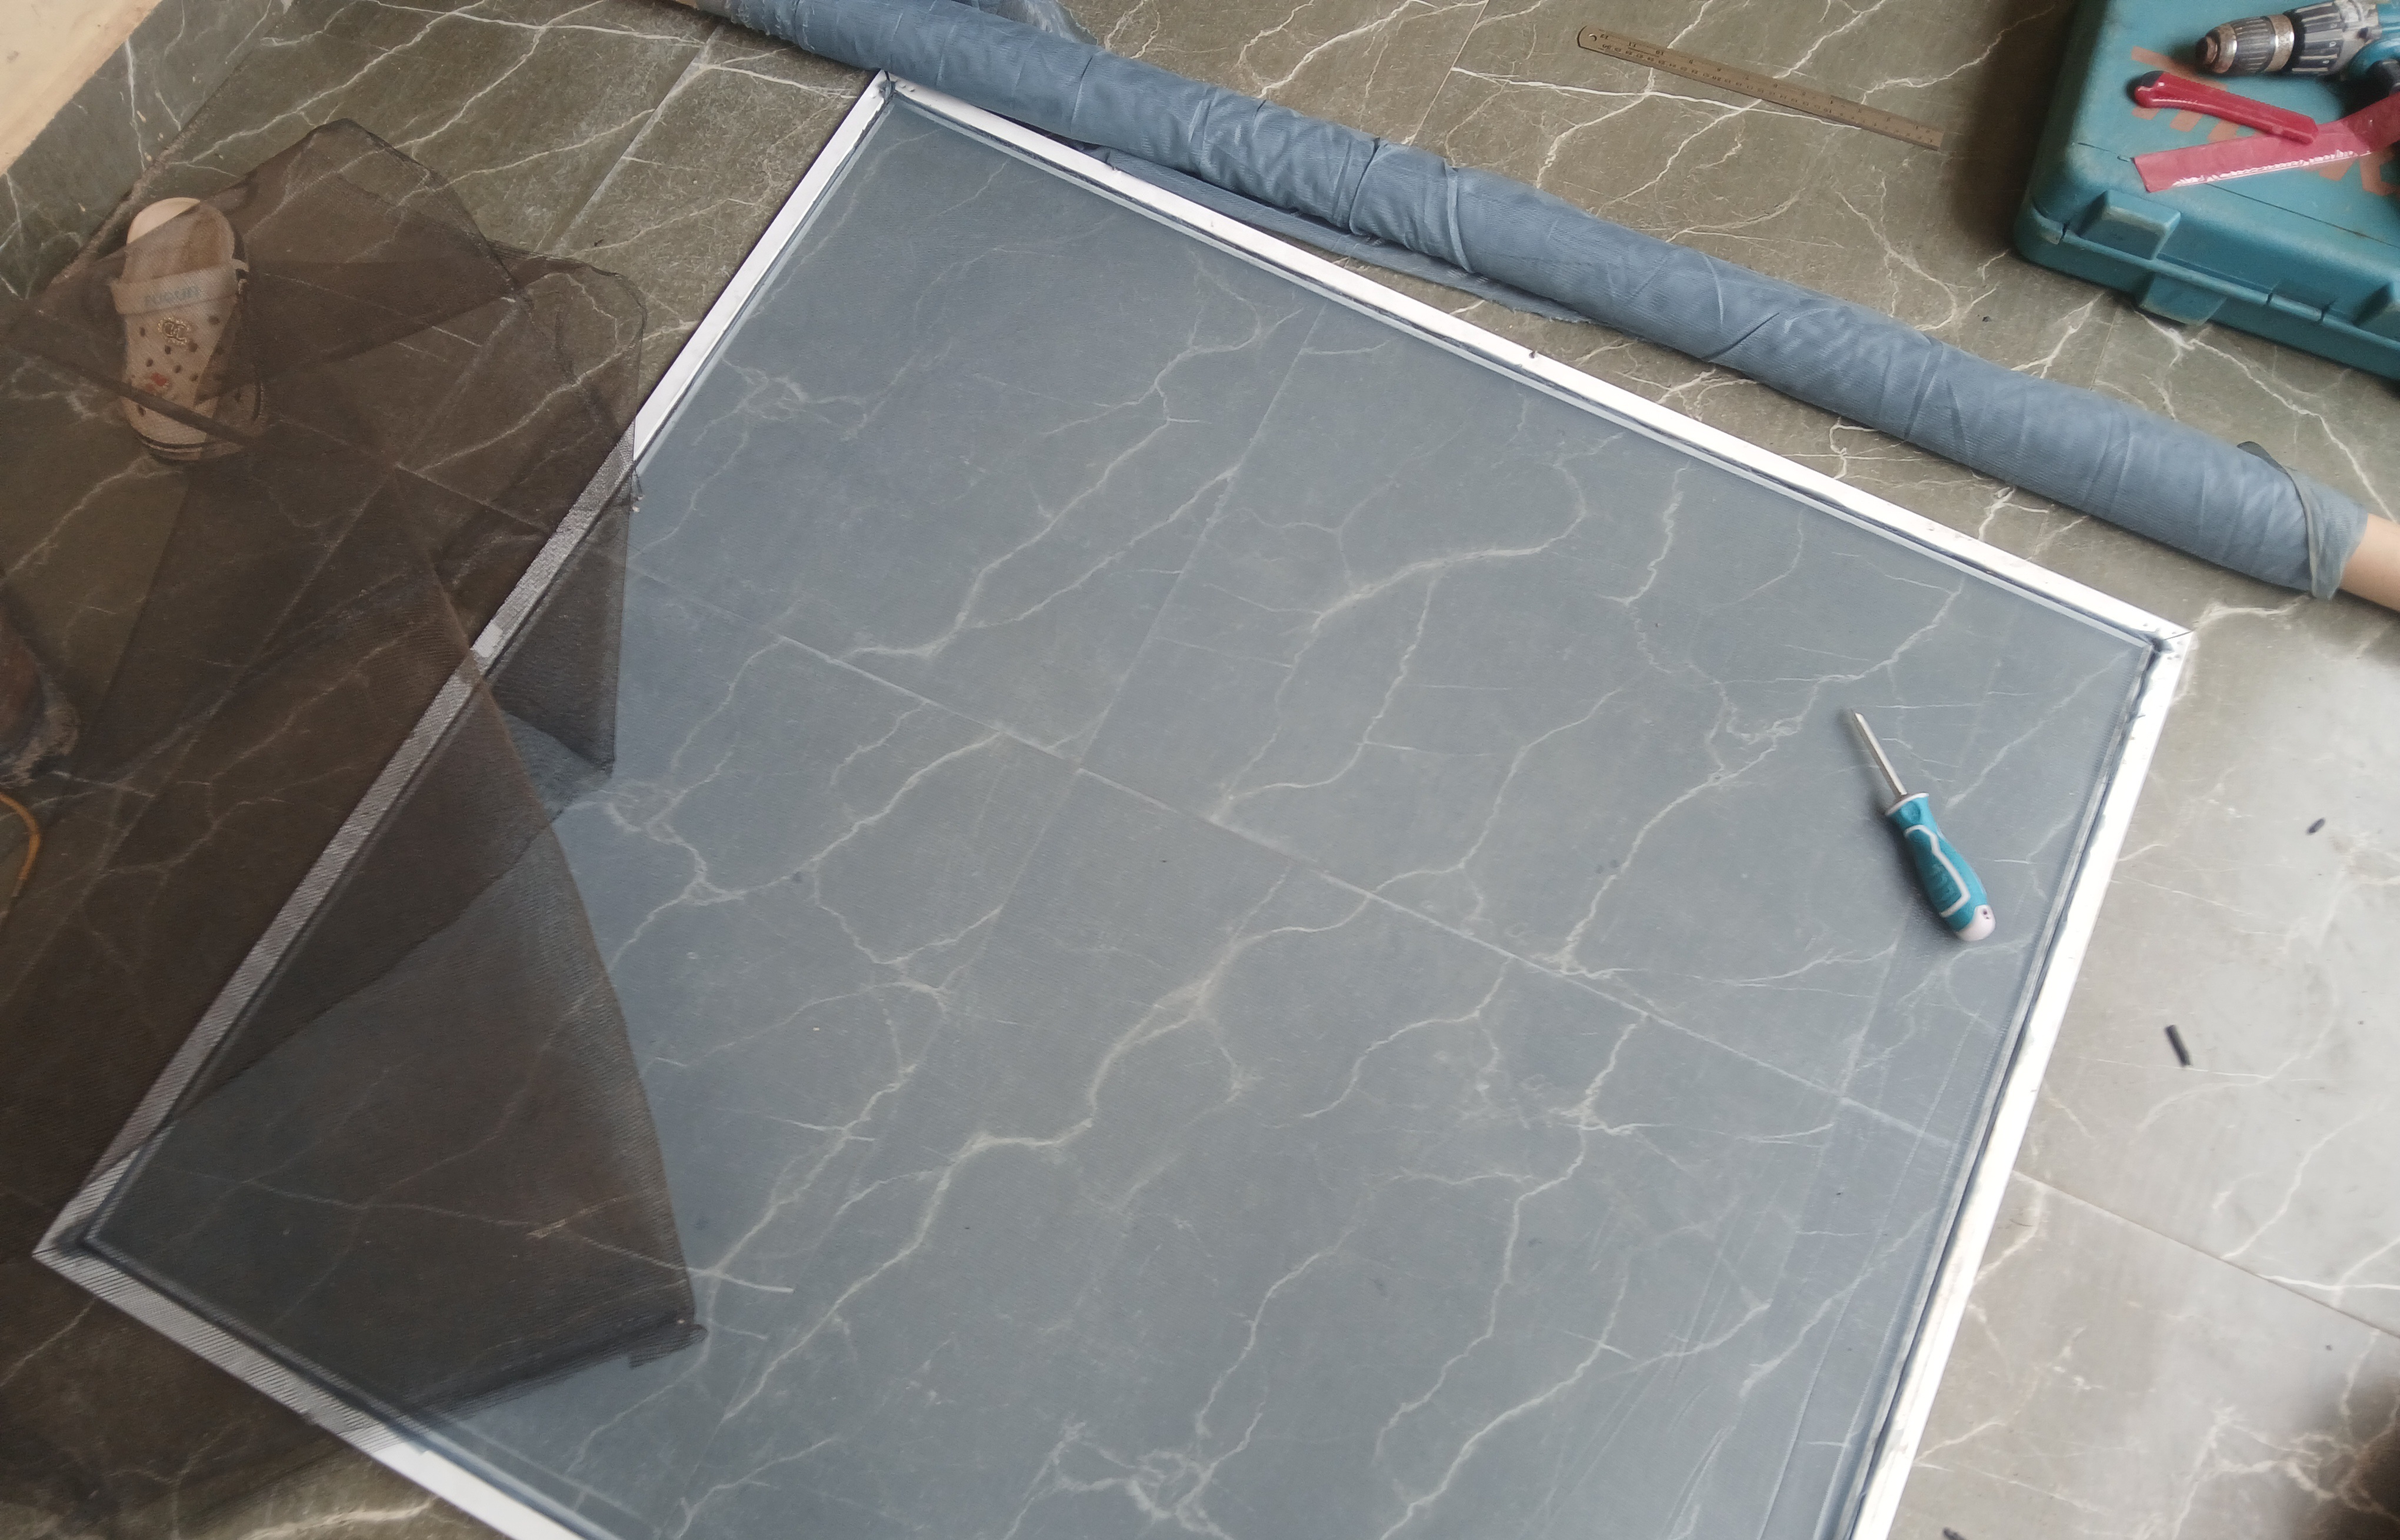
After removing the torn net, it was time to lay the new one. To avoid sagging, I stretched the net over the frame and smoothed out all the wrinkles. At this point, it was beginning to look good.
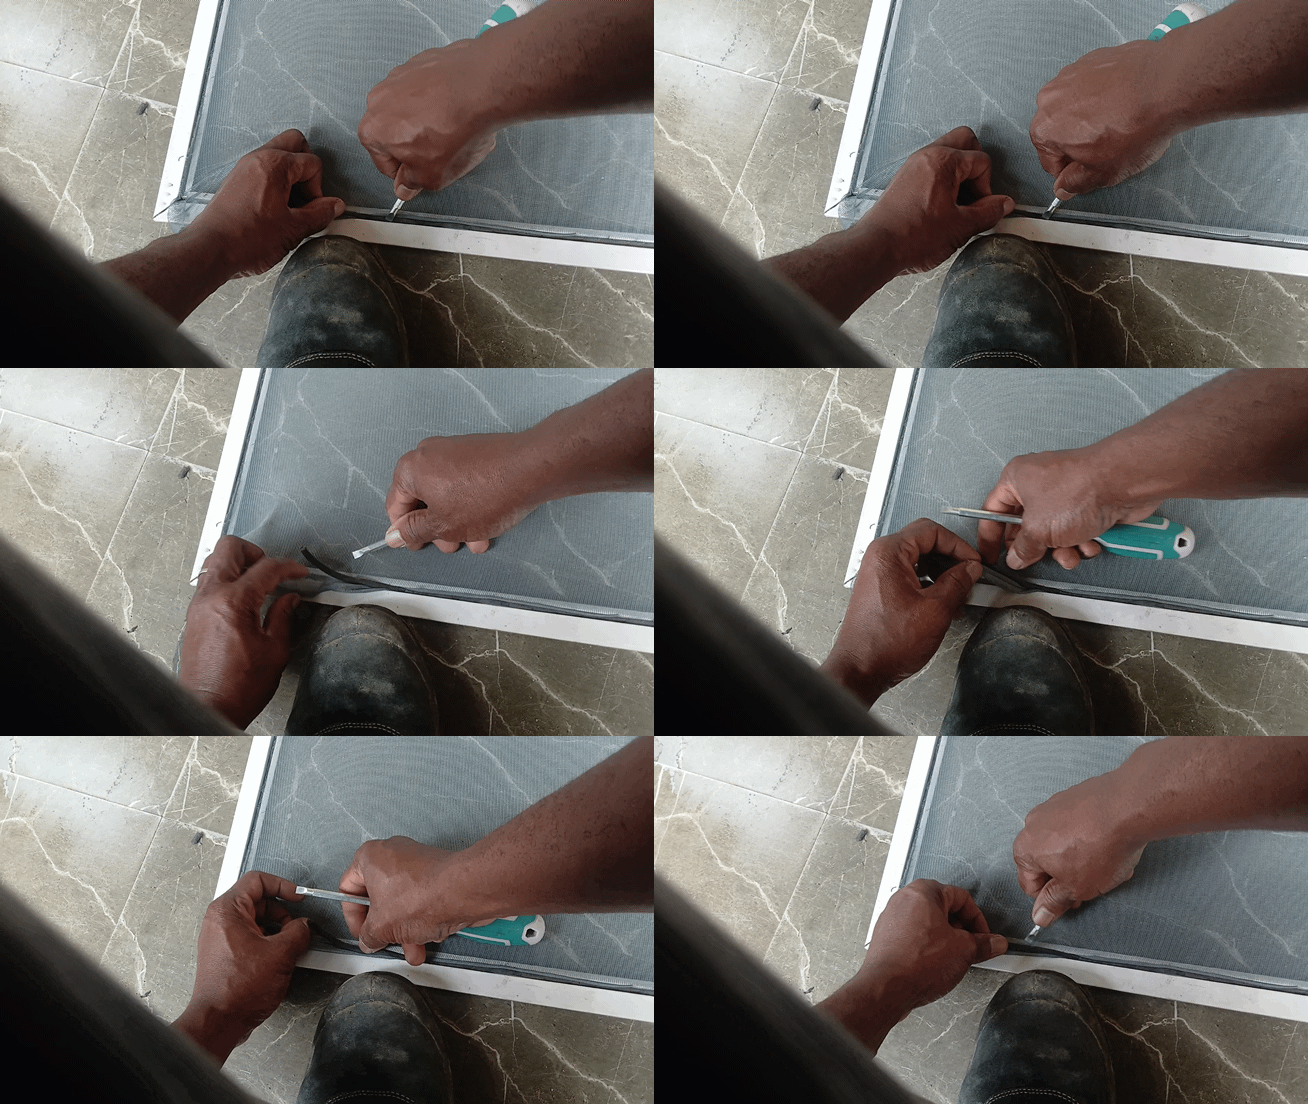
After trimming off the excess, I had a smooth net on the frame, ready for installation.
Time to mount it on the window. I placed the net in position. It took a little time to get the correct orientation. Pro tip: mark the frame so you know which side faces up and out before you start screwing.
Using the screw function on my drill, I switched the rotation so it would drive in.
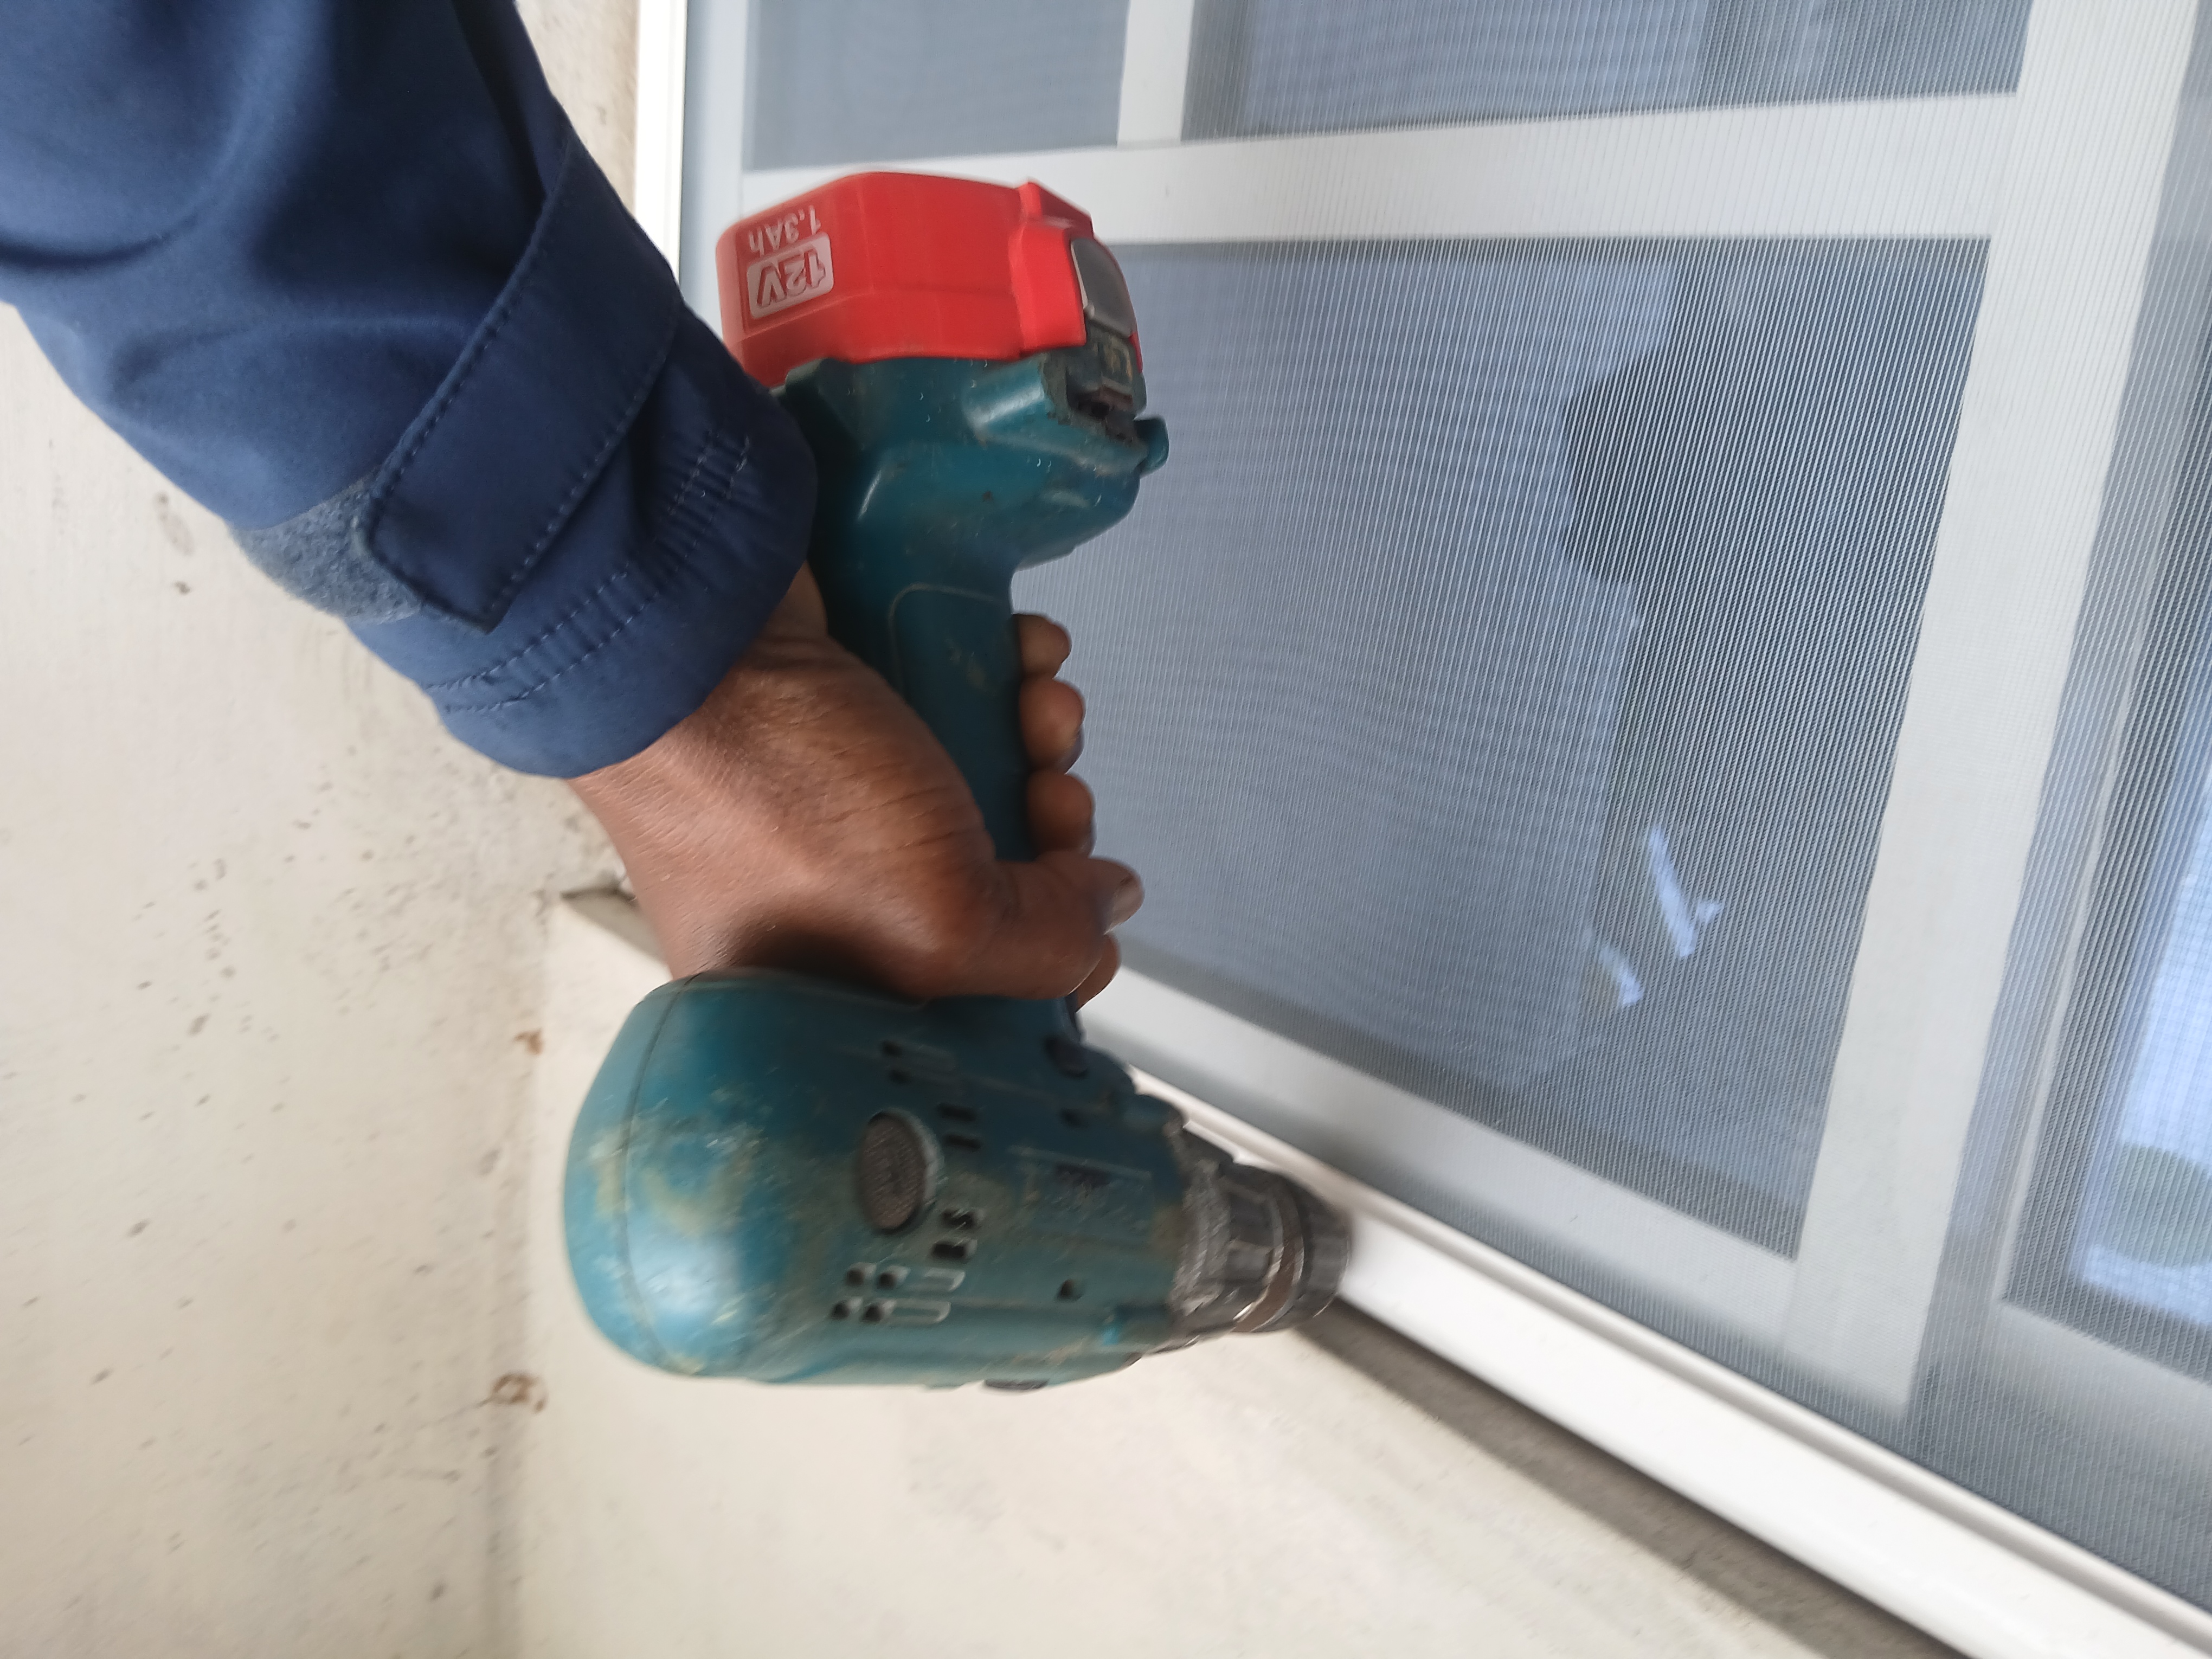
I made sure there was no gap between the net and the window. No space for anything to sneak in, so I closed all gaps. And just like that, the task was completed.
I stepped back, looked at it and noticed a faint smile escaping from the side of my face. I grinned and said to myself, "It's good."
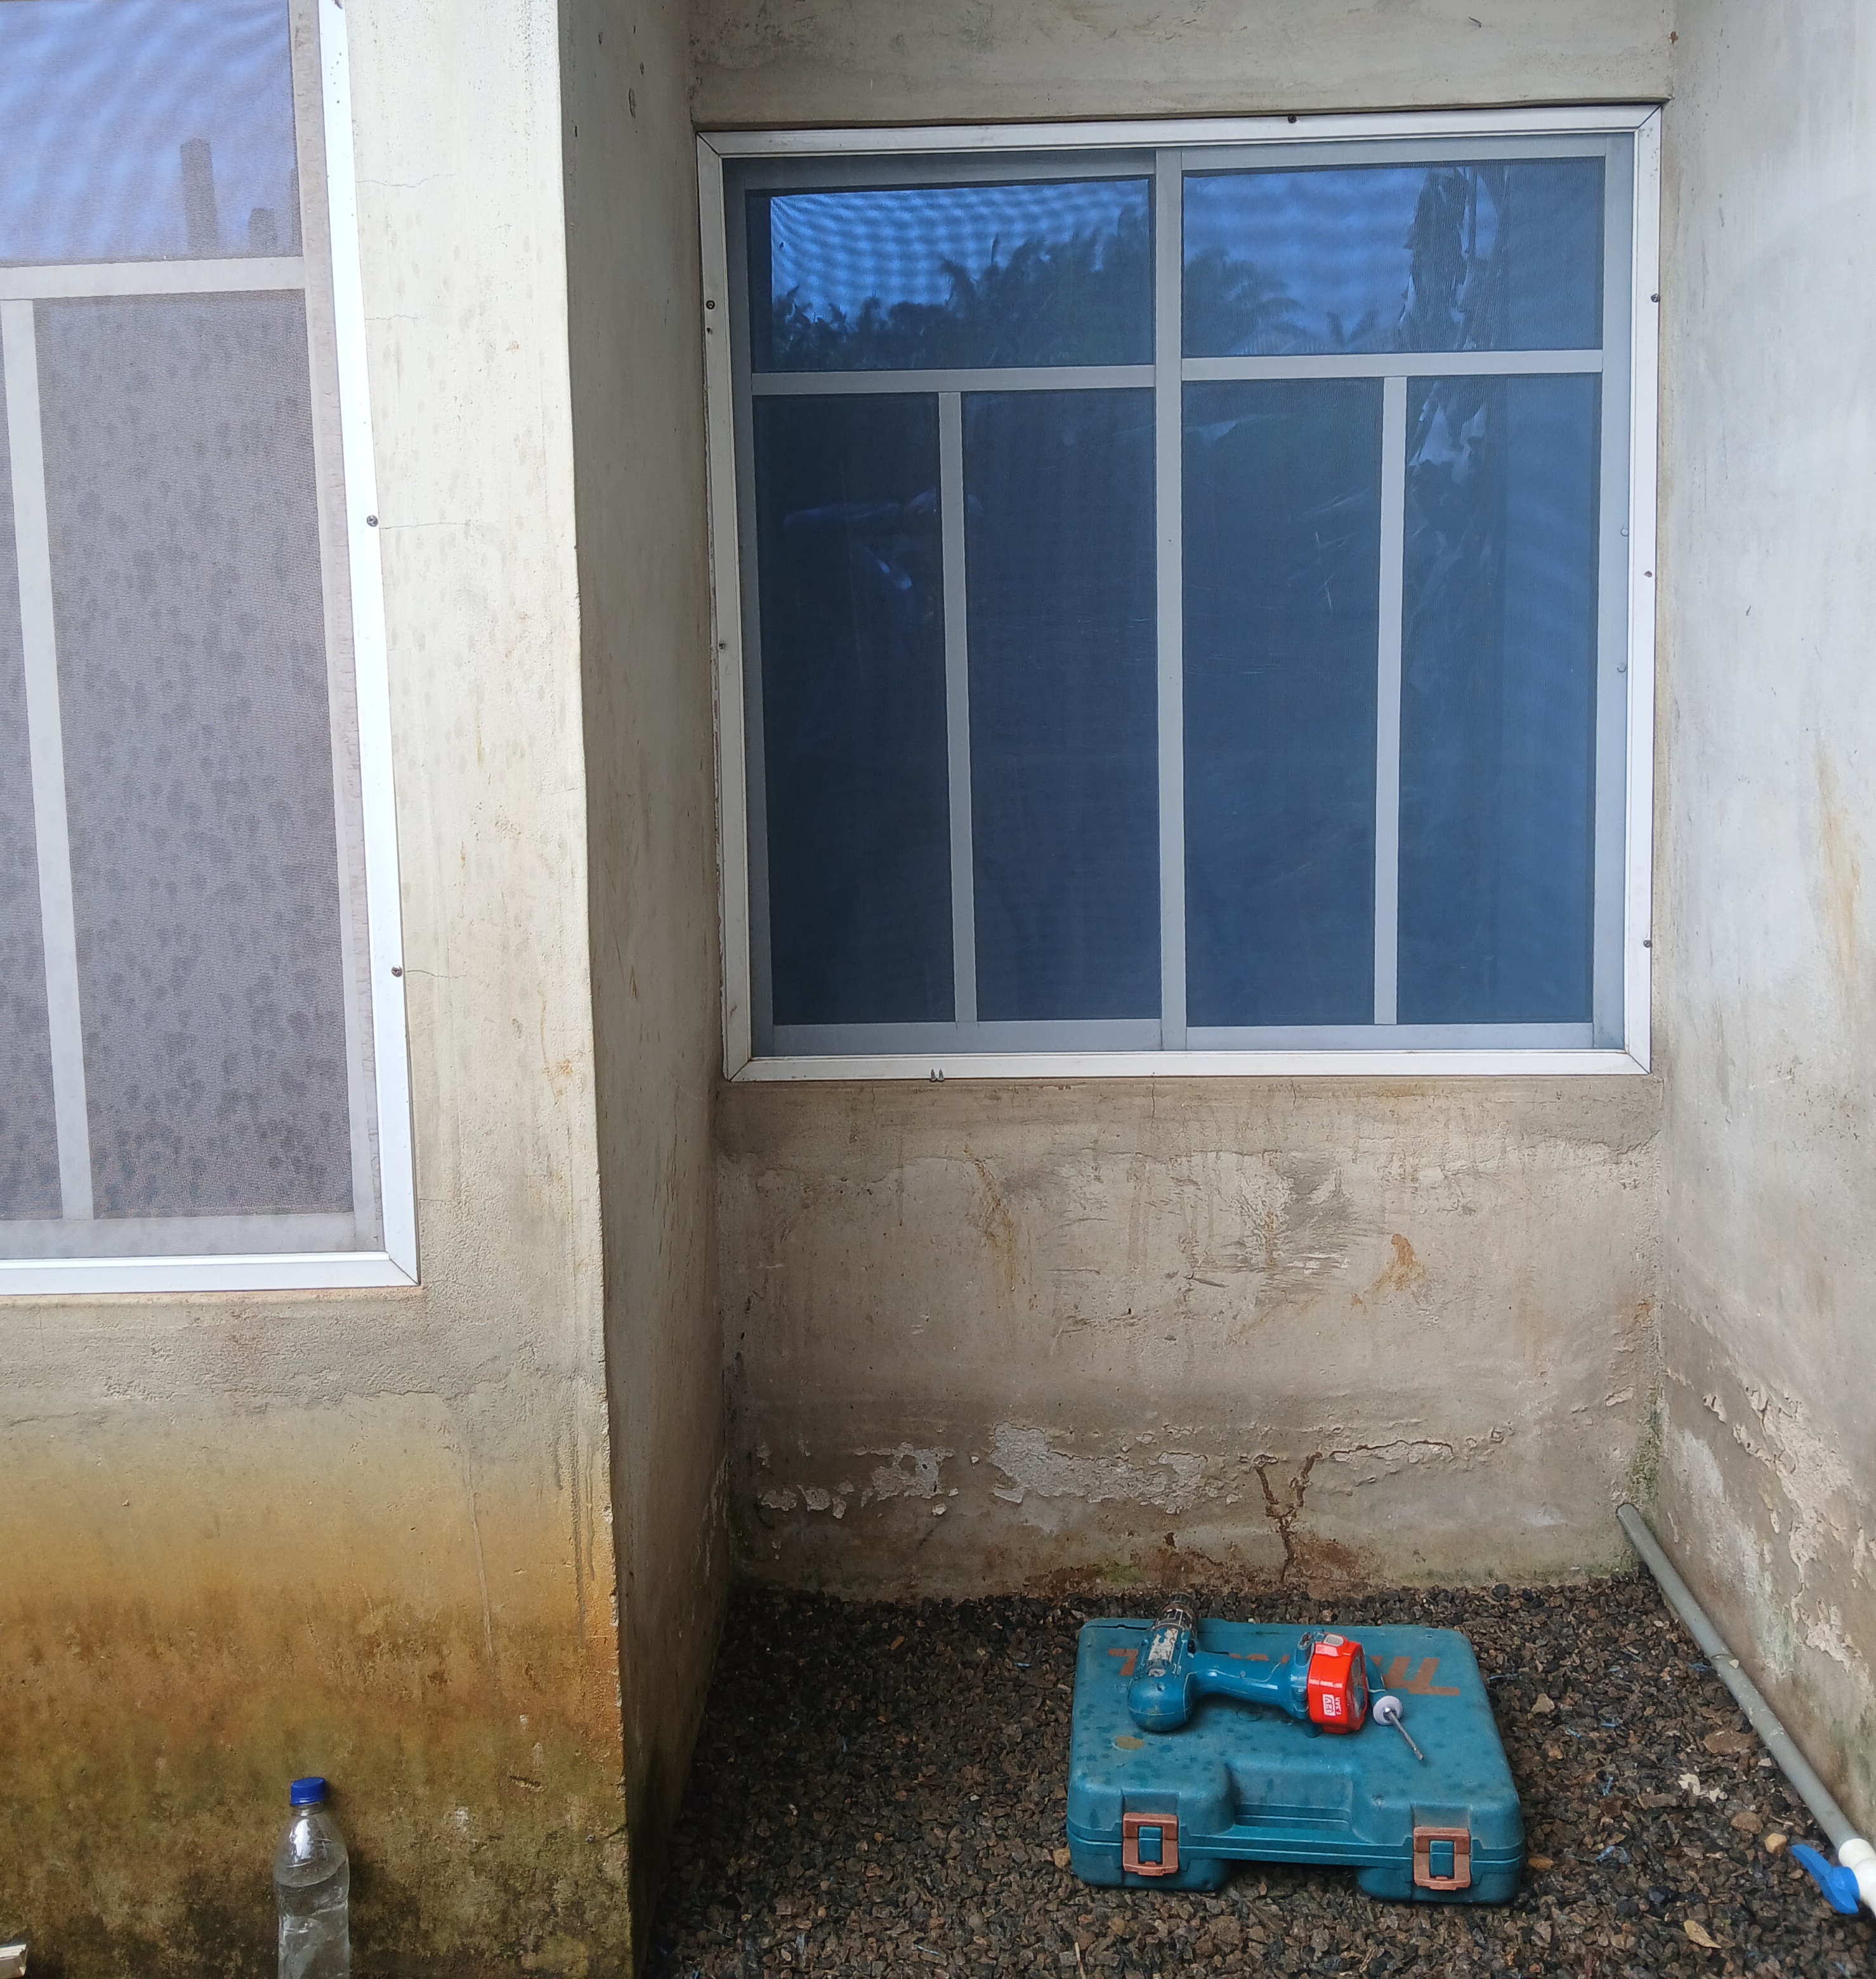
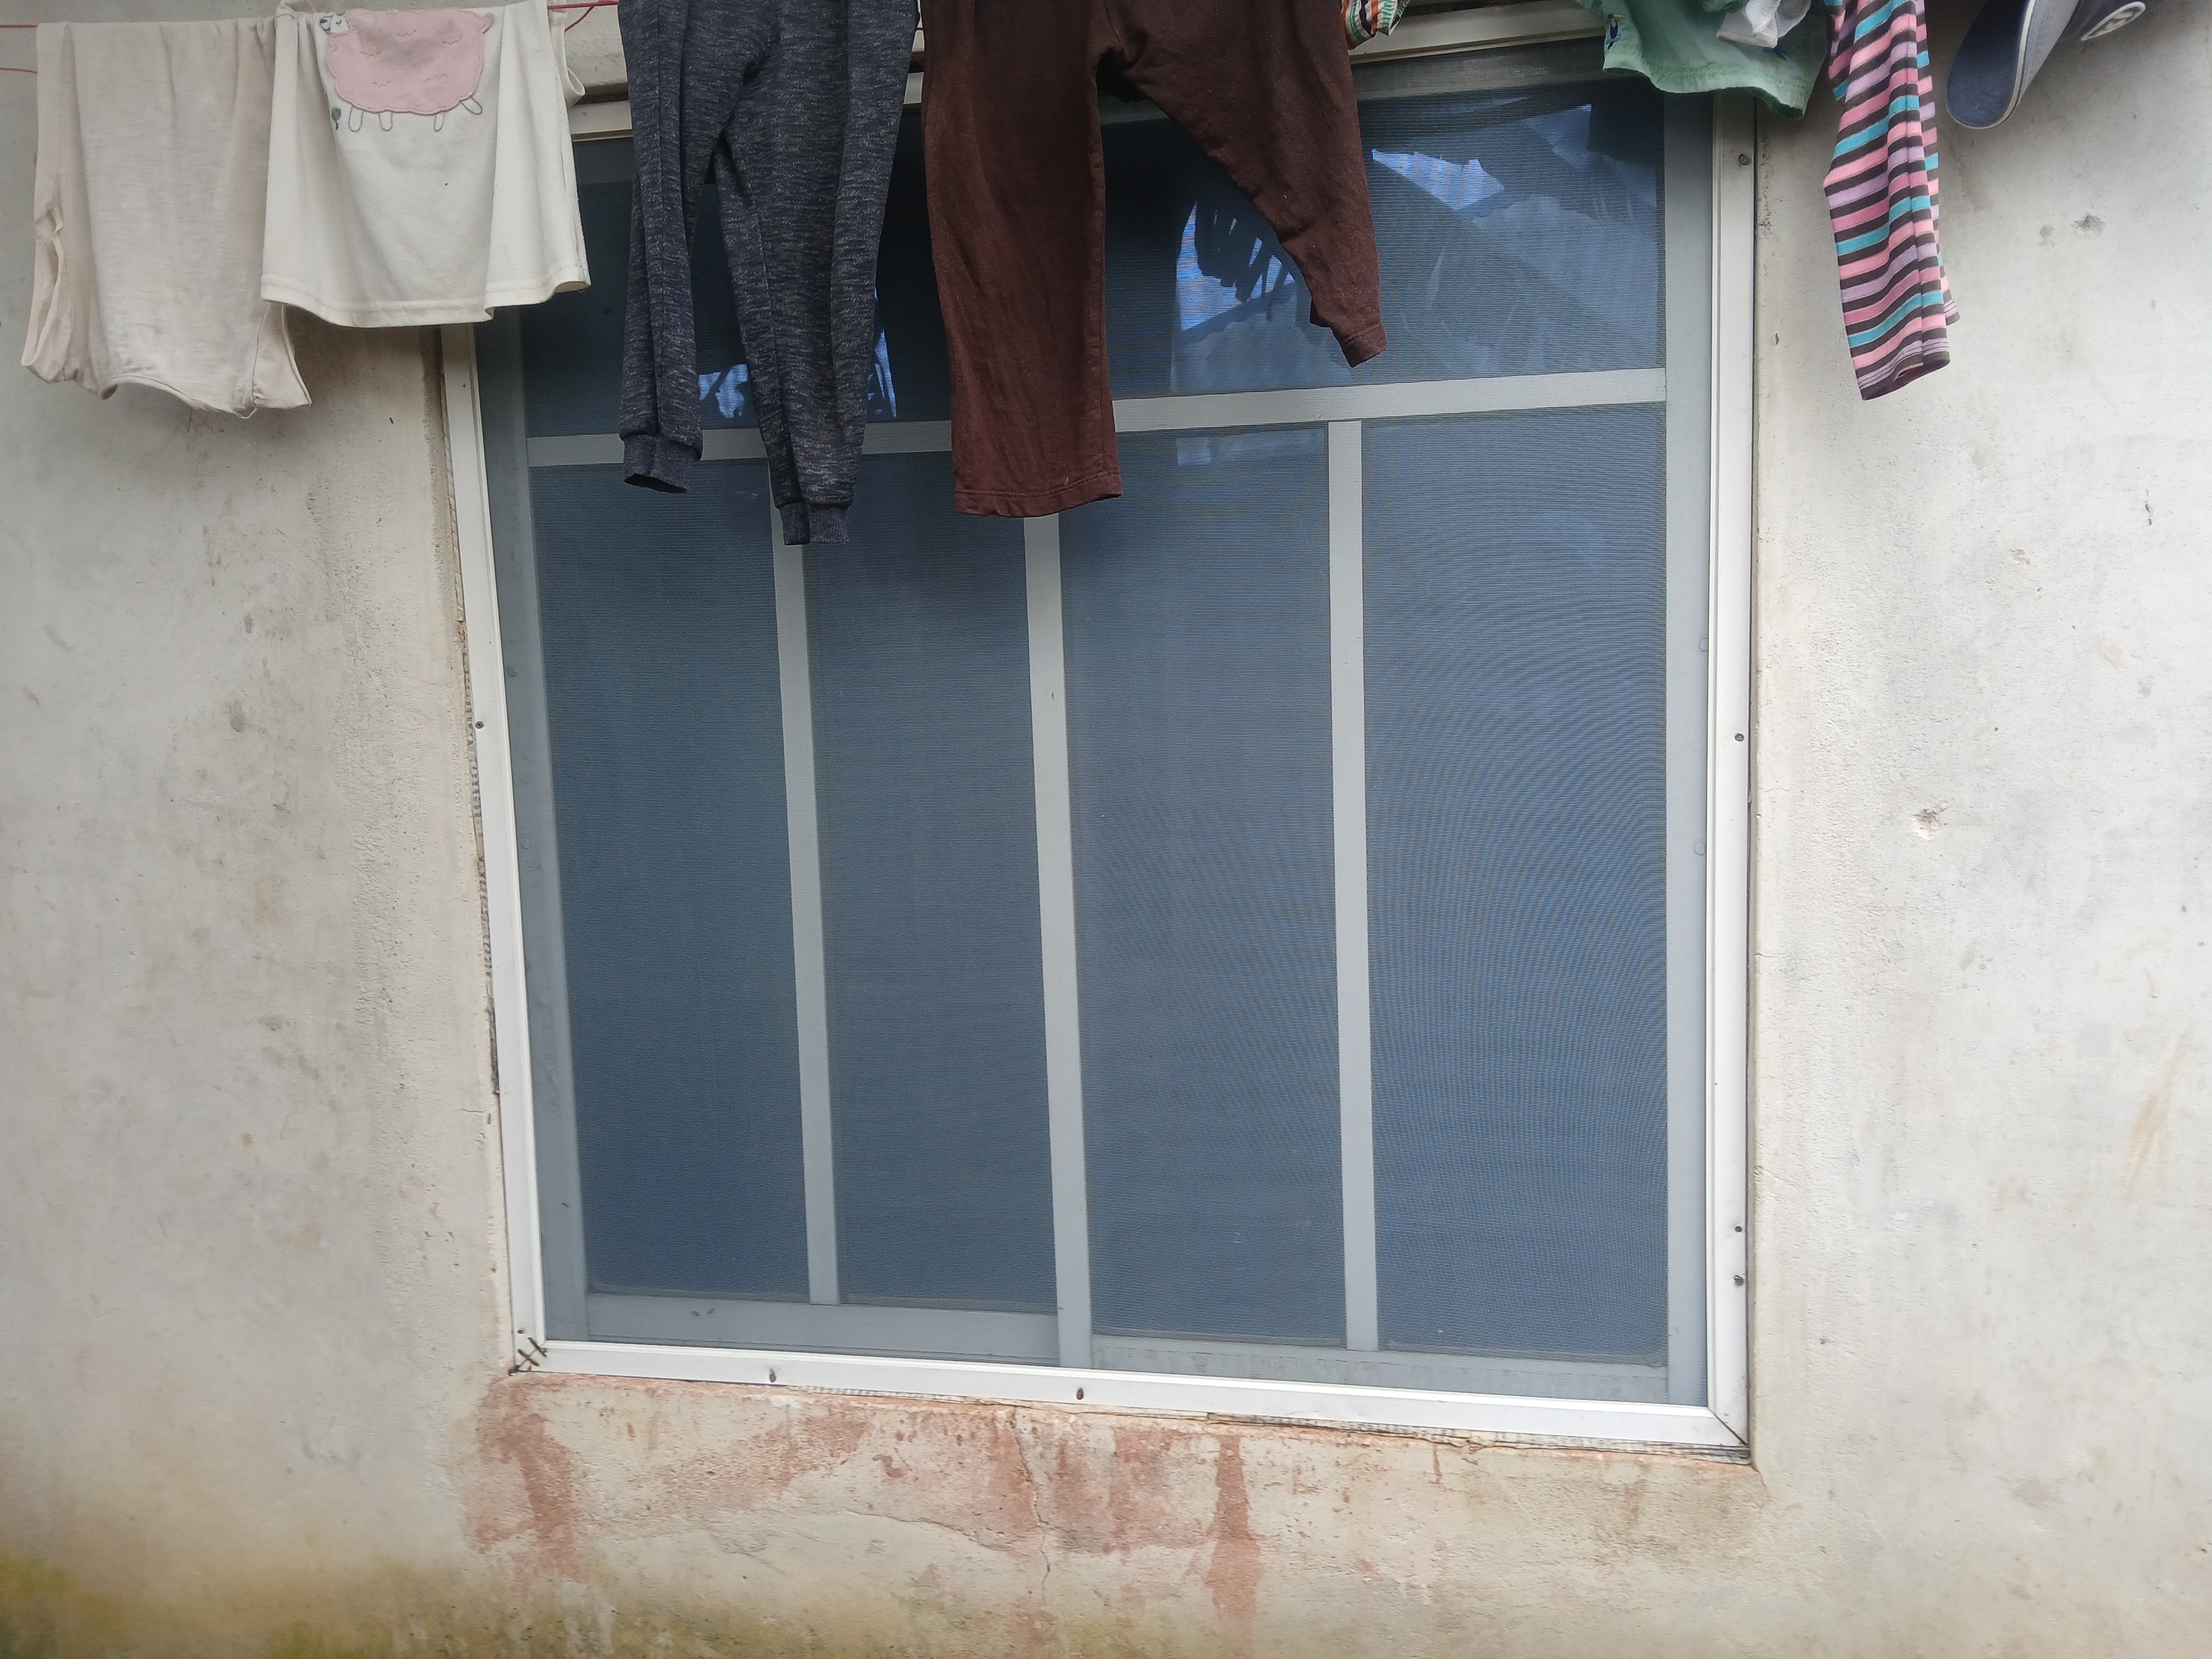
I did the same for the window in my kids’ room. Below is the before and after:
 |  |
|---|
Some skills will always stop funds from leaking out of your pocket. On a normal day, I’d be bargaining with a handyman, trying to shave something off ₦10,000 — about 193 Steem at the current rate — for labour and materials.

I’d love to hear what you think about the presentation and the finished work.
@bossj23 @okere-blessing @dequeen @josepha
Credits |
|---|
| Composer | @manuelhooks |
|---|---|
| Camera | GalaxyA15 |
| Date | Wednesday, July 29 2026 |
 Curated by: @kouba01