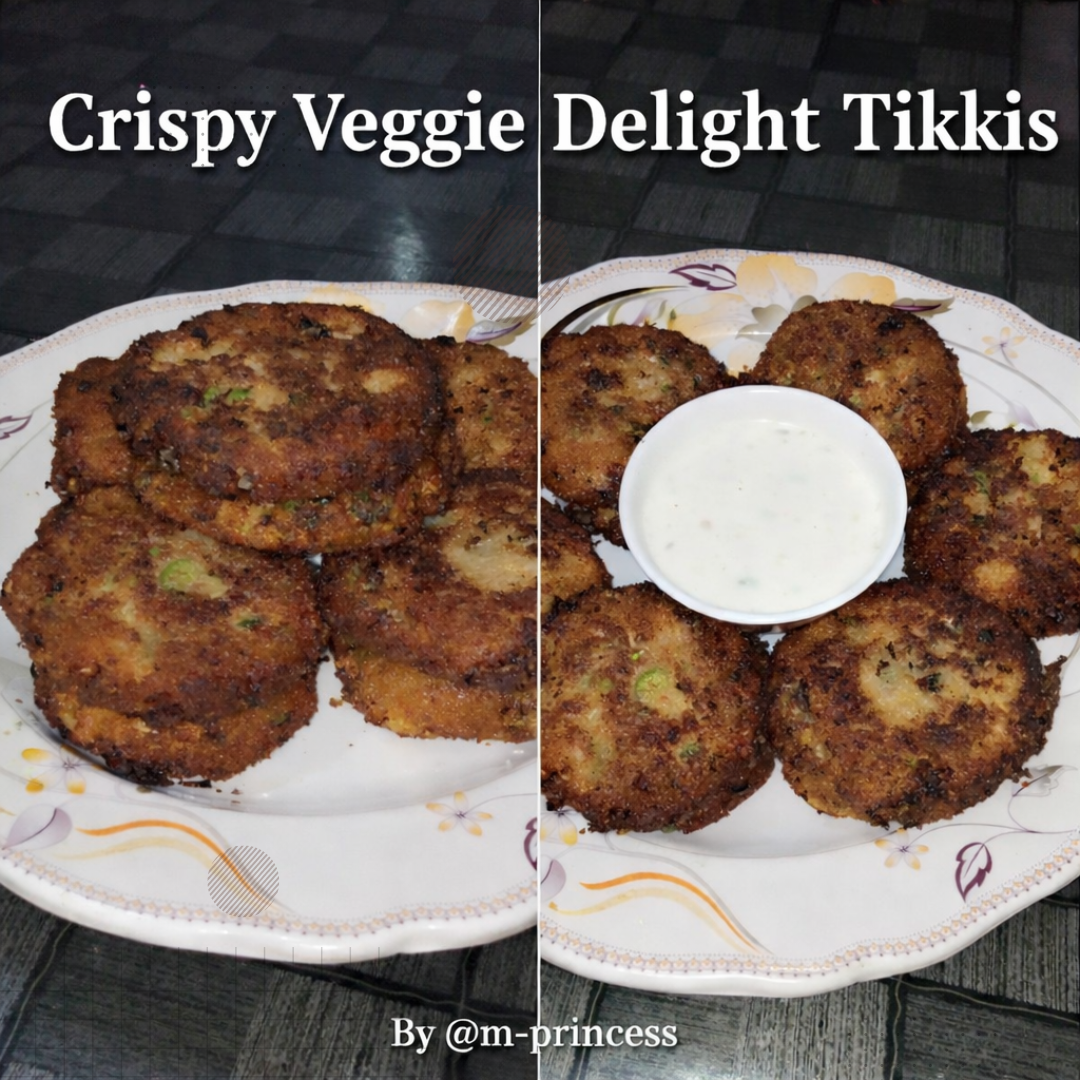
"Recipe of the Day, Week No. 106: (“Crispy Veggie Delight Tikkis”)"
💐In the name of Allah, the Most Gracious, the Most Merciful💐
Edited by Canva

Greatings to all Steemit iron-chef ! |
|---|
Hi to our vibrant community and supportive moderators |
|---|

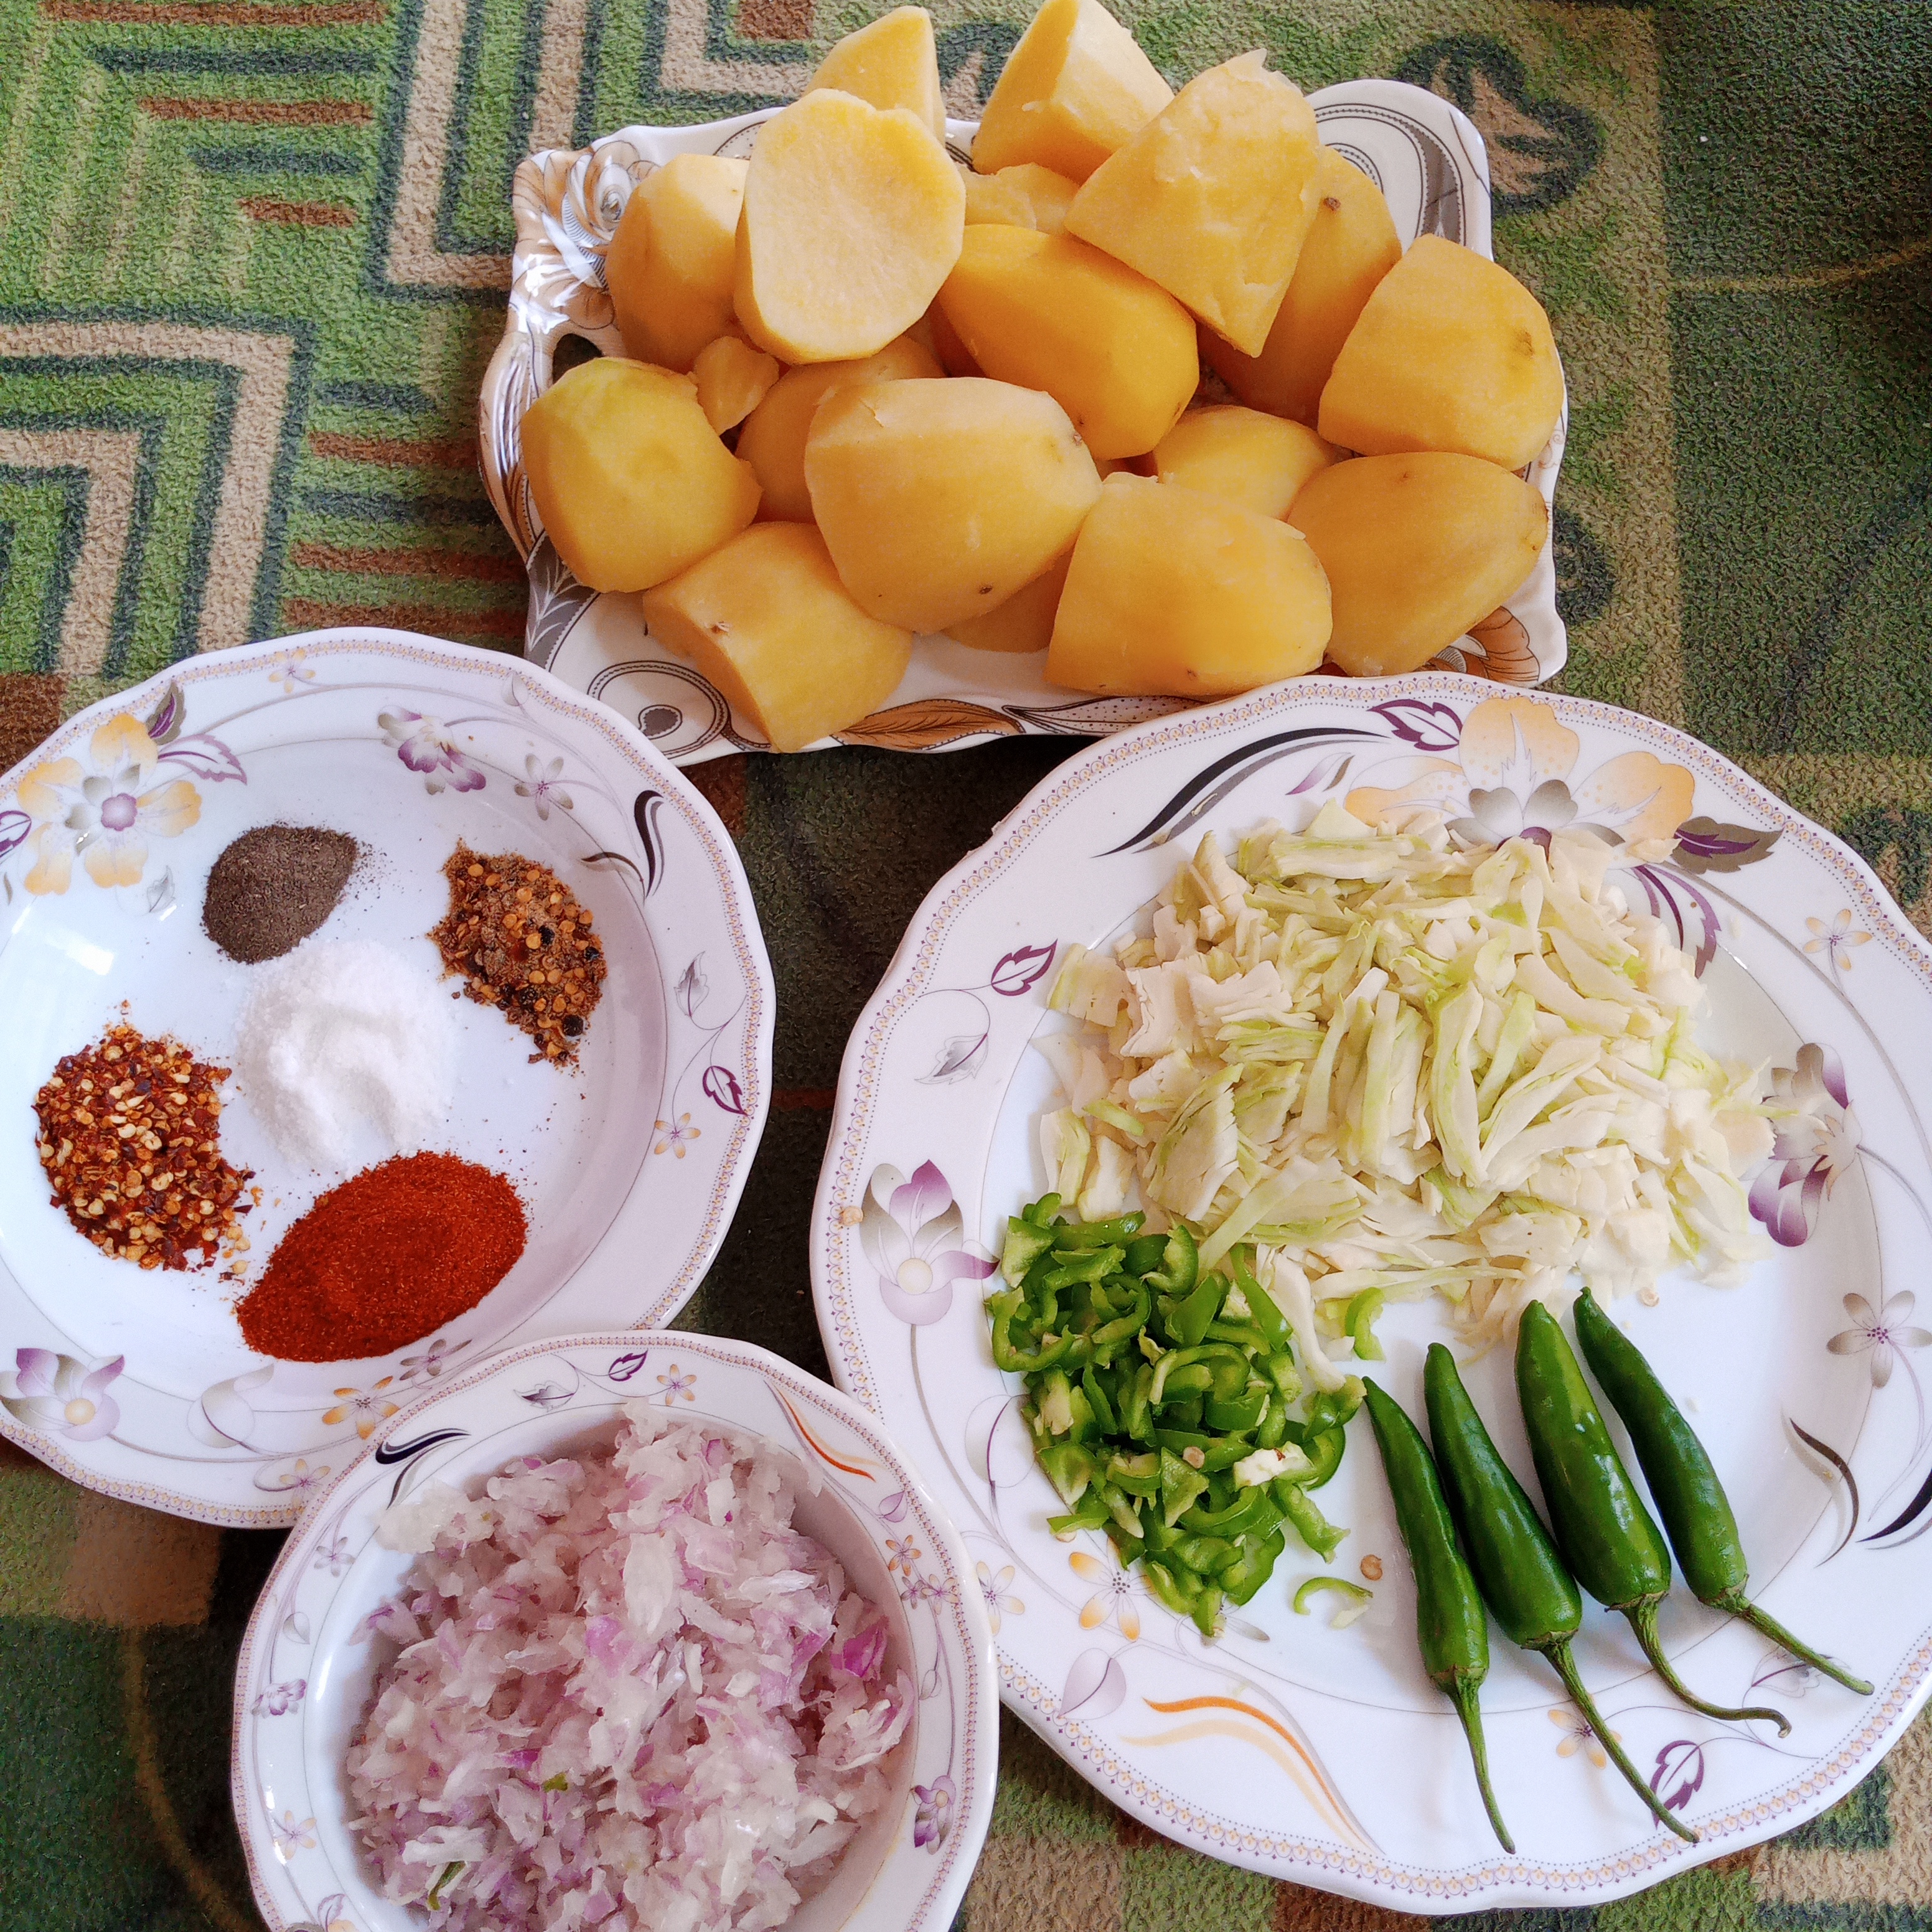
Here are the ingredients:👇 |
|---|
| Sr | Ingredients | Quantity |
|---|---|---|
| 1 | potato 🥔 | 1kg |
| 2 | Cabbage 🥬 | 1 medium size |
| 3 | Onion 🧅 | 2 medium size |
| 4 | Capsicum | 2 medium size |
| 5 | Green coriander | 2 table spoon |
| 6 | Turmeric | one teaspoon |
| 7 | Red chilli | 1 tablespoon |
| 8 | Chilli flakes | 1 tablespoon |
| 9 | Salt 🧂 | according to test |
| 10 | Zeera powder | 1 teaspoon |
| 11 | Black pepper powder | 1 teaspoon |
| 12 | Corn flour | 2 tablespoon |
| 13 | Chopped green chilli | 1 tablespoon |
| 14 | Tikka masala | 1 teaspoon |
| 15 | Flour | 2 cup |
Bismillaherahmanuraheem!
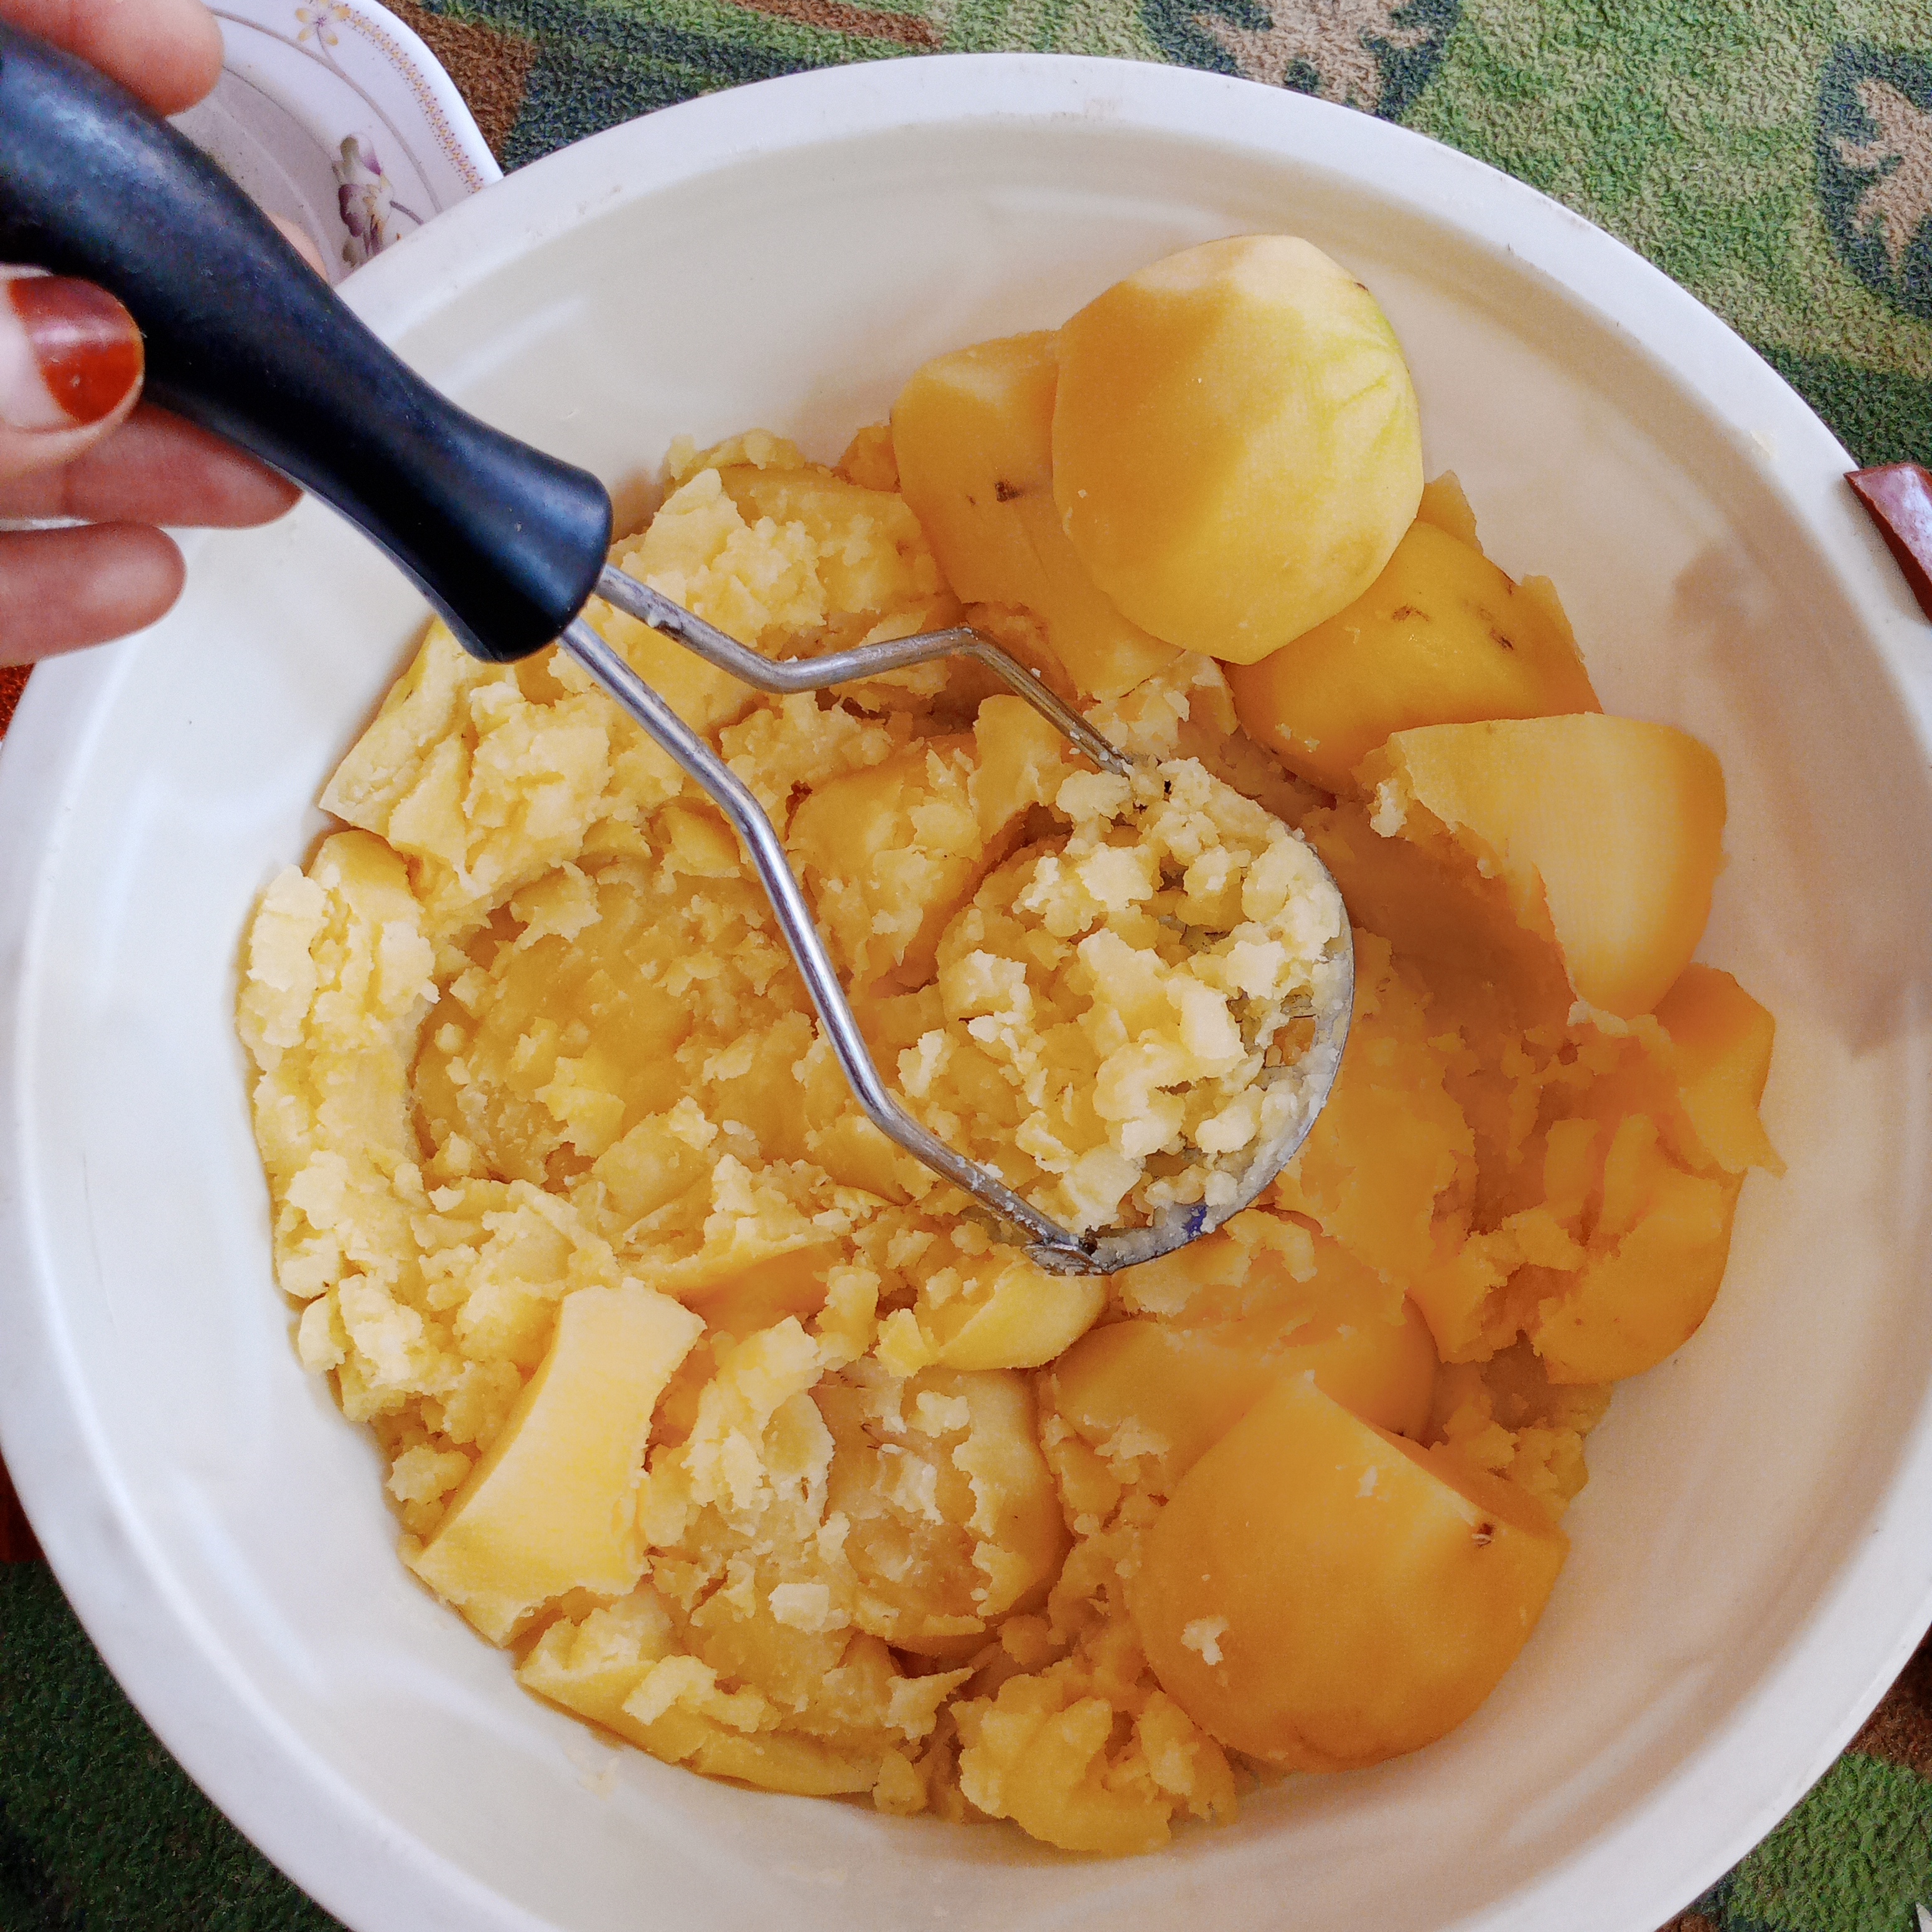
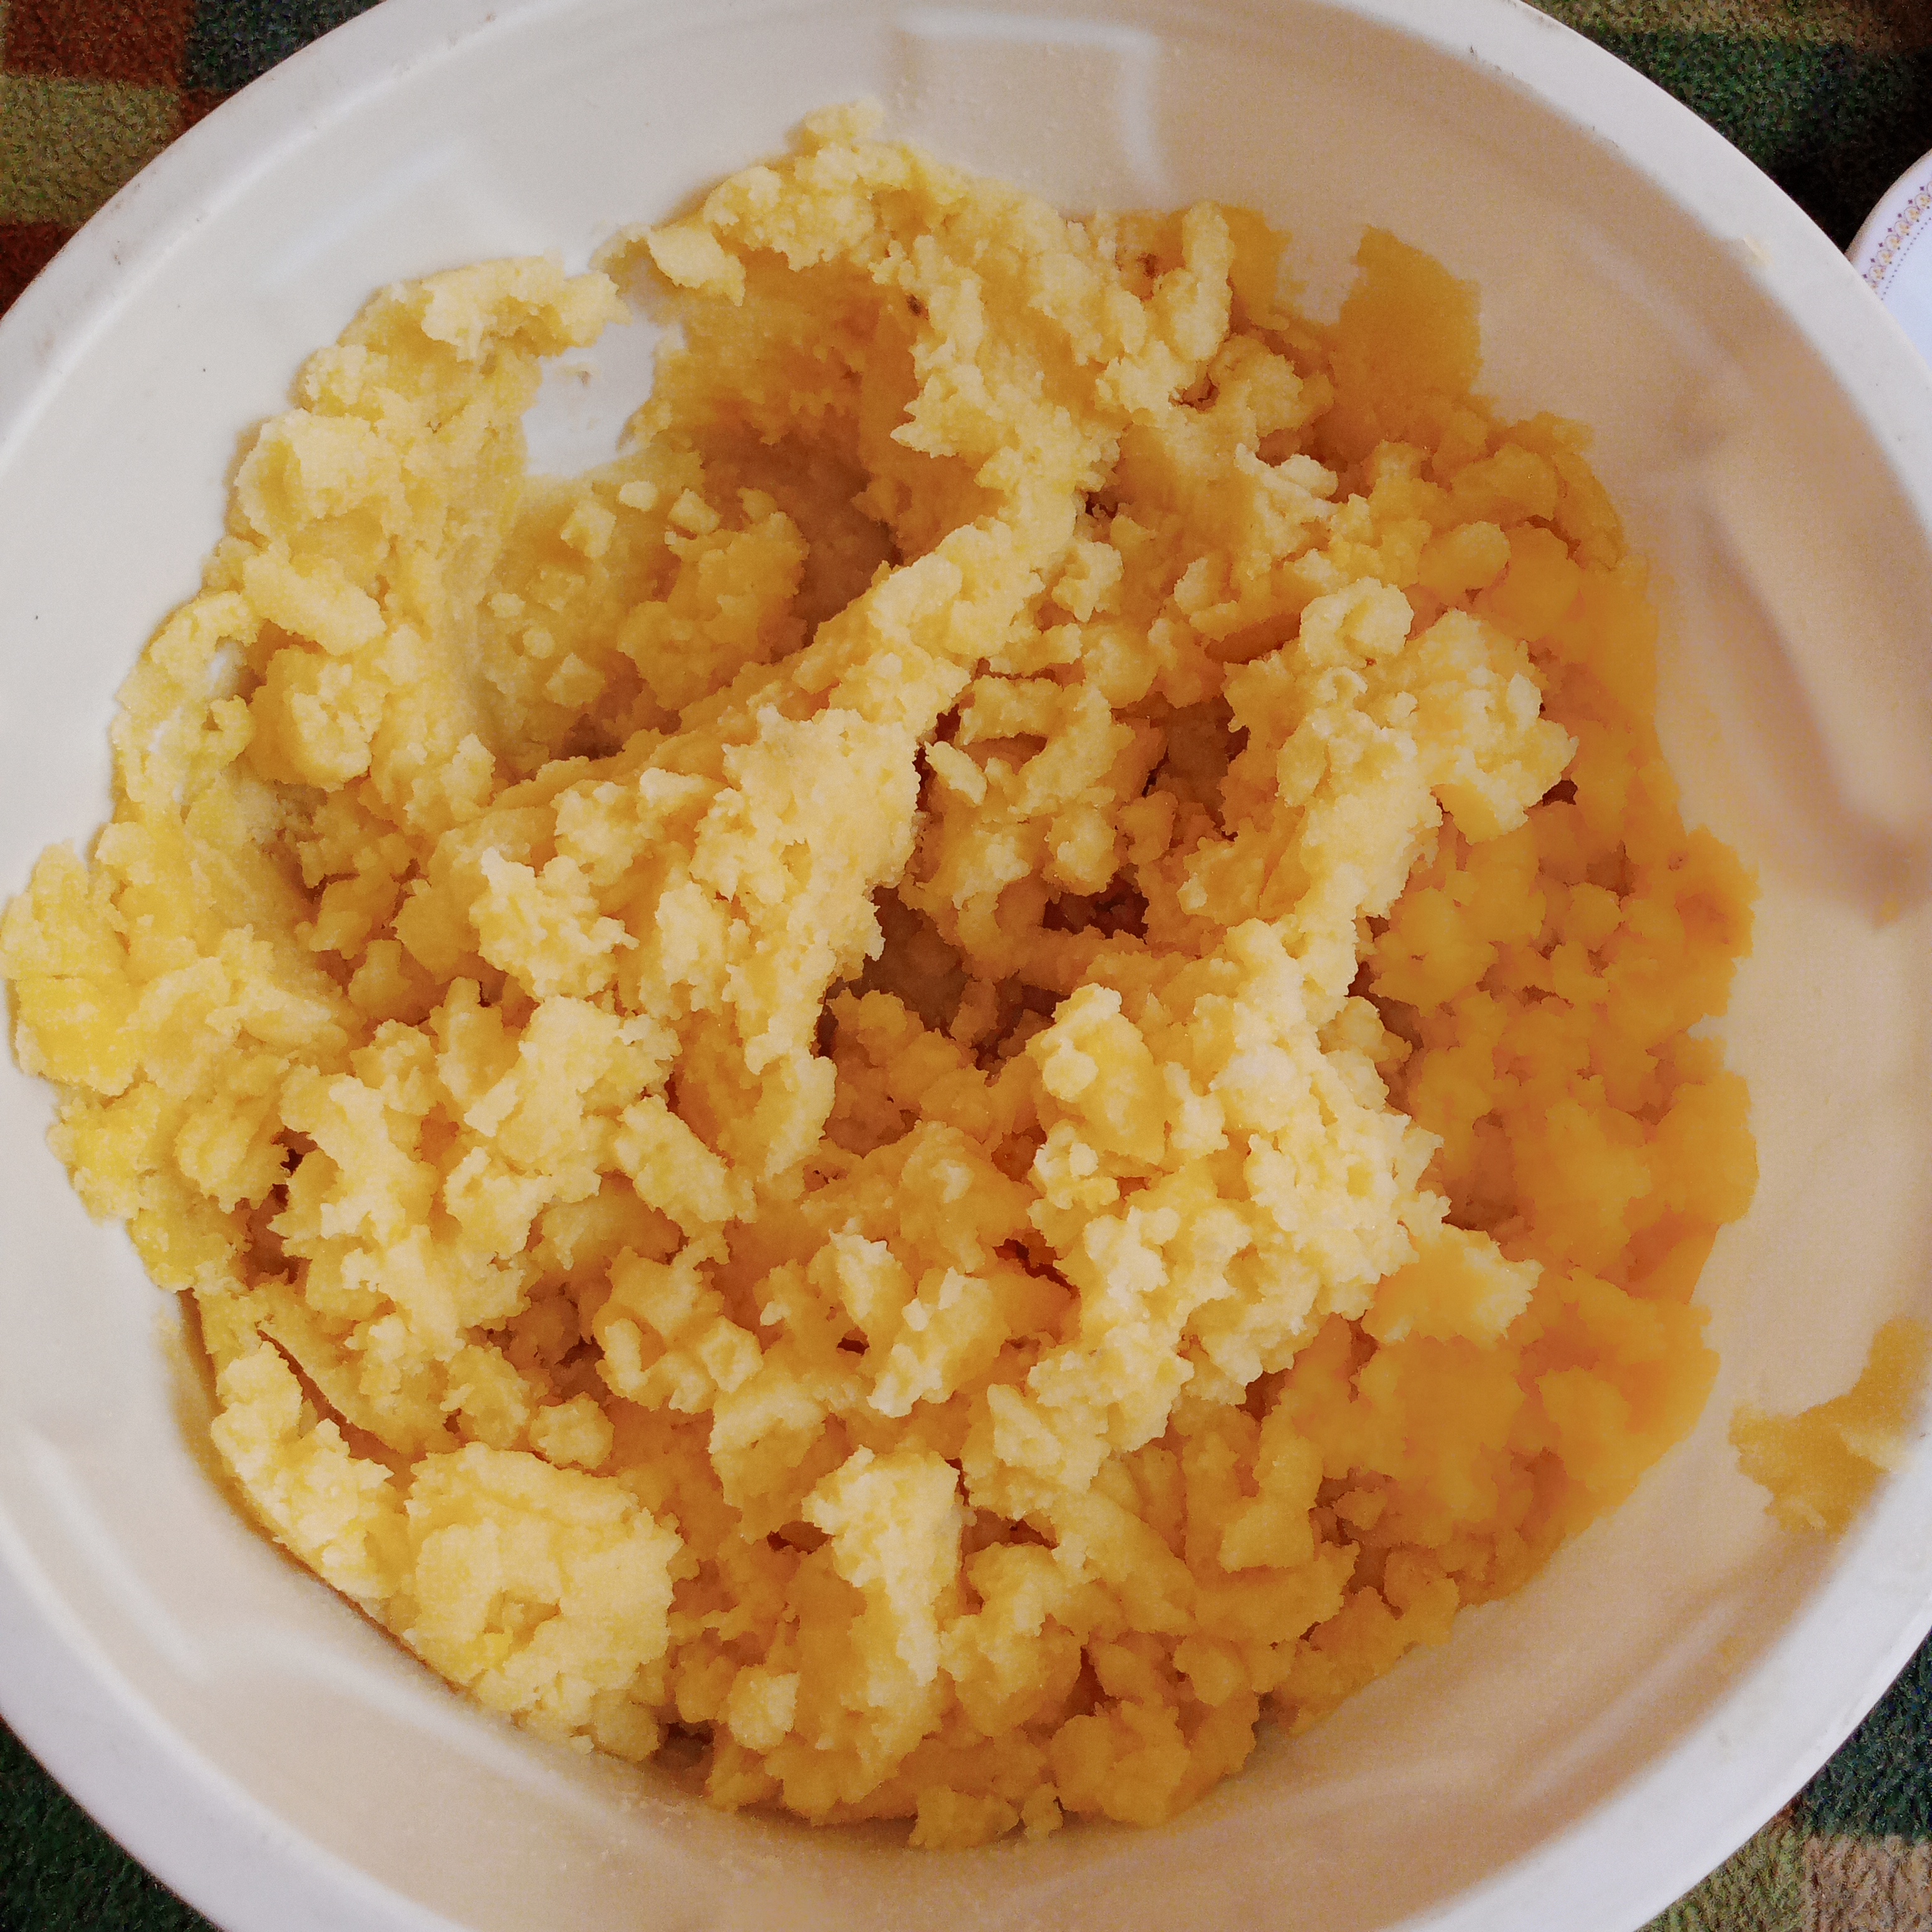
Step 1: Preparing the vegetables and base: |
|---|
First I cut the cabbage and capsicum into slightly bigger pieces. So their texture stays nice in the tikkis. Next I boile potatoes until they were soft and let cool down. A bit so they were easy to handle. After peeling them I placed them in a bowl and started mashing them by measure until. They turned smooth and lump free. This soft potato base makes everything easier to mix later. And helps the tikkis hold their shape really well.
 |
|---|
 |
|---|
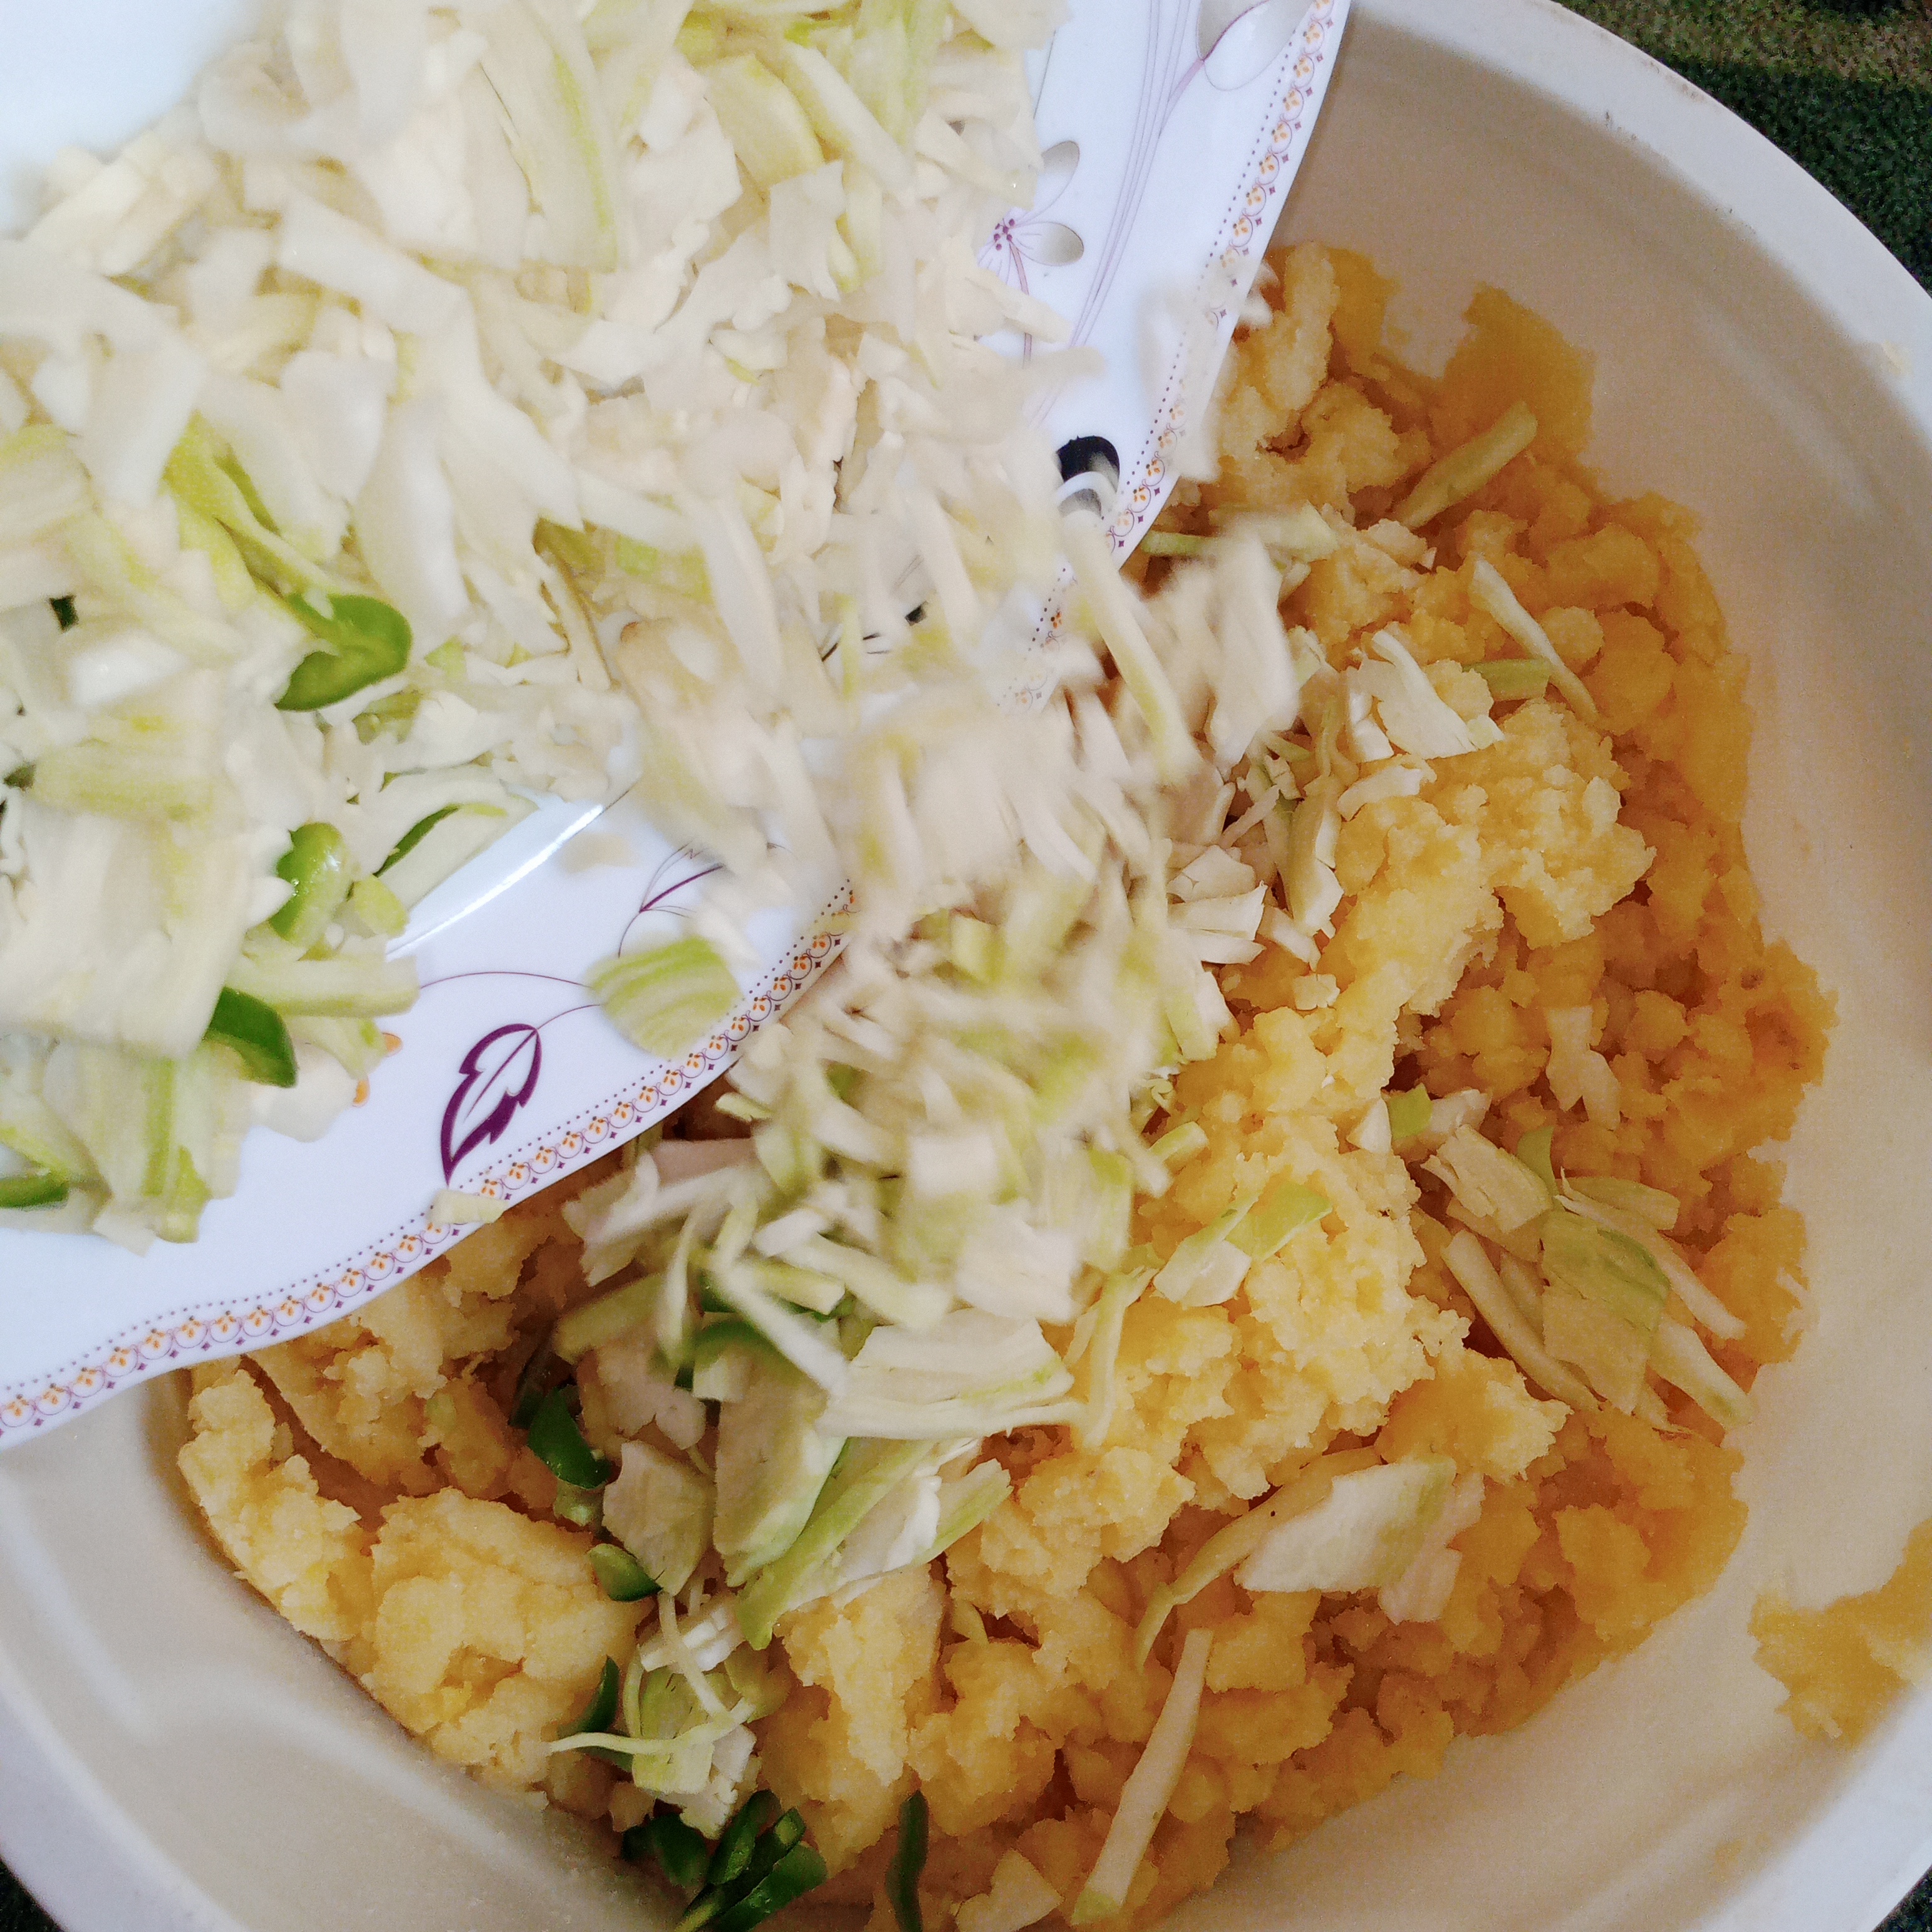
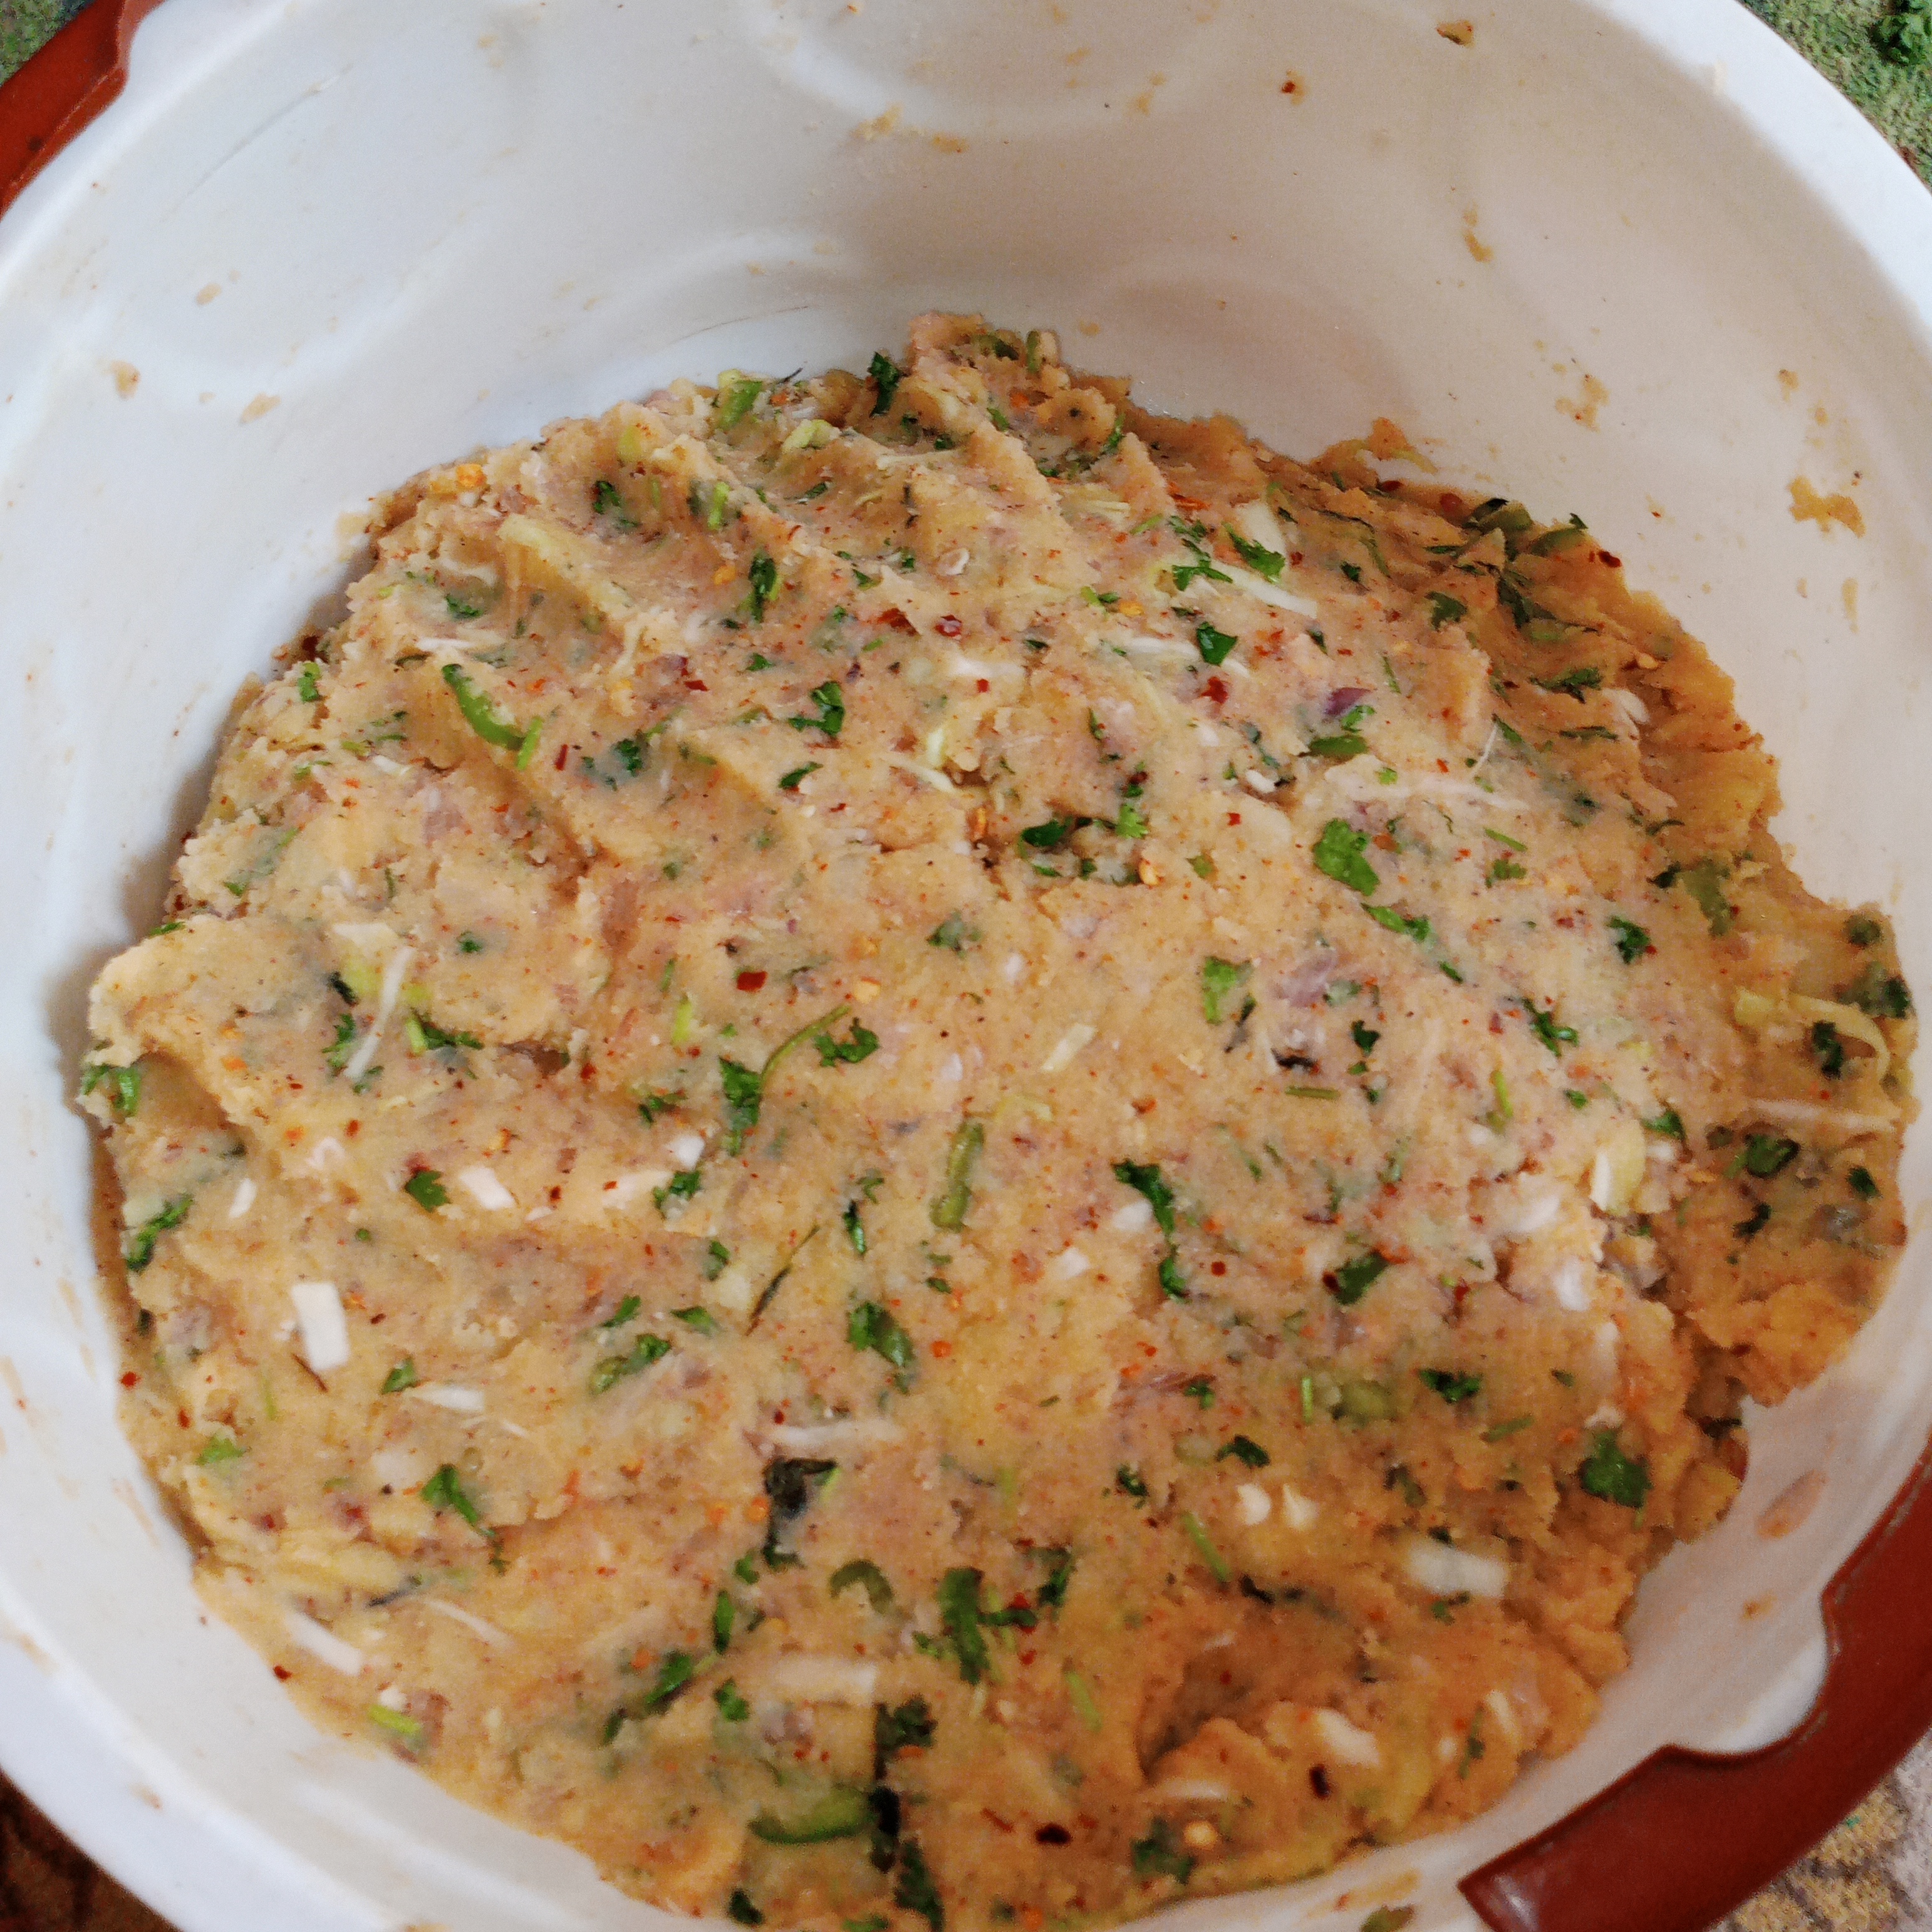
Step 2: Mixing everything together: |
|---|
I added the chopped cabbage and capsicum in to mashed potatoes. Then I also added the onion that I had already chopped. At this time everything starts to come together well. Guys I mixed all the ingredients with my hands. The colors and textures blend really well. And giving the mixture a fresh and vibrant look. This step is important. Because it builds the overall flavor. And friends ensures that there is a little bit of everything in each bite.
 |
|---|
 |
|---|
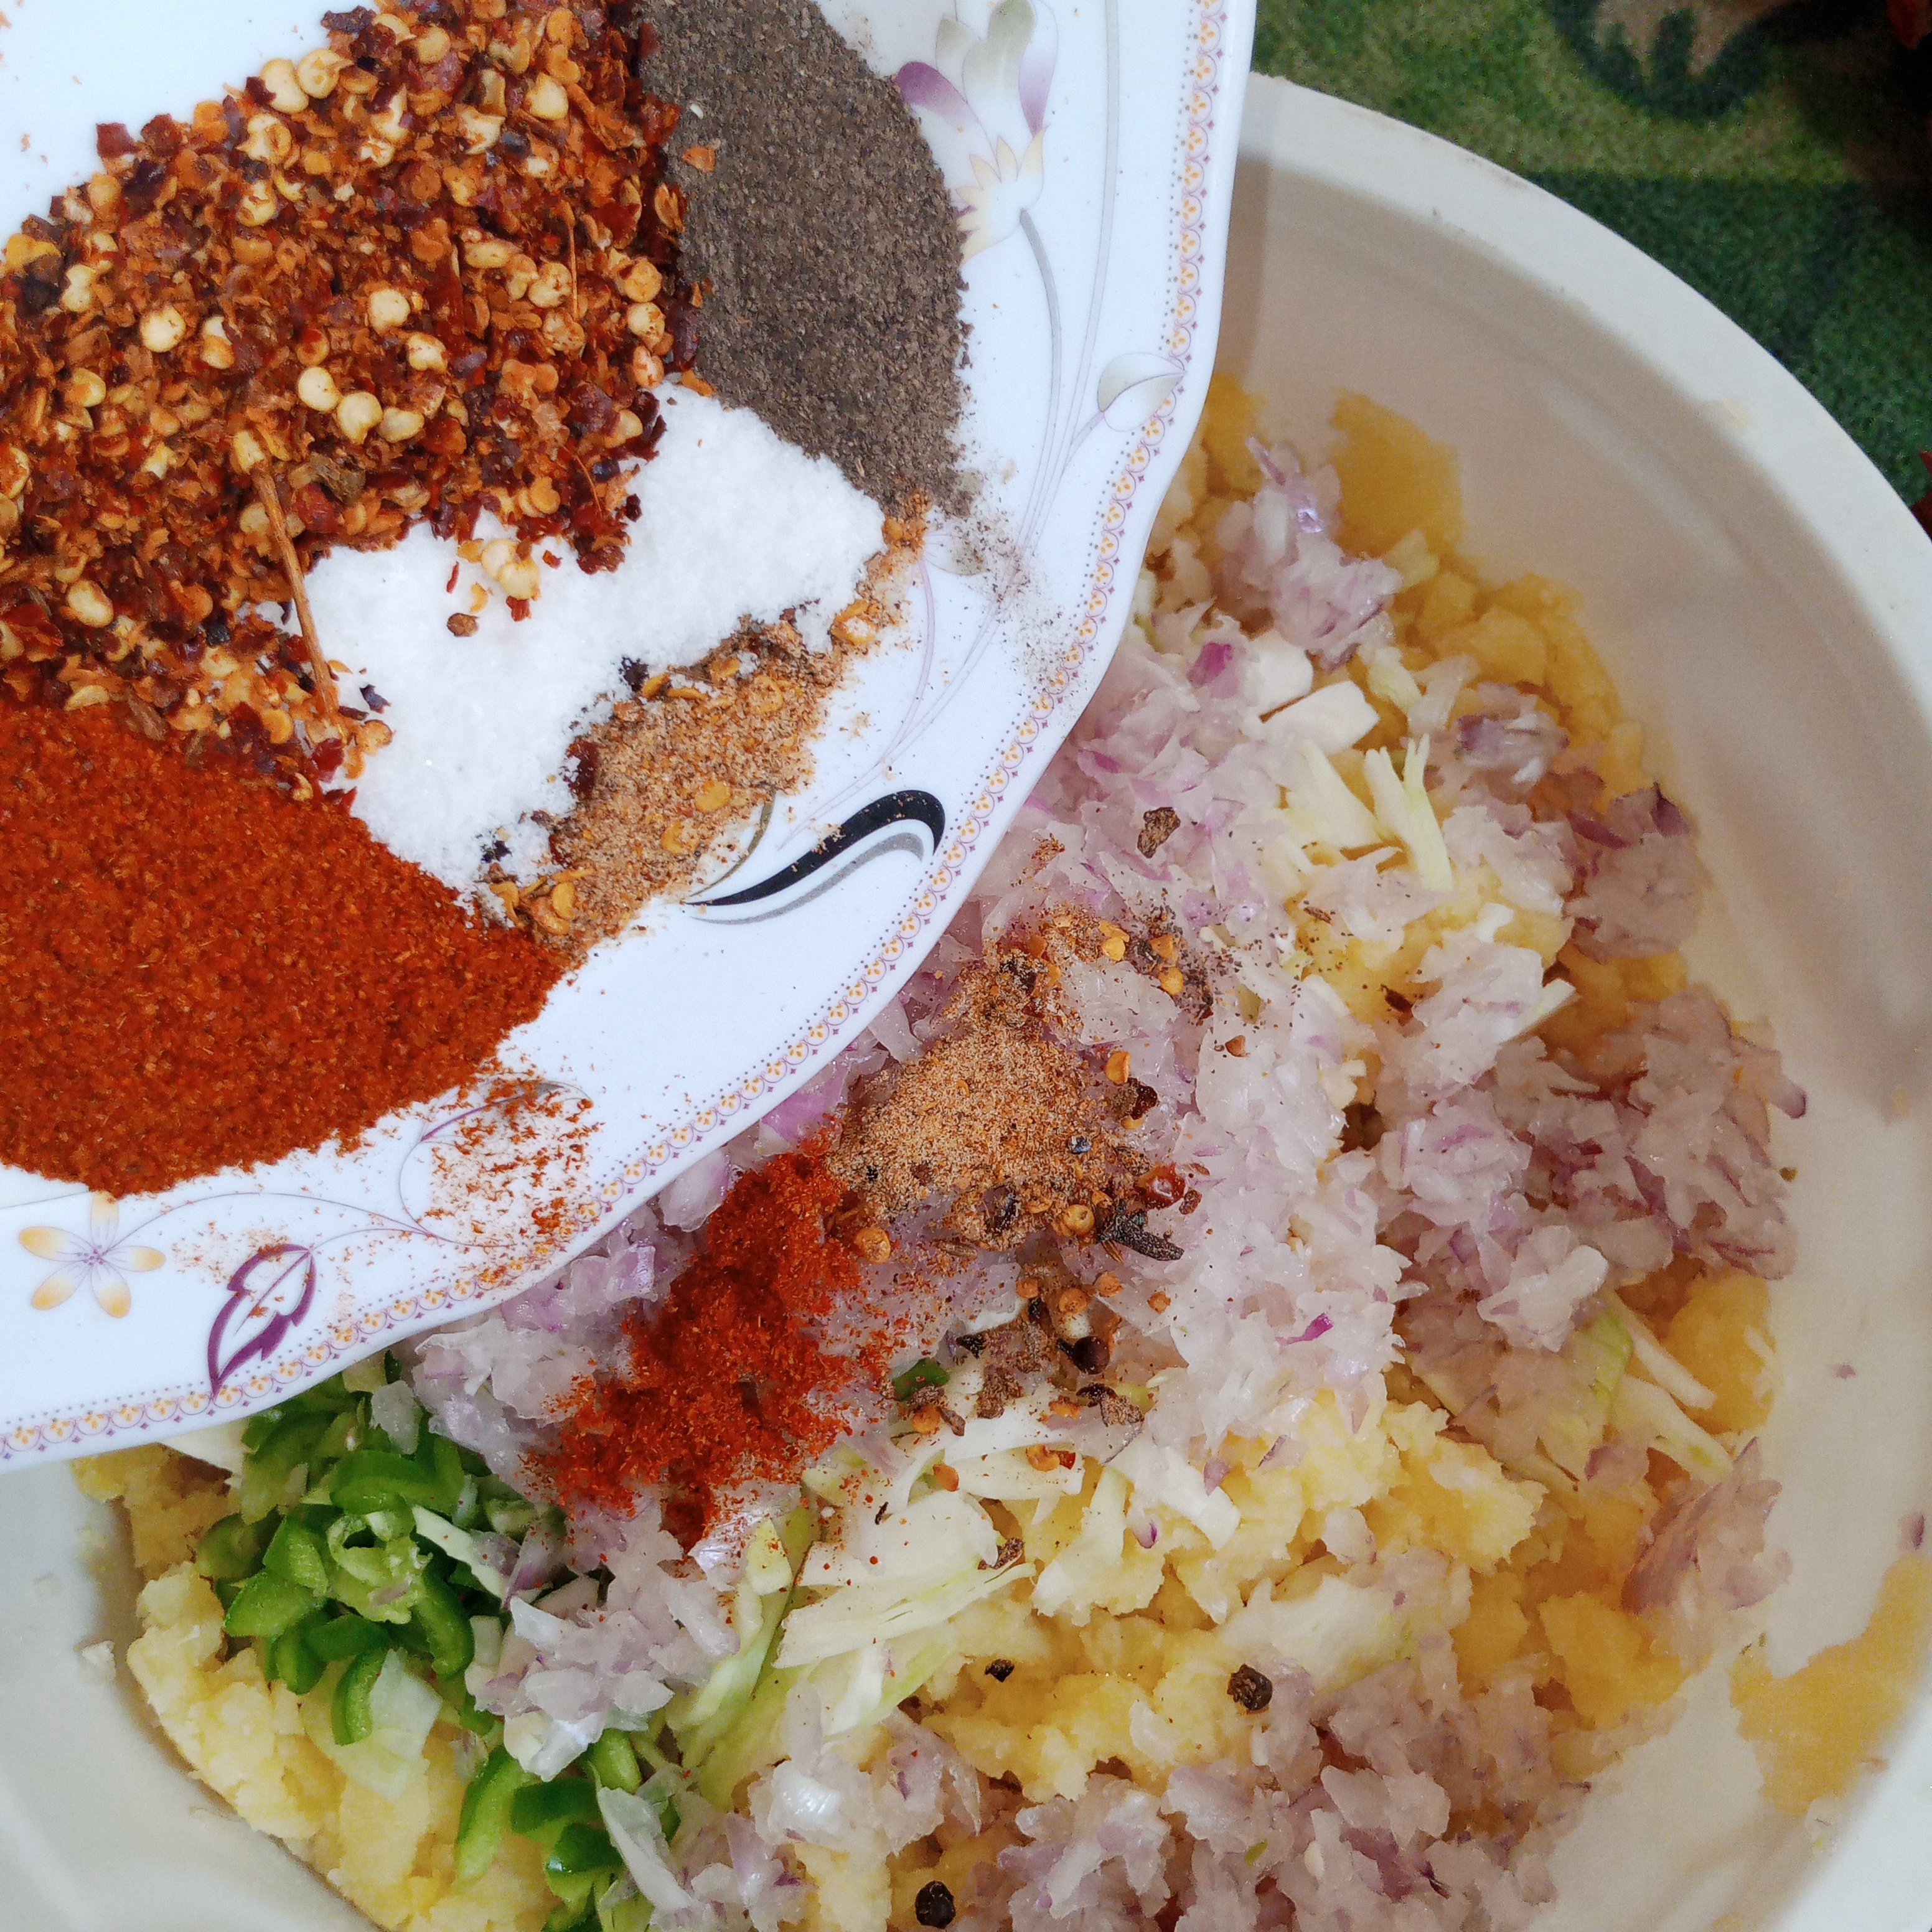
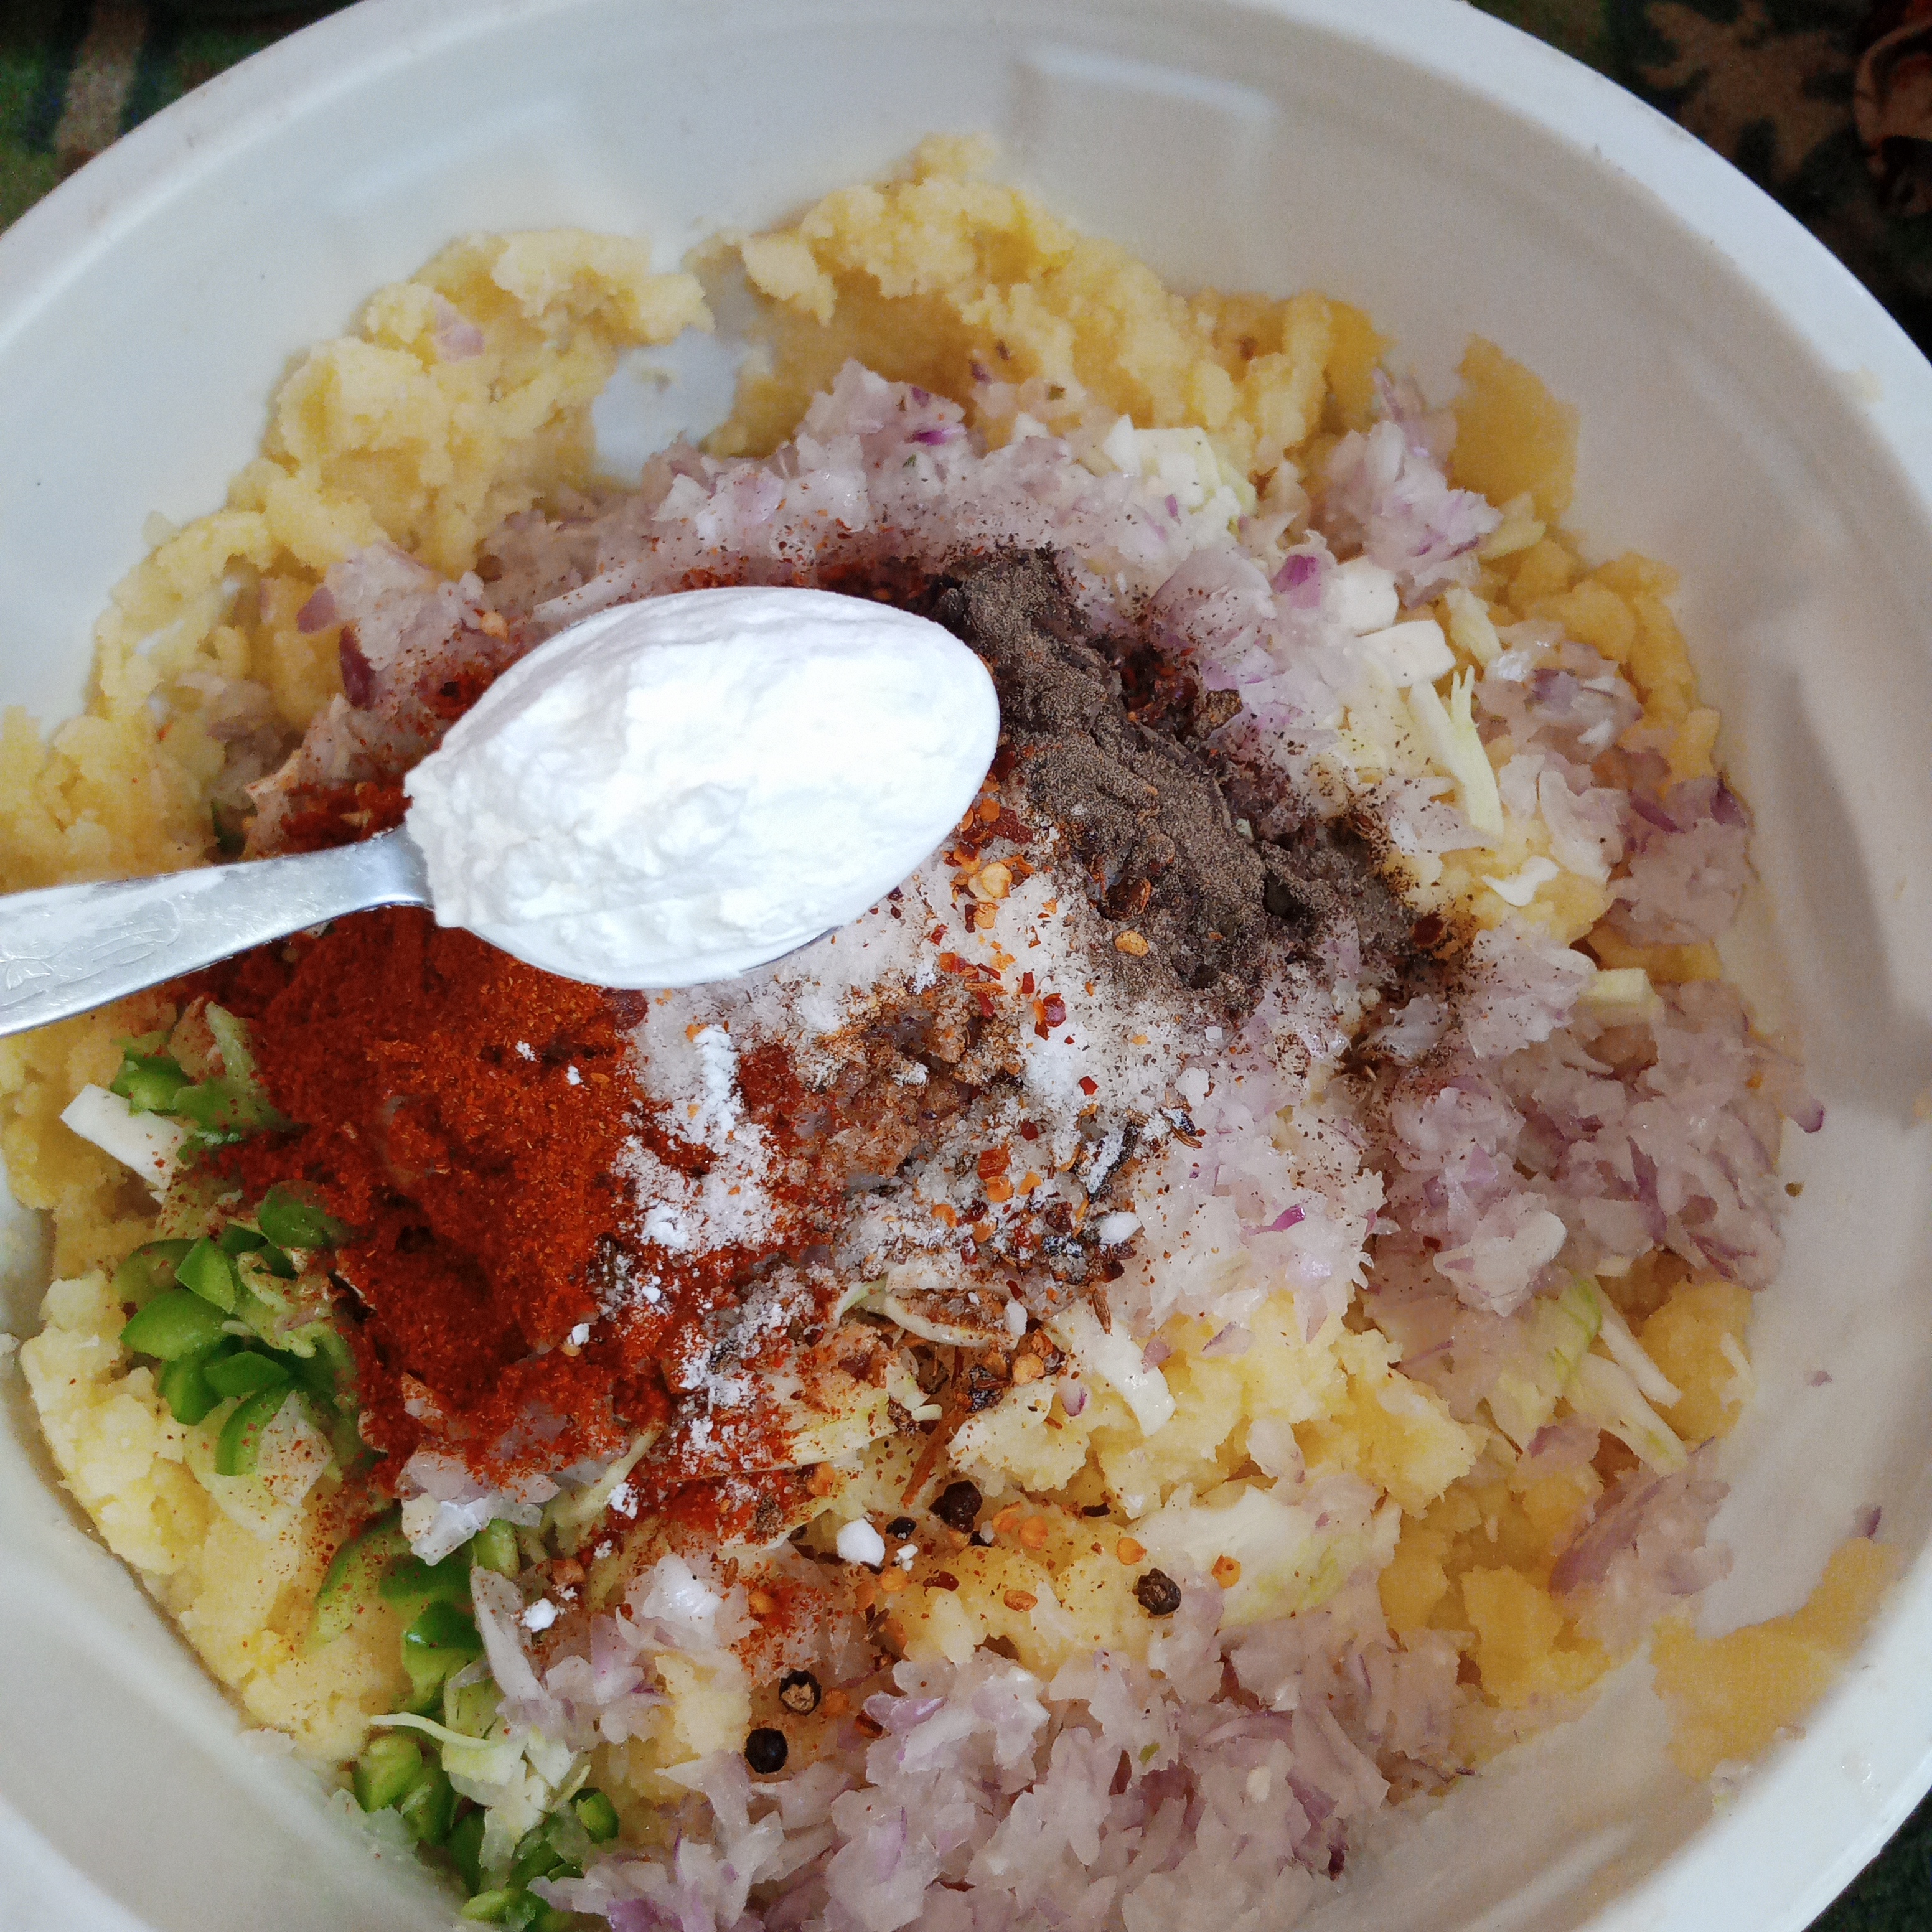
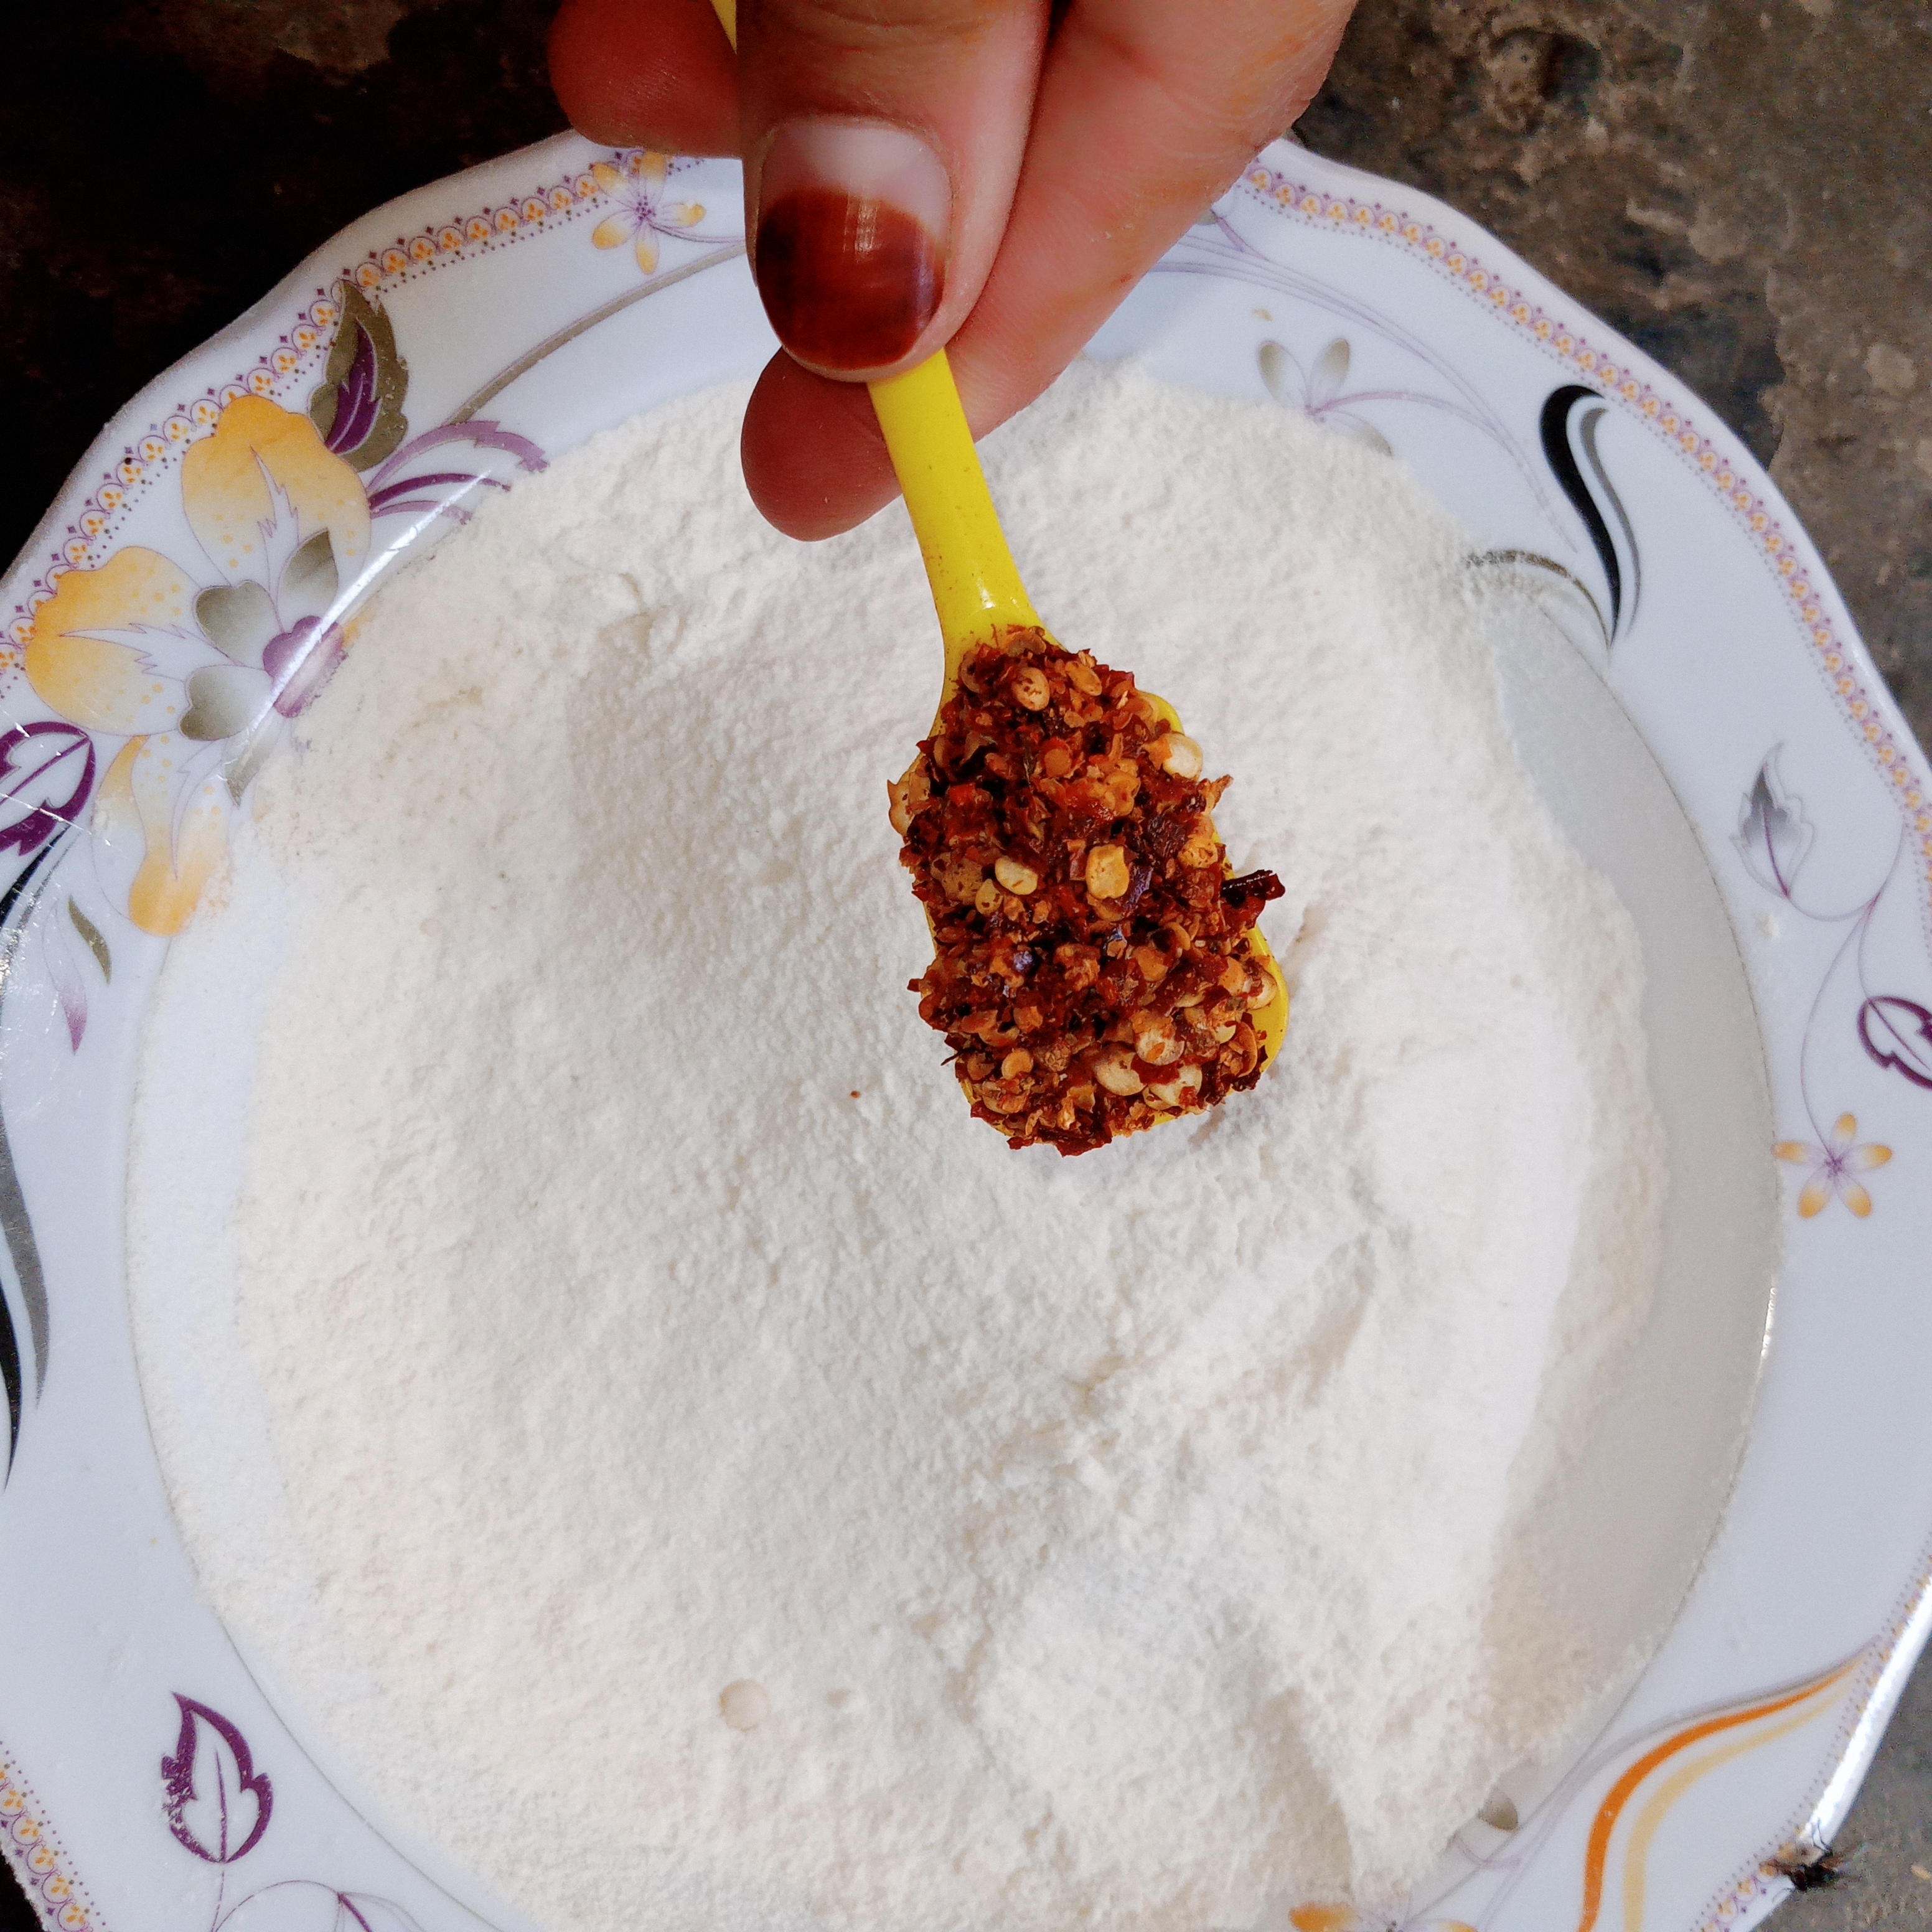
Step 3: Adding spices and binding it: |
|---|
Now I put all spices to the mixture. The list of spices and the exact quantities have already been mentioned in the list. So guys you can always adjust them to your taste. I mixed everything well. Flavours spread evenly through potatoes and vegetables. I add two tablespoons of corn flour to help bind mixture. This makes the tikkis crunch. And helps them retain their shape while cooking. I mixed it again everything looked good combined and ready to shape.
 |
|---|
 |
|---|
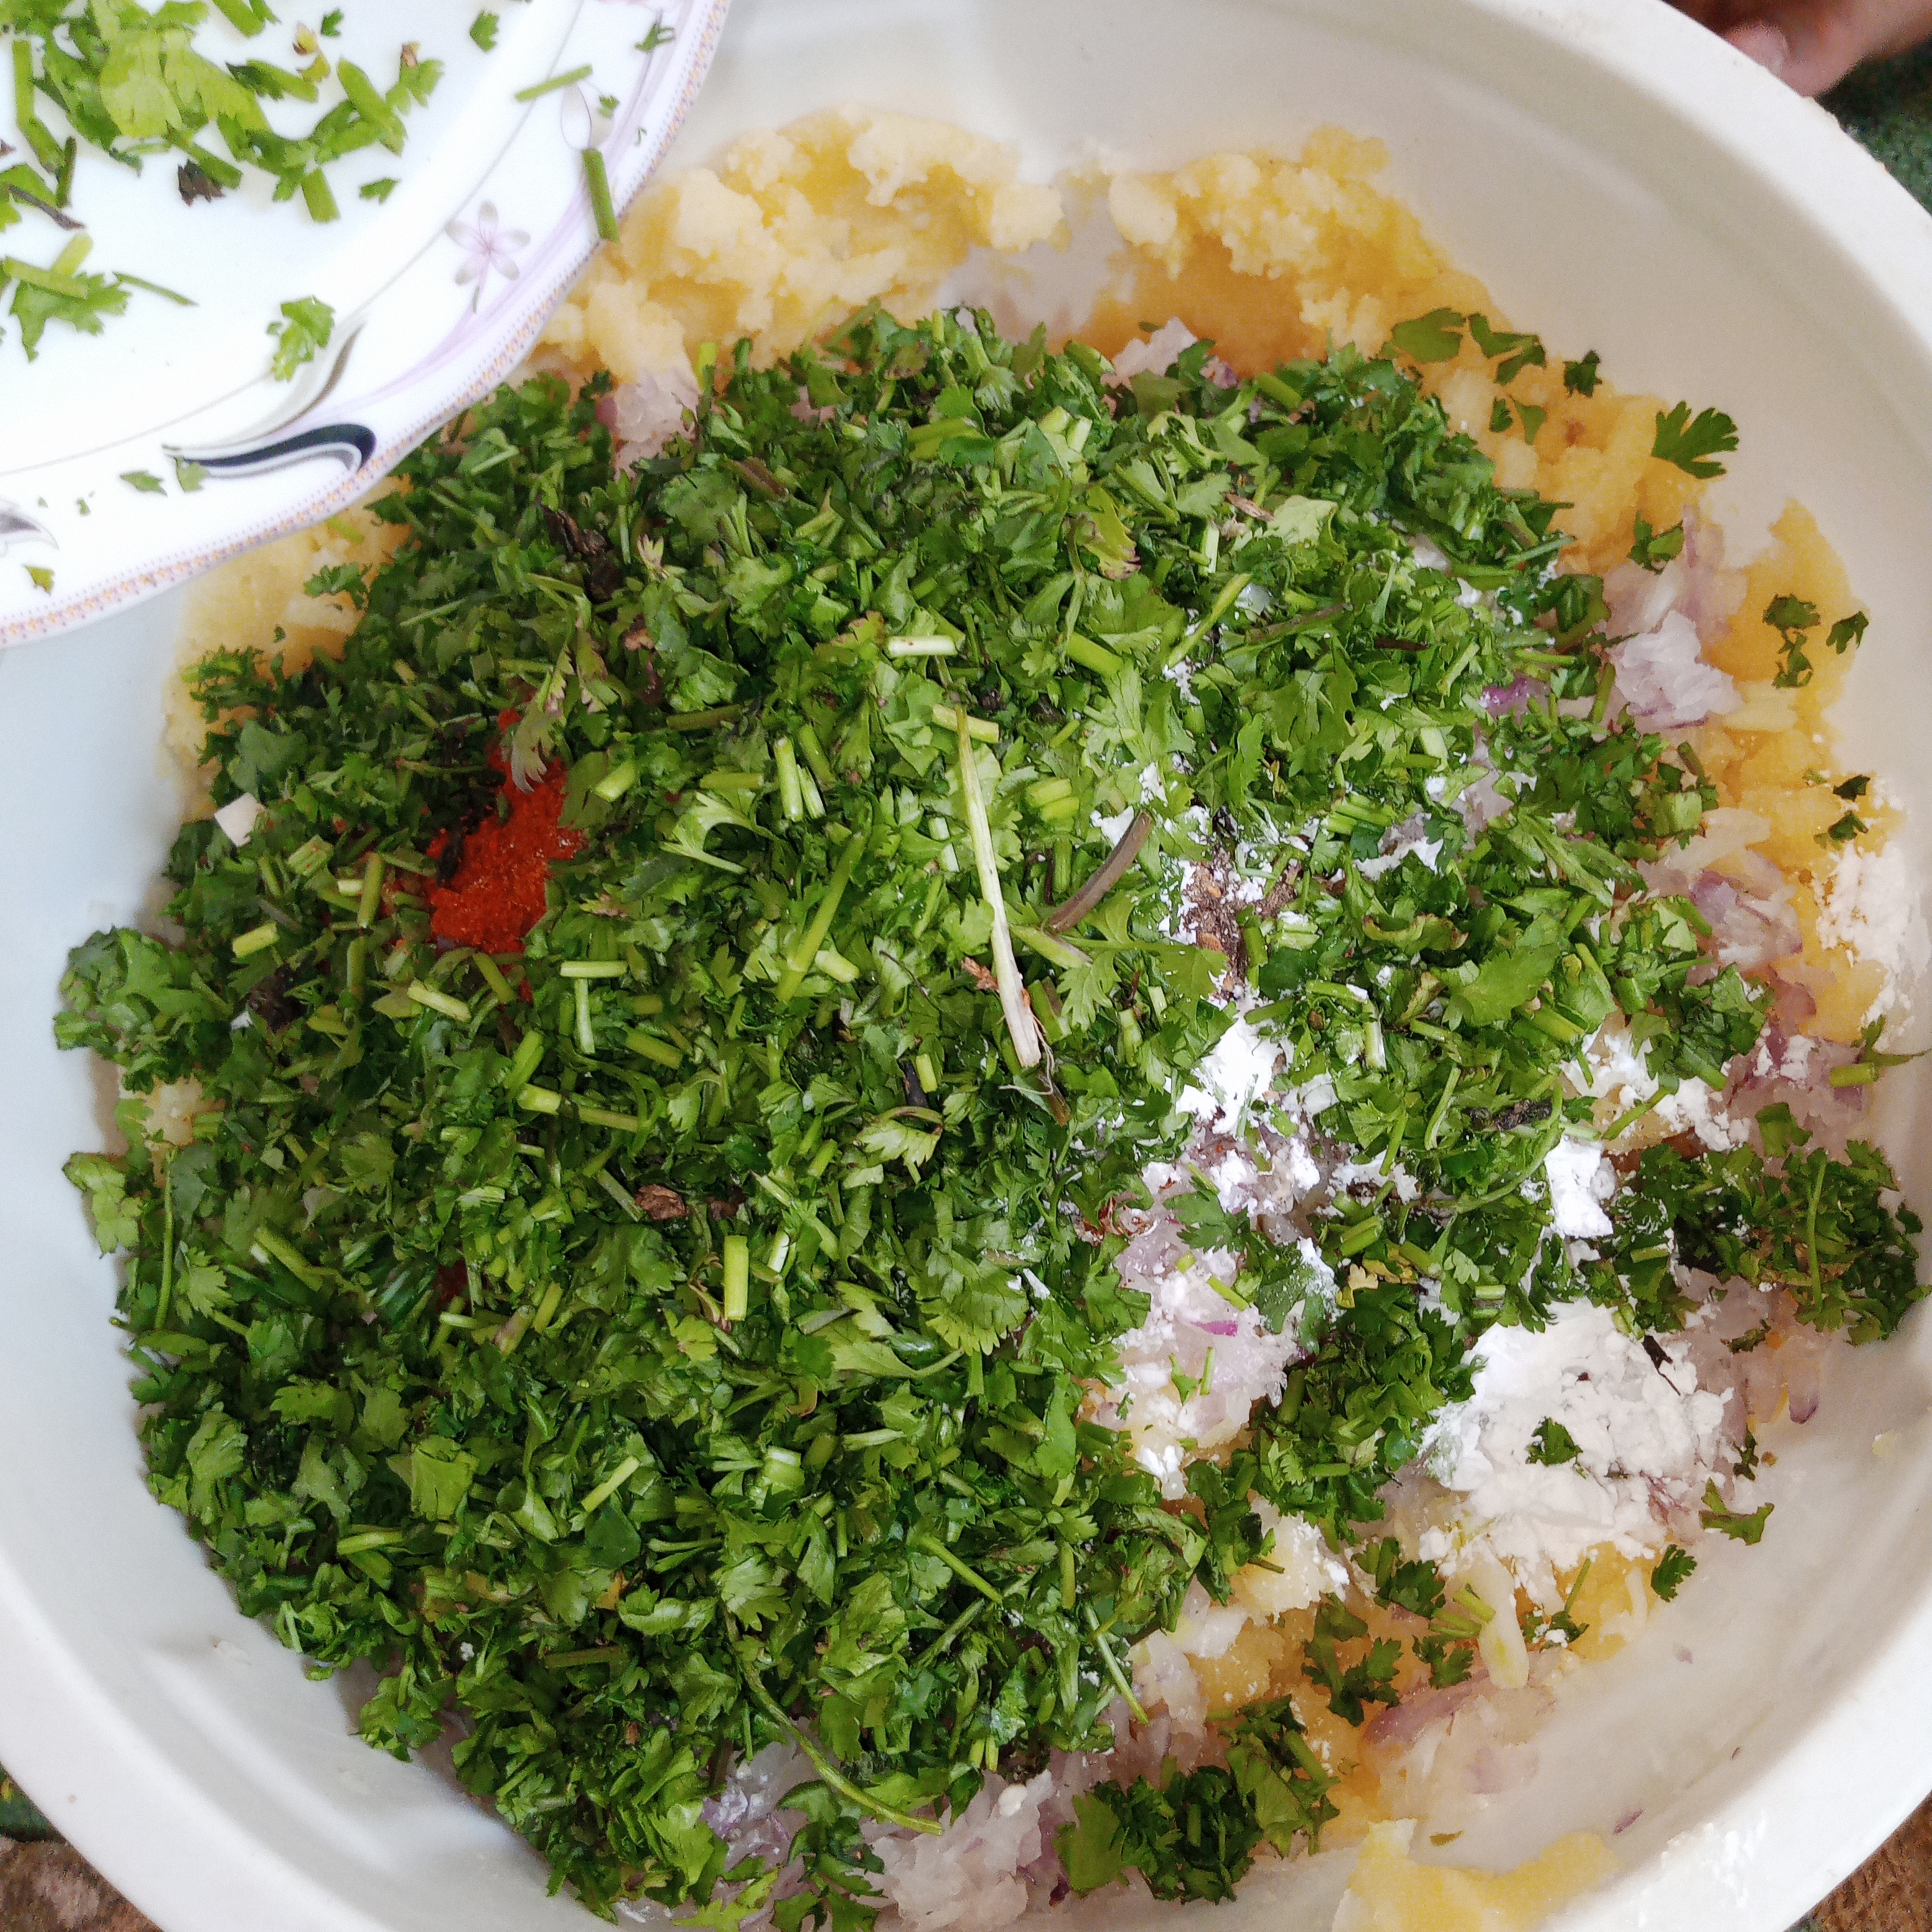
Step 4: Final mixing and preparing the base: |
|---|
After that I add chopped green coriander and fresh green Chilli into the mixture. These gave a nice freshness to the tikkis. Using my hands I mixed everything. So all the ingredients were evenly combined. I kept mixing until the mixture felt well balanced and easy to shape. At this time the base for the tikkis was fully ready. Making it perfect for forming into patties in the next step.
 |
|---|
 |
|---|
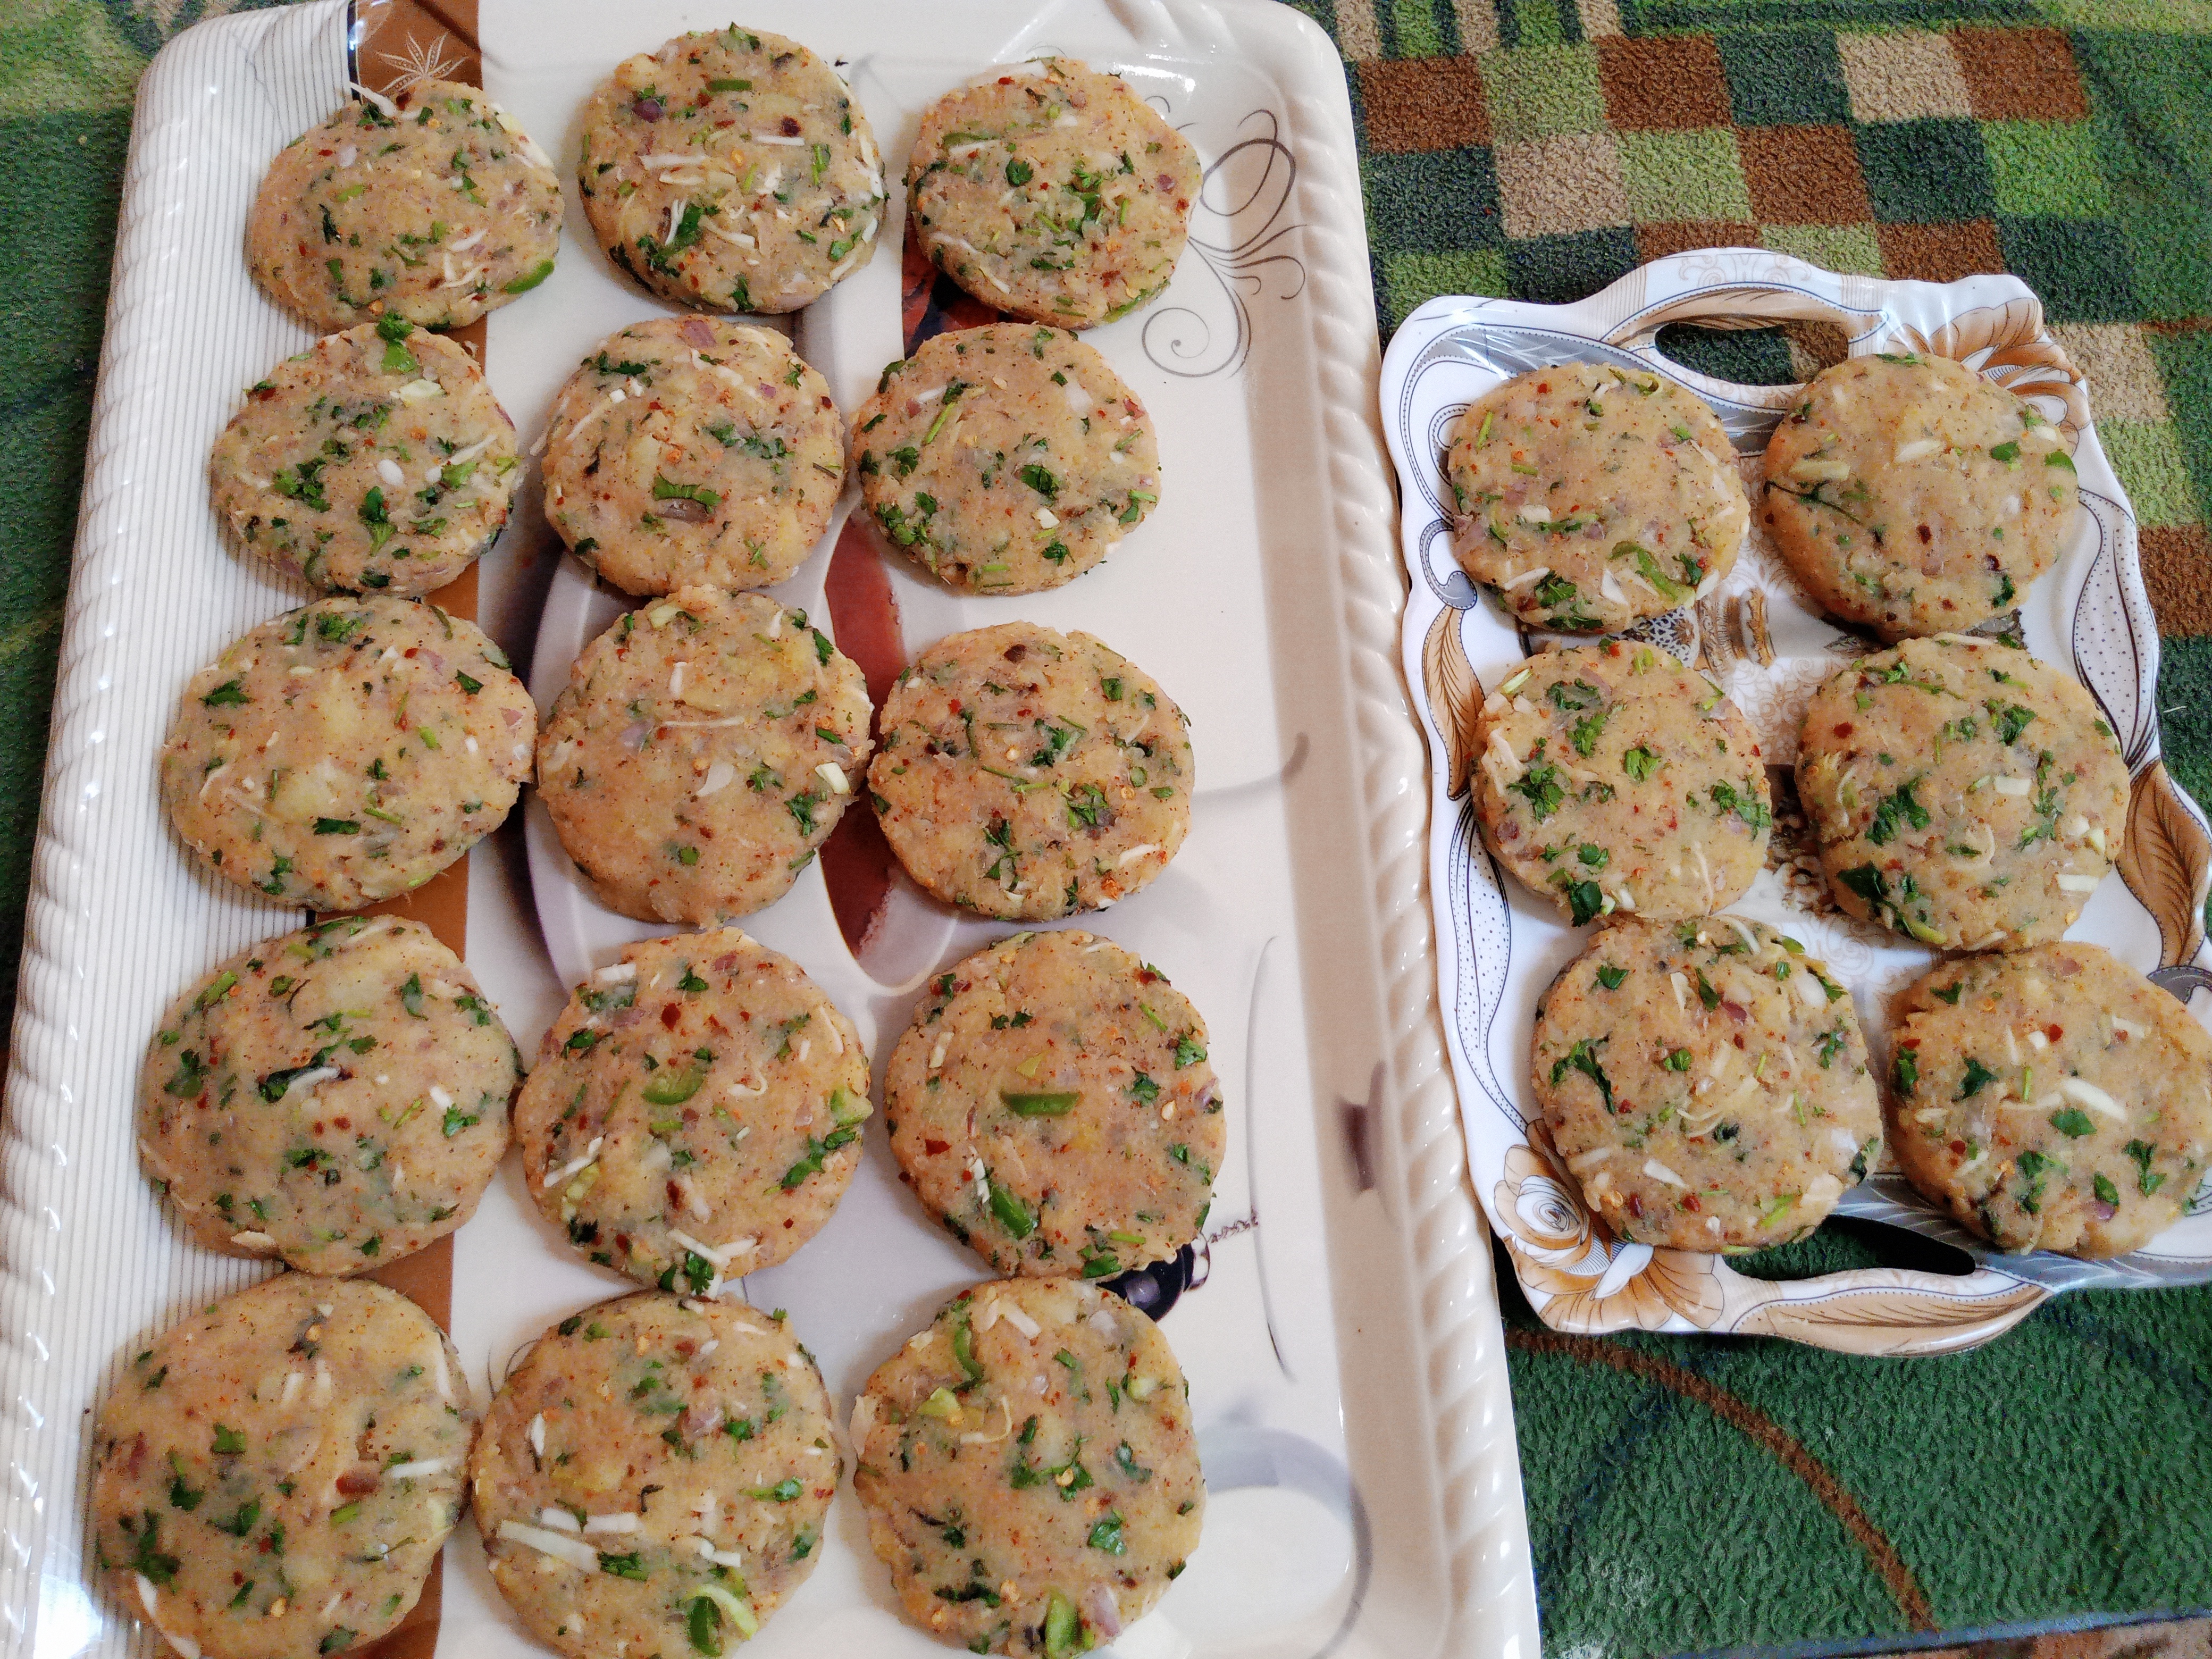
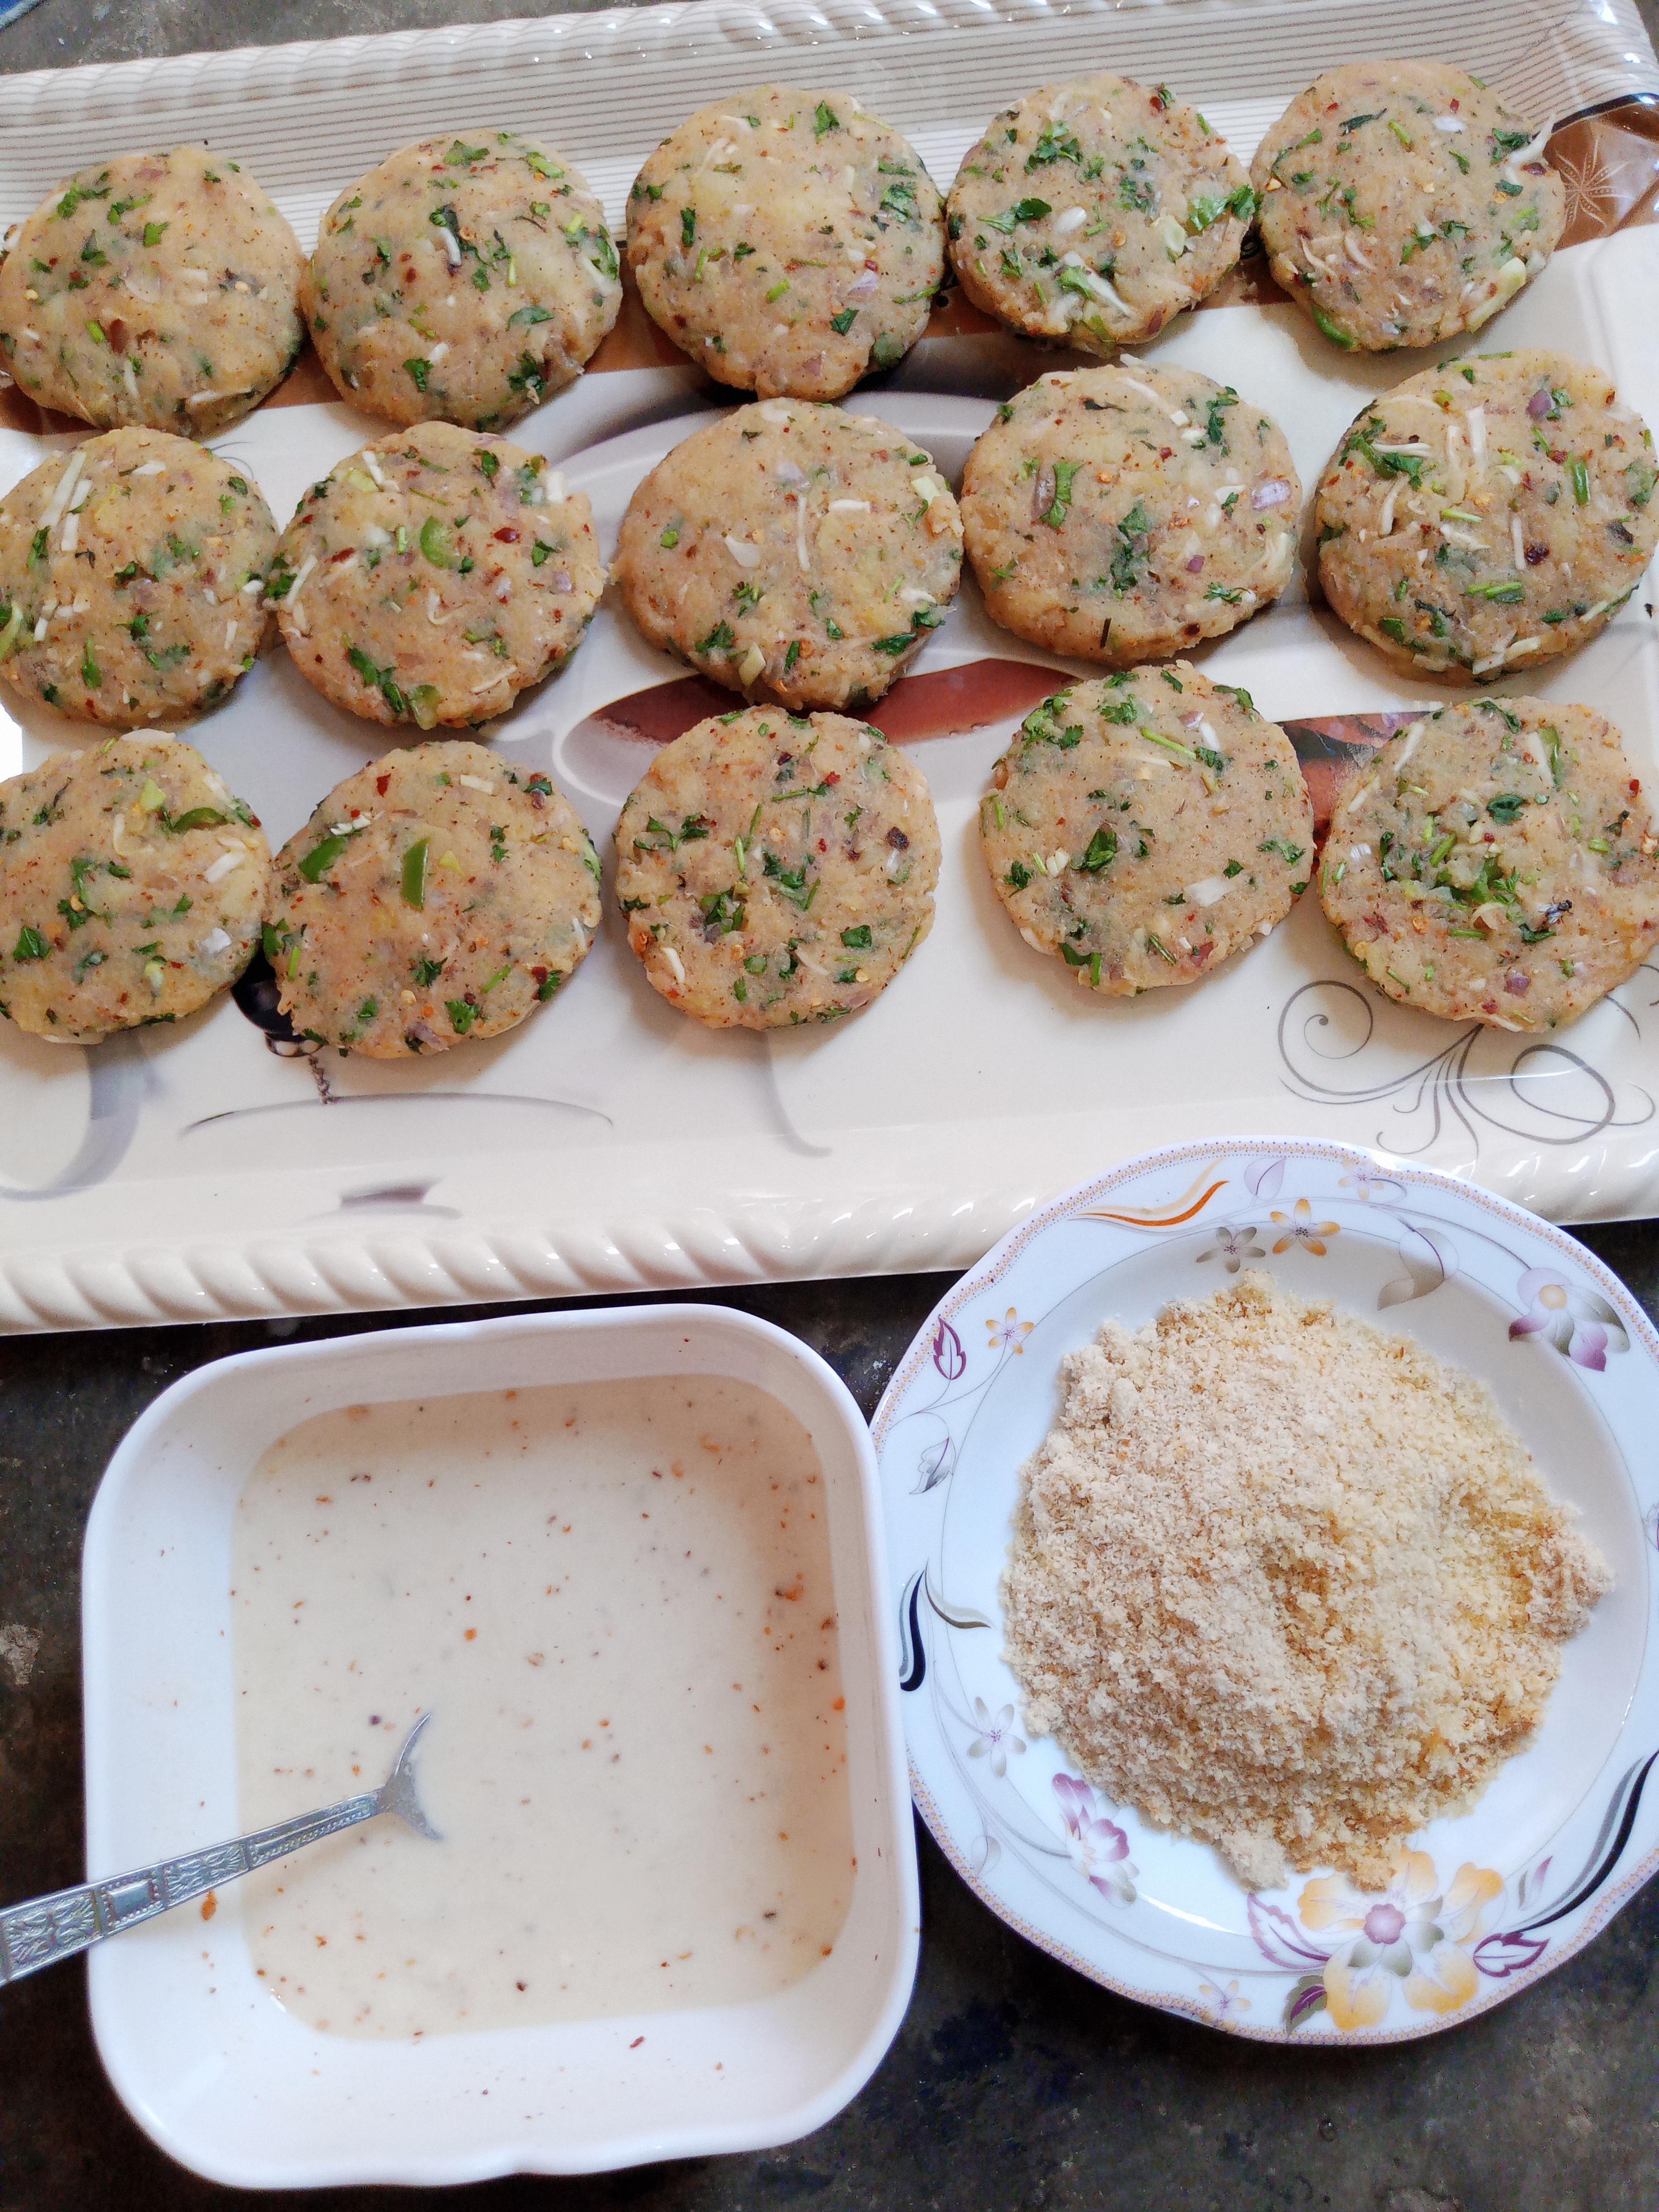
Step 5: Shaping the tikkis: |
|---|
Before shaping I washed my hands properly to keep everything clean. Then I lightly greased my palms with a little oil so the mixture wouldn’t stick. Then I took some portions of the prepared mixture. And rolled them into neat round tikkis. I made sure each one was roughly the same size. There for they would cook evenly. Once shaped I placed all the tikkis on a plate. Arranging them neatly and keeping them ready for frying.
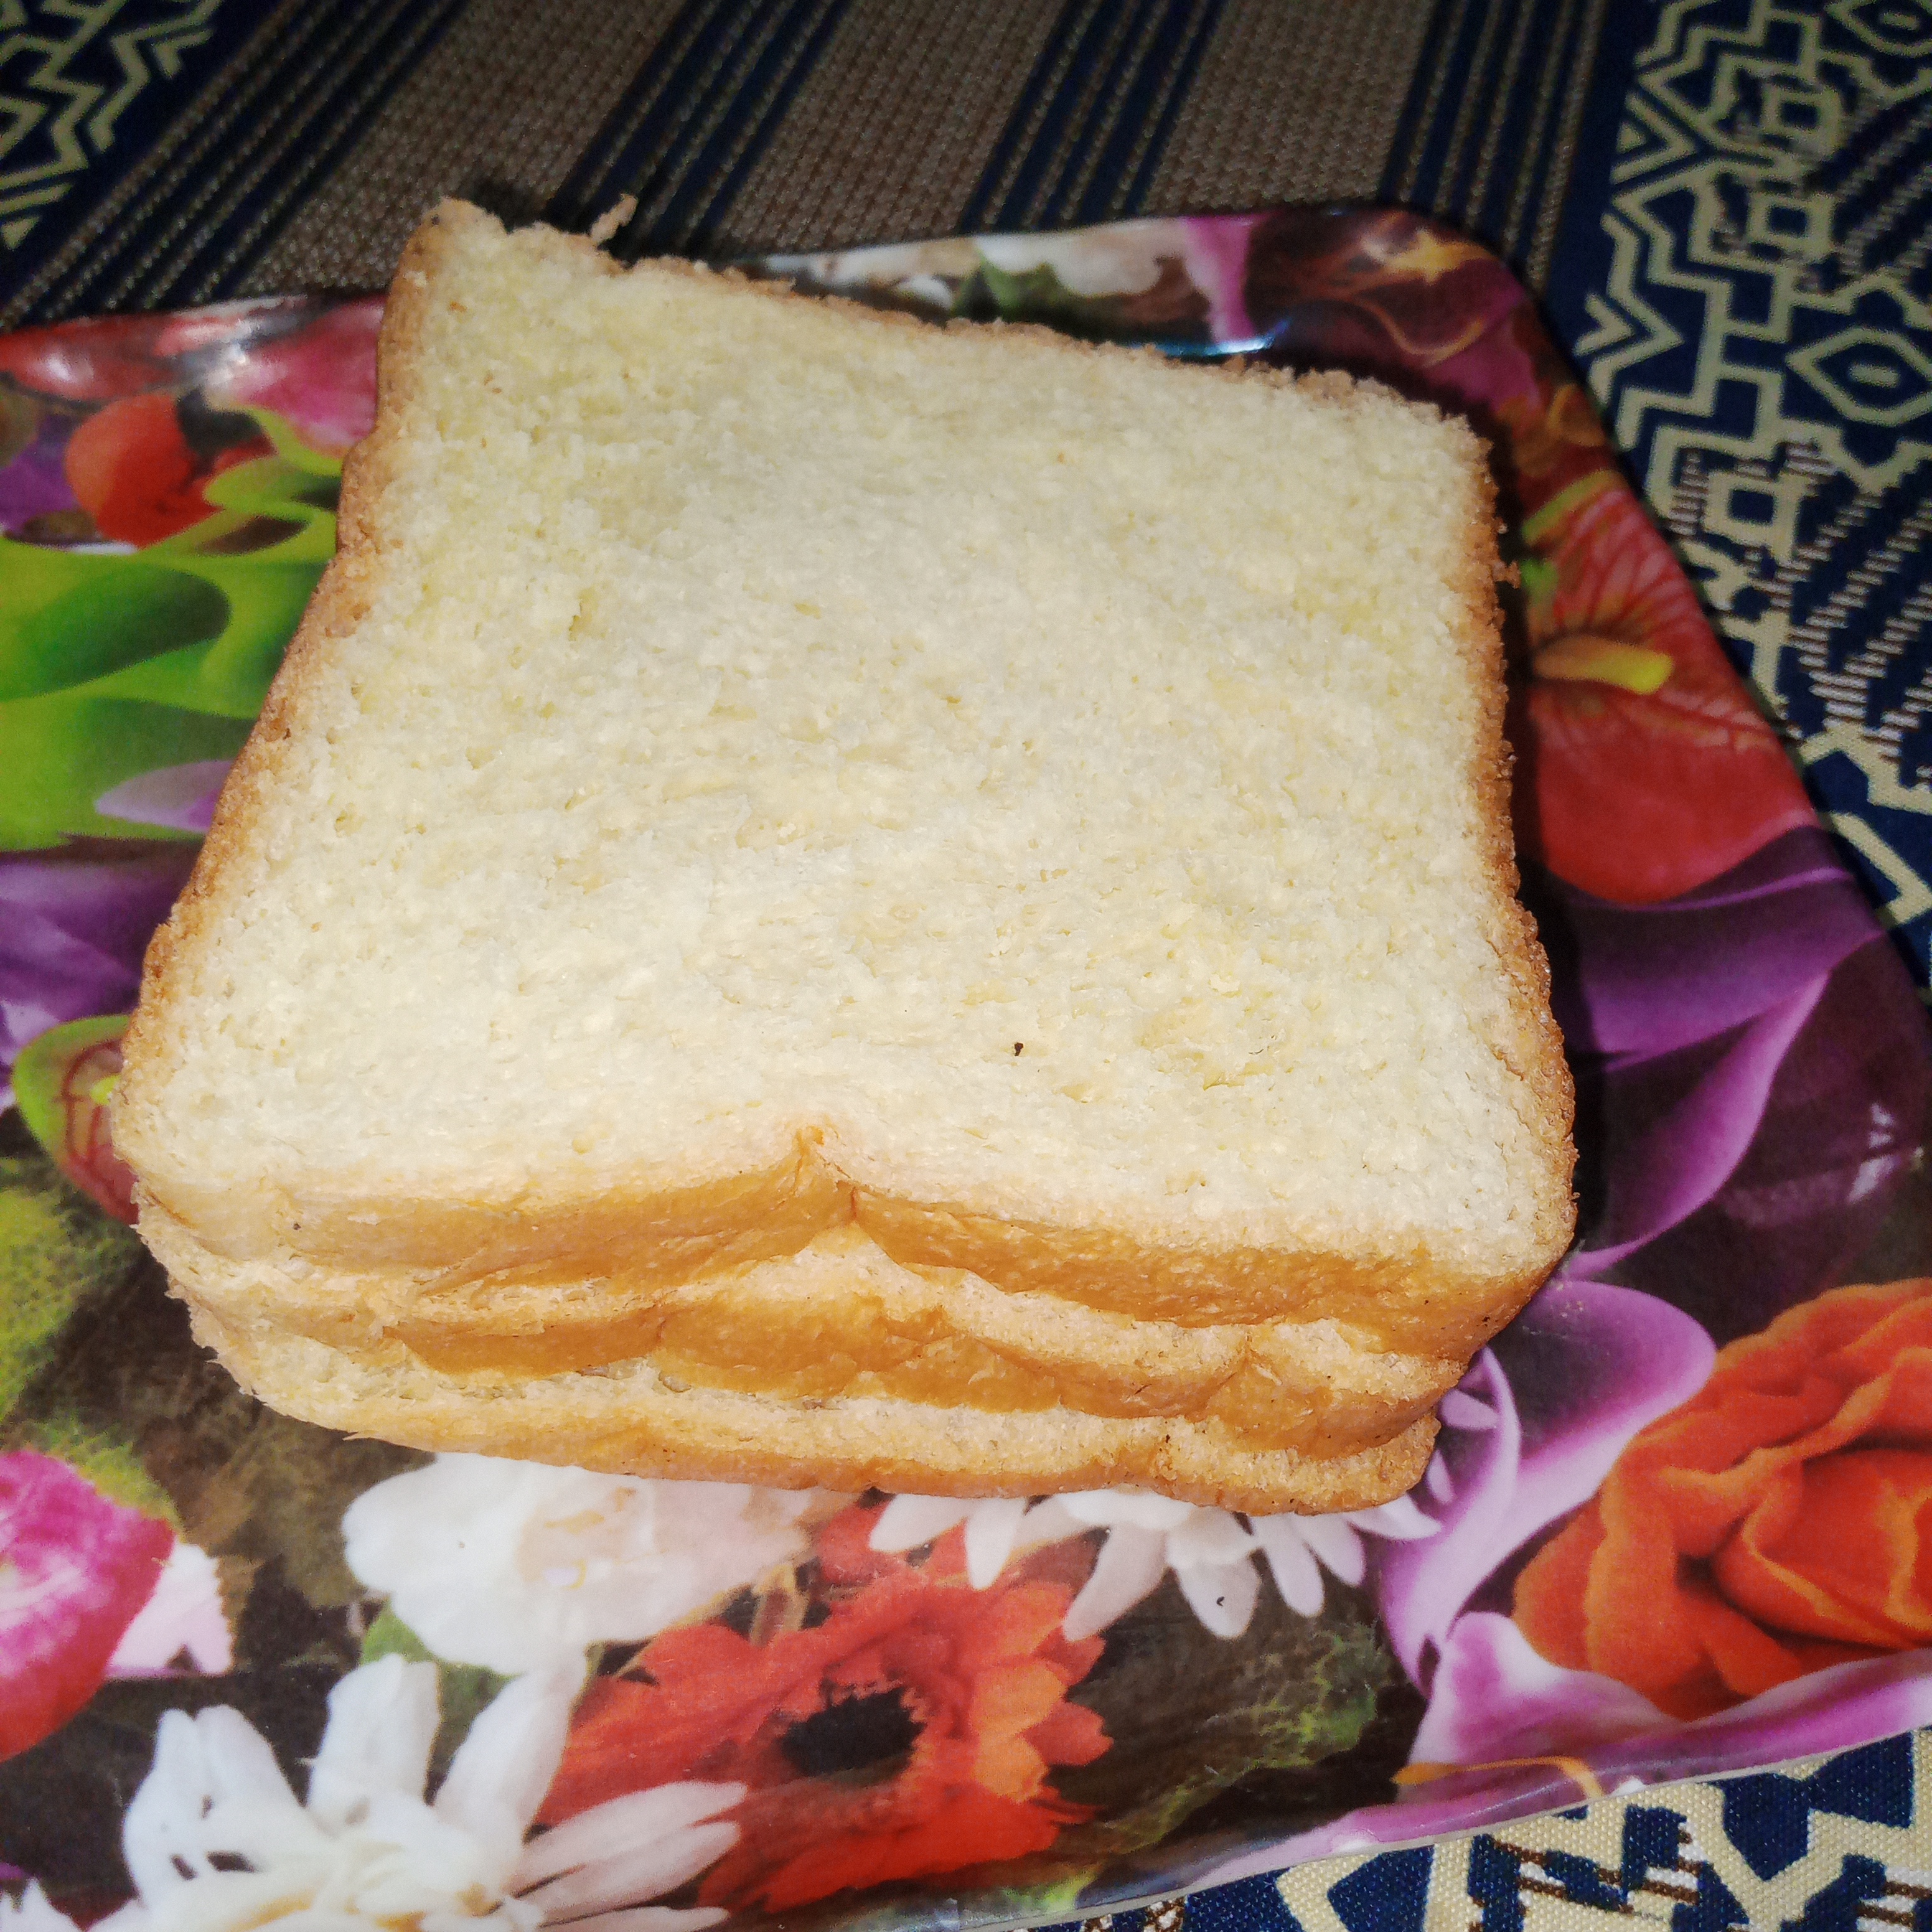
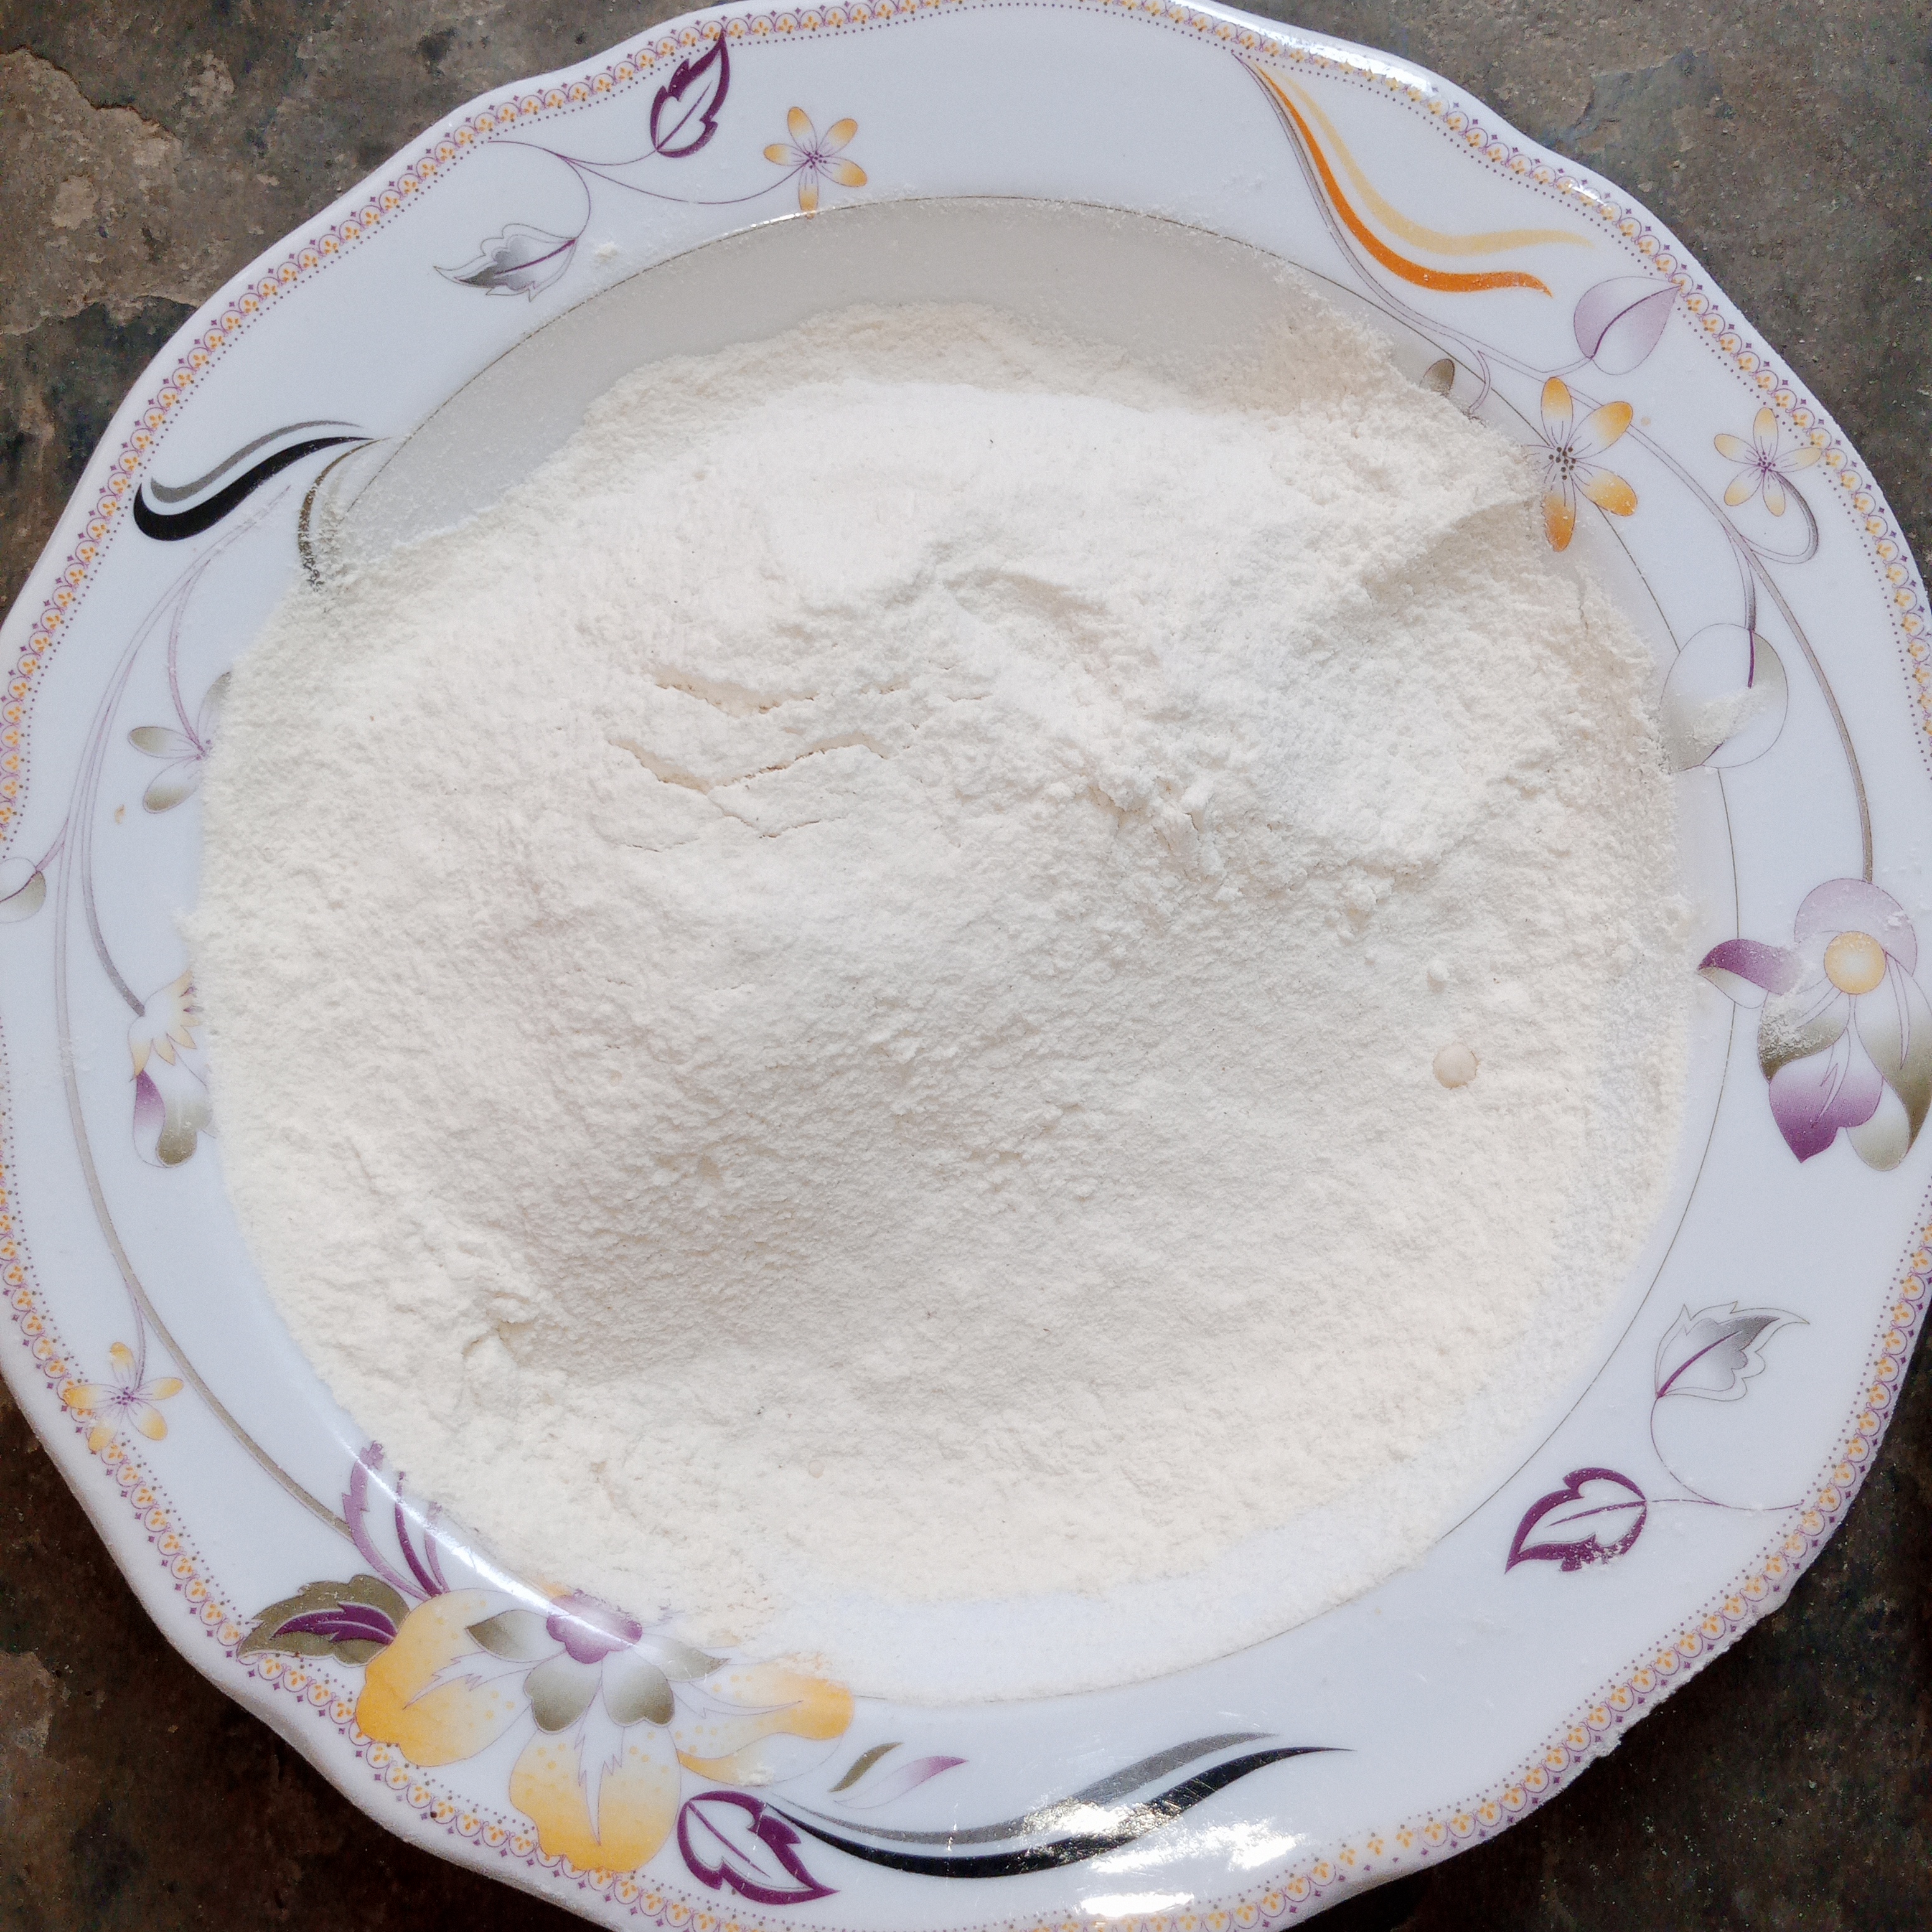
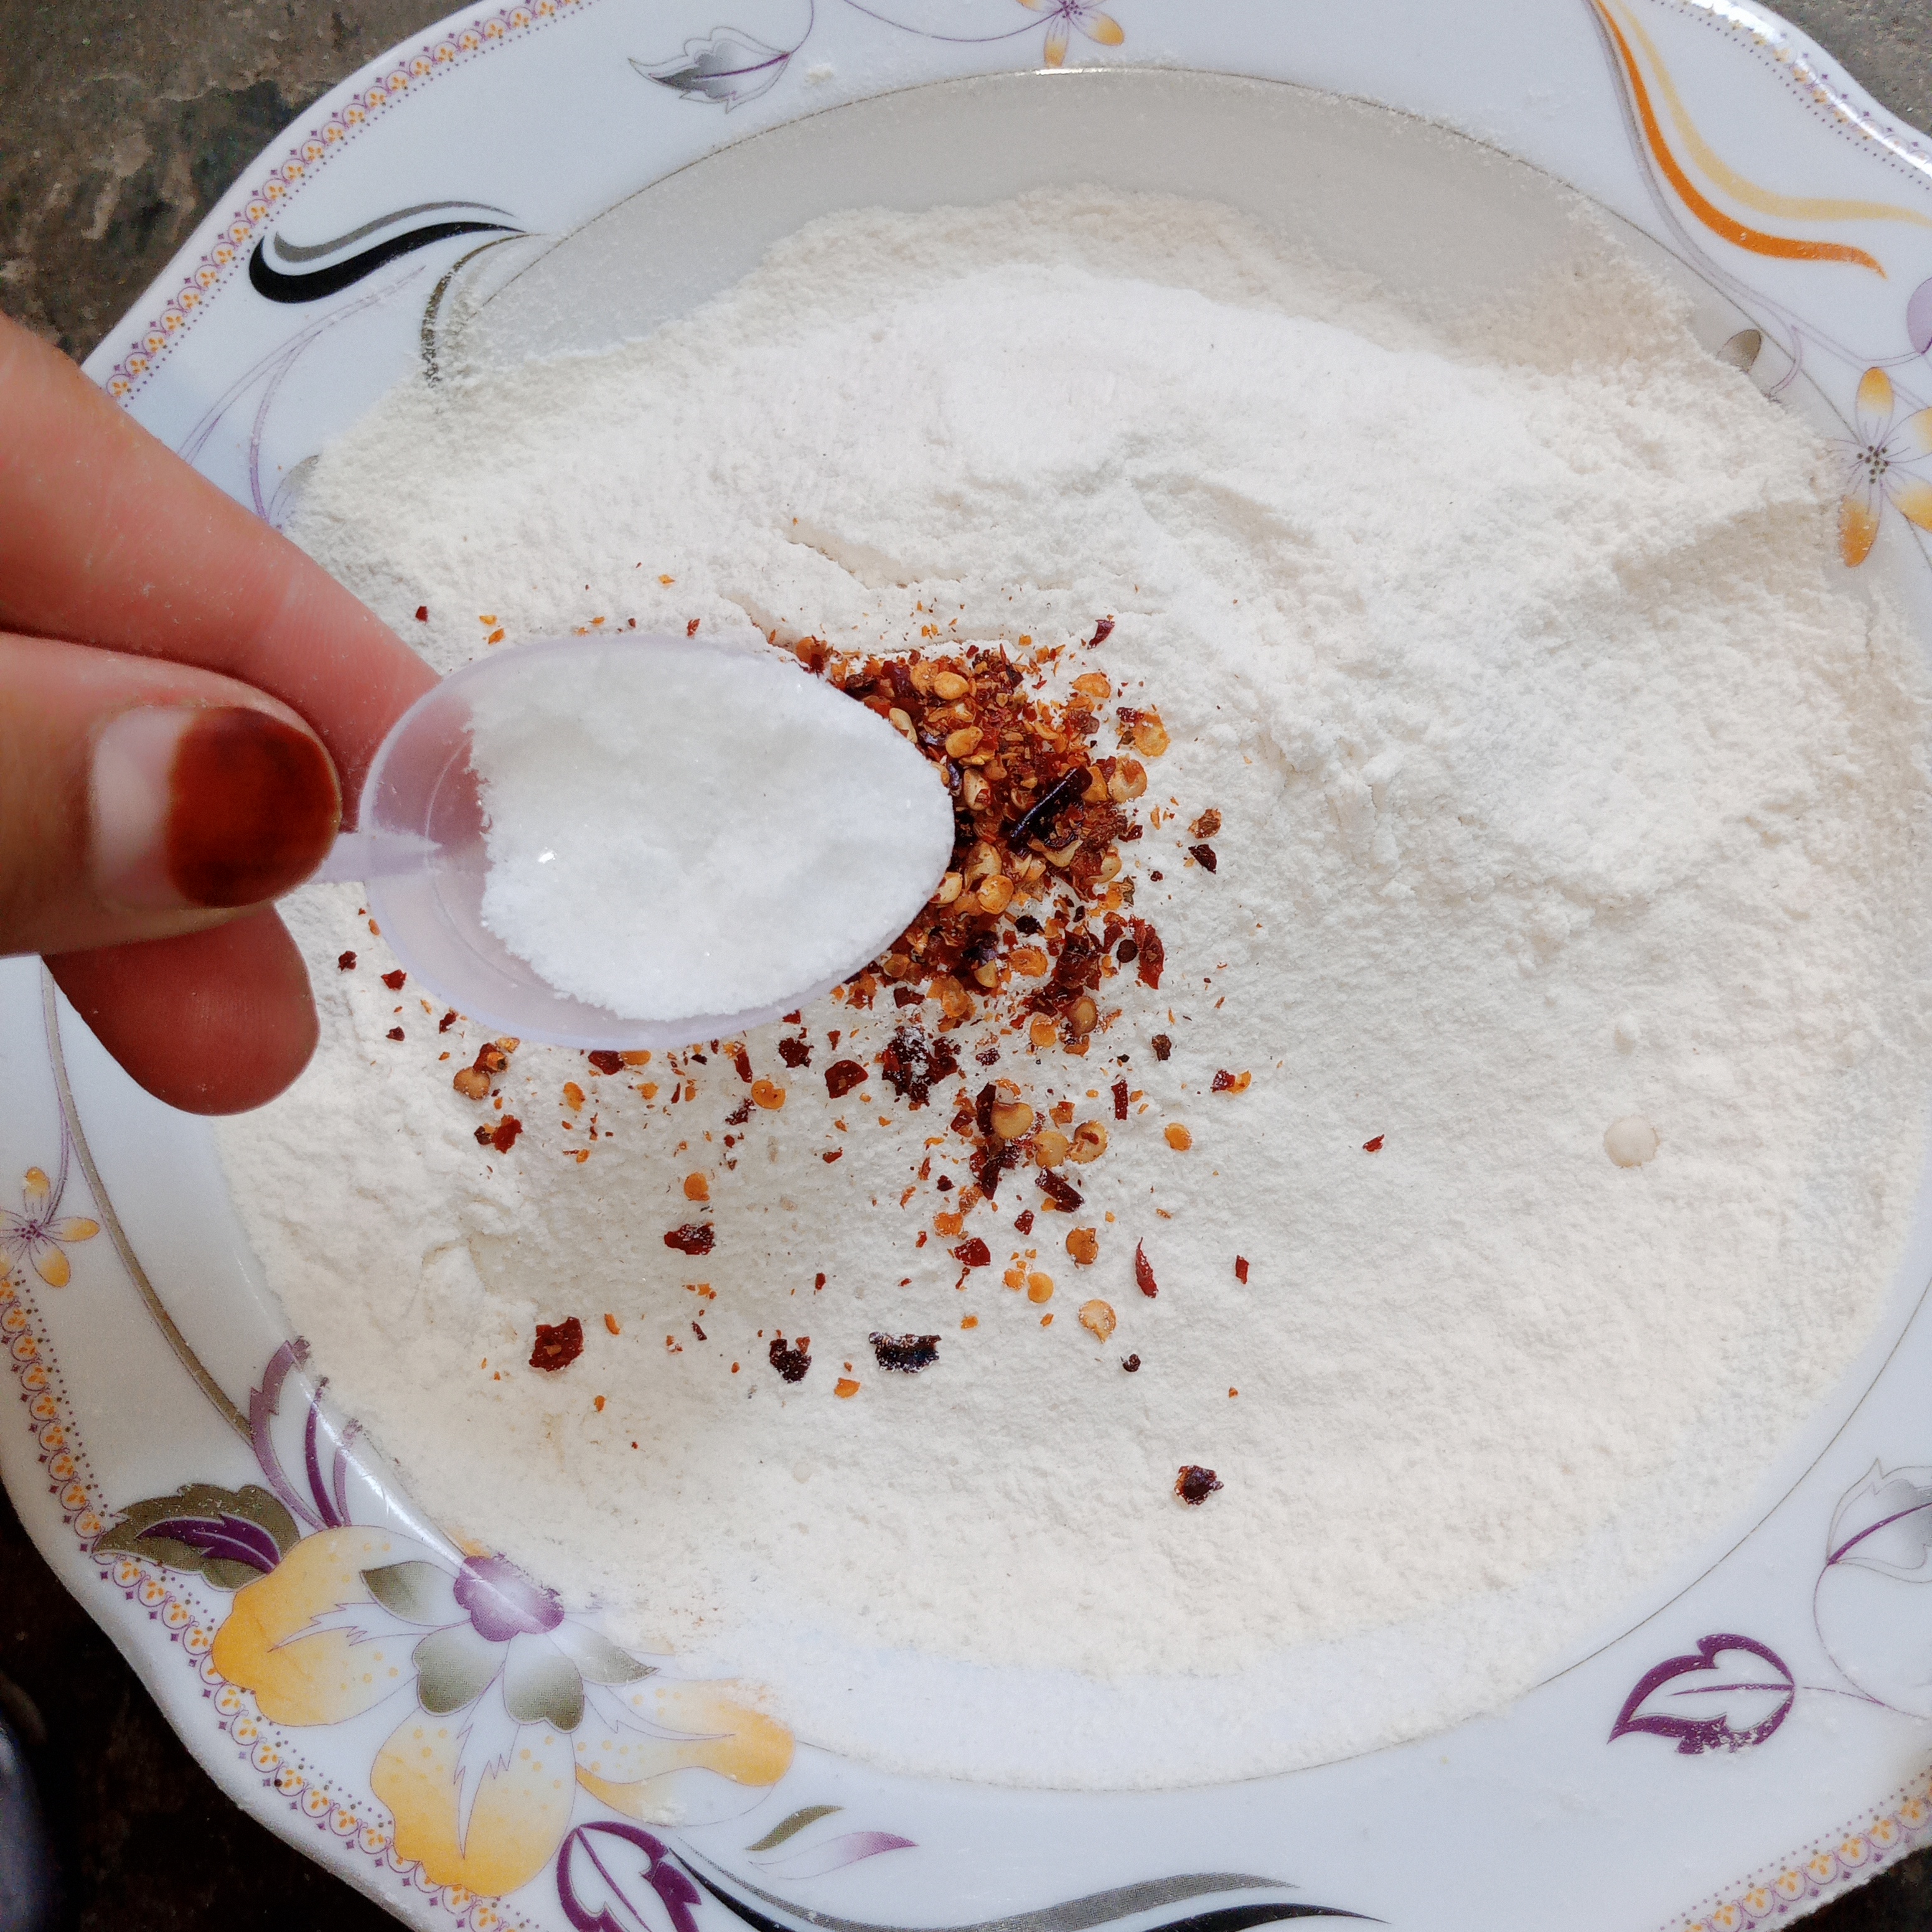
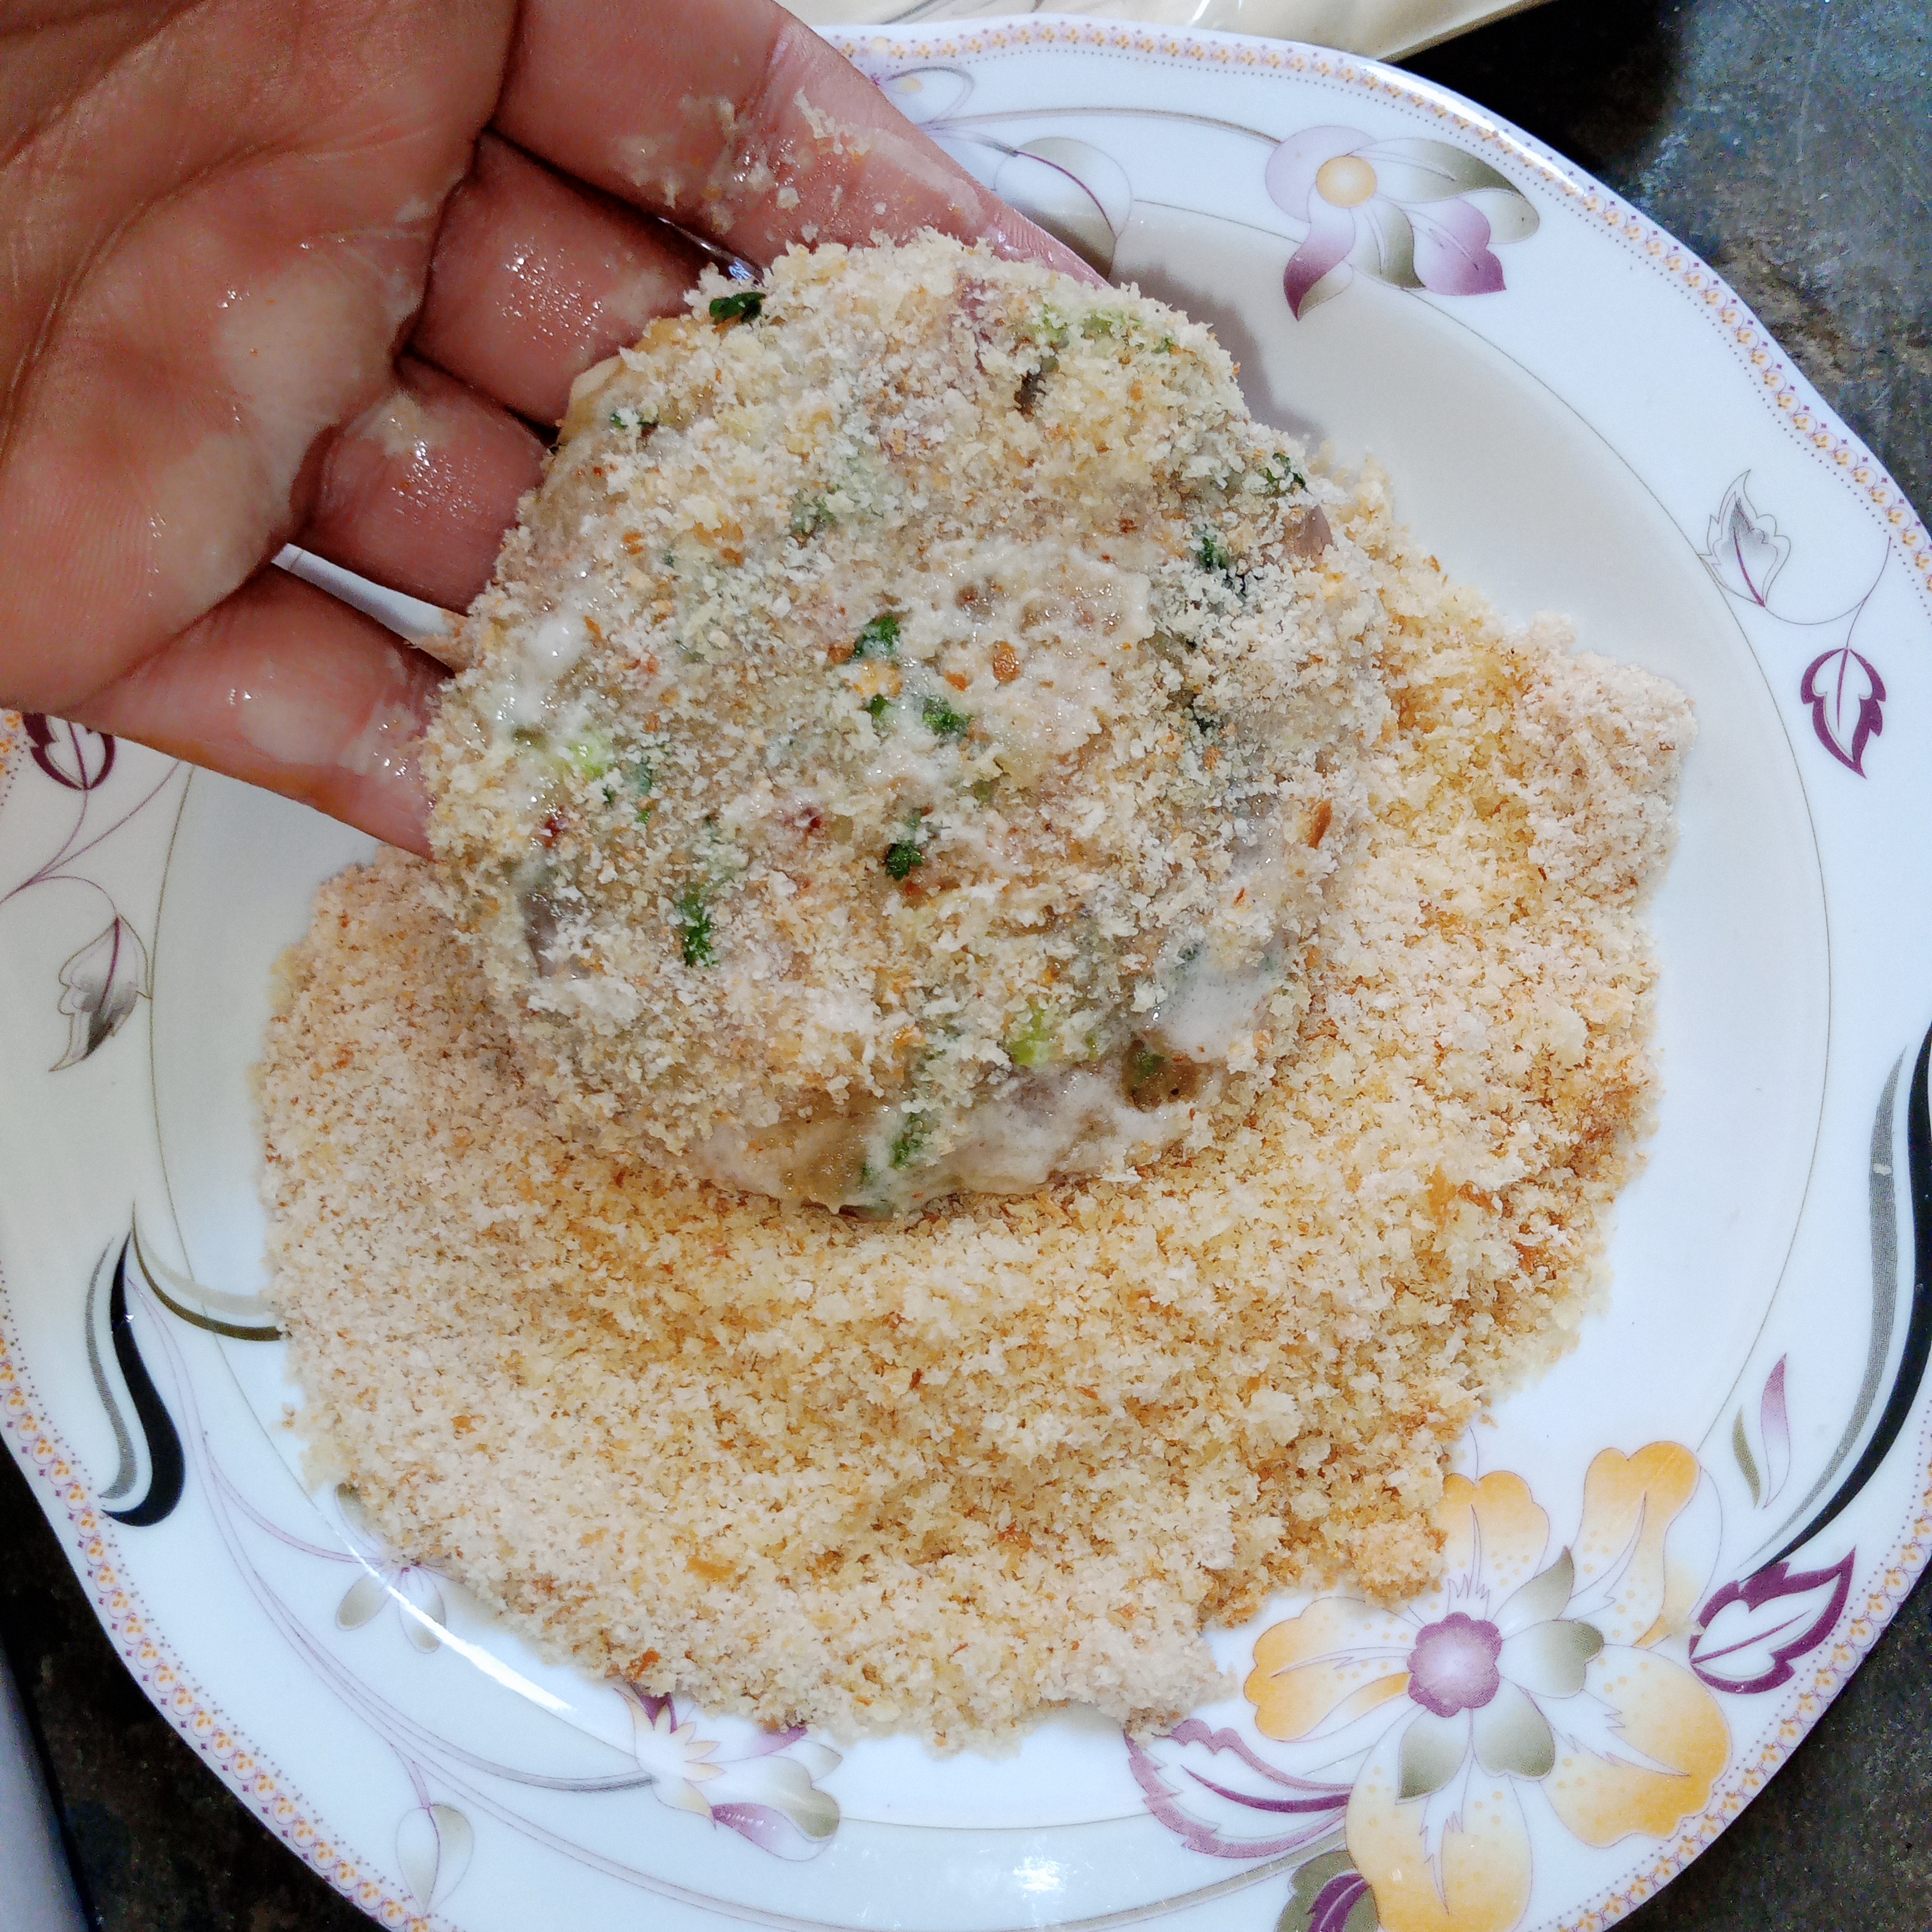
Step 6: Coating and frying prep: |
|---|
When it was time to fry. Guys I started by preparing the coating. I took some bread slices and blended them until. They turned into breadcrumbs. Next I took separate plate with flour for coat. In flour I add two teaspoons of chili flakes and one teaspoon of salt. Mix it well to make lightly spice coat mixture. Guys this would help give the tikkis a nice crispy 😋 layer. With everything ready. I was all coat the tikkis and move on to frying guys.
 |
|---|
 |
|---|
 |
|---|
 |
|---|
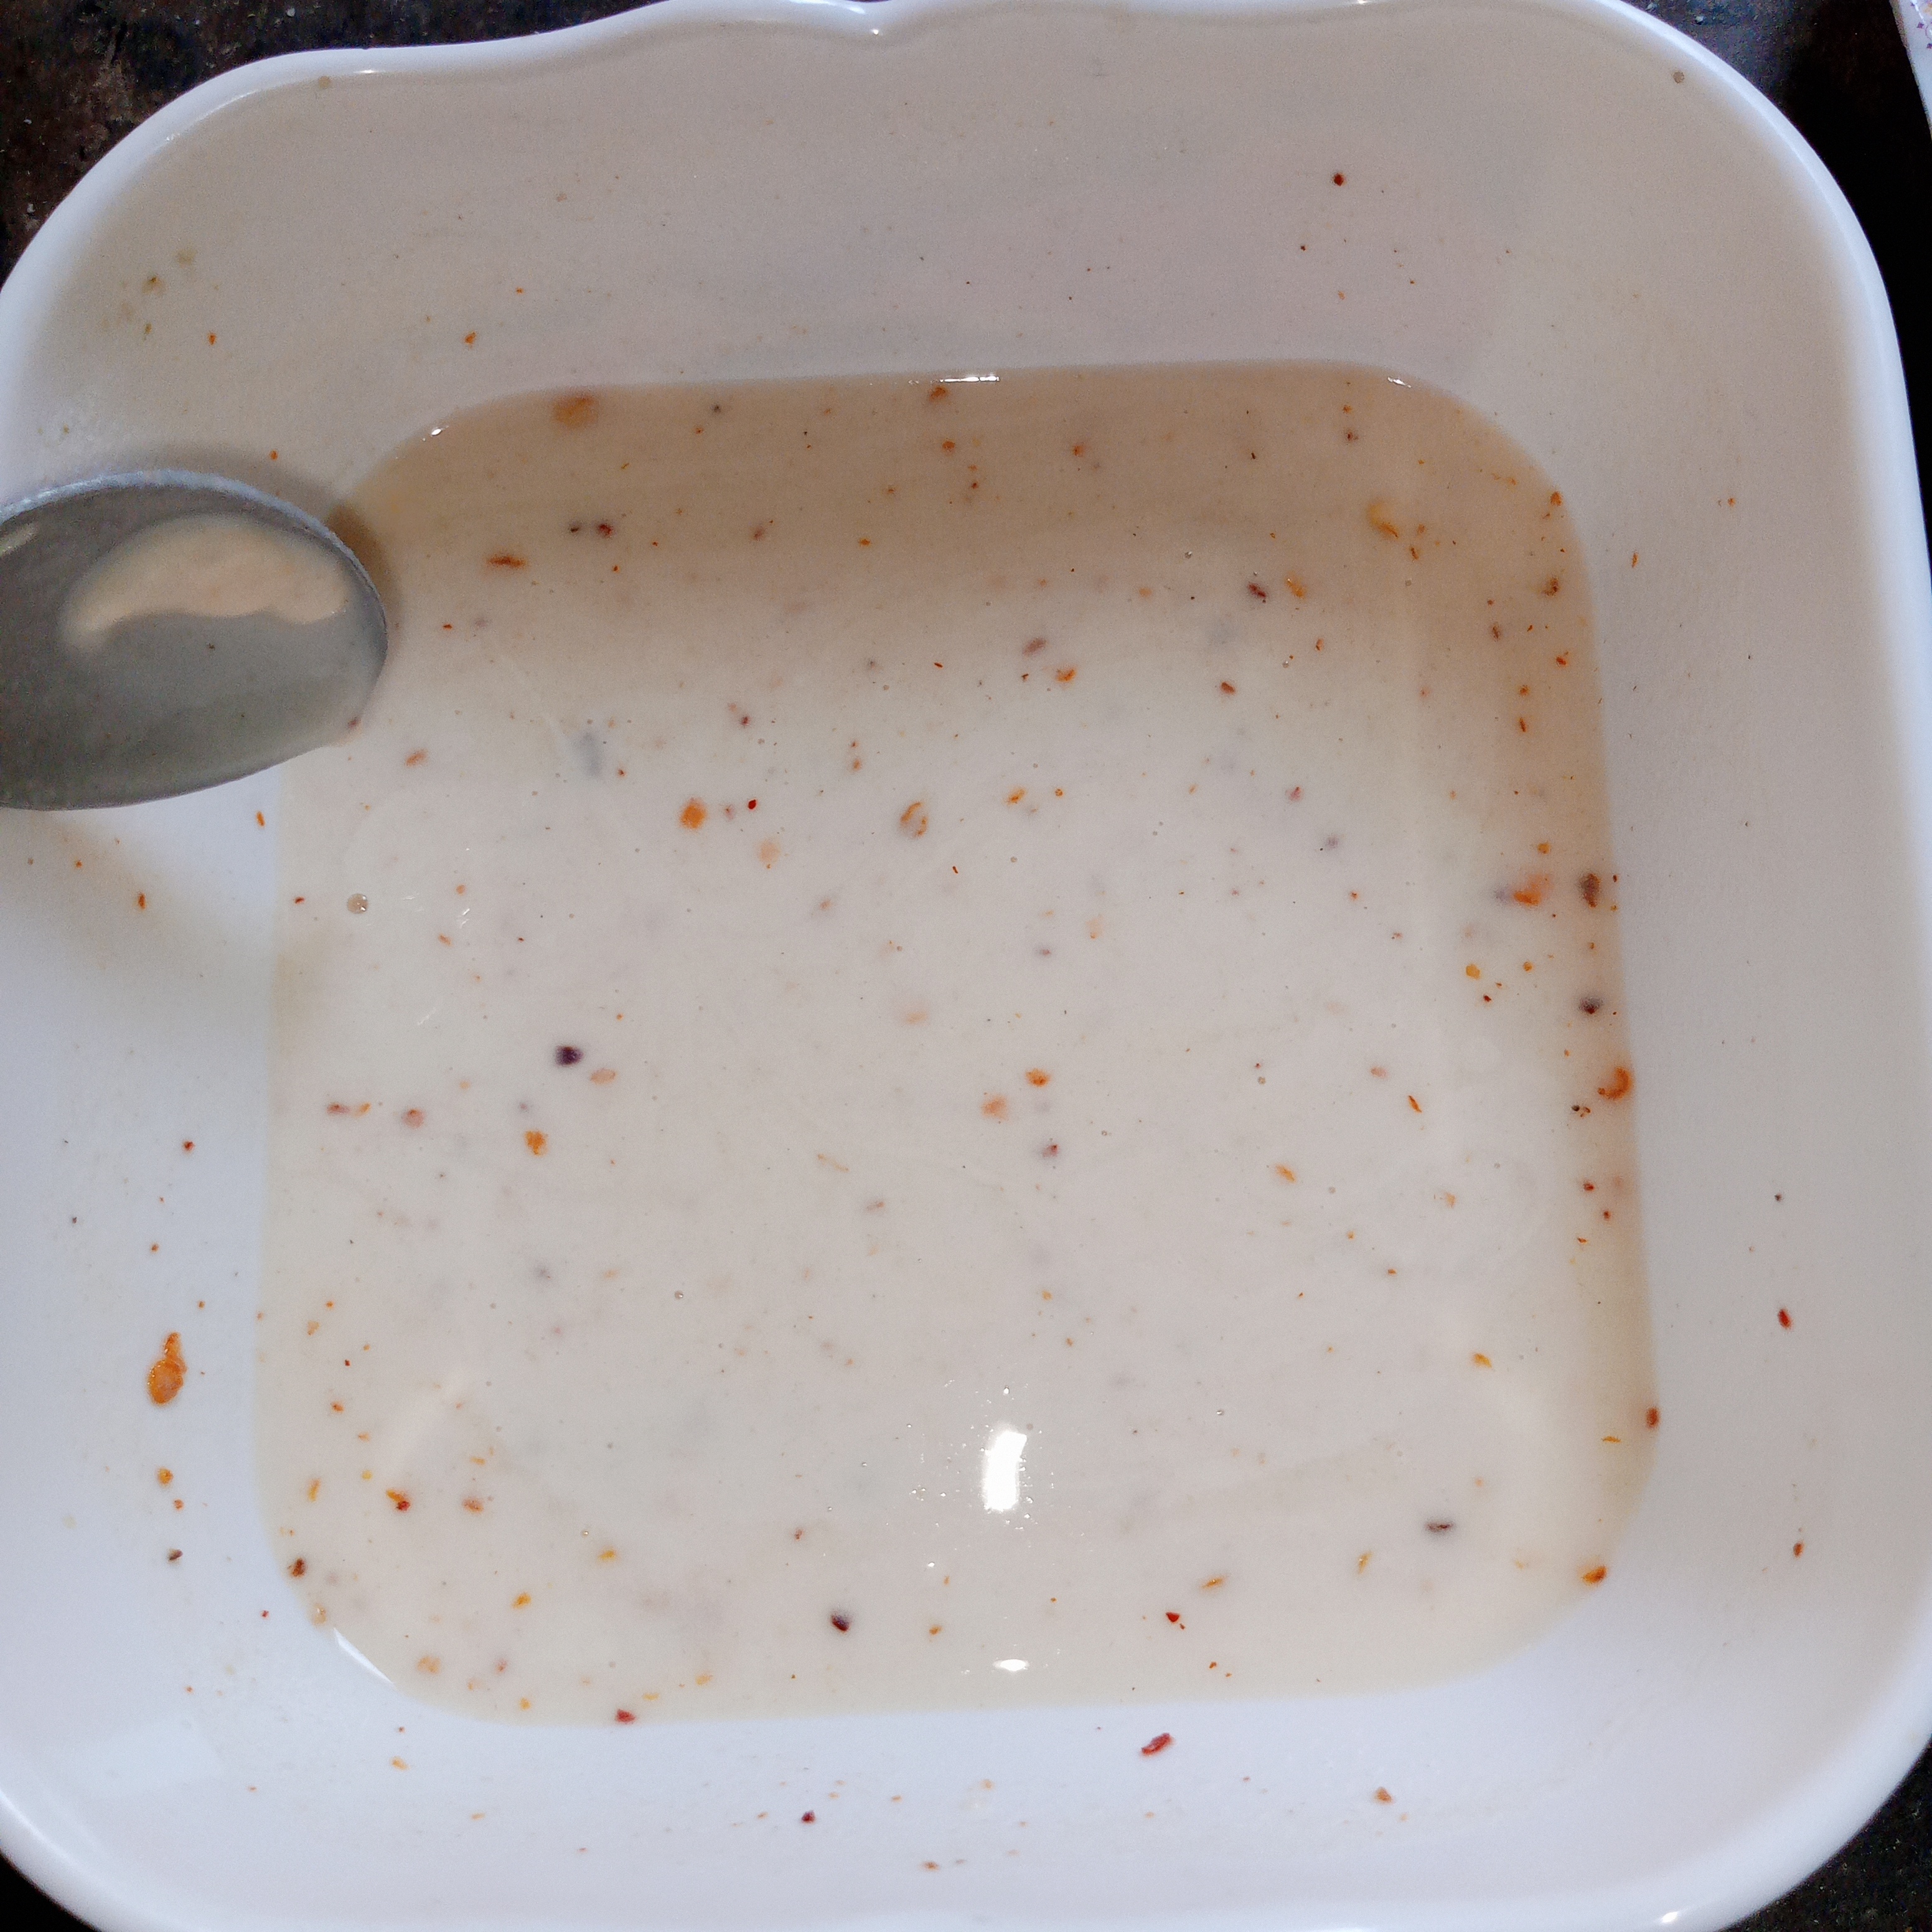
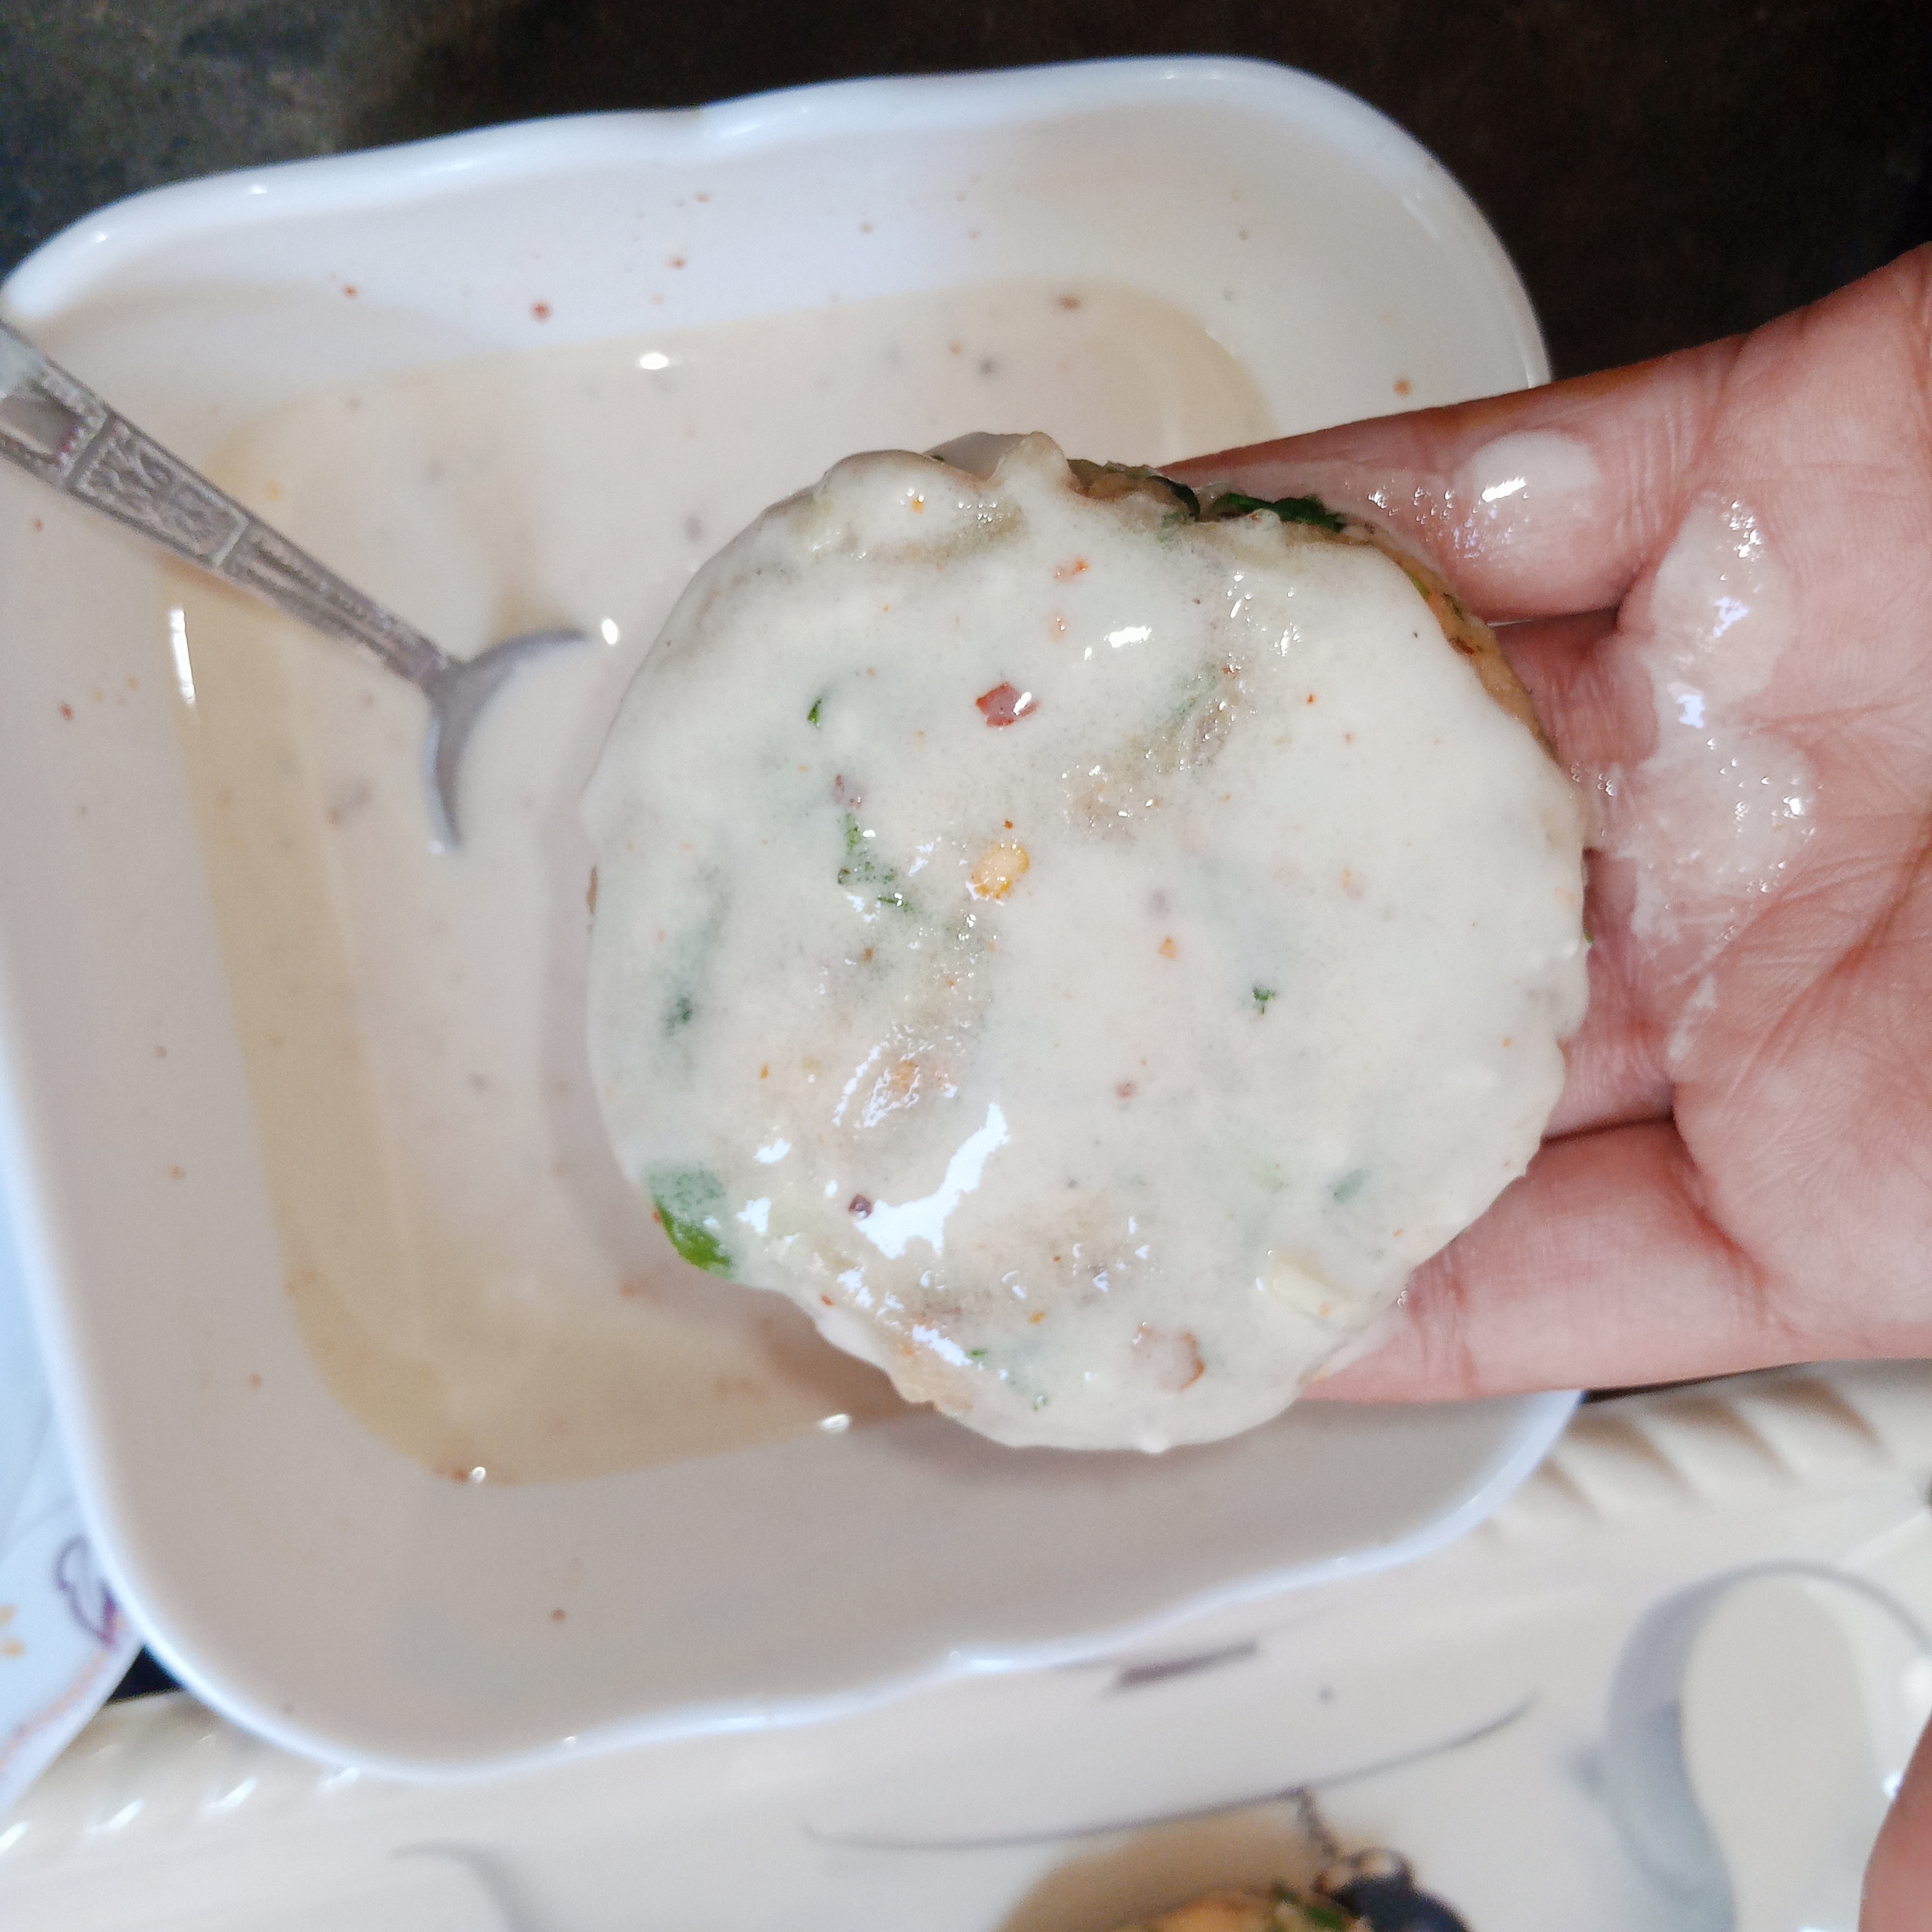
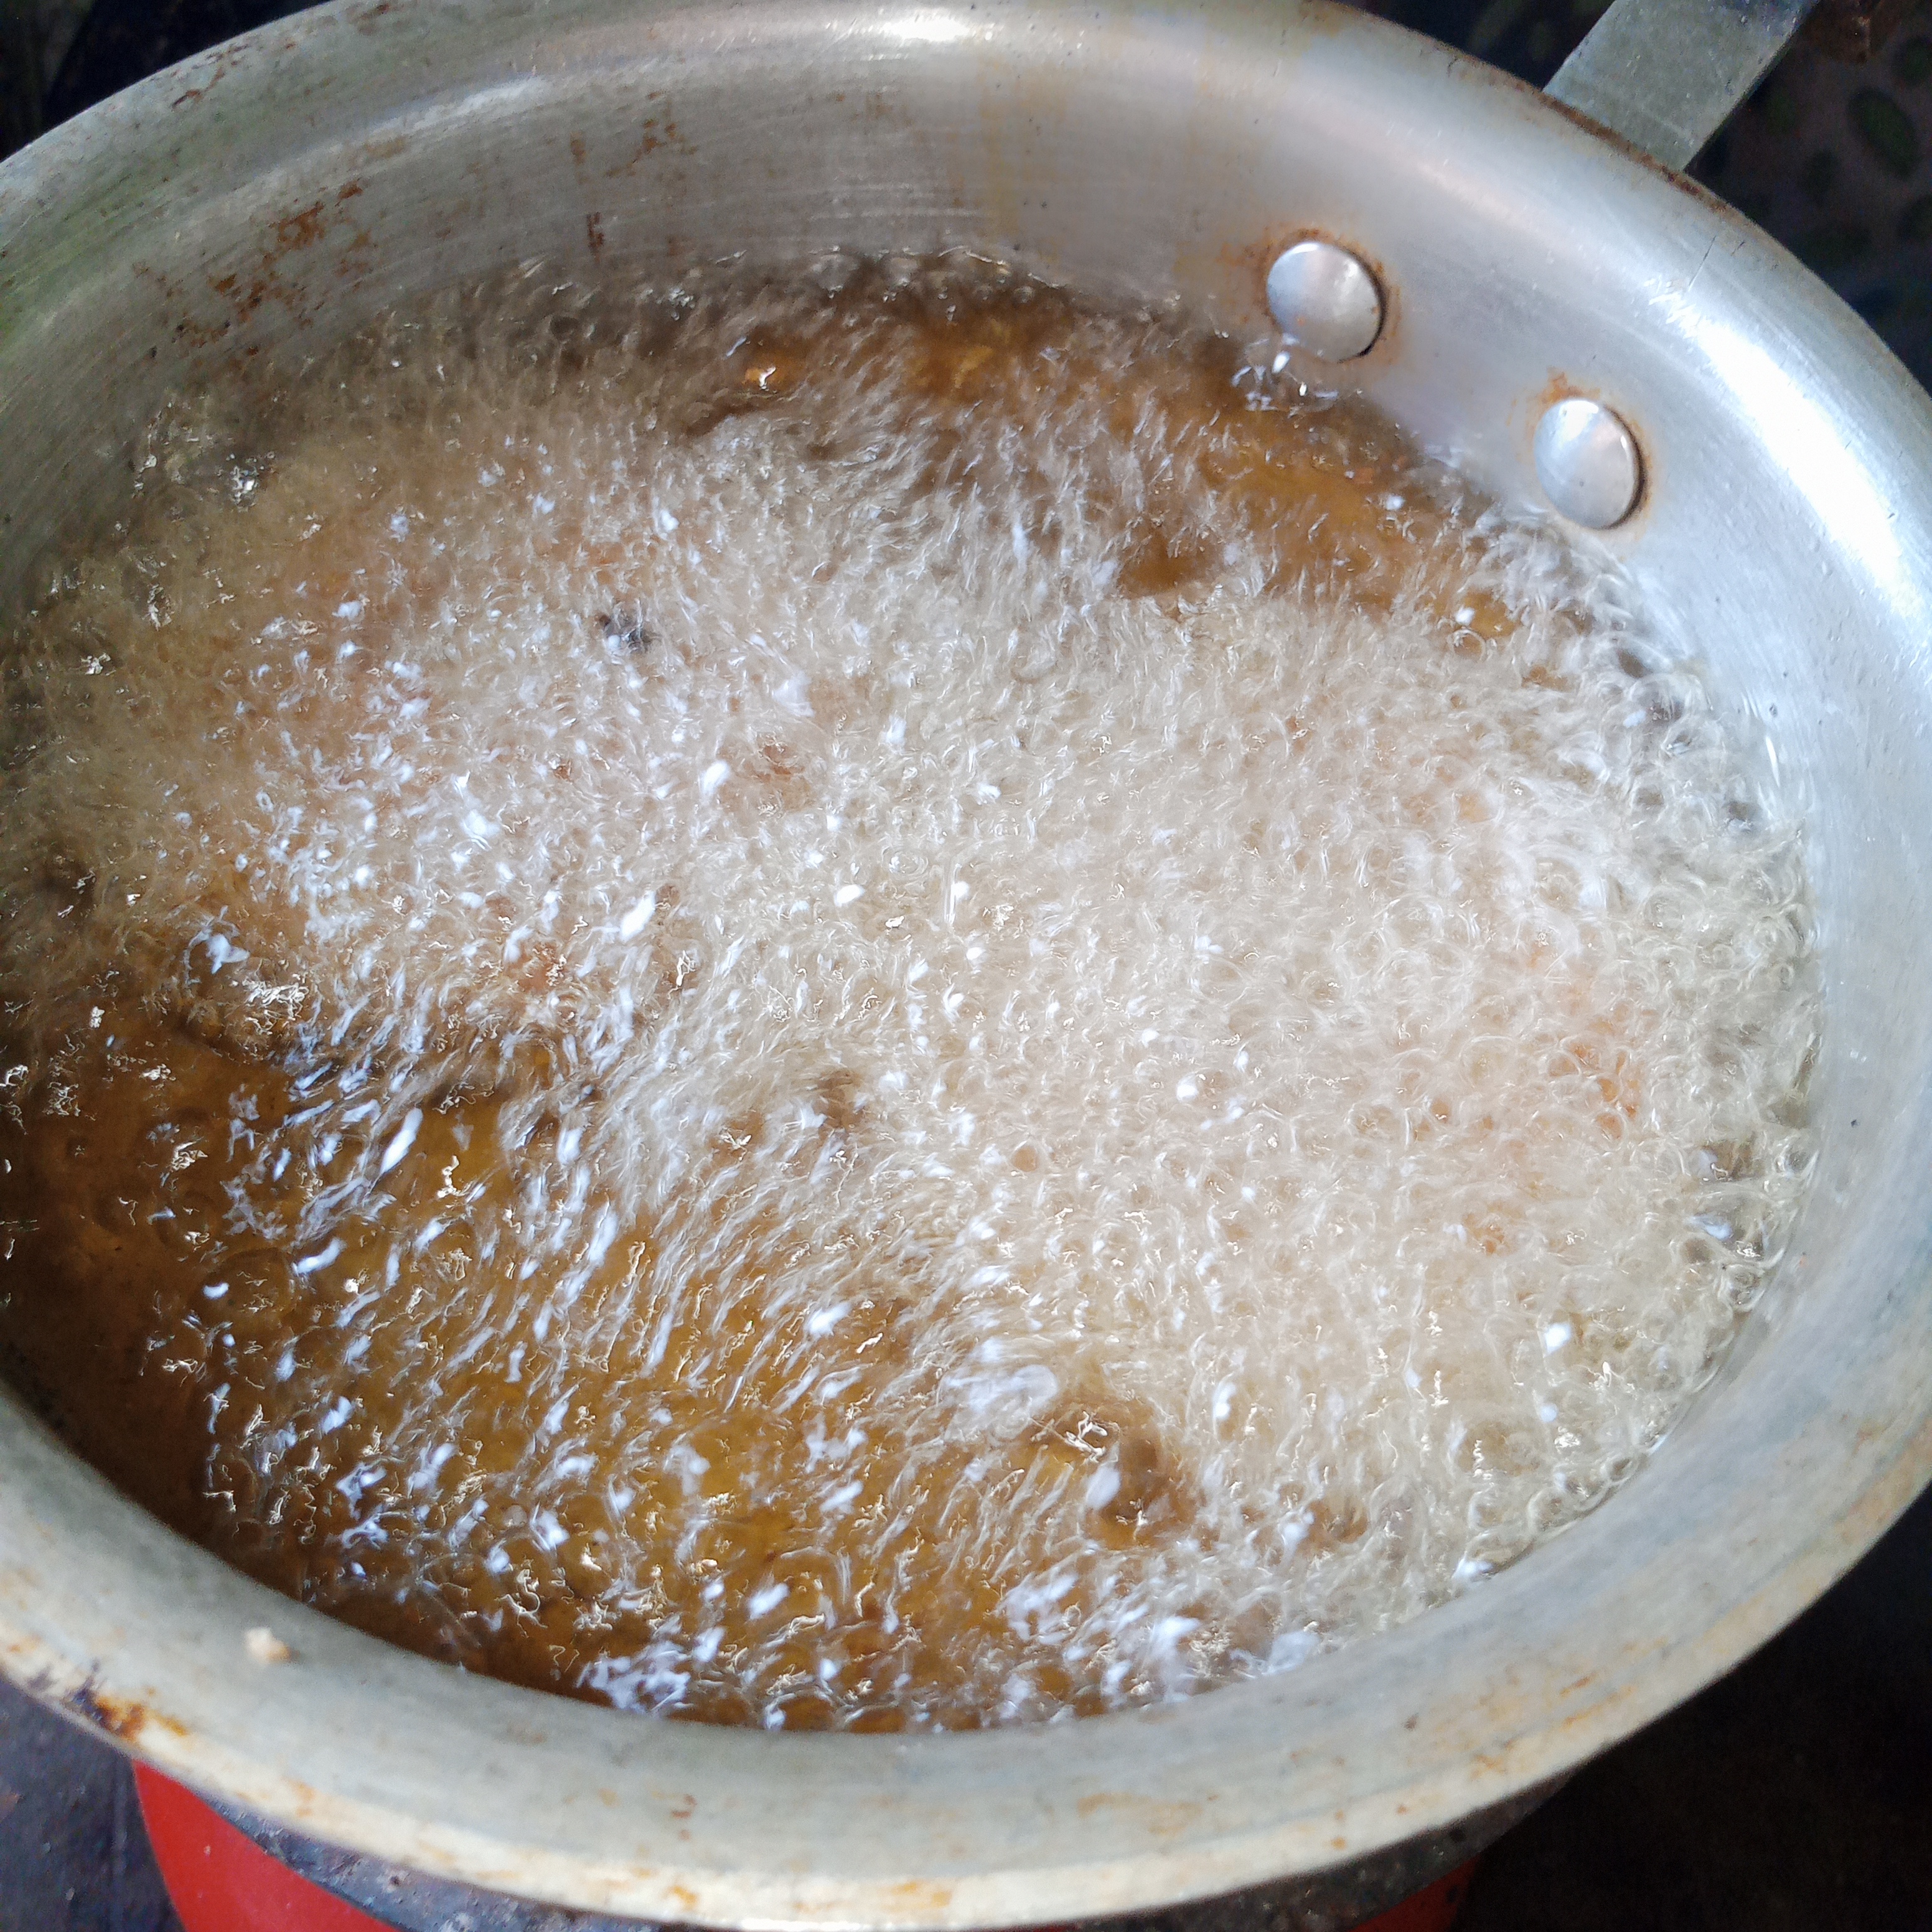
Step 7: Frying the tikkis: |
|---|
To fry this tikki I place pan on stove and turned heat on. I add some ghee and let it heat properly. While ghee was warming up. I took each tikki one by one. First I coat it in season flour mixture. Then rolled it in the breadcrumbs so it got nice layer. I place all coated tikki on plate. After that I gently put them into hot pan and fried them on medium heat until both sides turn golden and crispy. Once done I remov them. And repeated same process for all tikkis.
 |
|---|
 |
|---|
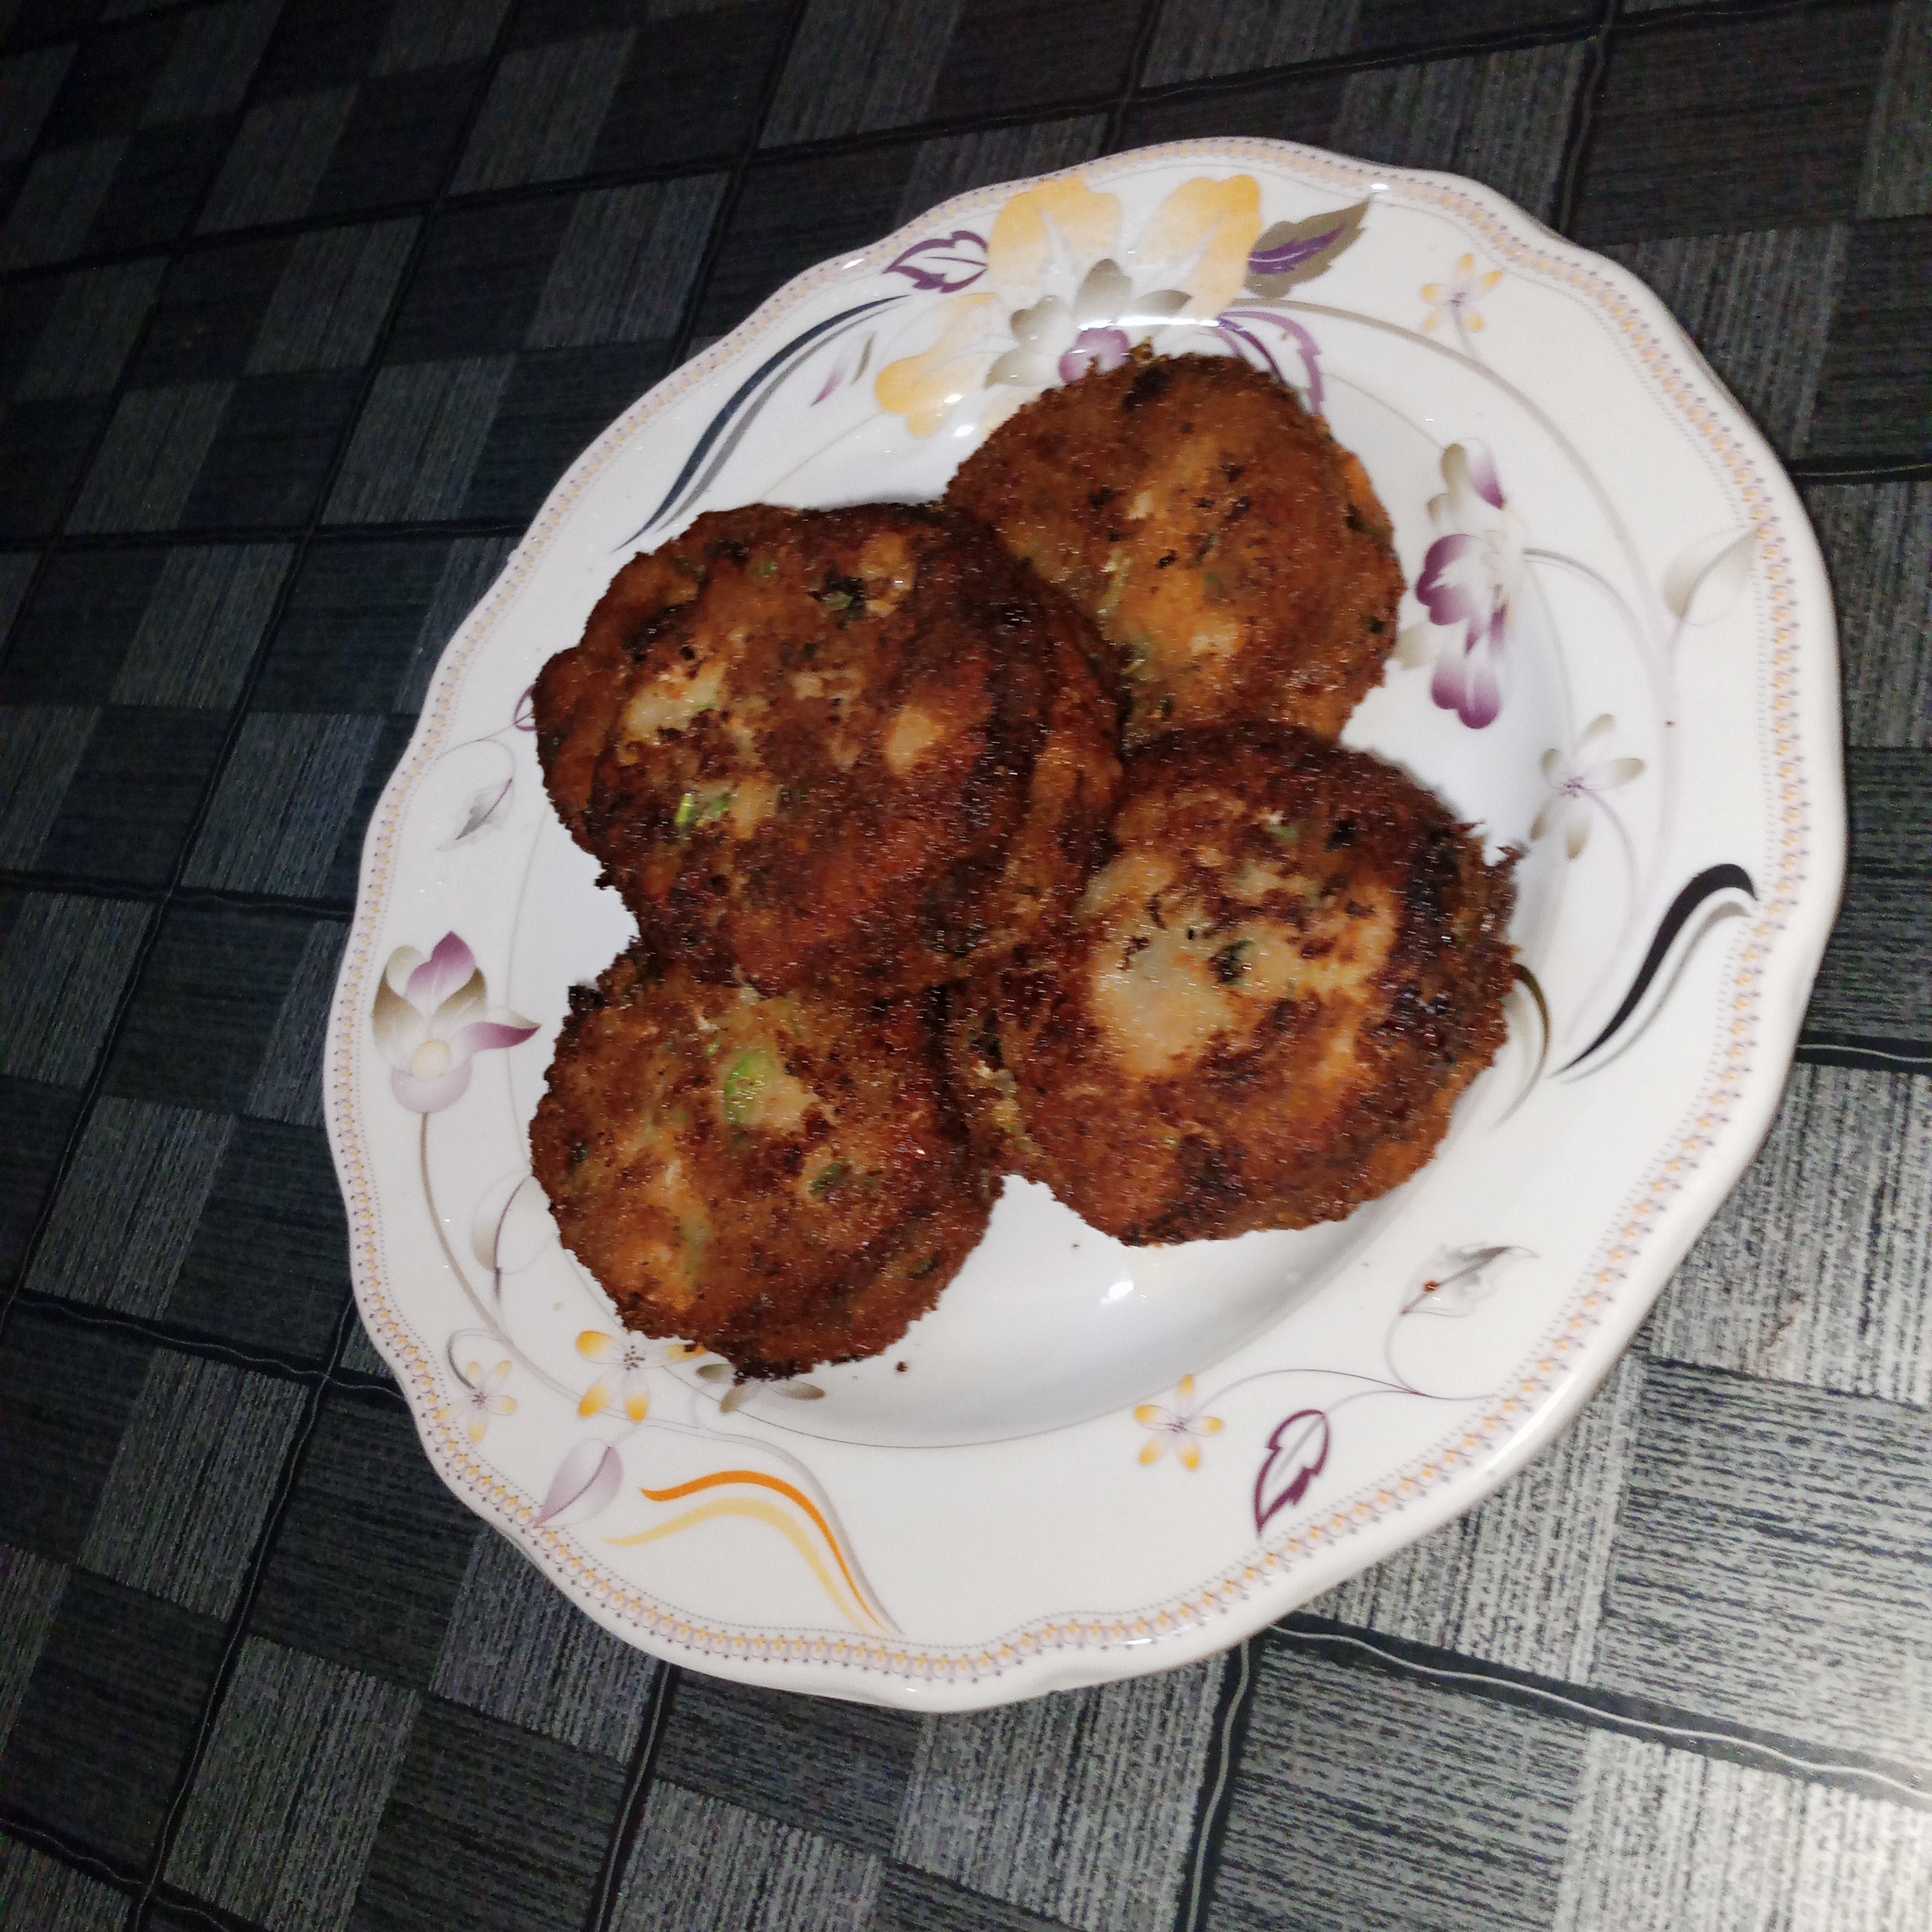
Final picture: |
|---|
 |
|---|
 |
|---|
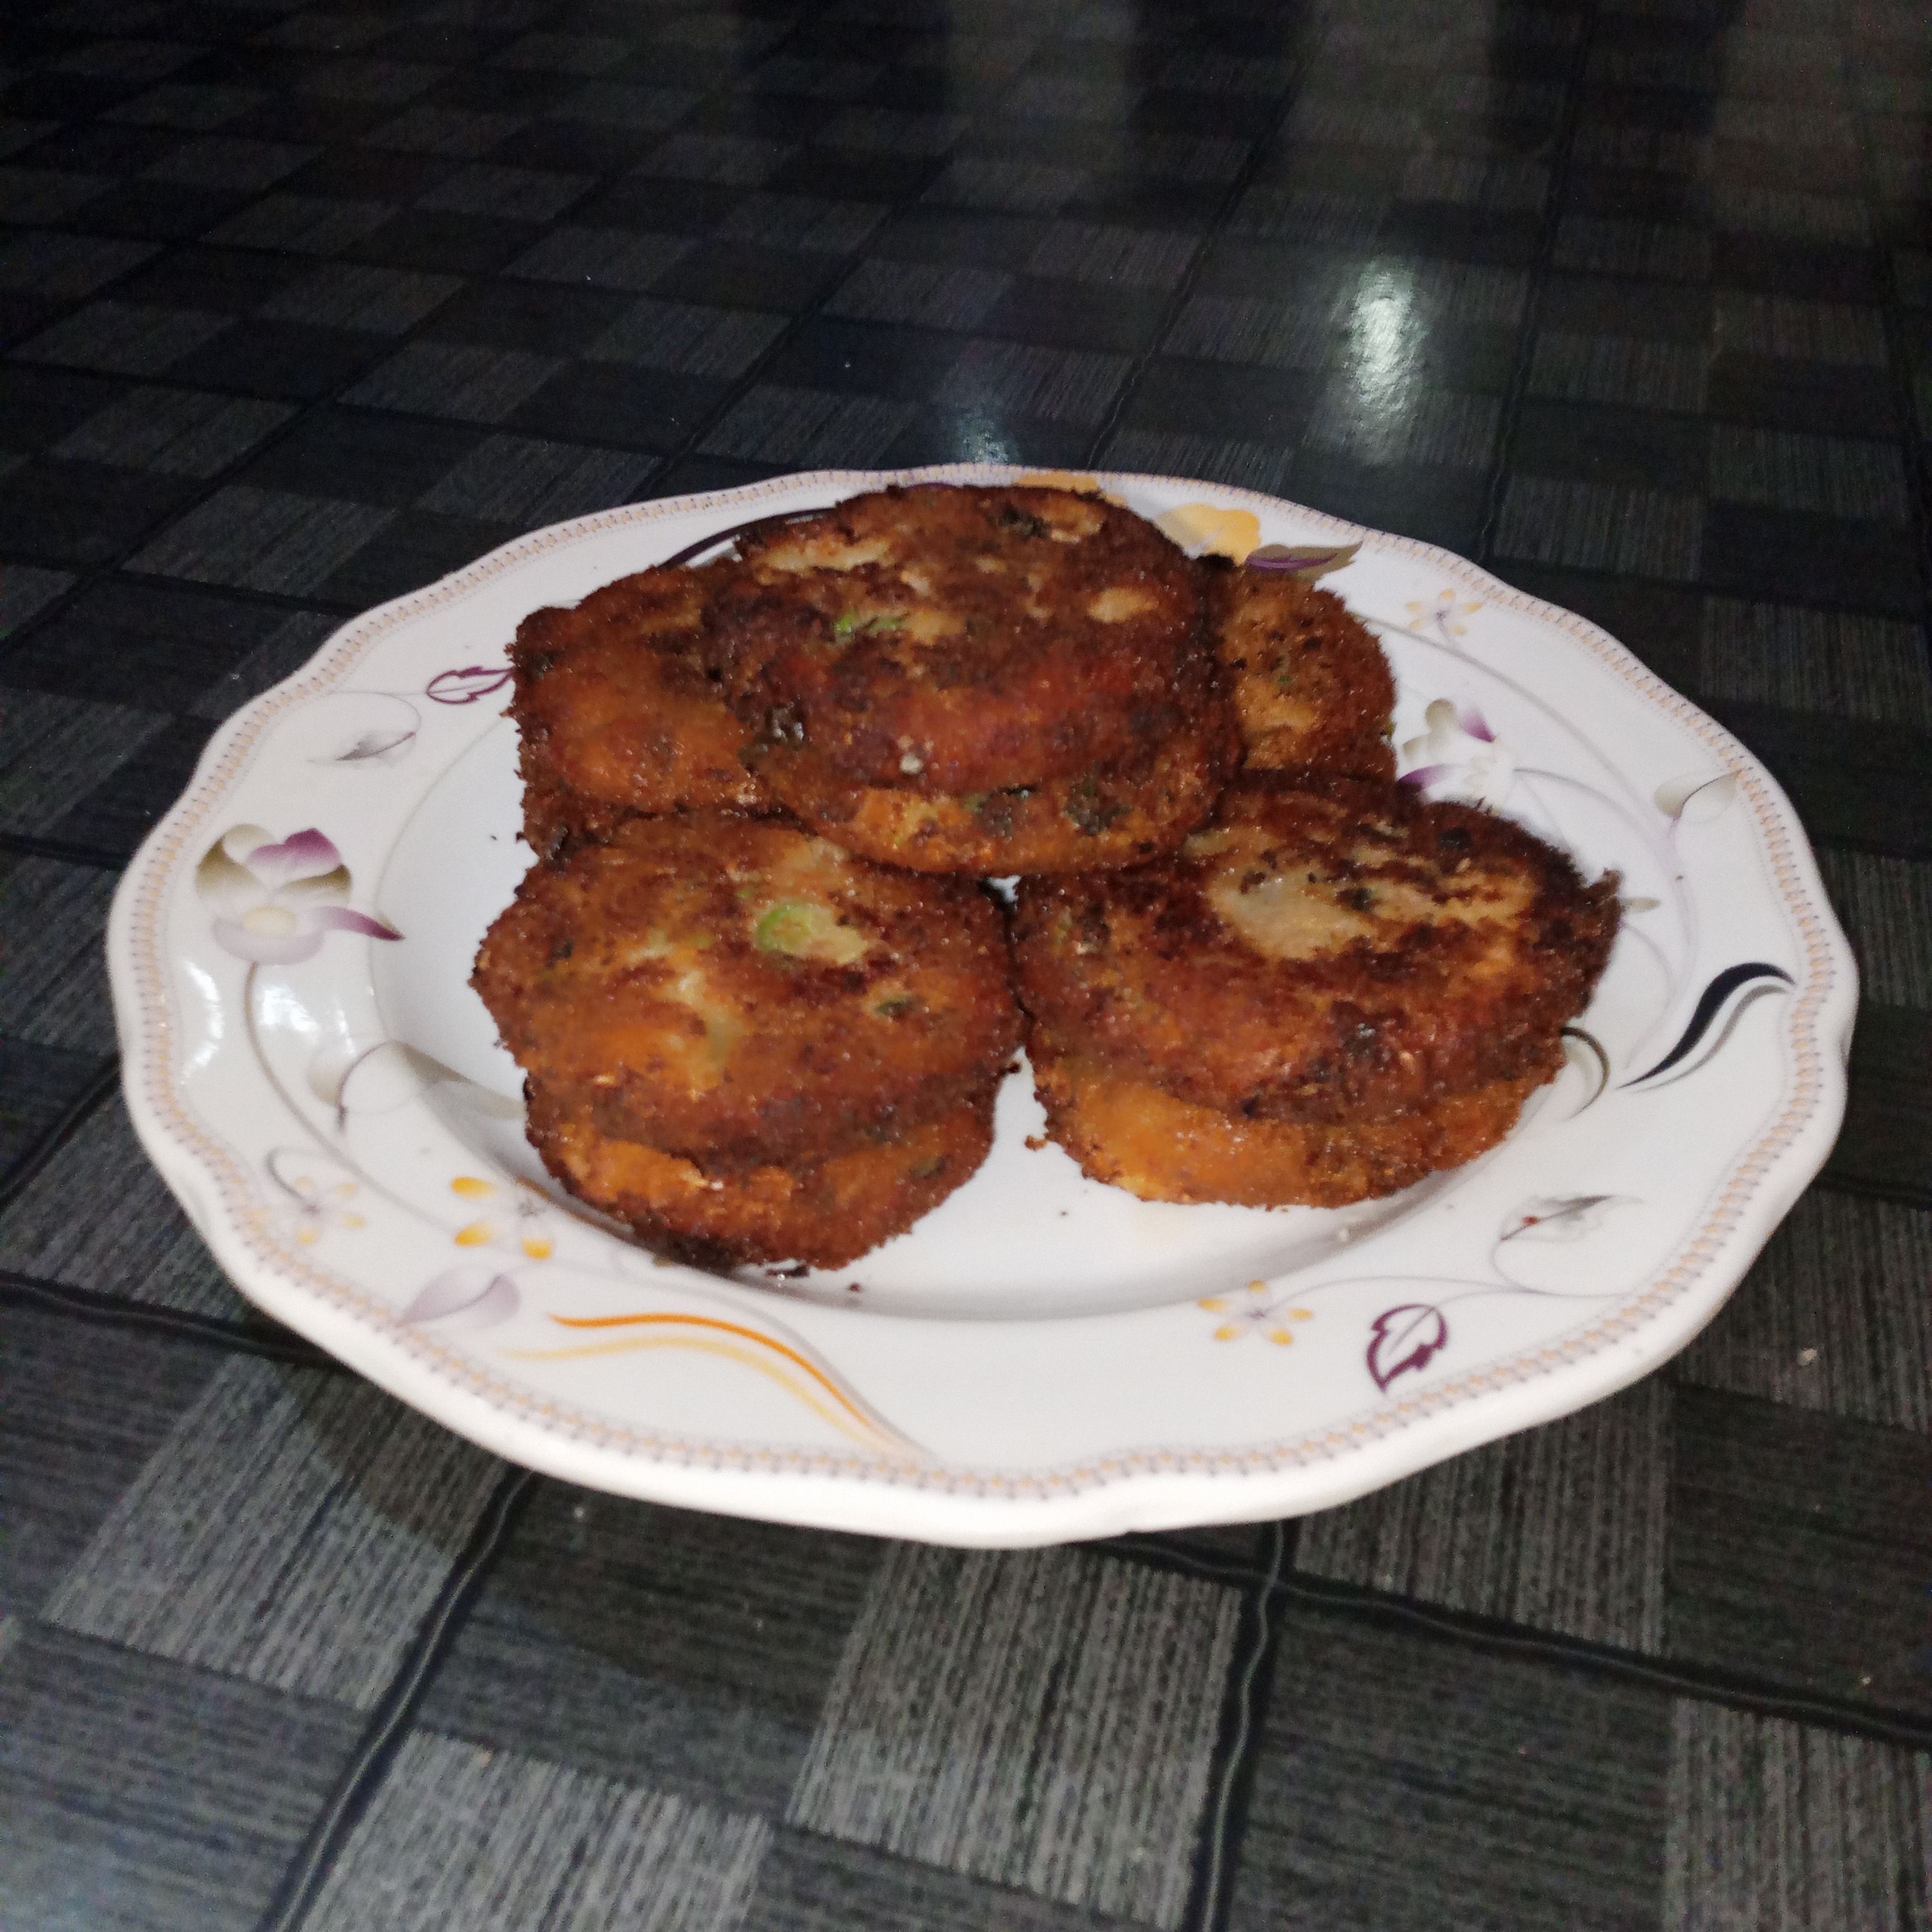
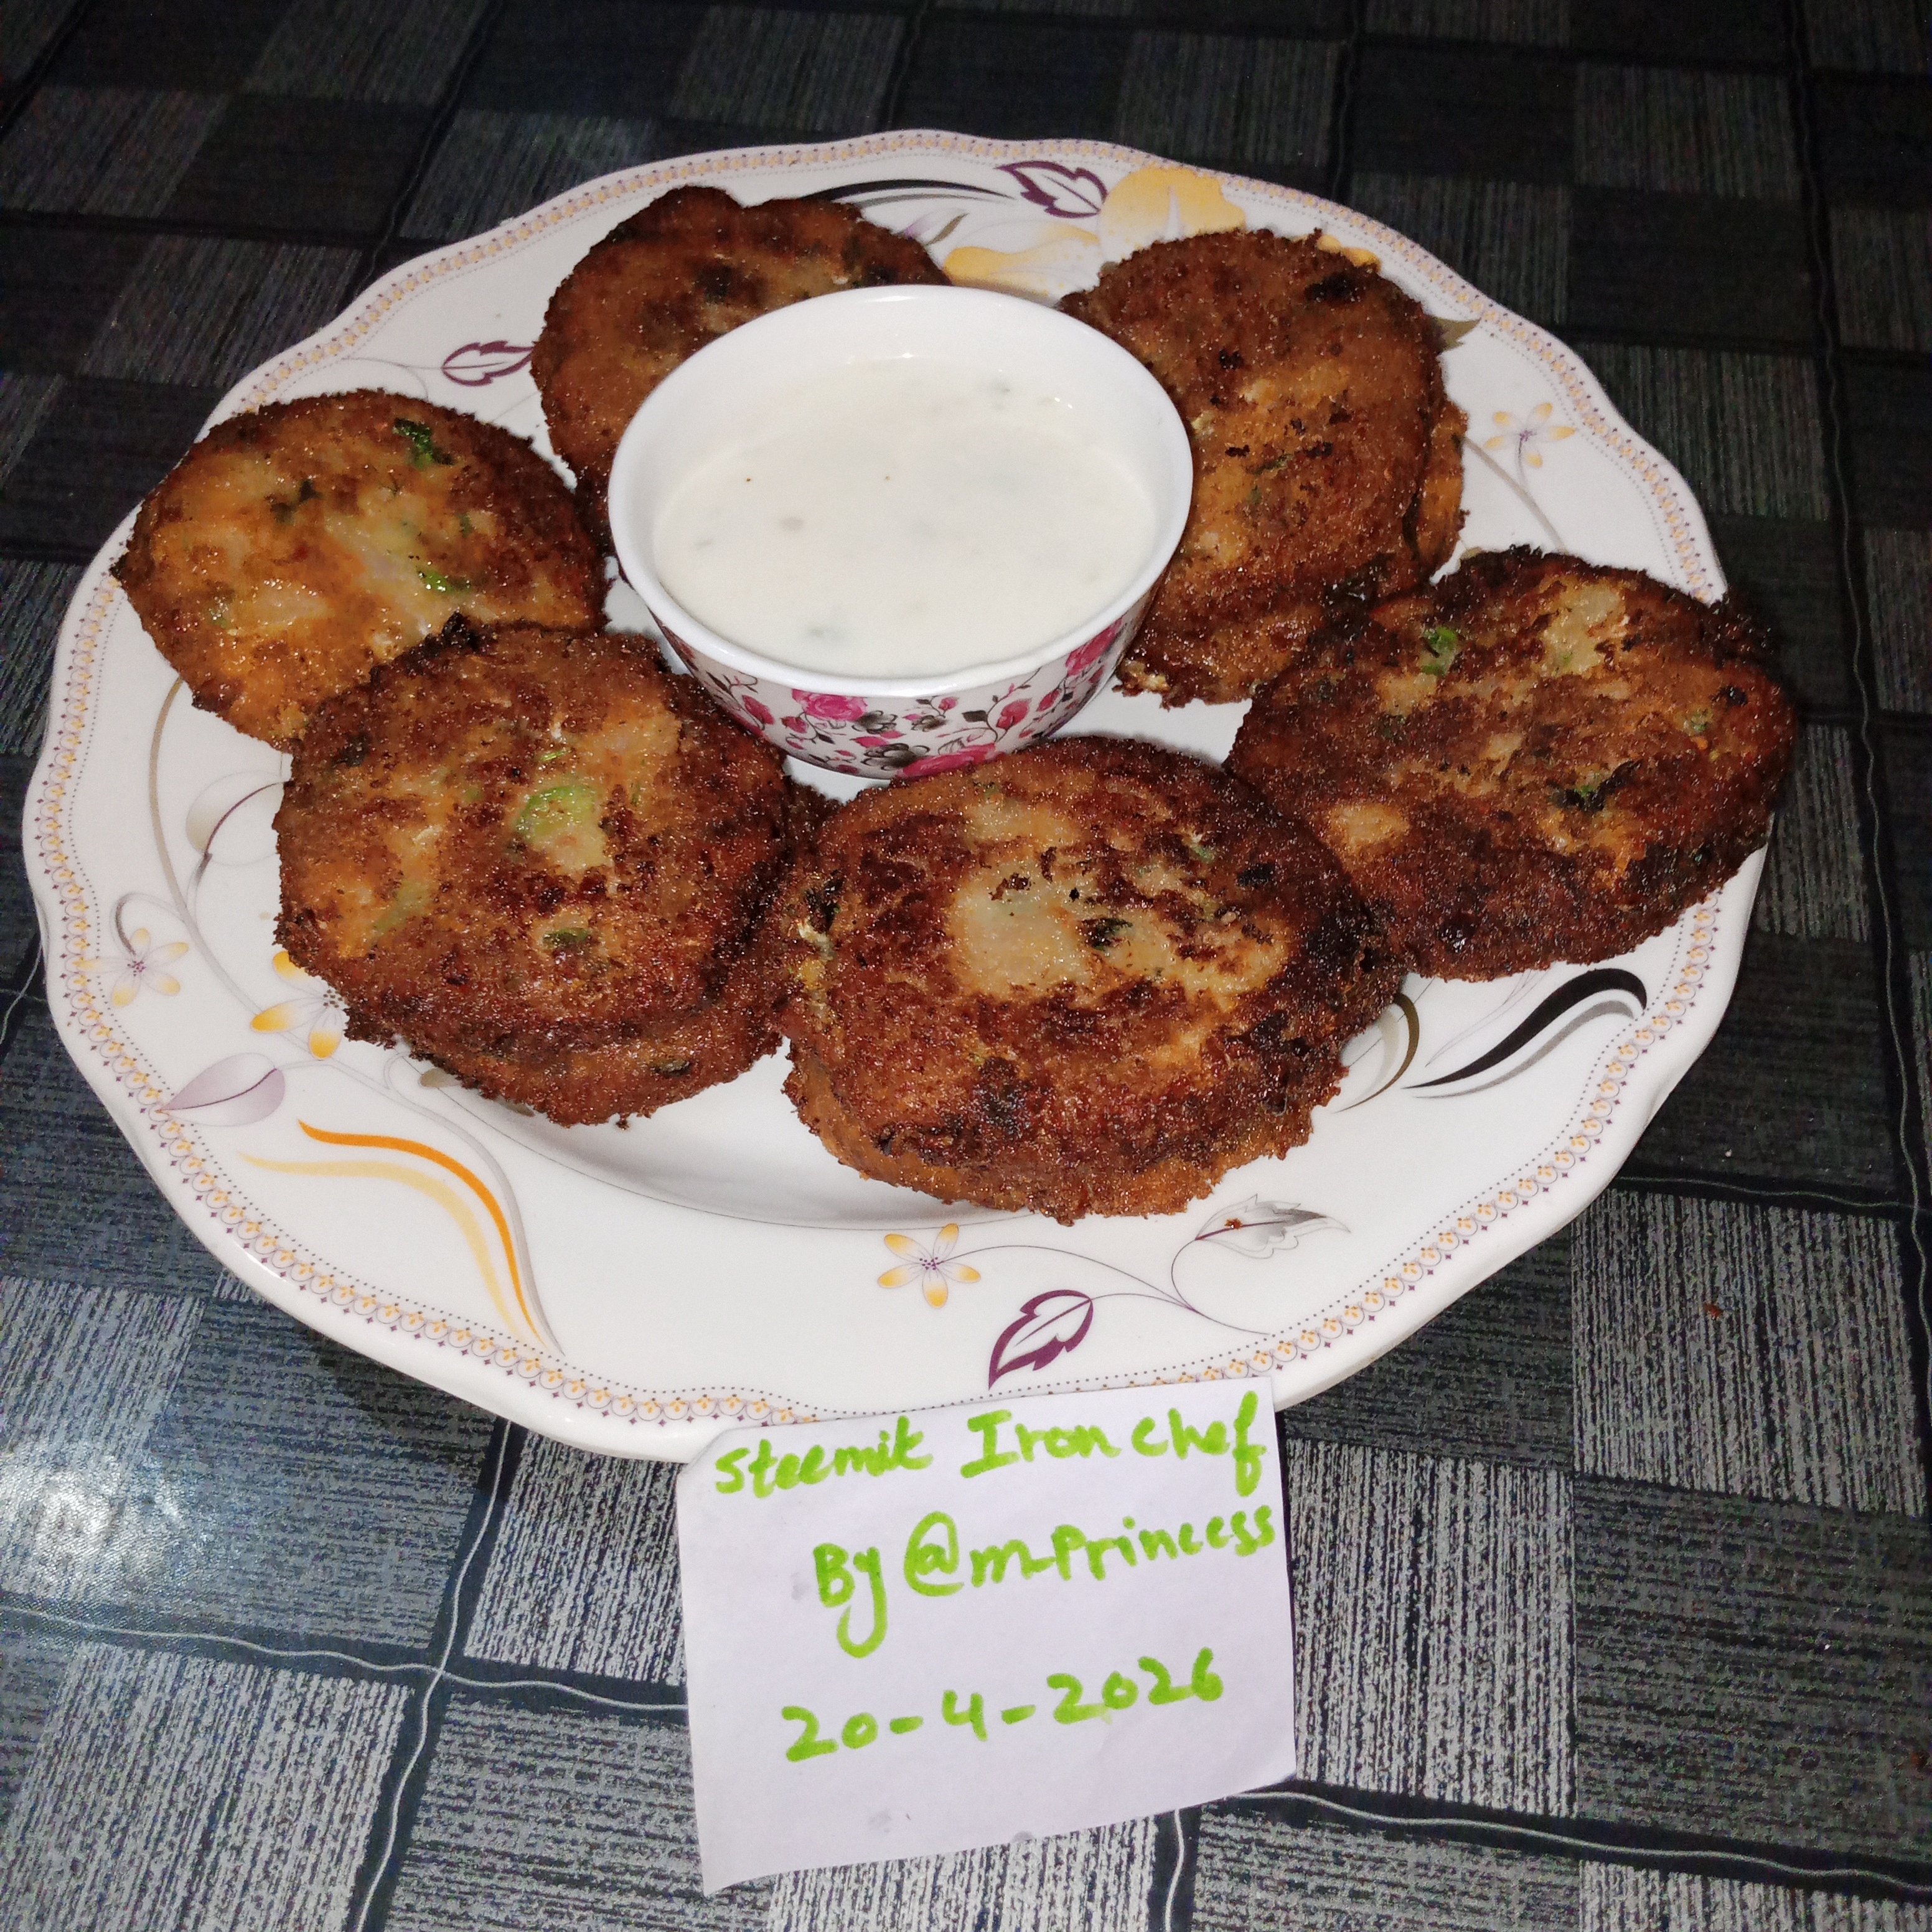
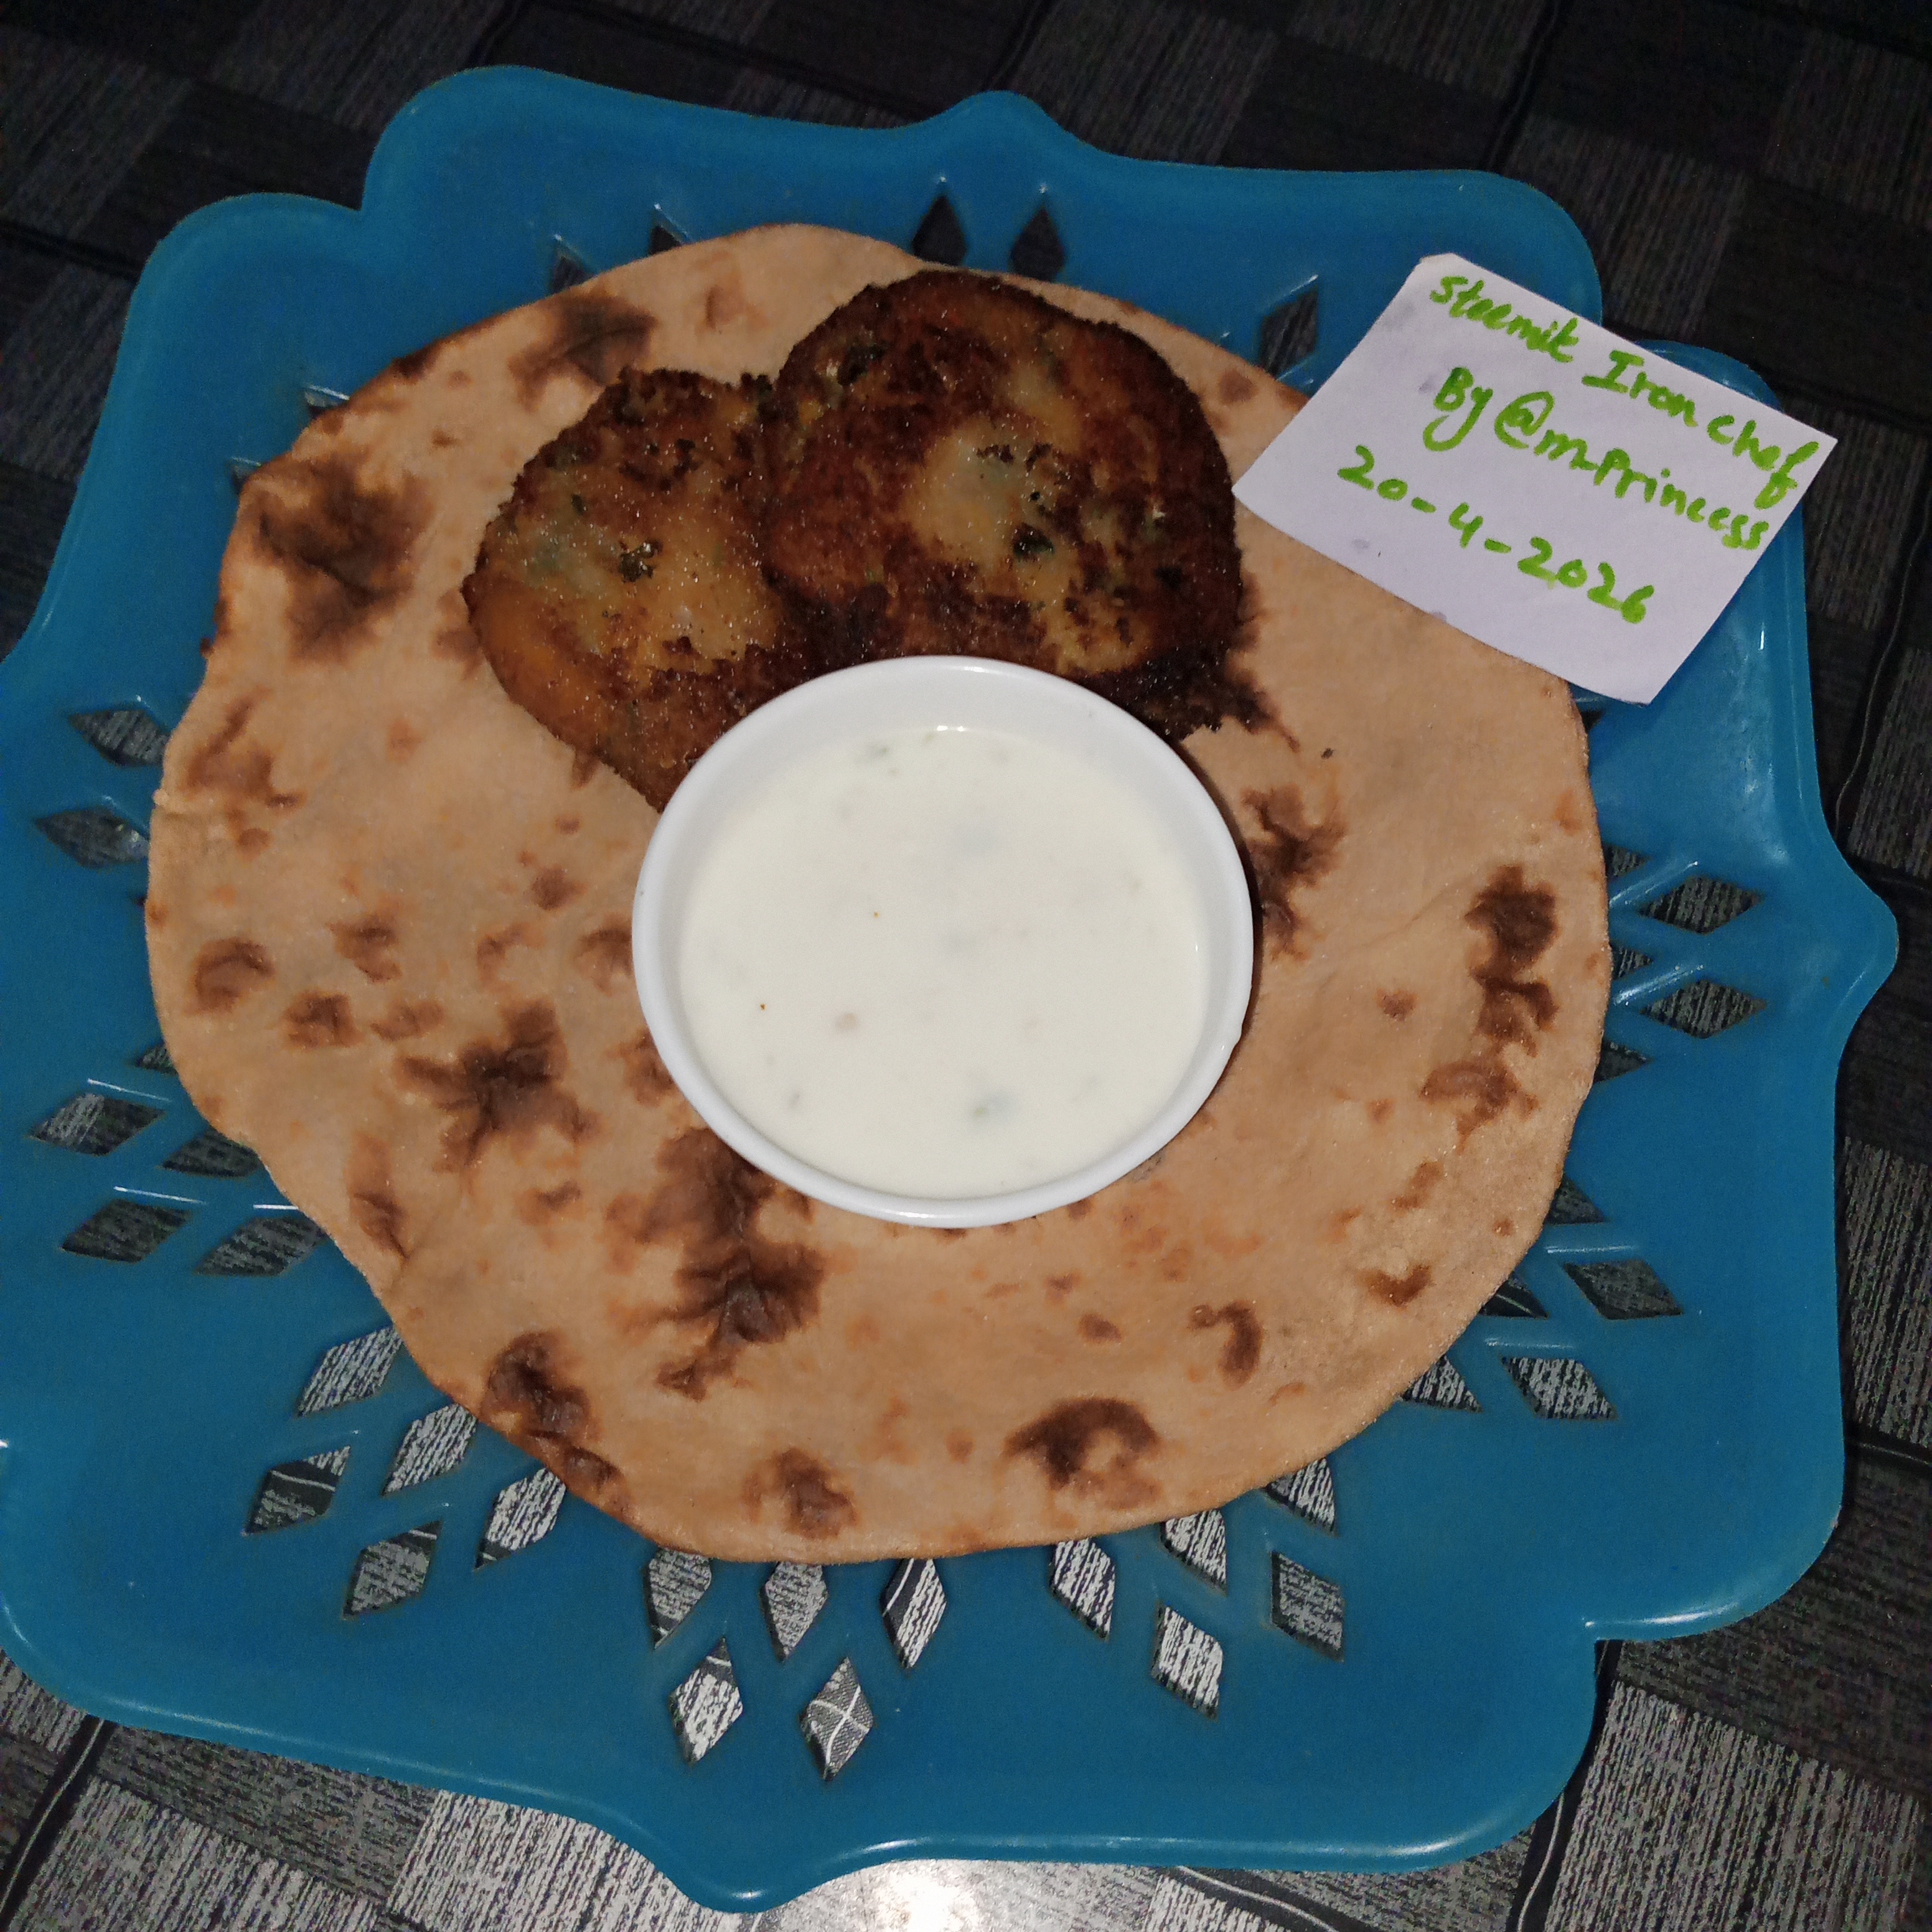
Finally I served the hot and crispy tikkis fresh from the pan. I pair them with warm tandoor roti and refreshing green chutney raita. Chutney was made by blending fresh coriander and green chilies. Then mixing it into yogurt to give it smooth tangy and slightly spicy taste. Everything together made perfect combination. The tikki were enjoyed by everyone. And they really like flavour and texture. I also received lot of appreciation for this simple but delicious homemade dish.

Final picture with my identification sign with: username and date.
Thank you for being with me. |
|---|
Last I invited my friends @iamguchidanart @emmaboy23, @wringo , @akareen and @solperez for taking part in this contest. |
|---|
Thank you very much for giving your valuable time to my post. May all my friends always be happy and continue to be successful in their endeavors. |
|---|
See you in the next post.
Best Regards: |
|---|
Big Thanks to |
|---|

Thanks sir for your support 🤗.
Have a sweet morning ☕.