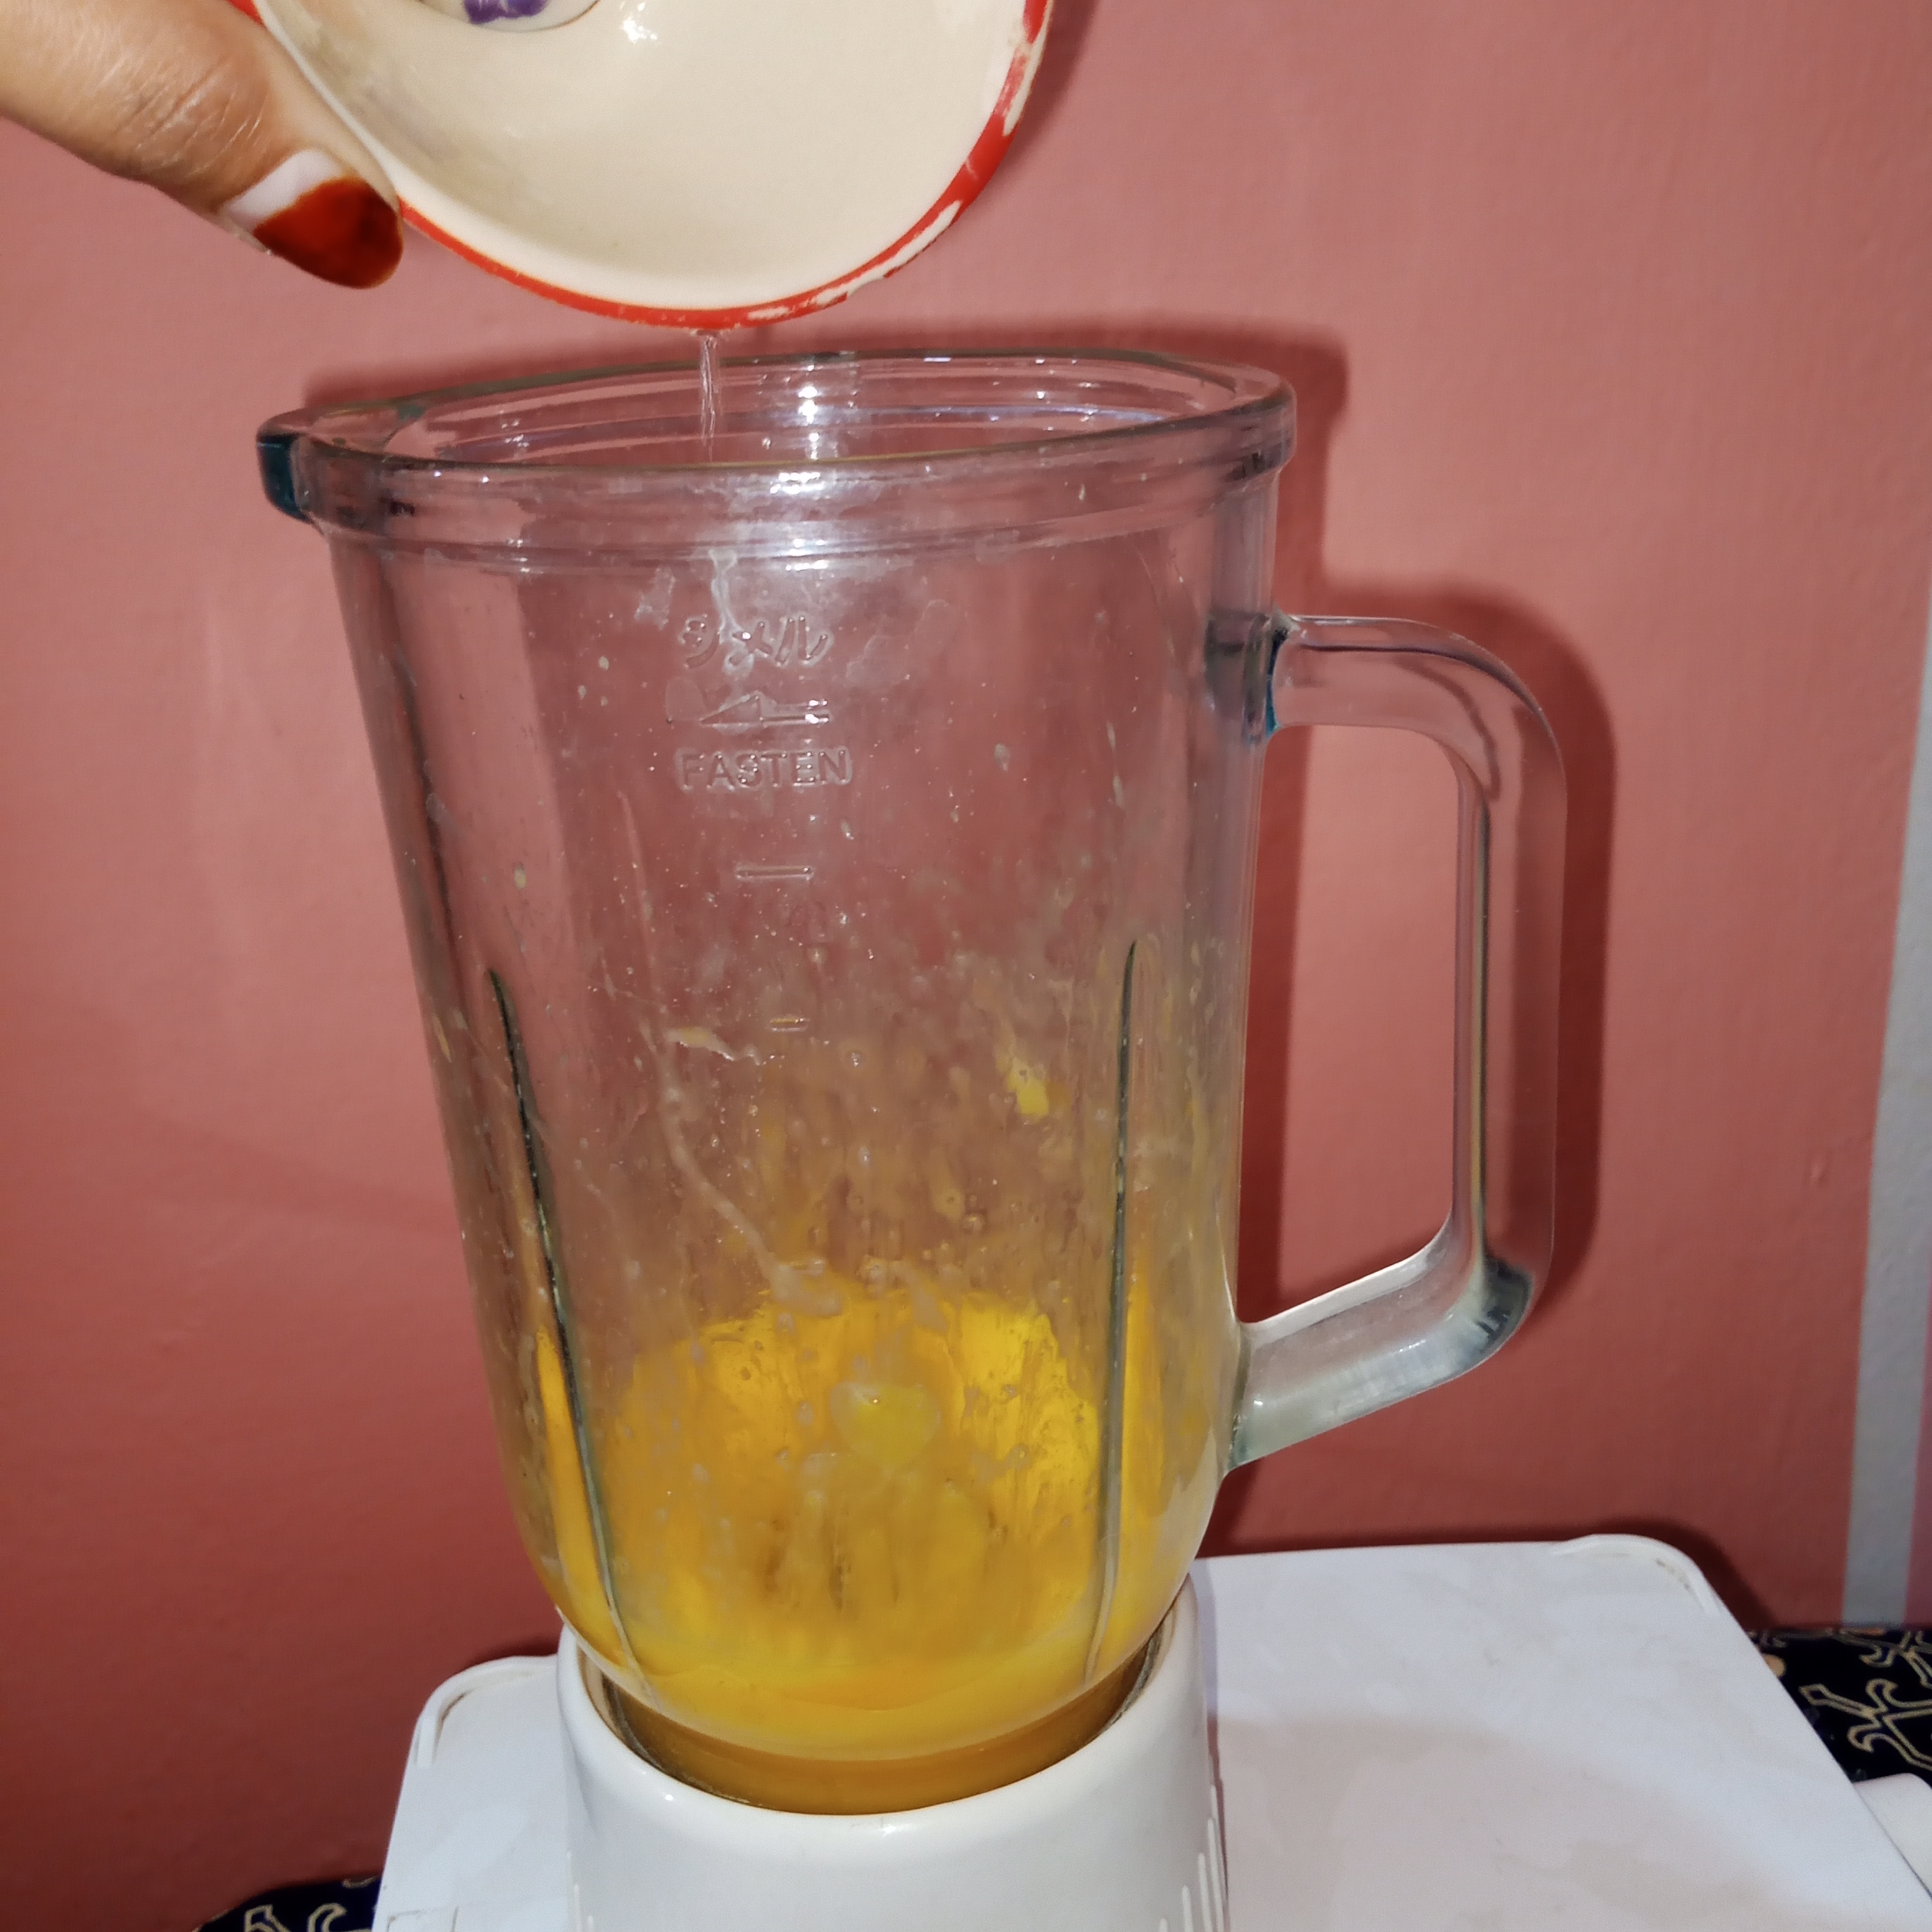
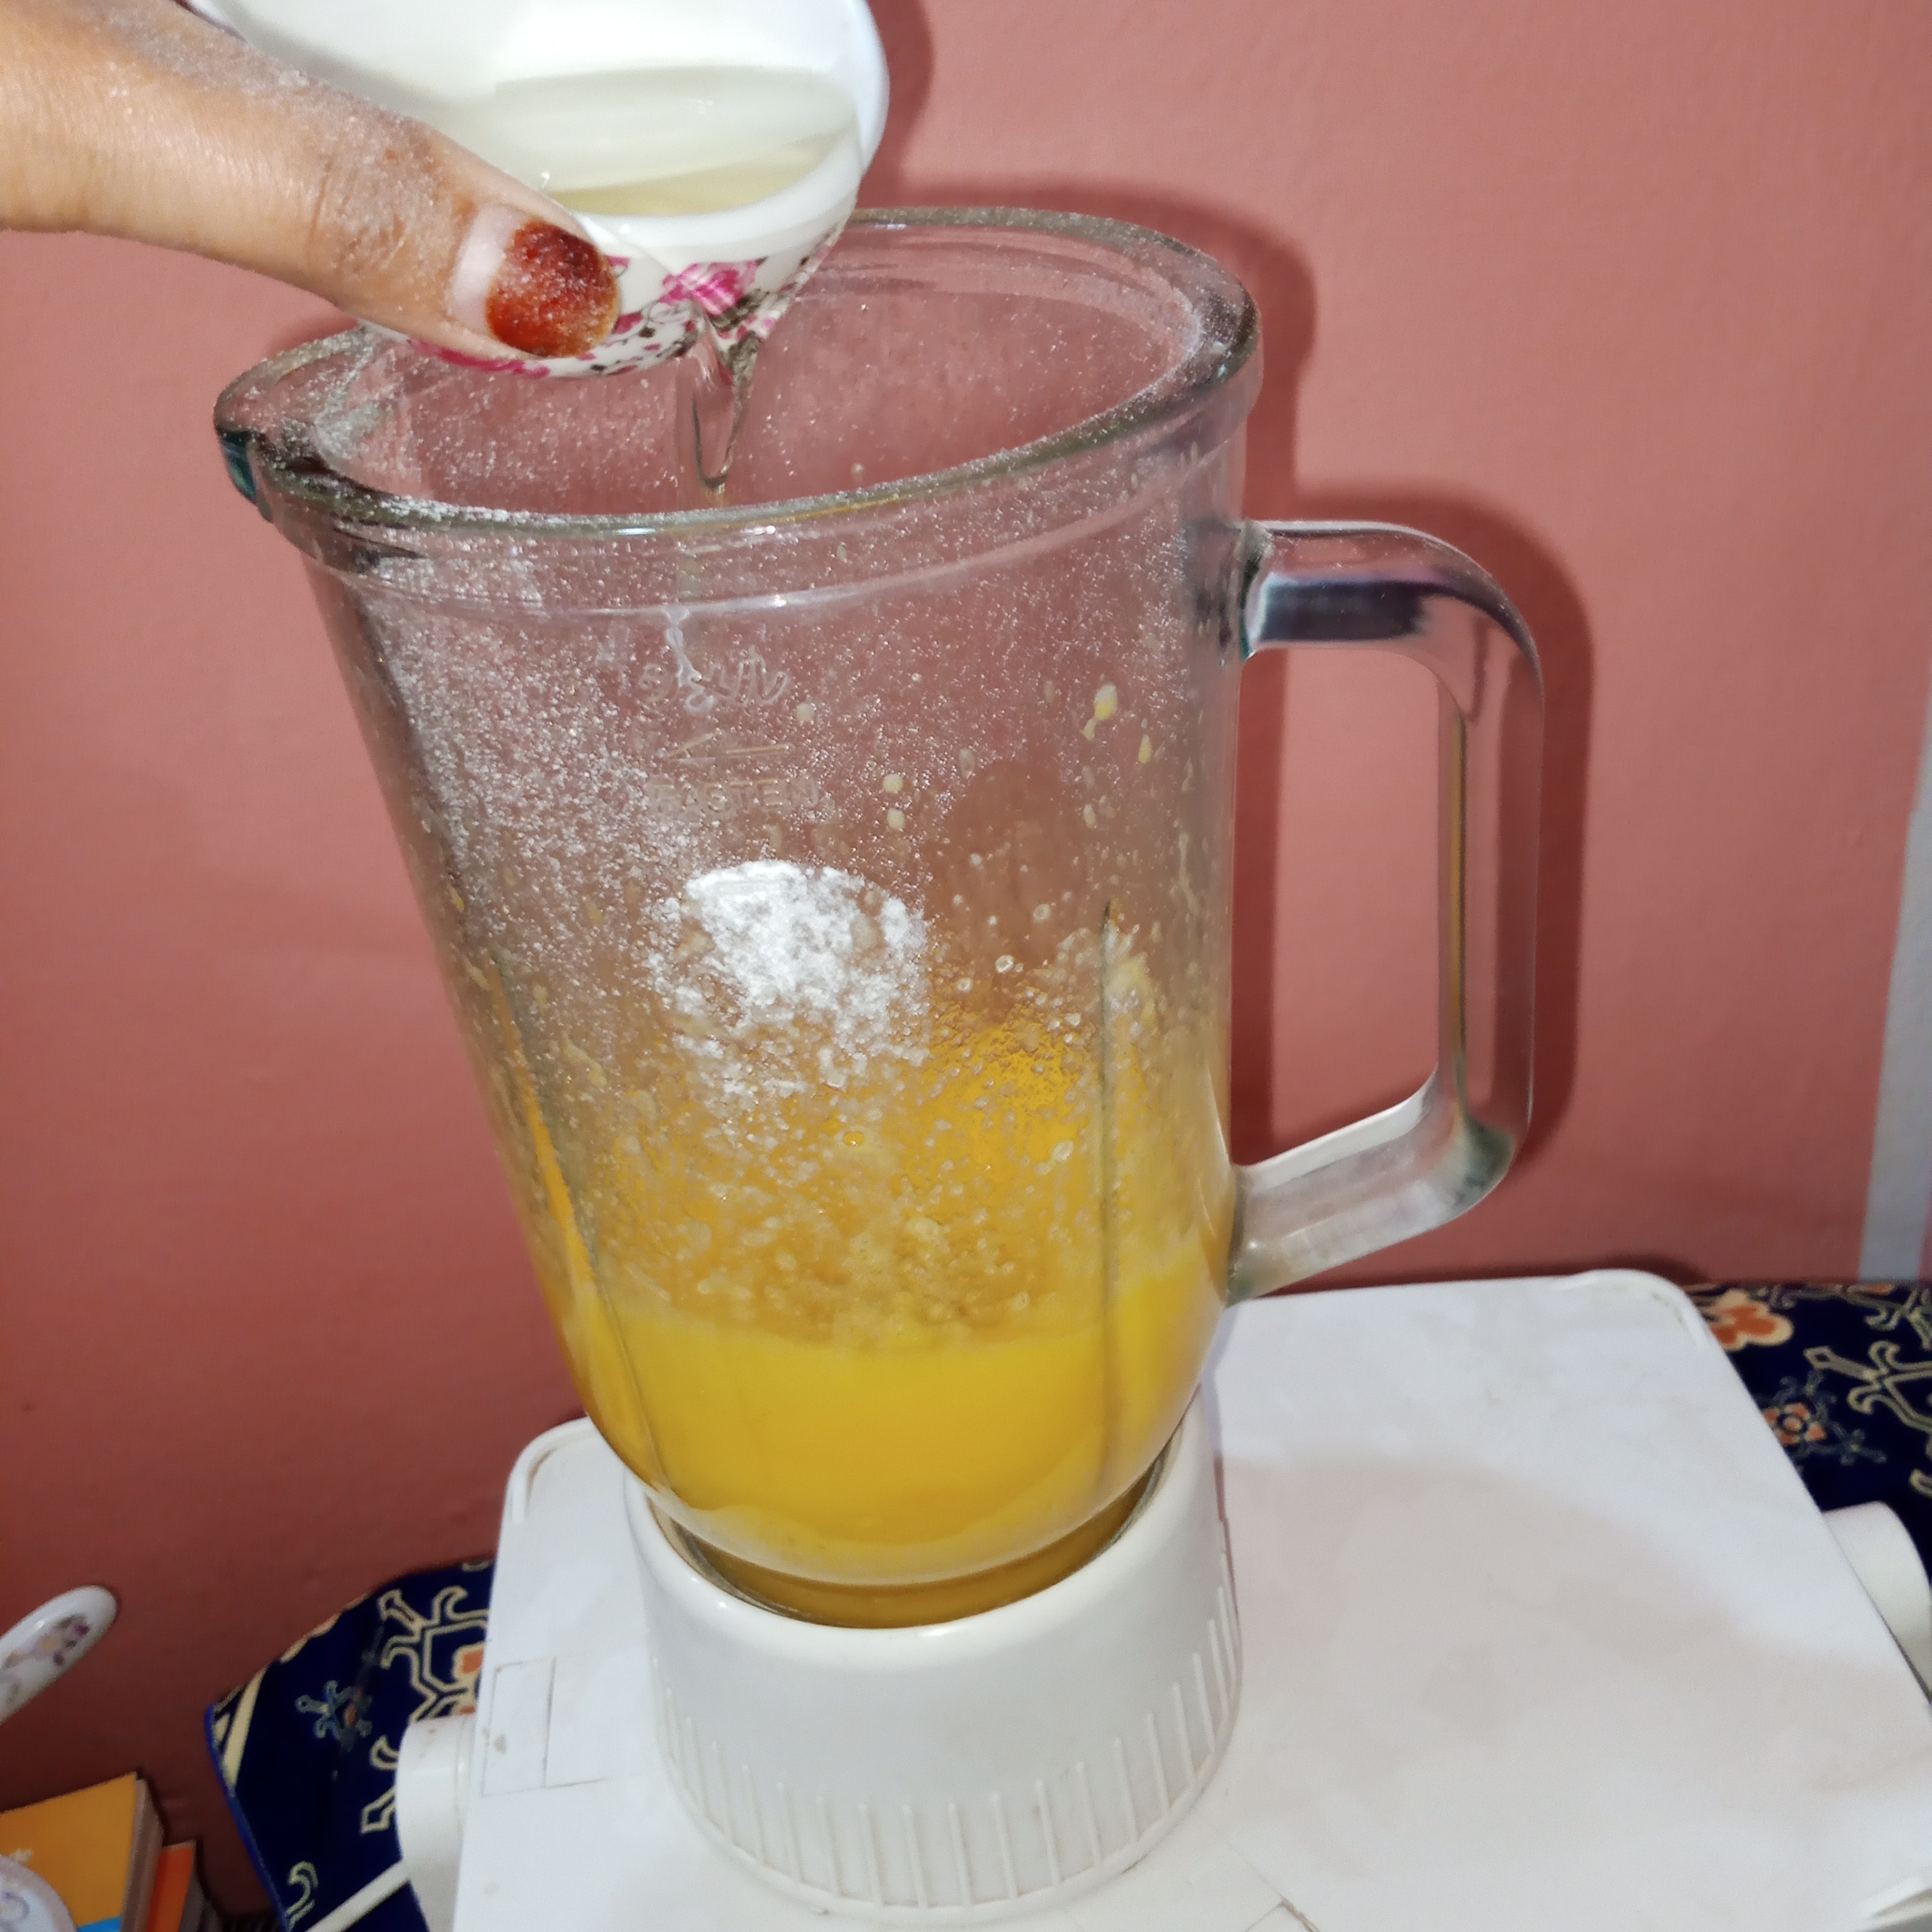
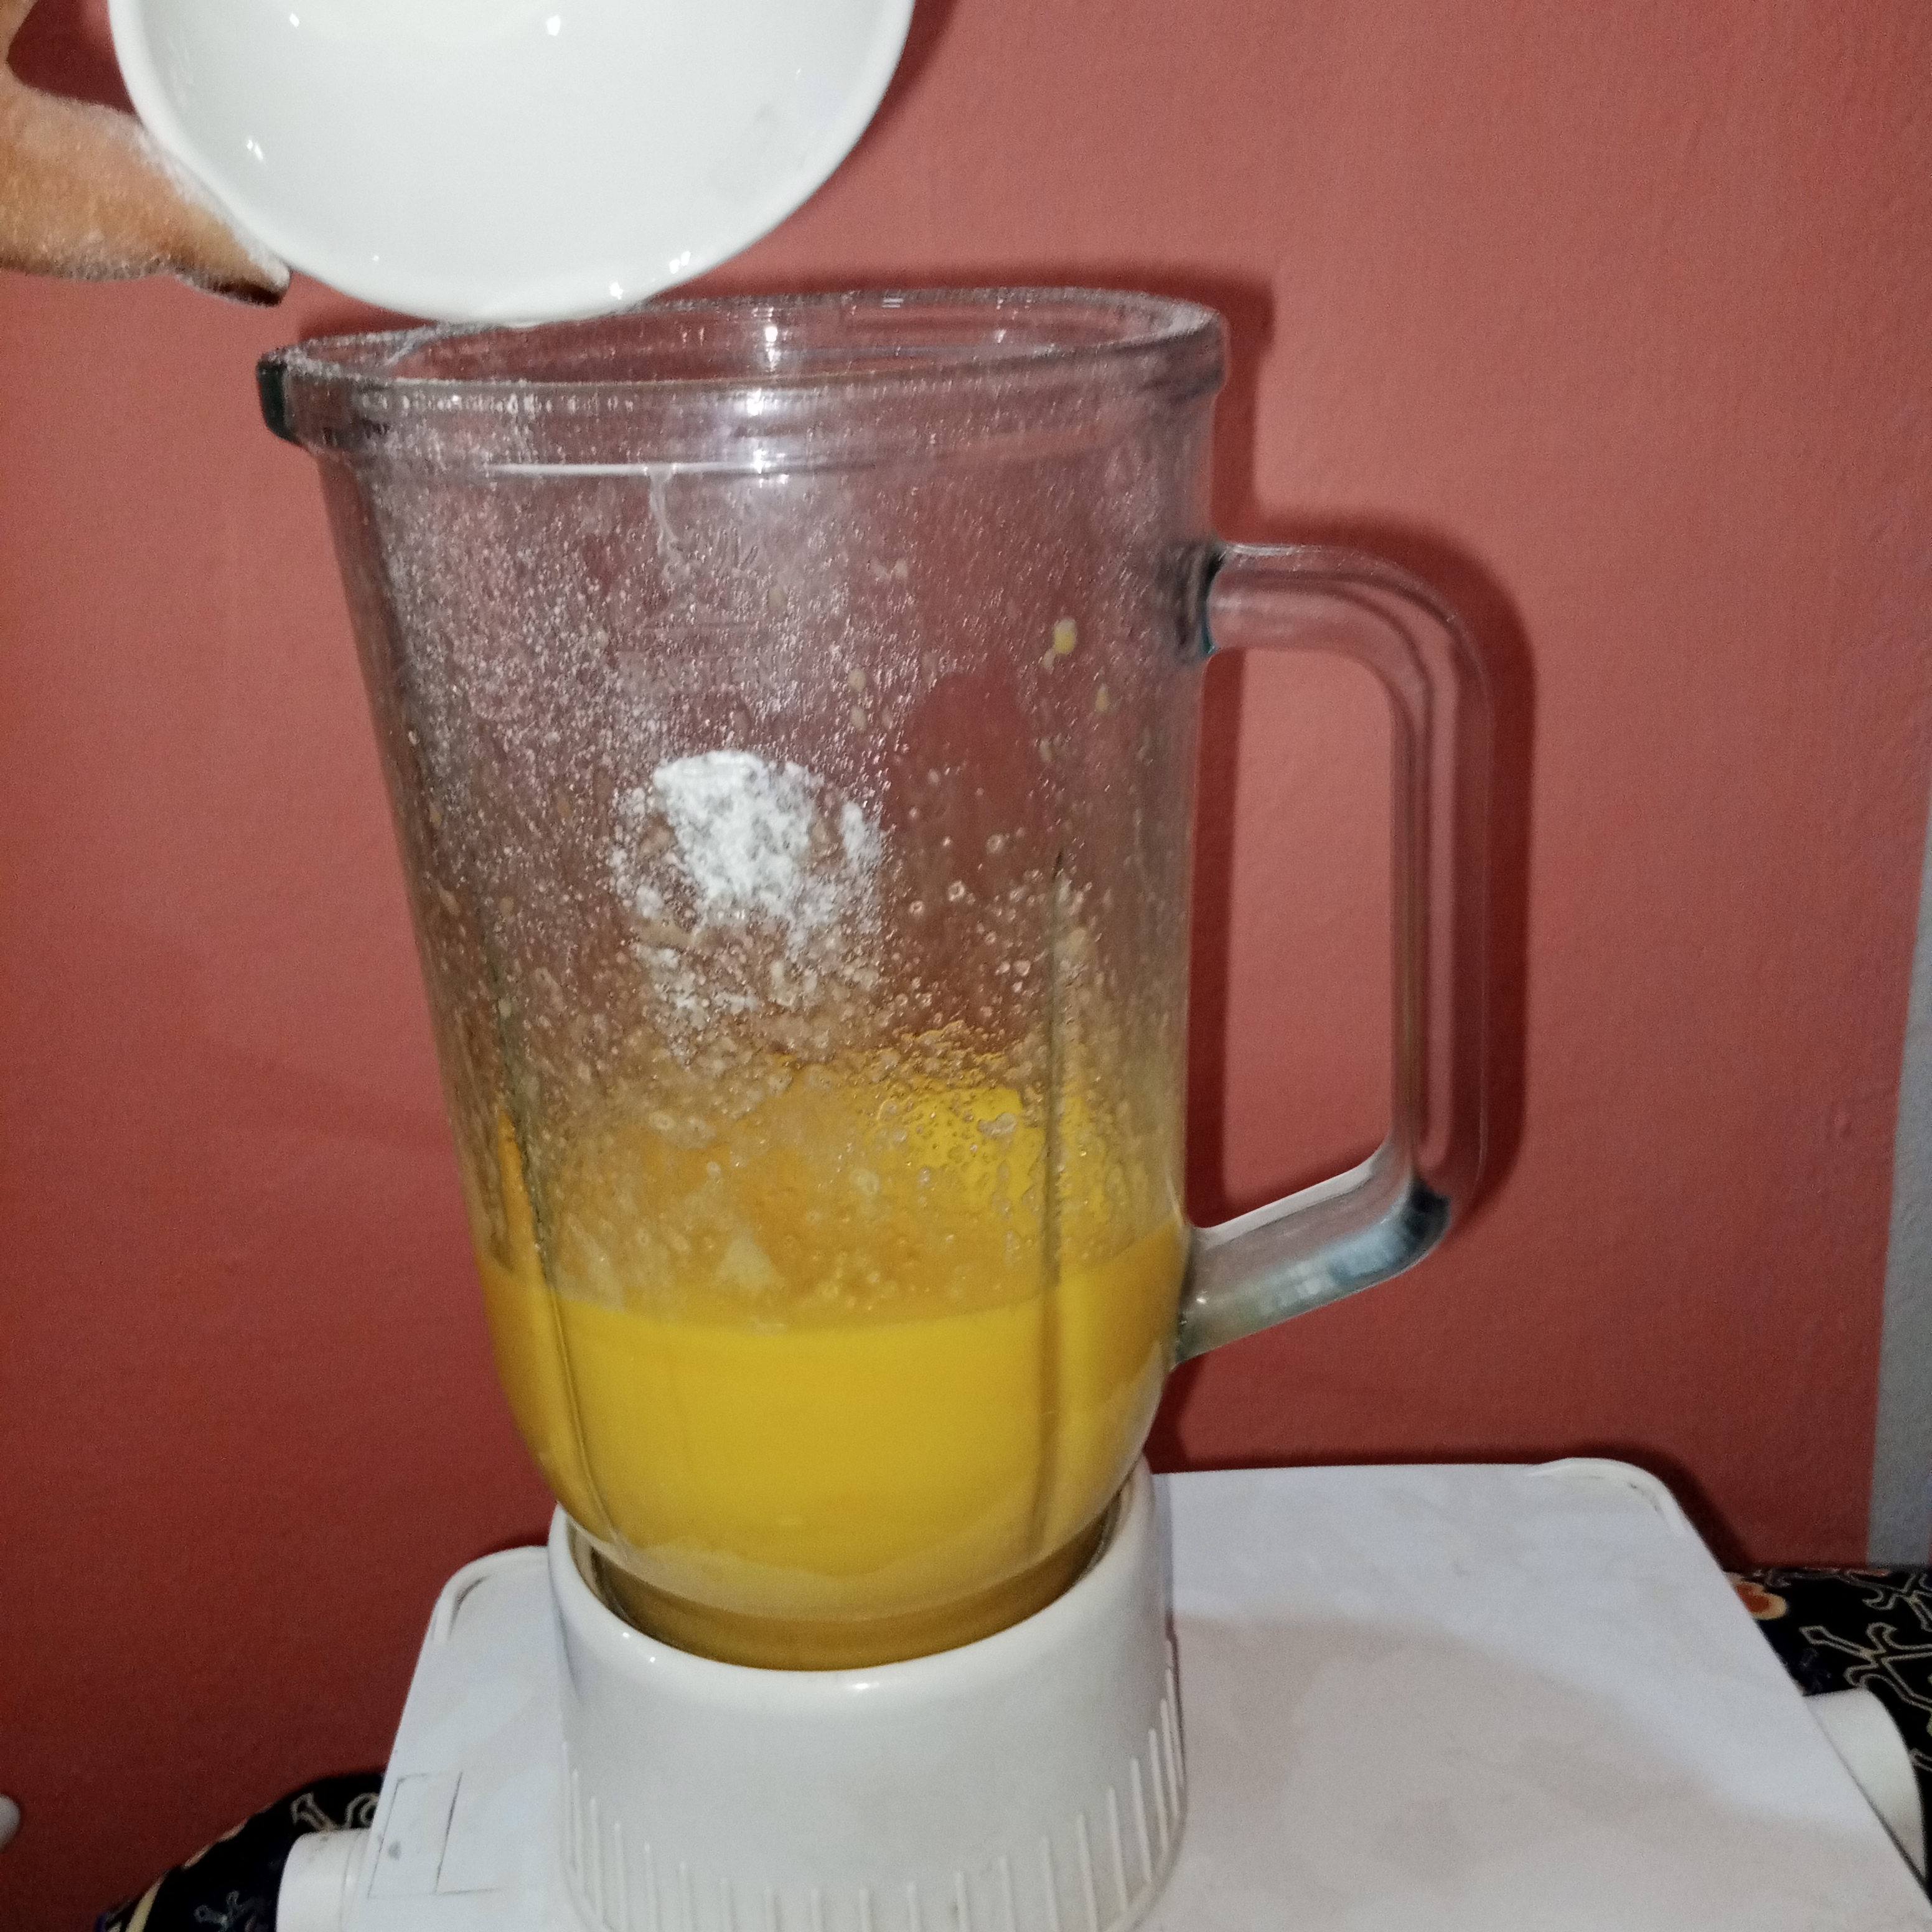
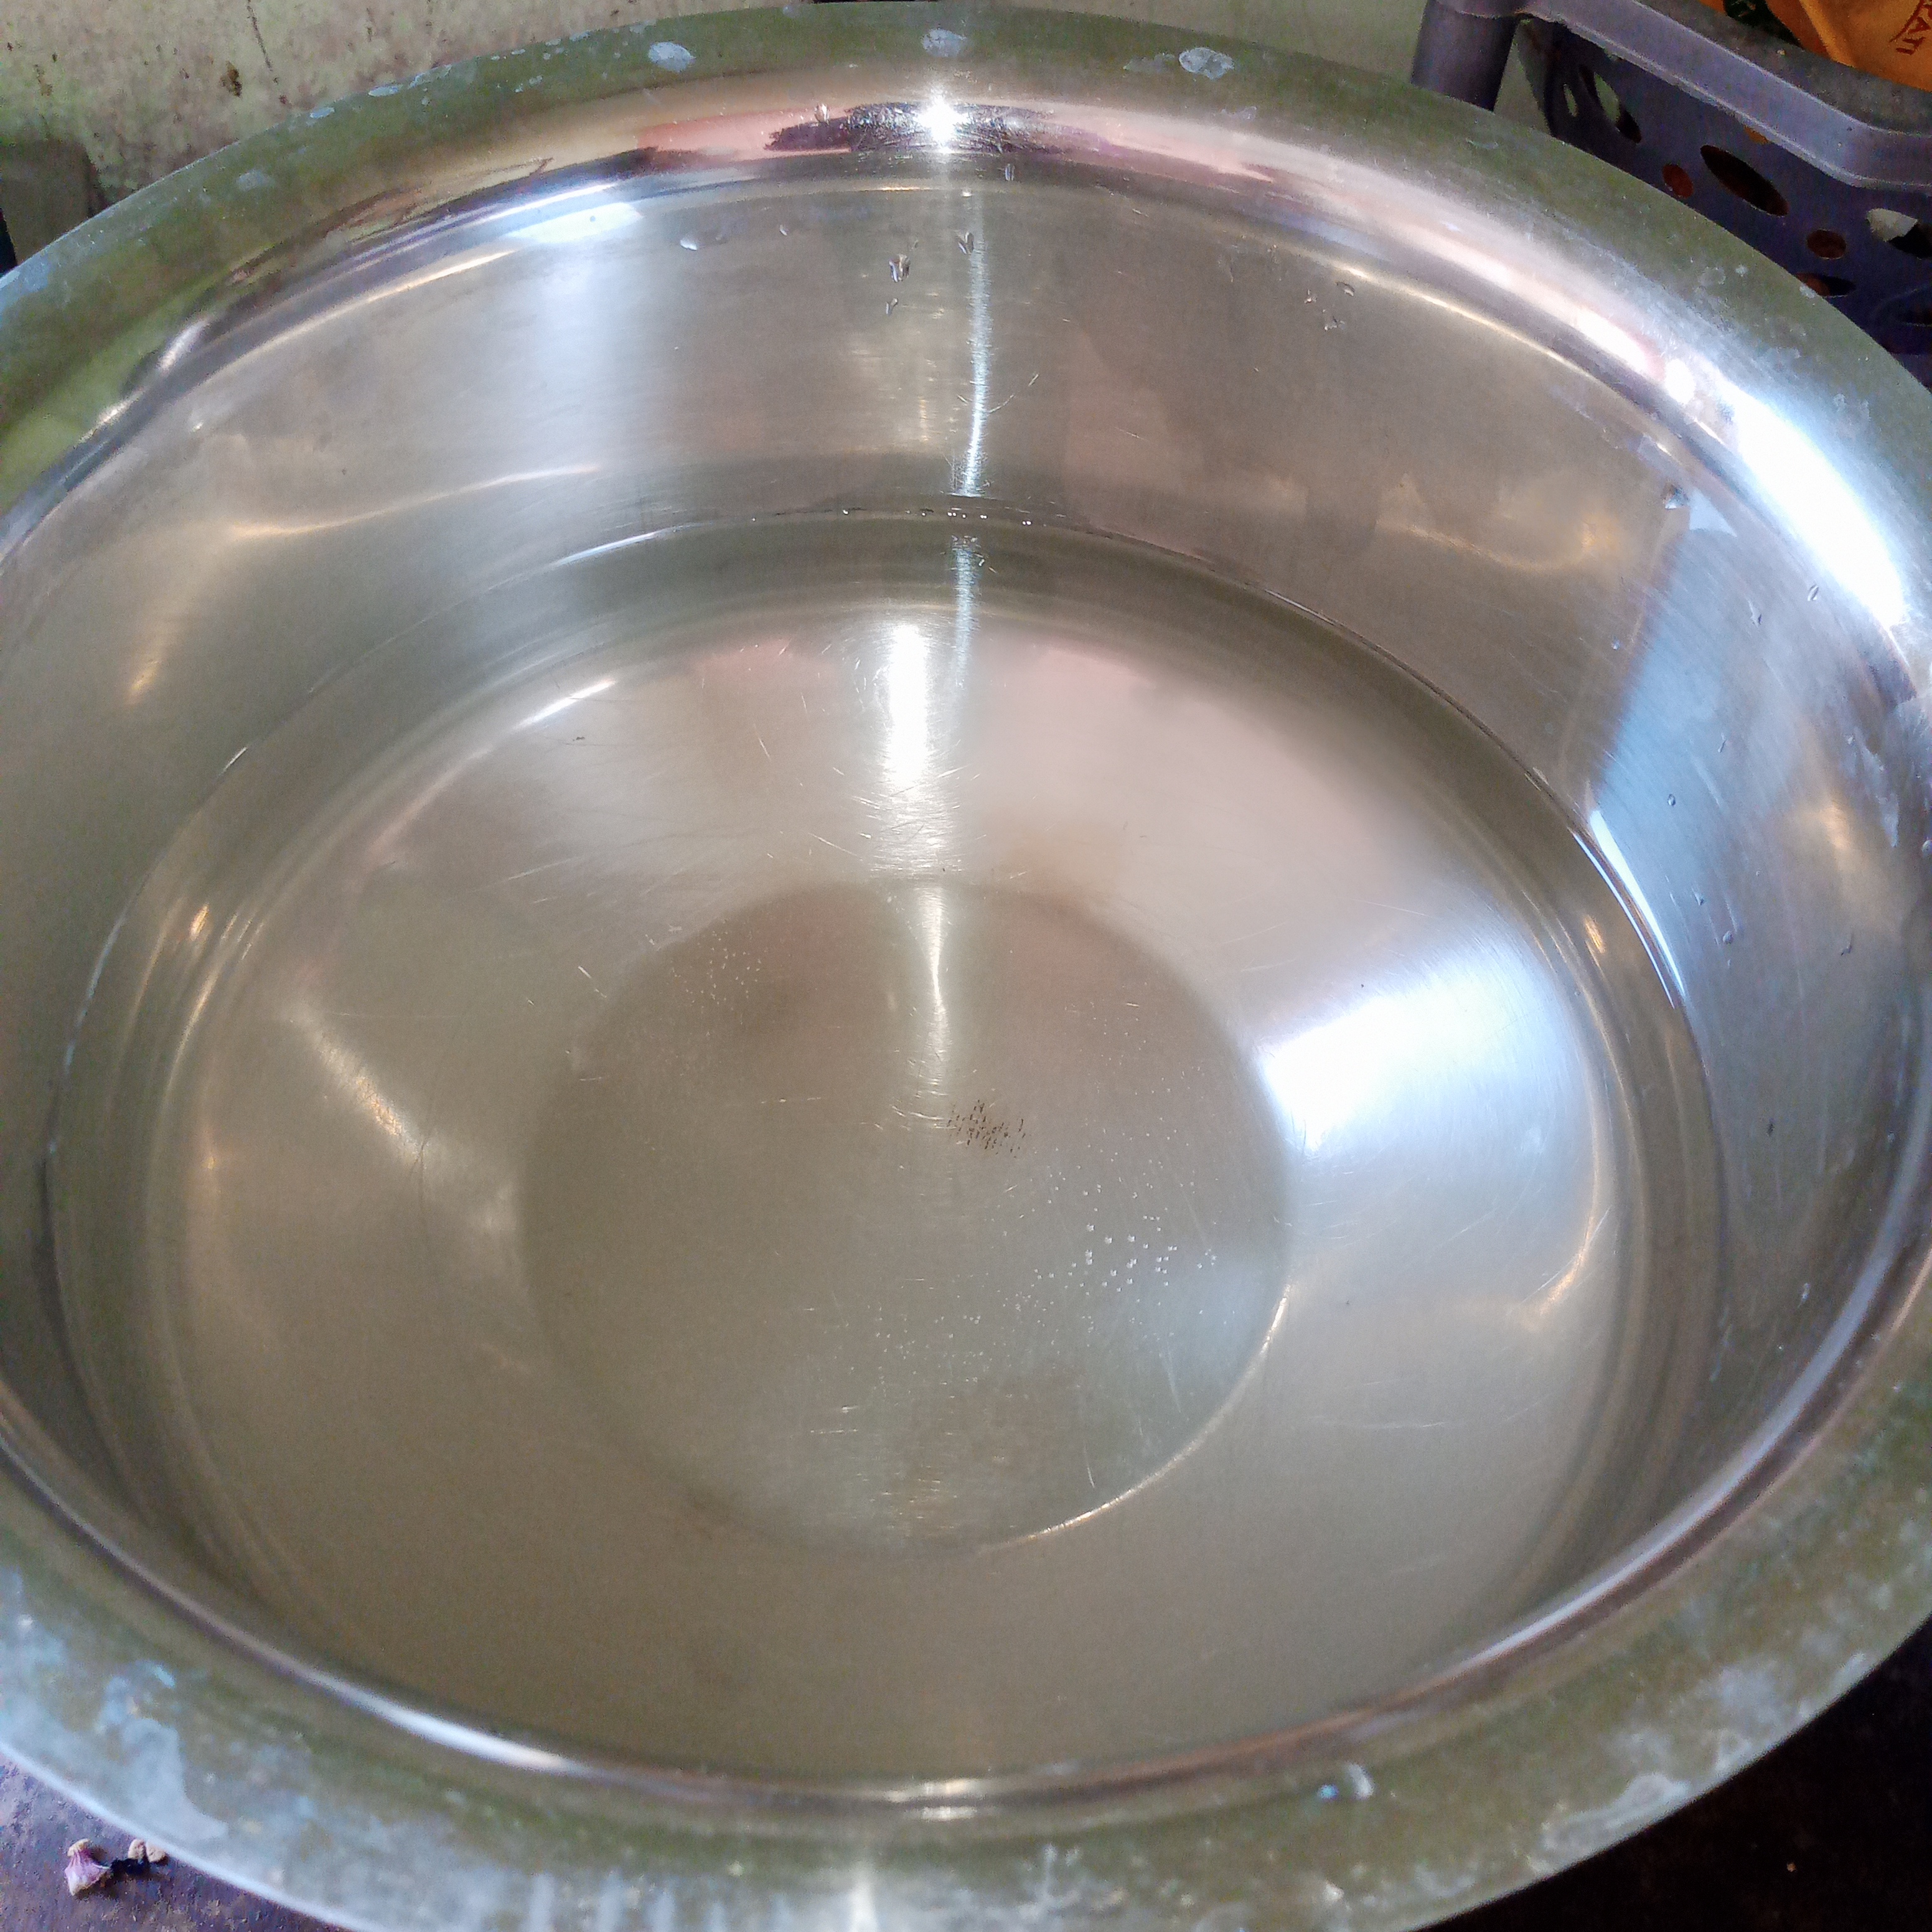
- First I turned on the blender. So that whatever I put in it would mix well. And I wouldn't have to stop it again and again. Then I added two eggs to it. I turned on the blender first. So that the eggs would be well beaten and foamy. The eggs were blended for a long time and became completely smooth. Then I added a cup of powdered sugar to it and blended it well too. So that the sugar would dissolve completely. After that I added a cup of oil and ran the blender for three to four minutes. So that all the ingredients would mix well.

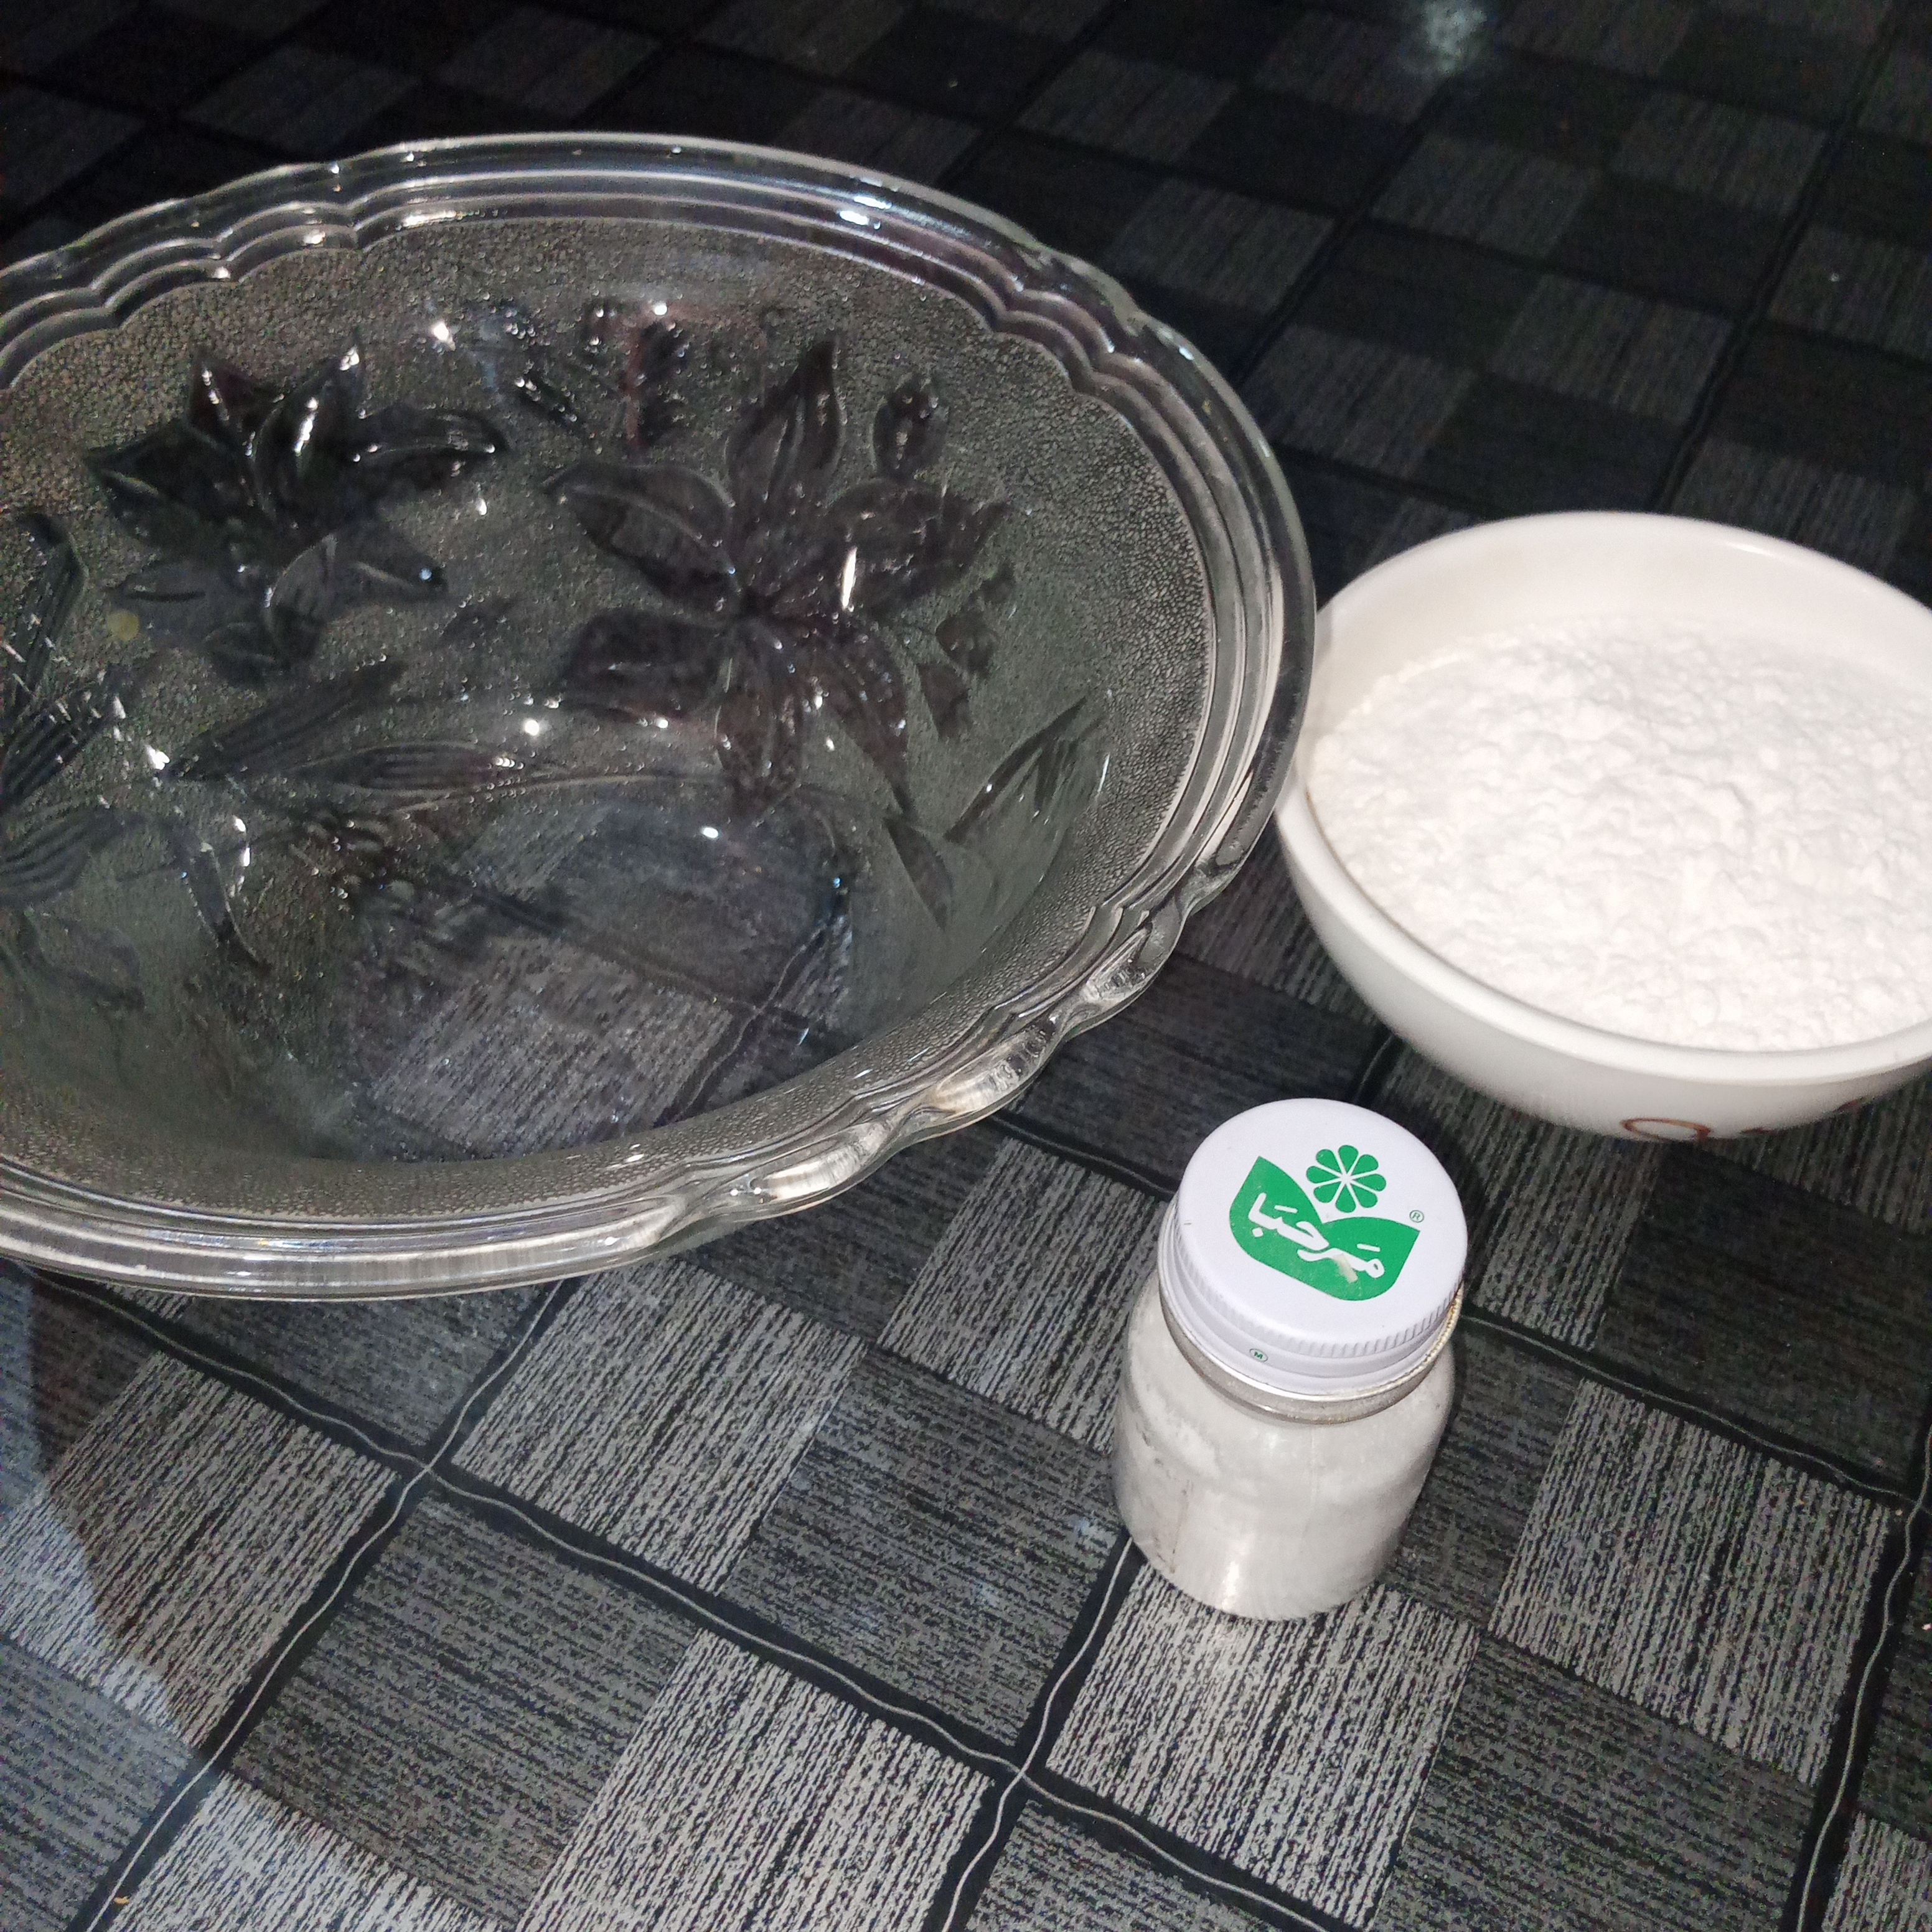
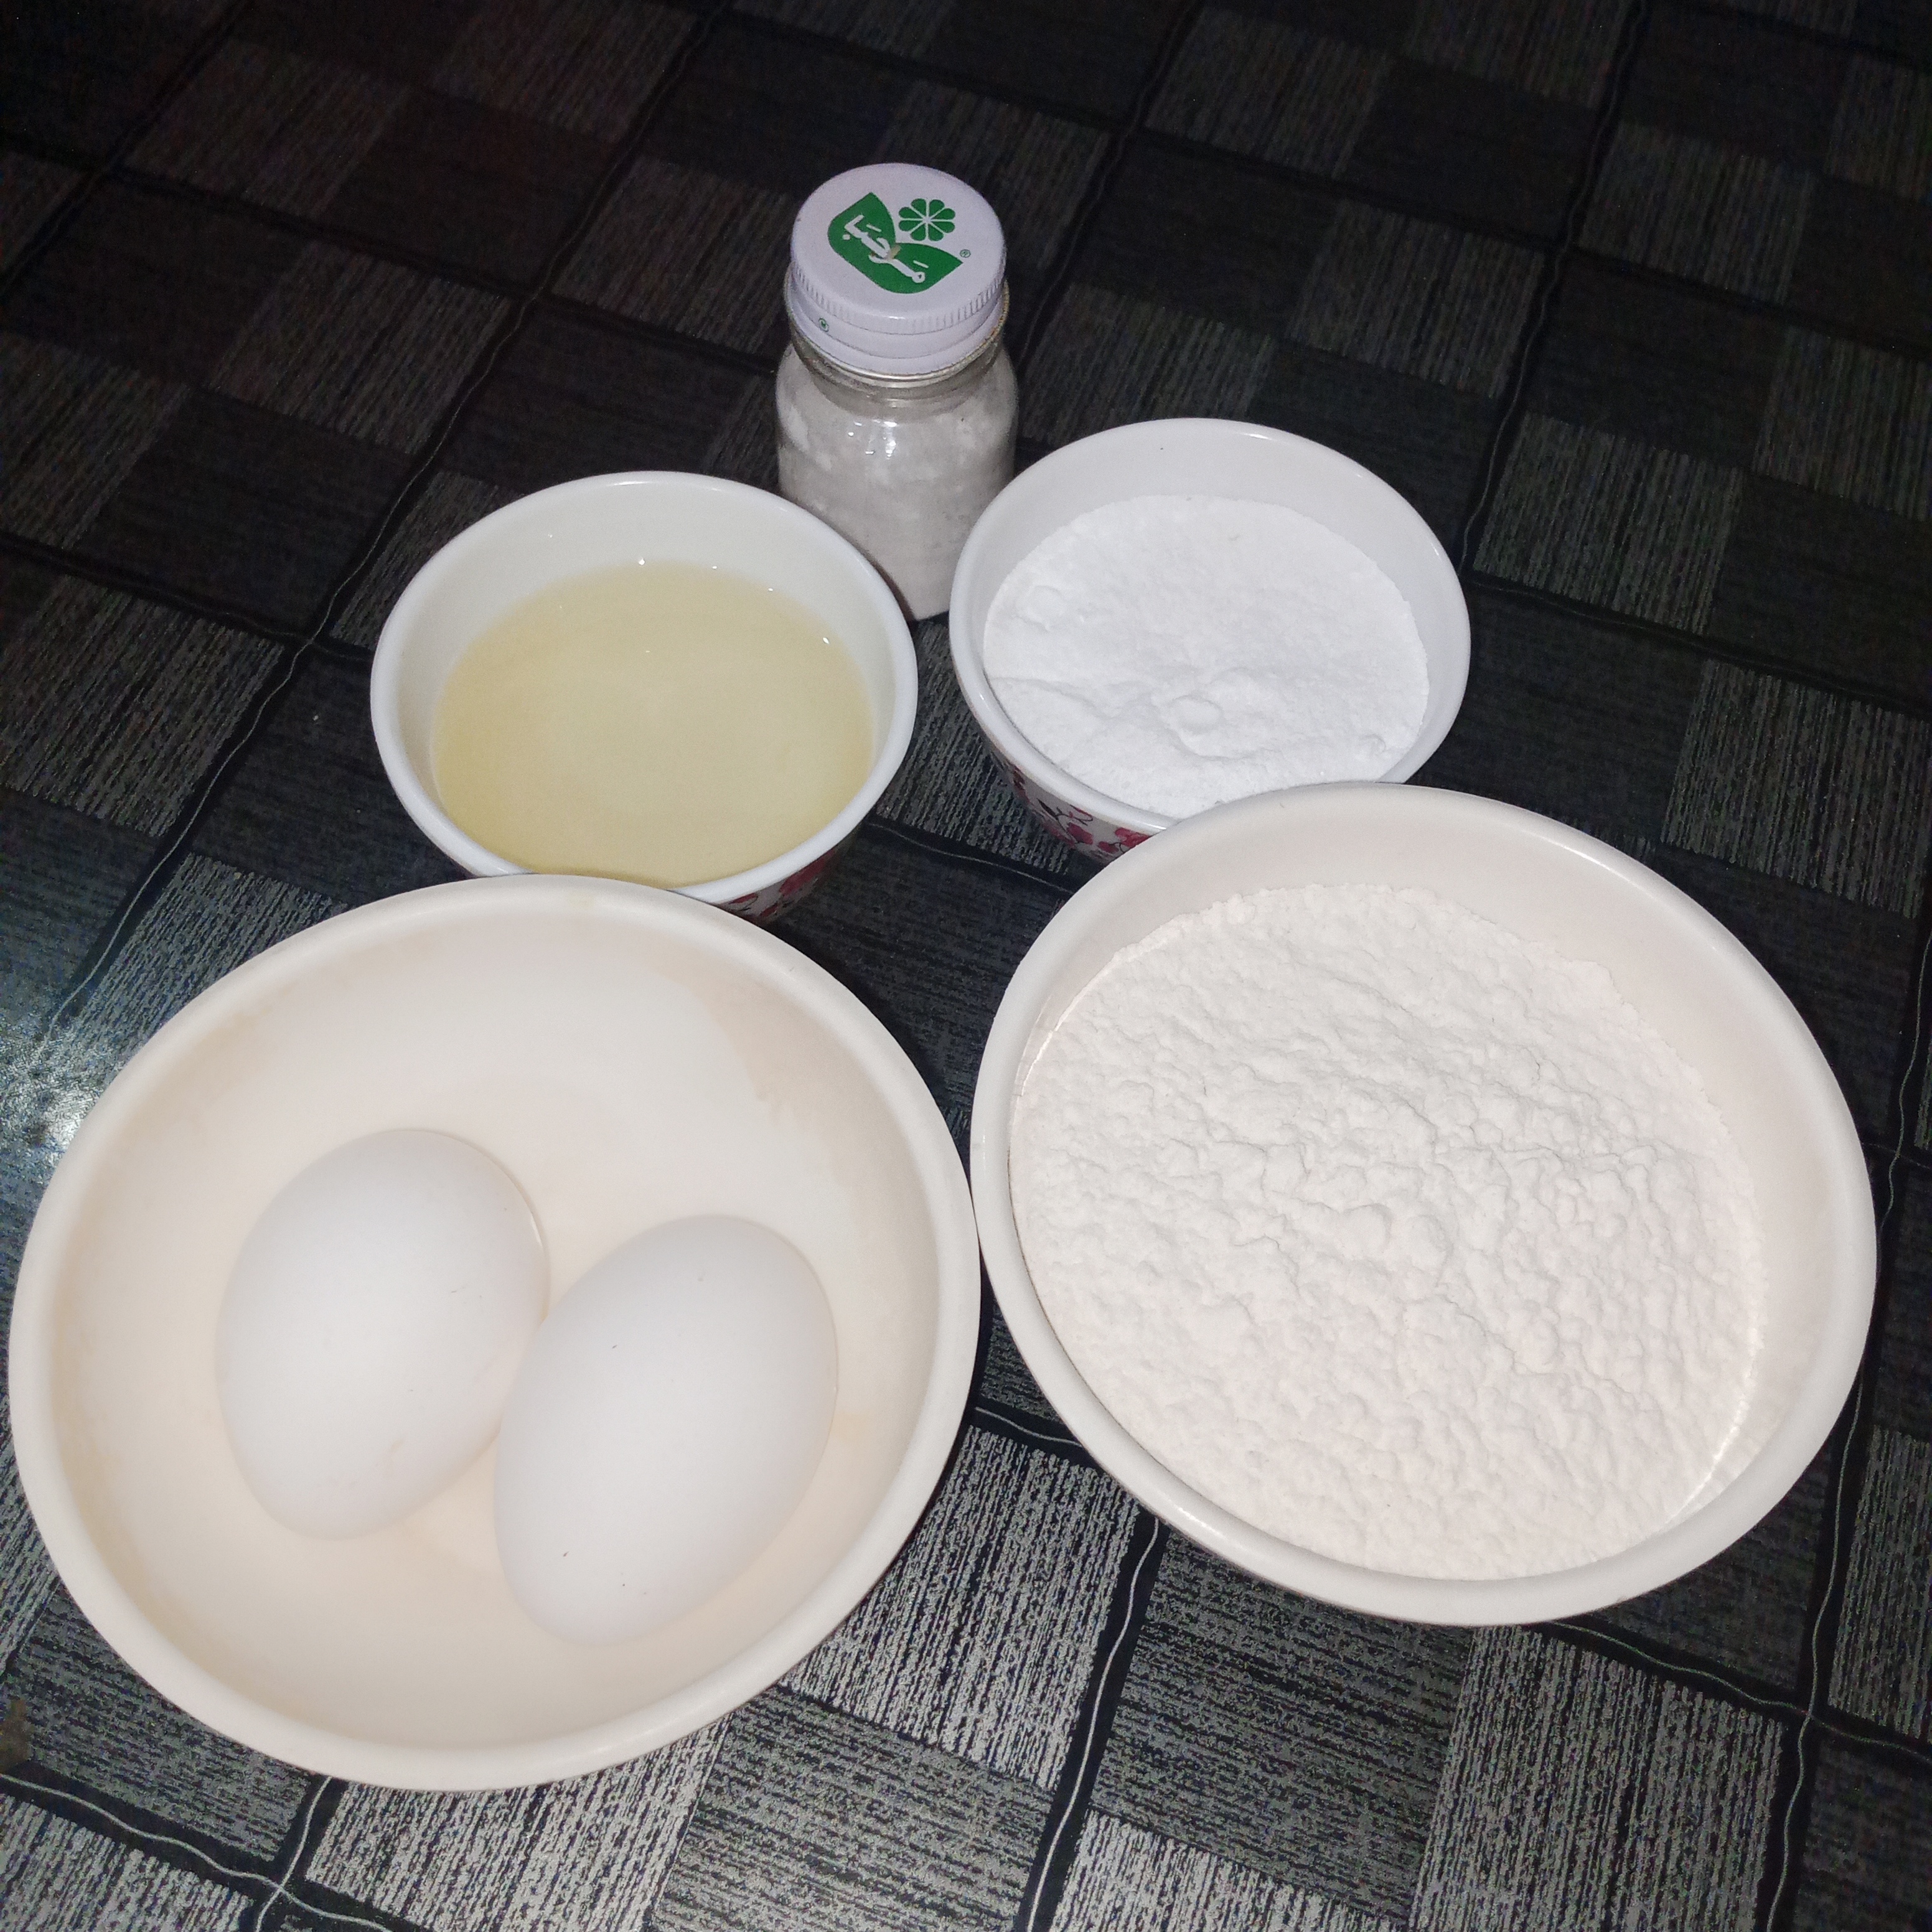
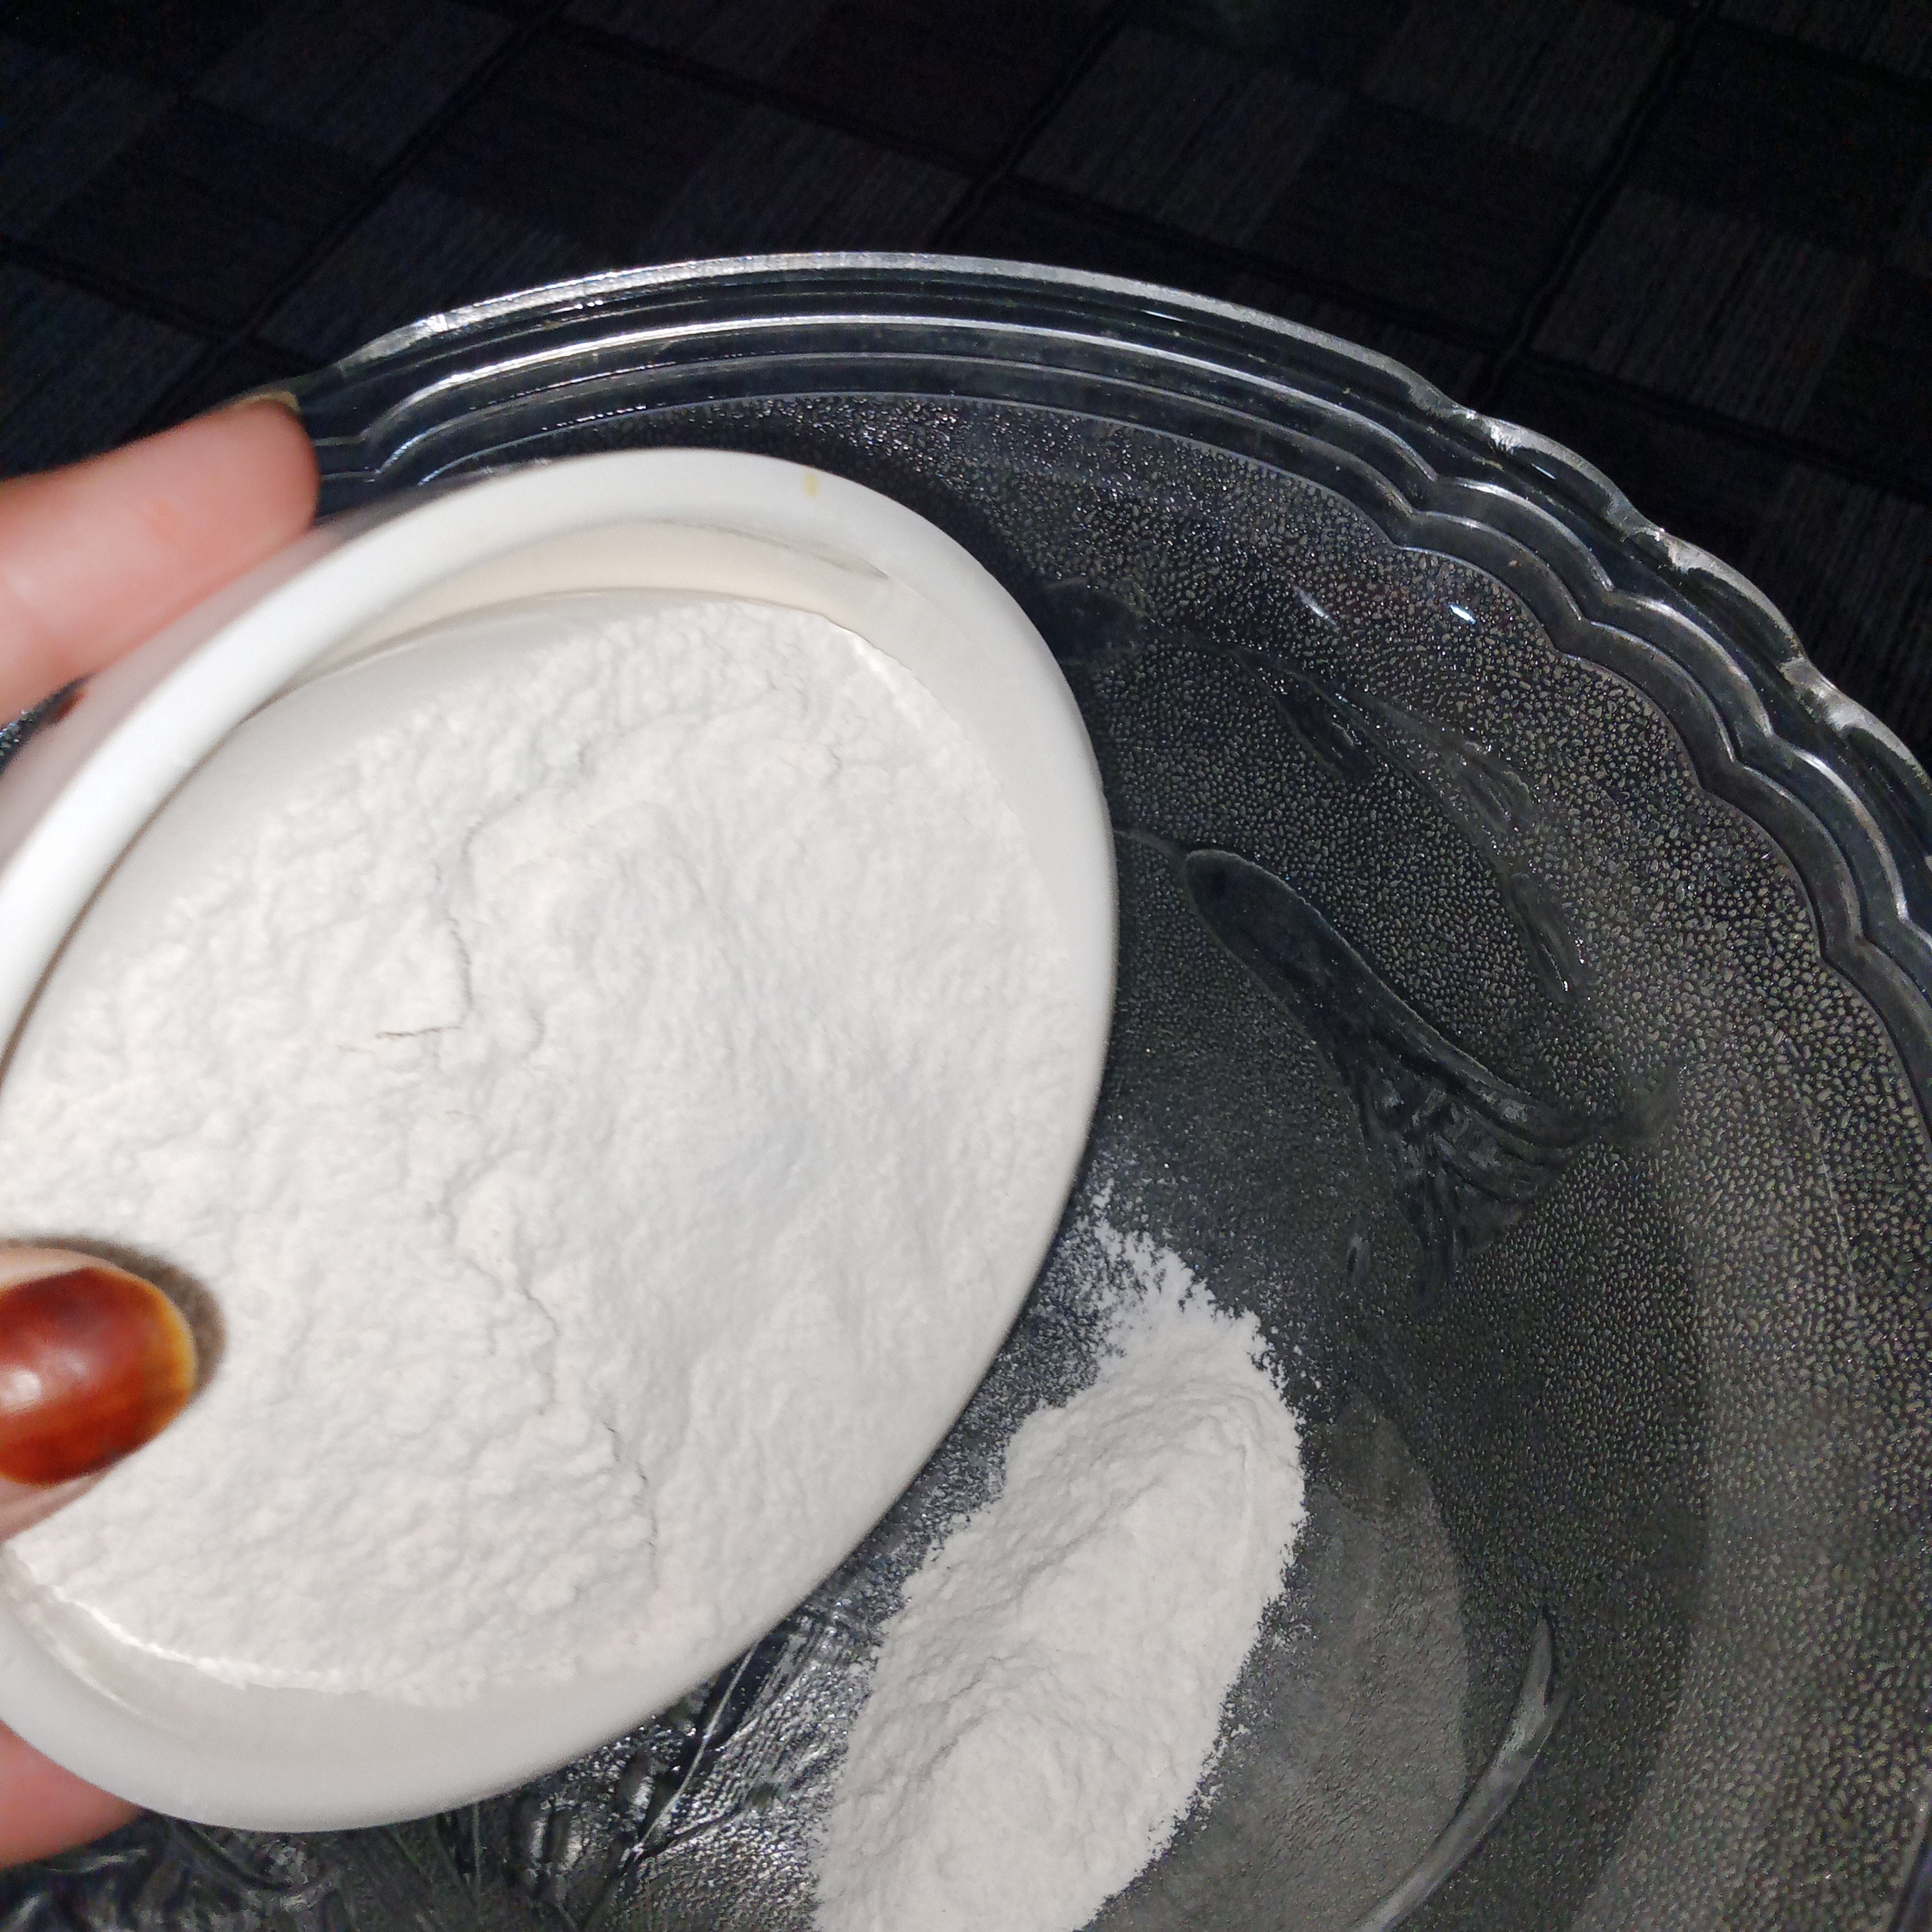
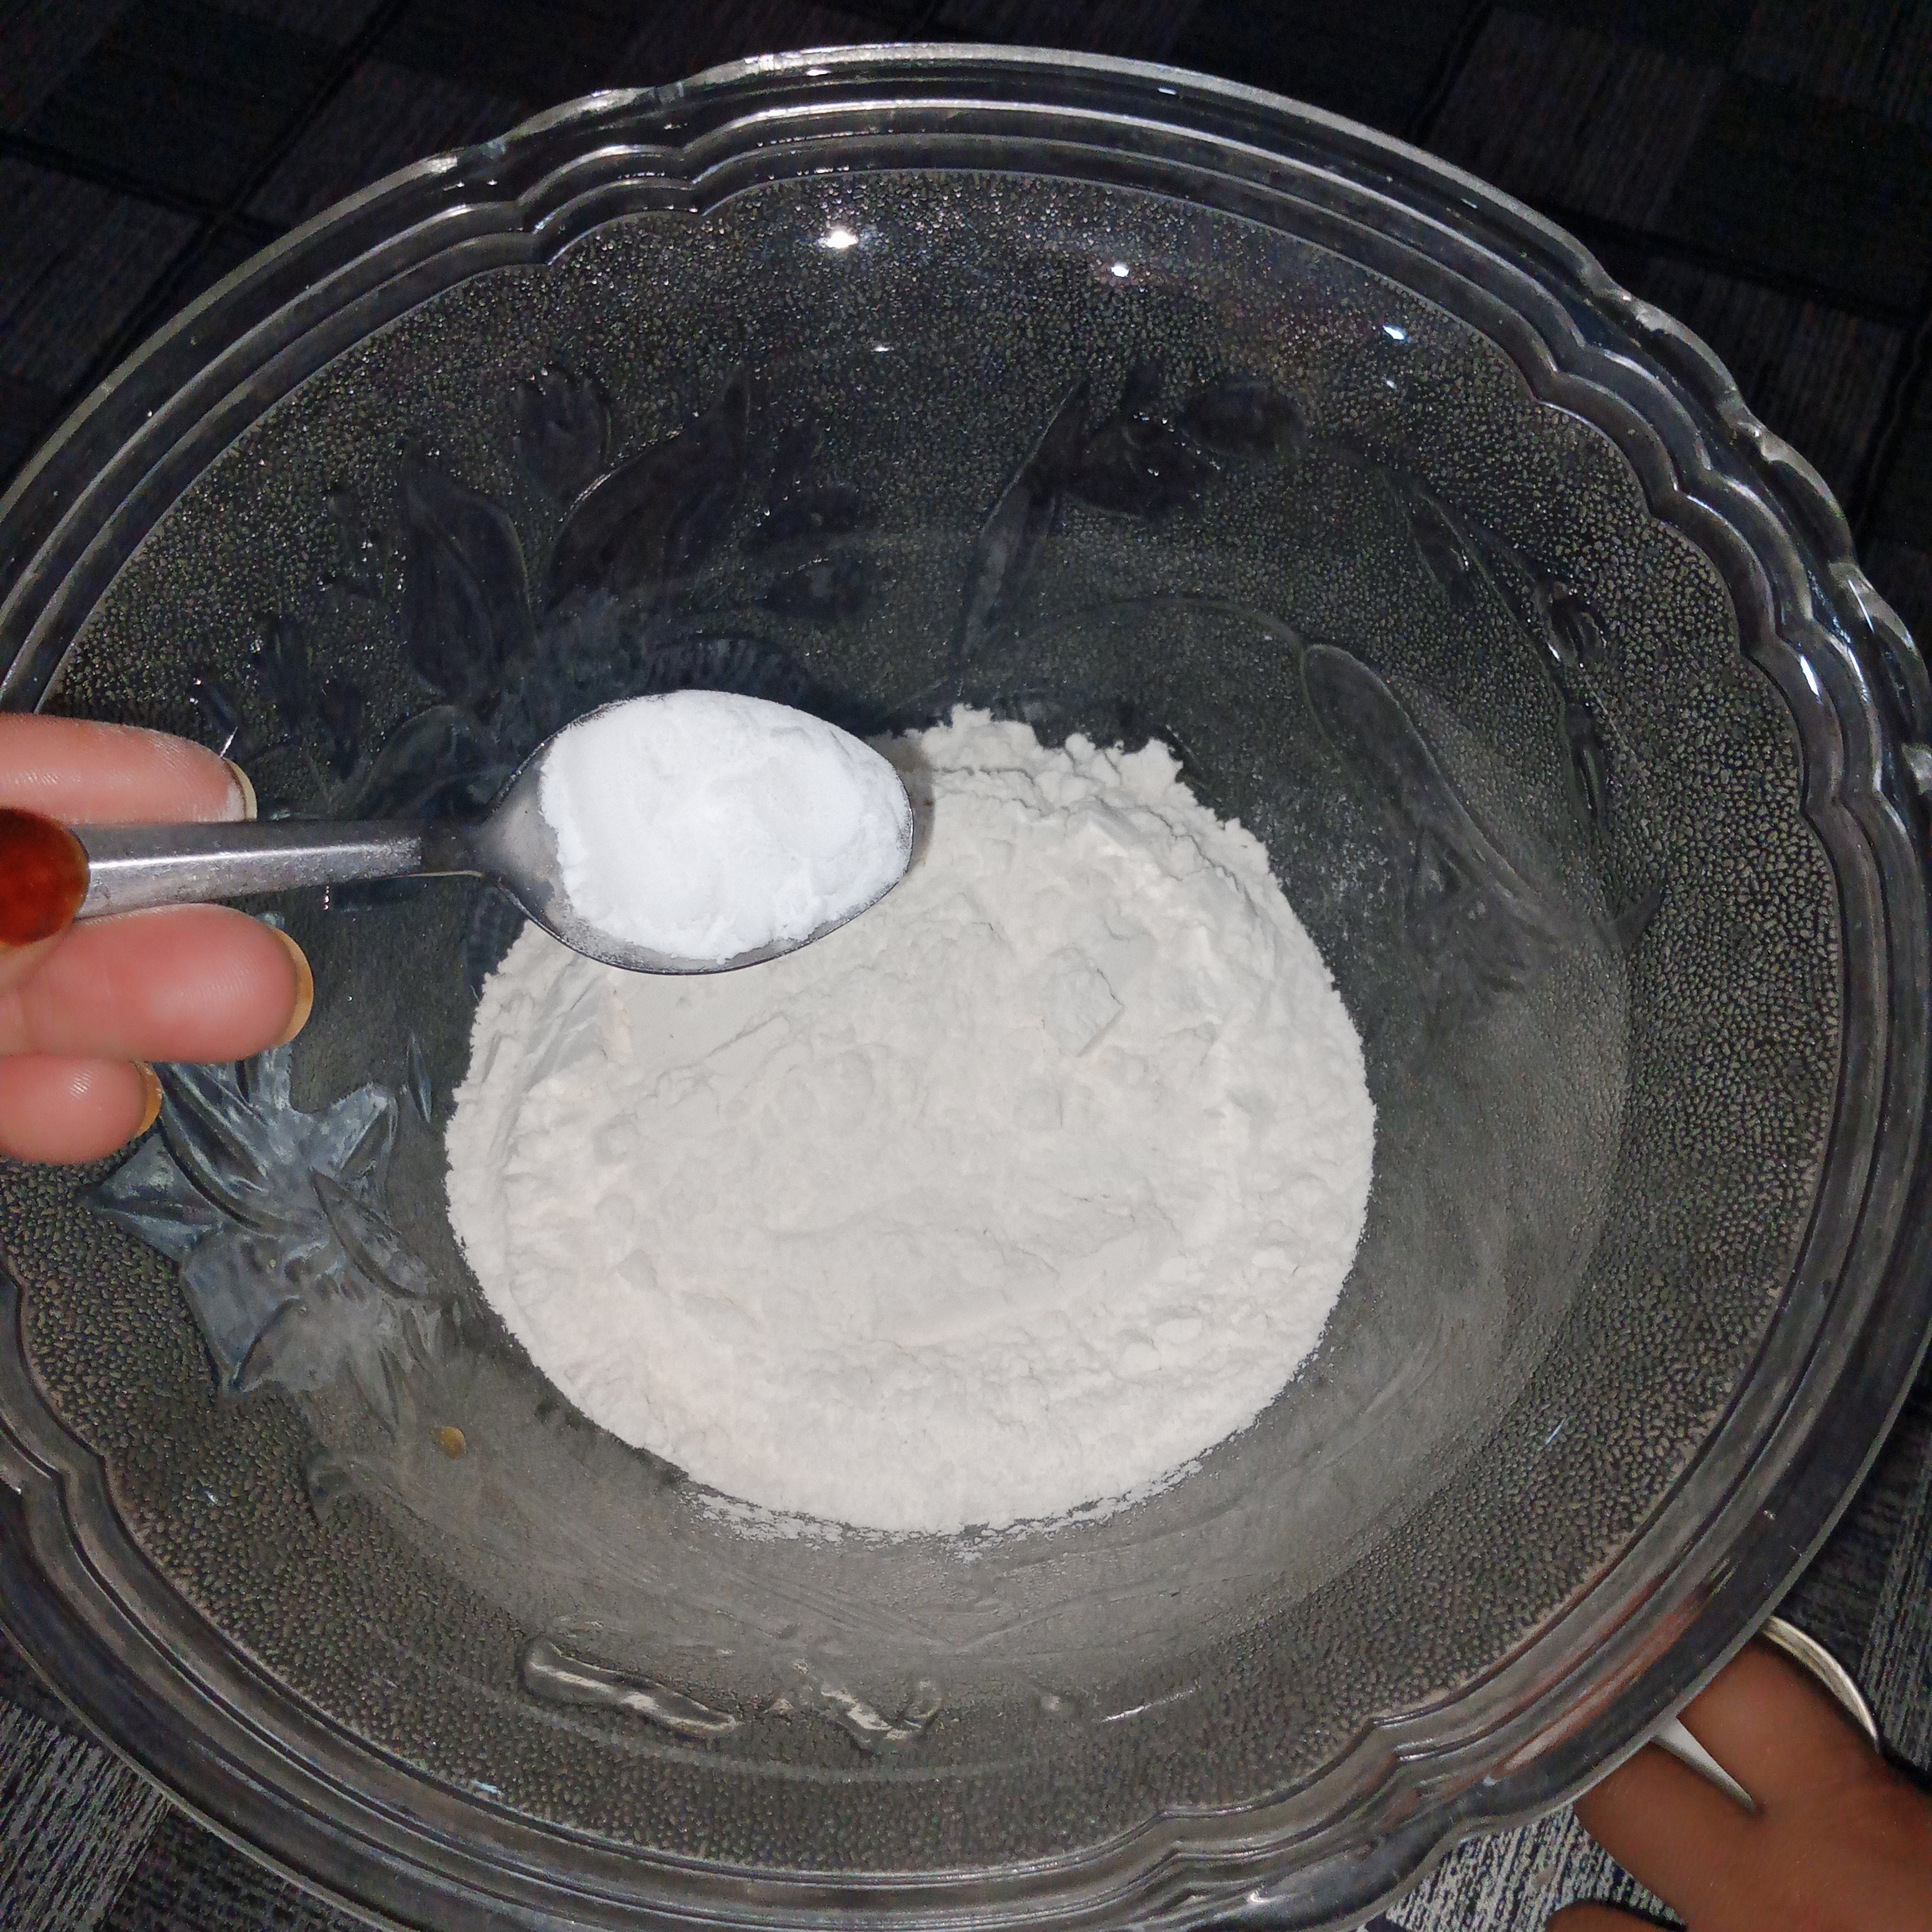
- In the second step I got a cute little glass bowl. Then I kept the necessary ingredients for making the cake. Then I include flour and baking soda. After that I fill bowl and poure flour into this bowl. After I add one teaspoon of baking powder to it. Then I mixed both these ingredients well. So that baking powder was equal mixed into this flour. I took special care that there were no lumps left. Everything was well mixed. So that the cake would turn out well later.
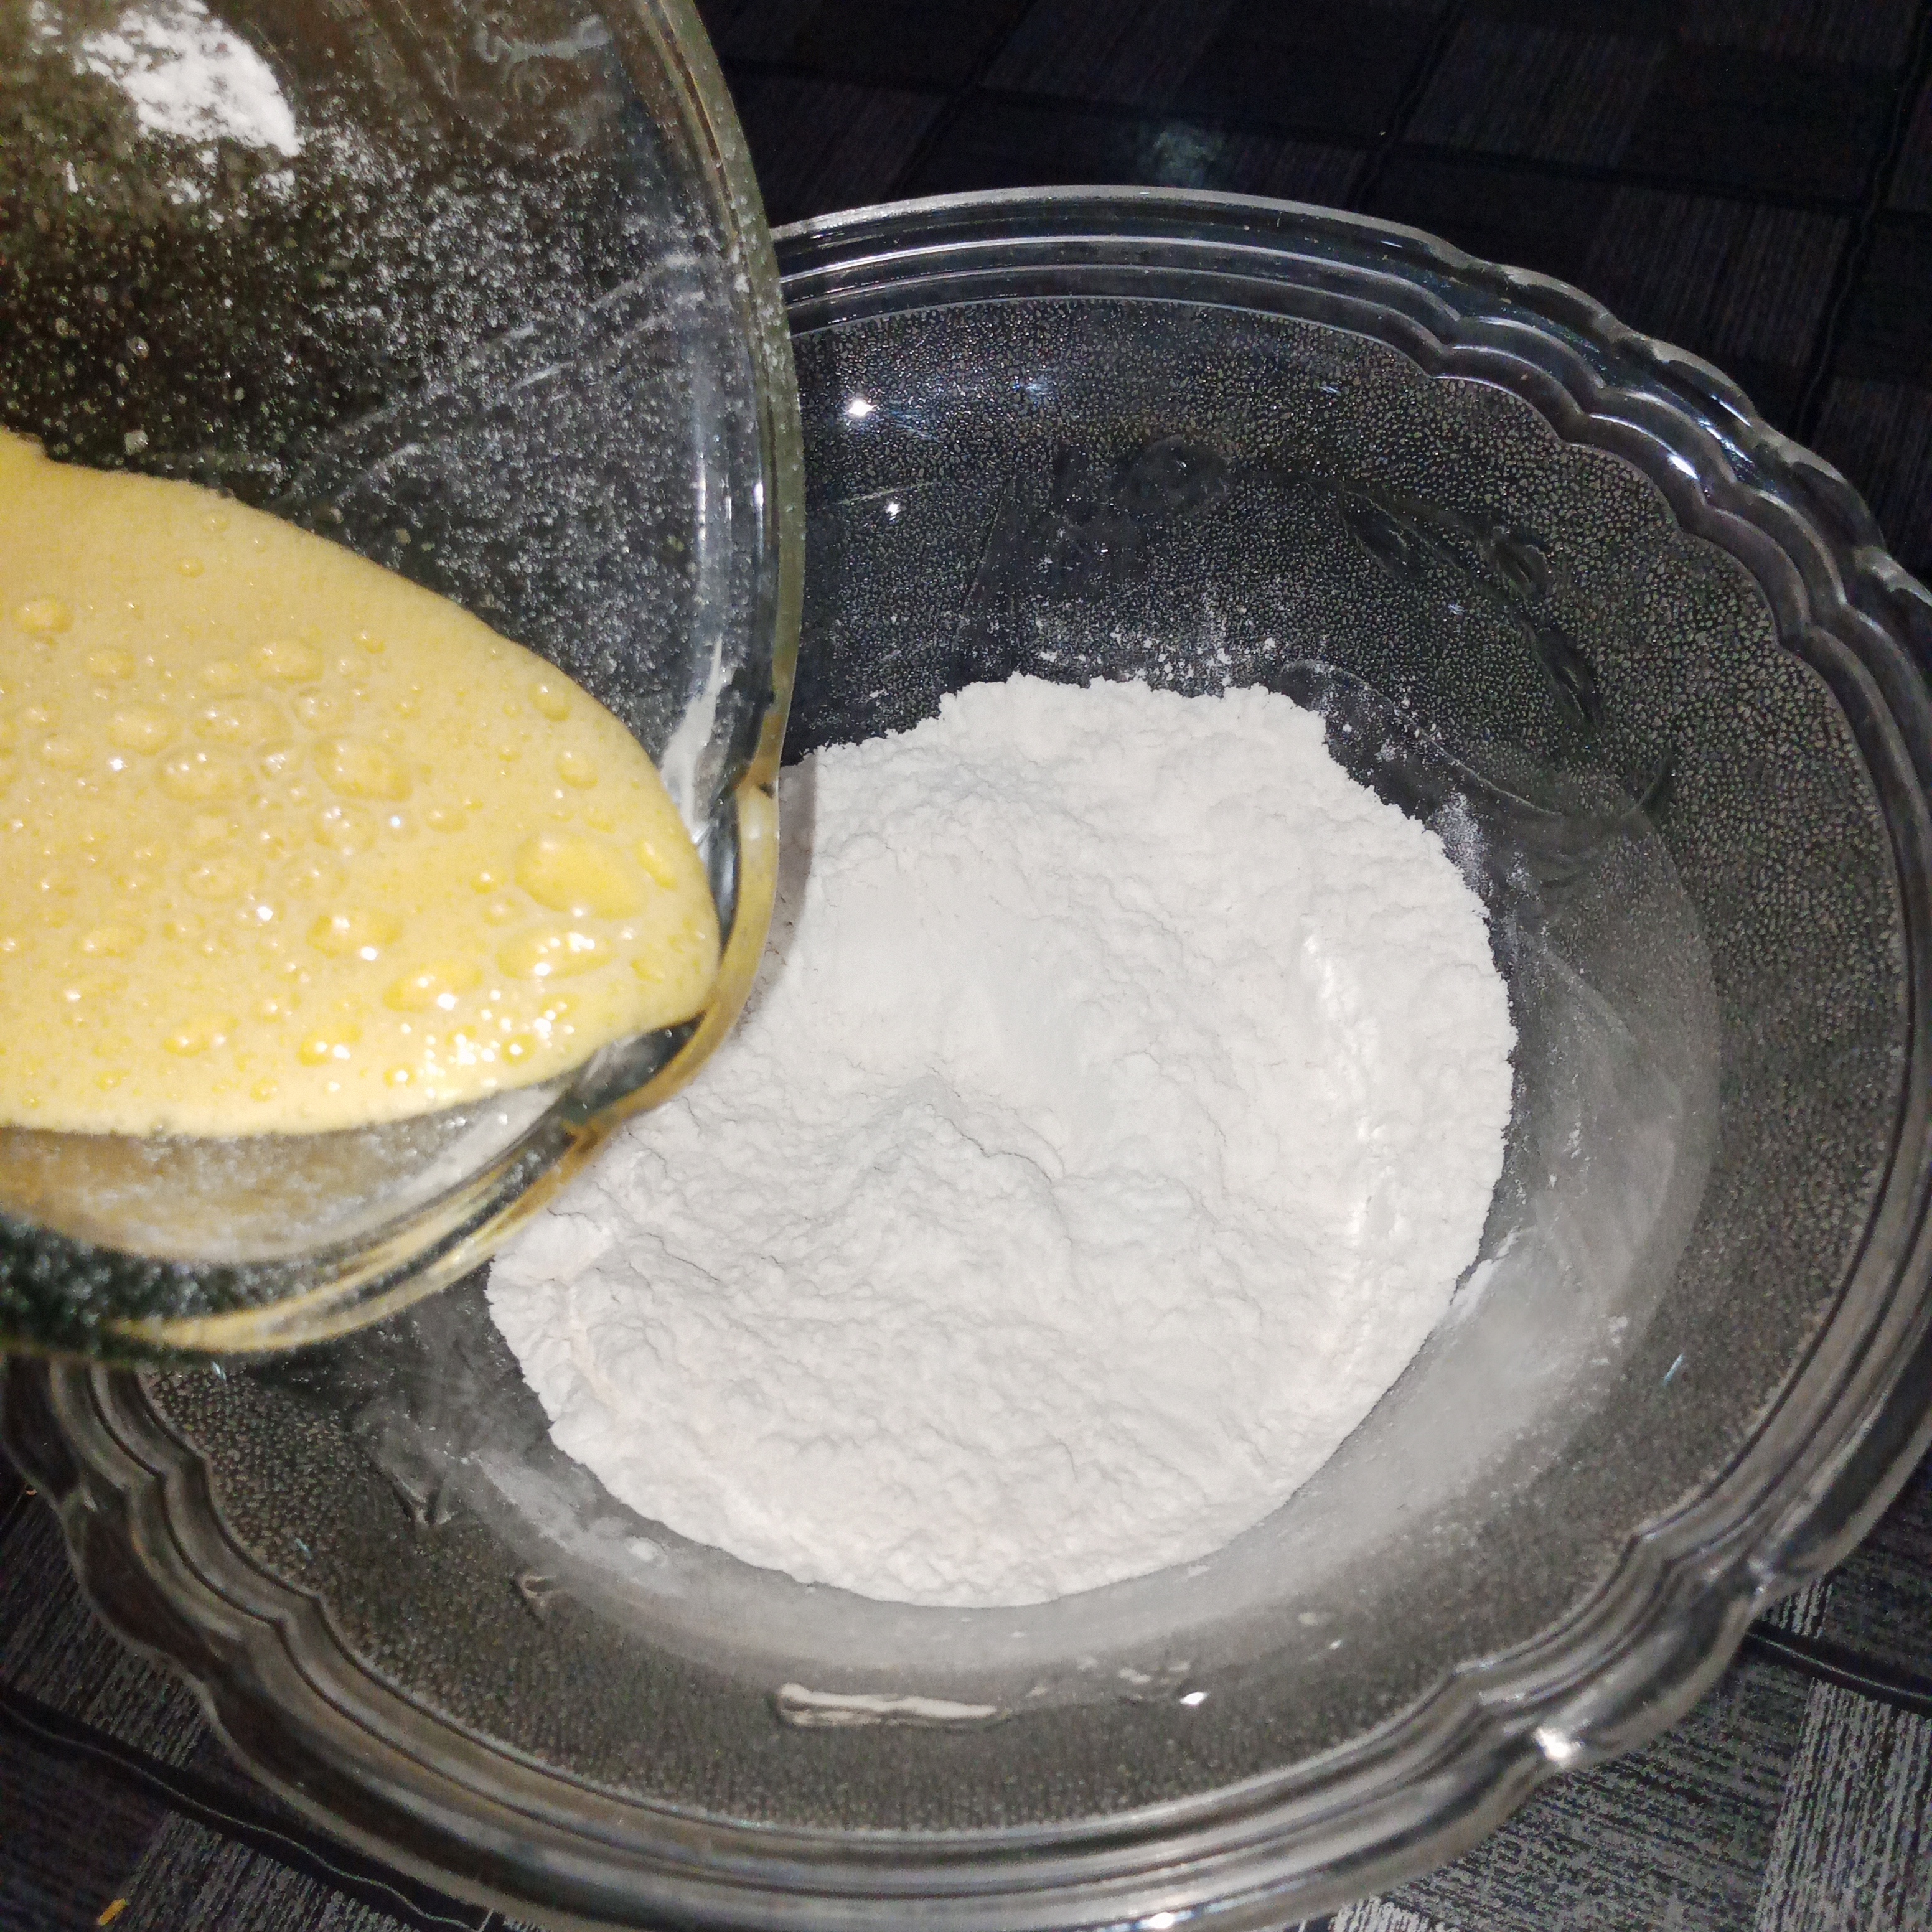
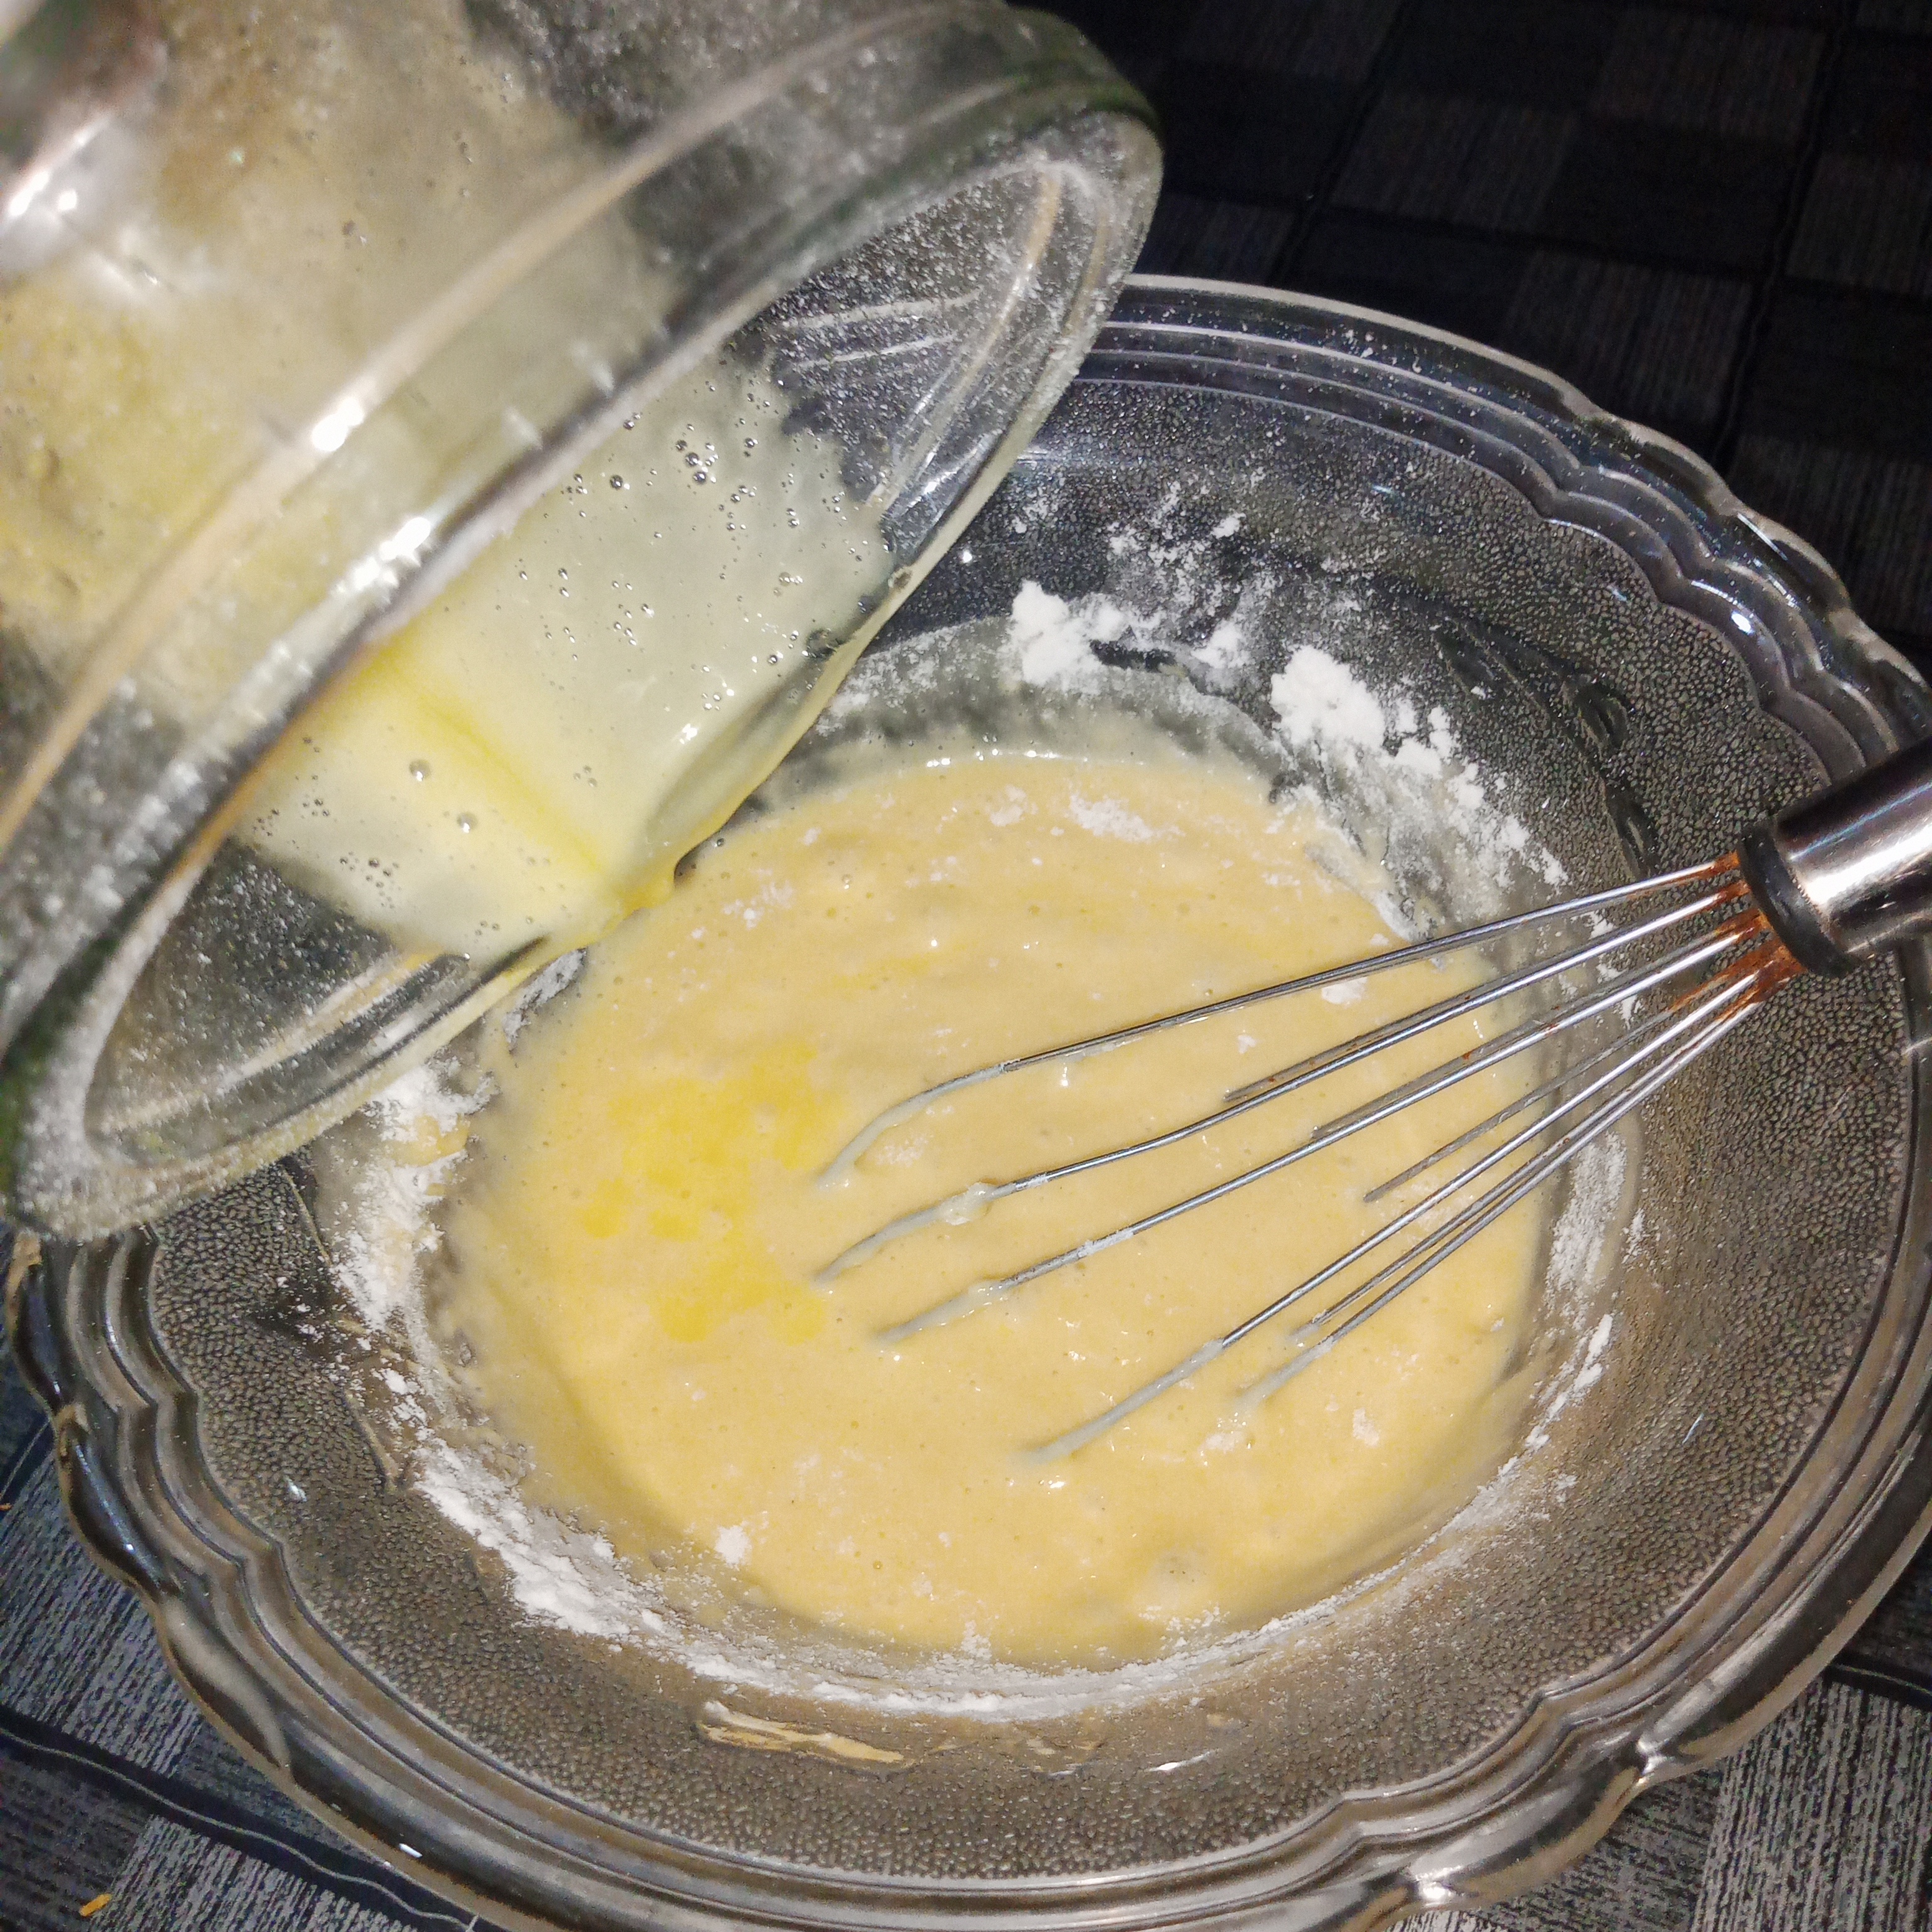
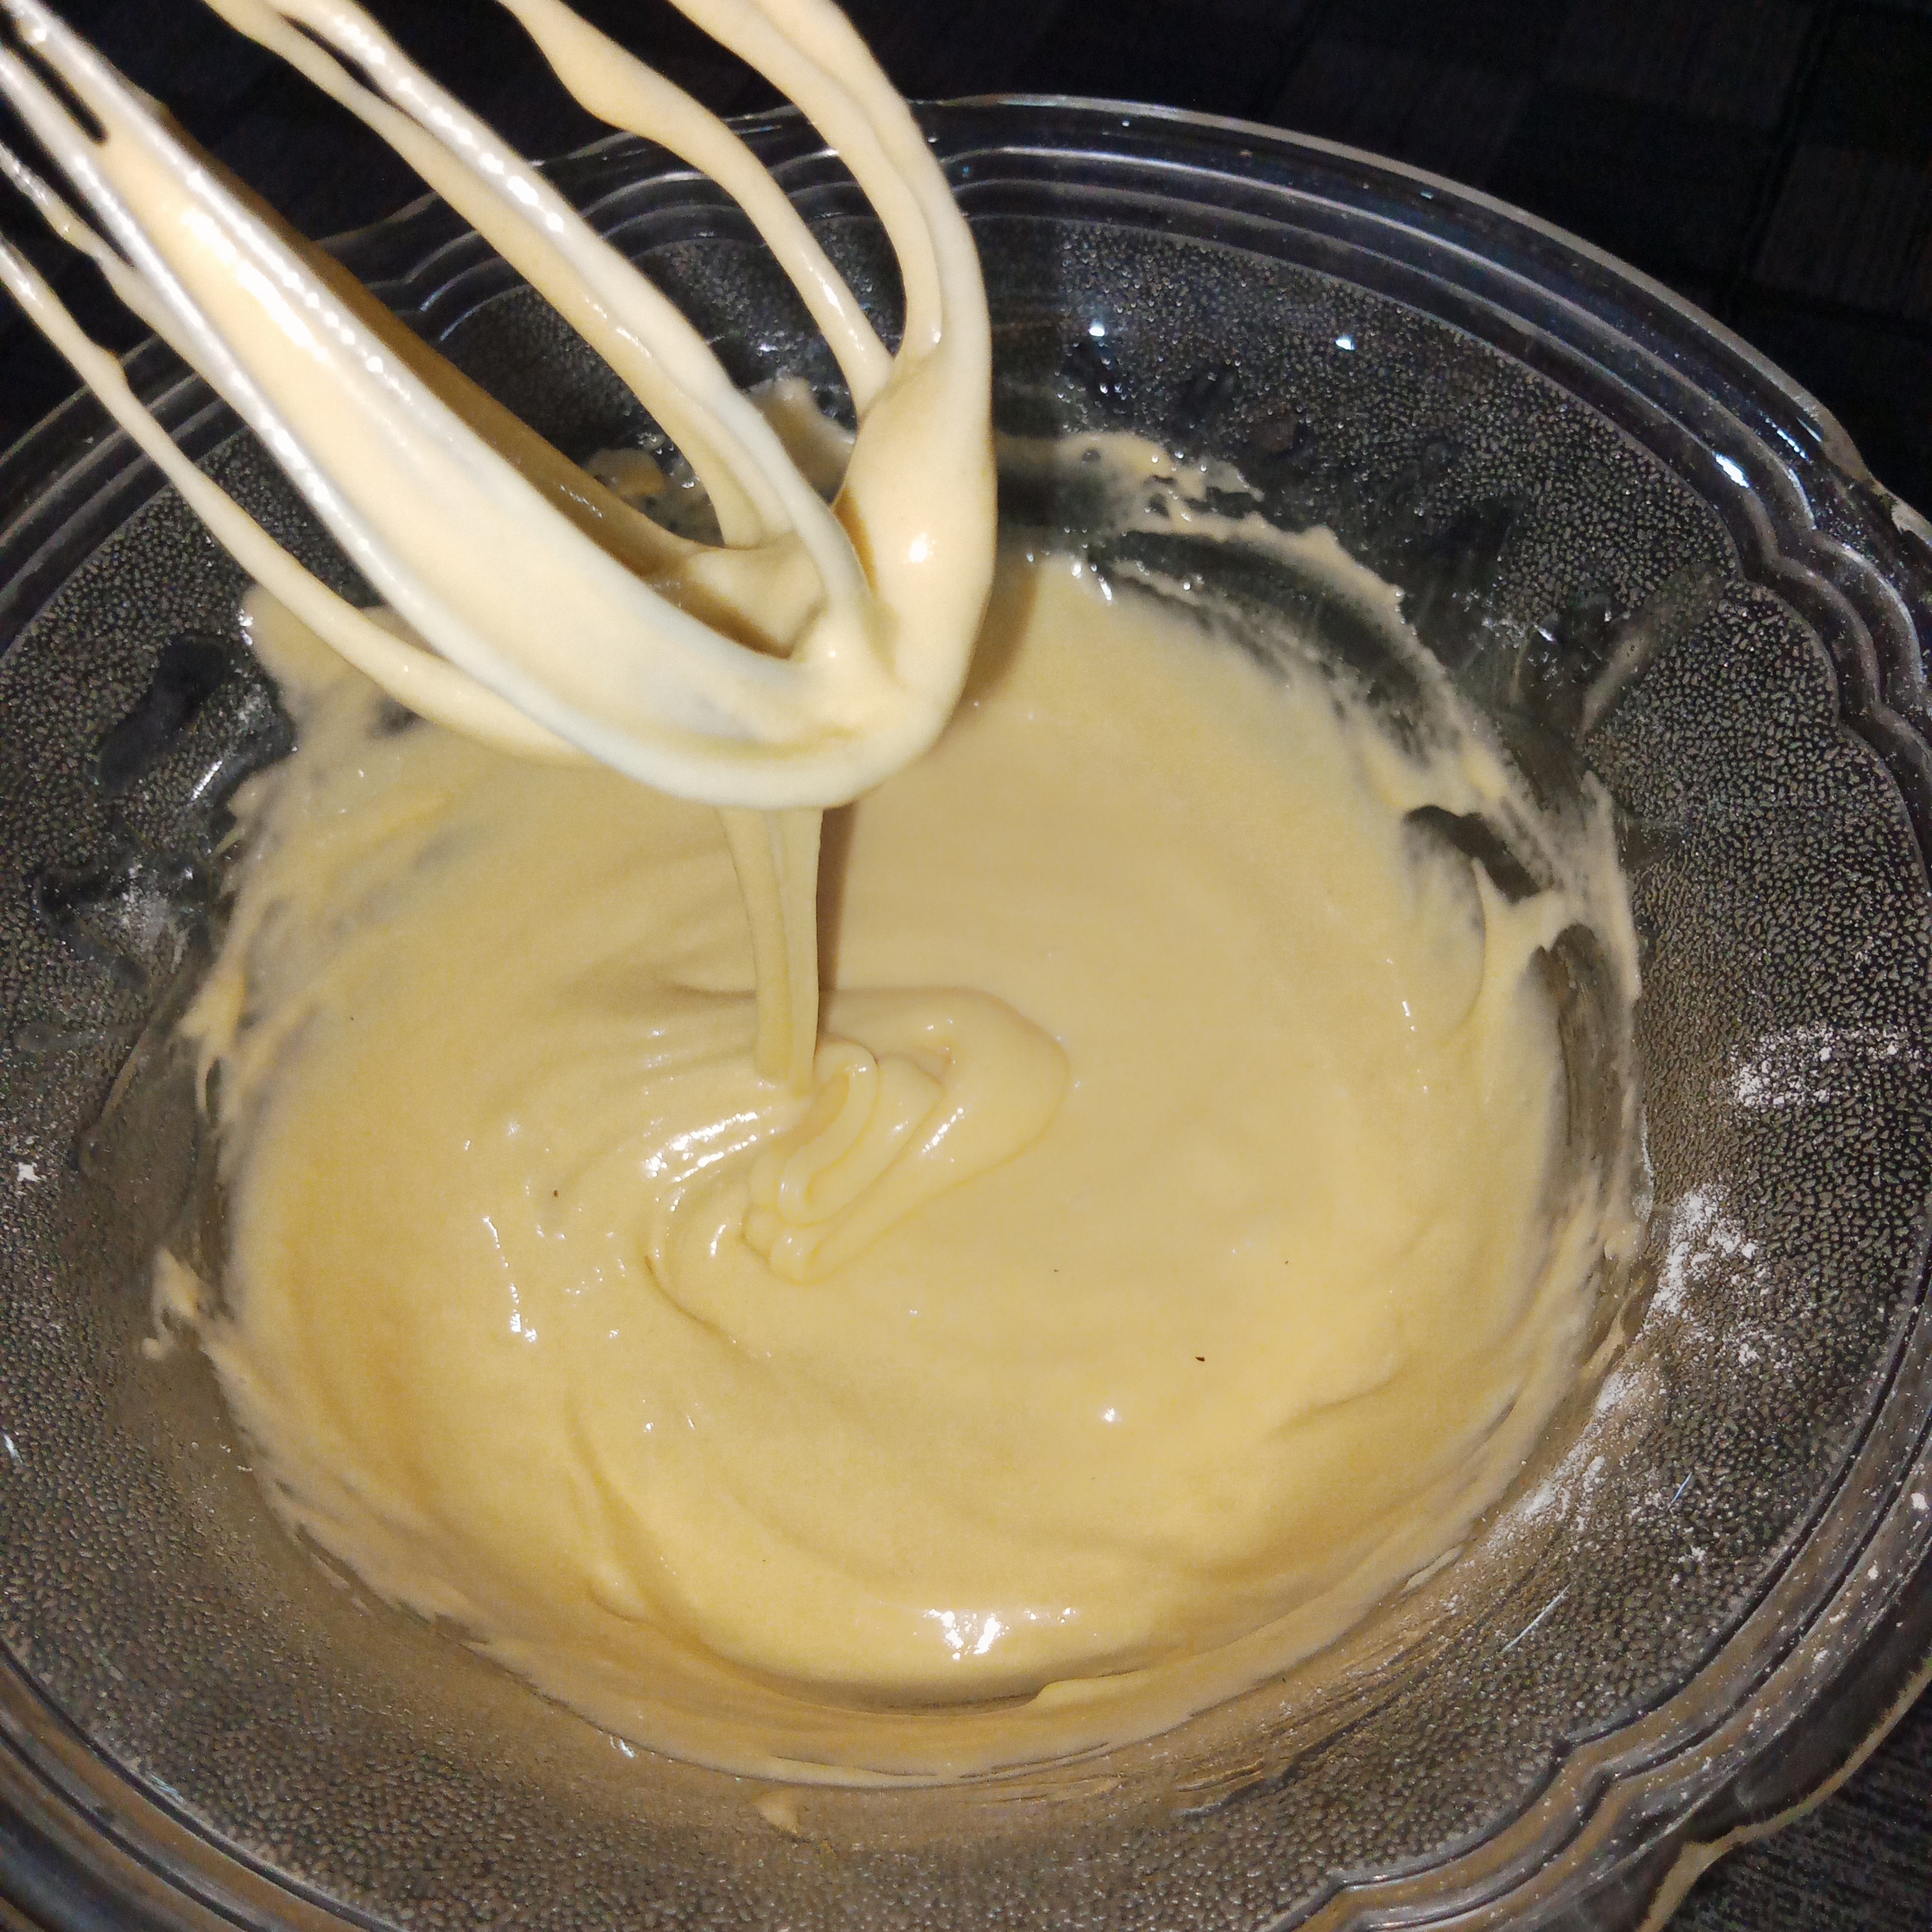
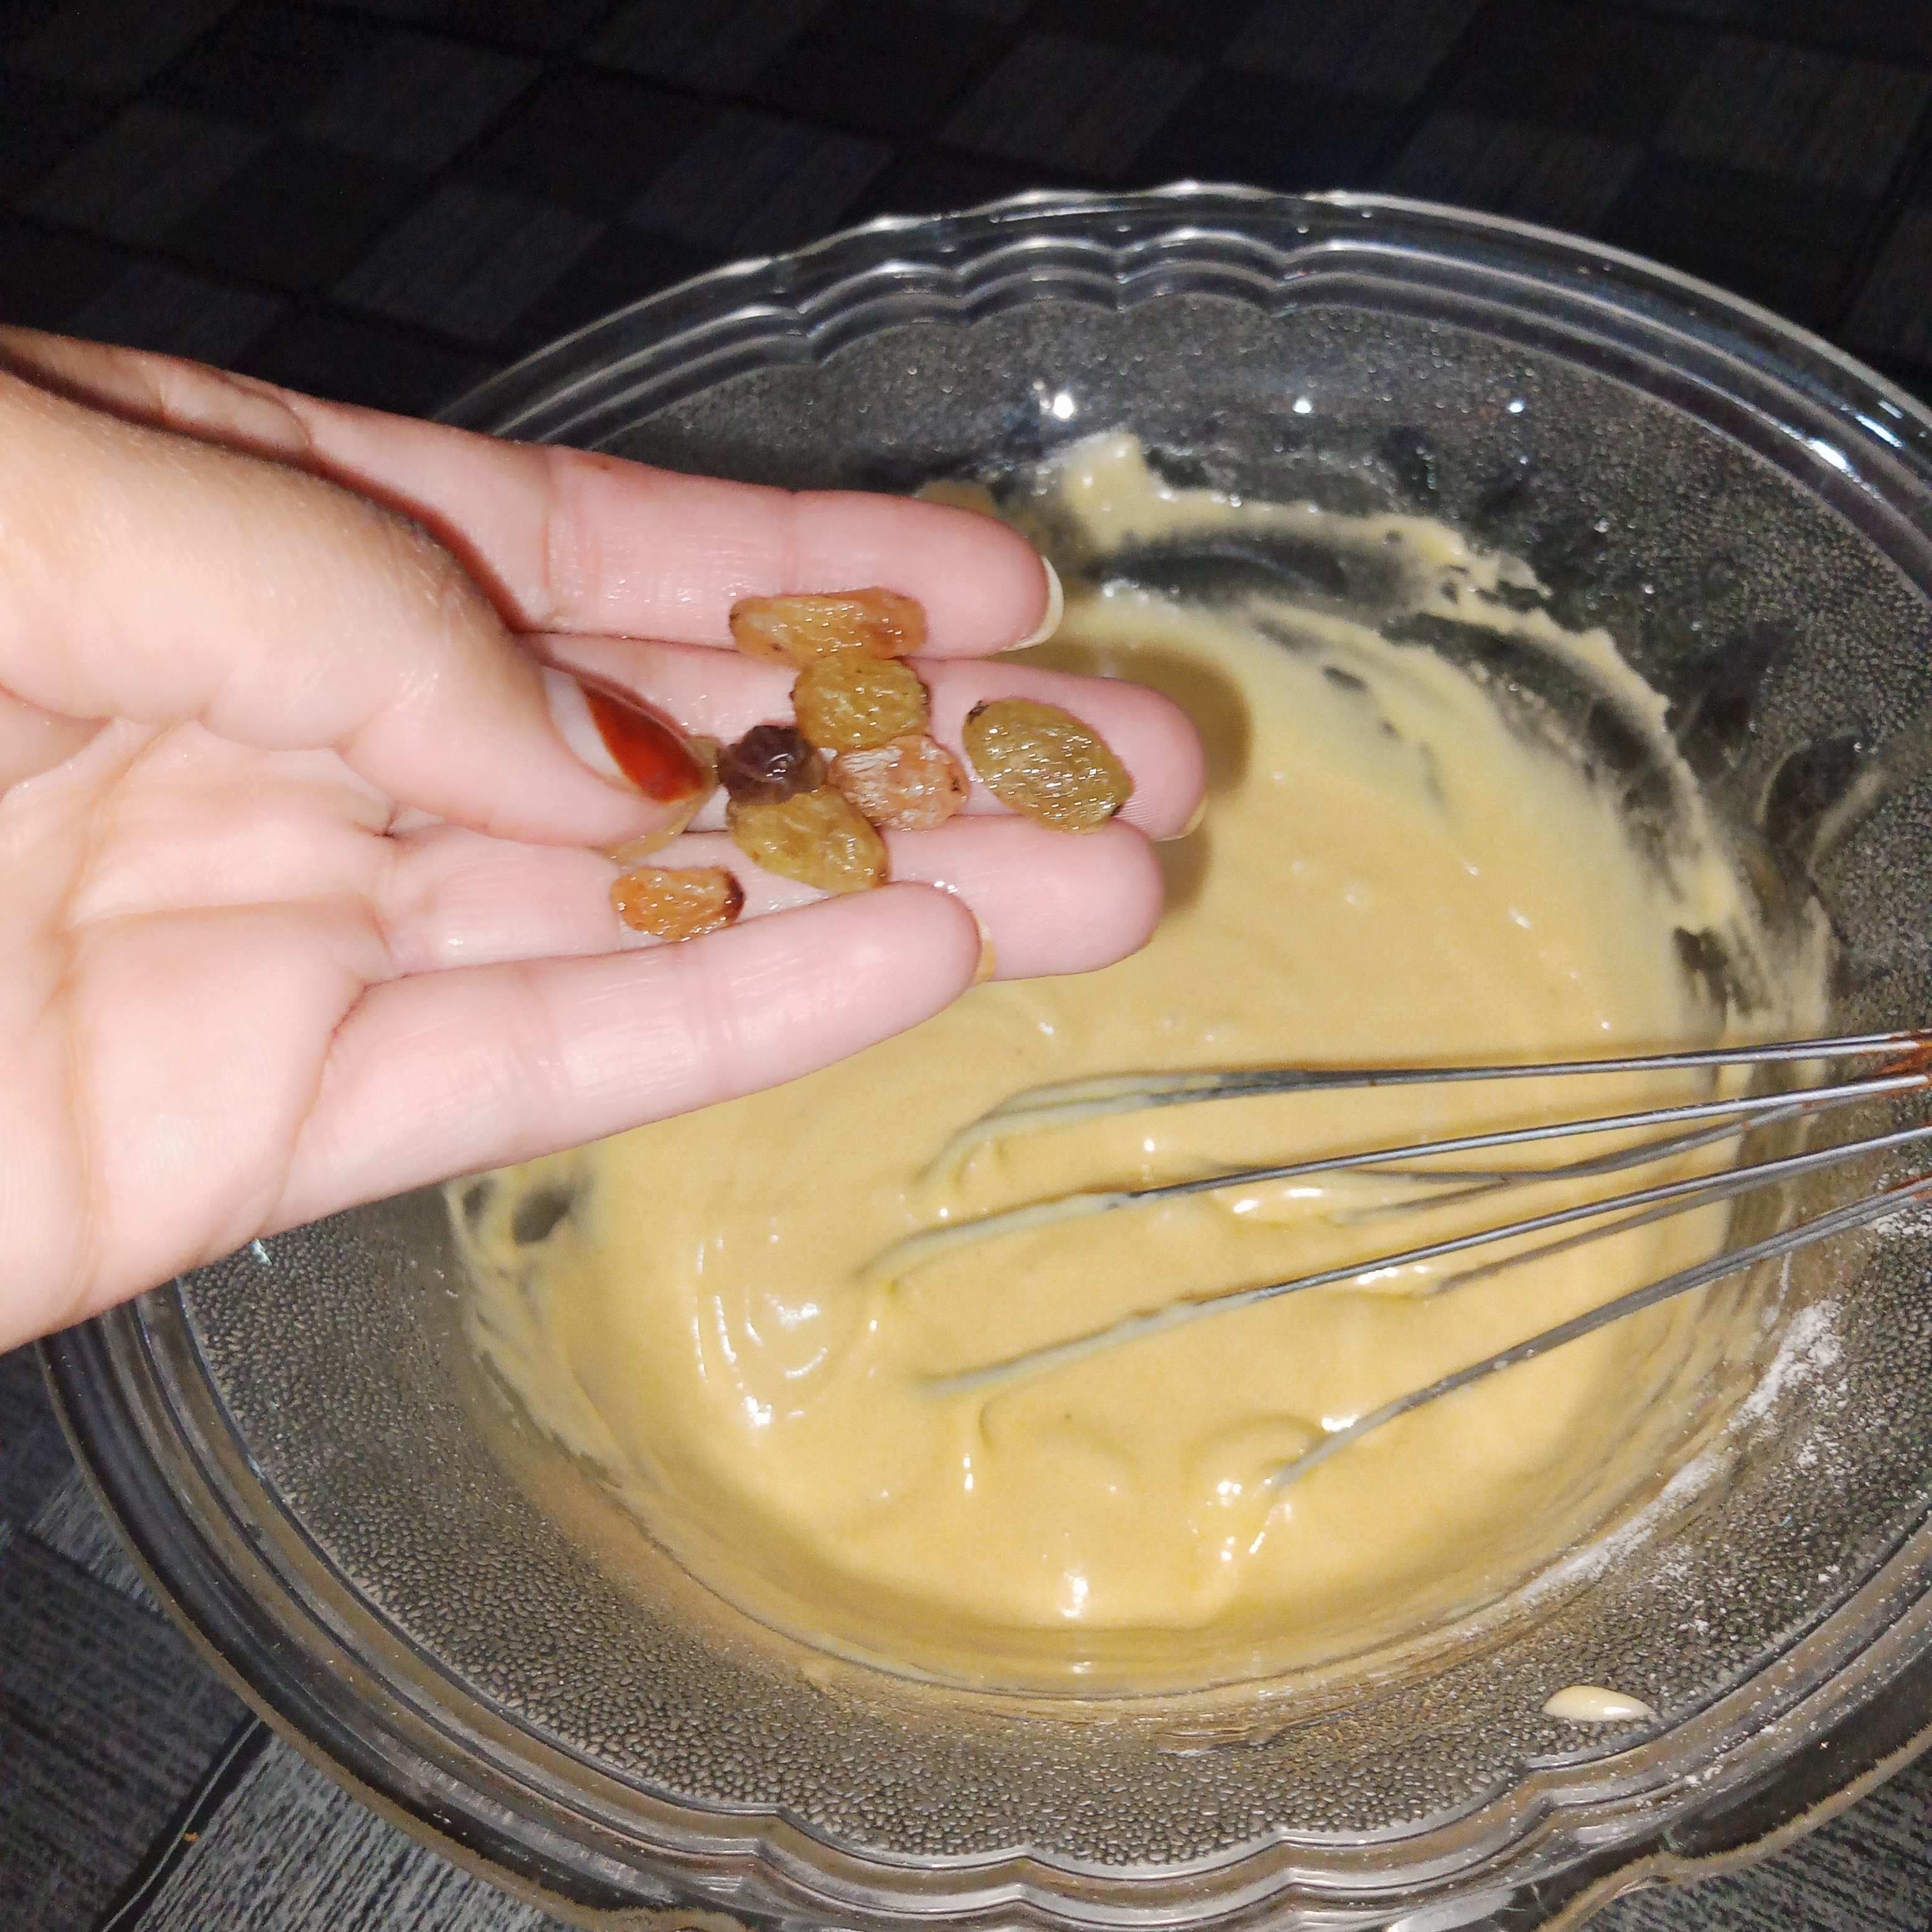
- In the third step I took the batter that I had prepared in the blender earlier. And slowly started adding it to the flour mixture. I folded it well and mixed it continuously. So that both ingredients were well mix. Then I whisk batter well. It was neither too thick nor too thin but just right. After that I also add some raisin to it to make this cake taste more delicious. Finally I mixed it well and the complete cake batter was ready.
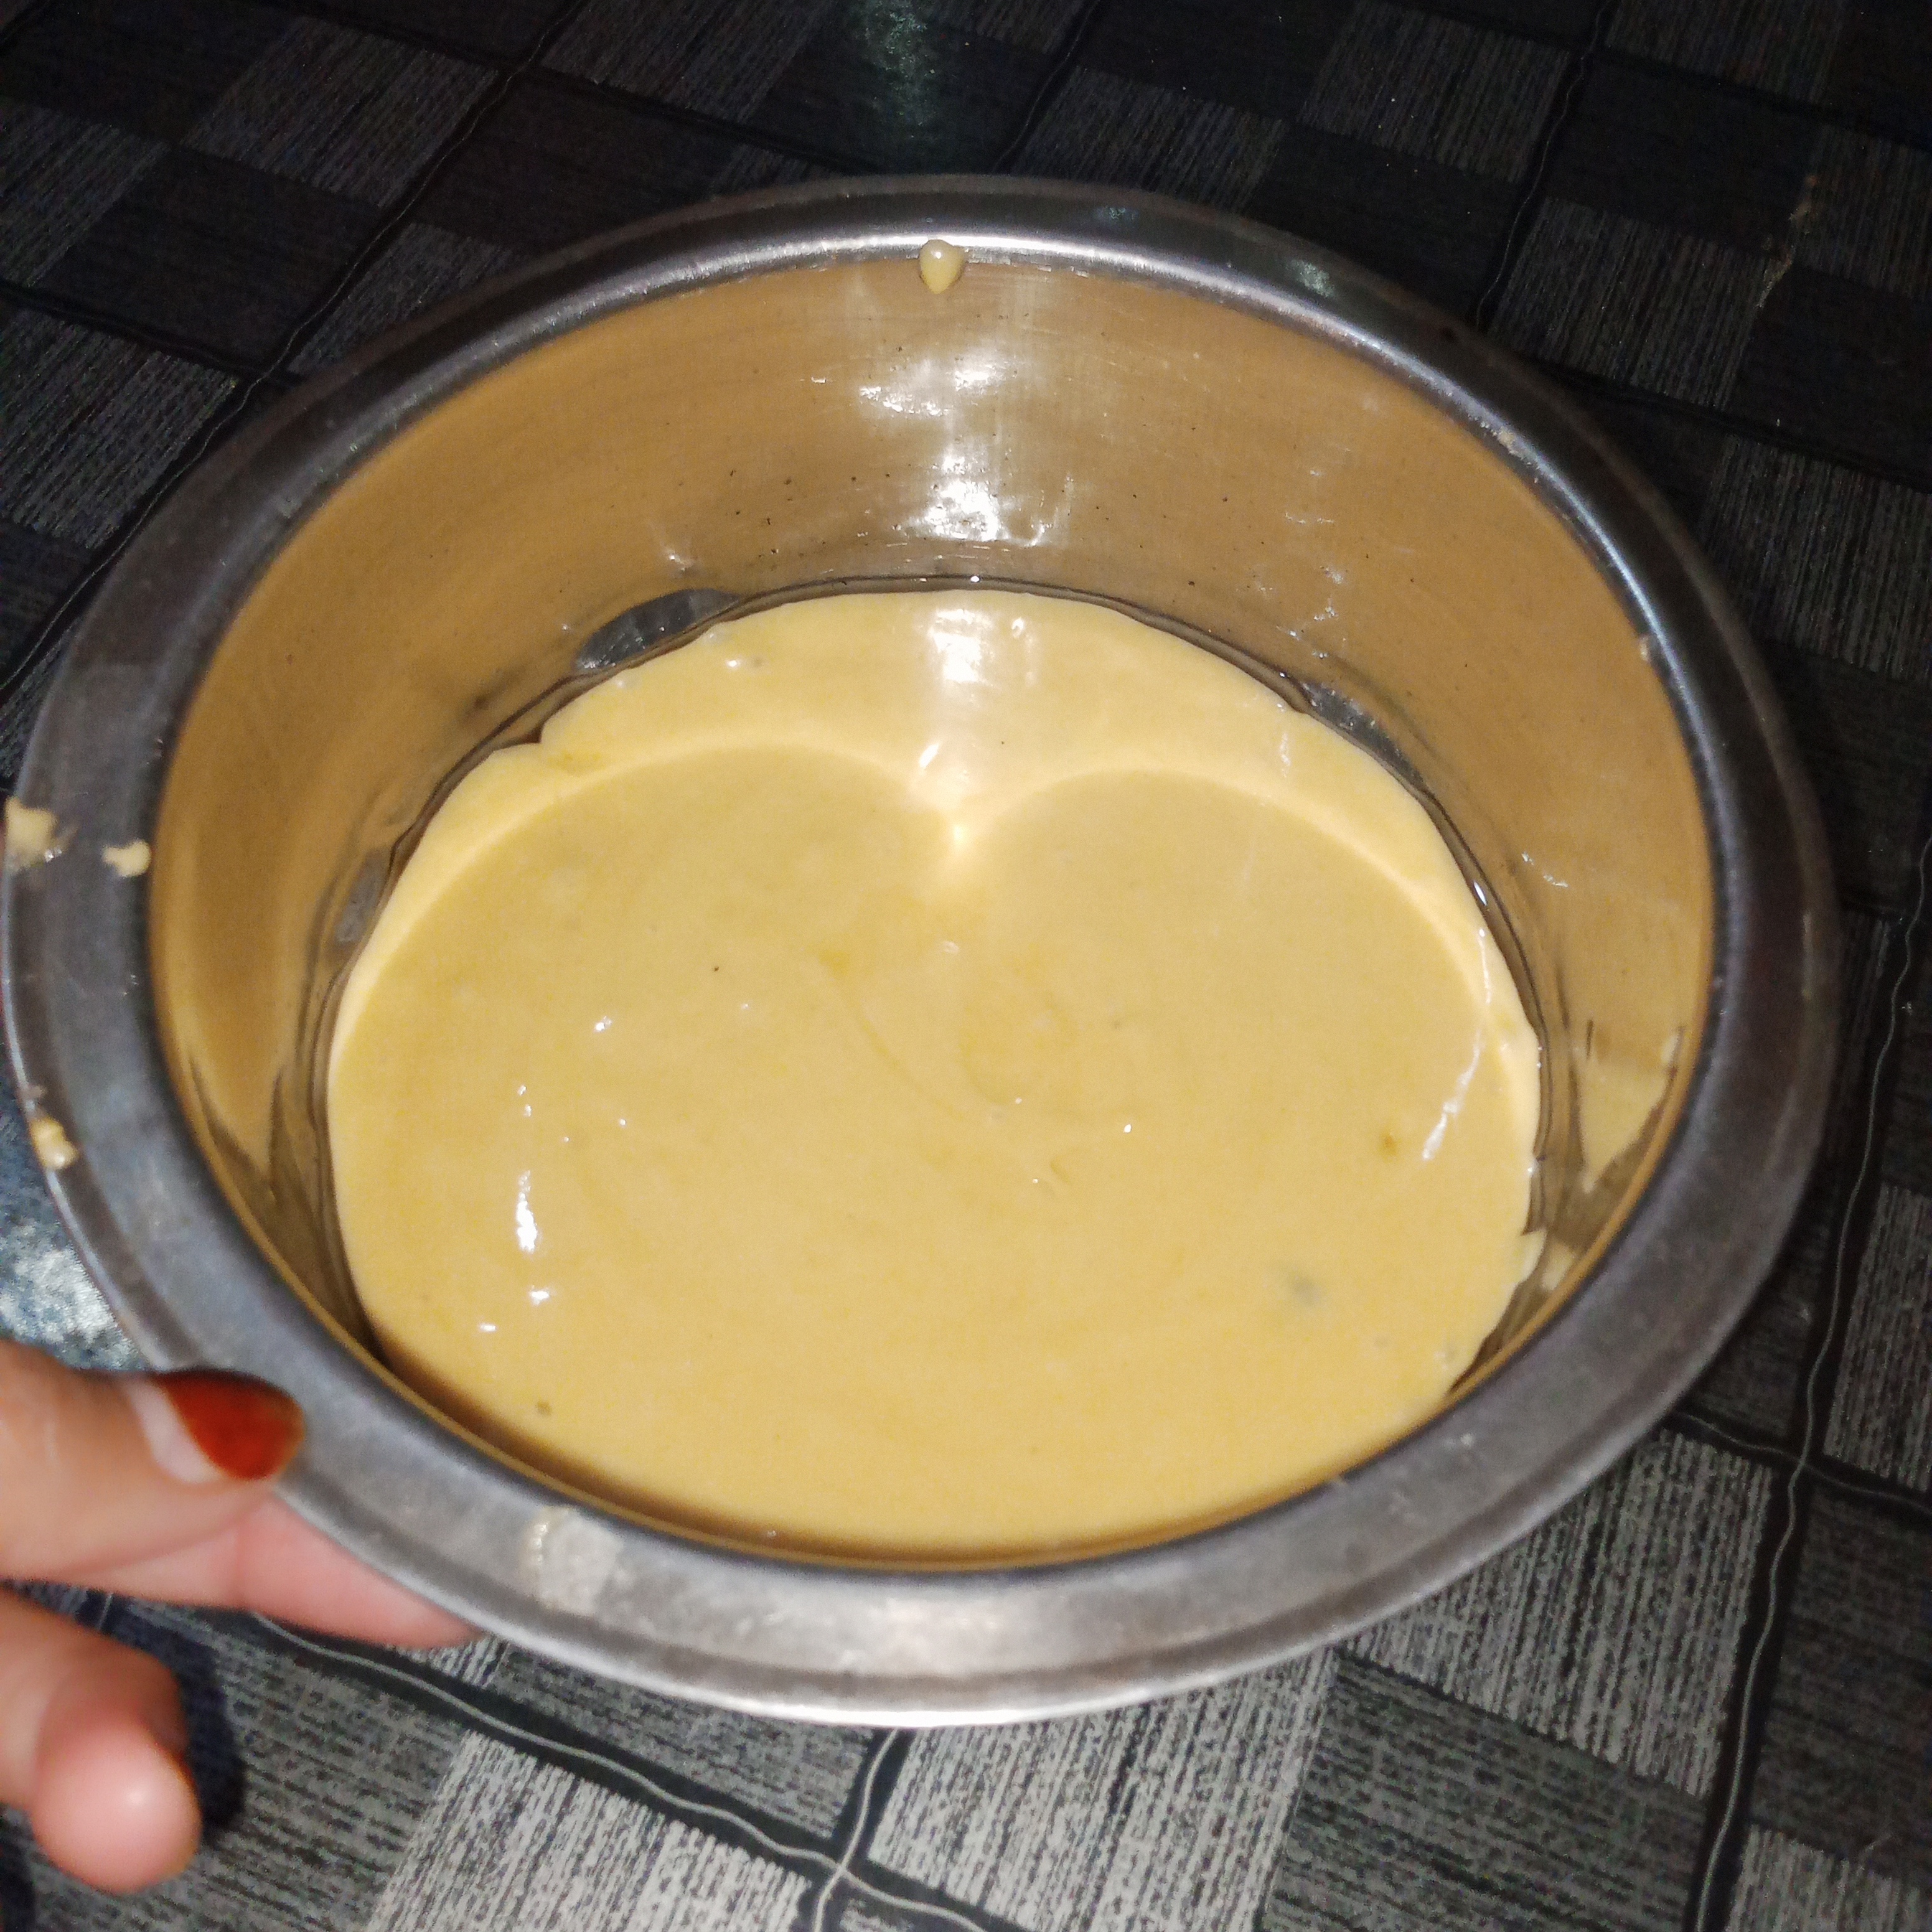
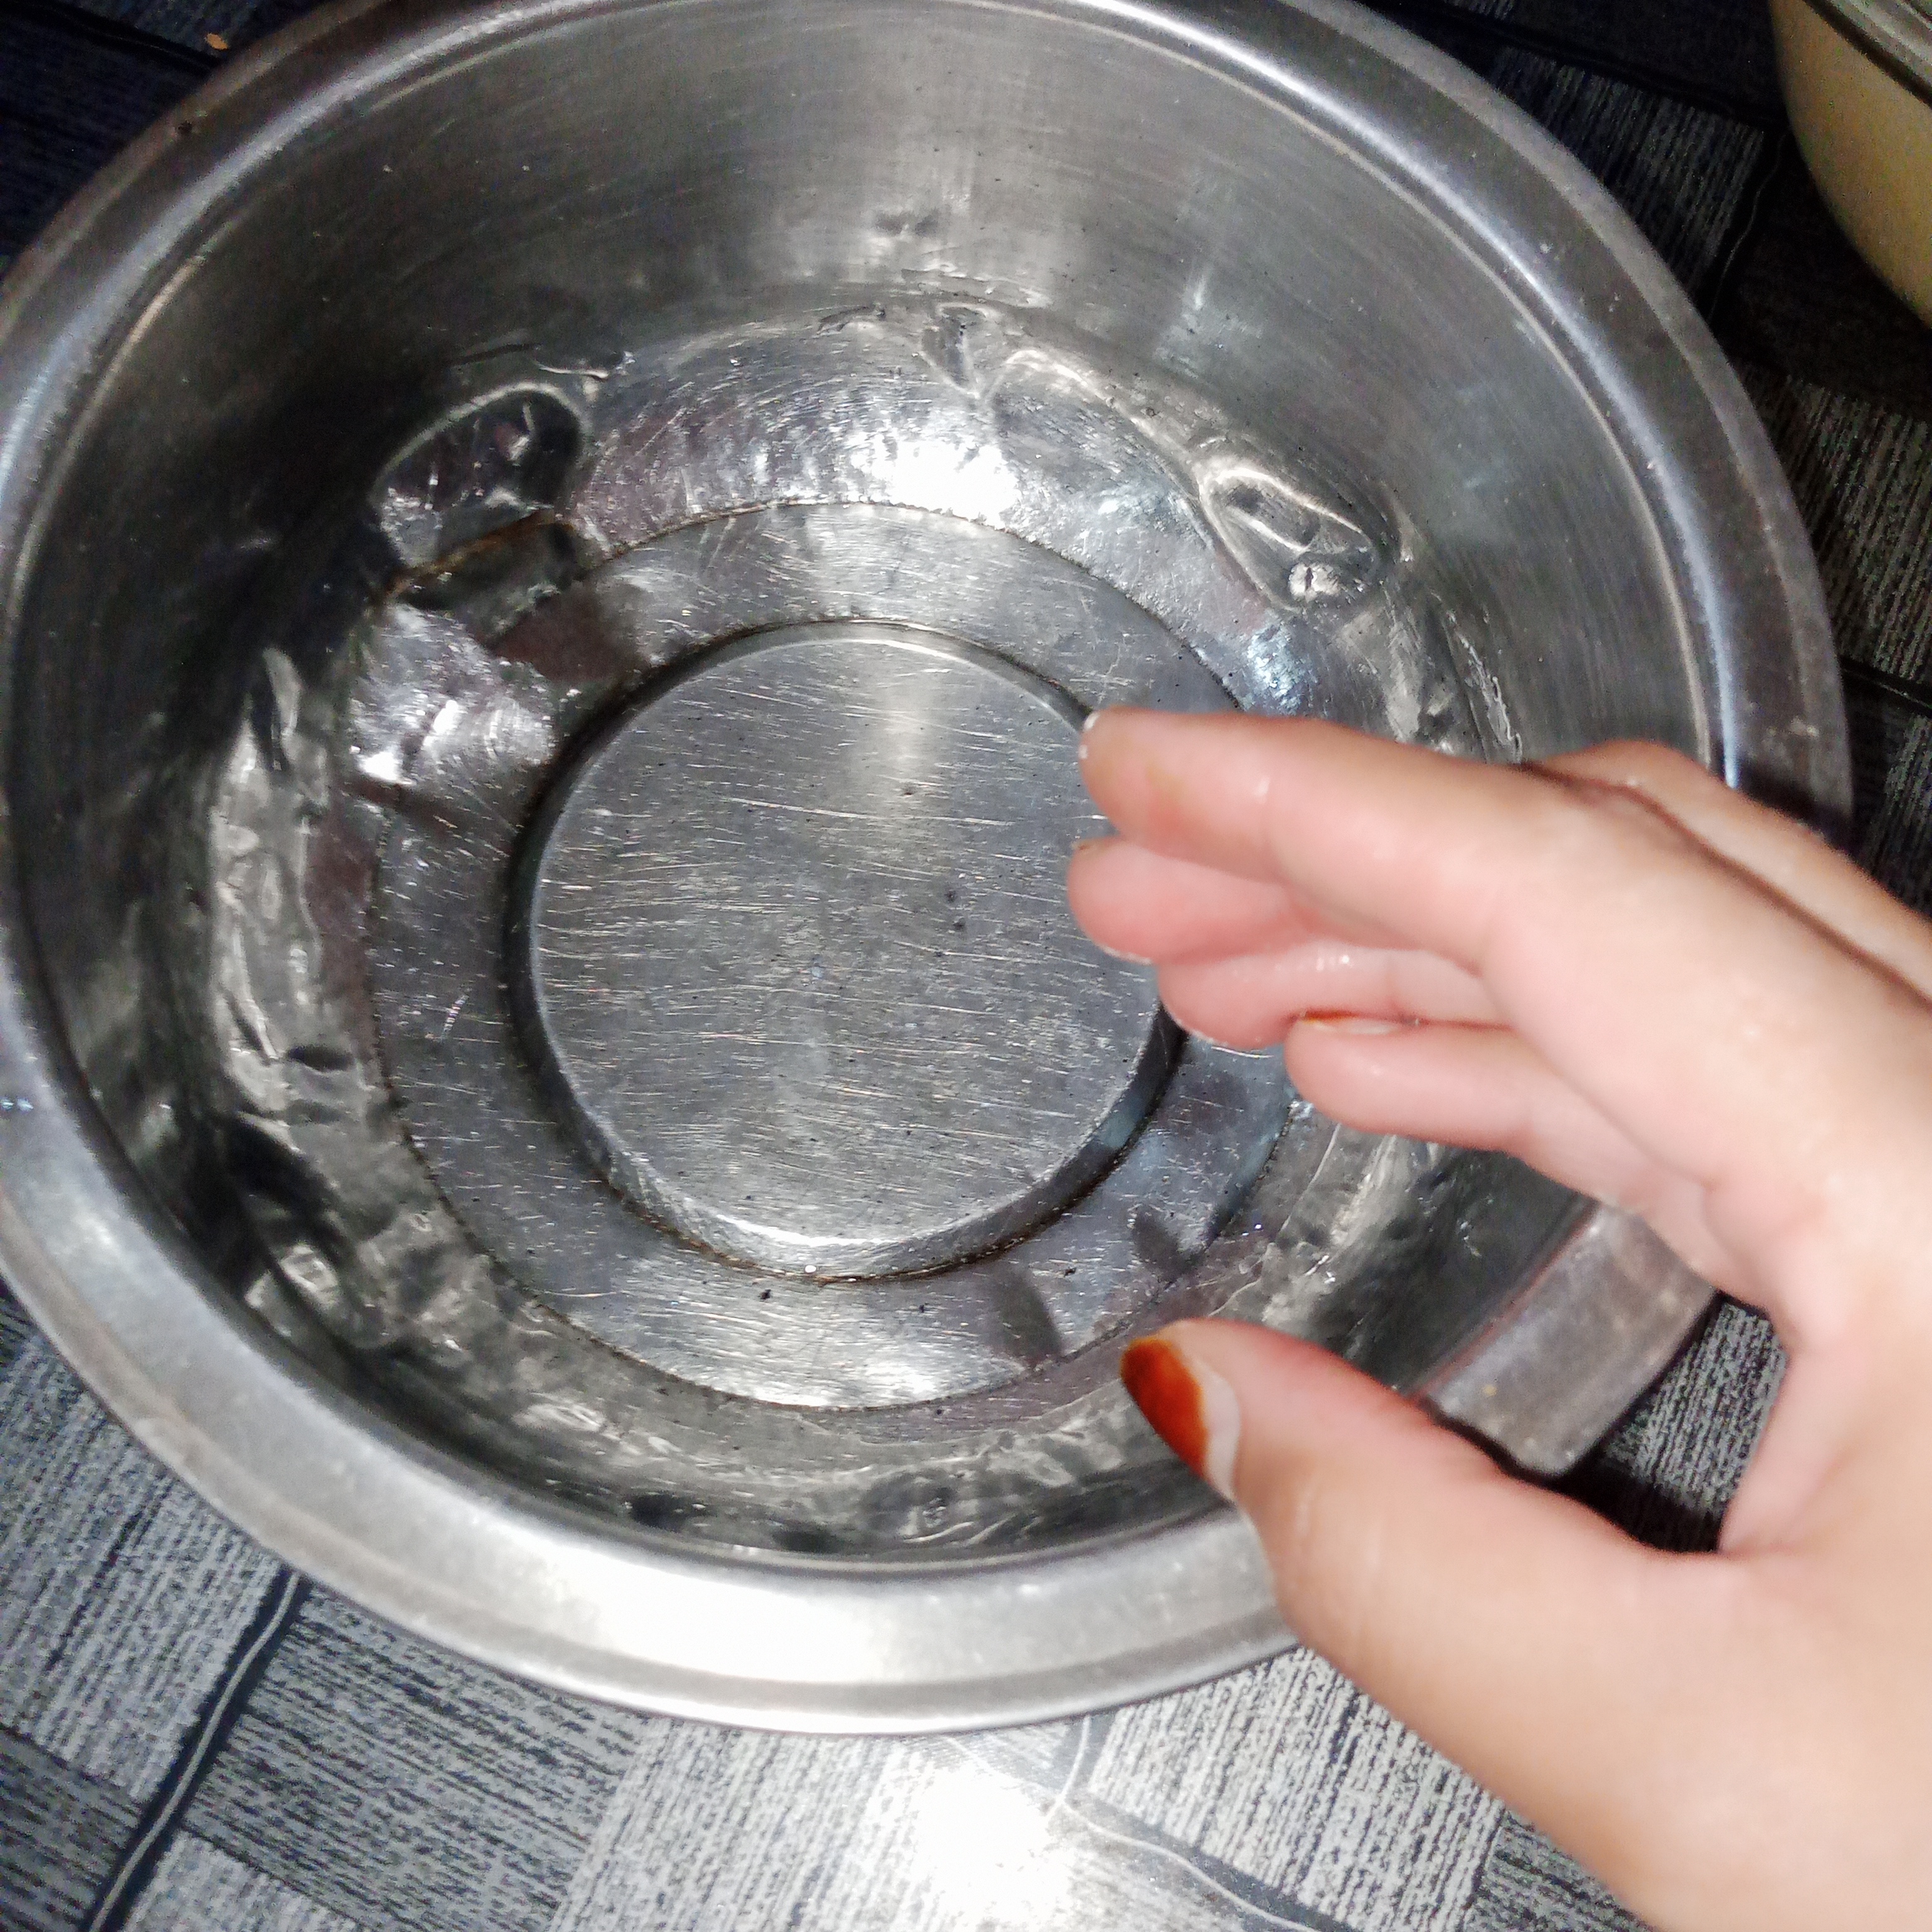
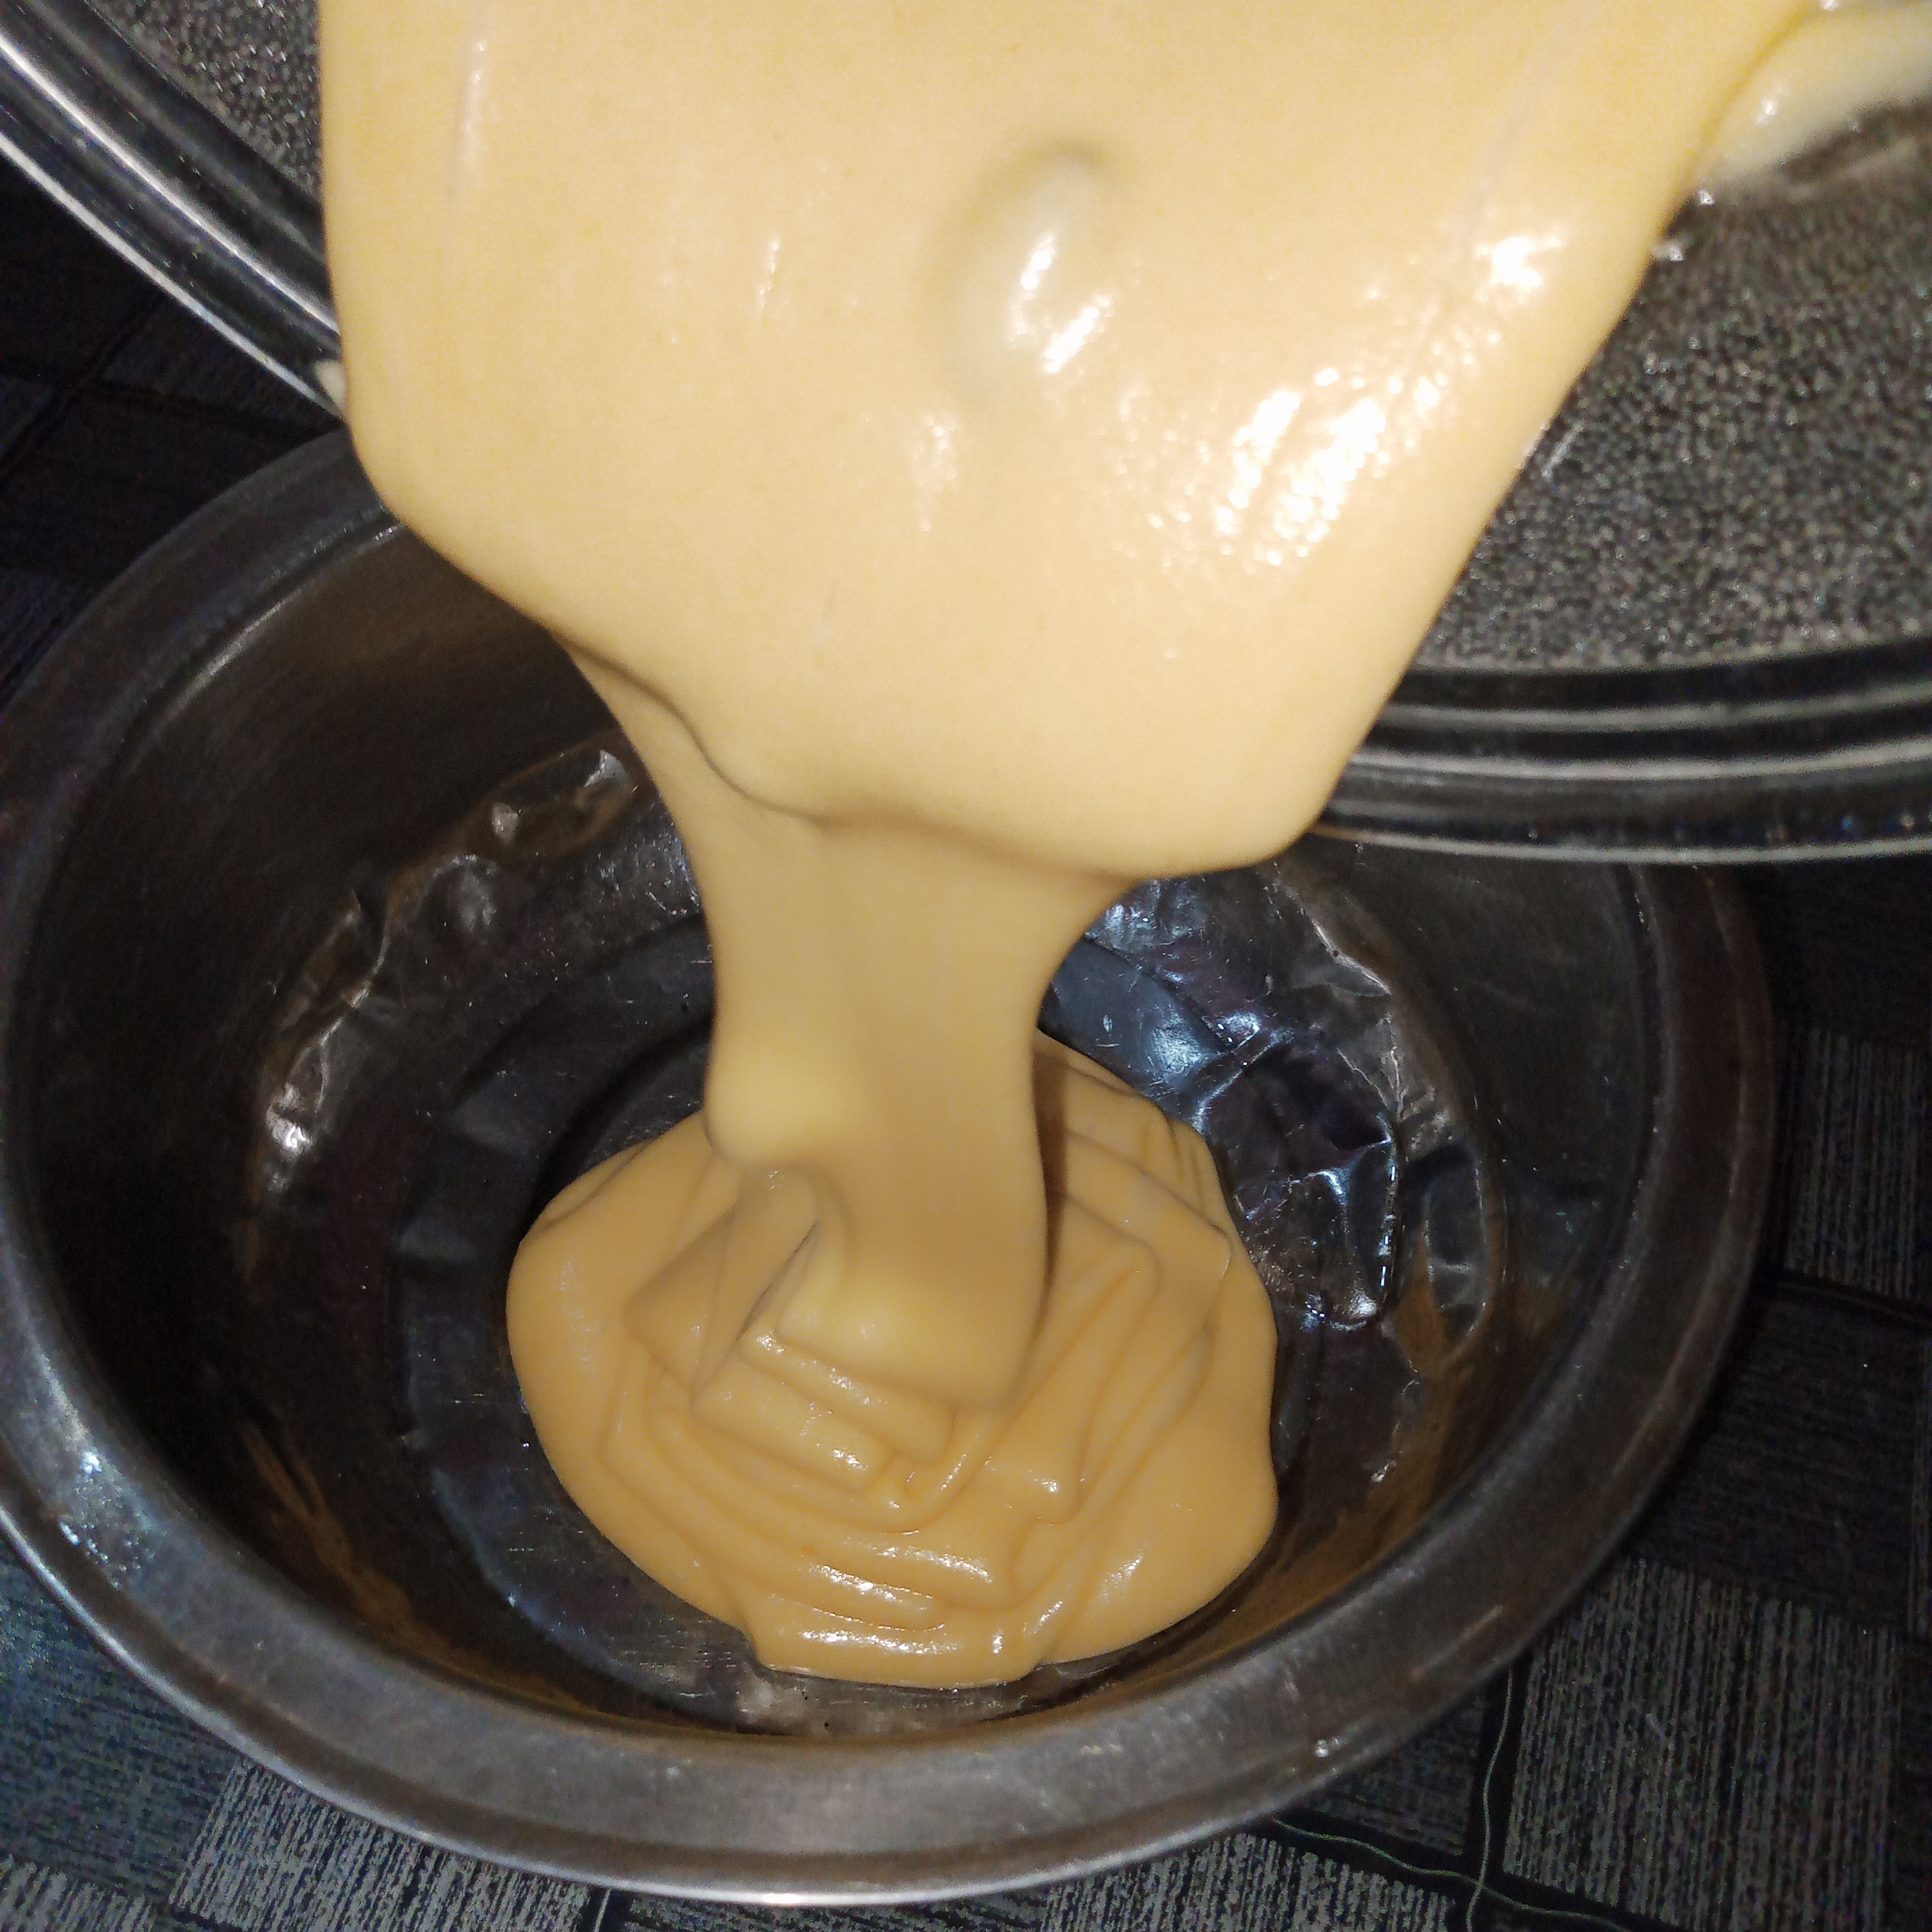
- In this fourth step I took small steel bowl and grease it well with oil so that cake do not stick in pan. After that I start pouring cake batter that I had prepared into this bowl. I slowly poured the entire batter in and also cleaned the bowl well so that no batter was wasted. Then I leveled it well from the top. So that the cake was beautifully made and had an even surface. Finally my cake was completely ready to be baked.
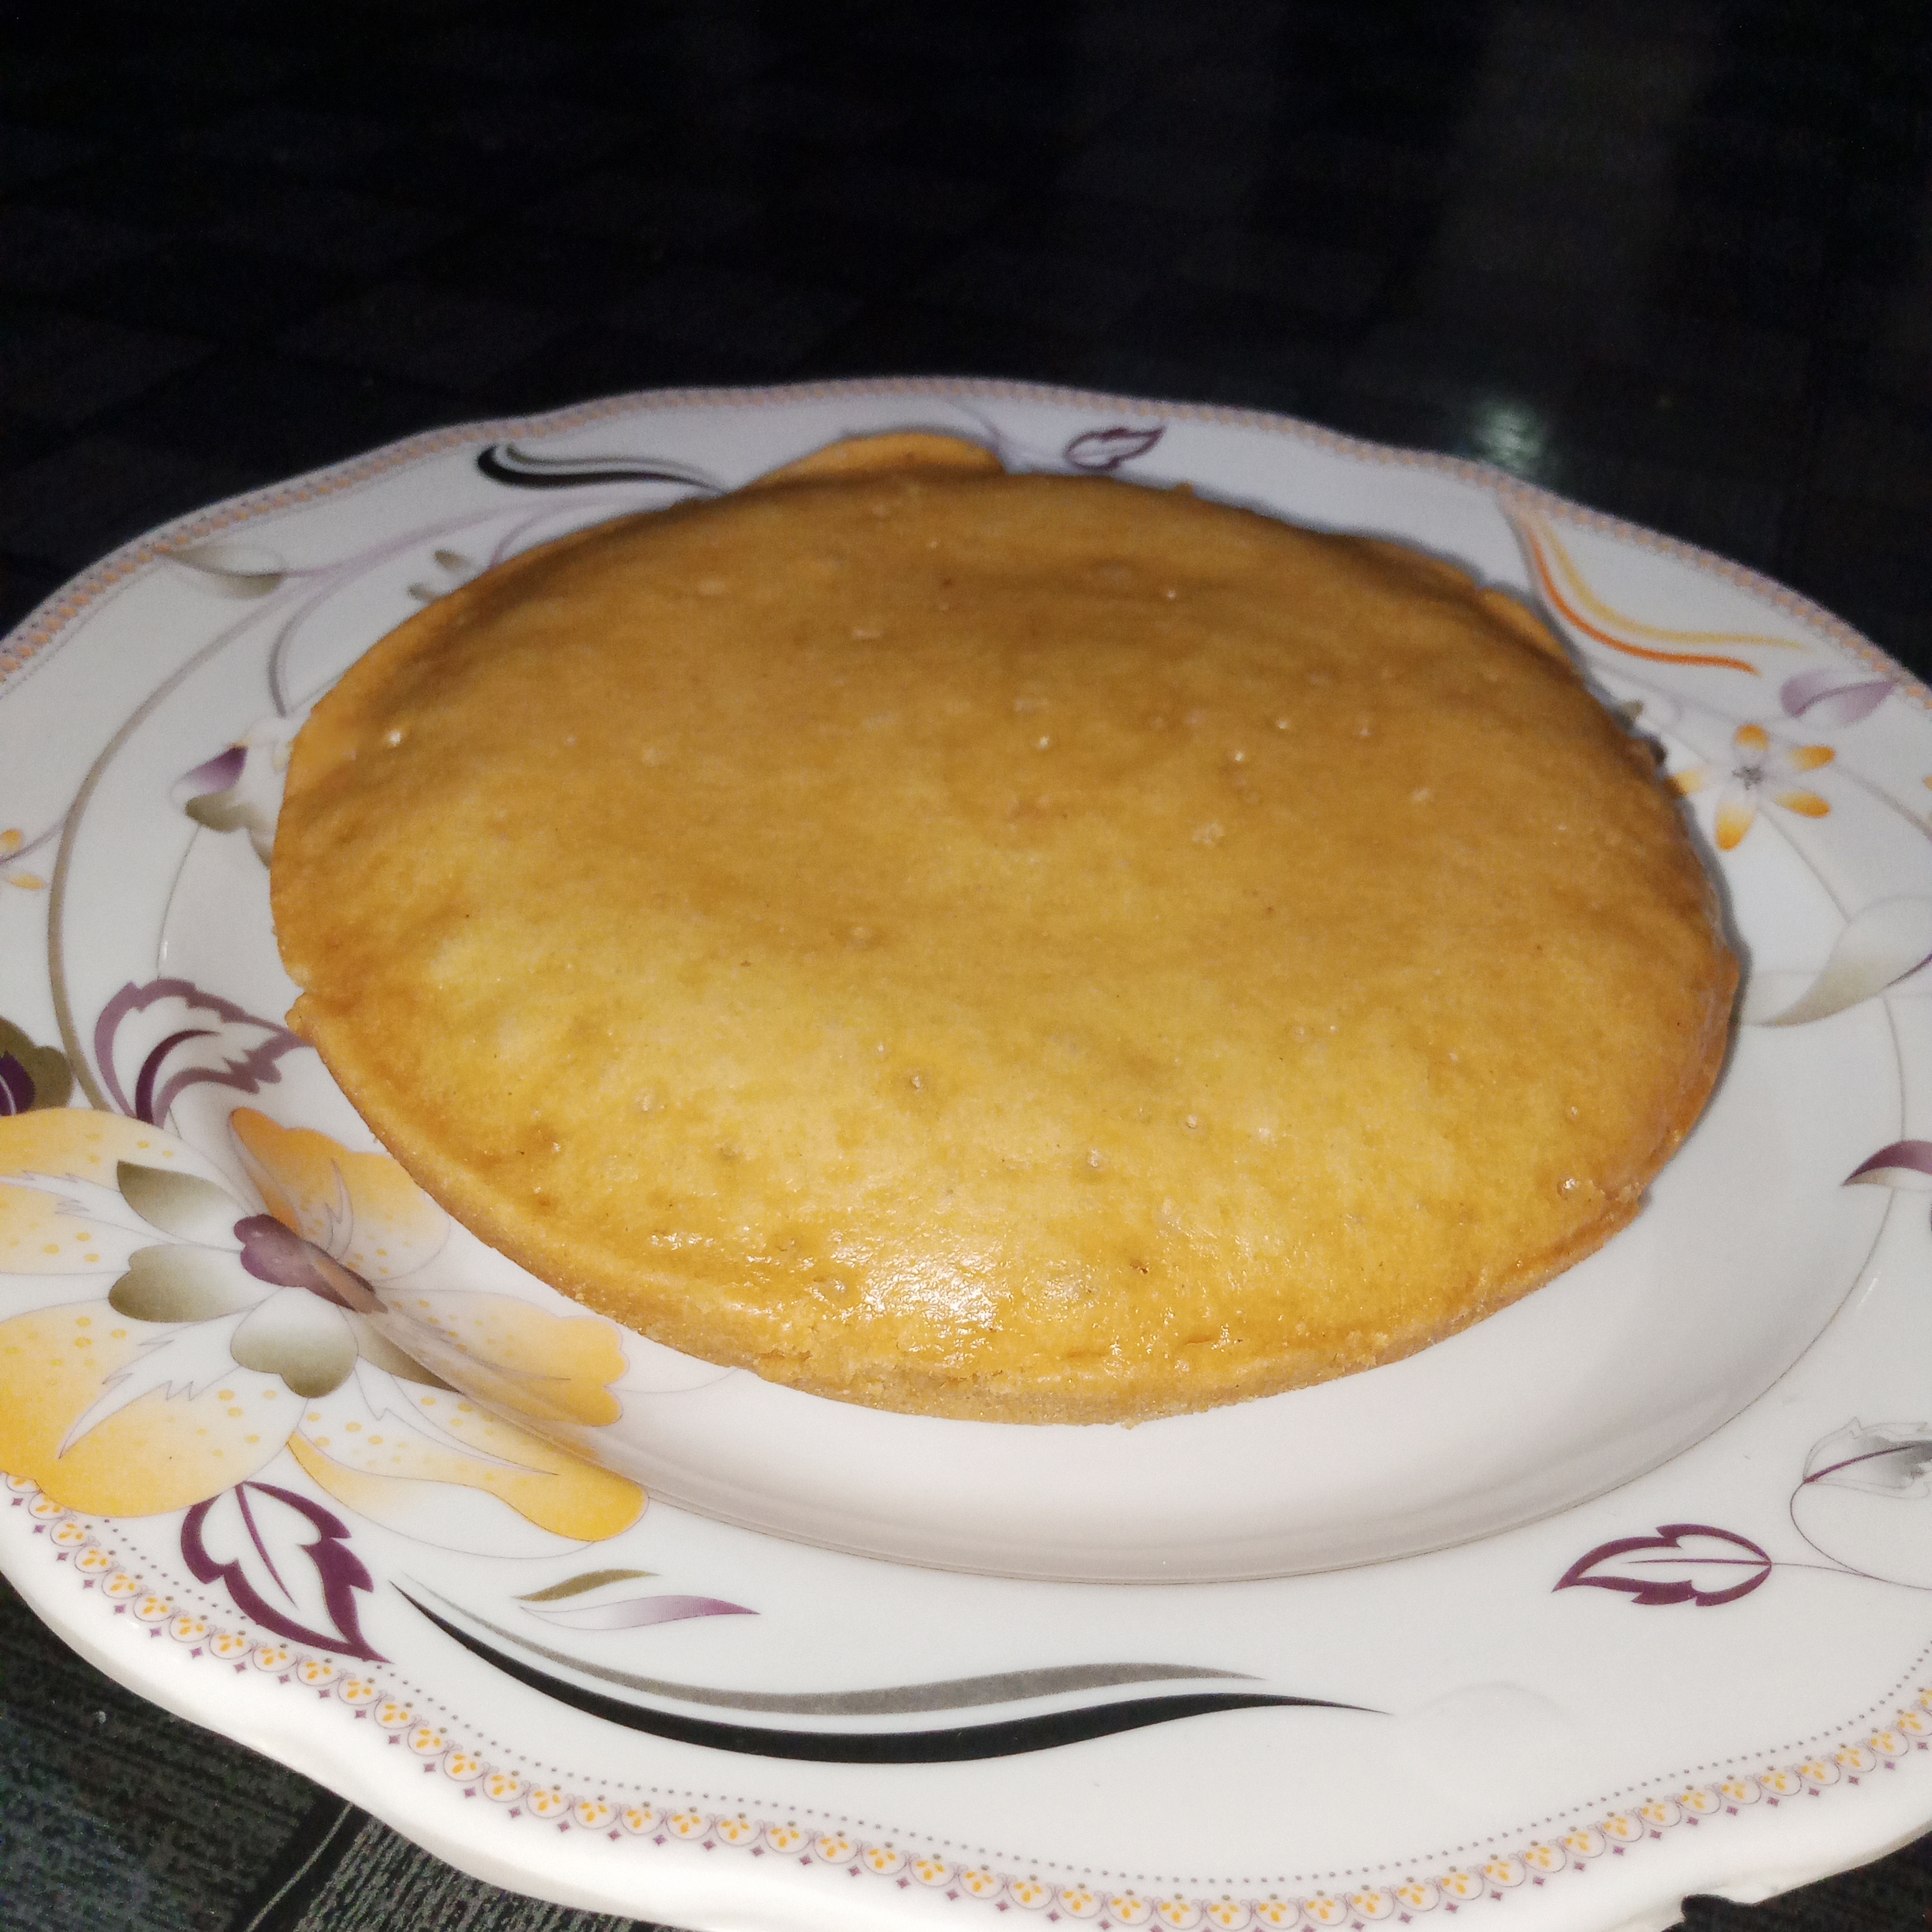
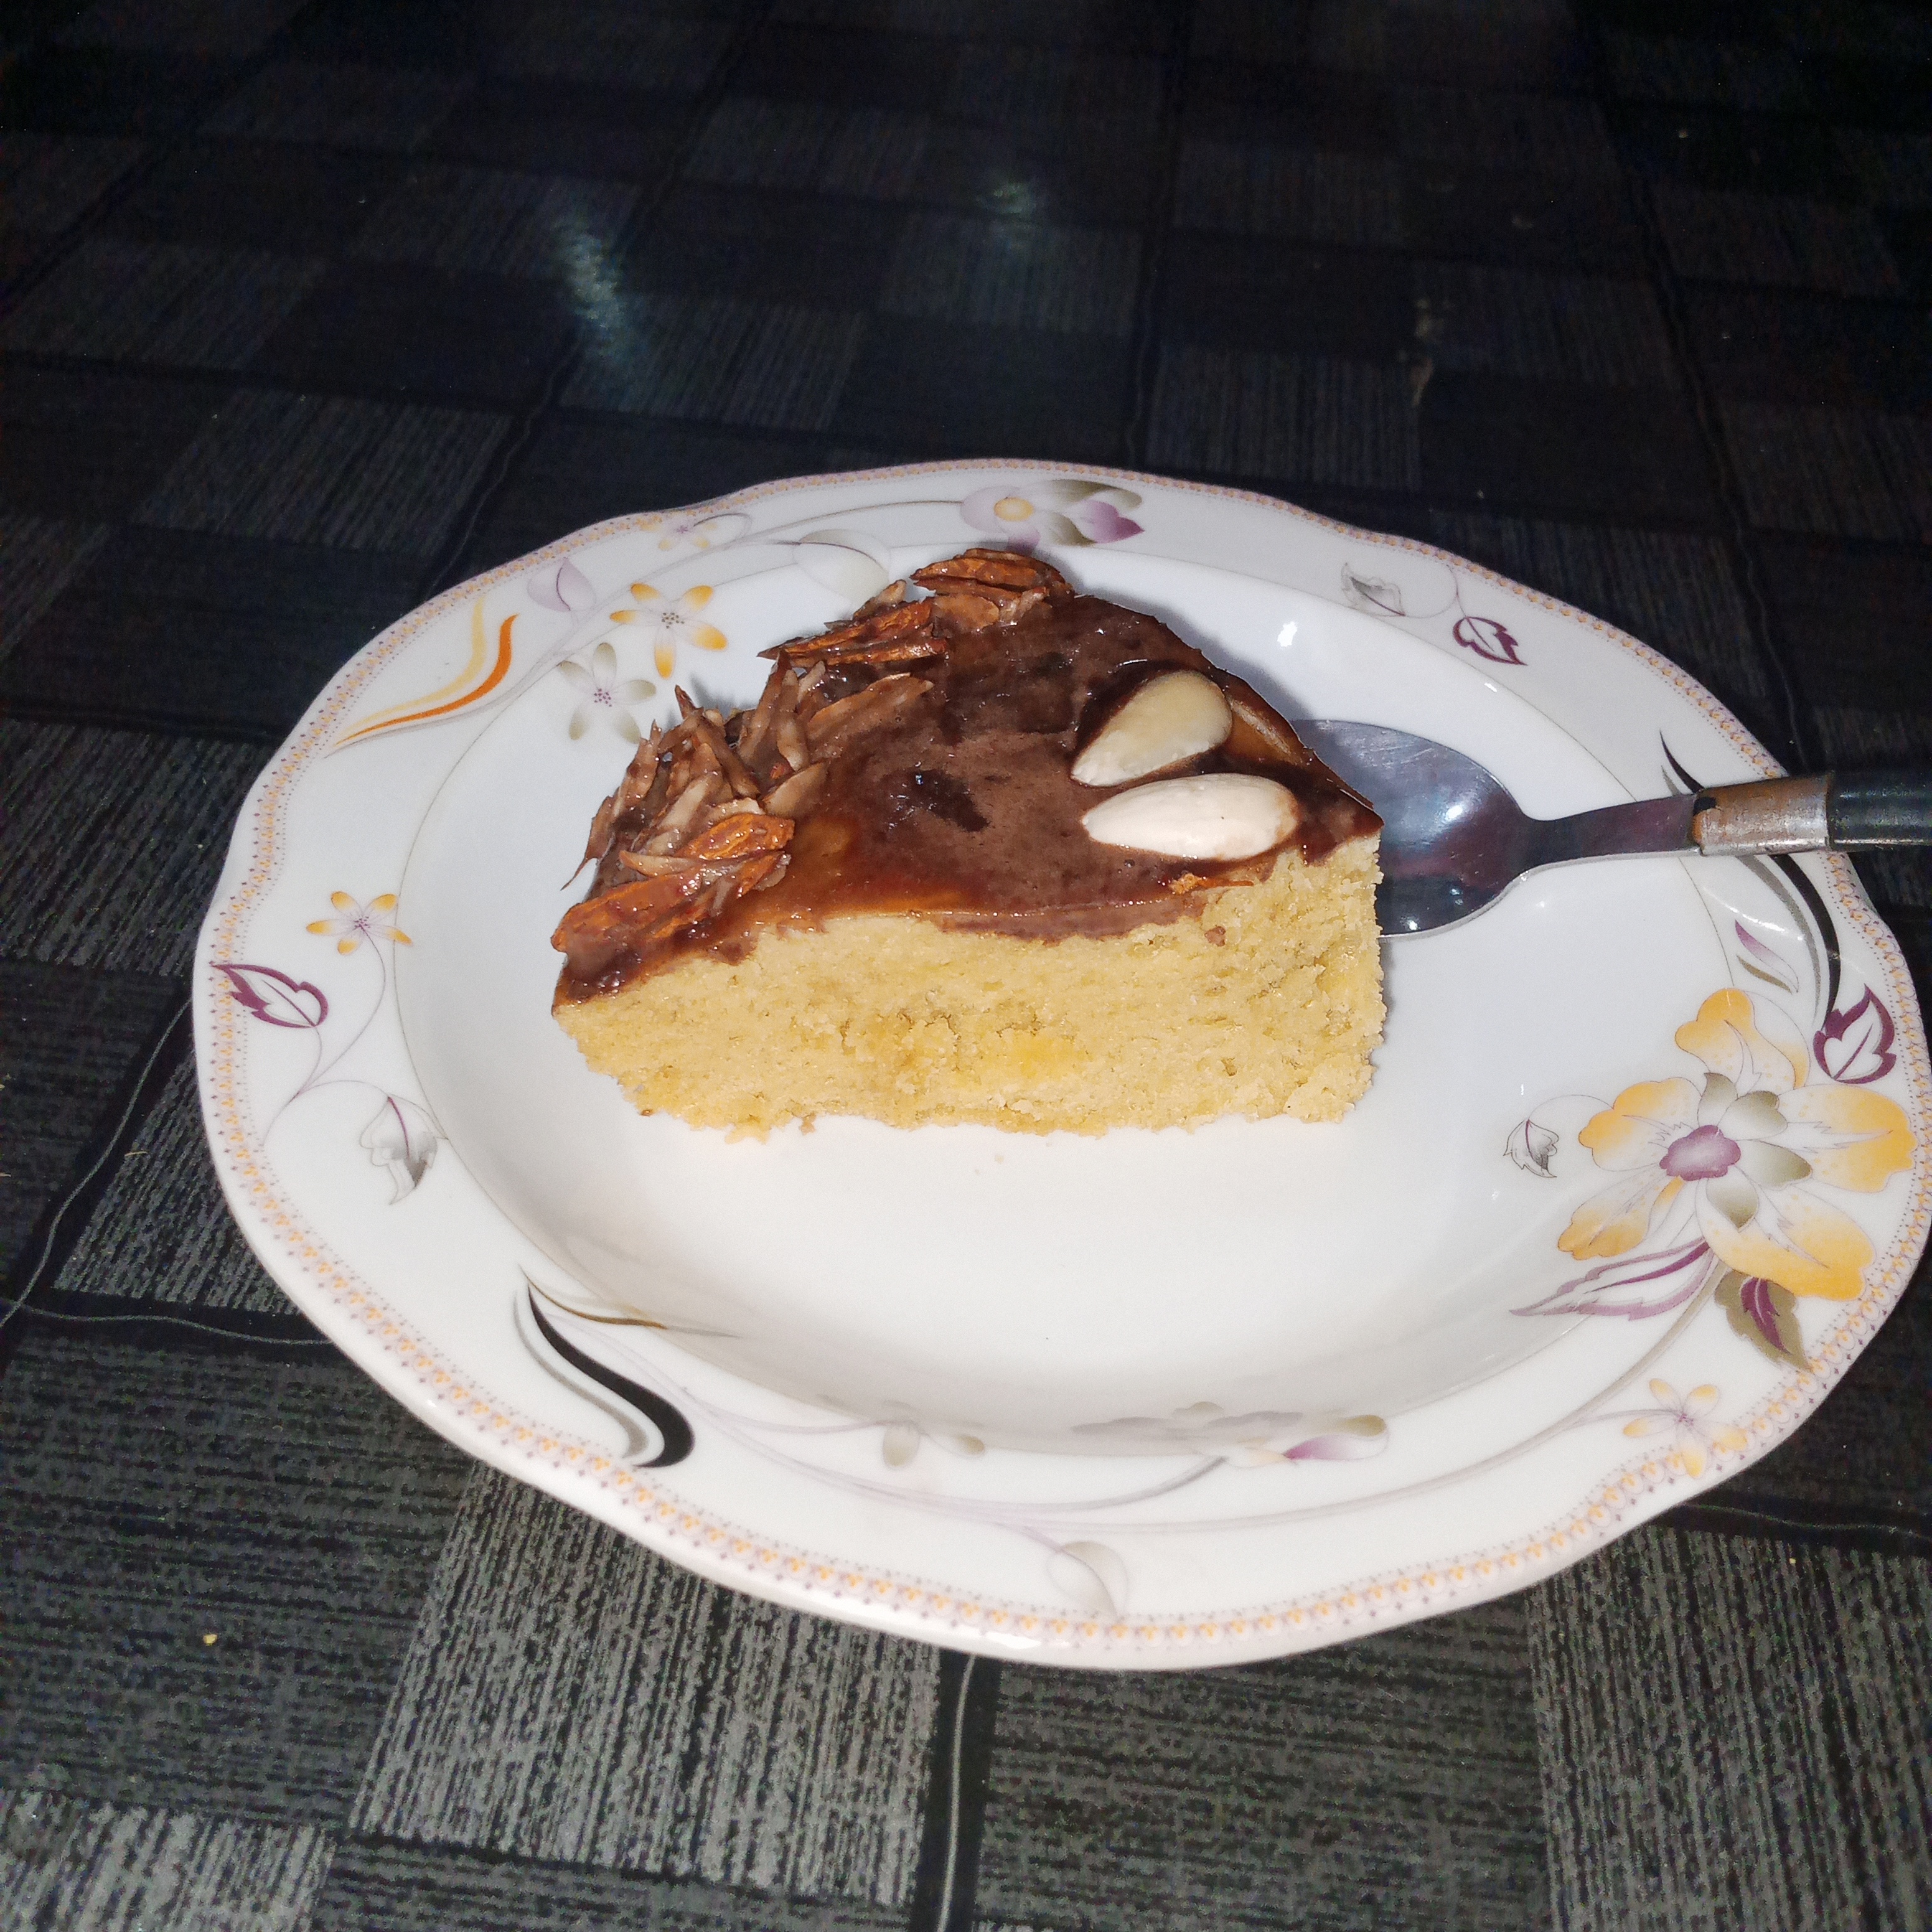
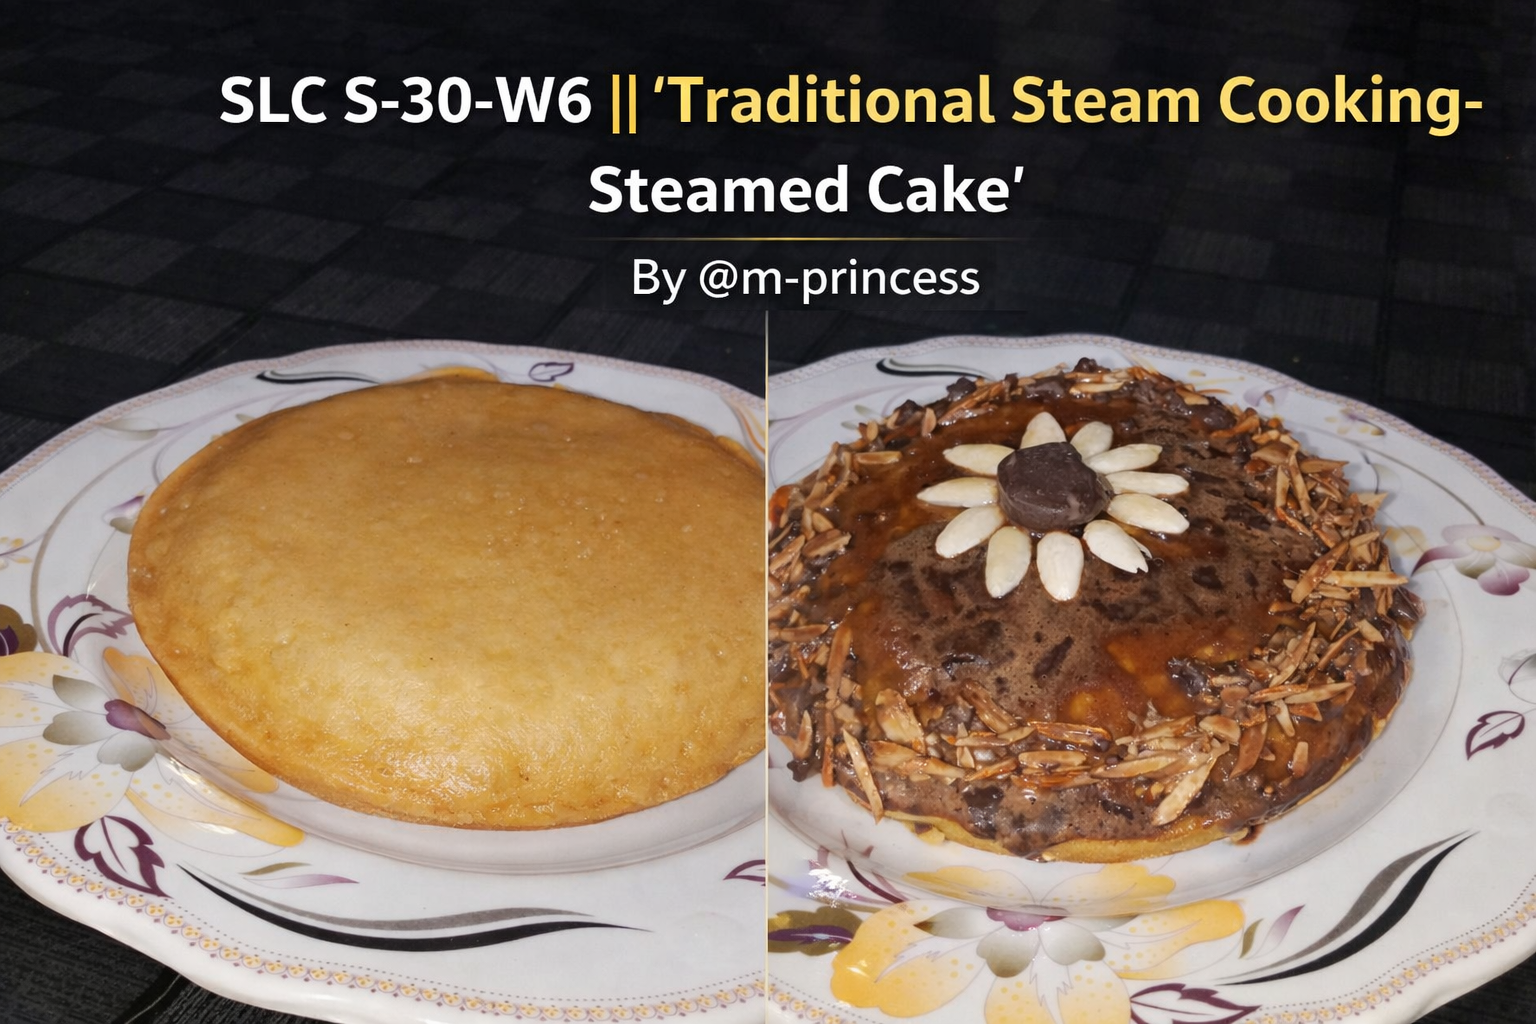
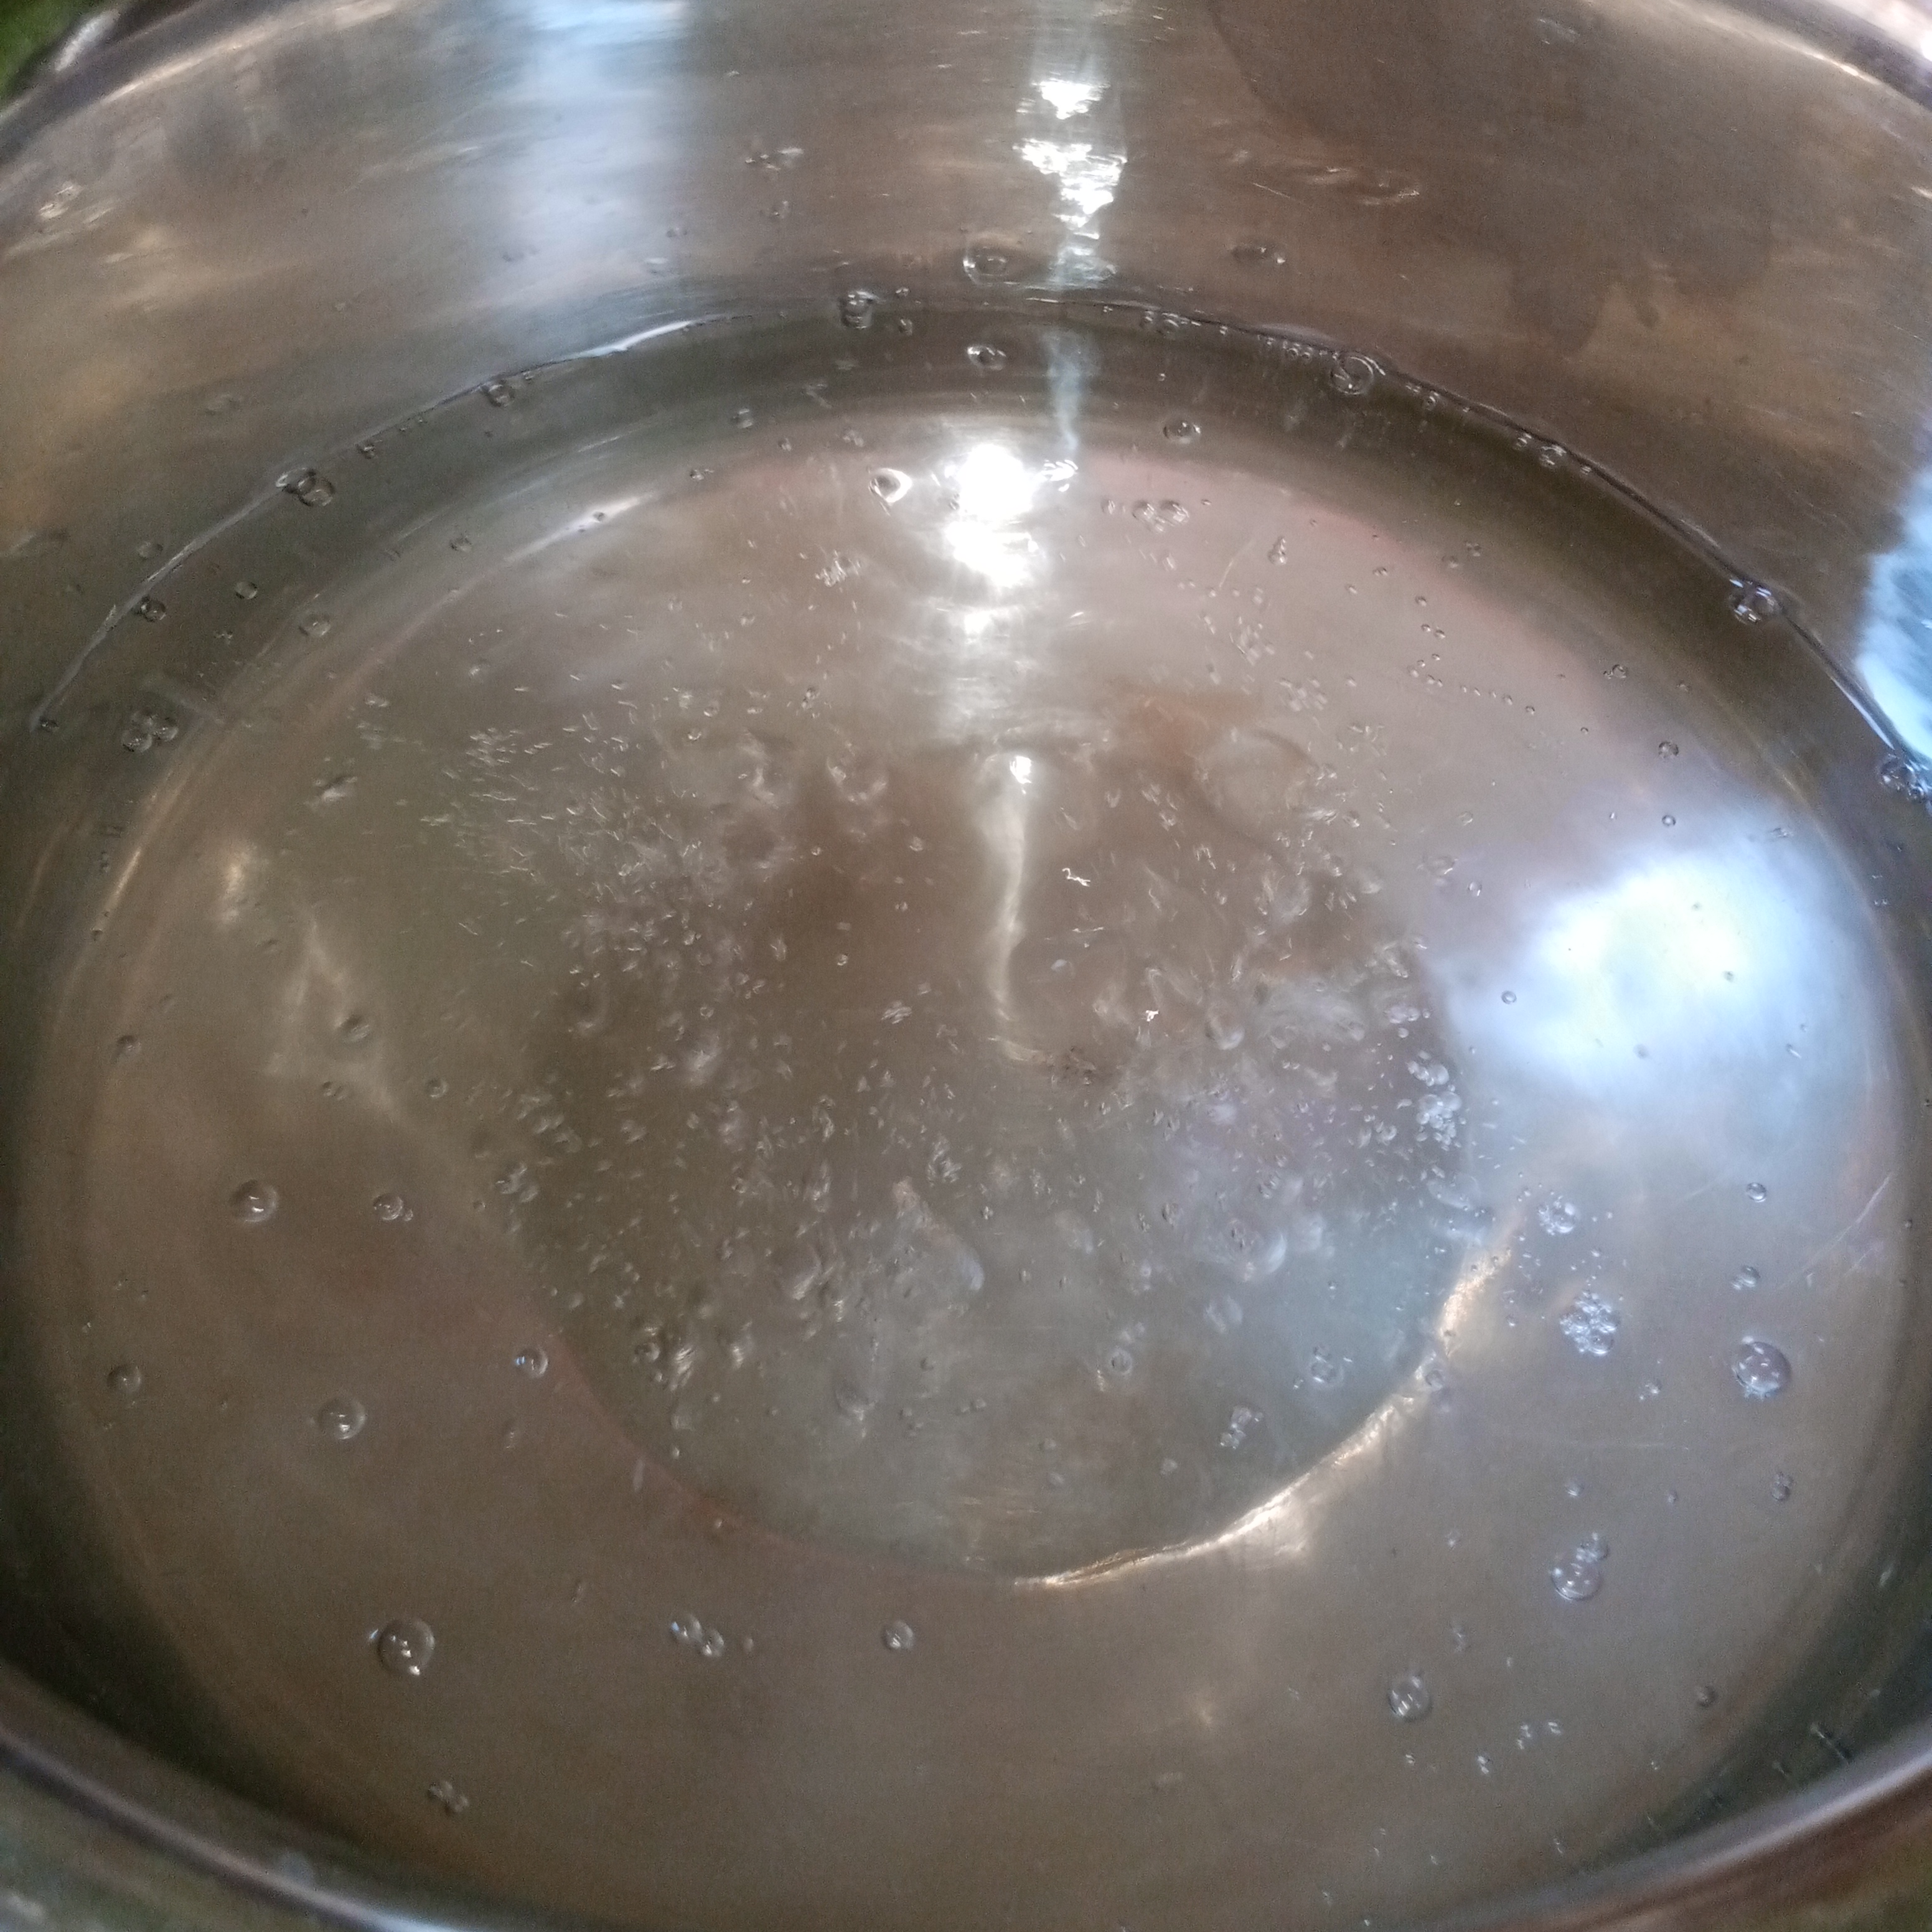
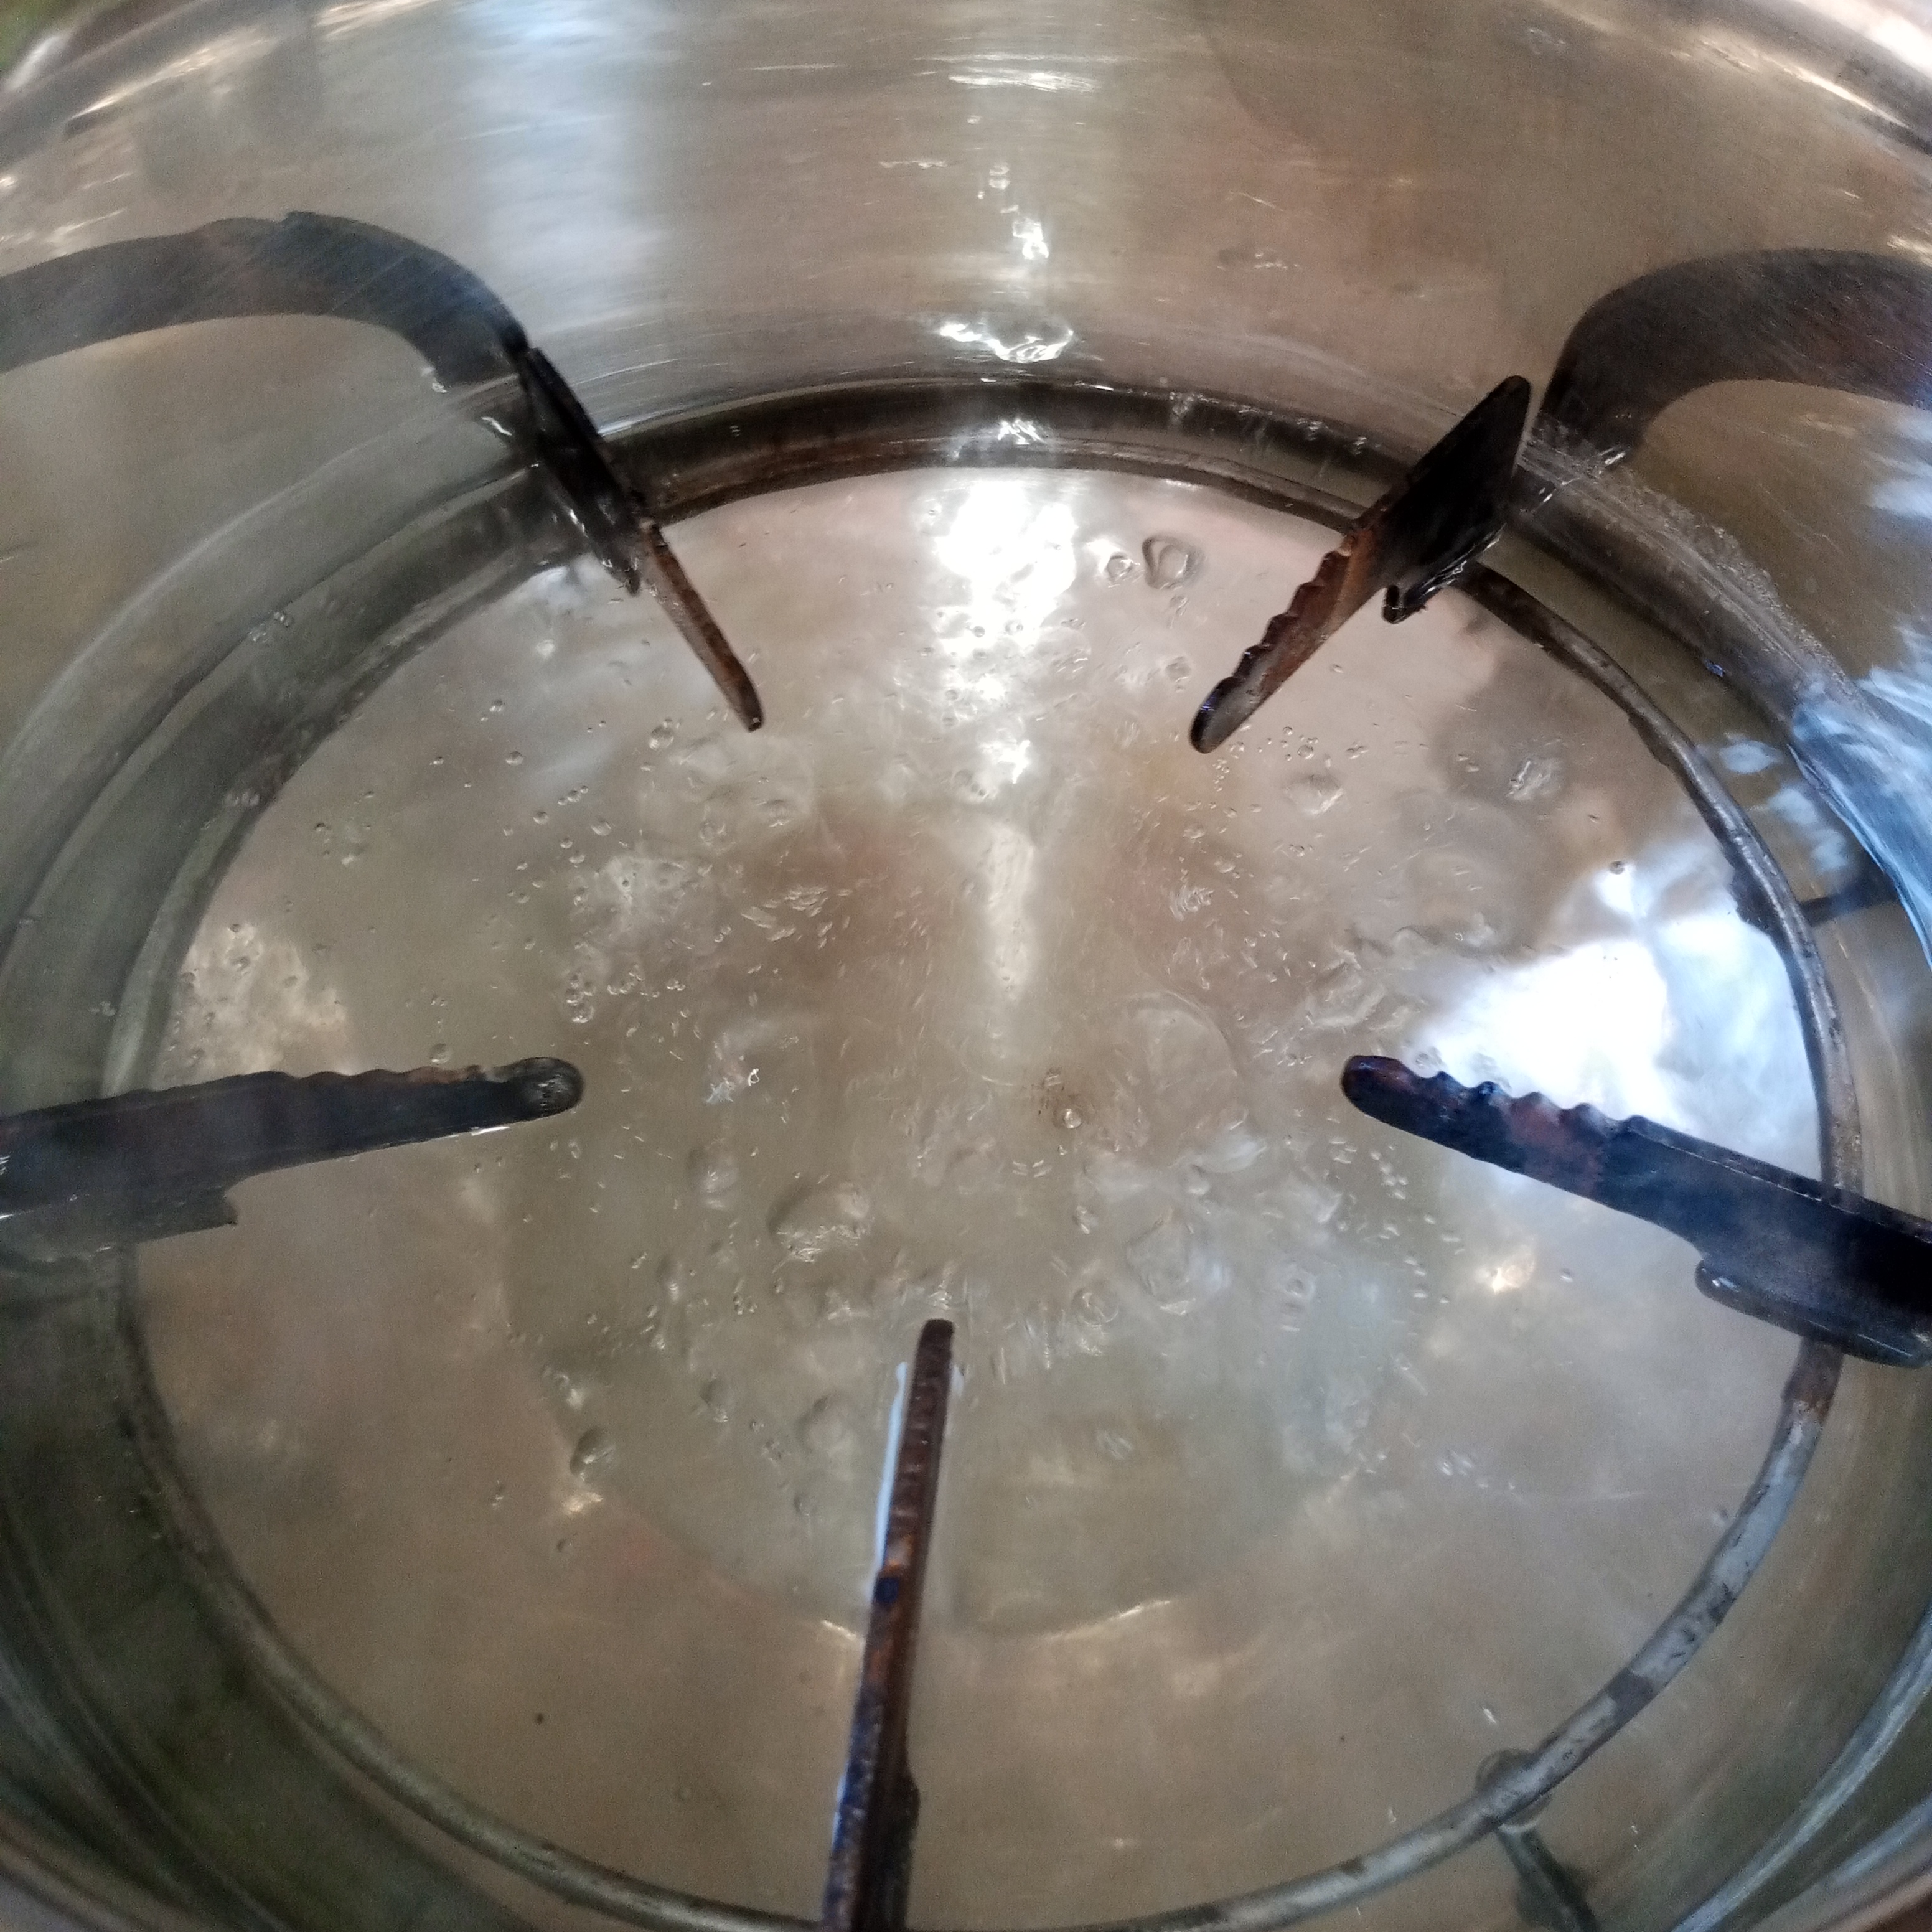
- Since this cake was to be made without an oven. I first took pan of water and put it on stove and turn on. When water start heating up well. I place stand inside it so that cake pan did not touch water. Then I placed the steel pot in which I had poured the cake batter on top of this stand. After that I covered the pan and left the cake to rise. During this time I also checked once or twice with the help of a stick whether the cake was cooking well or not. The cake was well risen for about 30 to 40 minutes. When the 40 minutes were up. I saw that my cake was total ready. Then I turn off stove and took cake out of pan. Finally I took it out in beautiful dish. Cake was soft delicious and well cooked. I was very happy that my cake was ready successfully.
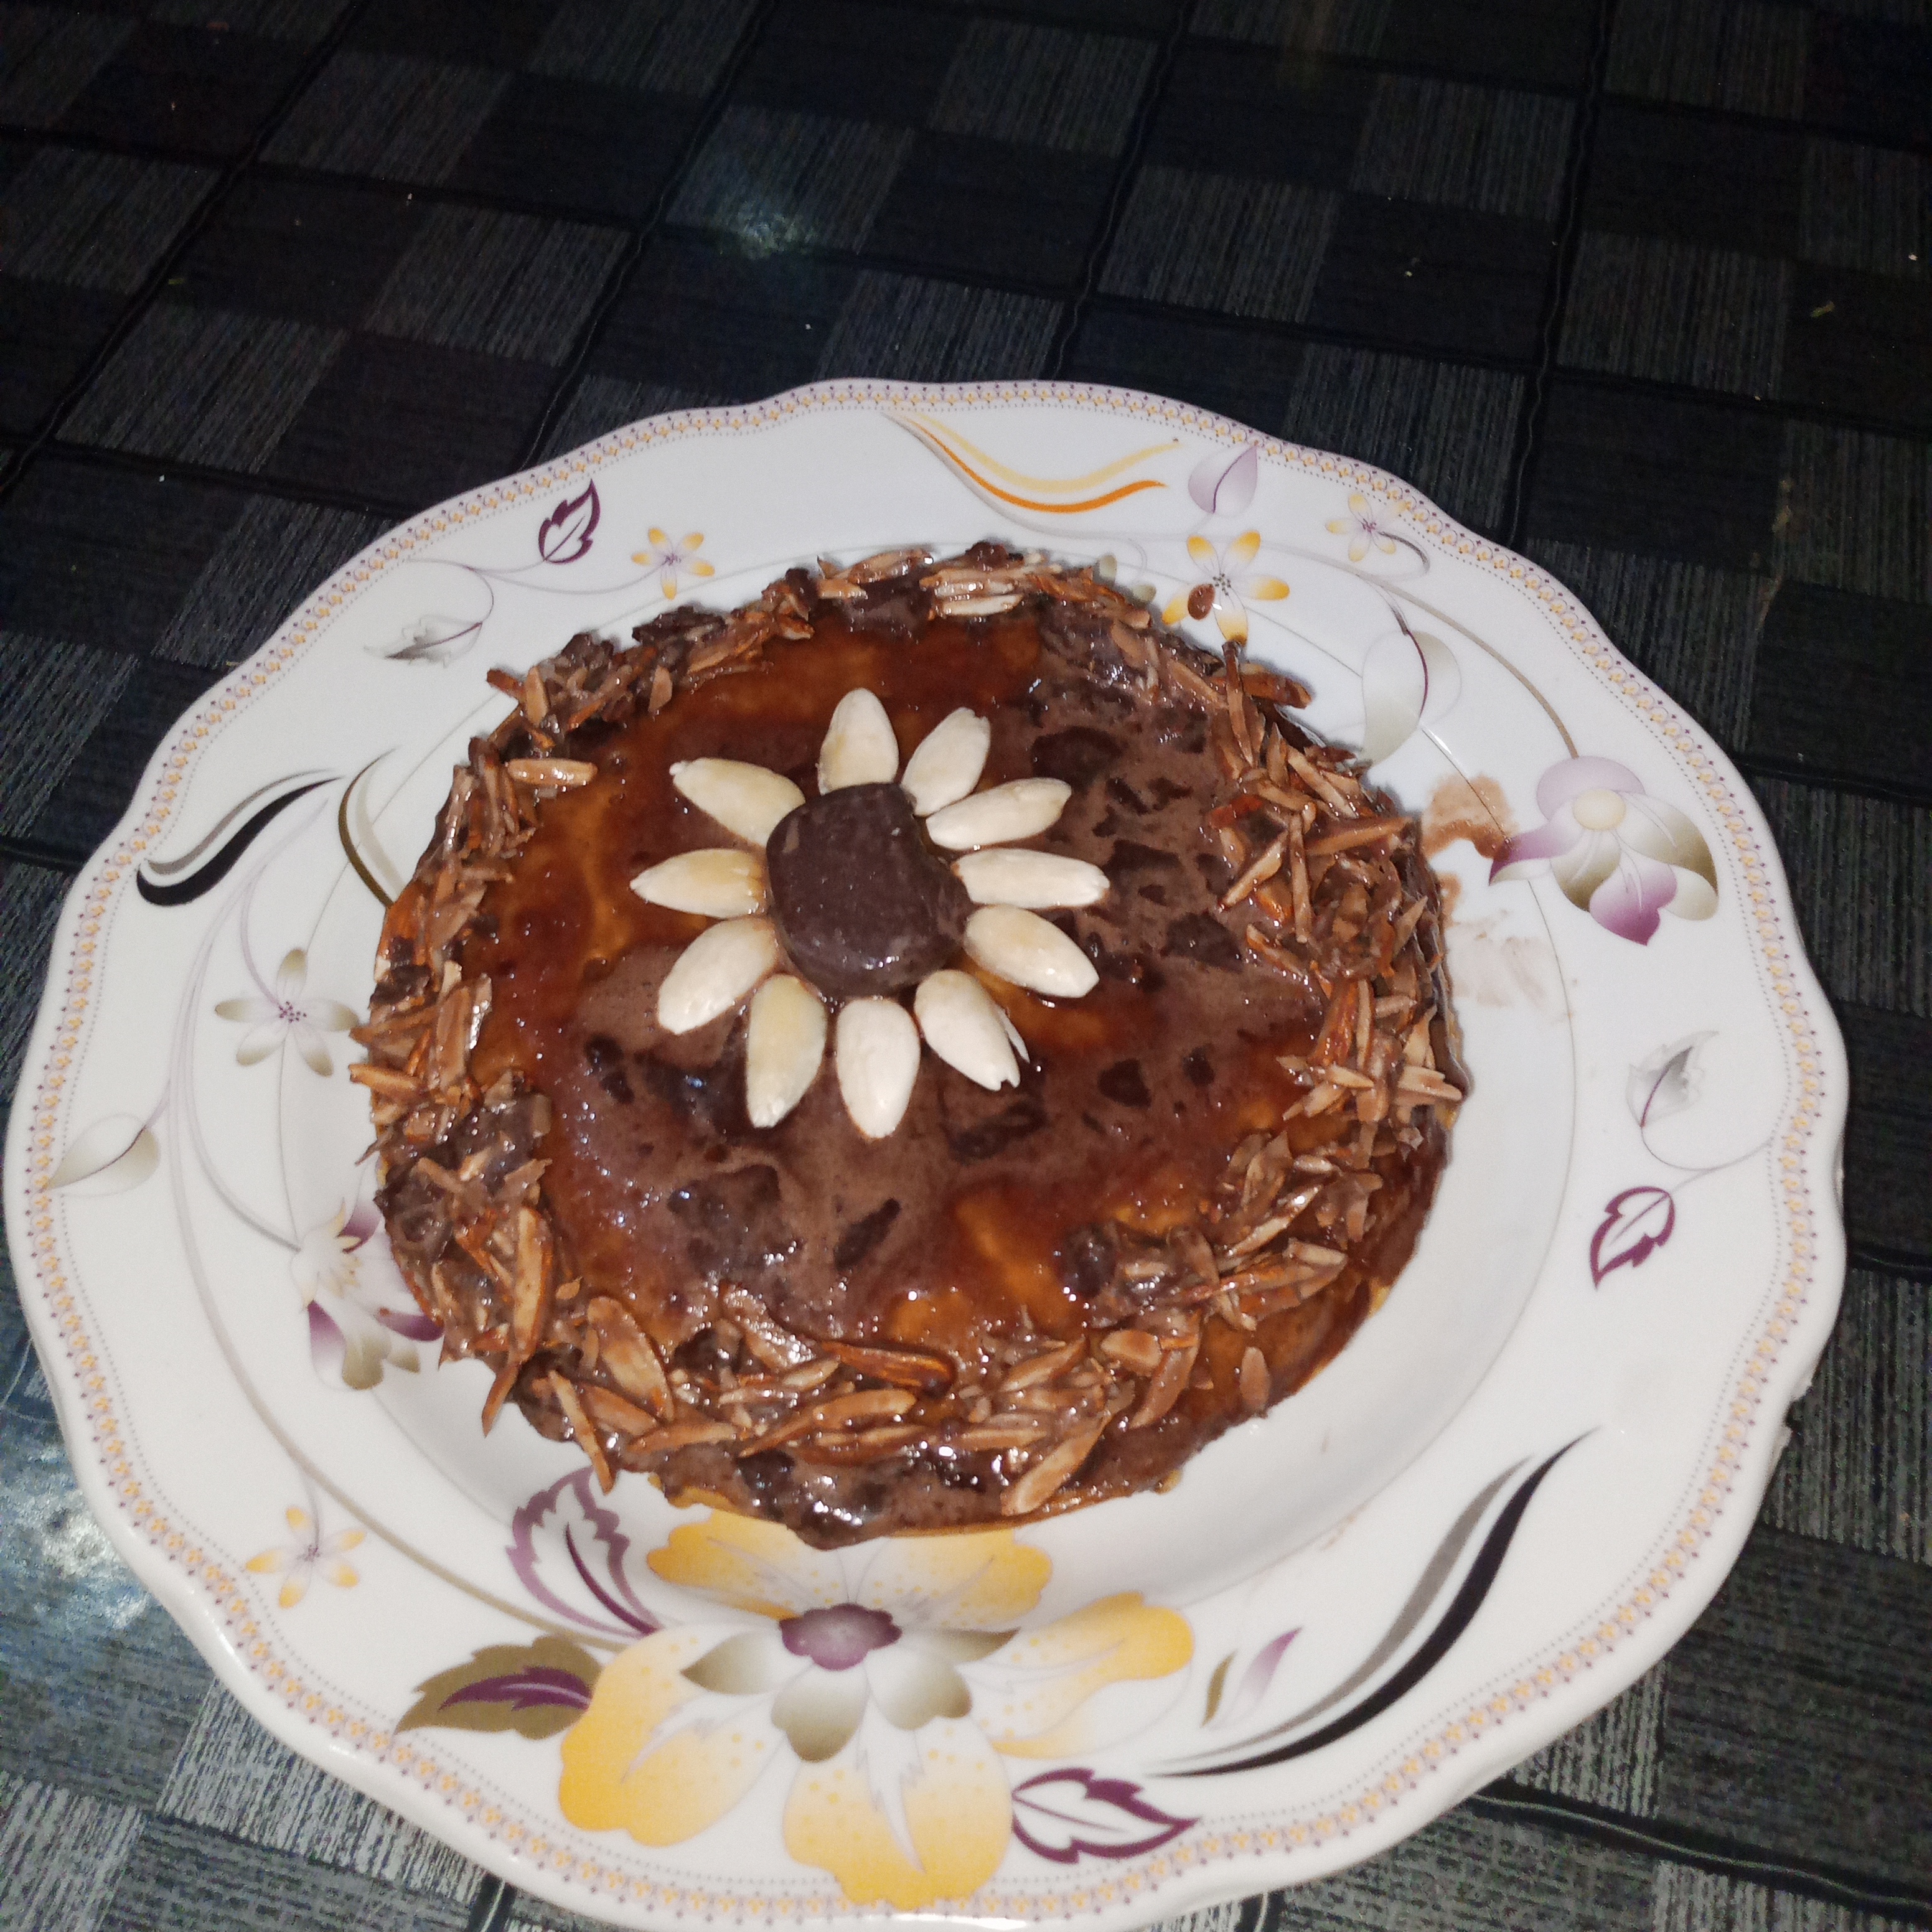
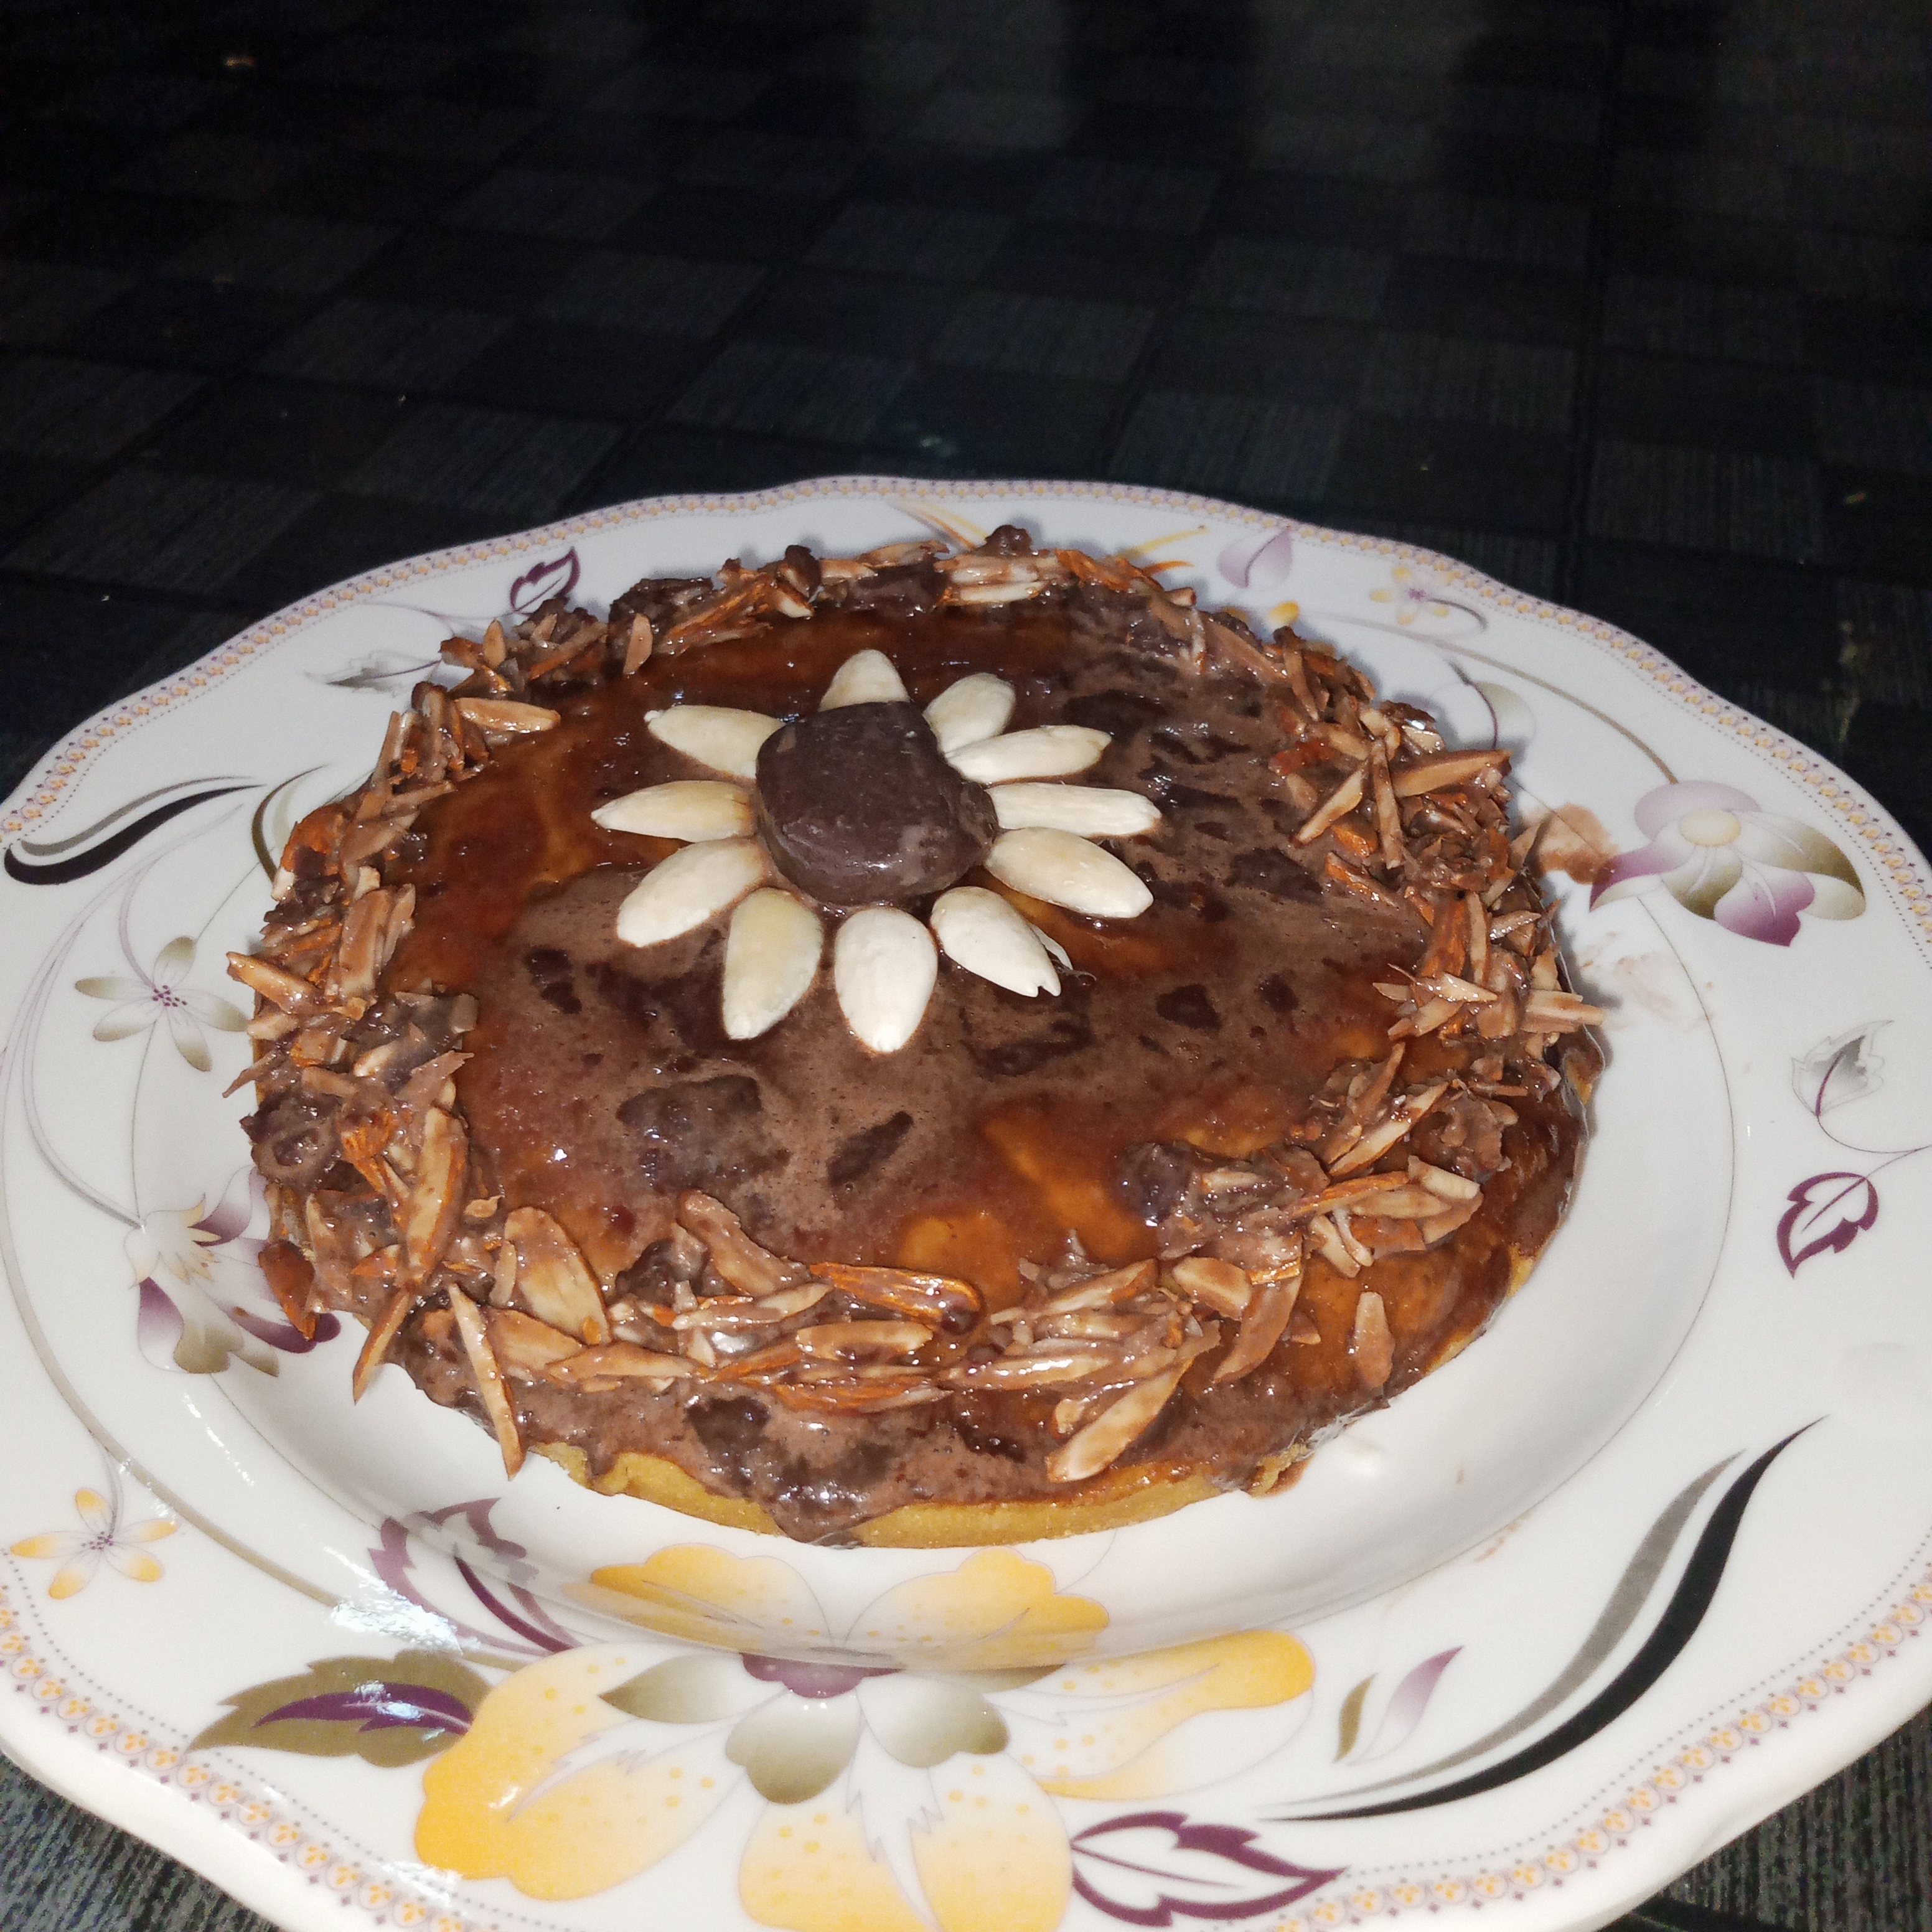
Finally I gave final touch to beautiful presentation my cake. I took chocolate and spread it well on cake to make cake look more beautiful. Along with thisI took almonds and also used some blanch almonds that were already soak. I peel off them and cleaned them. They would look good for decoration.
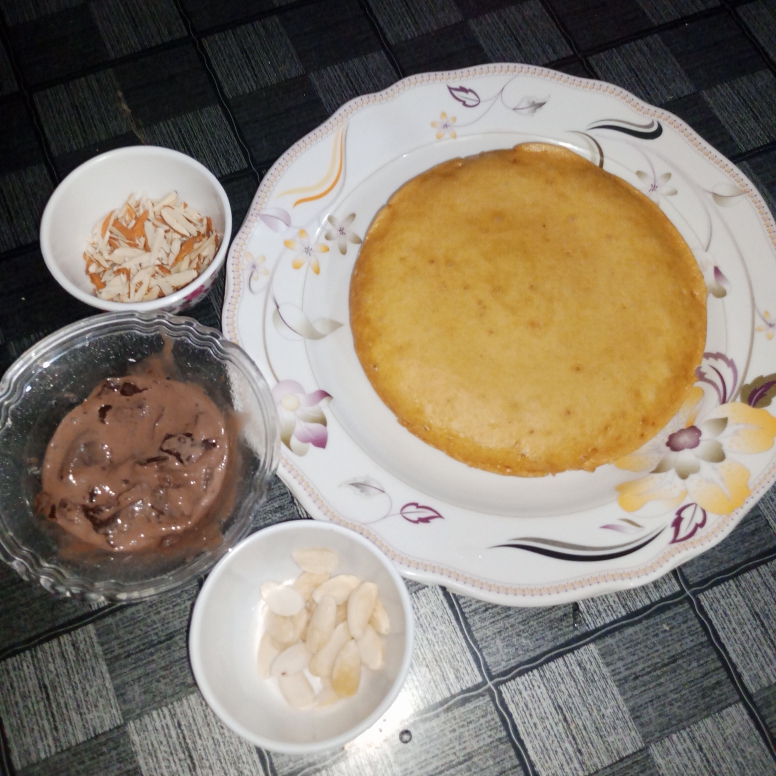
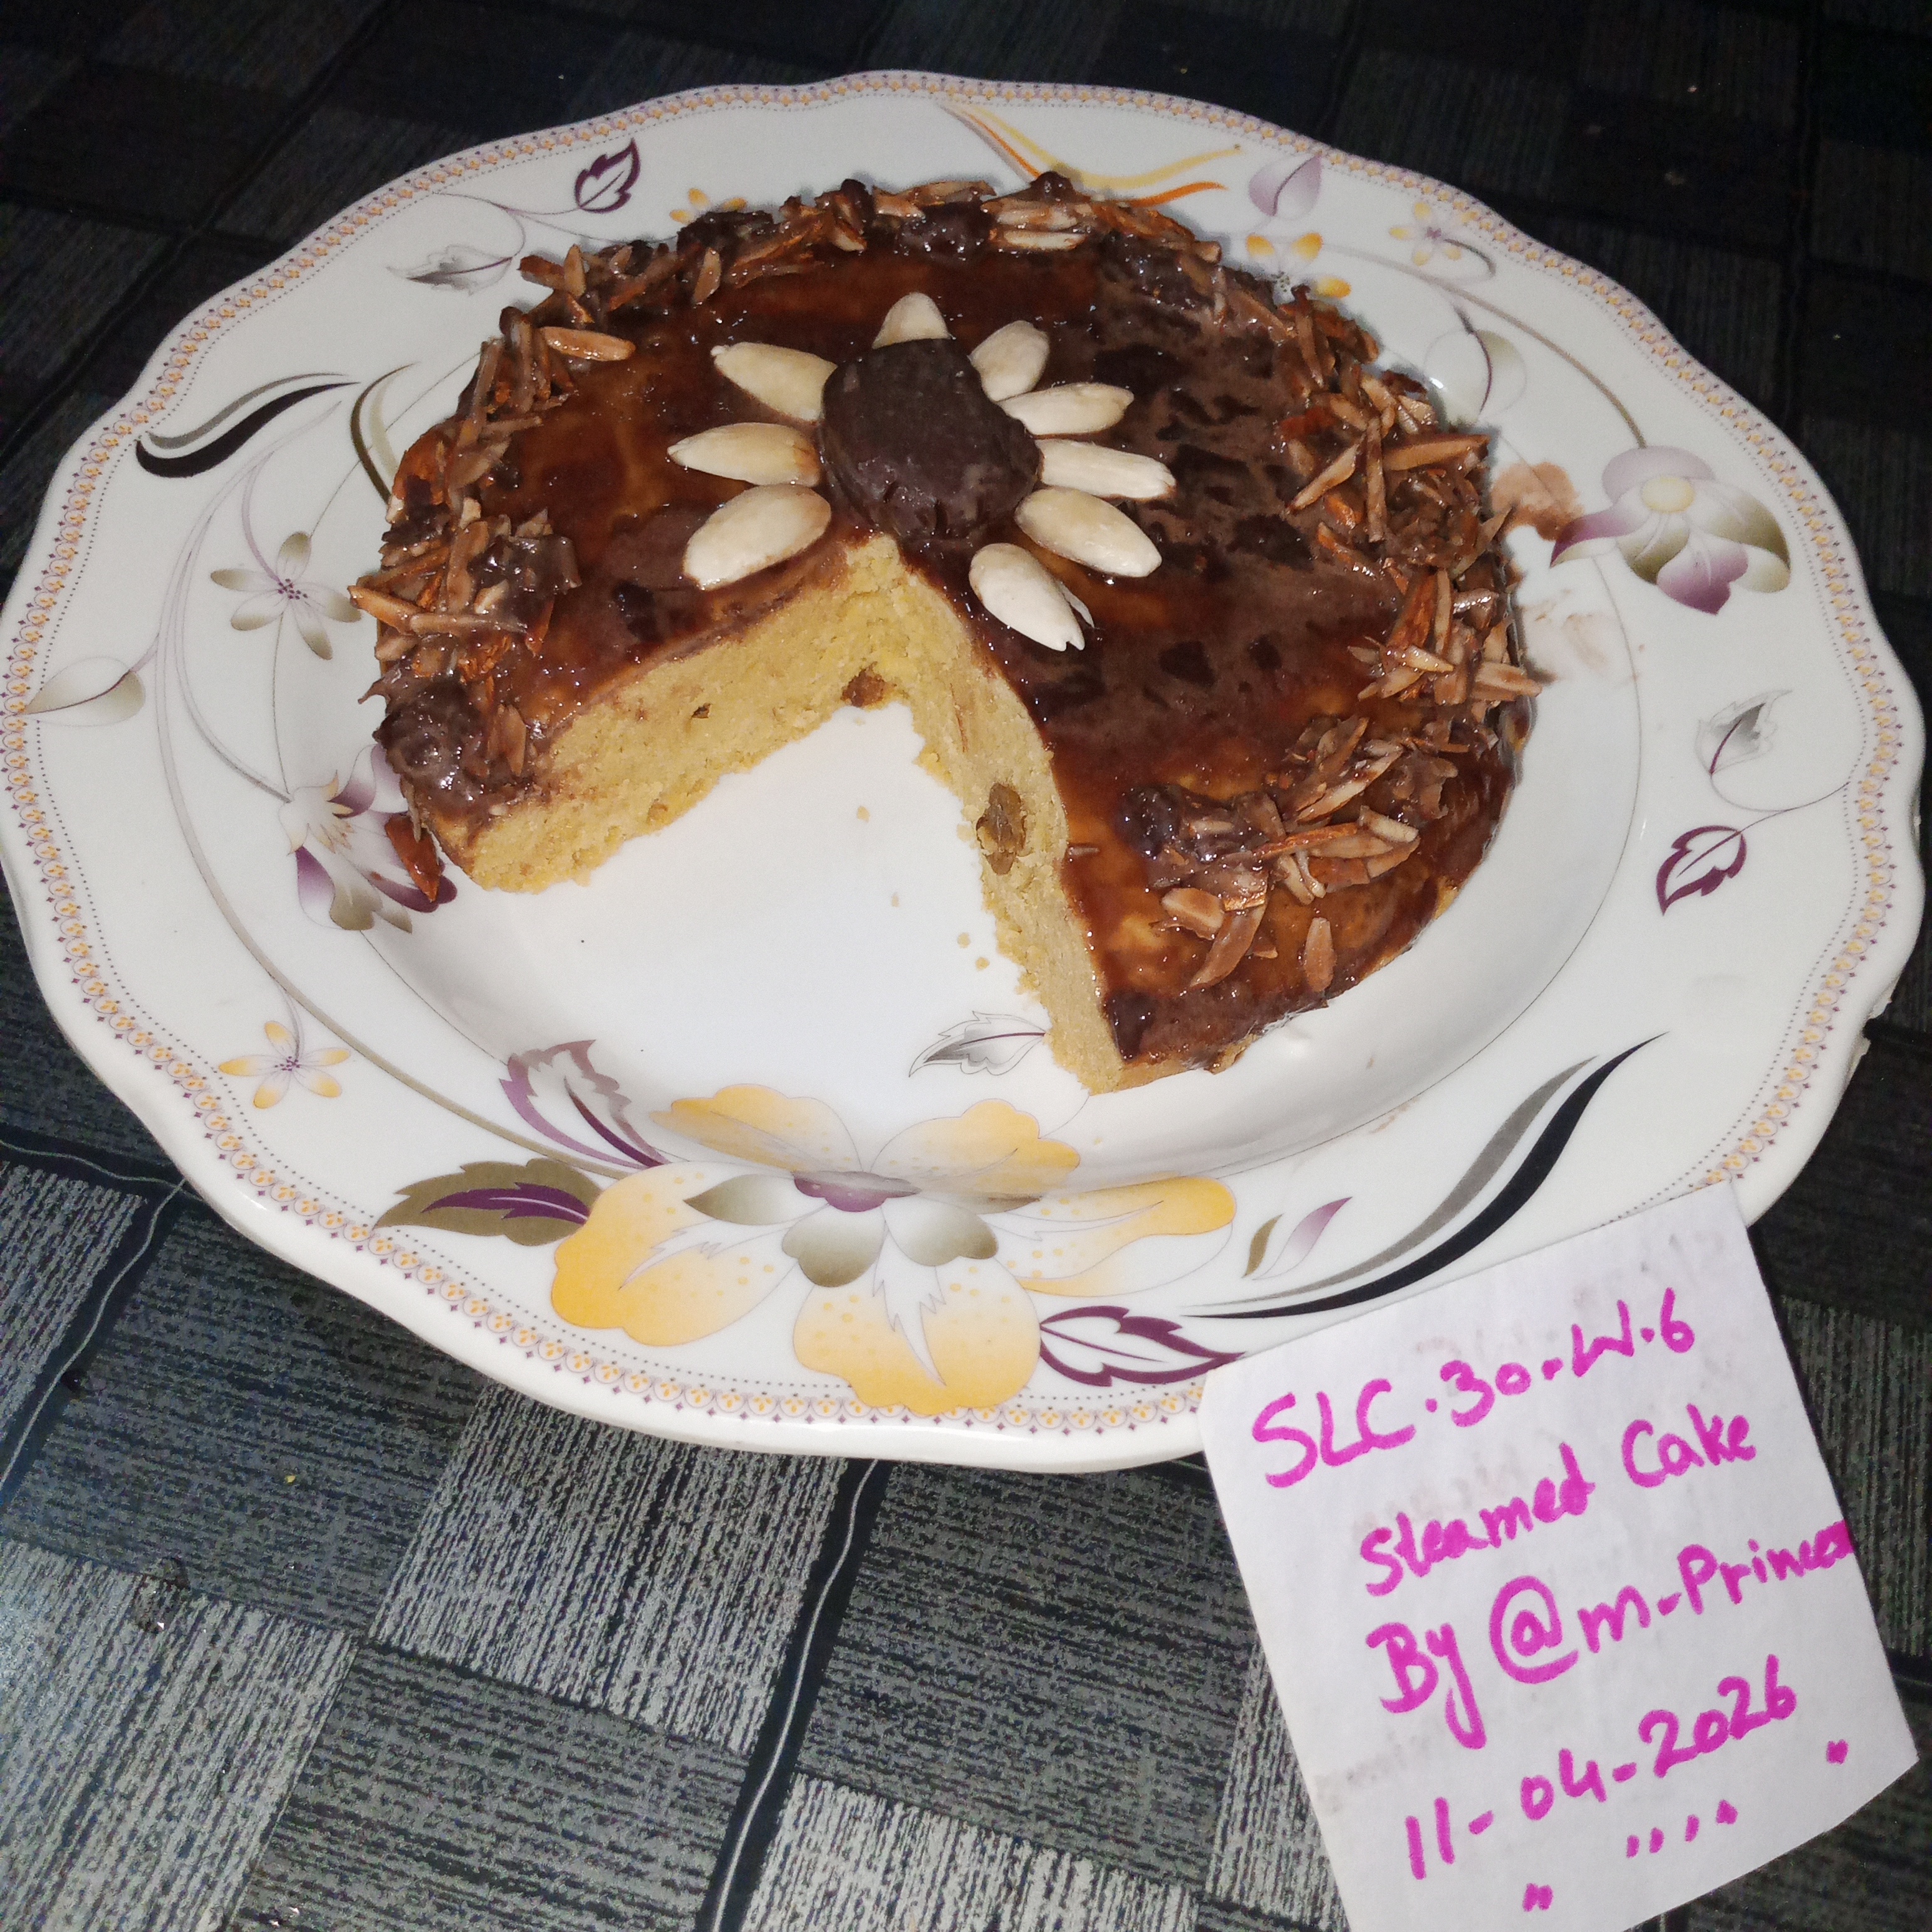
Now I added some dry fruits and other ingredients to the remaining chocolate and mixed them well. After that I applied this mixture beautifully on the edges of the cake. And decorated the entire cake in a very nice way. The edges of the cake looked very beautiful with the chocolate and dry fruits. I took a small piece of chocolate. And placed it in the middle of the cake. On top of it I made a beautiful flower with the help of white almonds. To make the presentation of the cake even more attractive. When the decoration was complete. My cake looked very beautiful. Now I cut the cake and served it to my entire family. Everyone liked the cake very much and praised me a lot. Everyone also liked the taste of the cake and they were very happy. I was also very happy with this cake. I made turned out so delicious and successful.
Make a good Presentation of your recipe with a date tag.
List the ingredients and their prices in your local currency and in STEEM.
Price list of ingredients with my local and steem price:👇
| Sr | ingredients | PKR | Steem |
|---|
| 1 | Egg 🥚 | 50 | 3.1 |
| 2 | Dry fruits | 250 | 15.6 |
| 3 | Flour | 150 | 9.3 |
| 4 | Sugar | 100 | 6.2 |
| 5 | Oil | 90 | 5.6 |
| 6 | Baking powder | 30 | 1.8 |
| 7 | Chocolate | 150 | 9.3 |
| Total | - | 820 | 50.9 |
Until next time, stay awesome, and keep on reading.
Thank you so much friends. For giving your valuable time to my post, for reading it and for making beautiful comments on it. |
|---|
Thank you for being with me.

@m-princess
@jyoti-thelight

Posted using SteemX
|
|---|
|
|---|
|
|---|


🎉 Congratulations!
Your post has been upvoted by the SteemX Team! 🚀
SteemX is a modern, user-friendly and powerful platform built for the Steem community.
🔗 Visit us: www.steemx.org
✅ Support our work — Vote for our witness: bountyking5
Curated by: @ahsansharif