"SC-33/W4| "Tissues paper crafting"||
Thumbnail

💕💗 السلام علیکم to all Friends 💕💗! |
|---|
Hi everyone, especially to our wonderful moderators and fellow Steemians! |
|---|

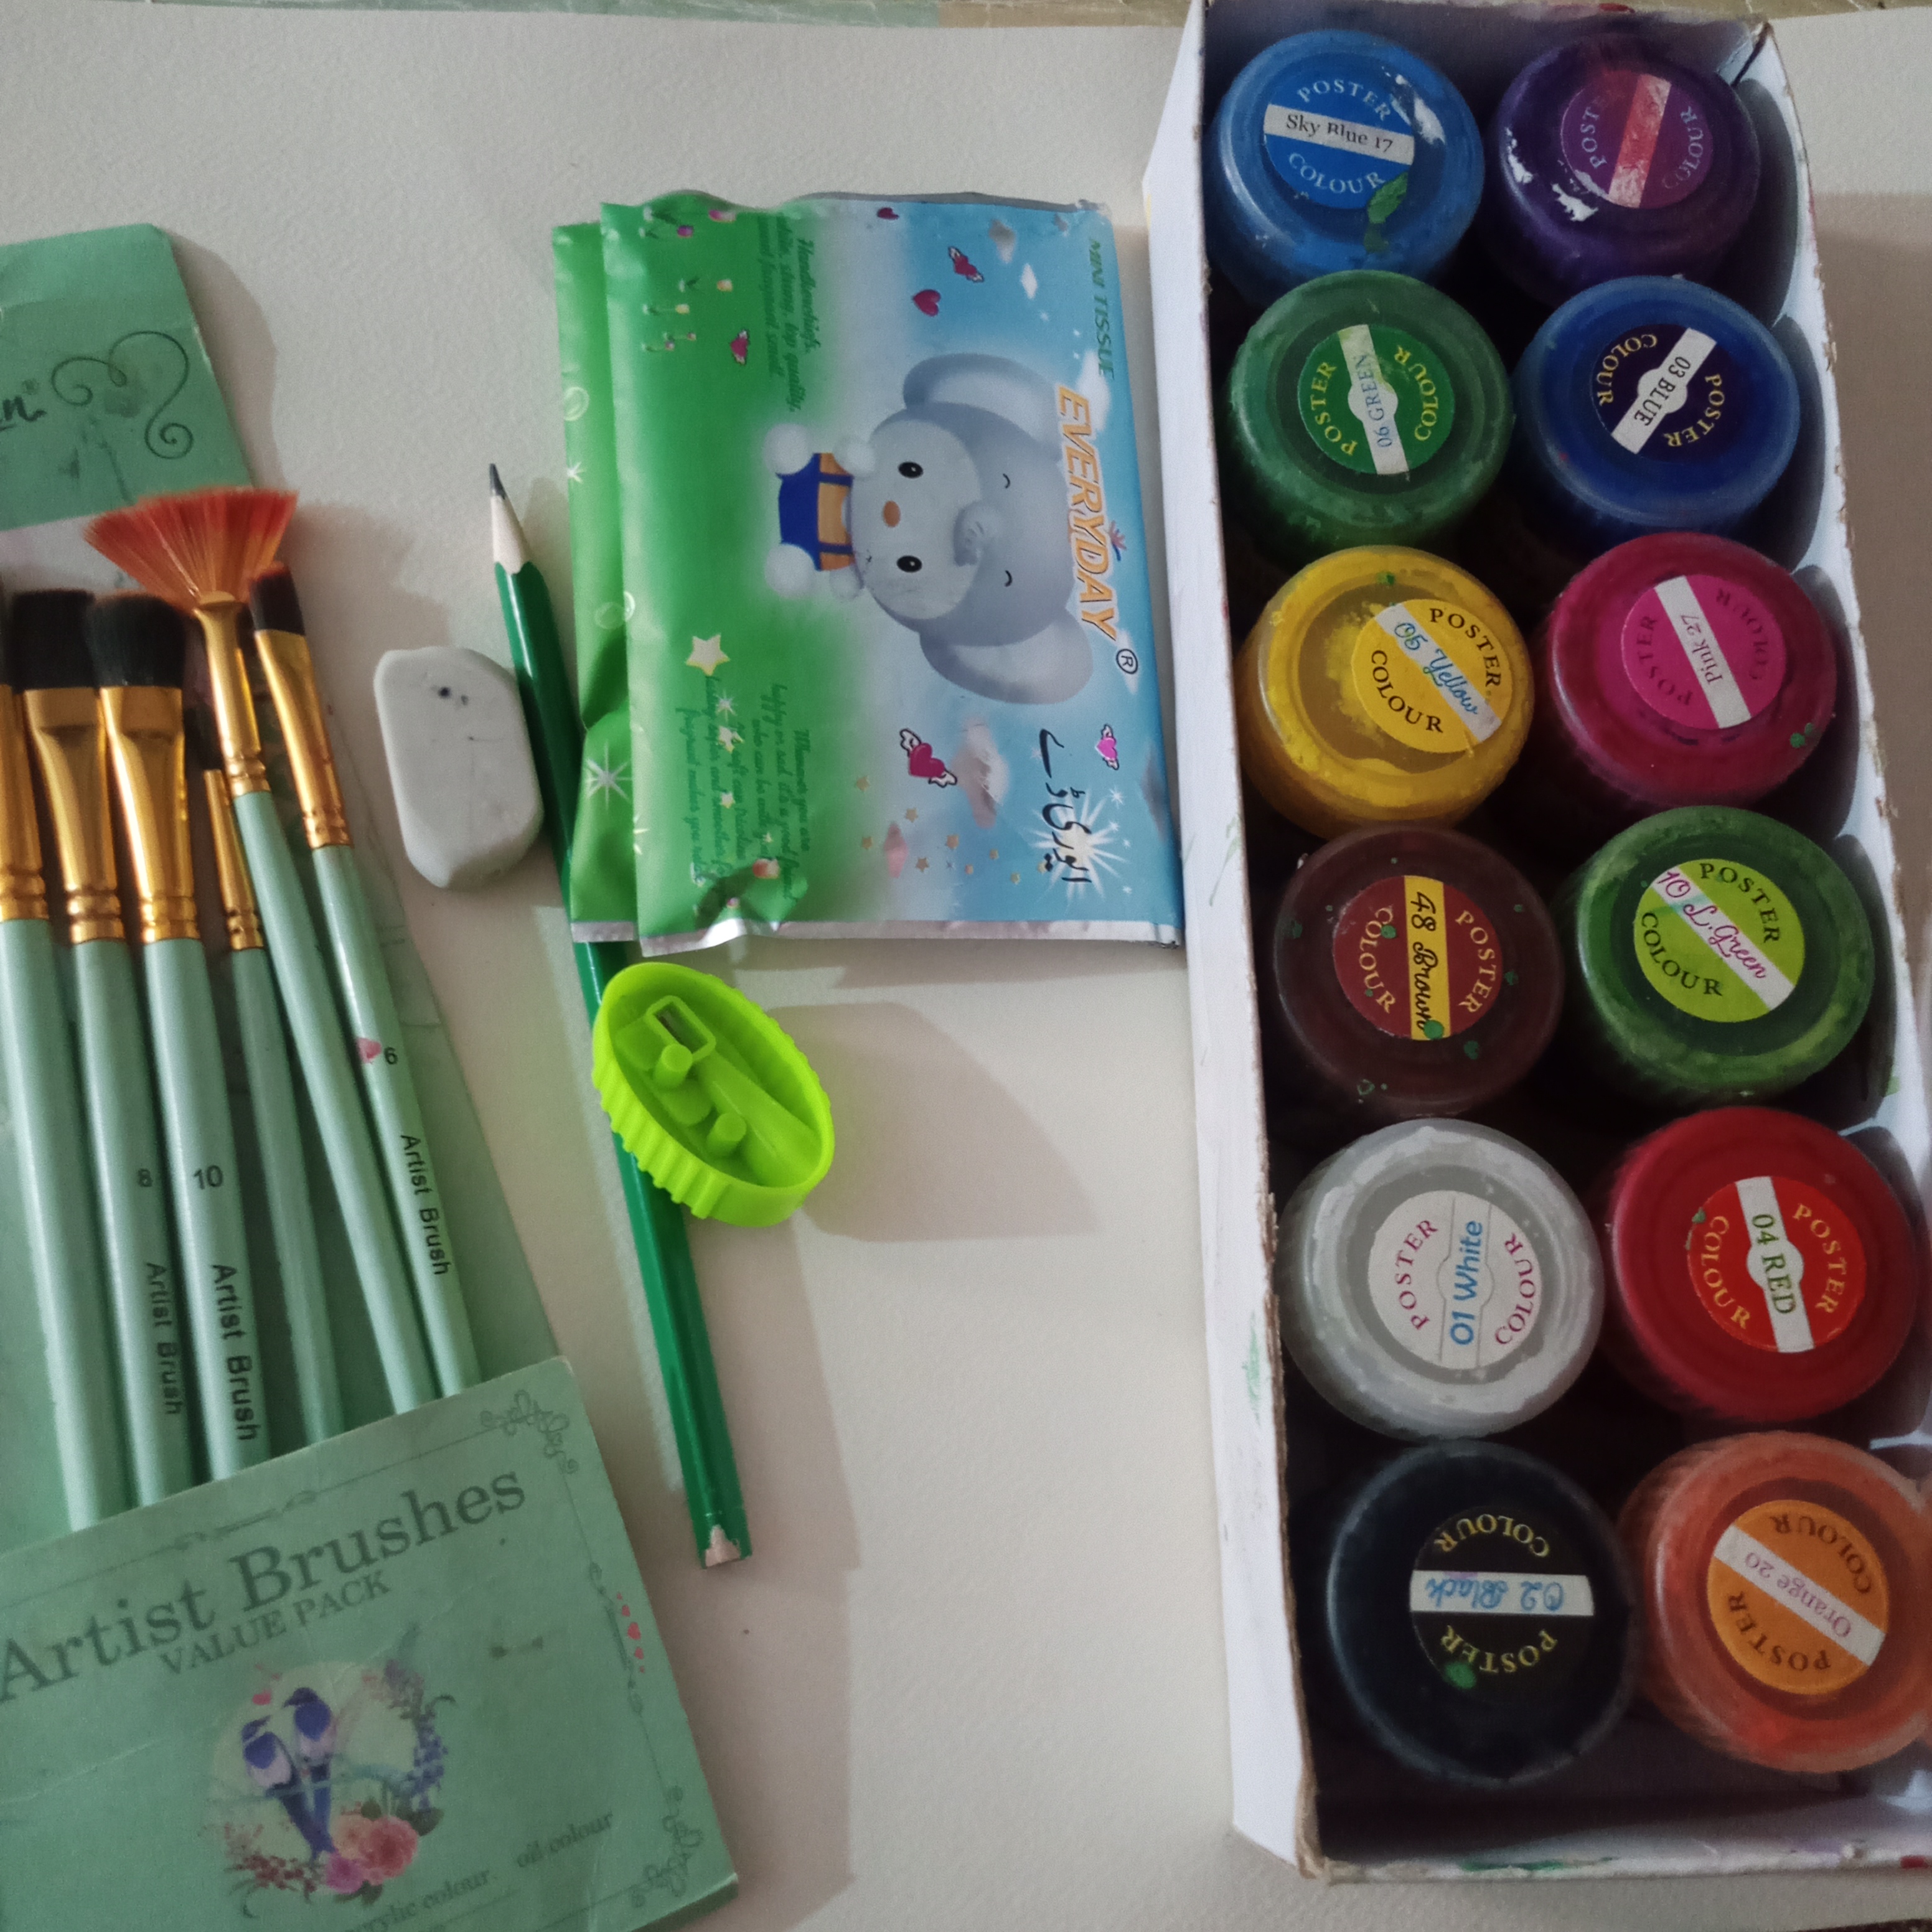
Here is 👇 material used in this painting |
|---|
| Sr | Materials |
|---|---|
| 1 | CArt book |
| 2 | Tissue |
| 3 | Paint colour |
| 4 | White glue |
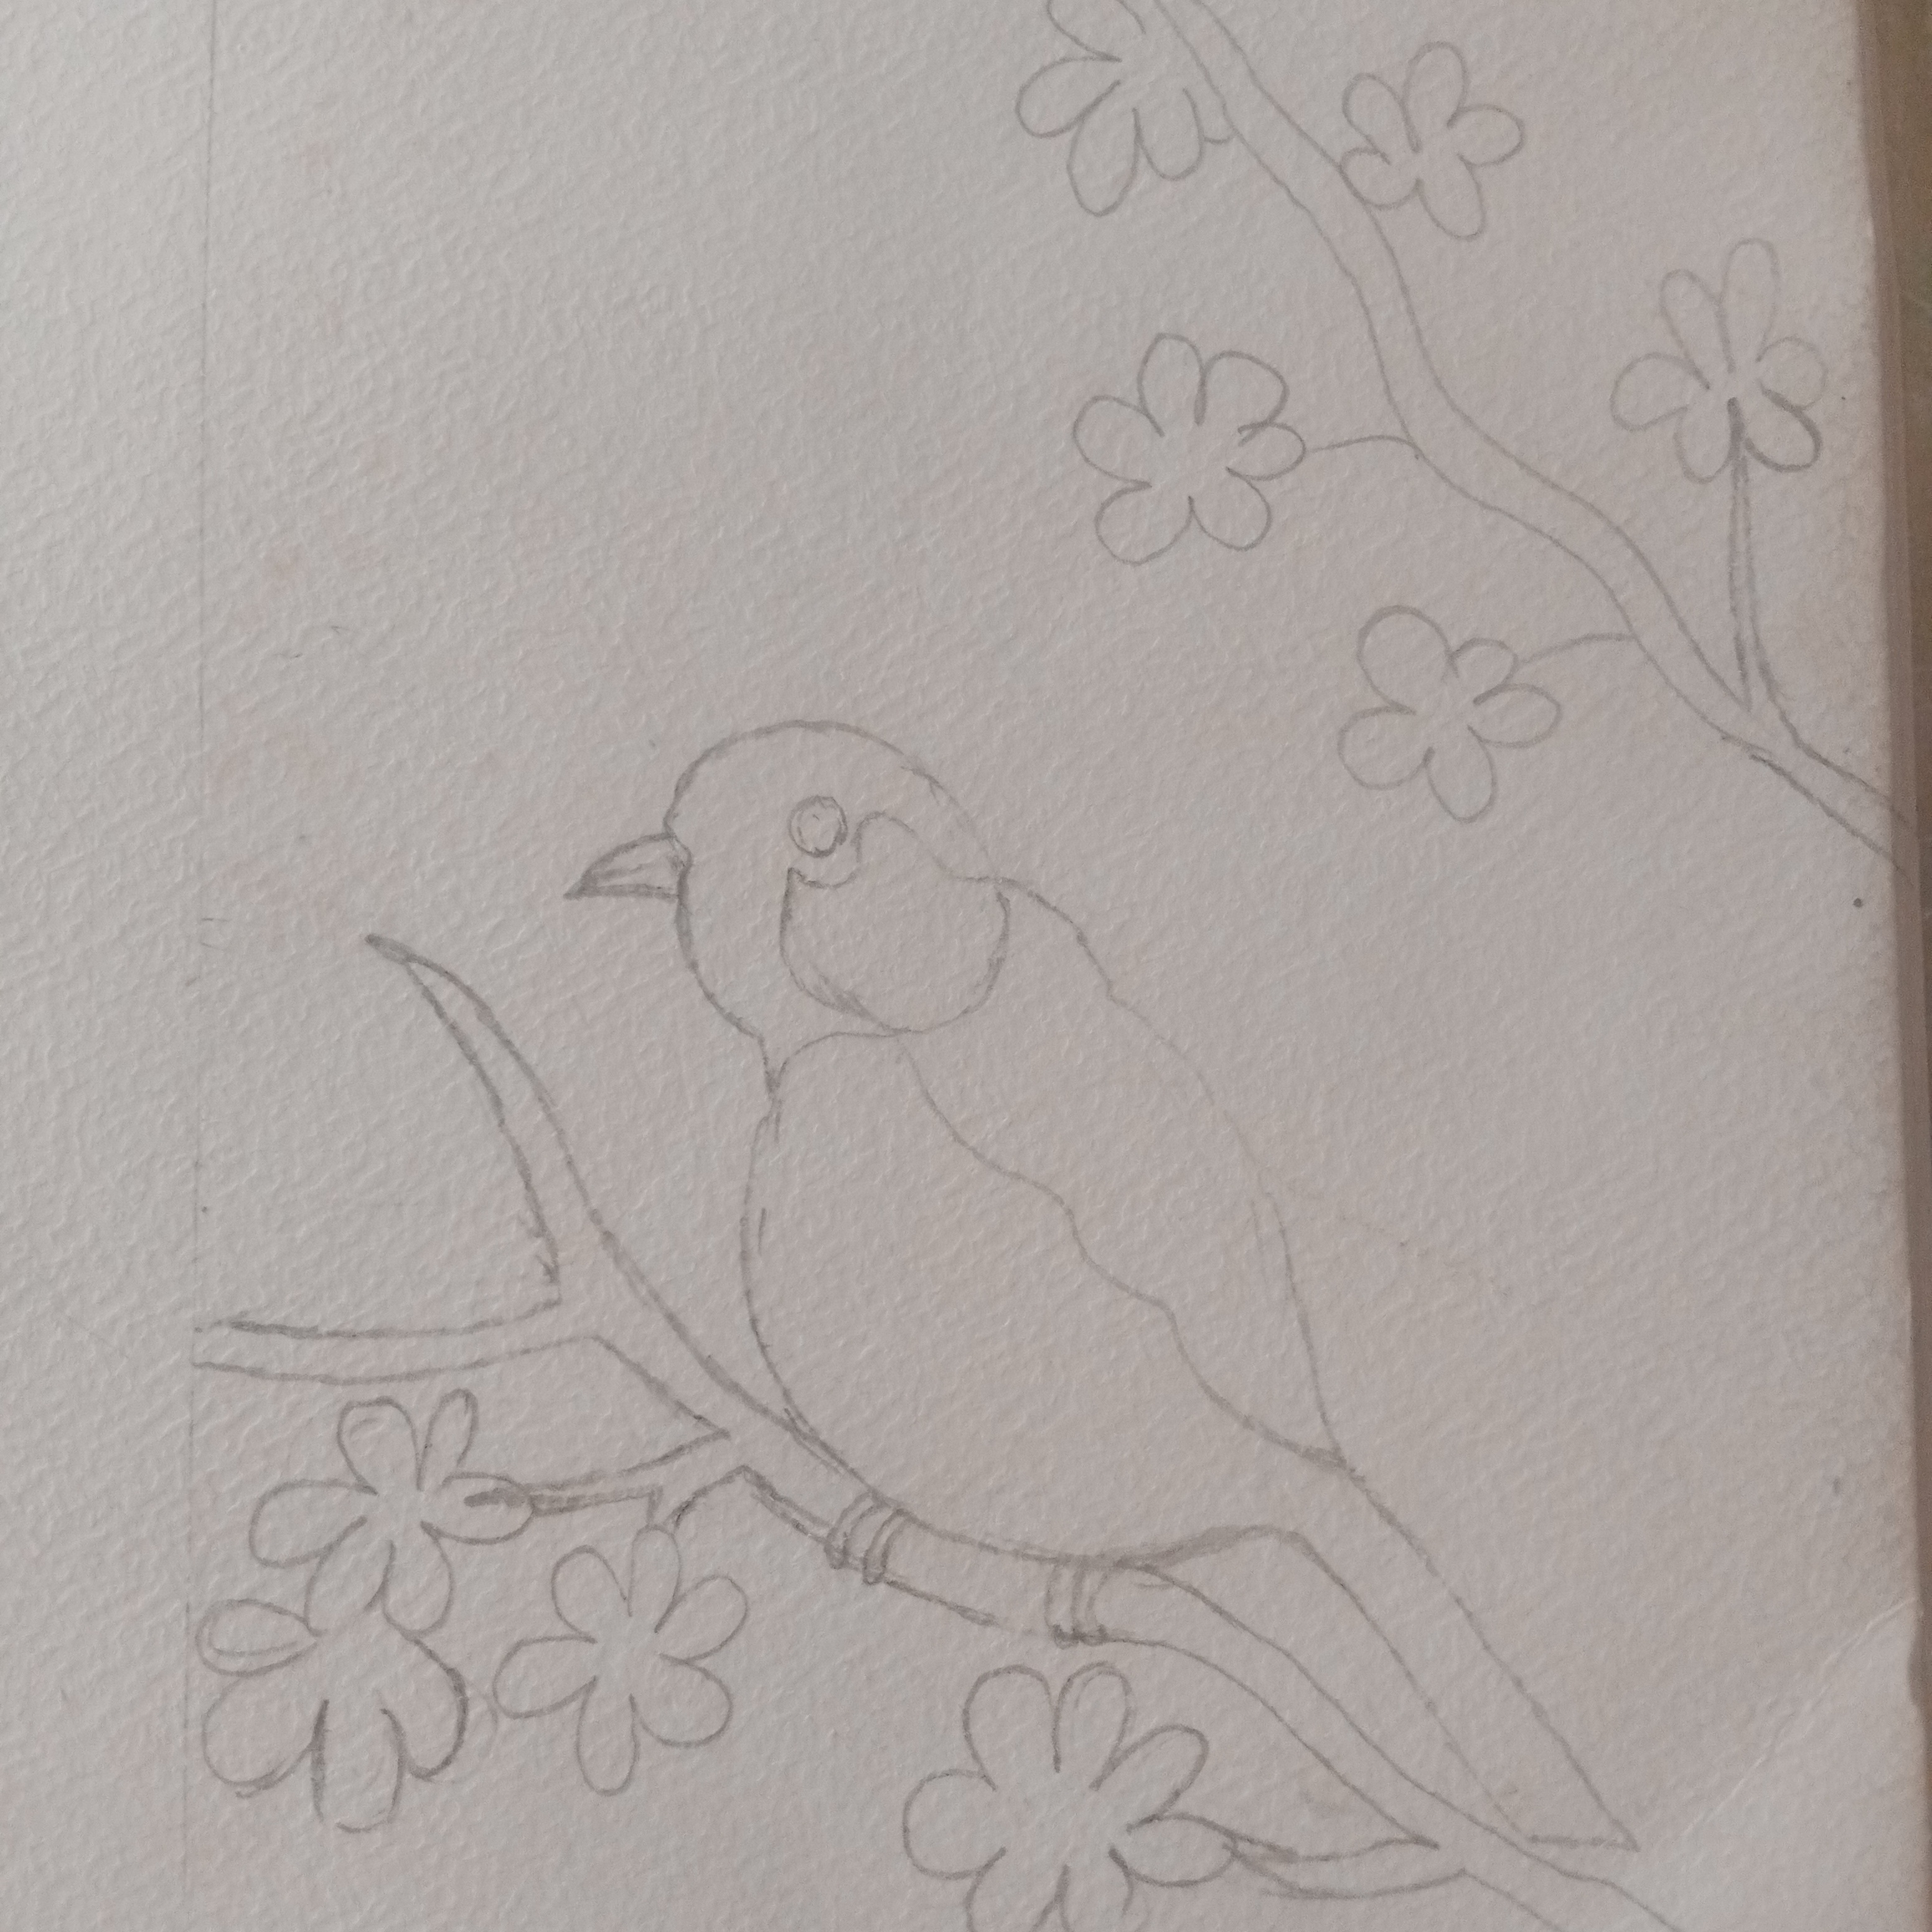
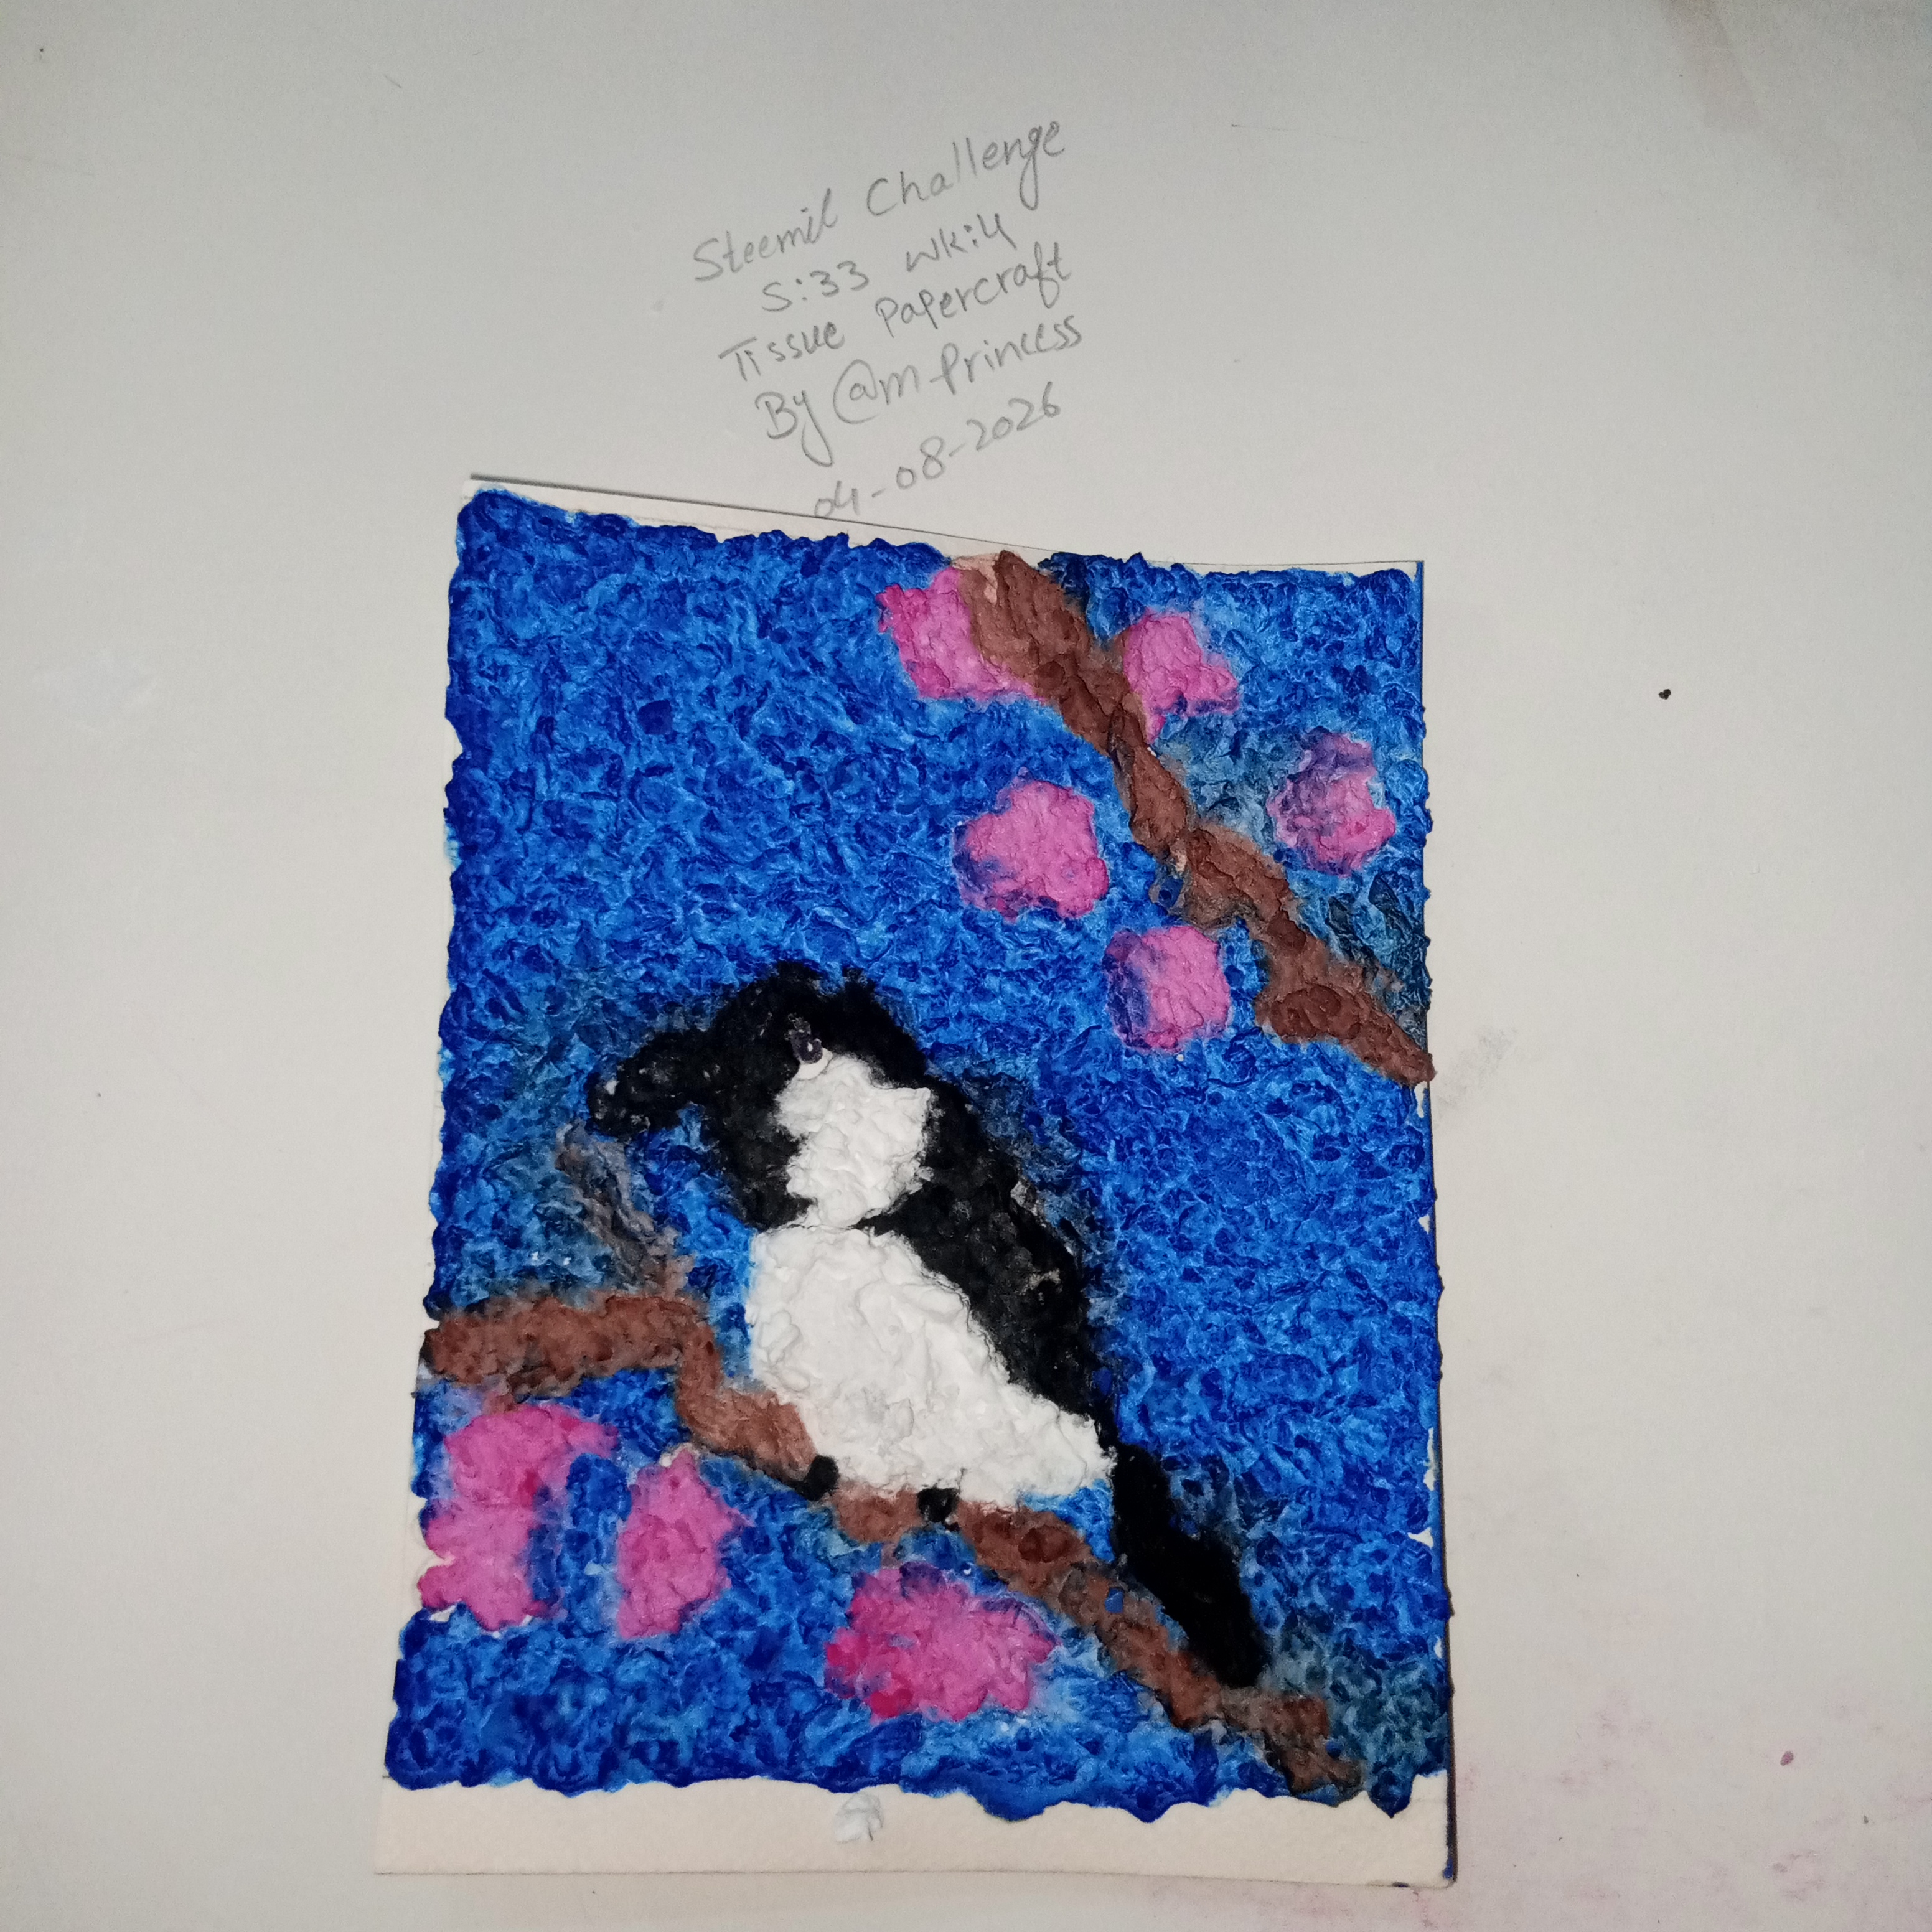
- First I took a white card sheet. And made a preliminary sketch of my design with the help of a pencil. I made a beautiful bird sitting on a tree branch. After that I made a sketch of beautiful flowers around the branch to make the scene look more attractive. Then I made another branch at the top of the picture. And also drew some beautiful flowers above and below it. This preliminary sketch provided a clear guide for my entire tissue paper craft. Which made it very easy to complete the next steps.
At the end of this step. I had a complete basic sketch of my artwork. Which made it easier for me to place the tissue paper. In the right place in each part. And complete the design beautifully.
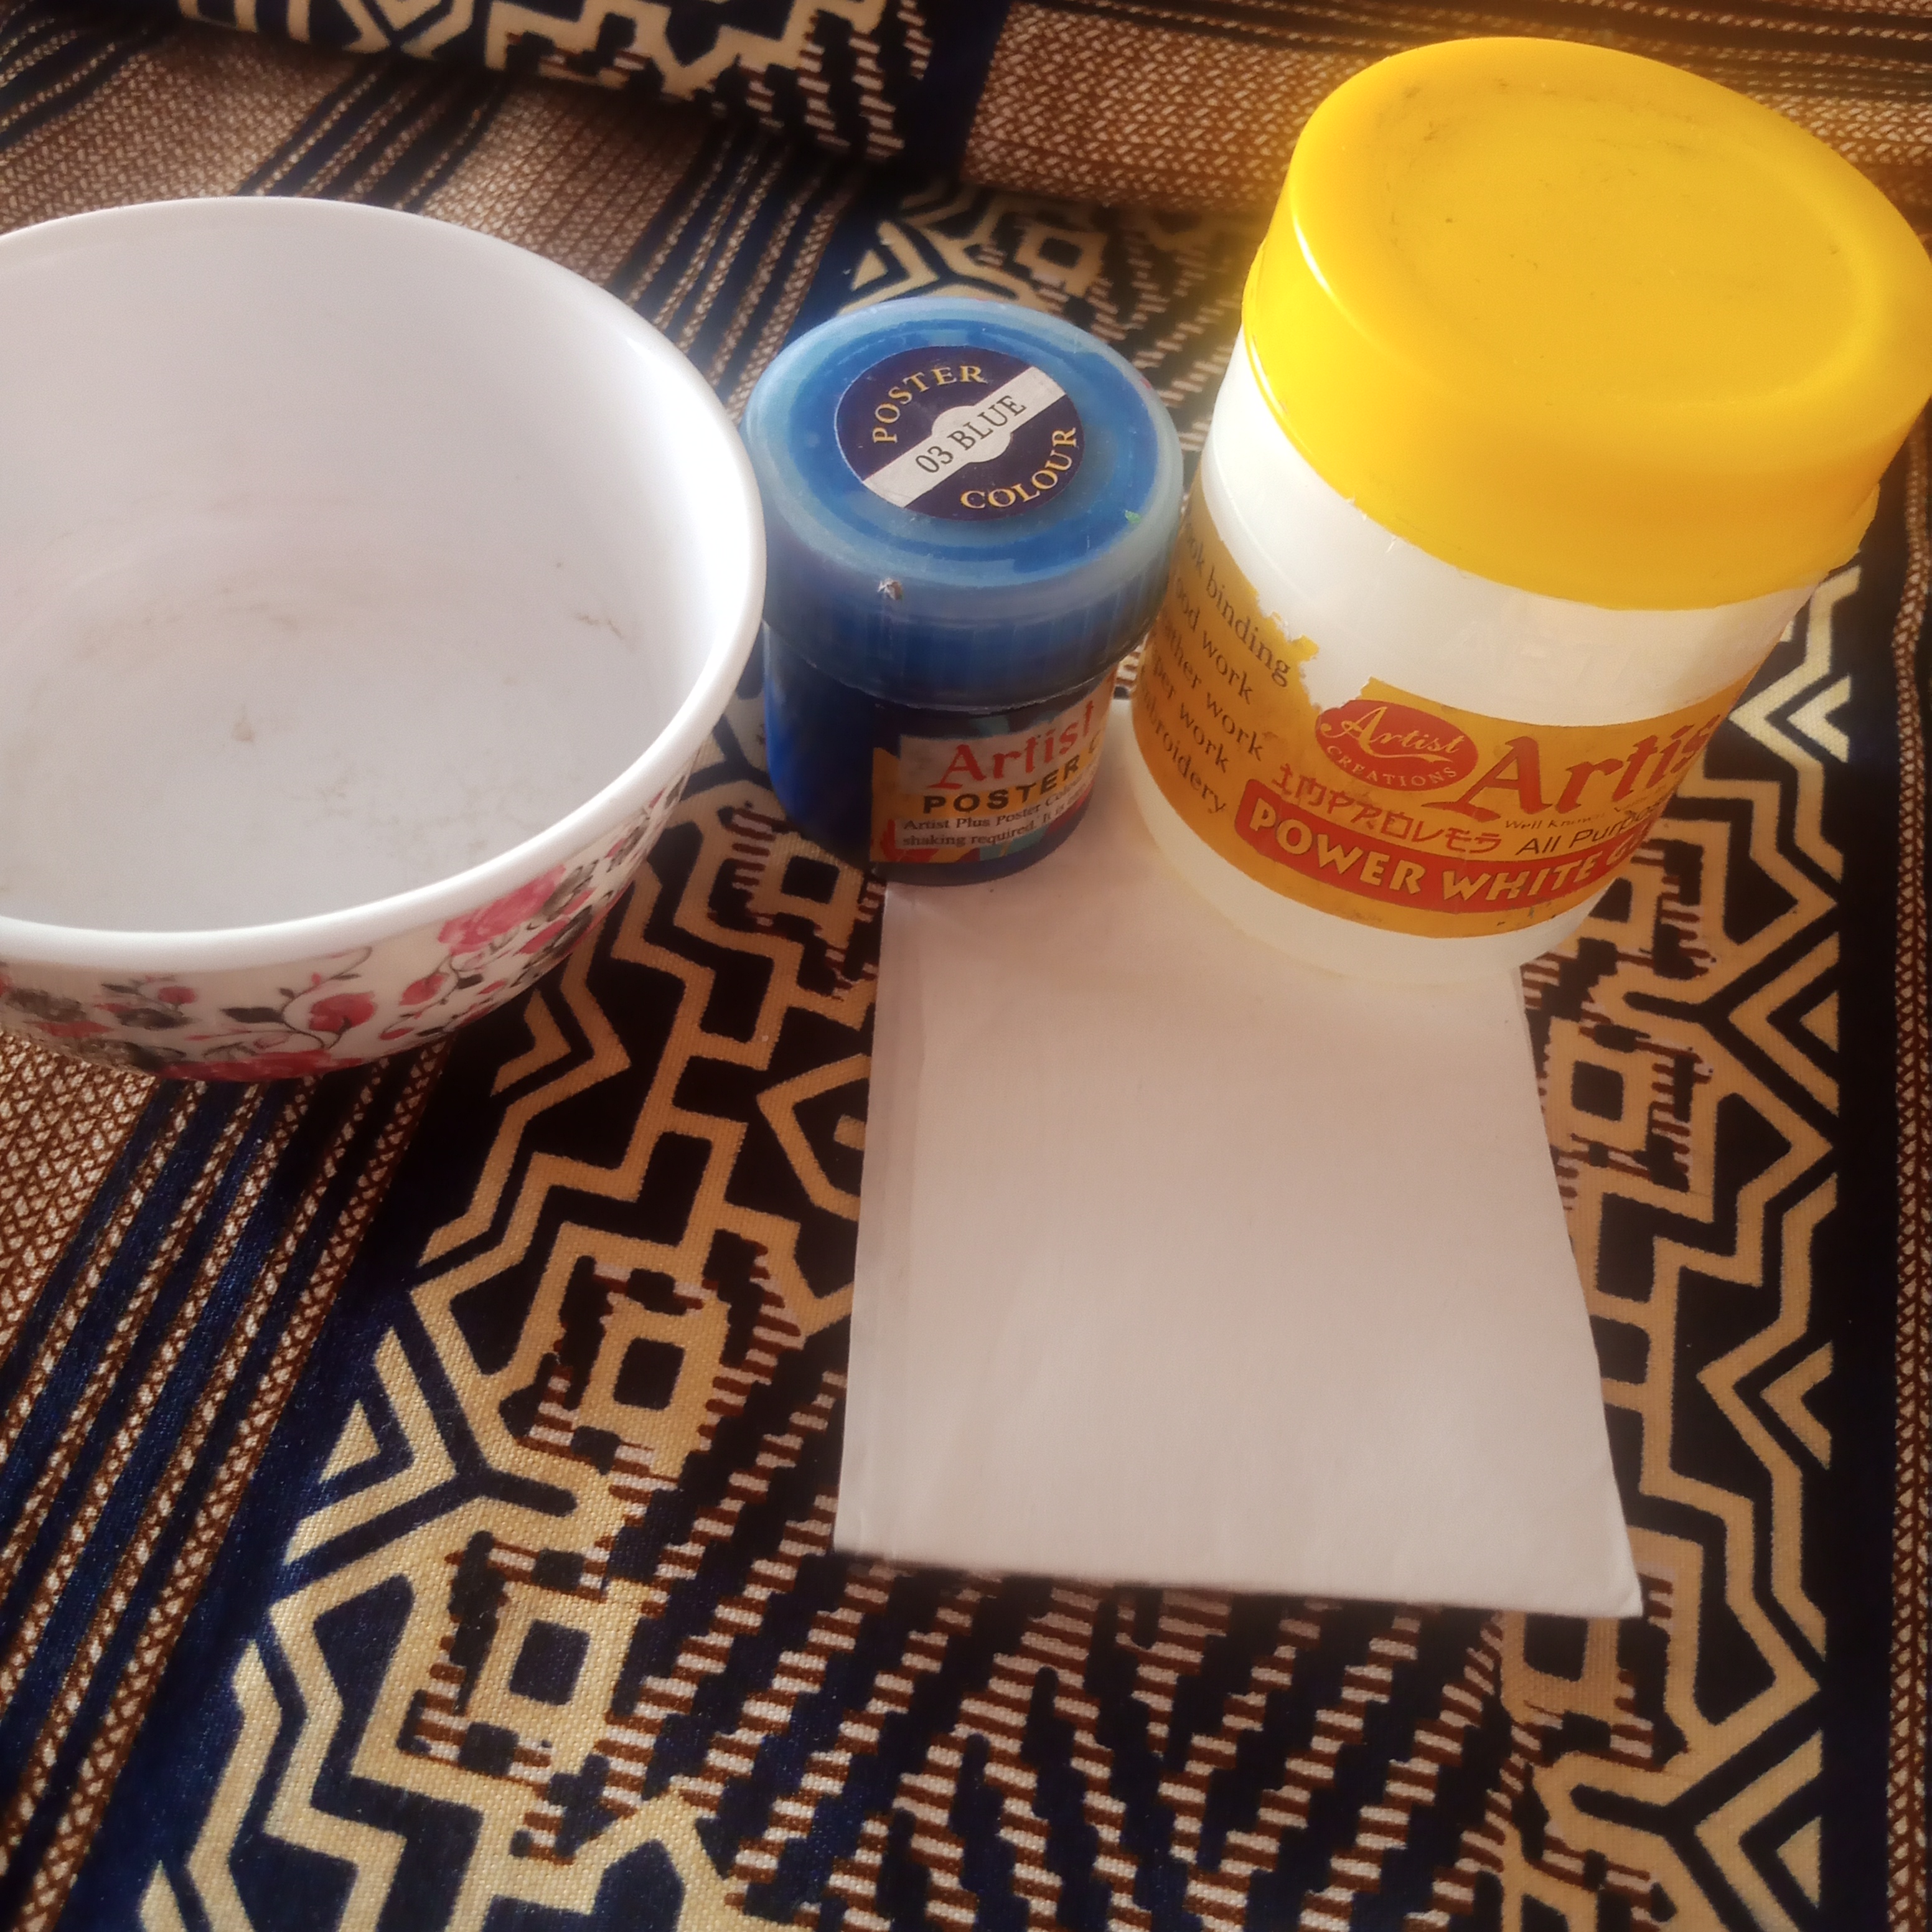
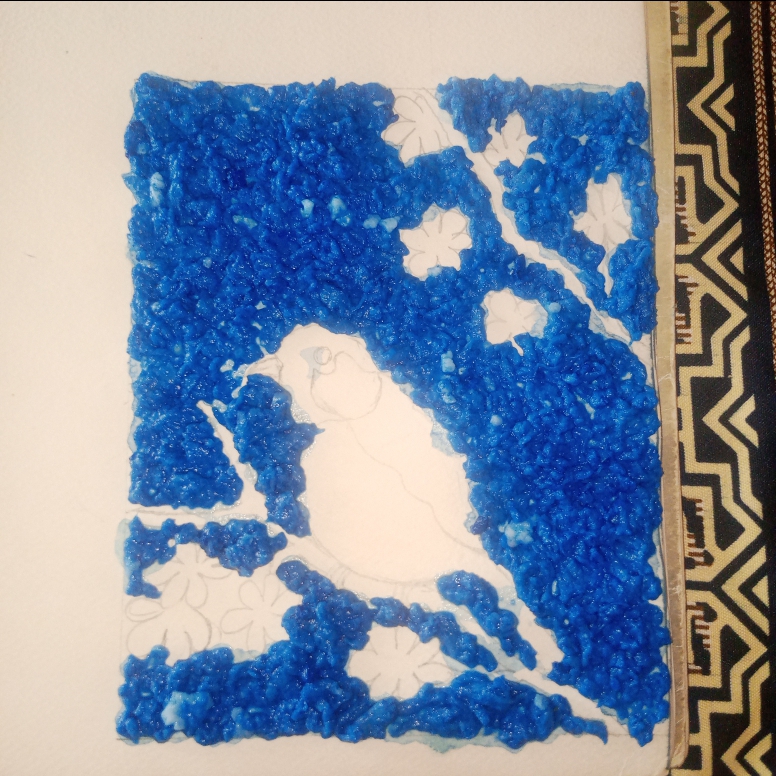
- I then cut small pieces of tissue paper into a bowl. Then I added a little water to them. Ao that the tissue would soften well. After removing the excess water. I added white glue to it and then added blue acrylic paint. I mixed all these things well. until a soft smooth and uniform paste was prepared. Which was perfect for creating a background.
At the end of this step. My blue tissue paper paste was completely ready. Using which I was ready to give a beautiful texture to the background of my artwork.
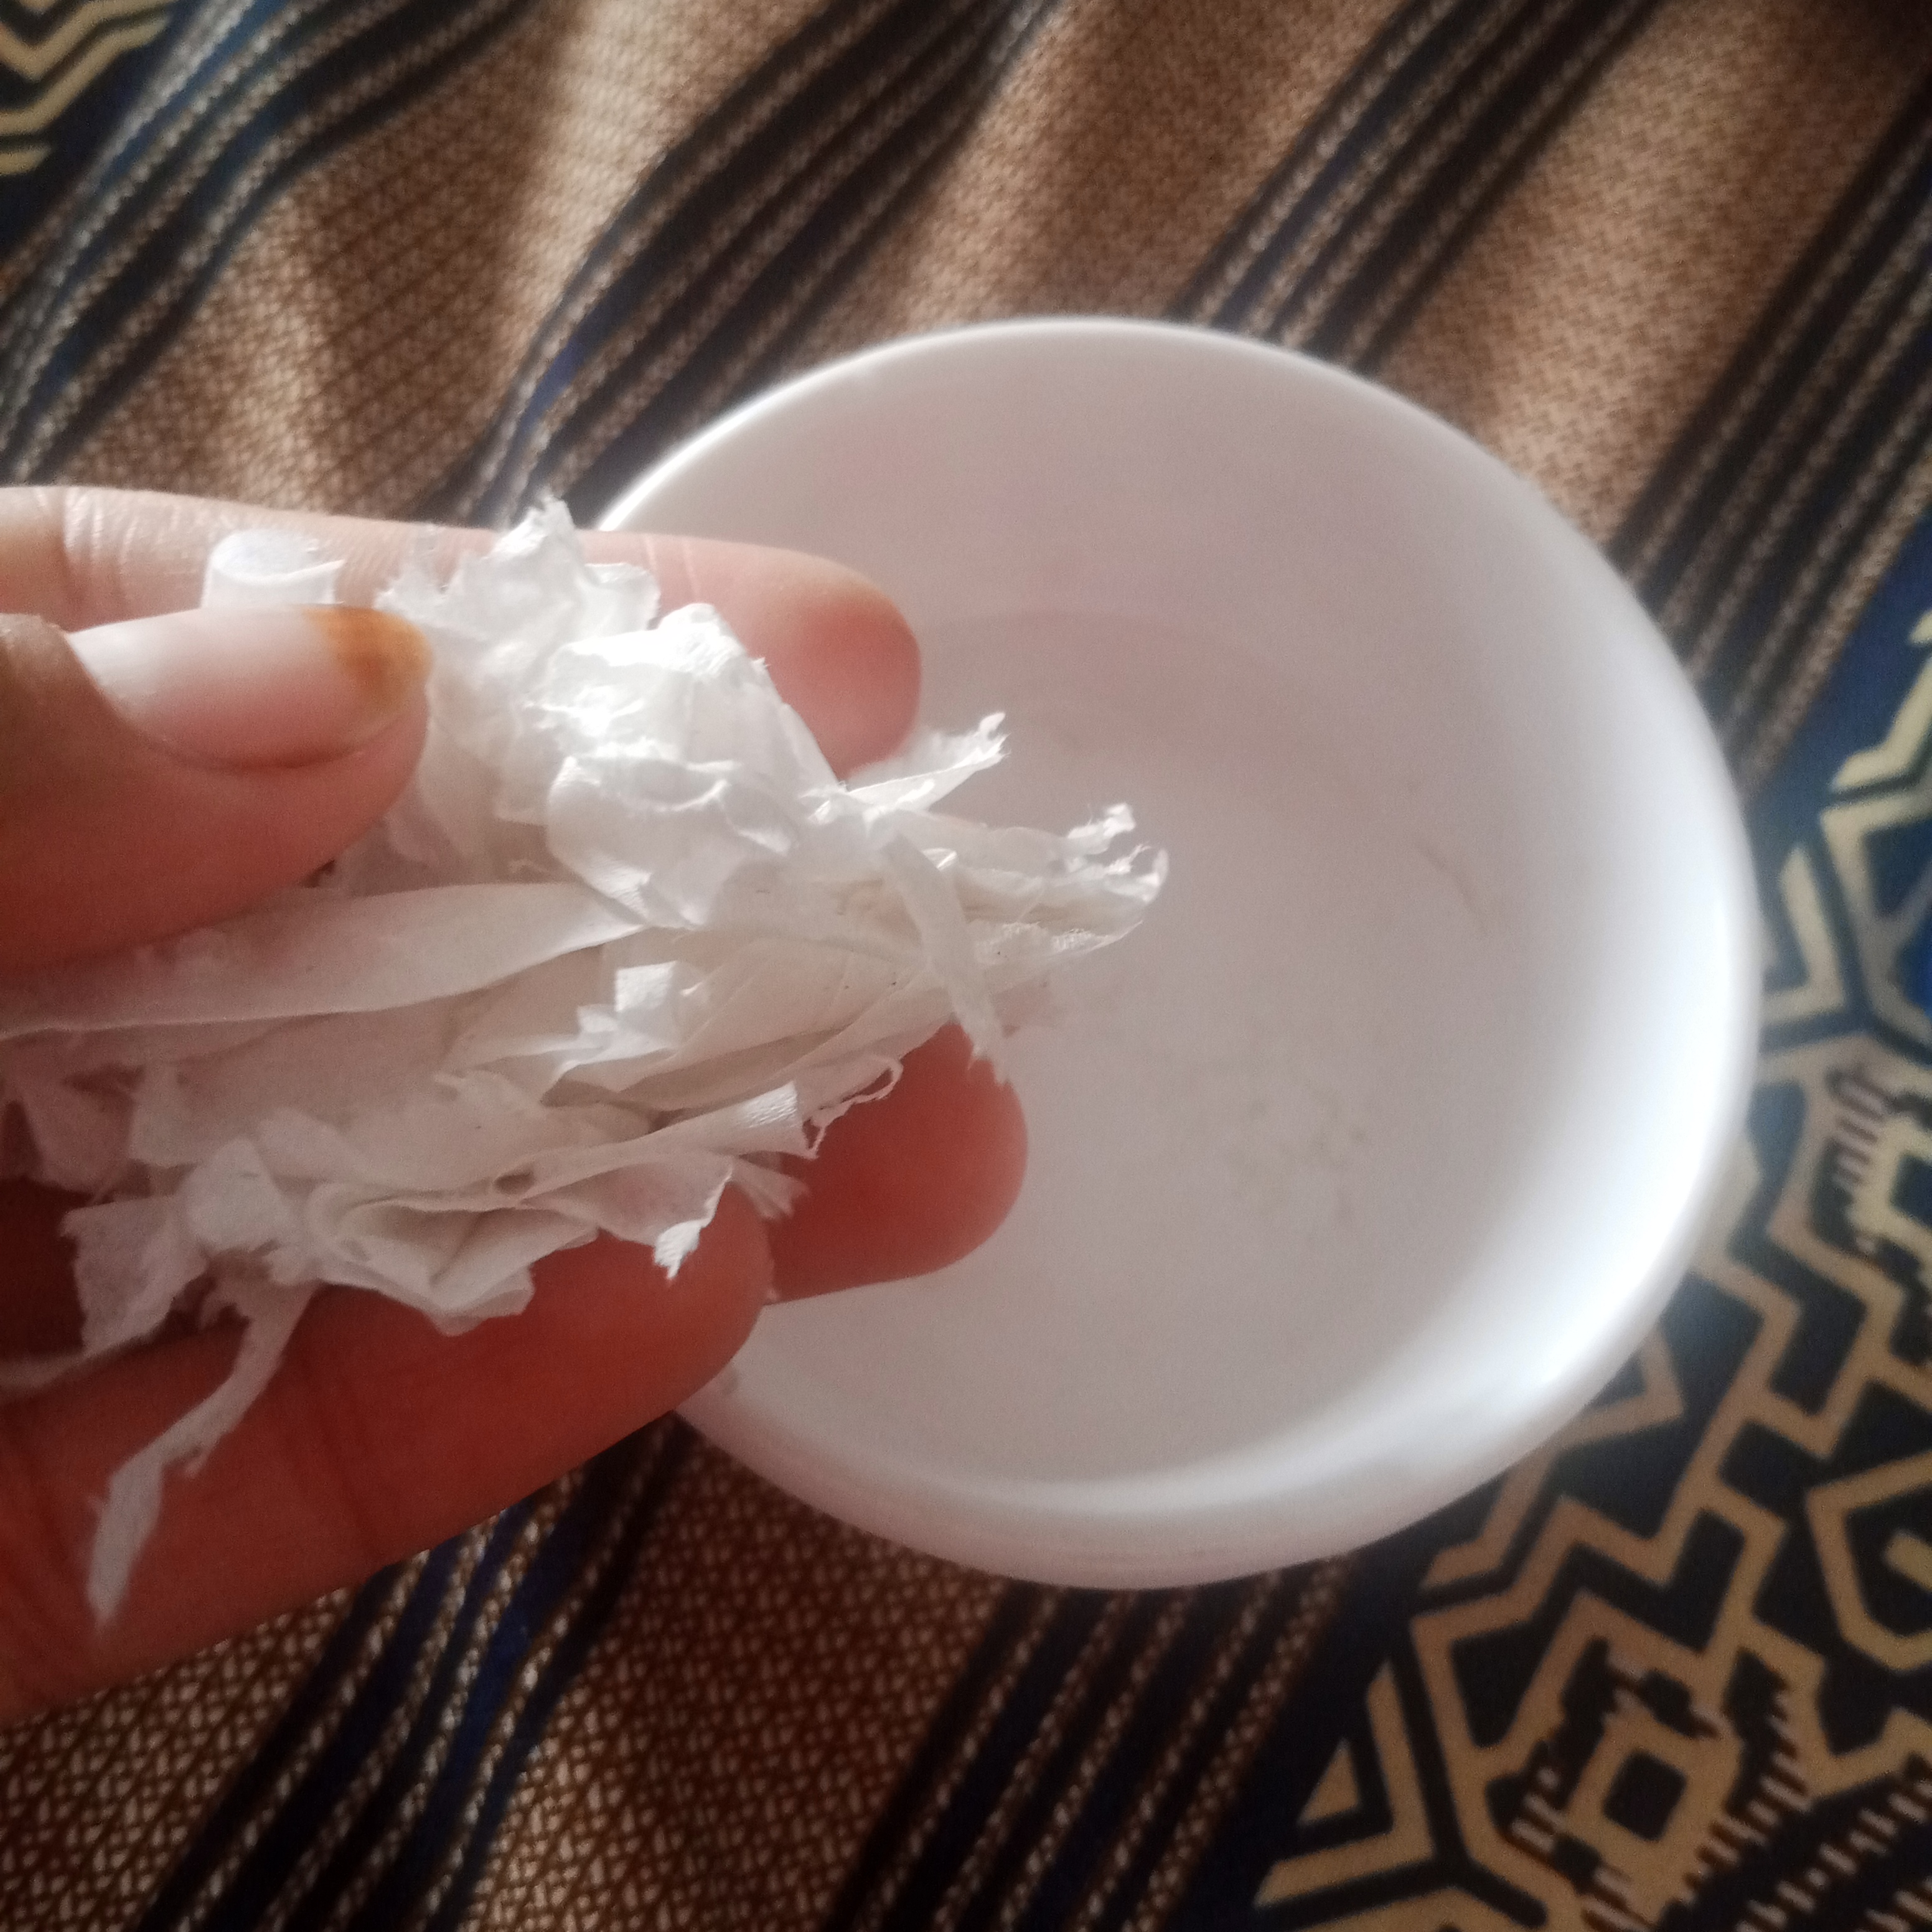
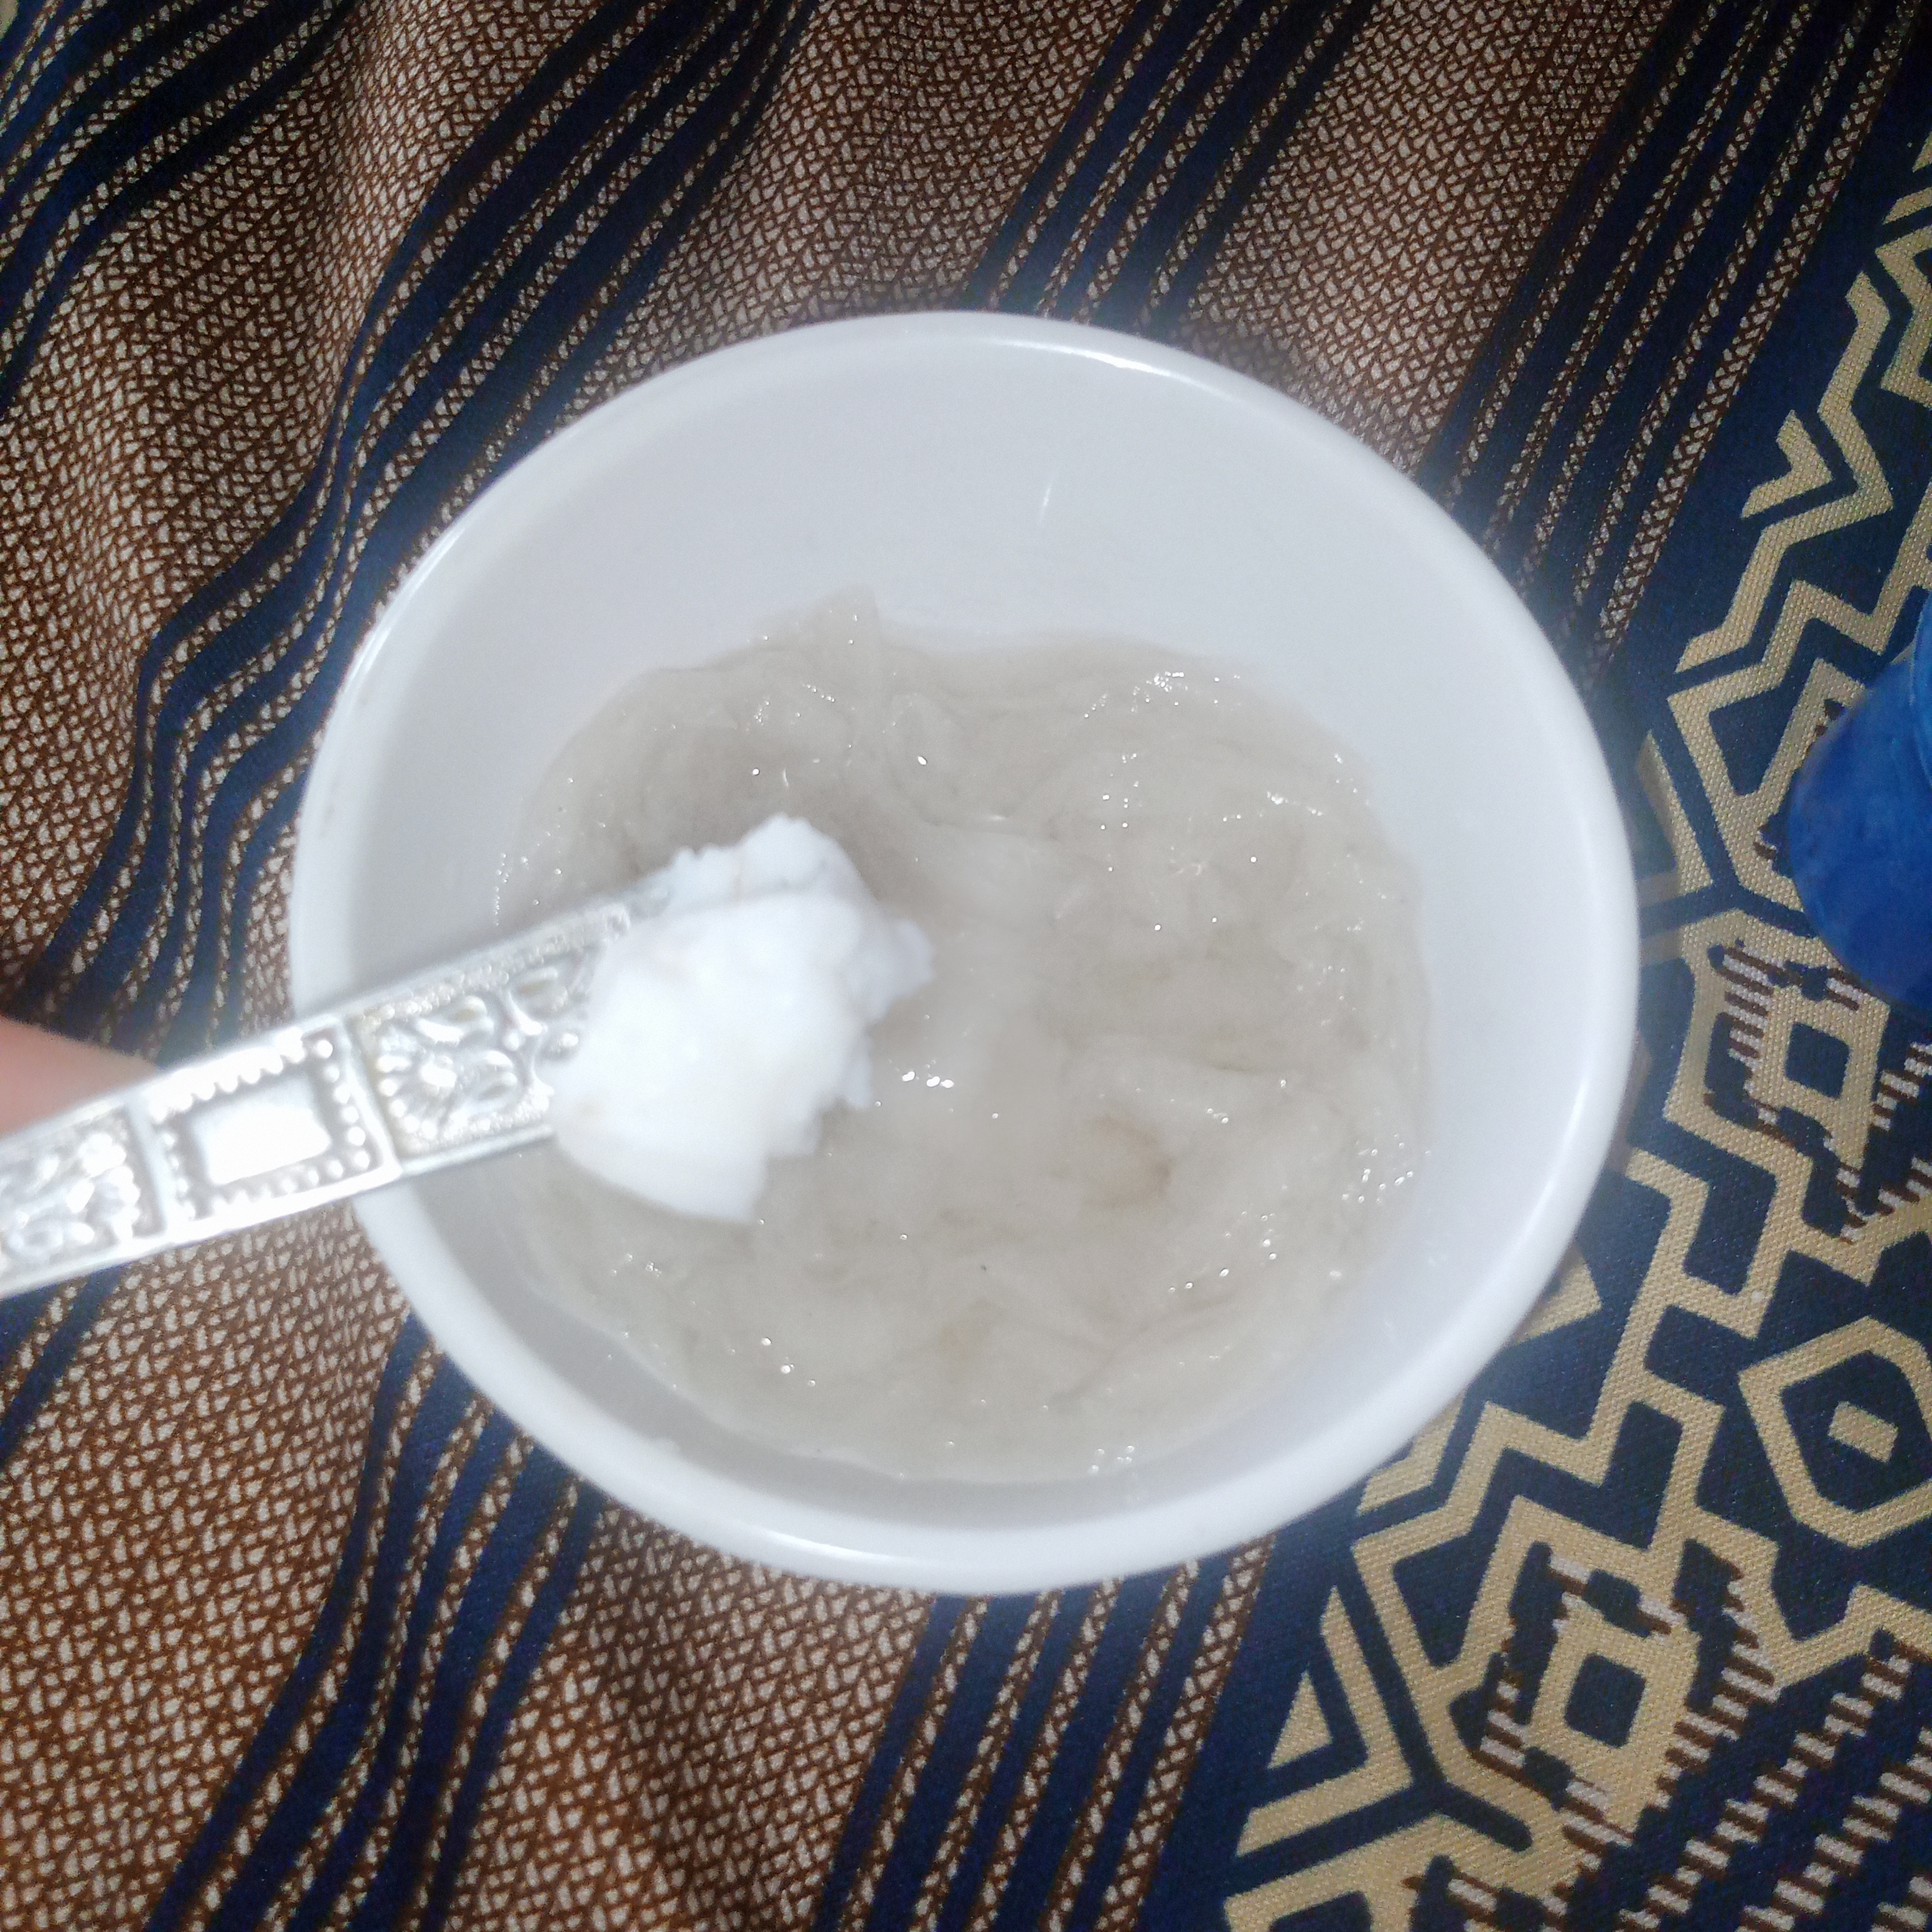
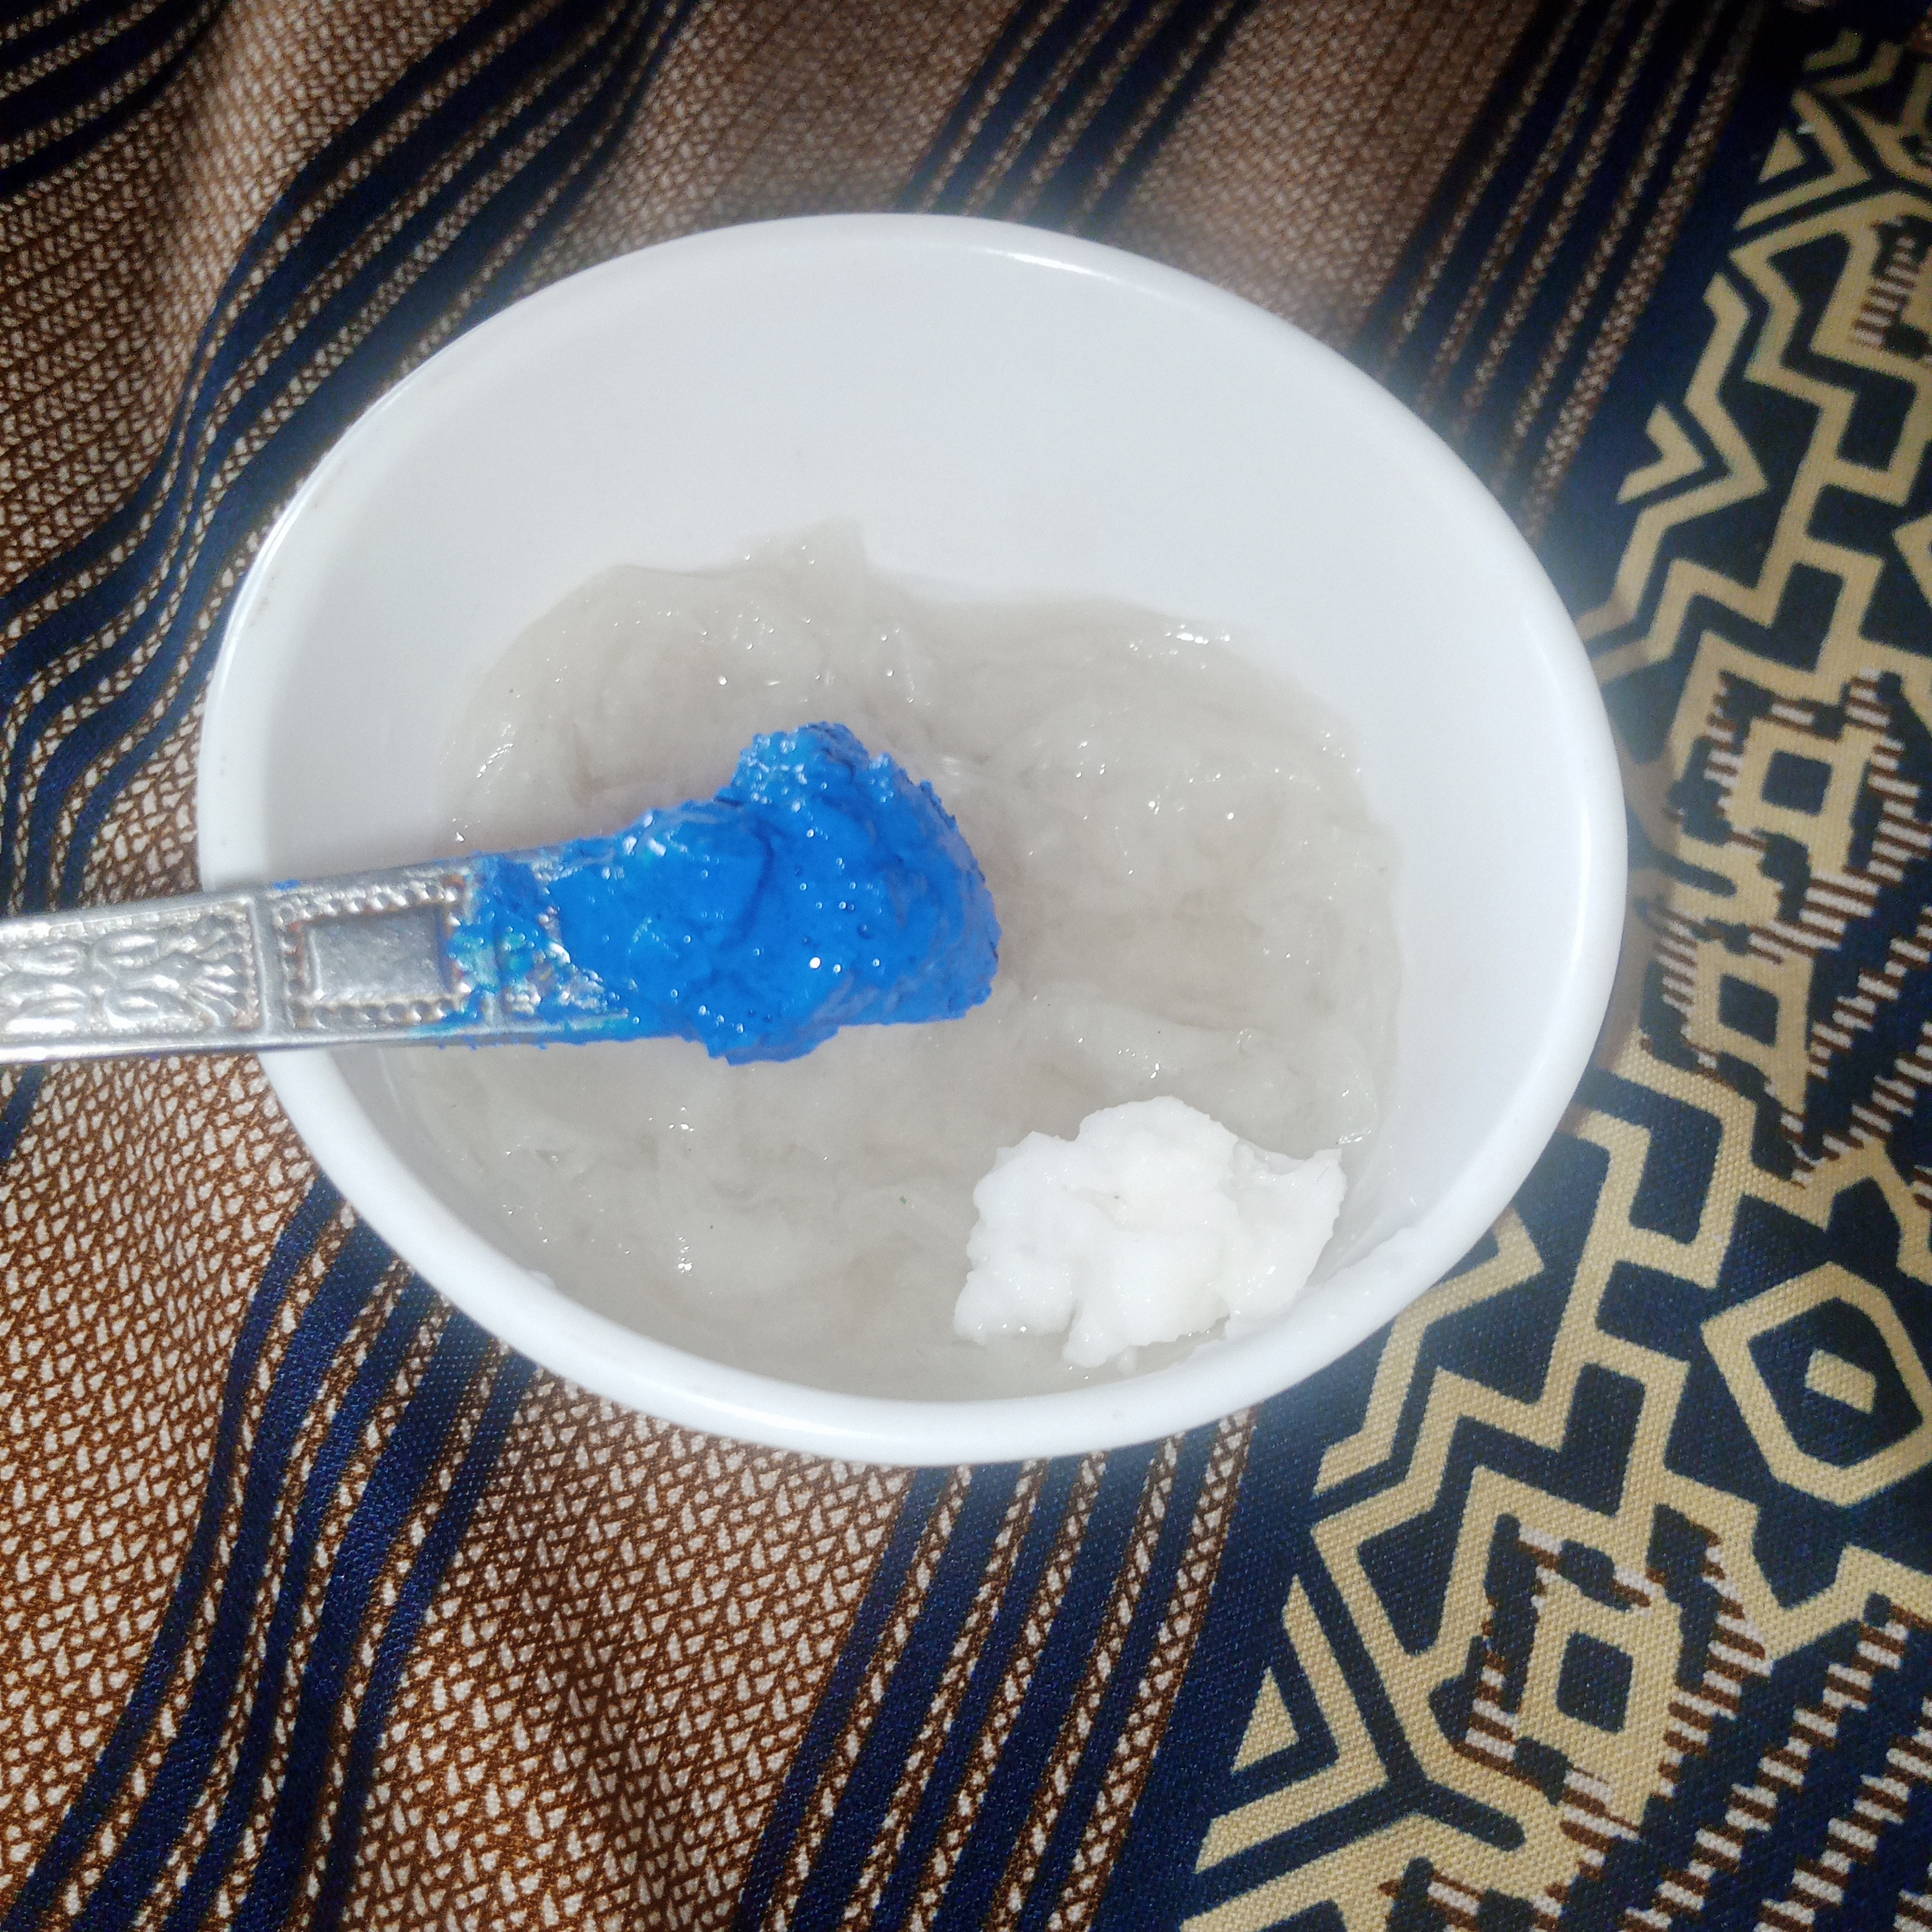
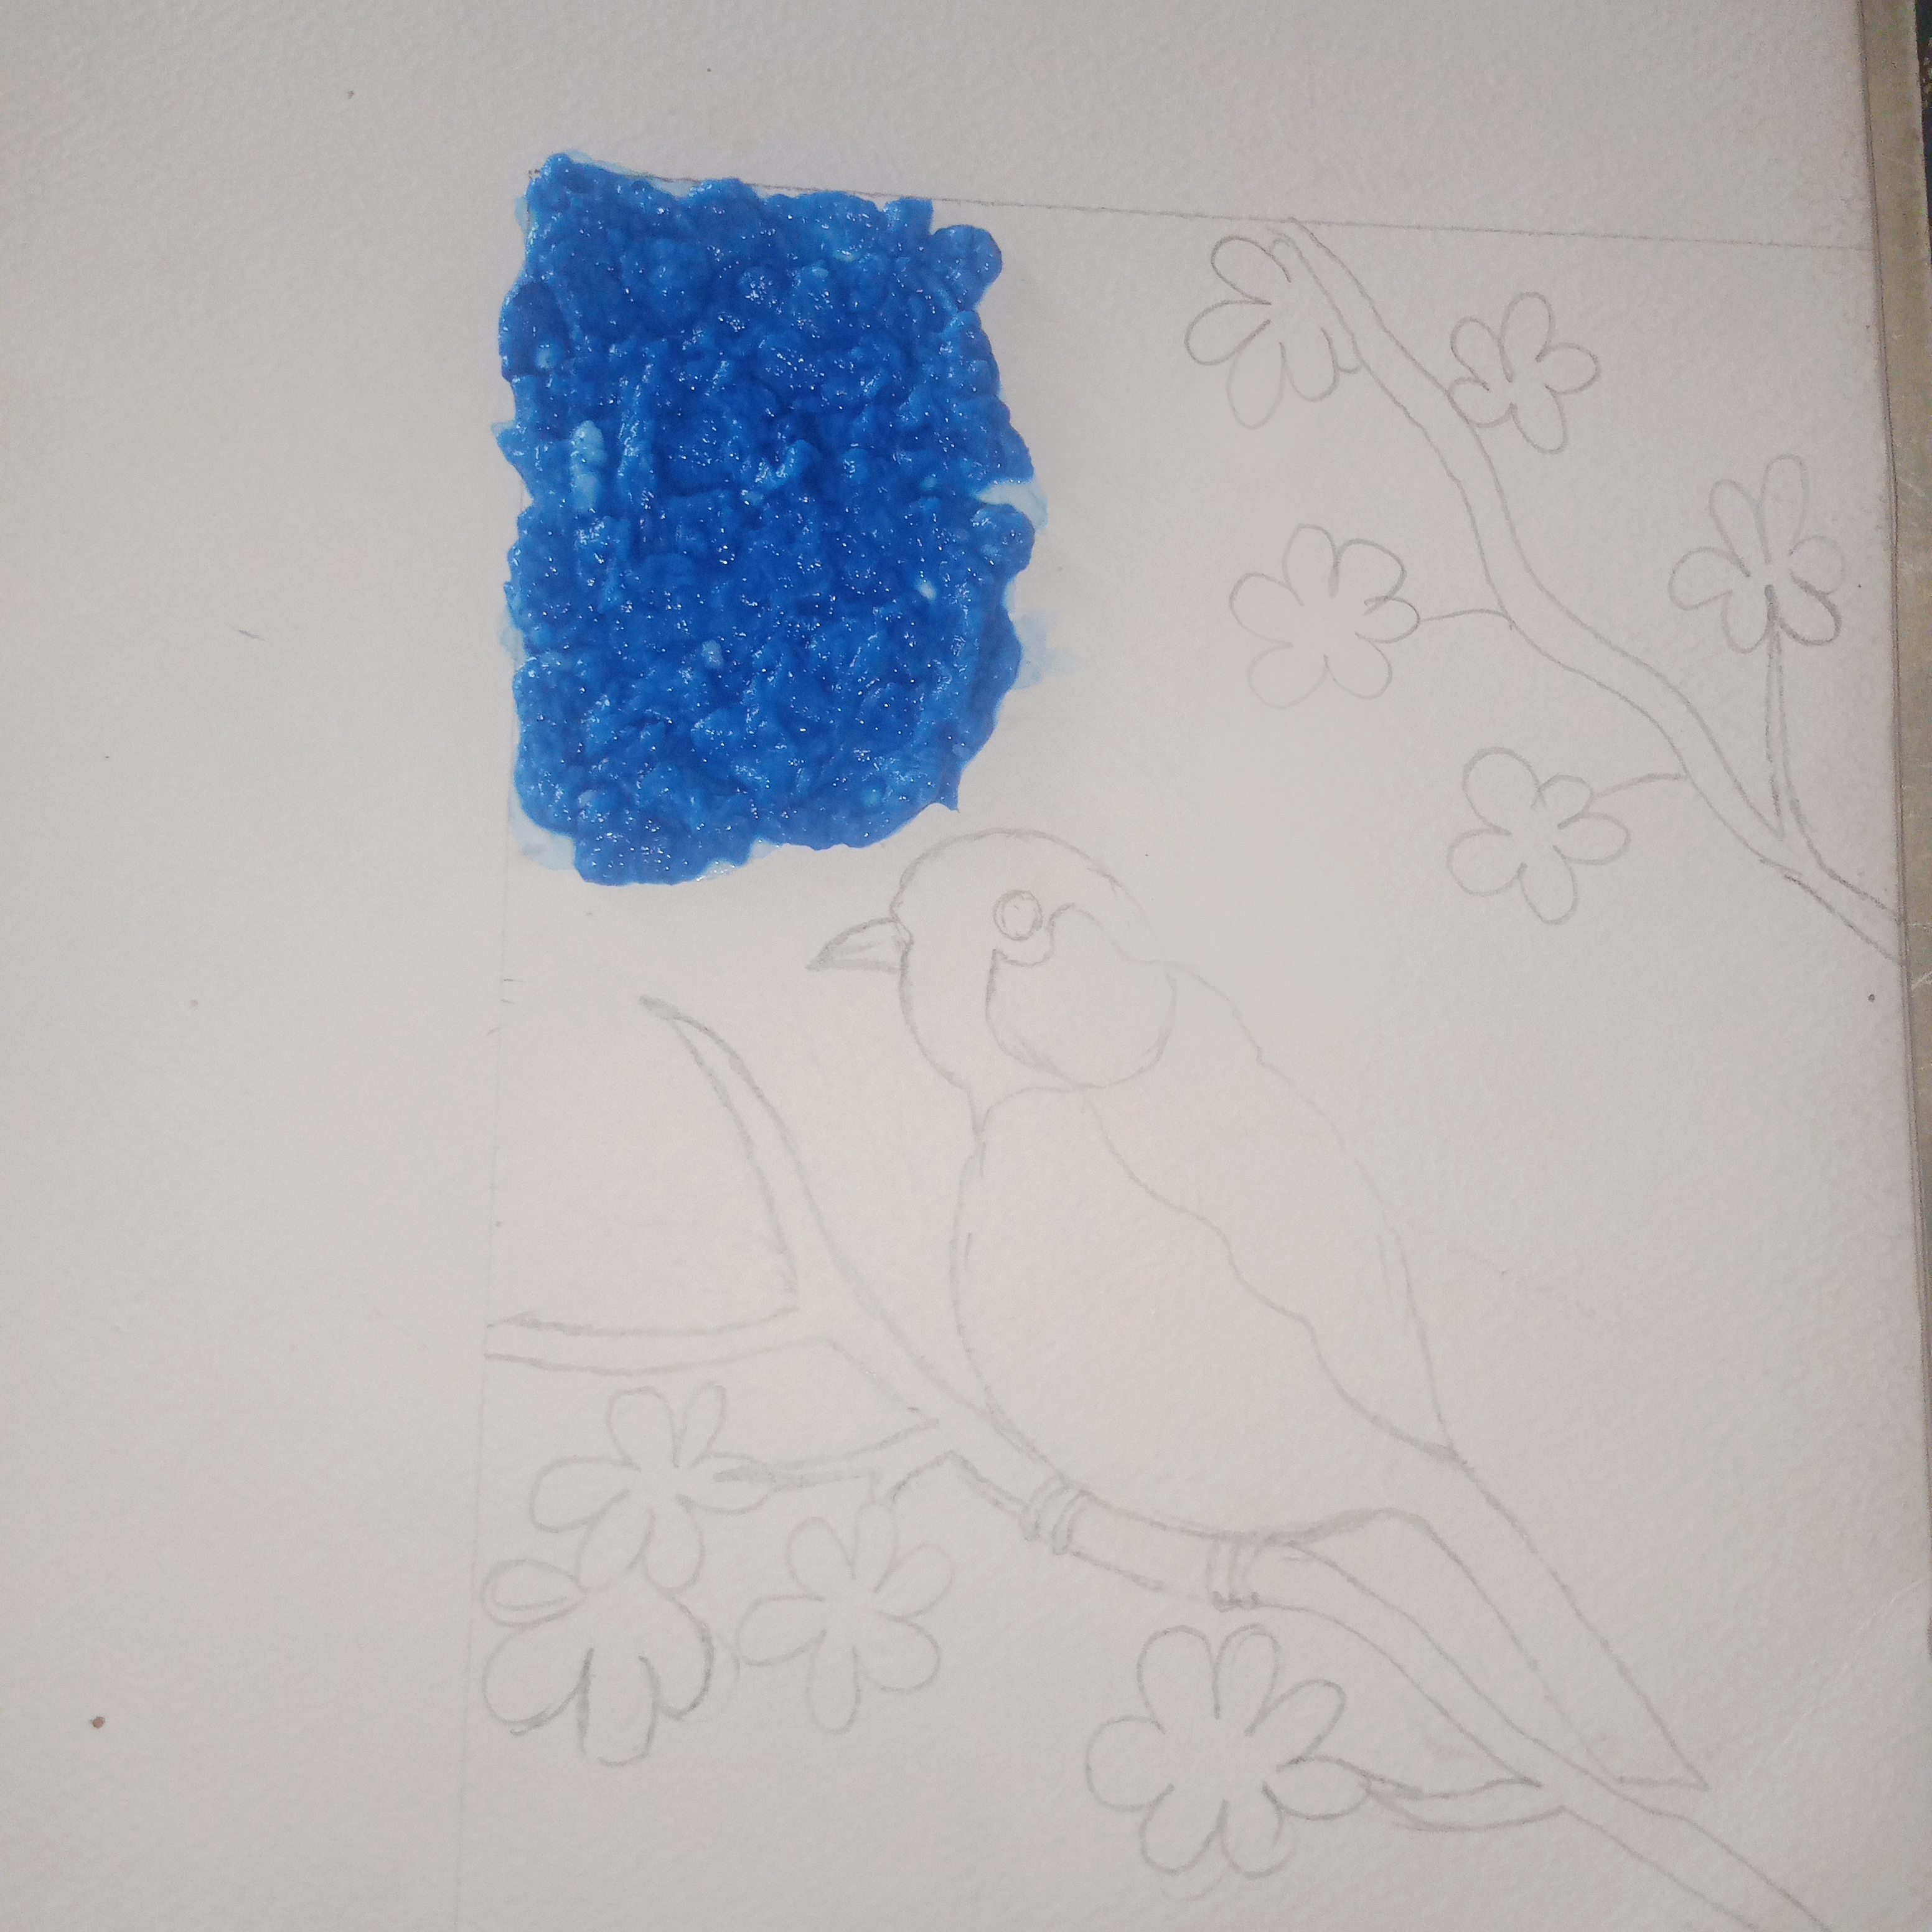
- Then I started applying the blue tissue paper paste. I had prepared onto the background of my artwork. I took small amounts of the paste and carefully spread it over the entire background. And used my fingers and the appropriate tool to create beautiful textures. I took special care to ensure that the entire background was filled evenly. And that the natural raised texture of the tissue paper was clearly visible everywhere. In this way the entire background was gradually covered with the beautiful blue texture.
At the end of this step the entire background of my artwork is finished. With a beautiful blue tissue paper texture. Which provided a beautiful, unique and eye catching base for the entire design.
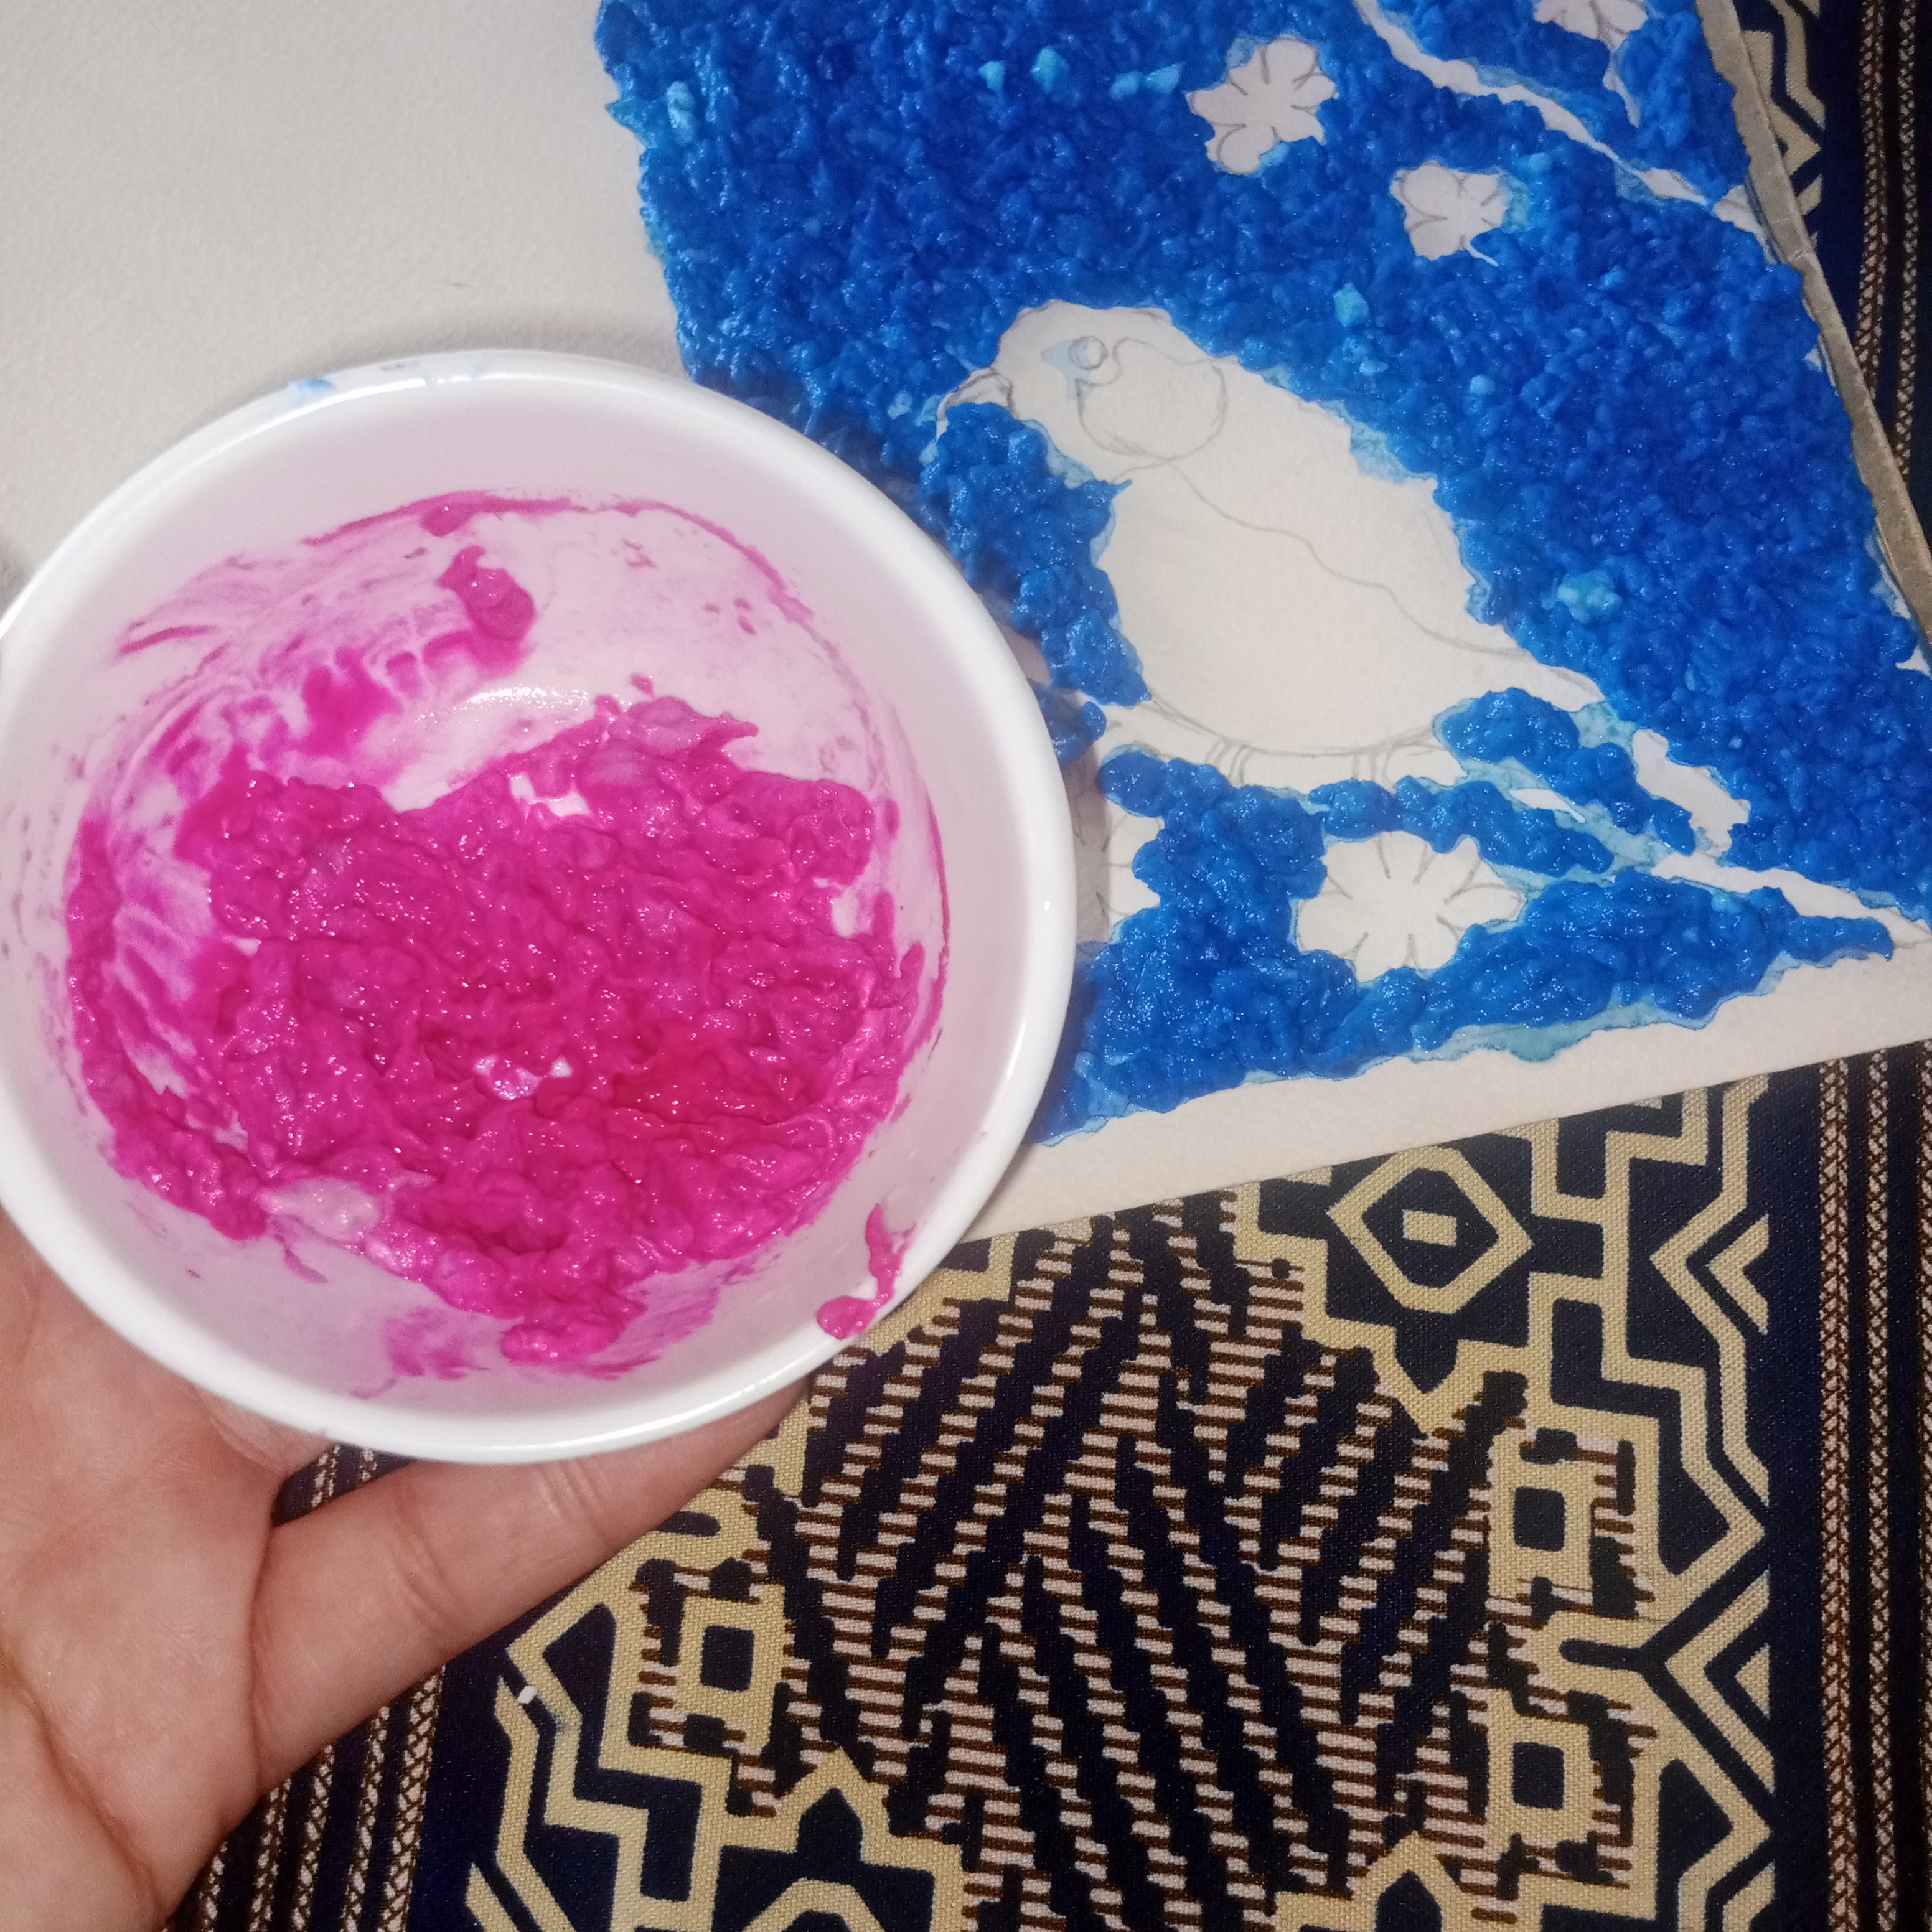
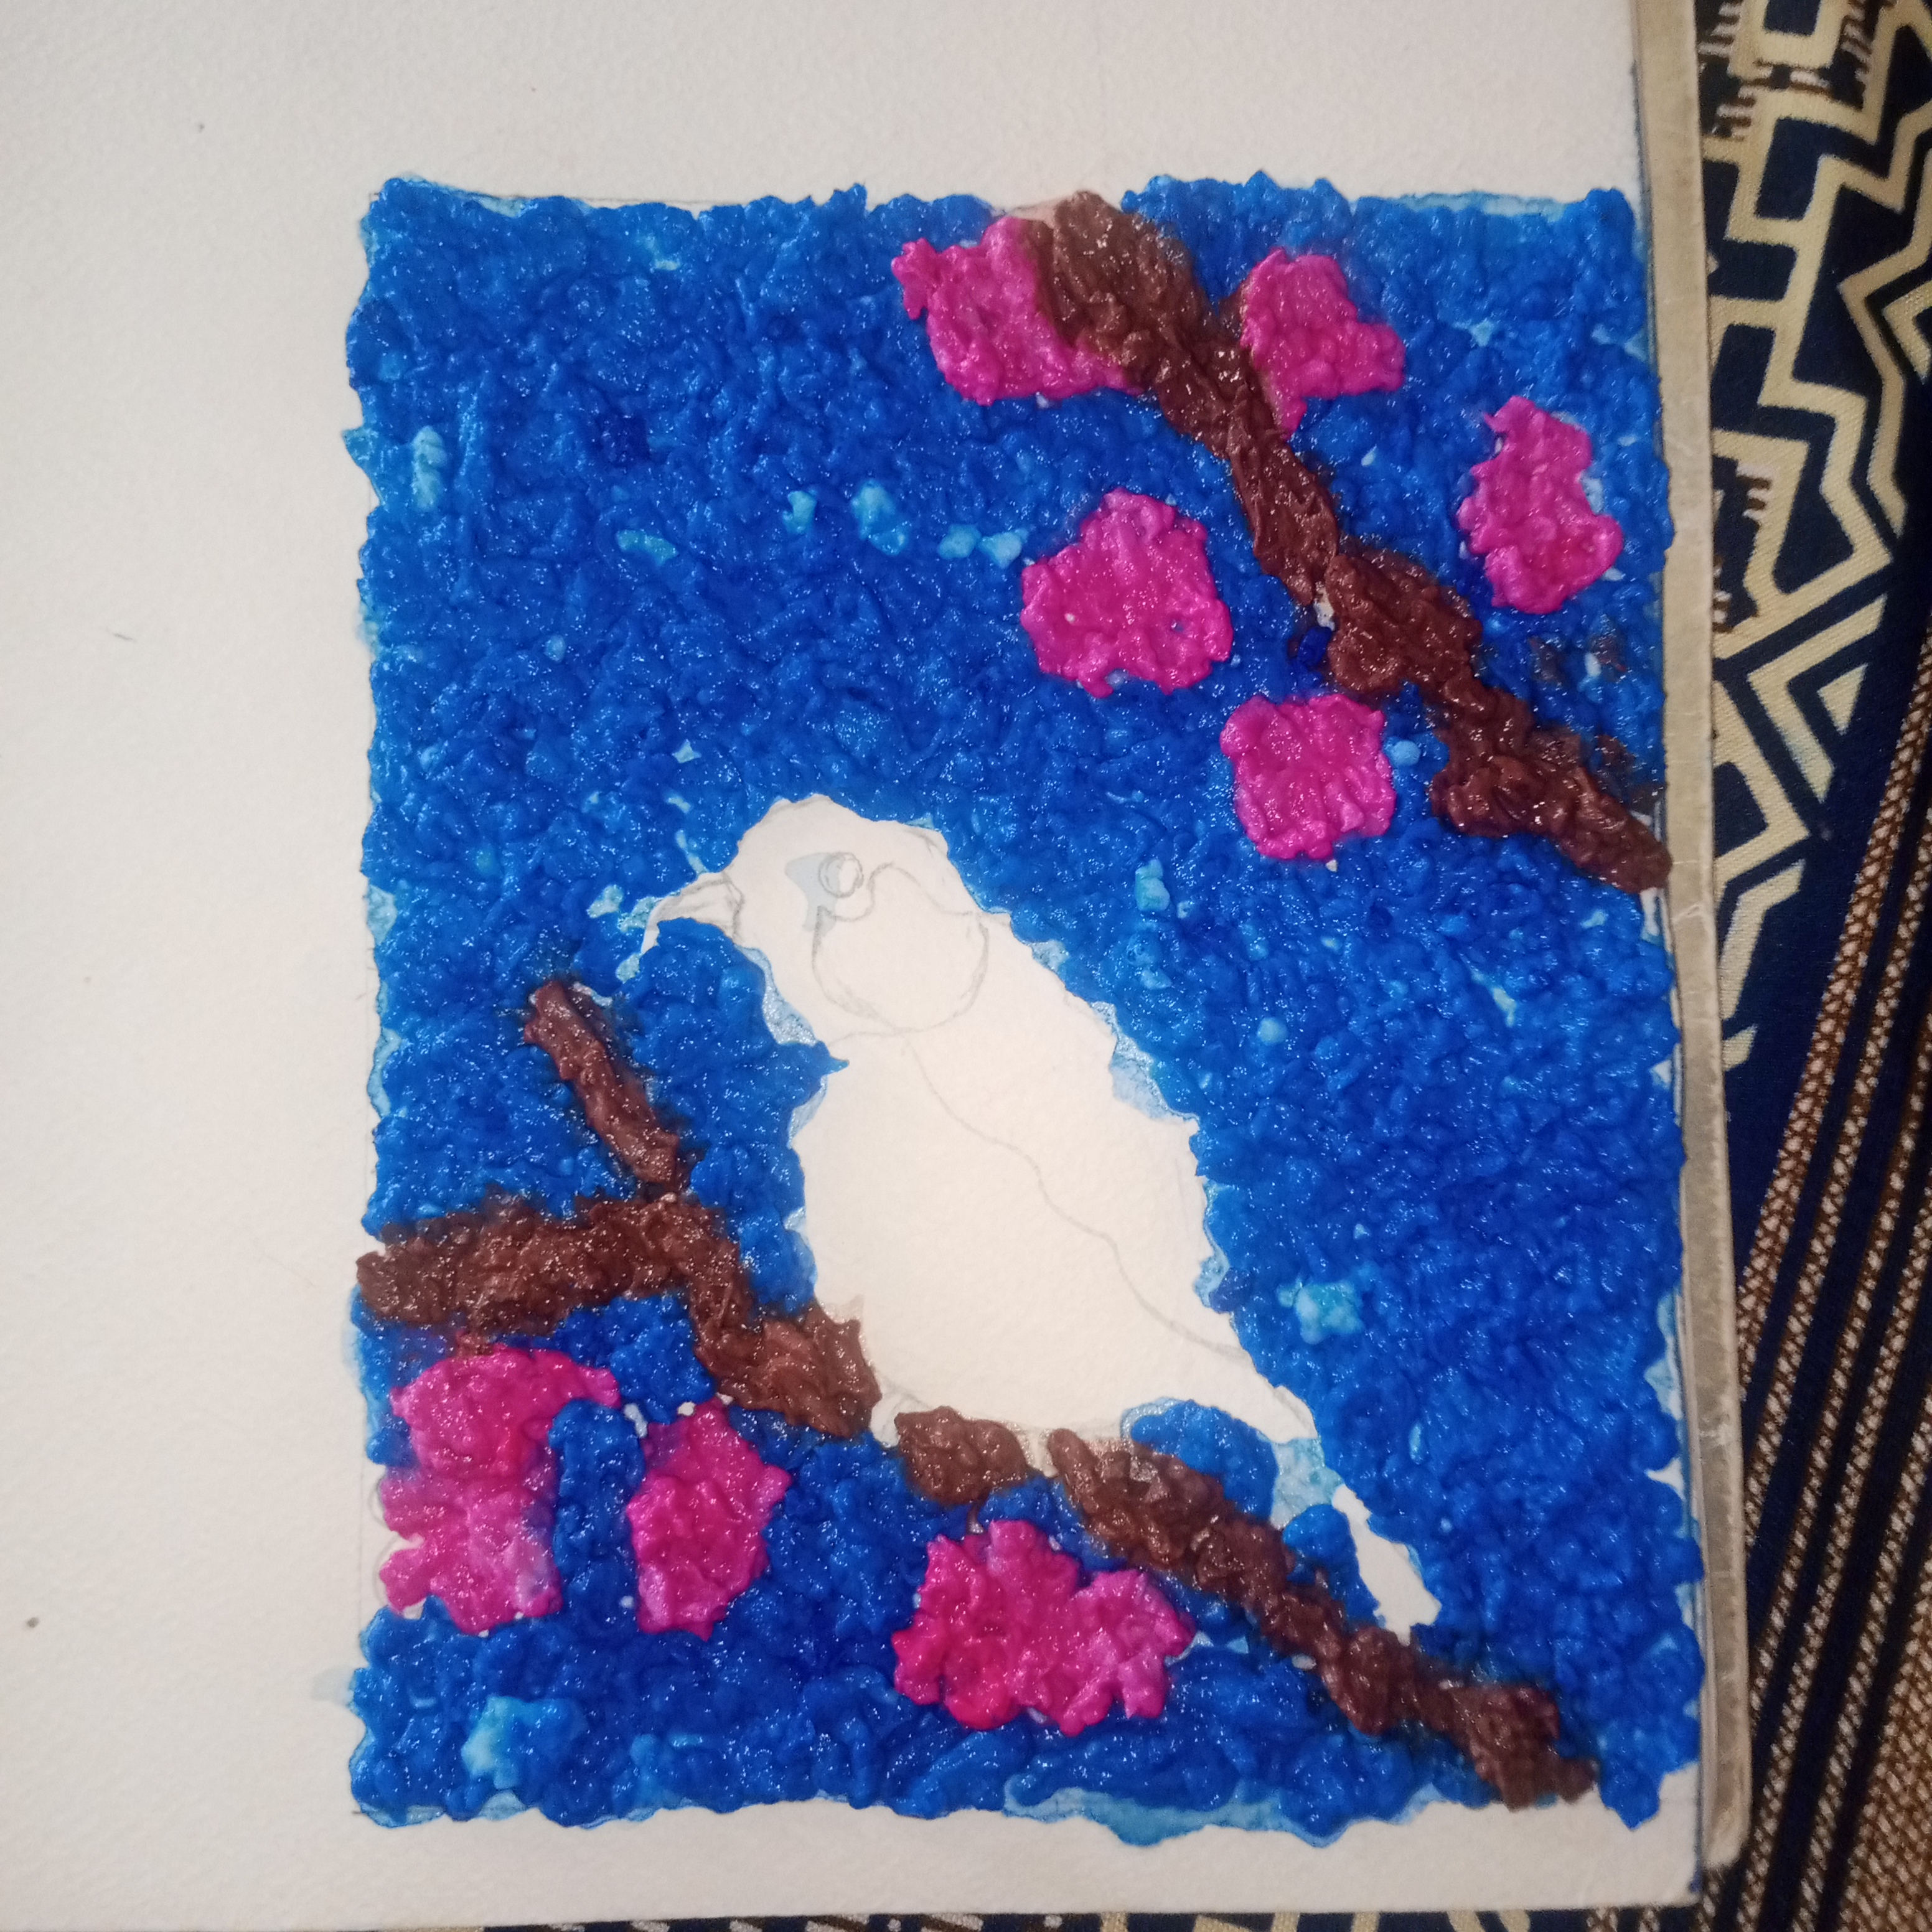
- After that I put a few small pieces of tissue paper in another bowl. I added a little water to them so that the tissue would soften well. Then I drained the excess water and added white glue to it and mixed pink acrylic paint. I mixed all the ingredients well. Until a beautiful pink soft and smooth tissue paper paste was prepared. When the paste was completely ready. I started carefully applying it to all the flowers on the top and bottom of my design. I covered each flower evenly with this pink tissue texture. So that all the flowers looked prominent beautiful and natural. While their color with the blue background also felt very attractive.
At the end of this step all my flowers were completely finished. With a beautiful pink tissue paper texture. which created a beautiful combination of colors in the artwork. And the whole scene started to look more attractive than before.
- In the last step I started working on the most important part of my artwork the bird. First I took a few pieces of tissue paper in a bowl. Adding a little water to them to soften the tissue. Then, I drained the excess water. Added white glue to it. And mixed it well with black acrylic paint. Until a soft and smooth black tissue paper paste was prepared. Then I carefully applied this paste to all the parts of the bird. Where the black color was present. So that its texture would look prominent and beautiful. After that I again prepared a new paste. With the help of tissue paper water and white glue. And added white acrylic paint to it and mixed it well. Then I carefully applied this white tissue paper texture to the white parts of the bird. So that the combination of black and white colors would look natural and attractive. In this way the beauty of the bird came out even more. And the entire artwork was completed.
With this final step complete. My tissue paper crafting painting is complete. The different colored tissue paper textures give my artwork a unique three dimensional (3D) look. Beautiful texture and captivating look. Making me very satisfied with my final result.
◉Good presentation and creativity.◉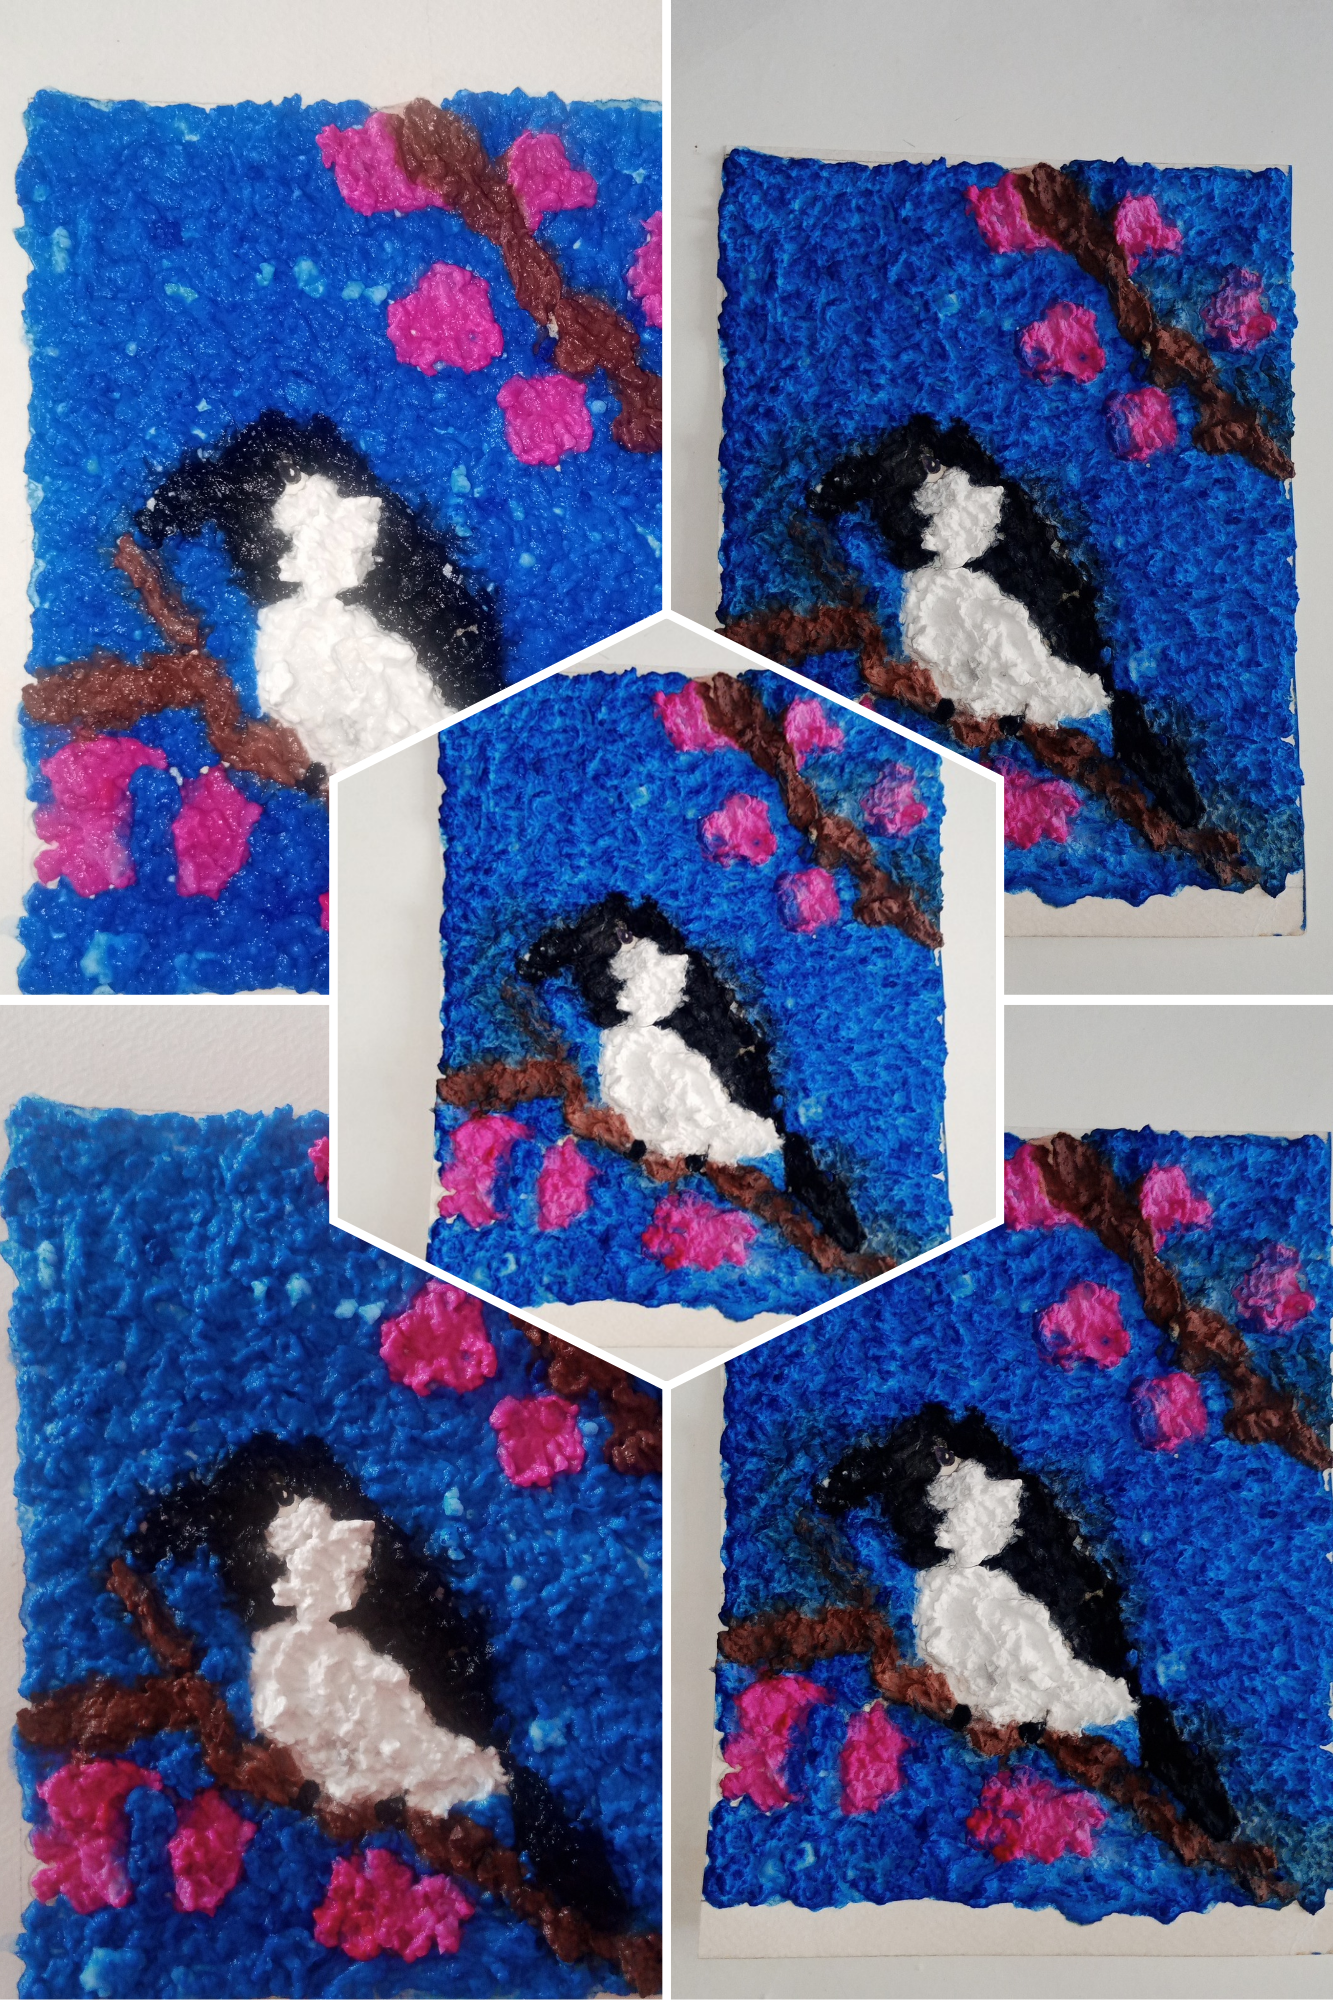
 ◉Is it your first experience making tissues paper craft??◉
Yes this is my first experience in tissue paper crafting. I have never created any artwork using this technique before. Initially I had no idea that such a beautiful texture could be created with the help of tissue paper glue and colors. I faced some difficulties during the work. But I completed each step with patience and hard work. This activity gave me an opportunity to learn a new creative technique. Which further increased my interest. Now I would like to try this technique. On different designs in the future and improve my skills further.
◉Are you satisfied your final results? ◉I am not completely satisfied with my final result. Although my tissue paper crafting turned out well. And I completed it with full effort attention and interest. I had an idea of an even more beautiful result in mind. I feel that if I had spent more time on the arrangement of colors and textures. It could have been even better. However since this was my first experience. I am happy with my effort. I am sure that with more practice. I will be able to make even more beautiful. And unique tissue paper crafting in the future.
Until next time, stay awesome, and on reading.I would like to invite some of my dear friends @wilmer1988 , @max-pro , @suboohi , @sohanurrahman and @adeljose to play this contestThank you so much friends. For giving your valuable time to my post, for reading it and for making beautiful comments on it.Thank you for being with me.
Best Regards:Big Thanks to
This is a lovely craft project. I like how you showed each stage clearly because it makes it easier for anyone who wants to try it. The finished result looks clean and attractive. Weldone for putting this together, and I wish you success in the contest.