Pincushions (various) || The 3R-S31W3
Hello fiends and welcome to my blog. Today I am glad to my blog. Today I am making pin cushions. Join me as I explore the process.

My recycling material |
|---|
This challenge is based on recycling and reusing our supposed waste materials. For My pin cushions today, I used the material from a scarp short in our house. The short was torn and abandoned. The material was still intact and reusable and hence I had to cut it and use it again for my pin cushions.
Provide a coherent and explanatory description of the process, including your own images. |
|---|
To make pin cushions, these were the materials I used;
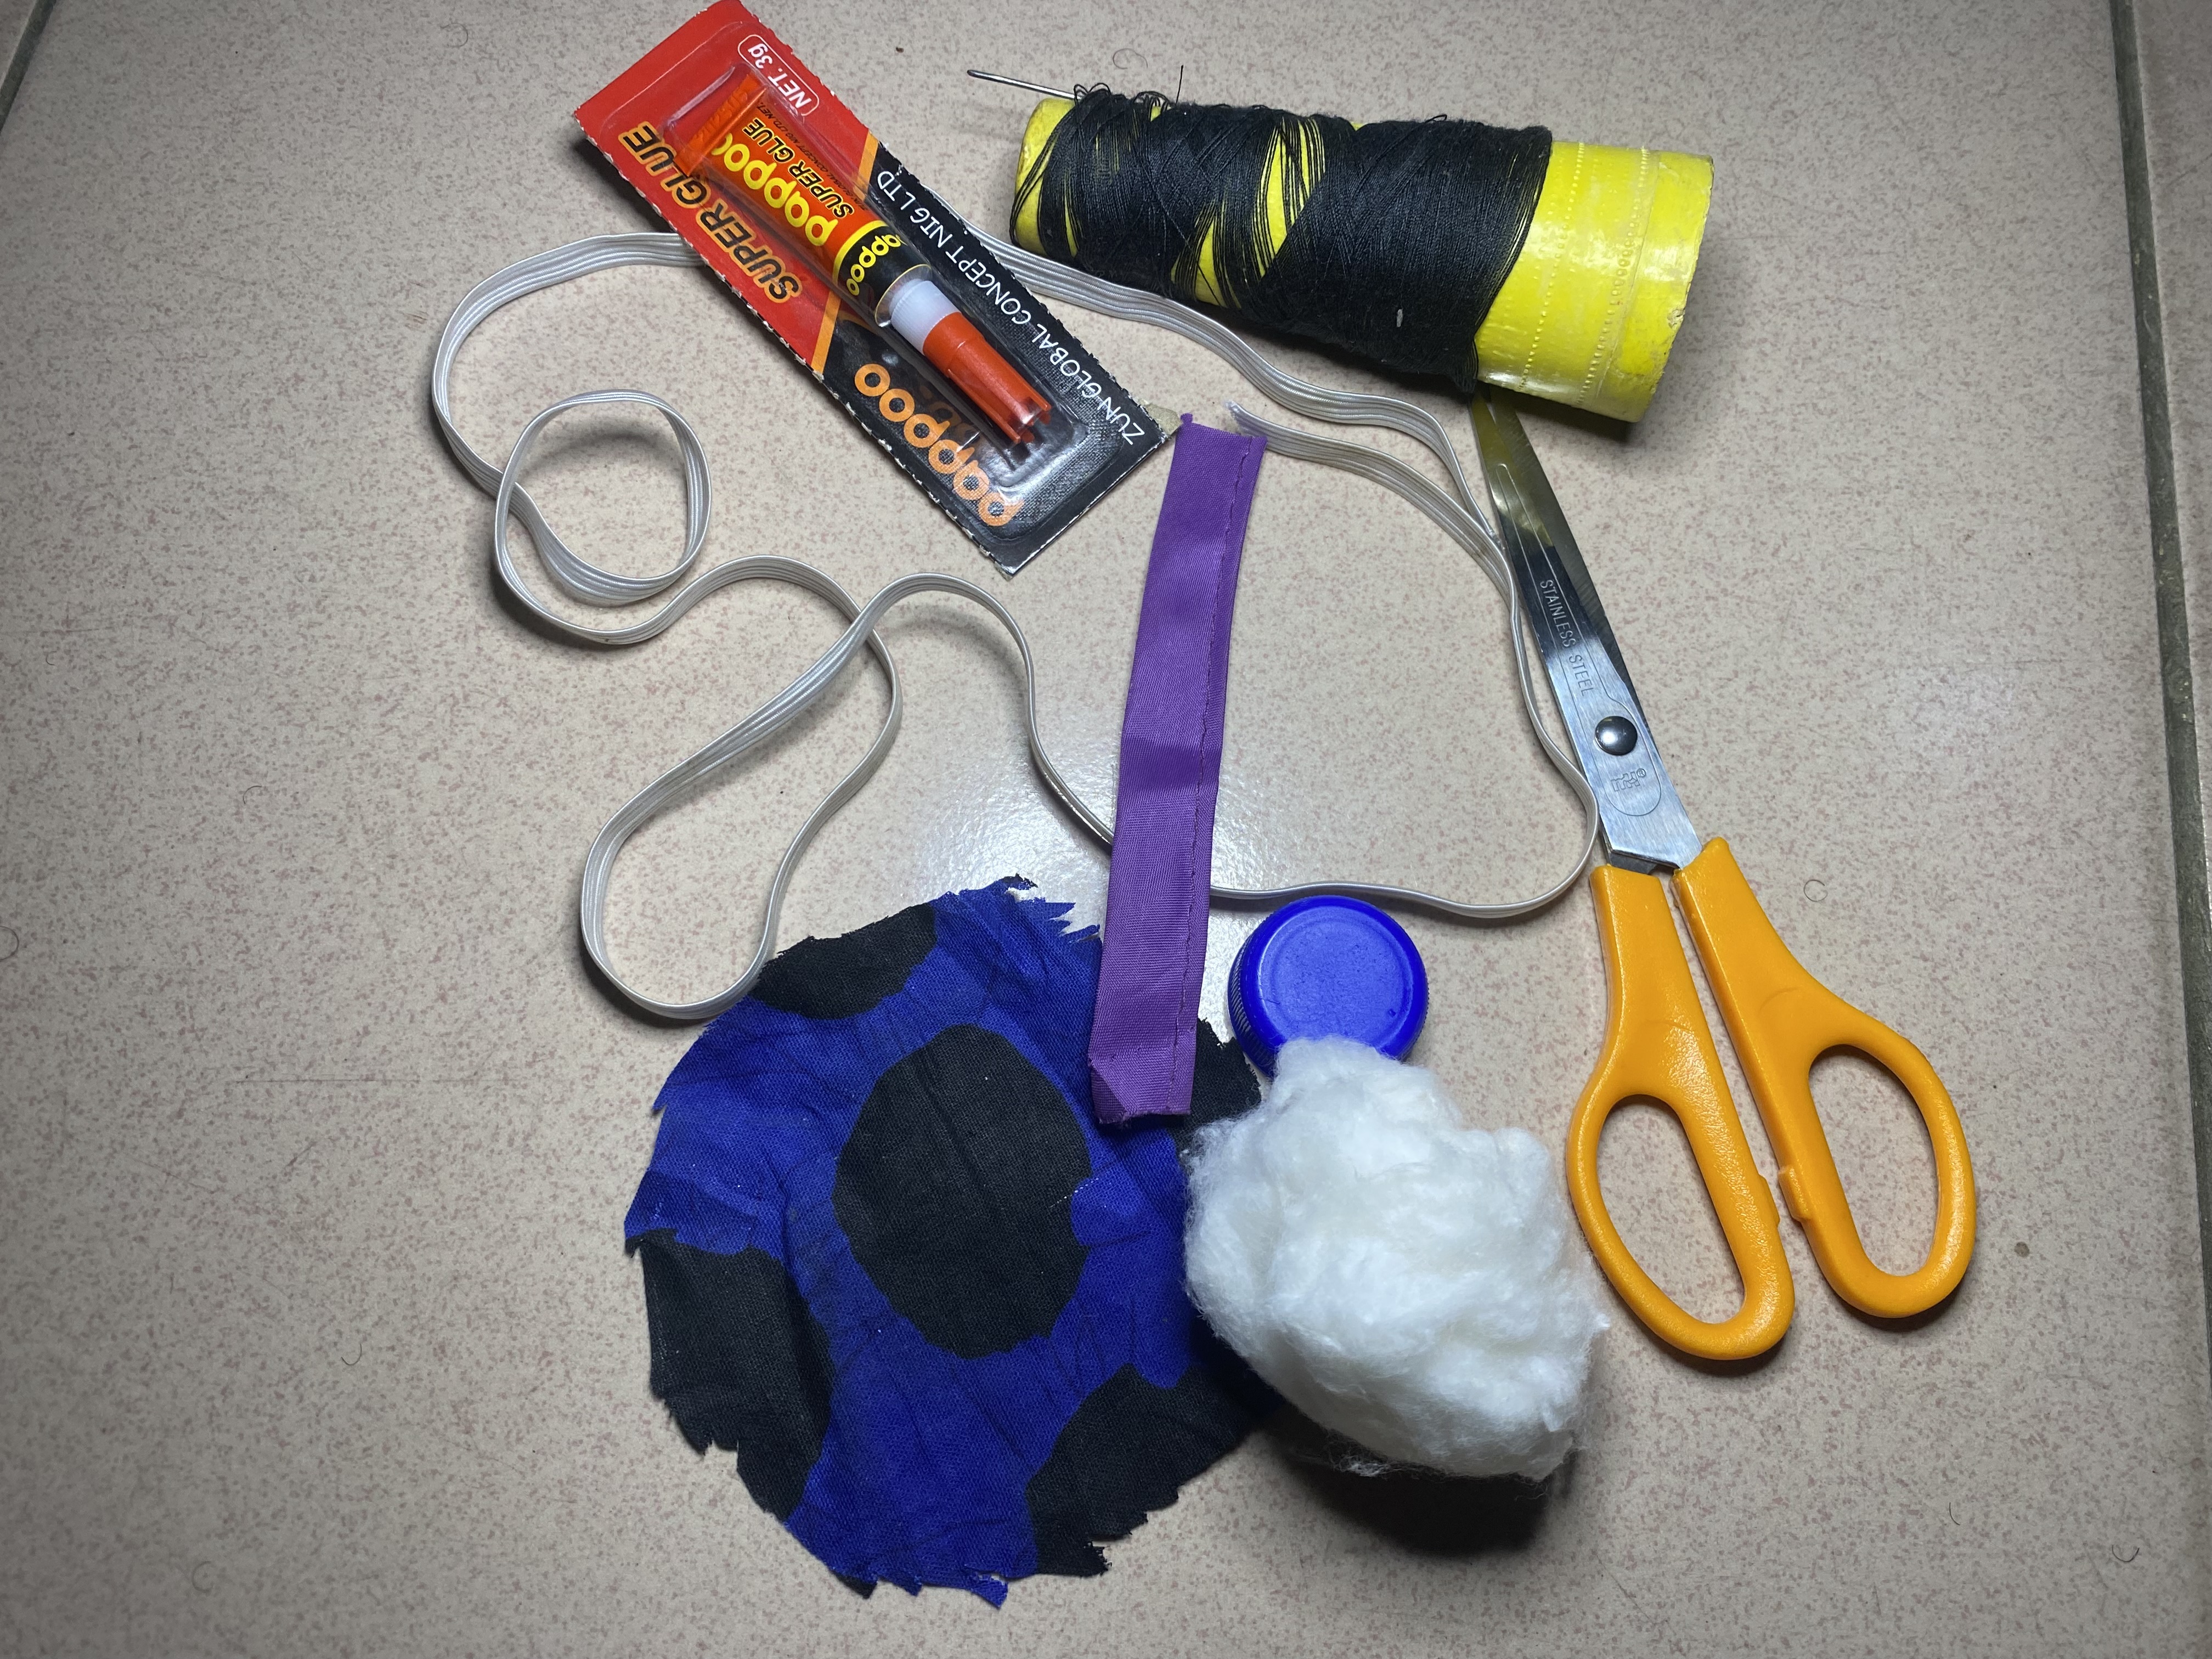
- Scissors for cutting the material
- Needle and thread for sewing
- superglue for holding together
- cotton wool as my filler
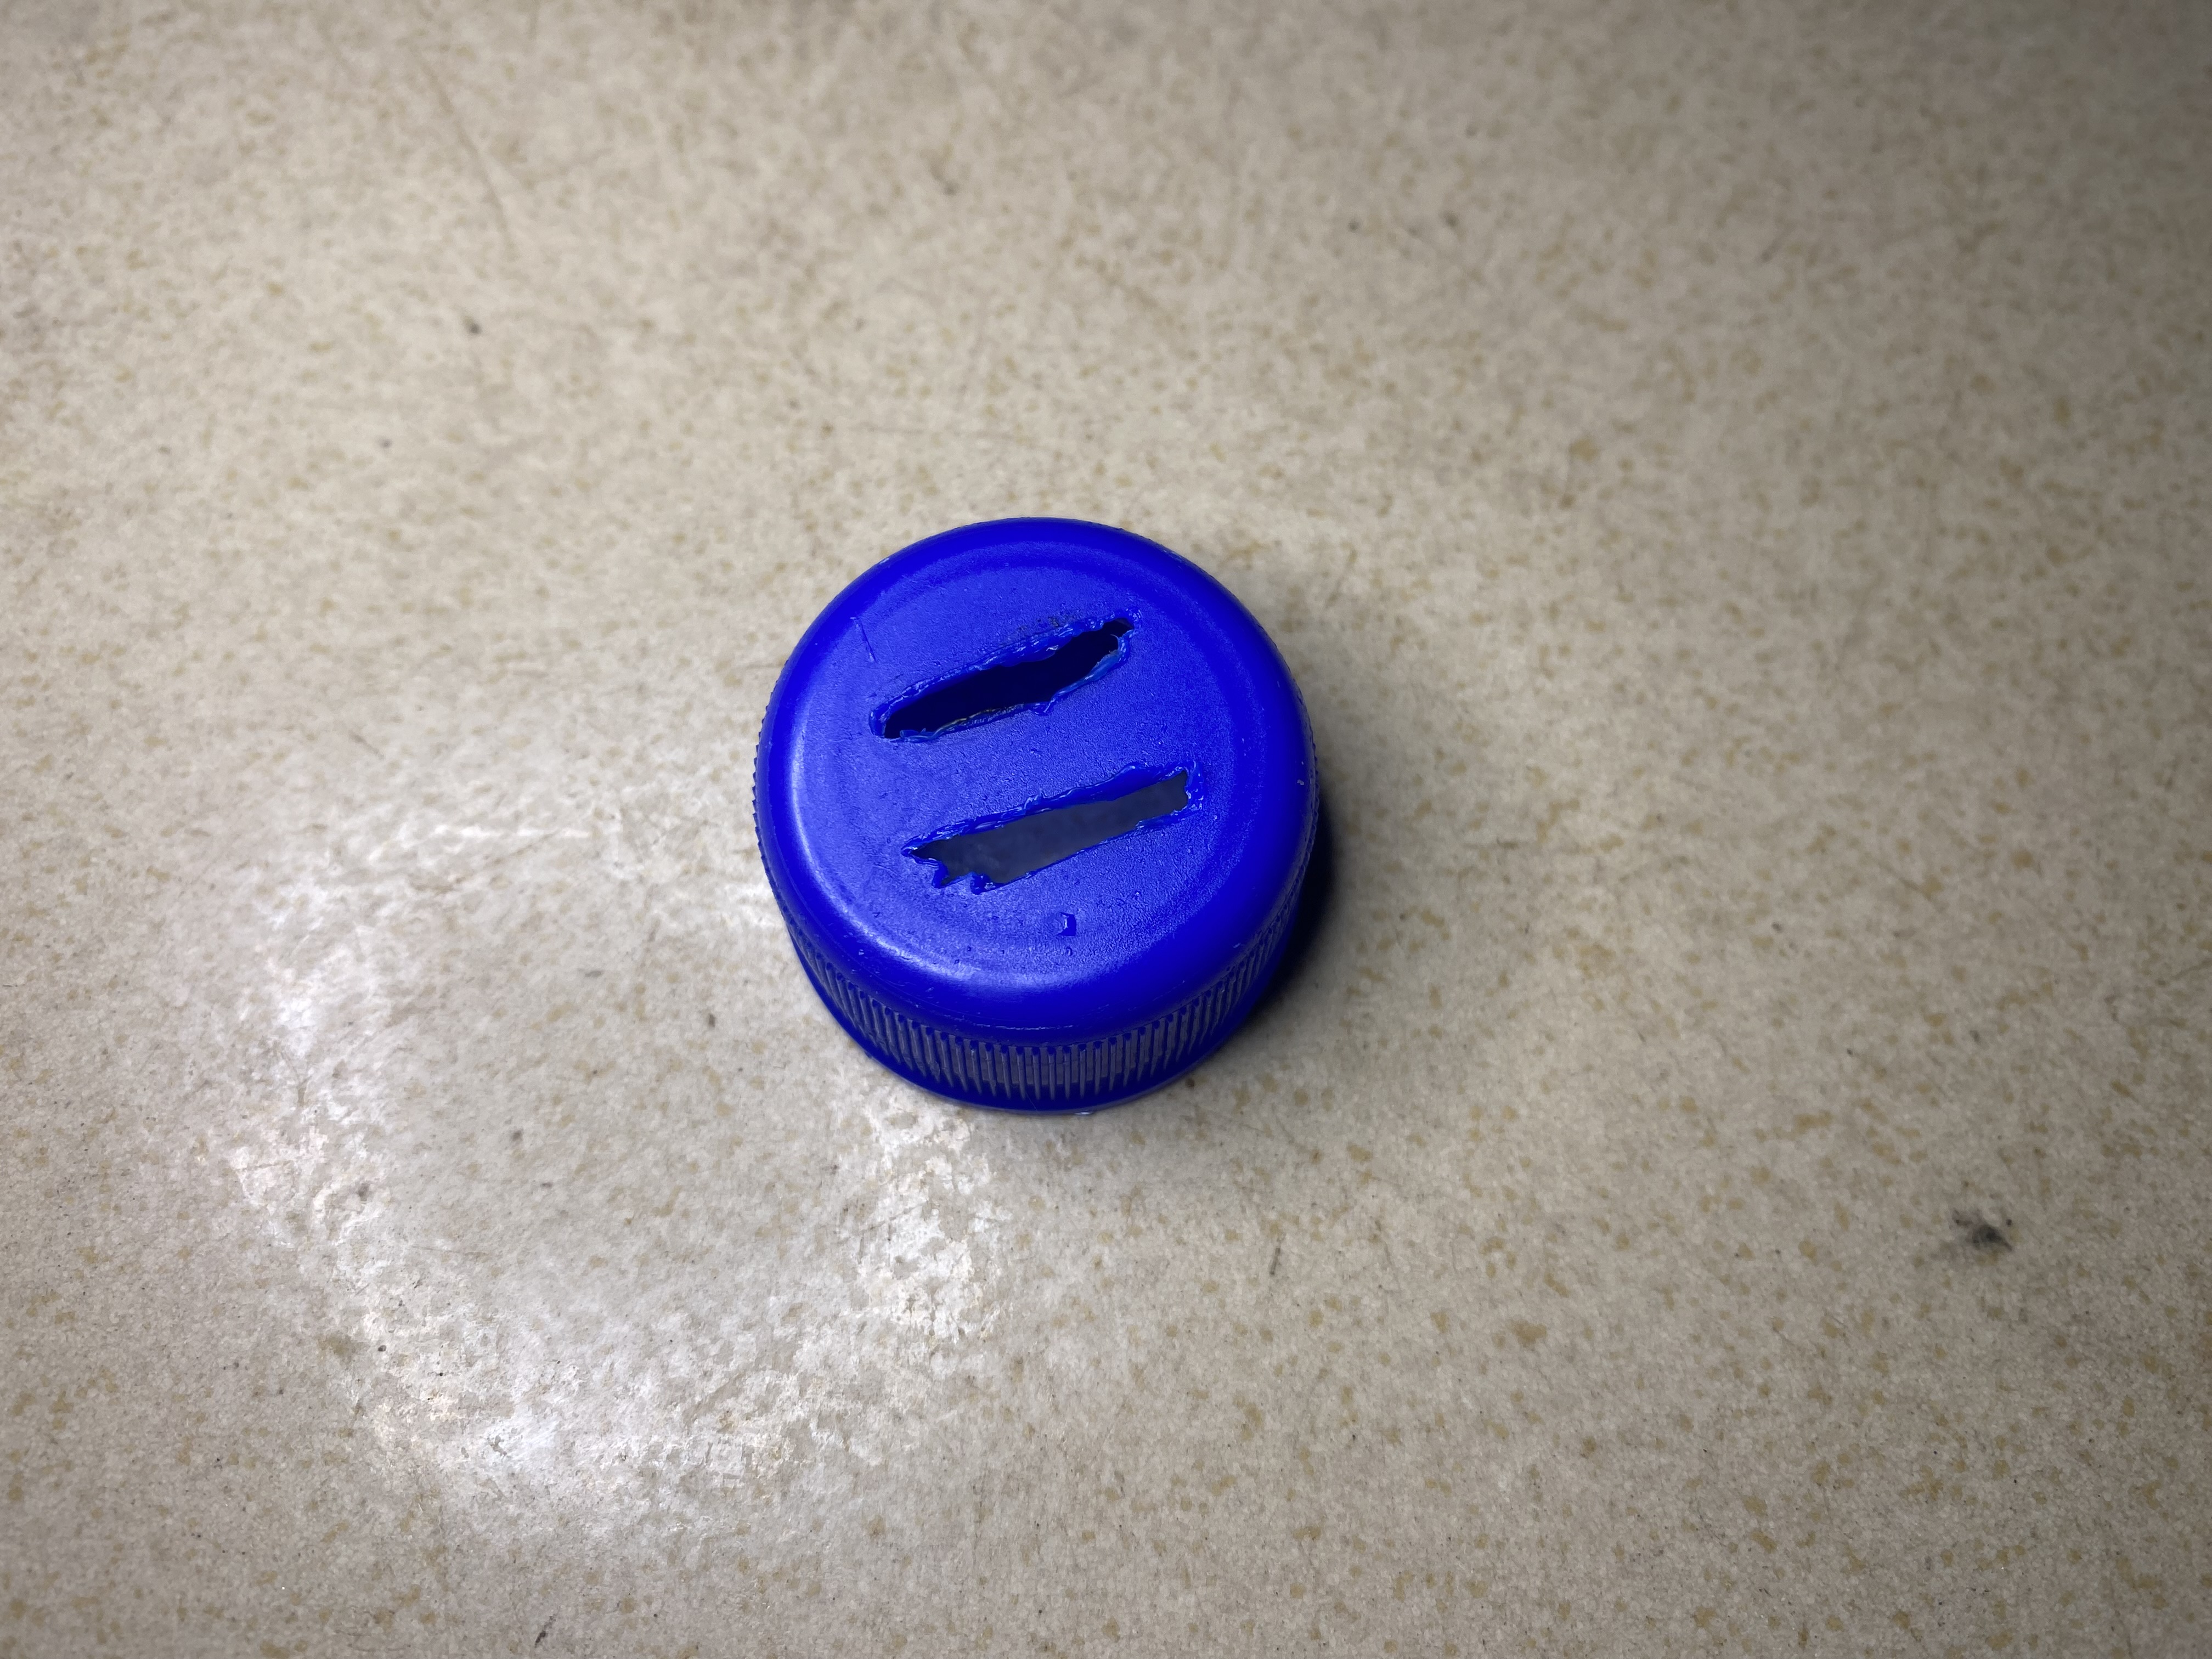
- Bottle cover as my cushion base
- Elastic band for placement on finger
- an ornament for decoration of base for pin cushions.
Procedure |
|---|
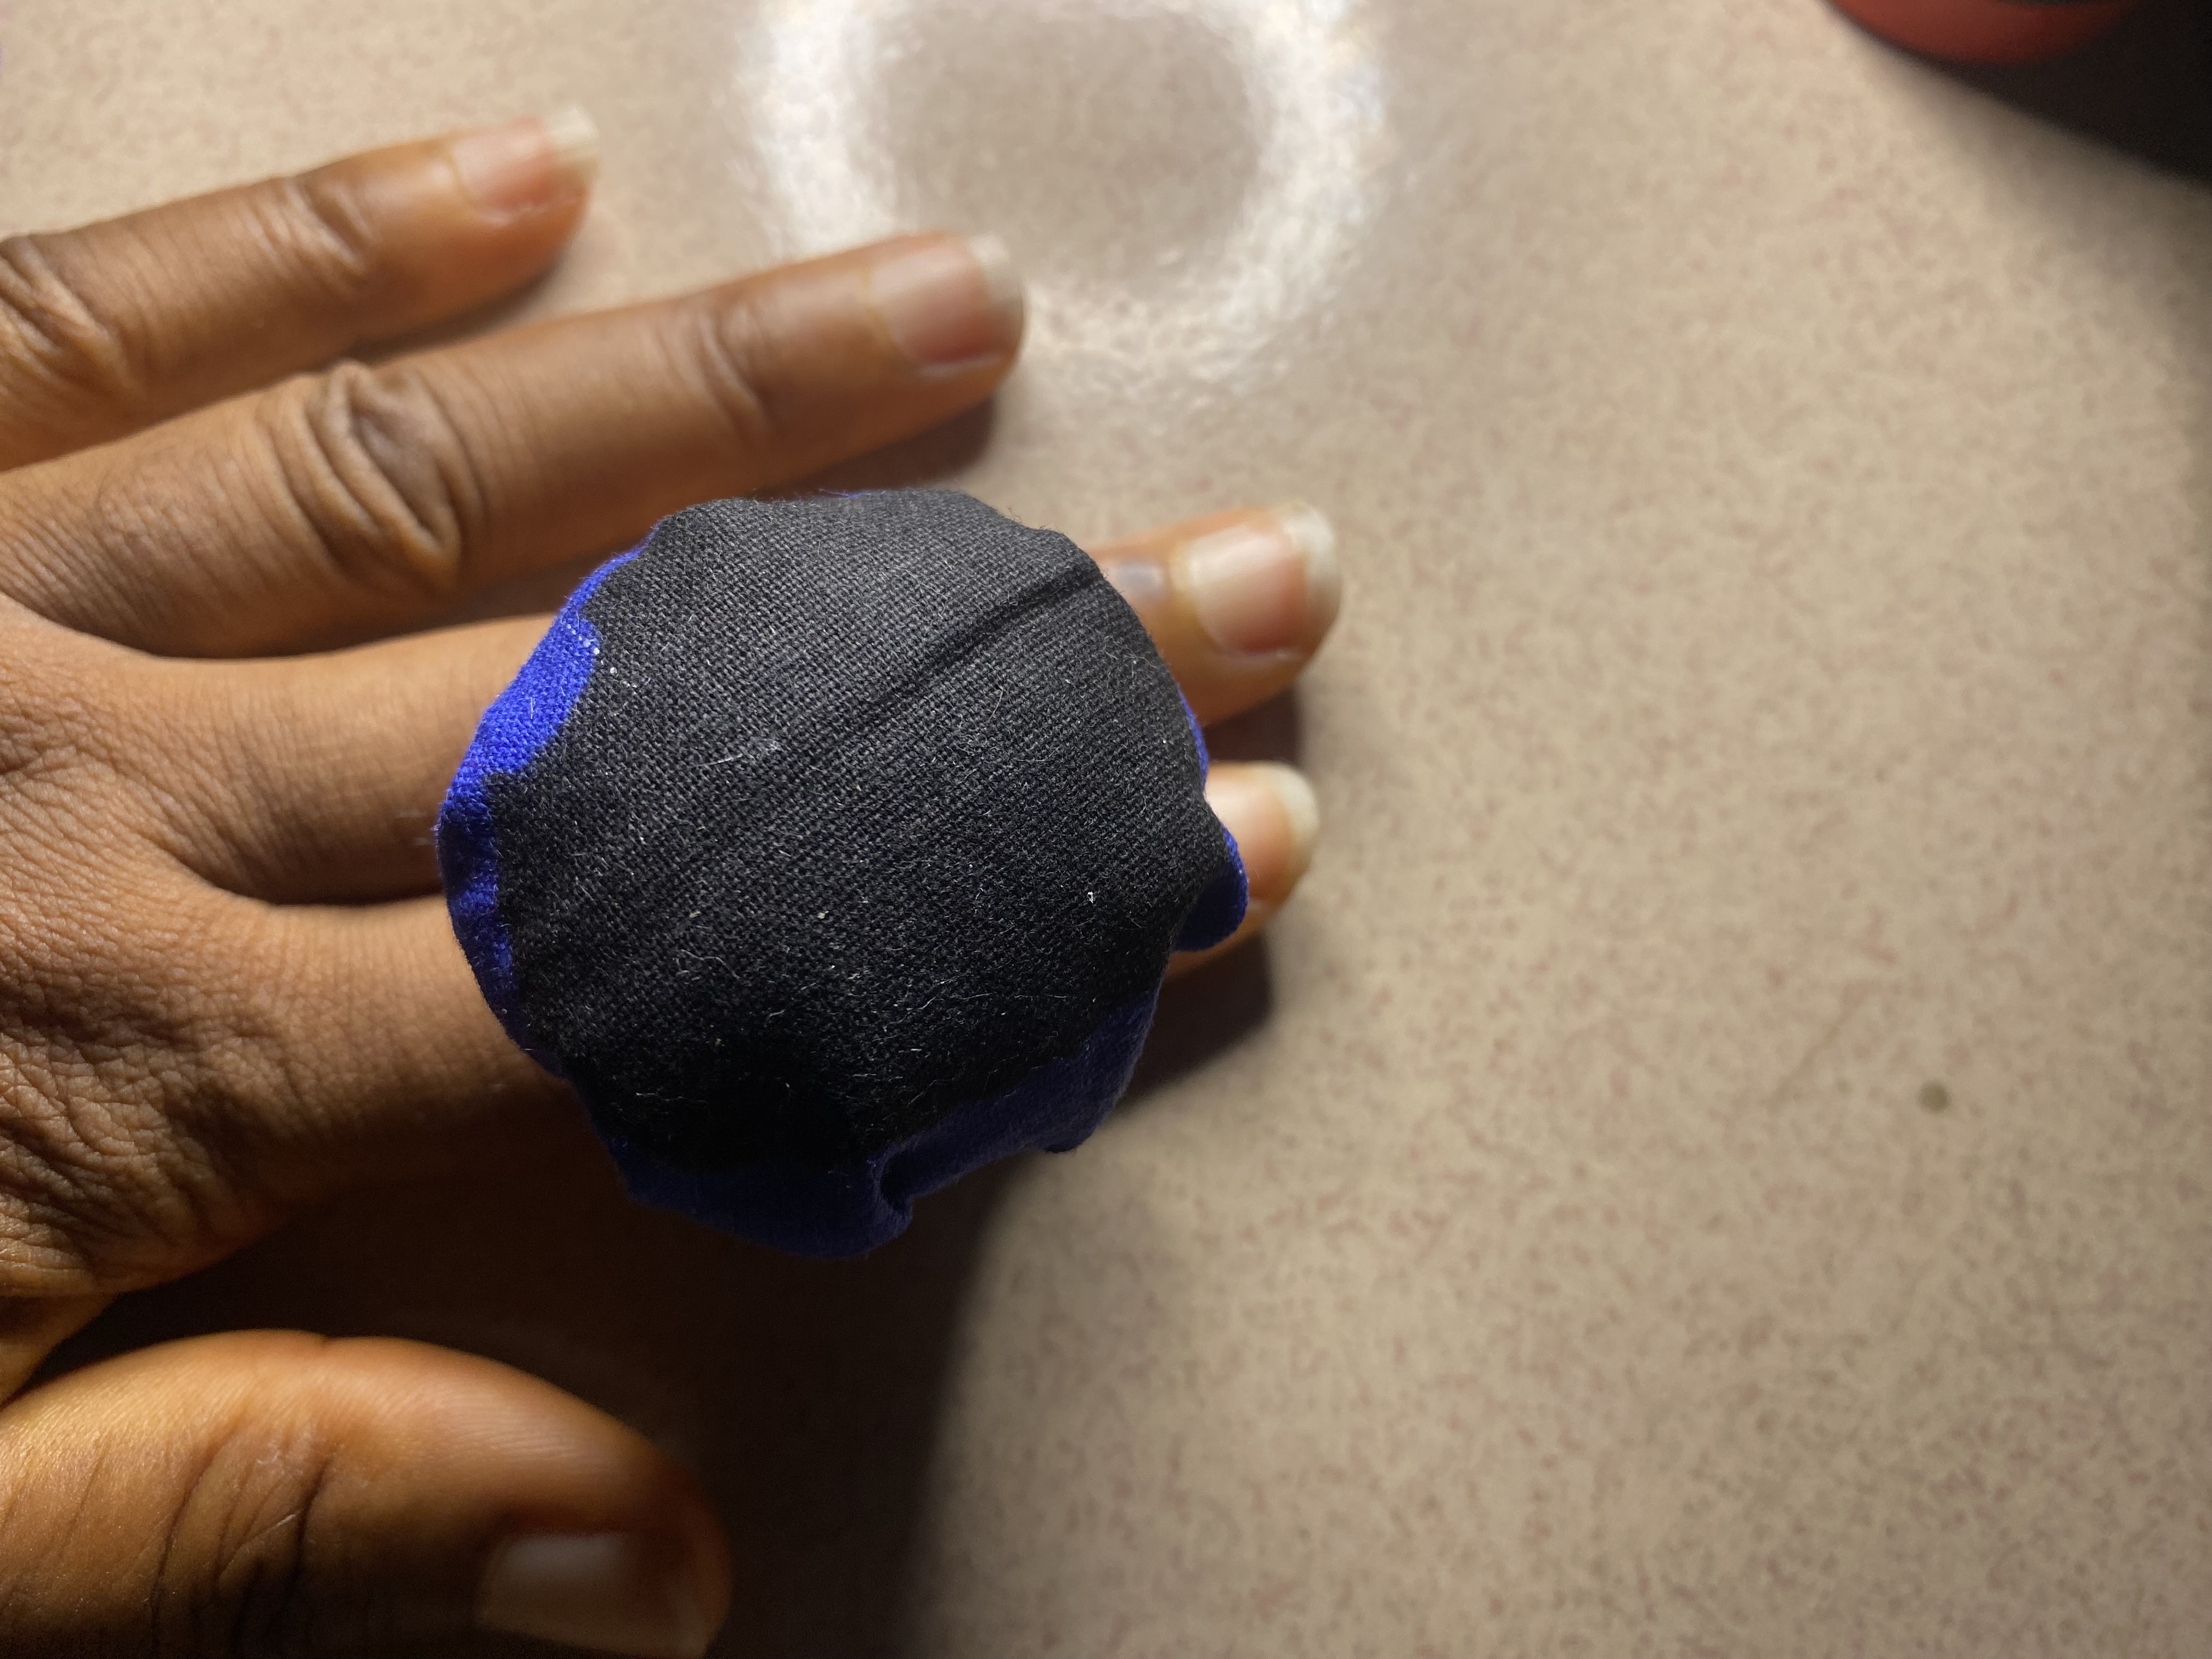
The first thing I did was to cut out my material in a circle. I didn’t have a measuring tape therefore I had to improvise to cut out my circle with a circular object and hence the circle wasn’t very smooth but it served the purpose.
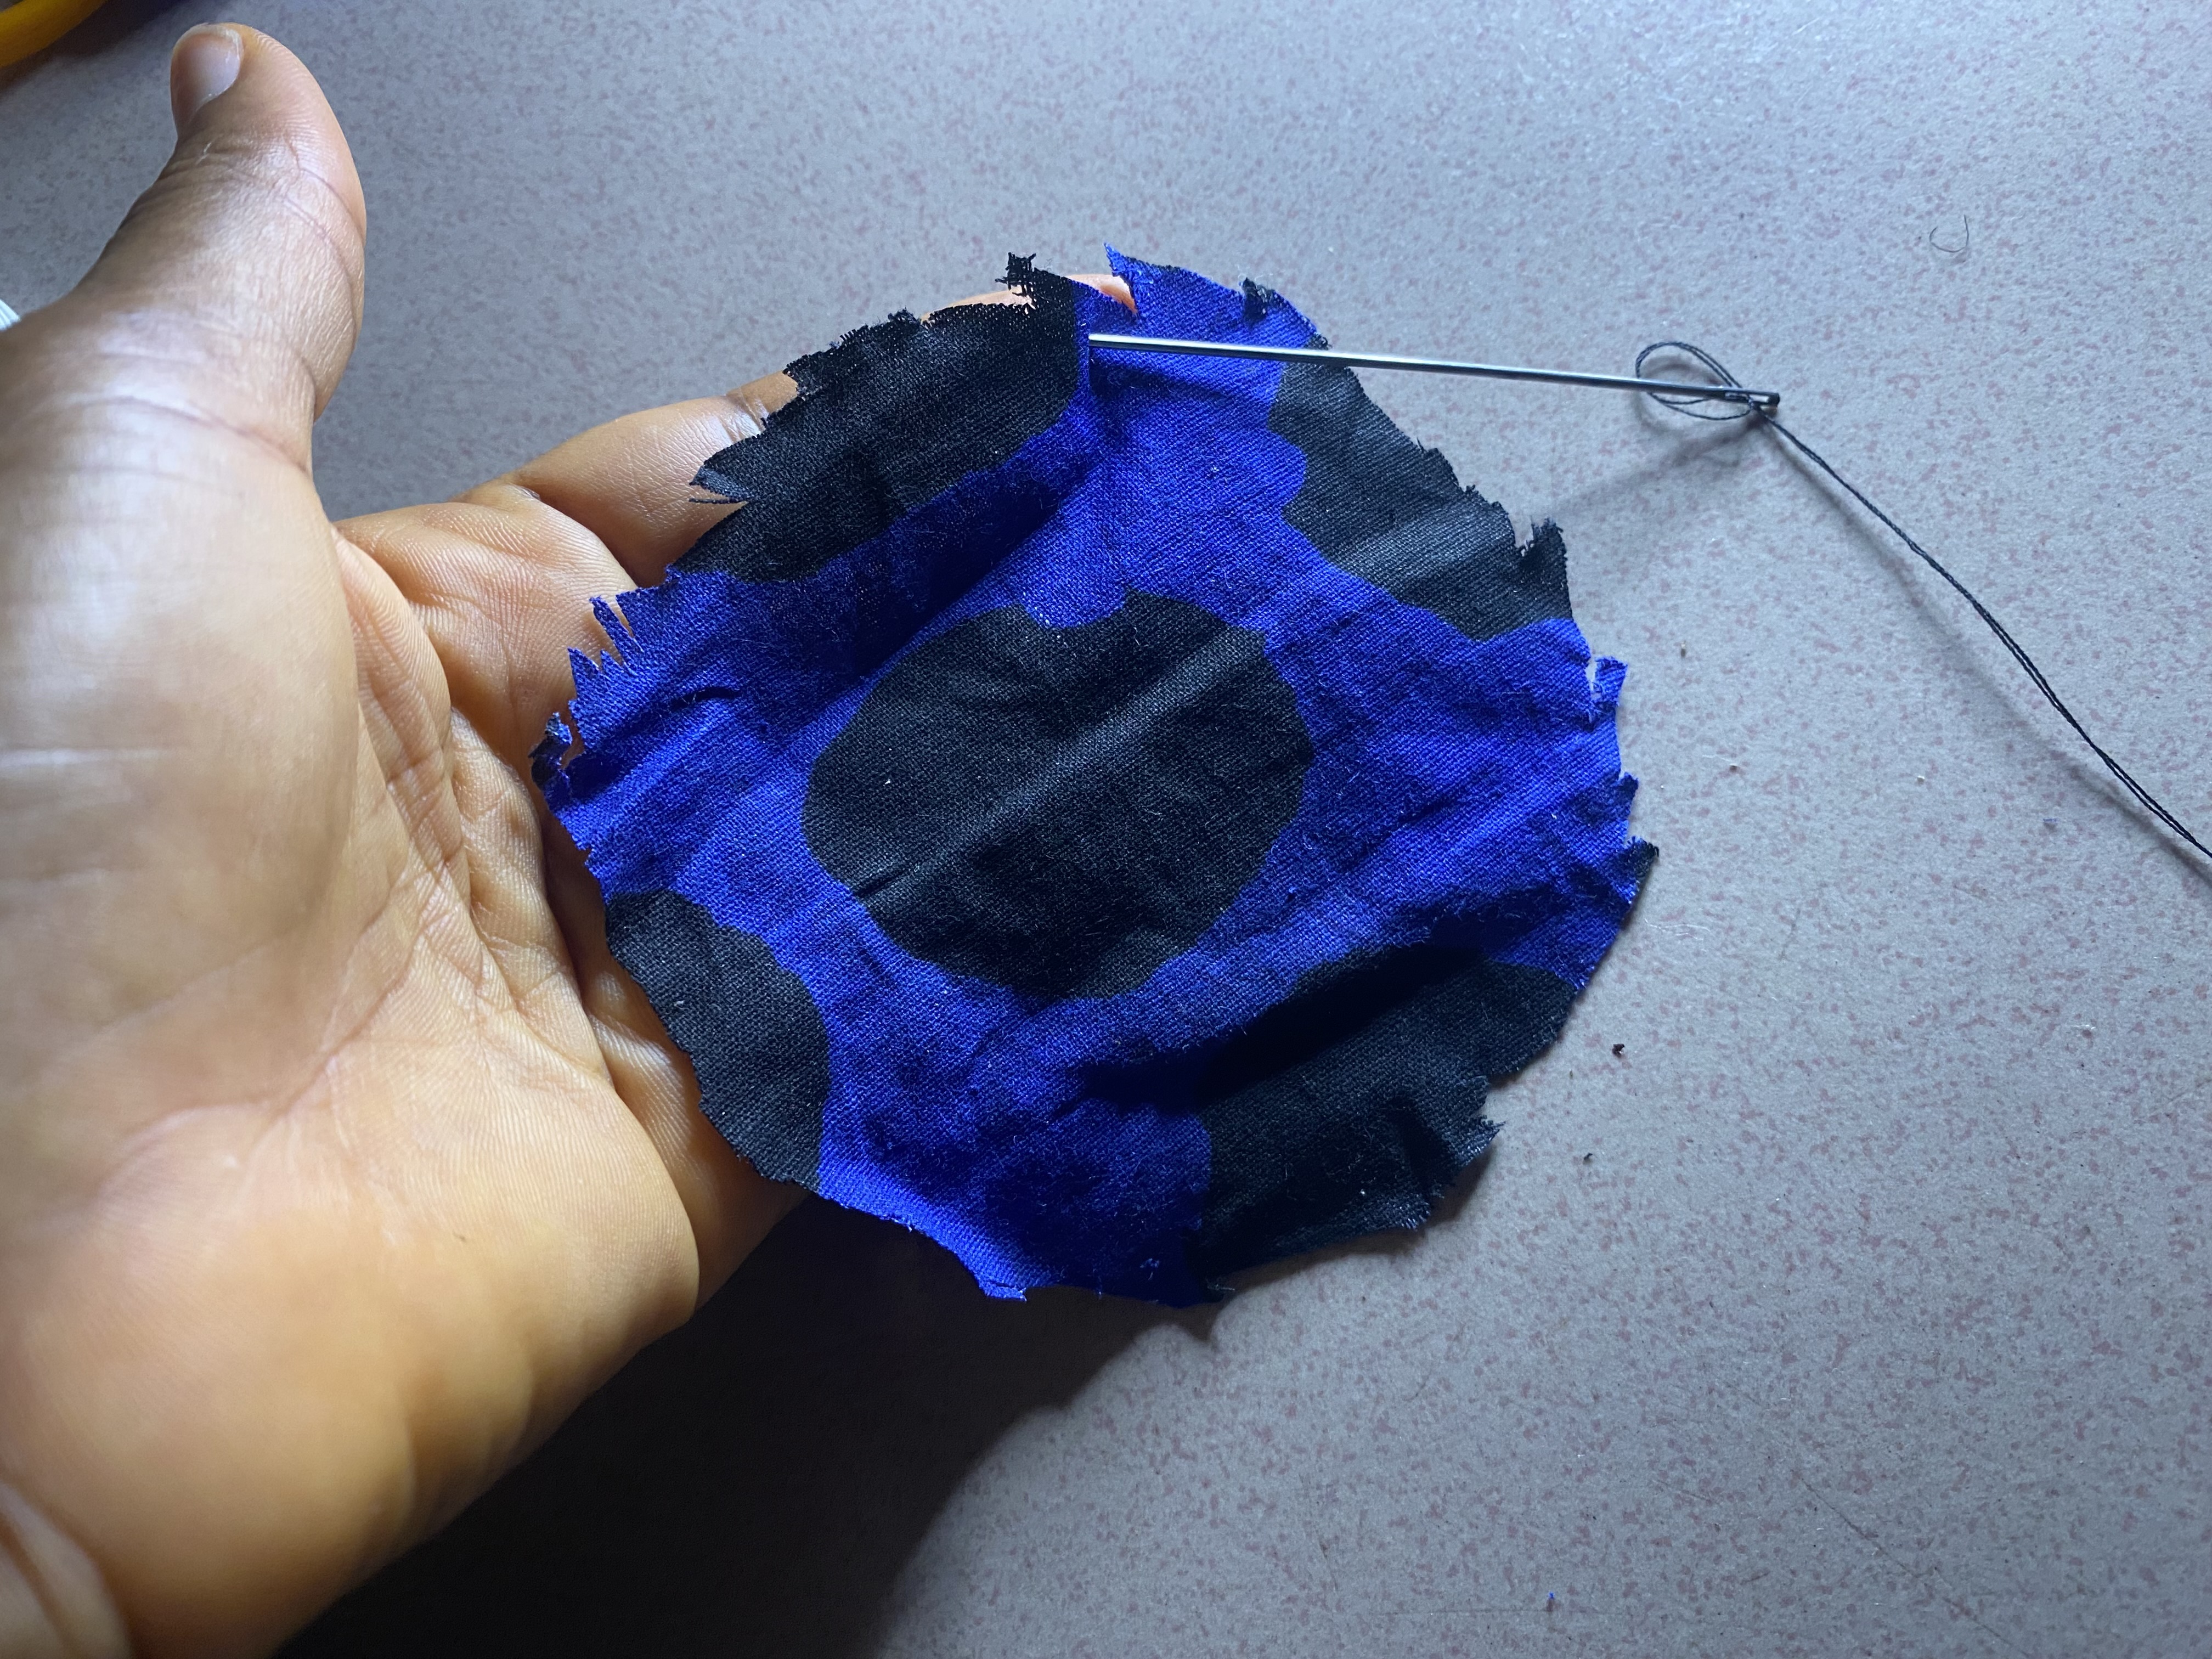
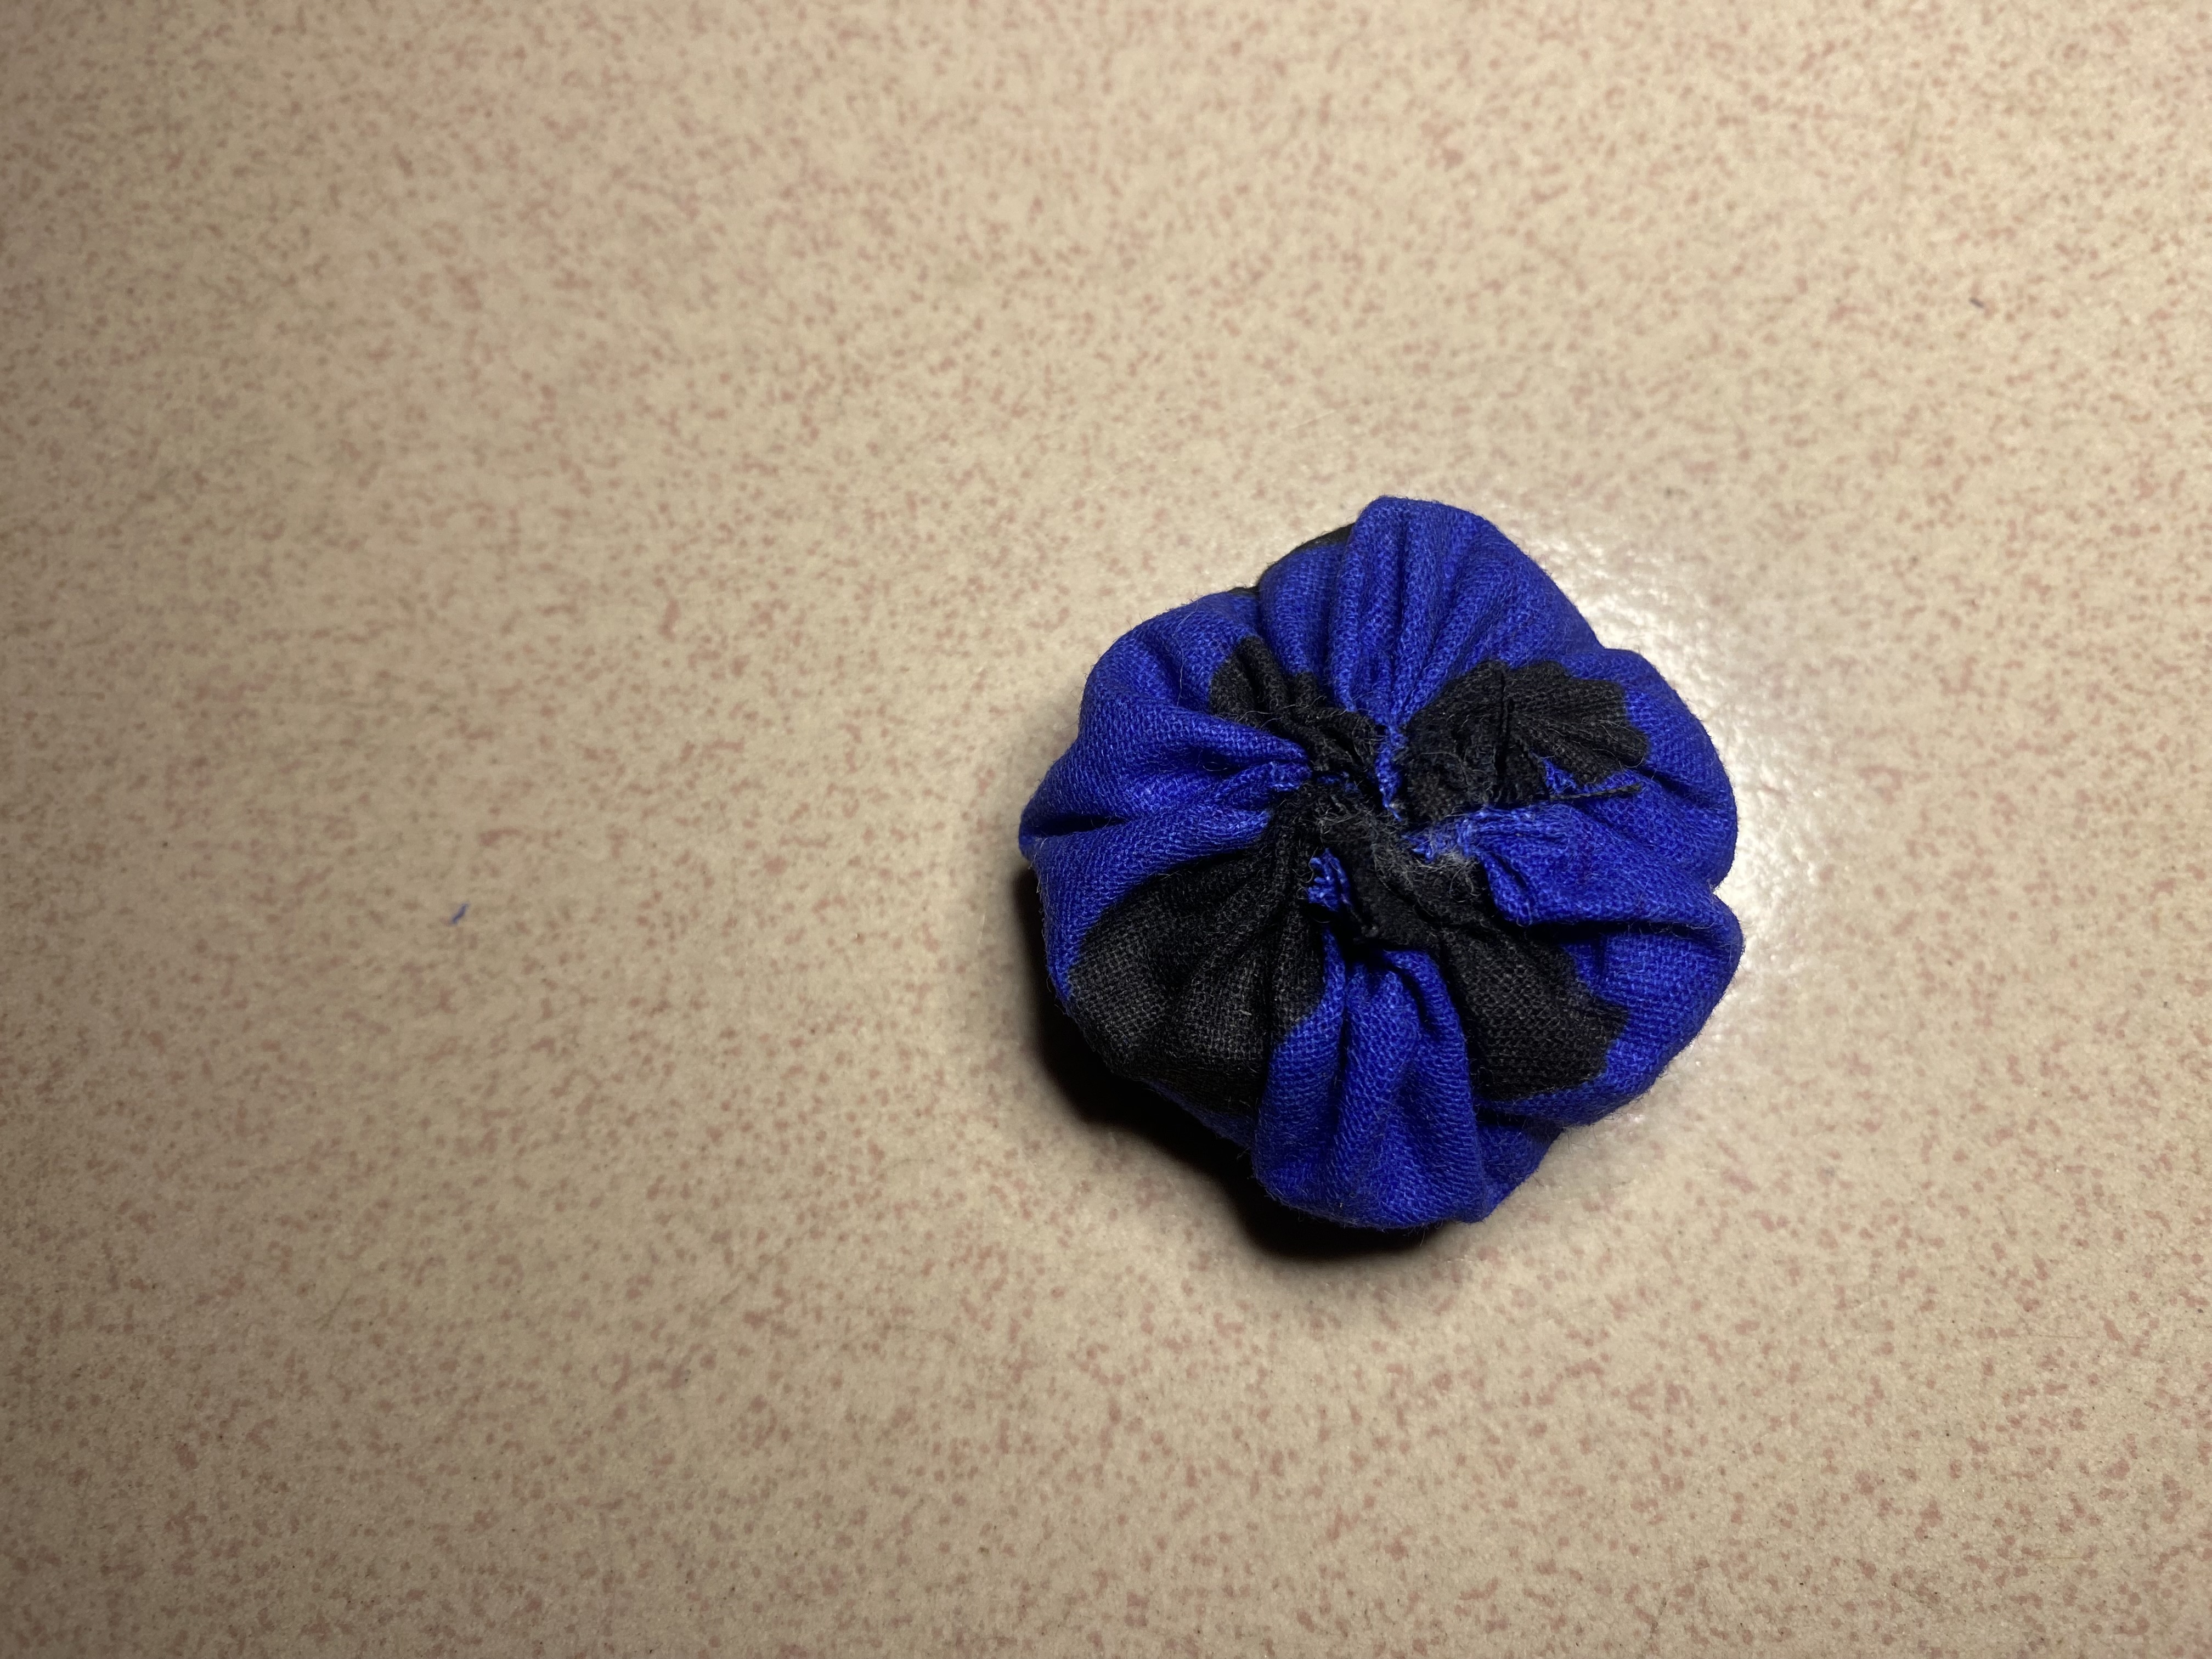
I then fixed my thread in the needle and sewed round the circular material until it went round.
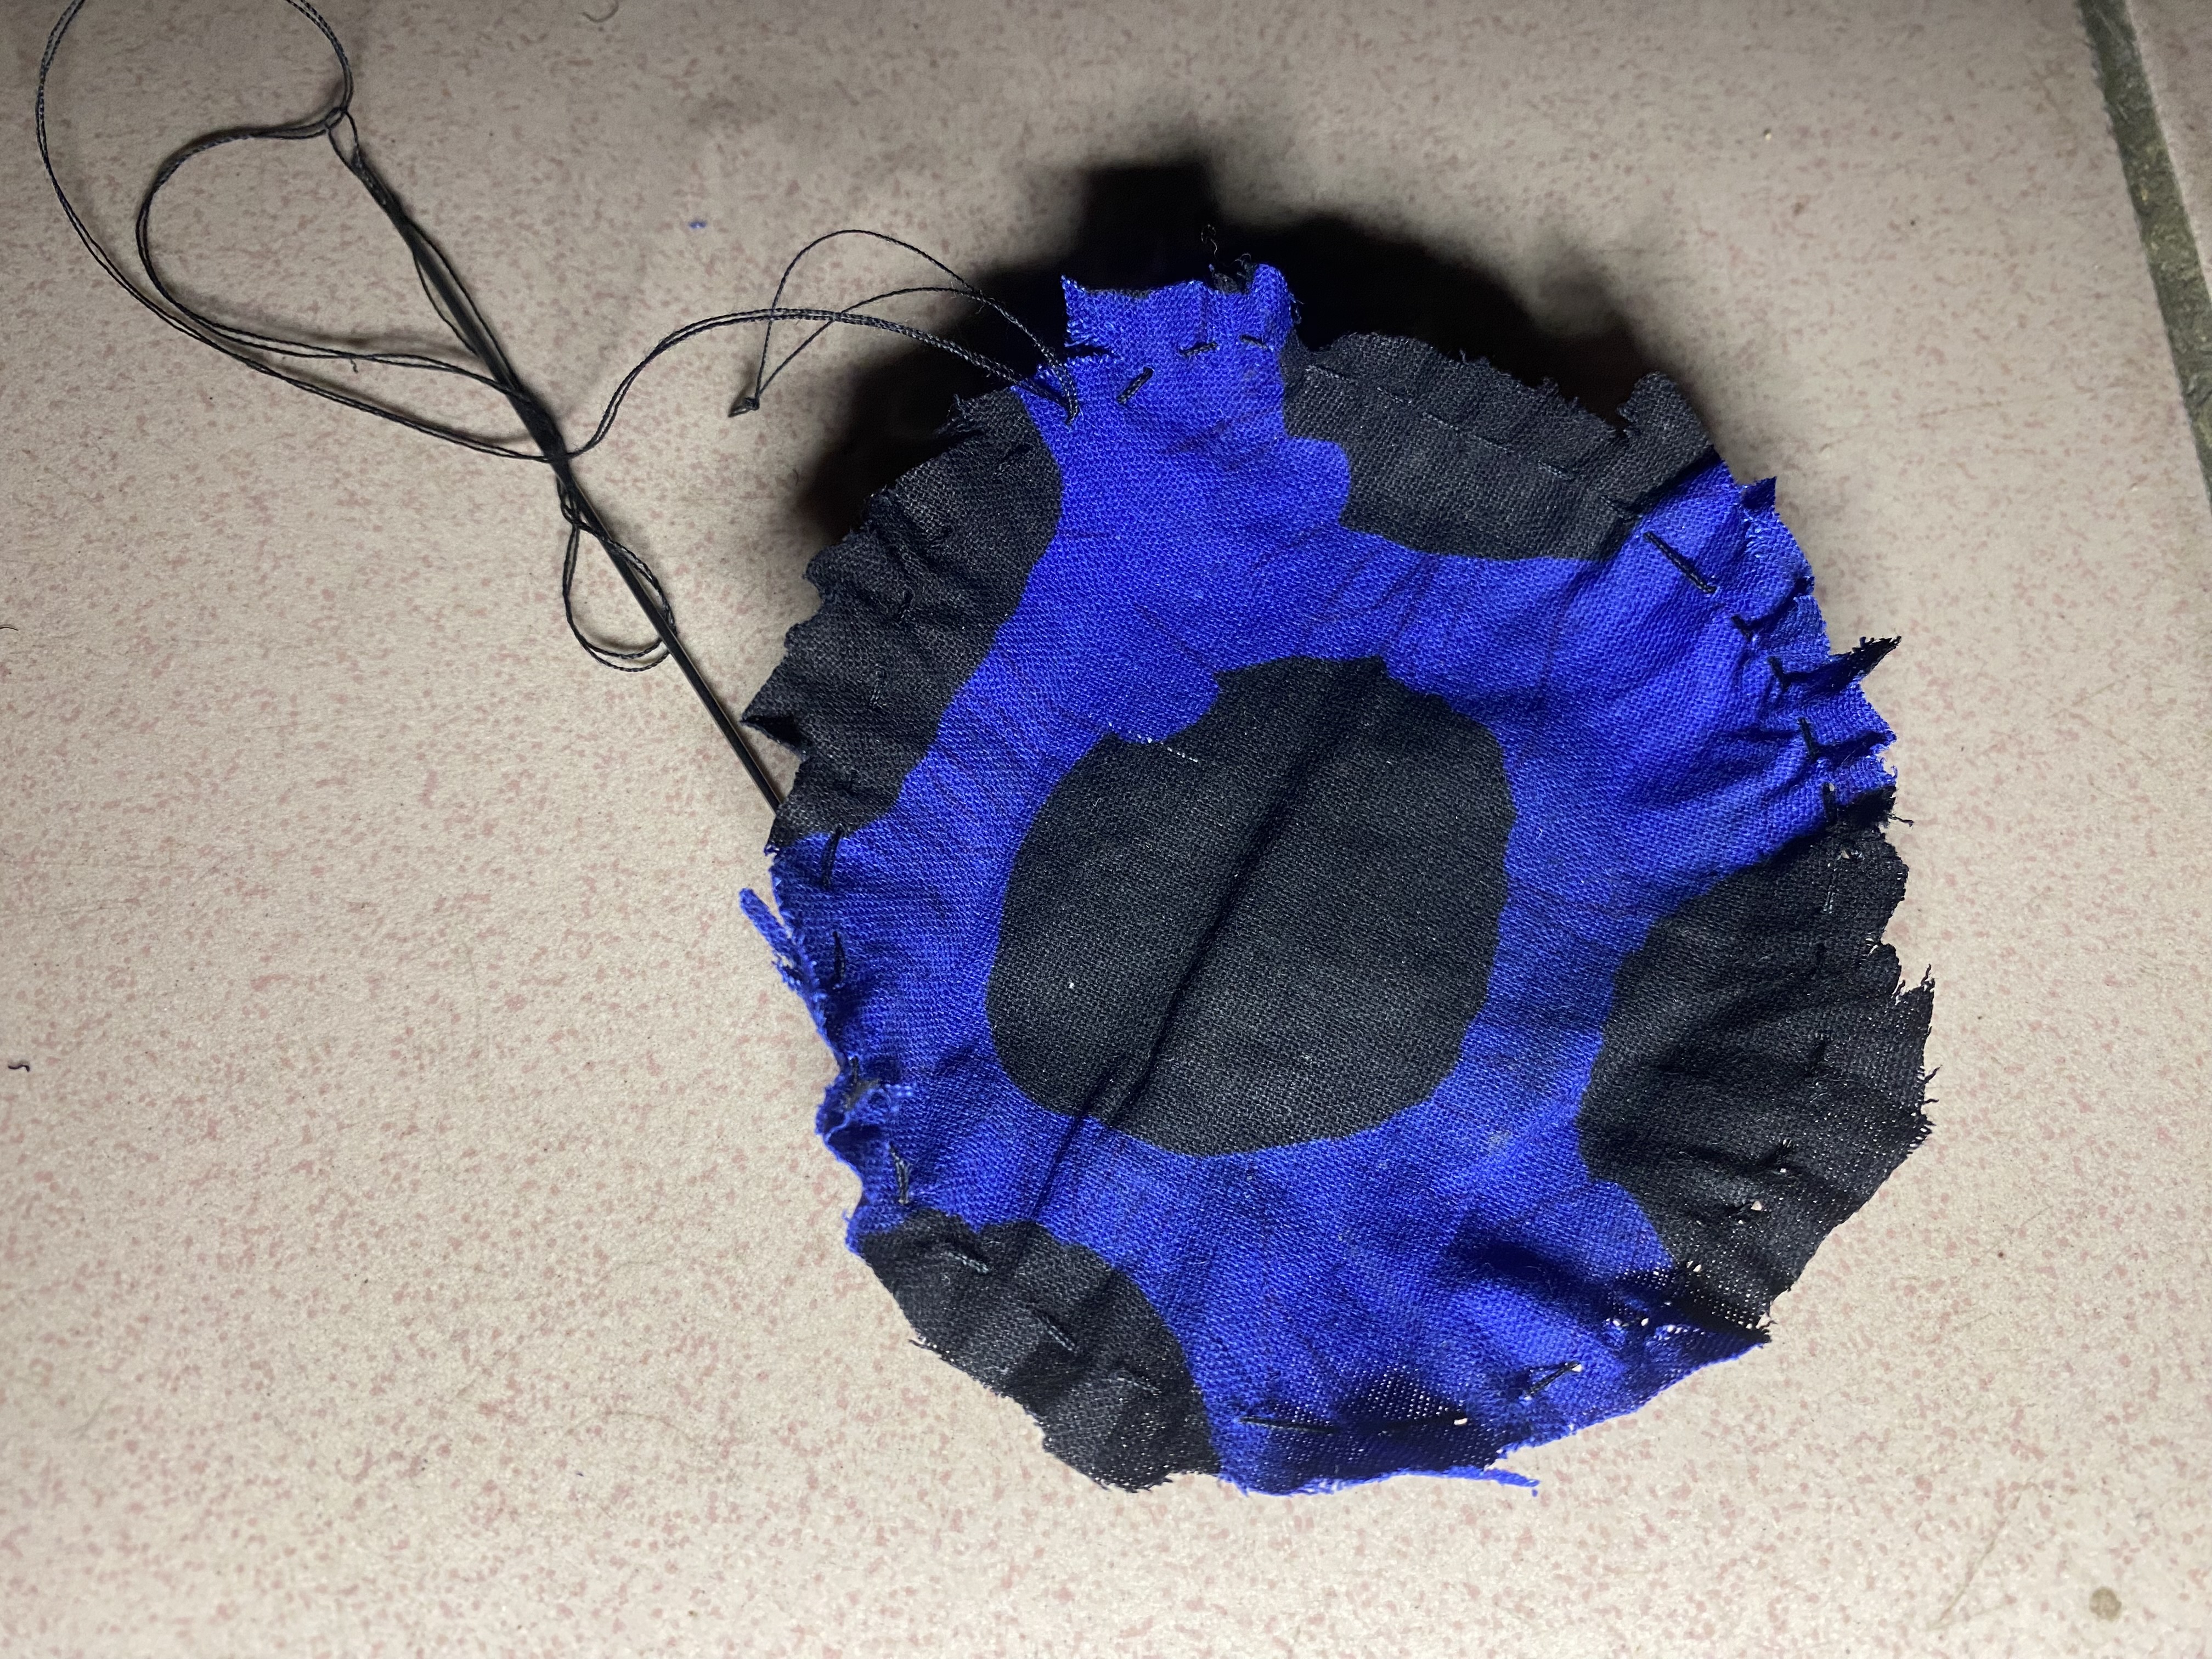
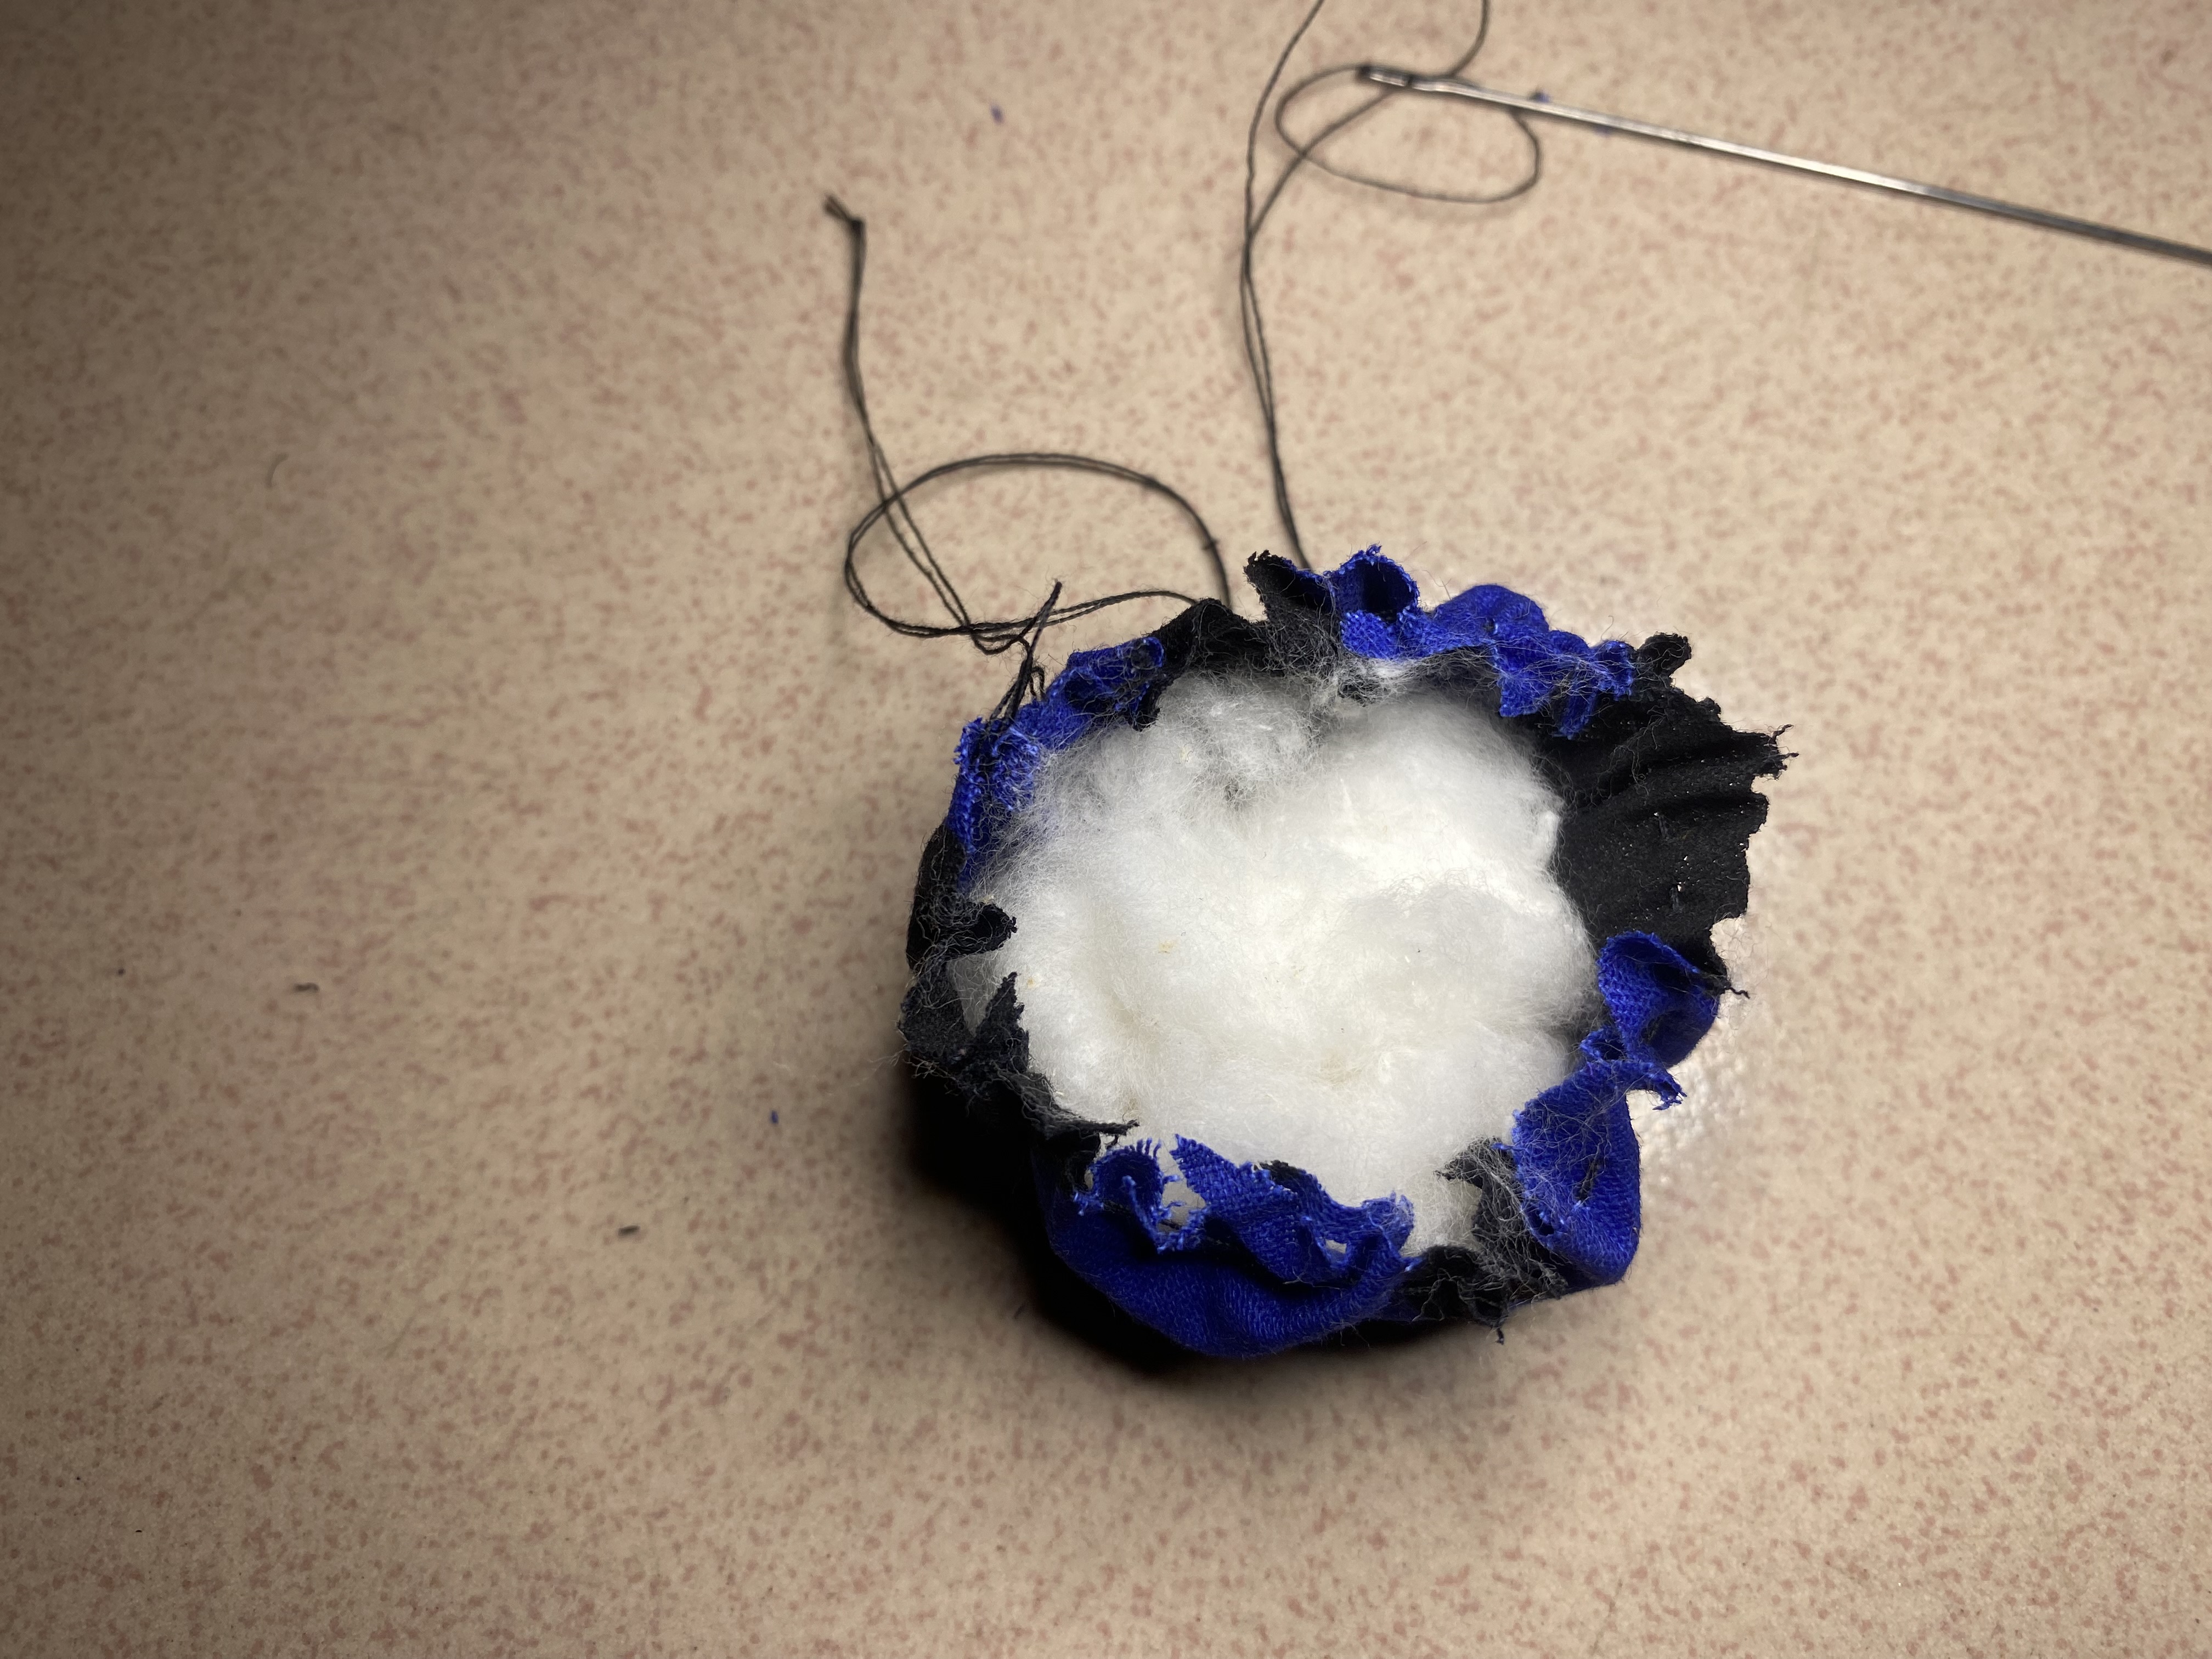
I proceeded to drag out the edges until it gave me a curve and a deep. I then put in my filler into the deep.
After putting the filler, I dragged the thread up and the enter filler was covered and my cushion place was set.
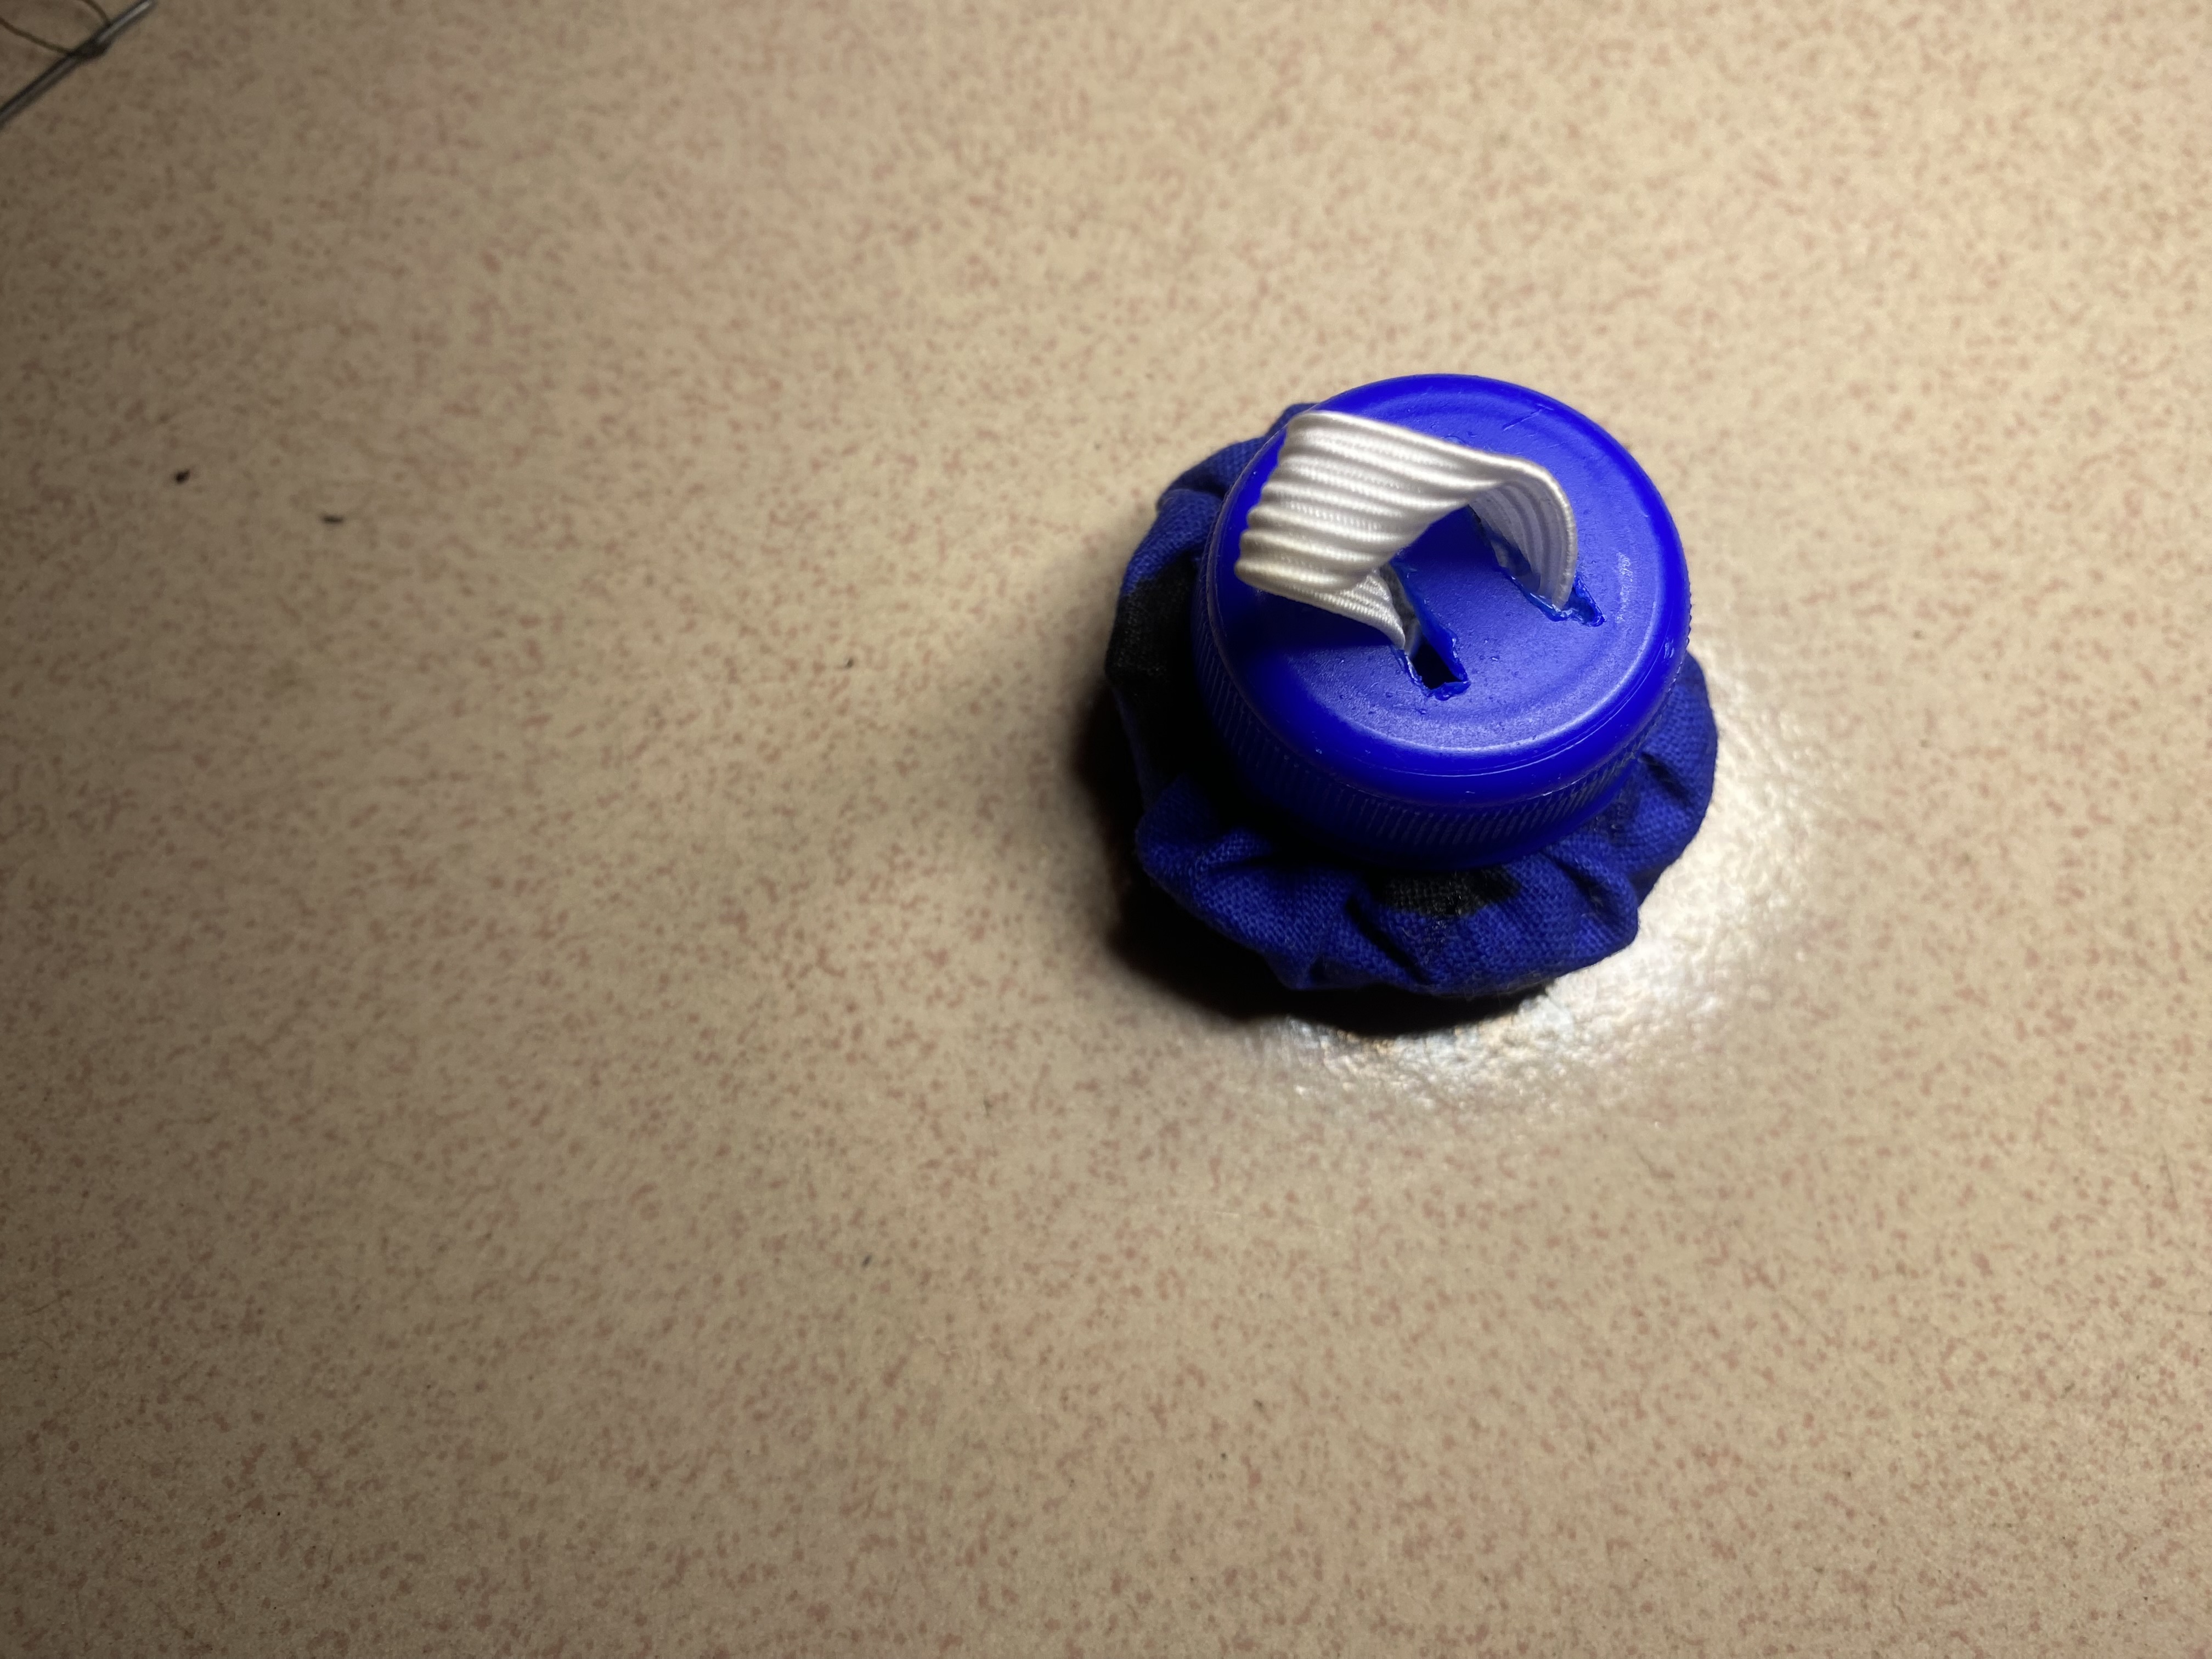
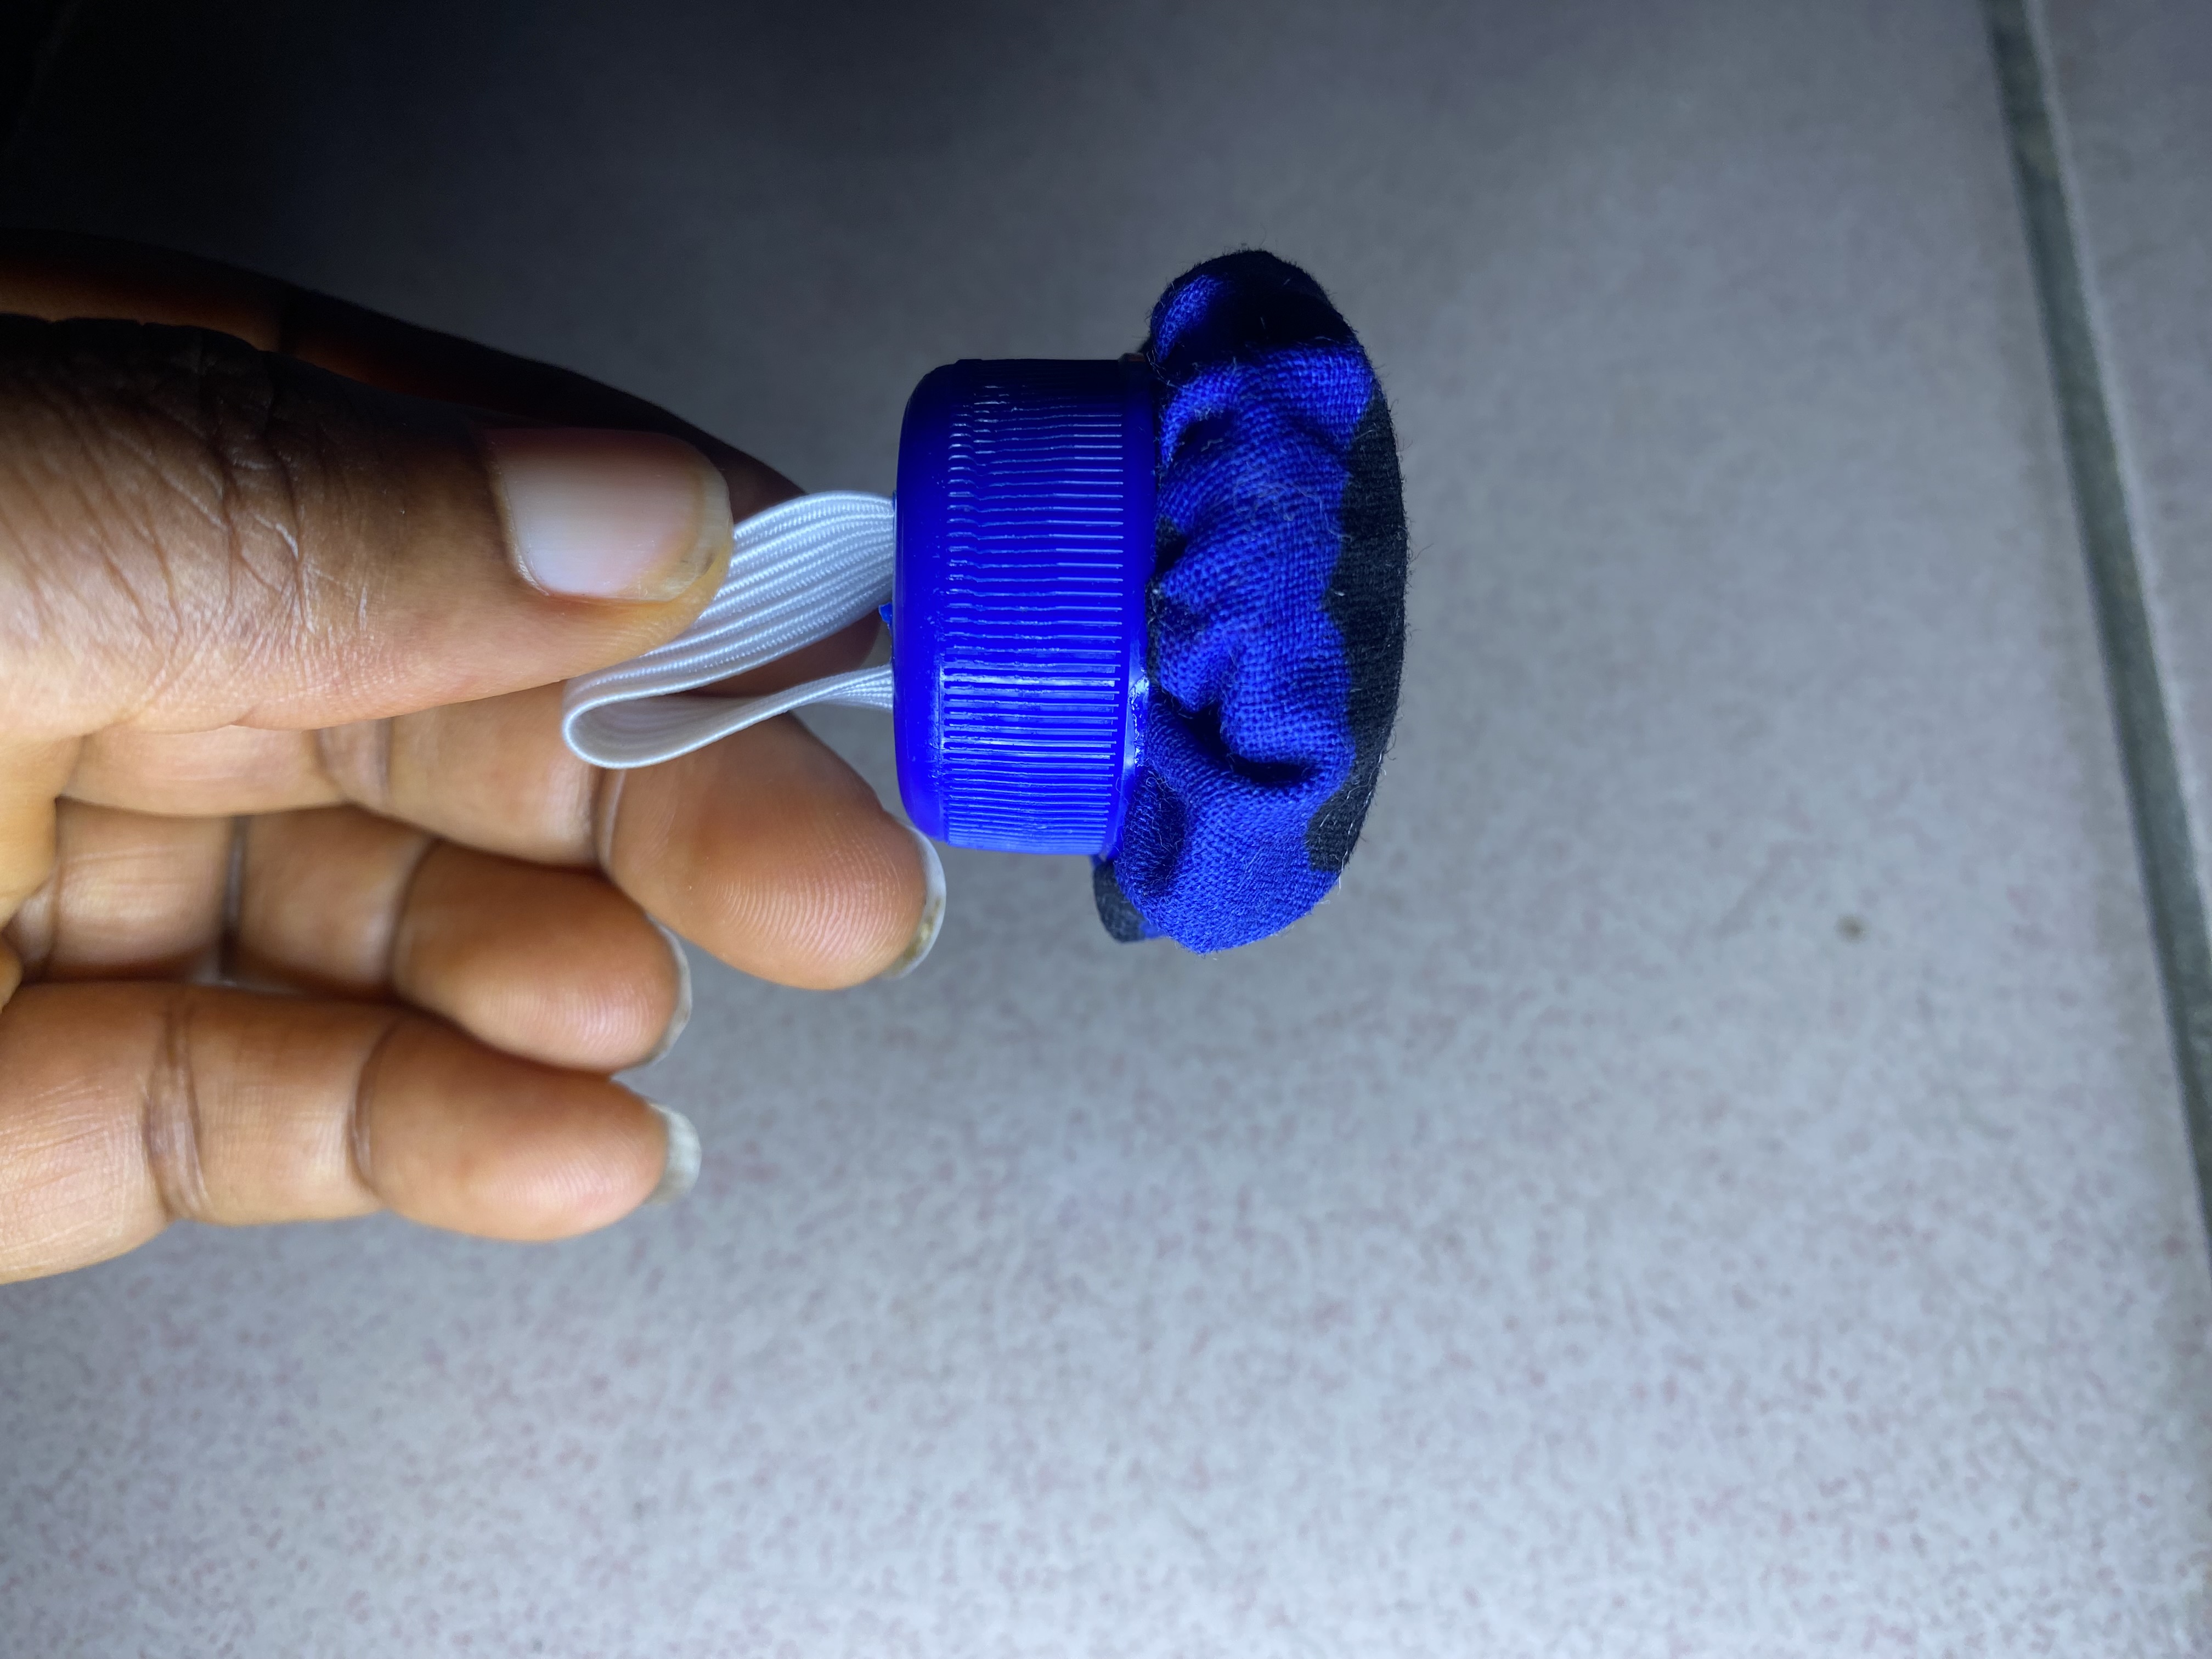
The next on my procedure was to open the bottle cover at two points. I used a hot knife to make the opening incision.

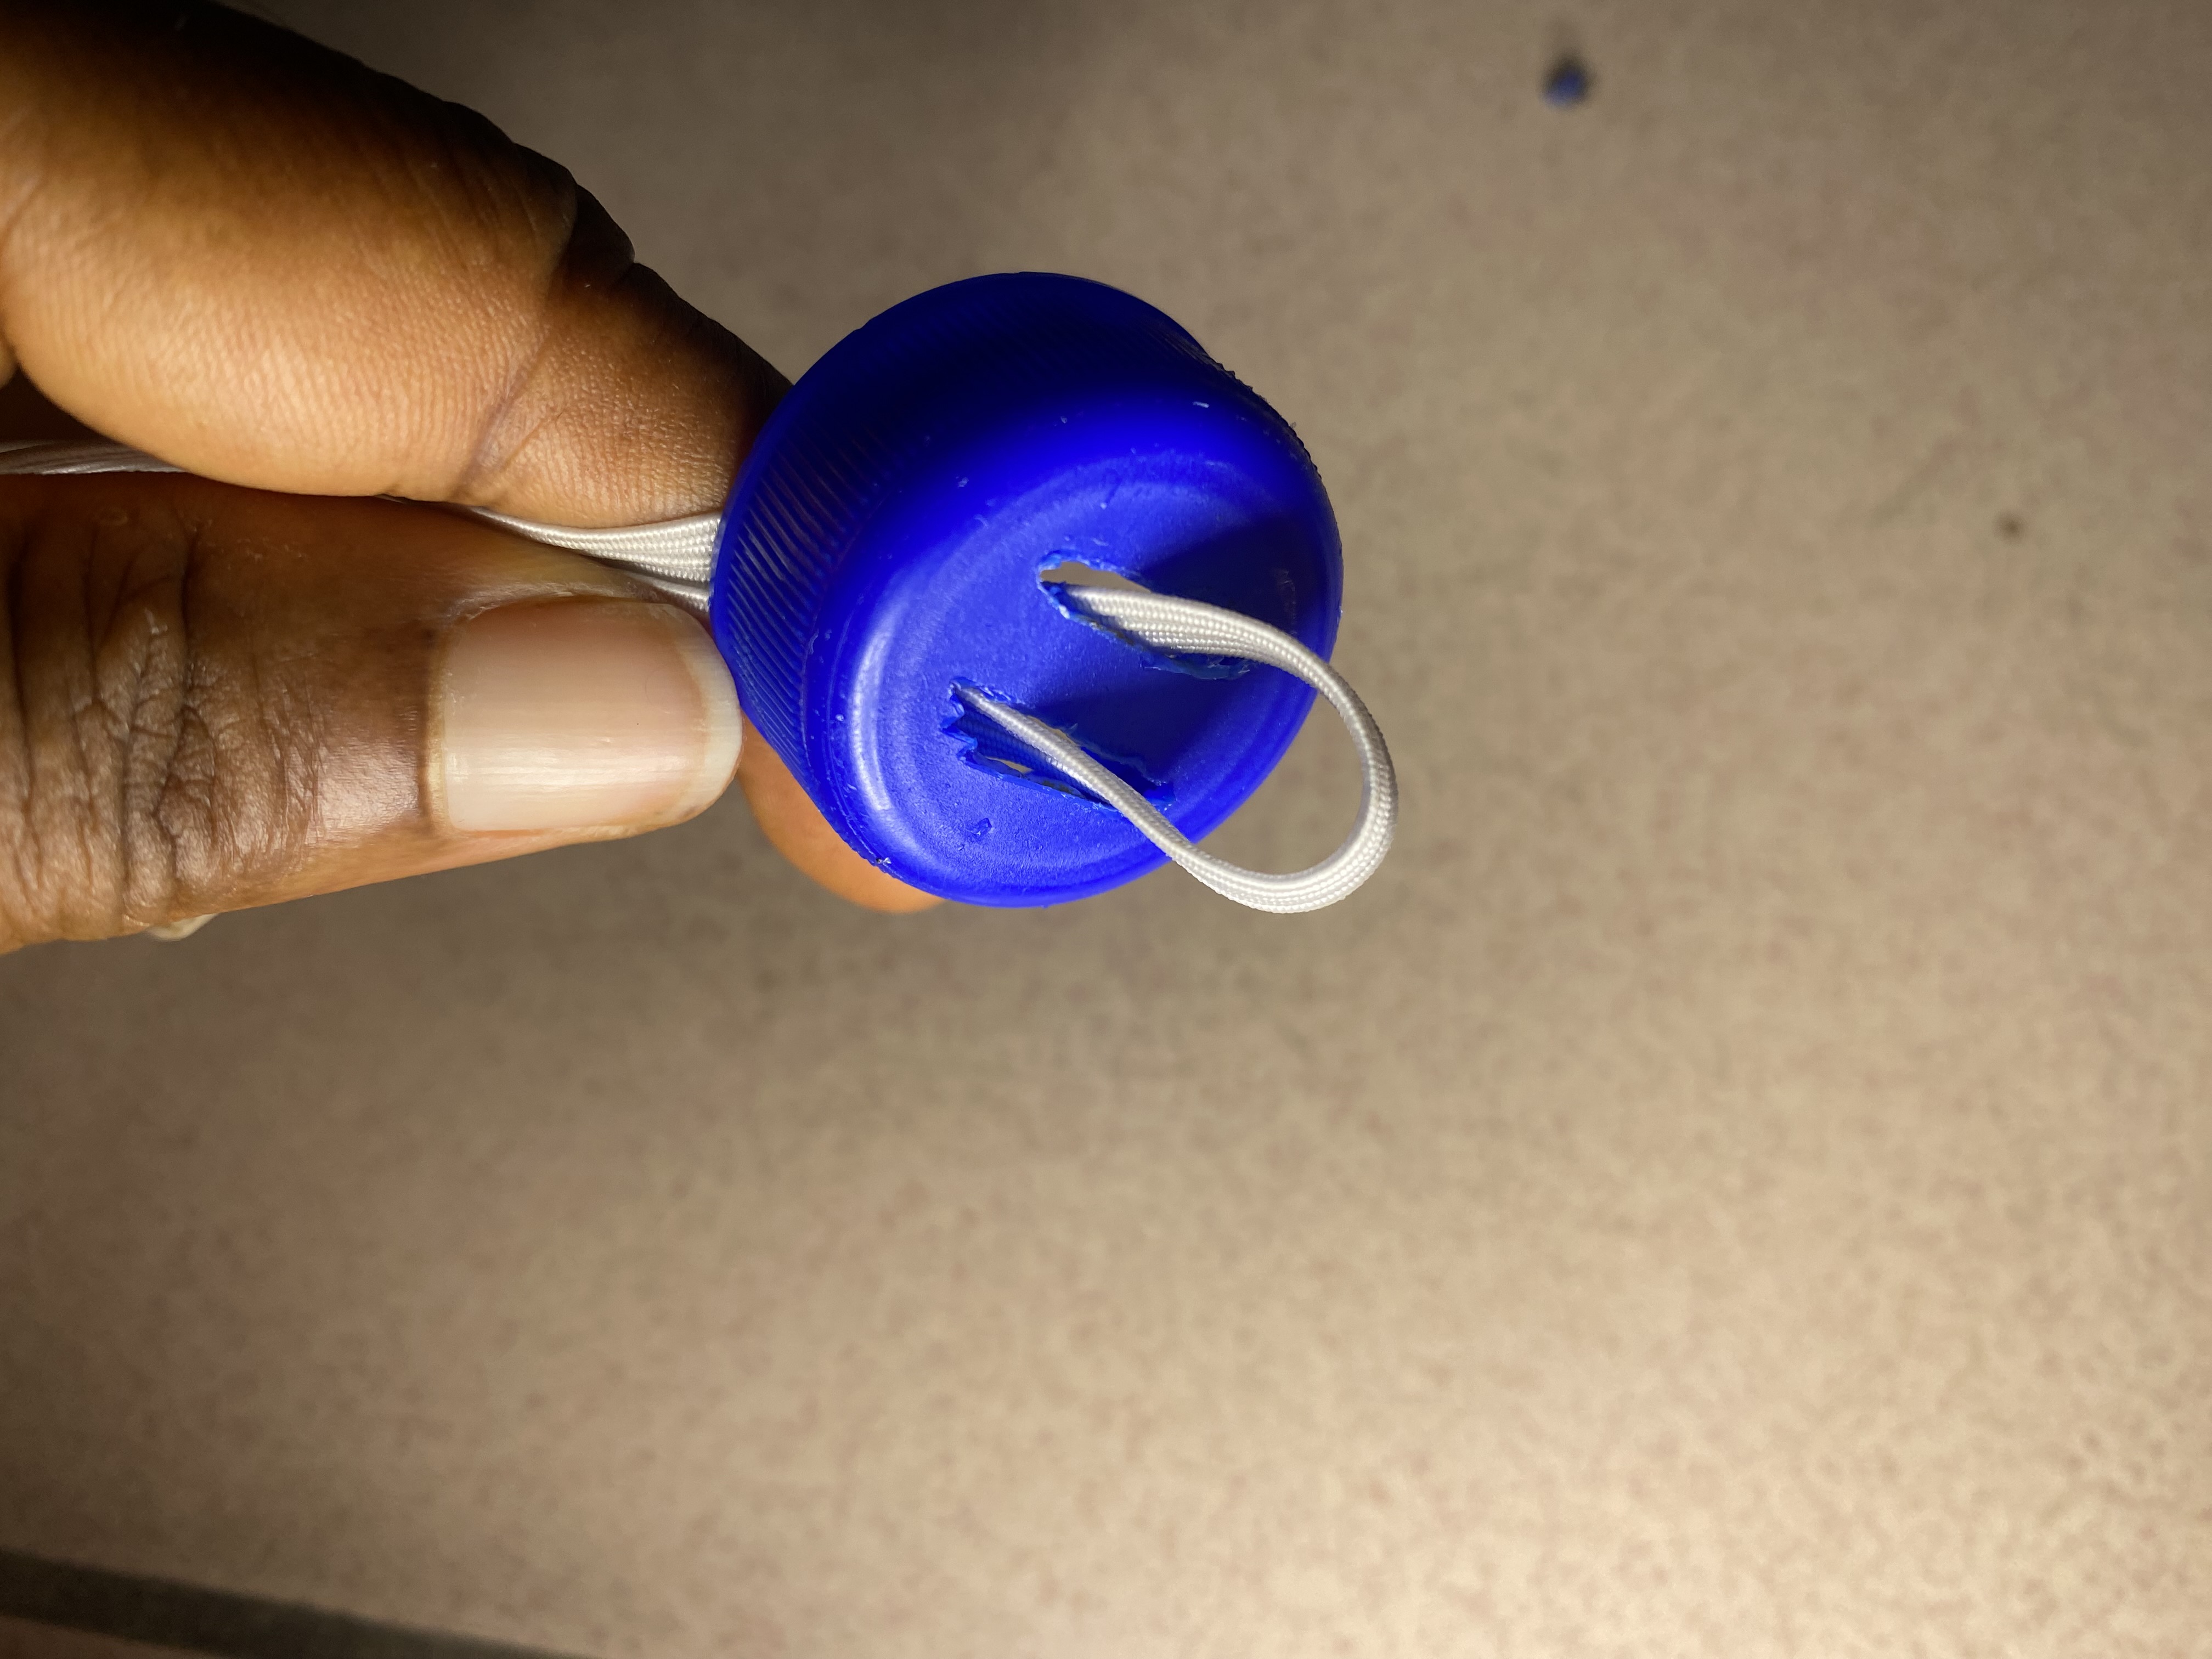
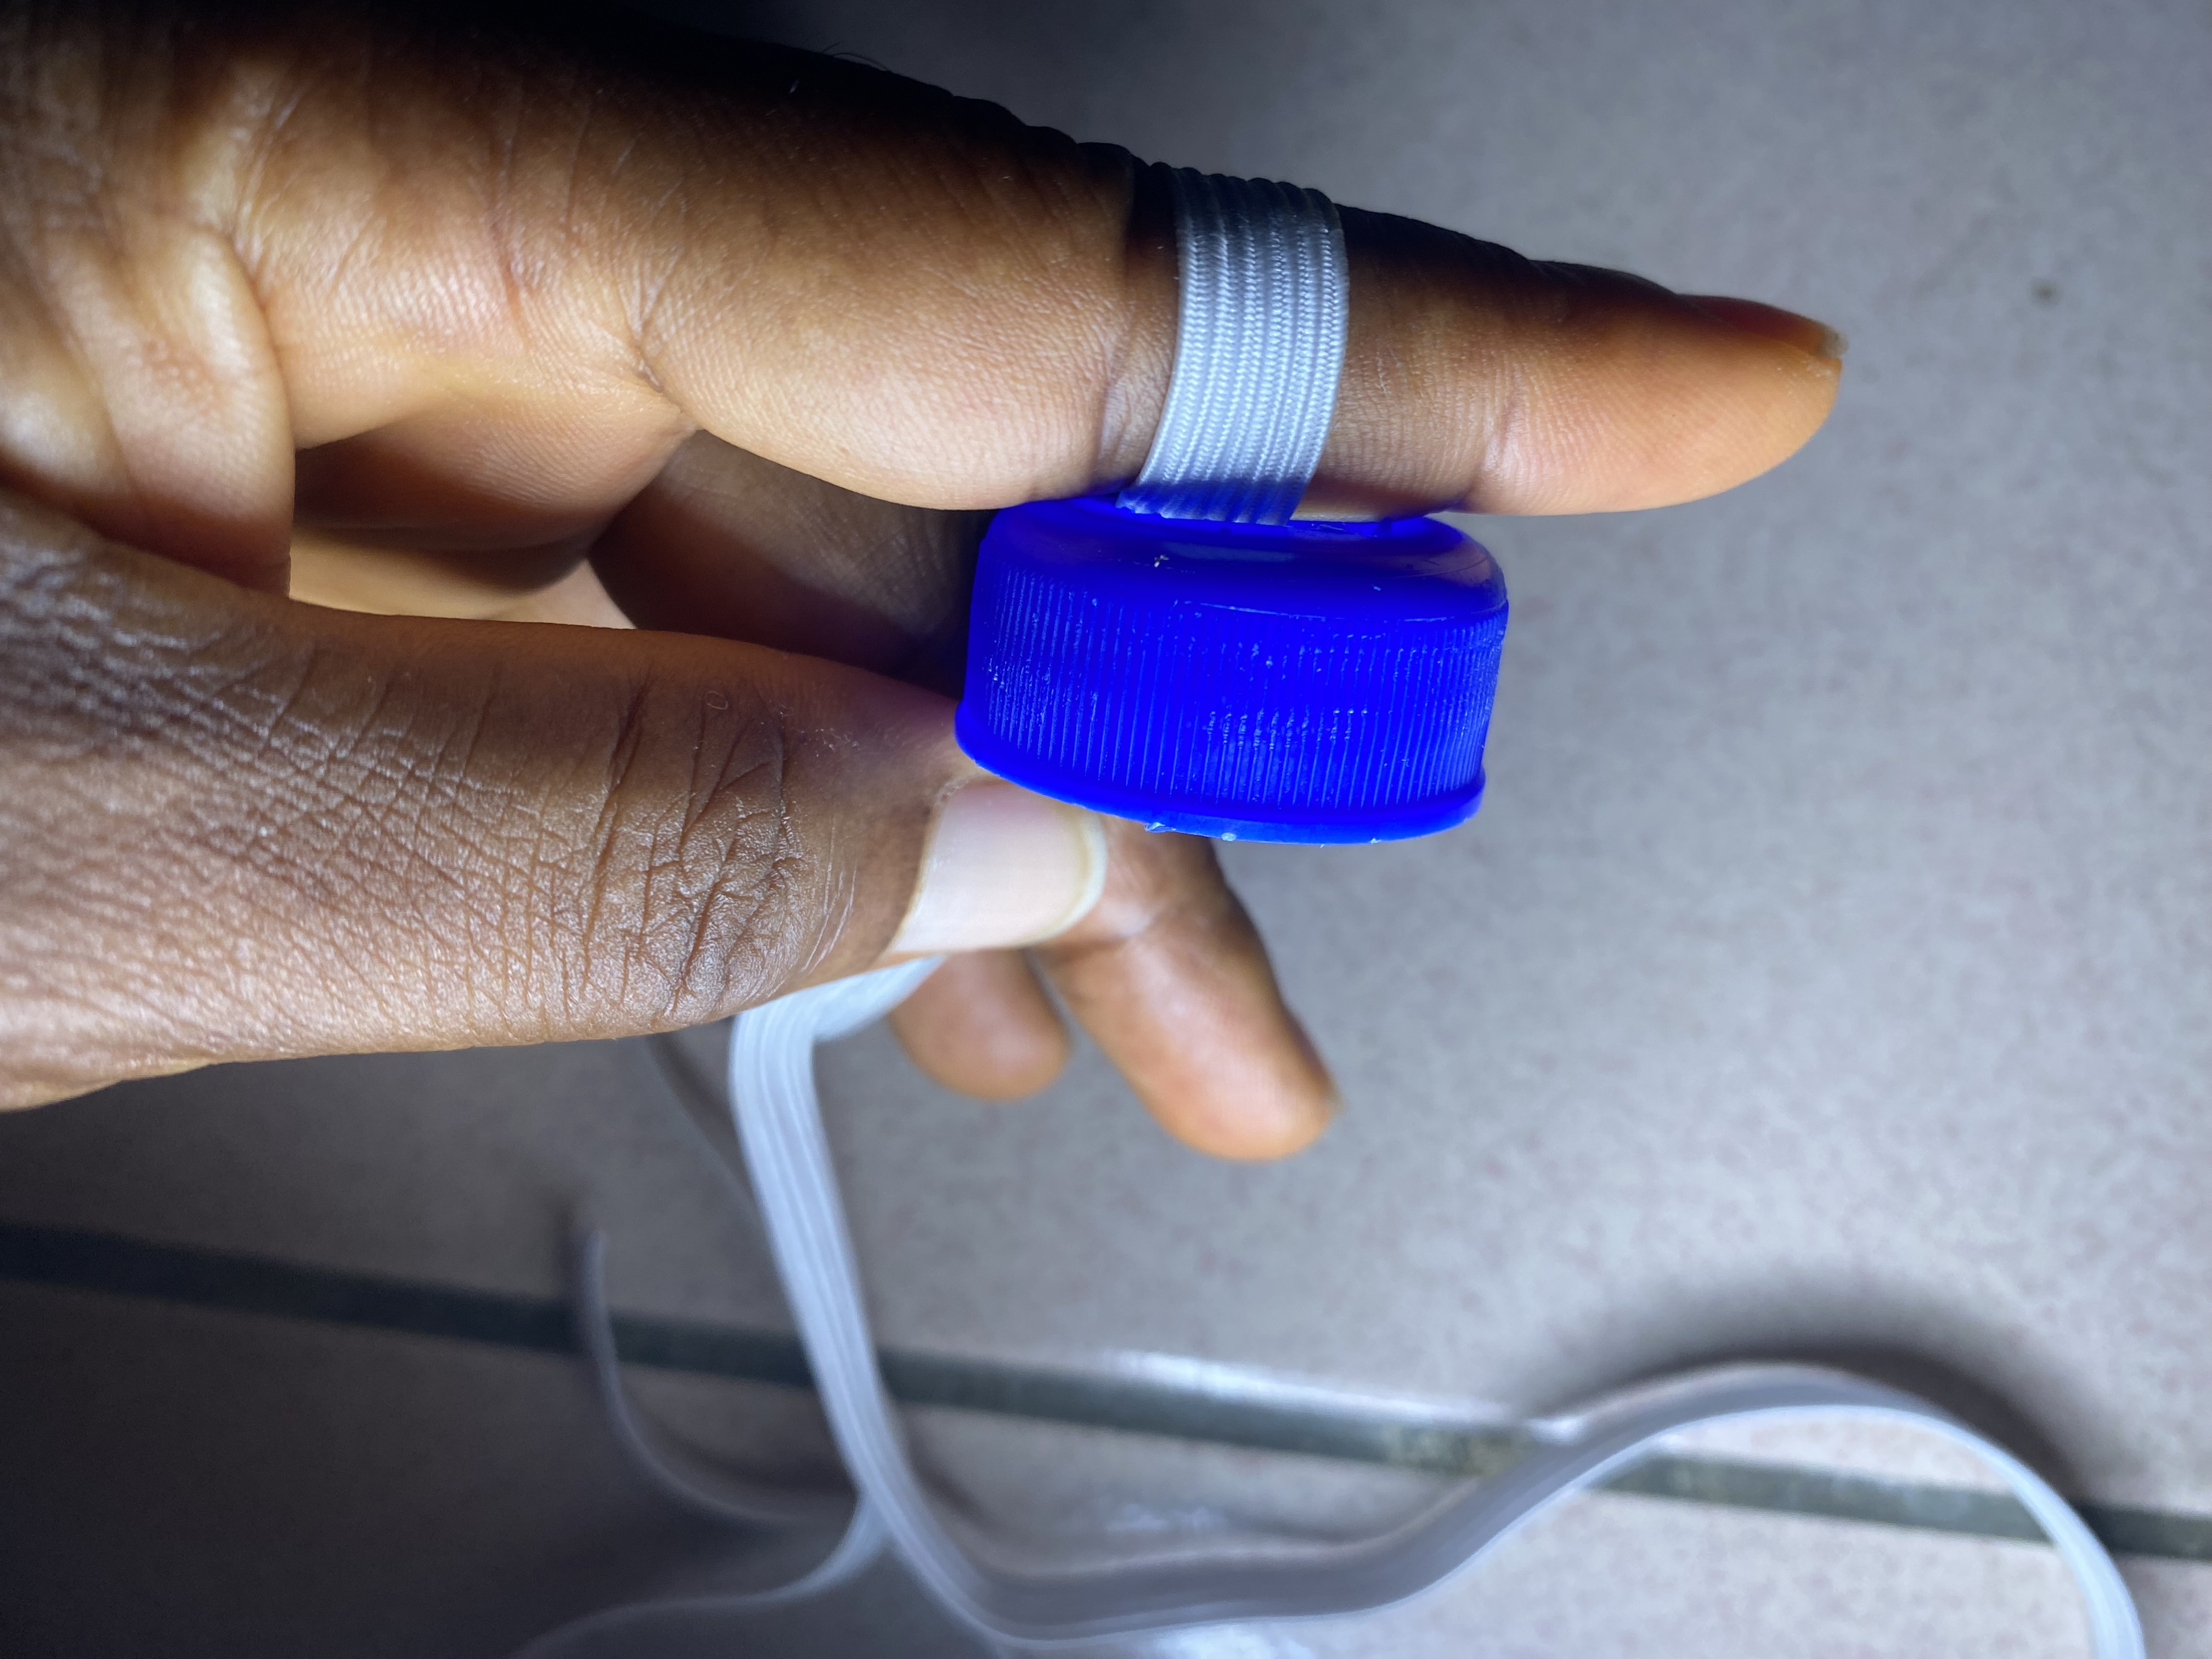

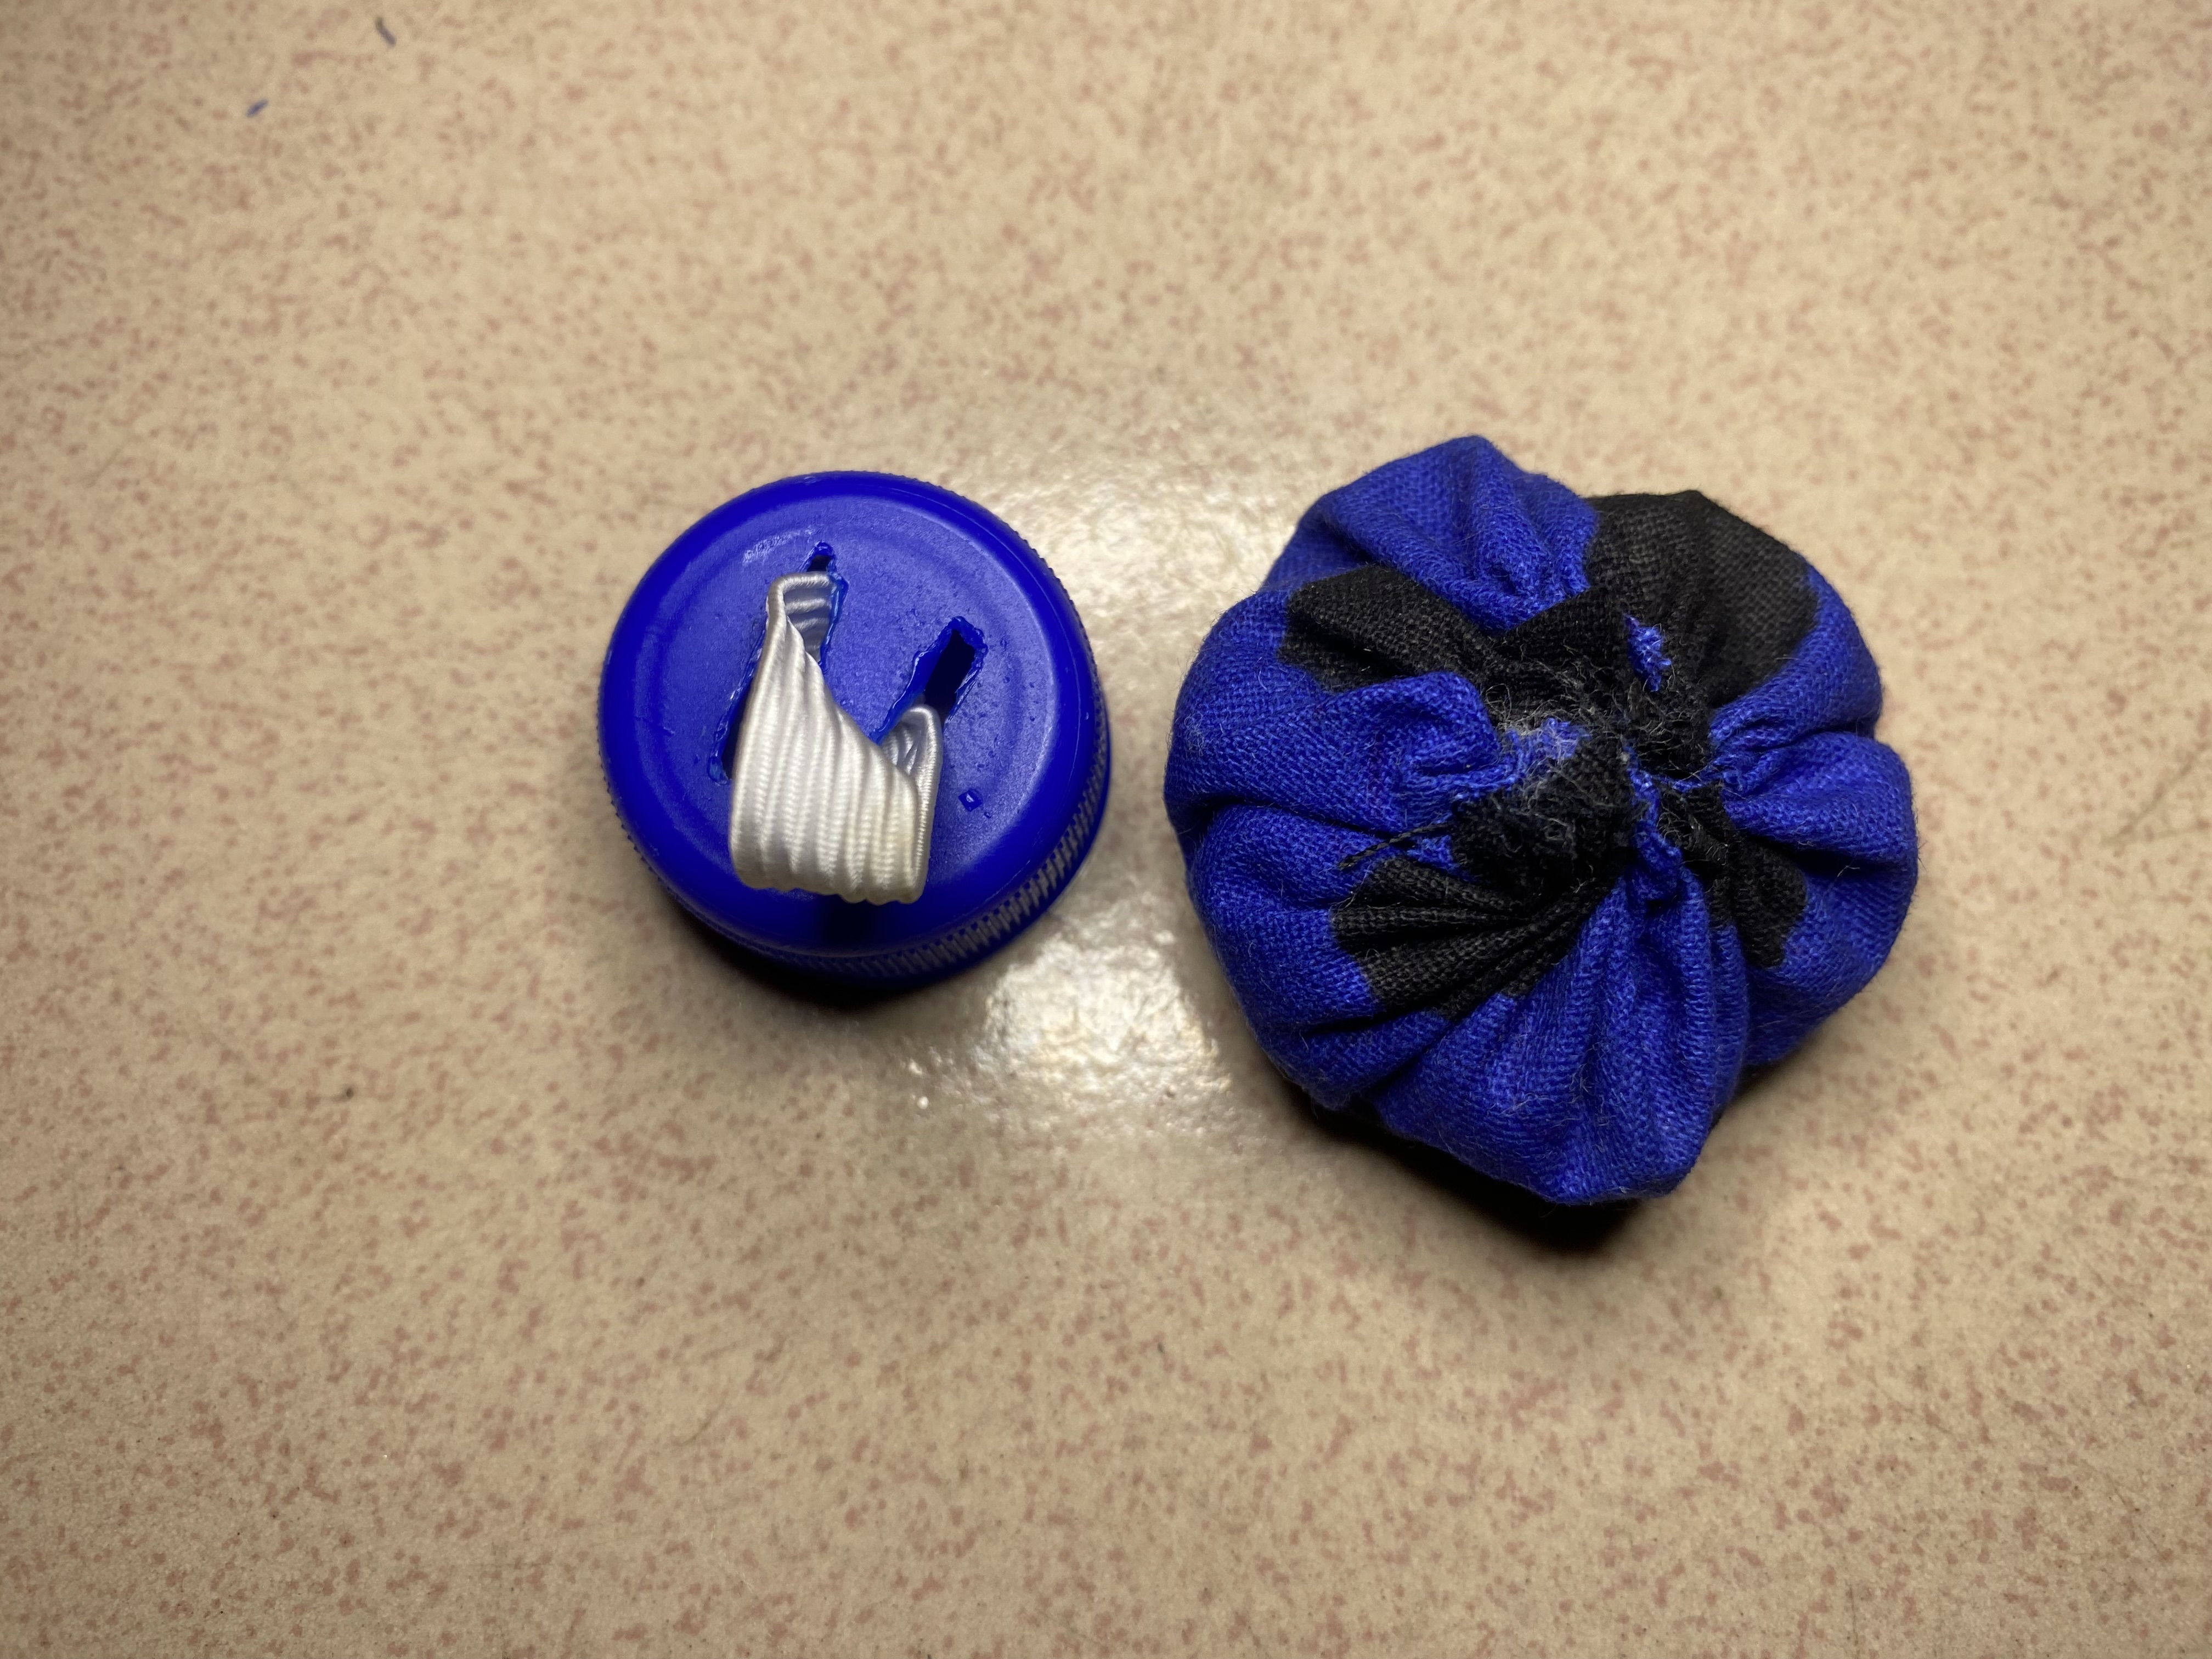
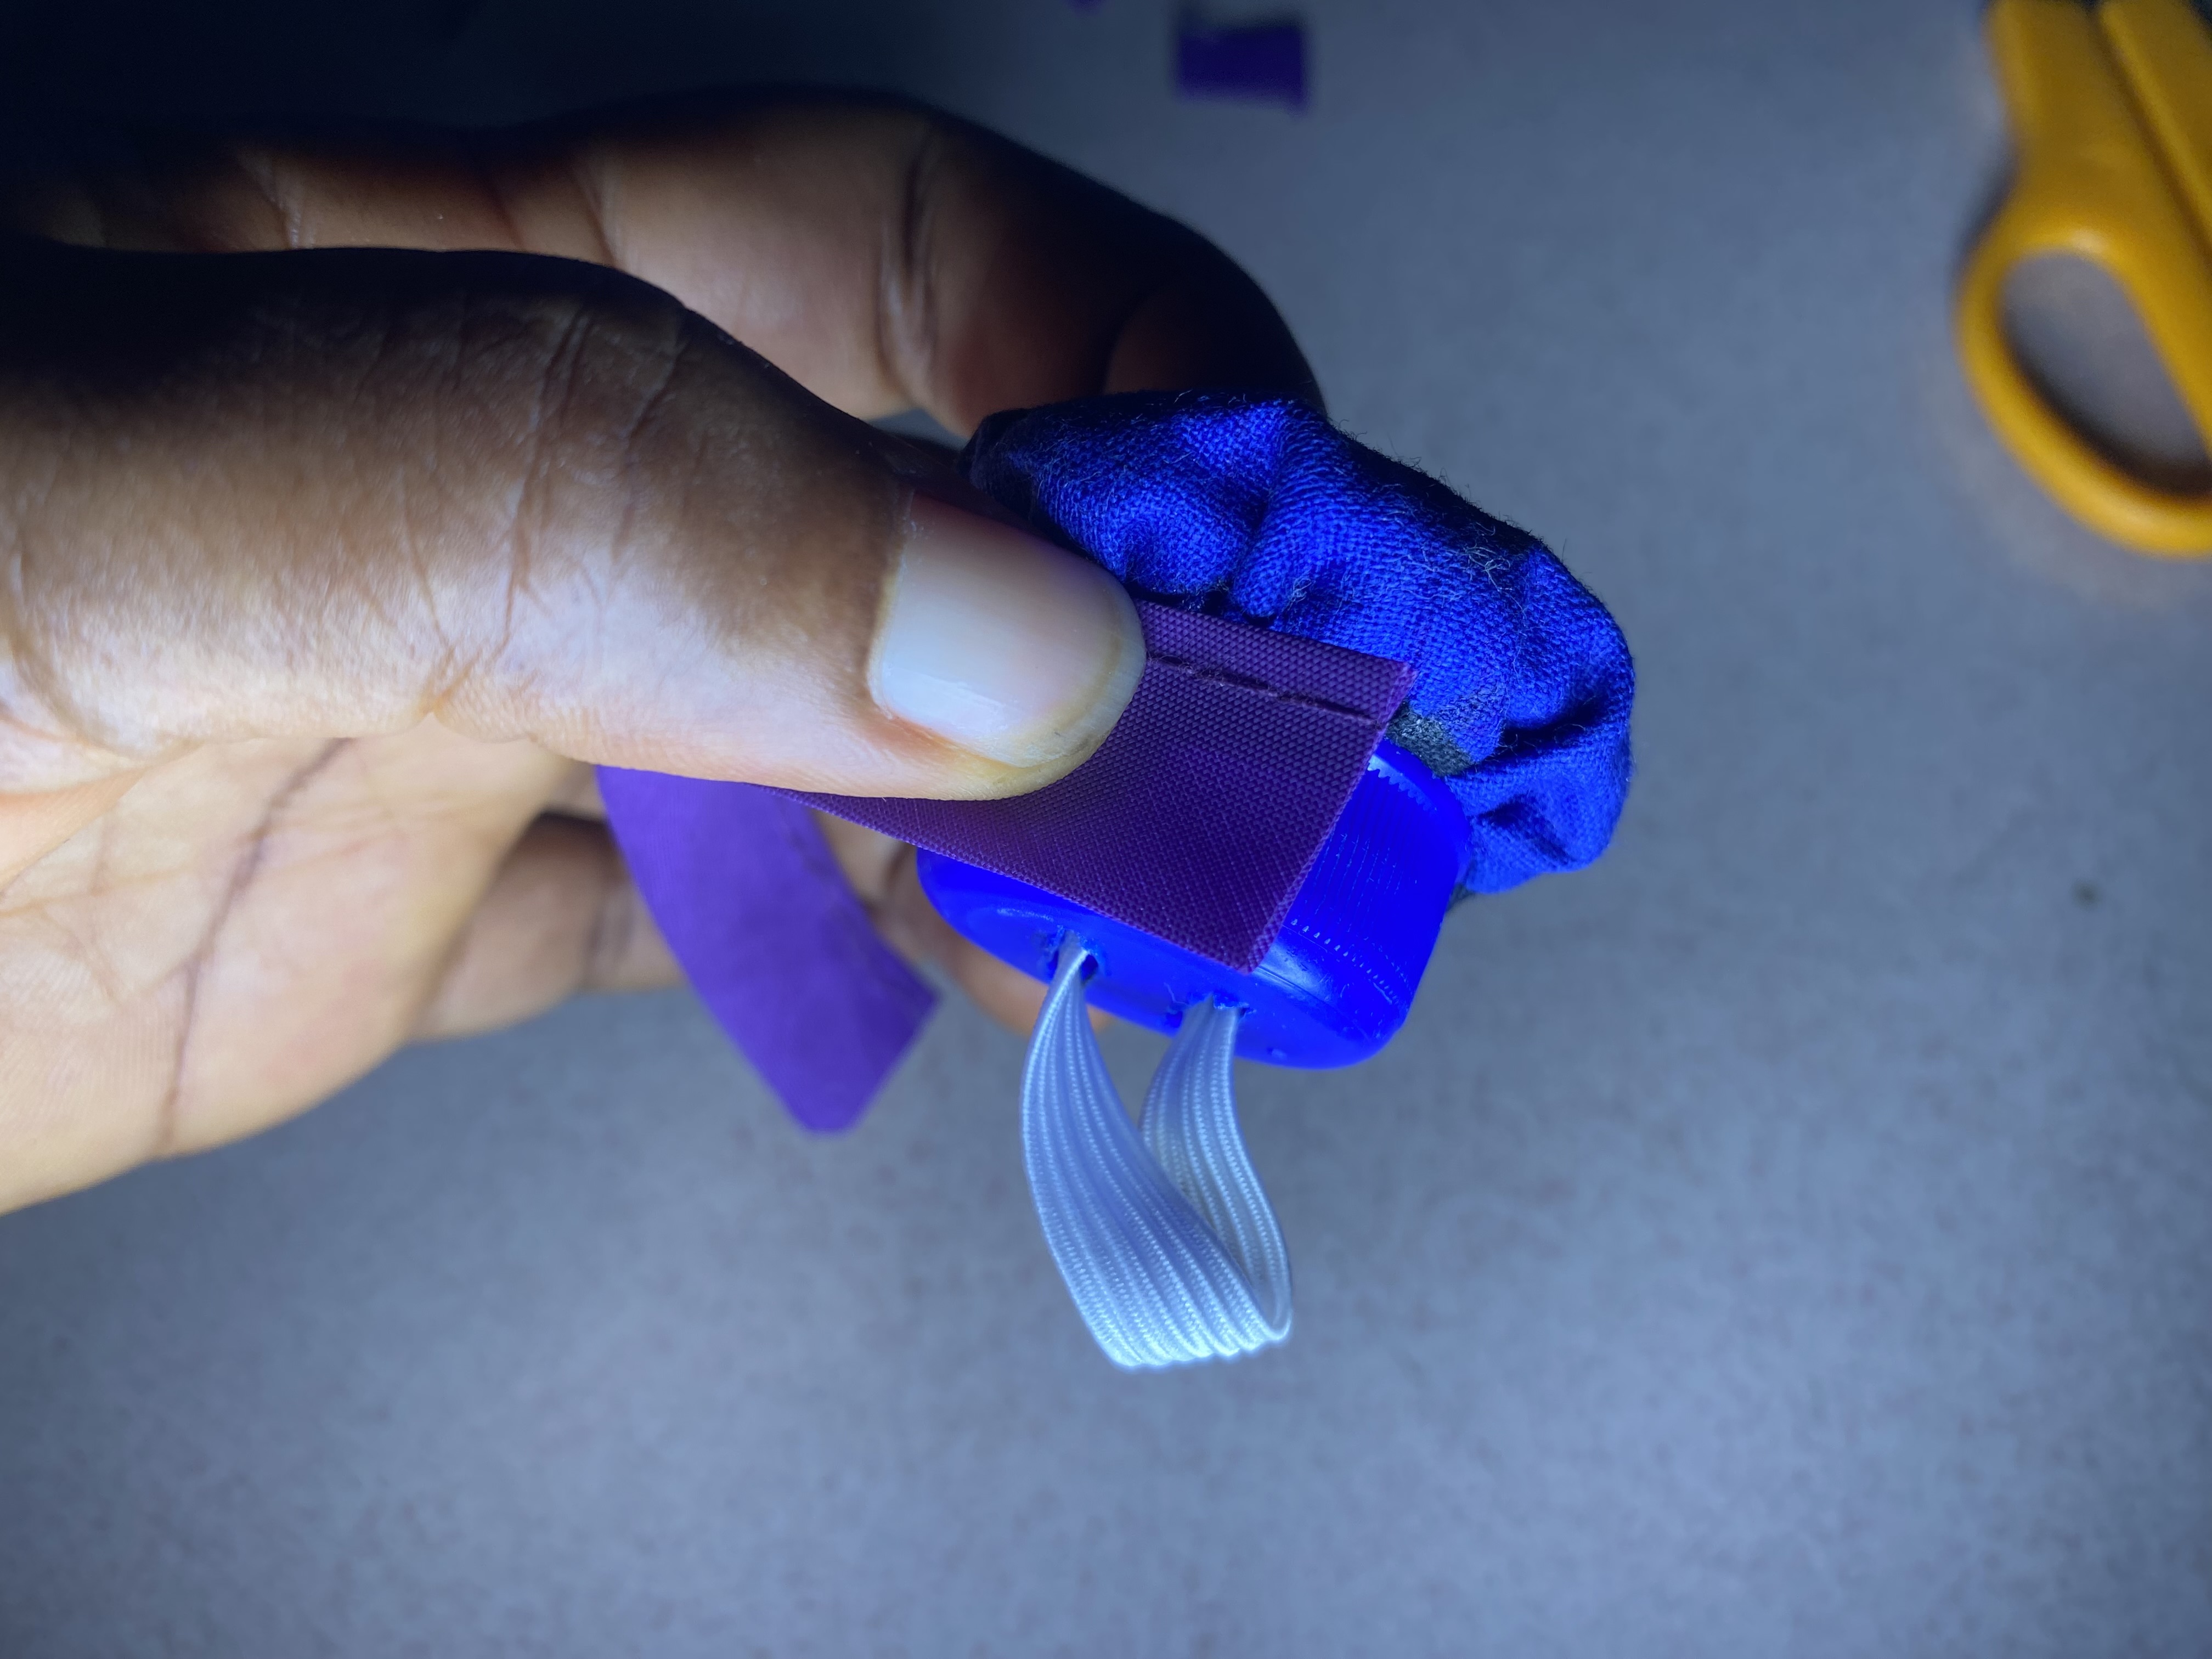
I passed the elastic band into the bottle cover and measured if off with my finger. I made enough room so that the finger can go through the elastic band. I cut it off and tied the band on the bottle cover.
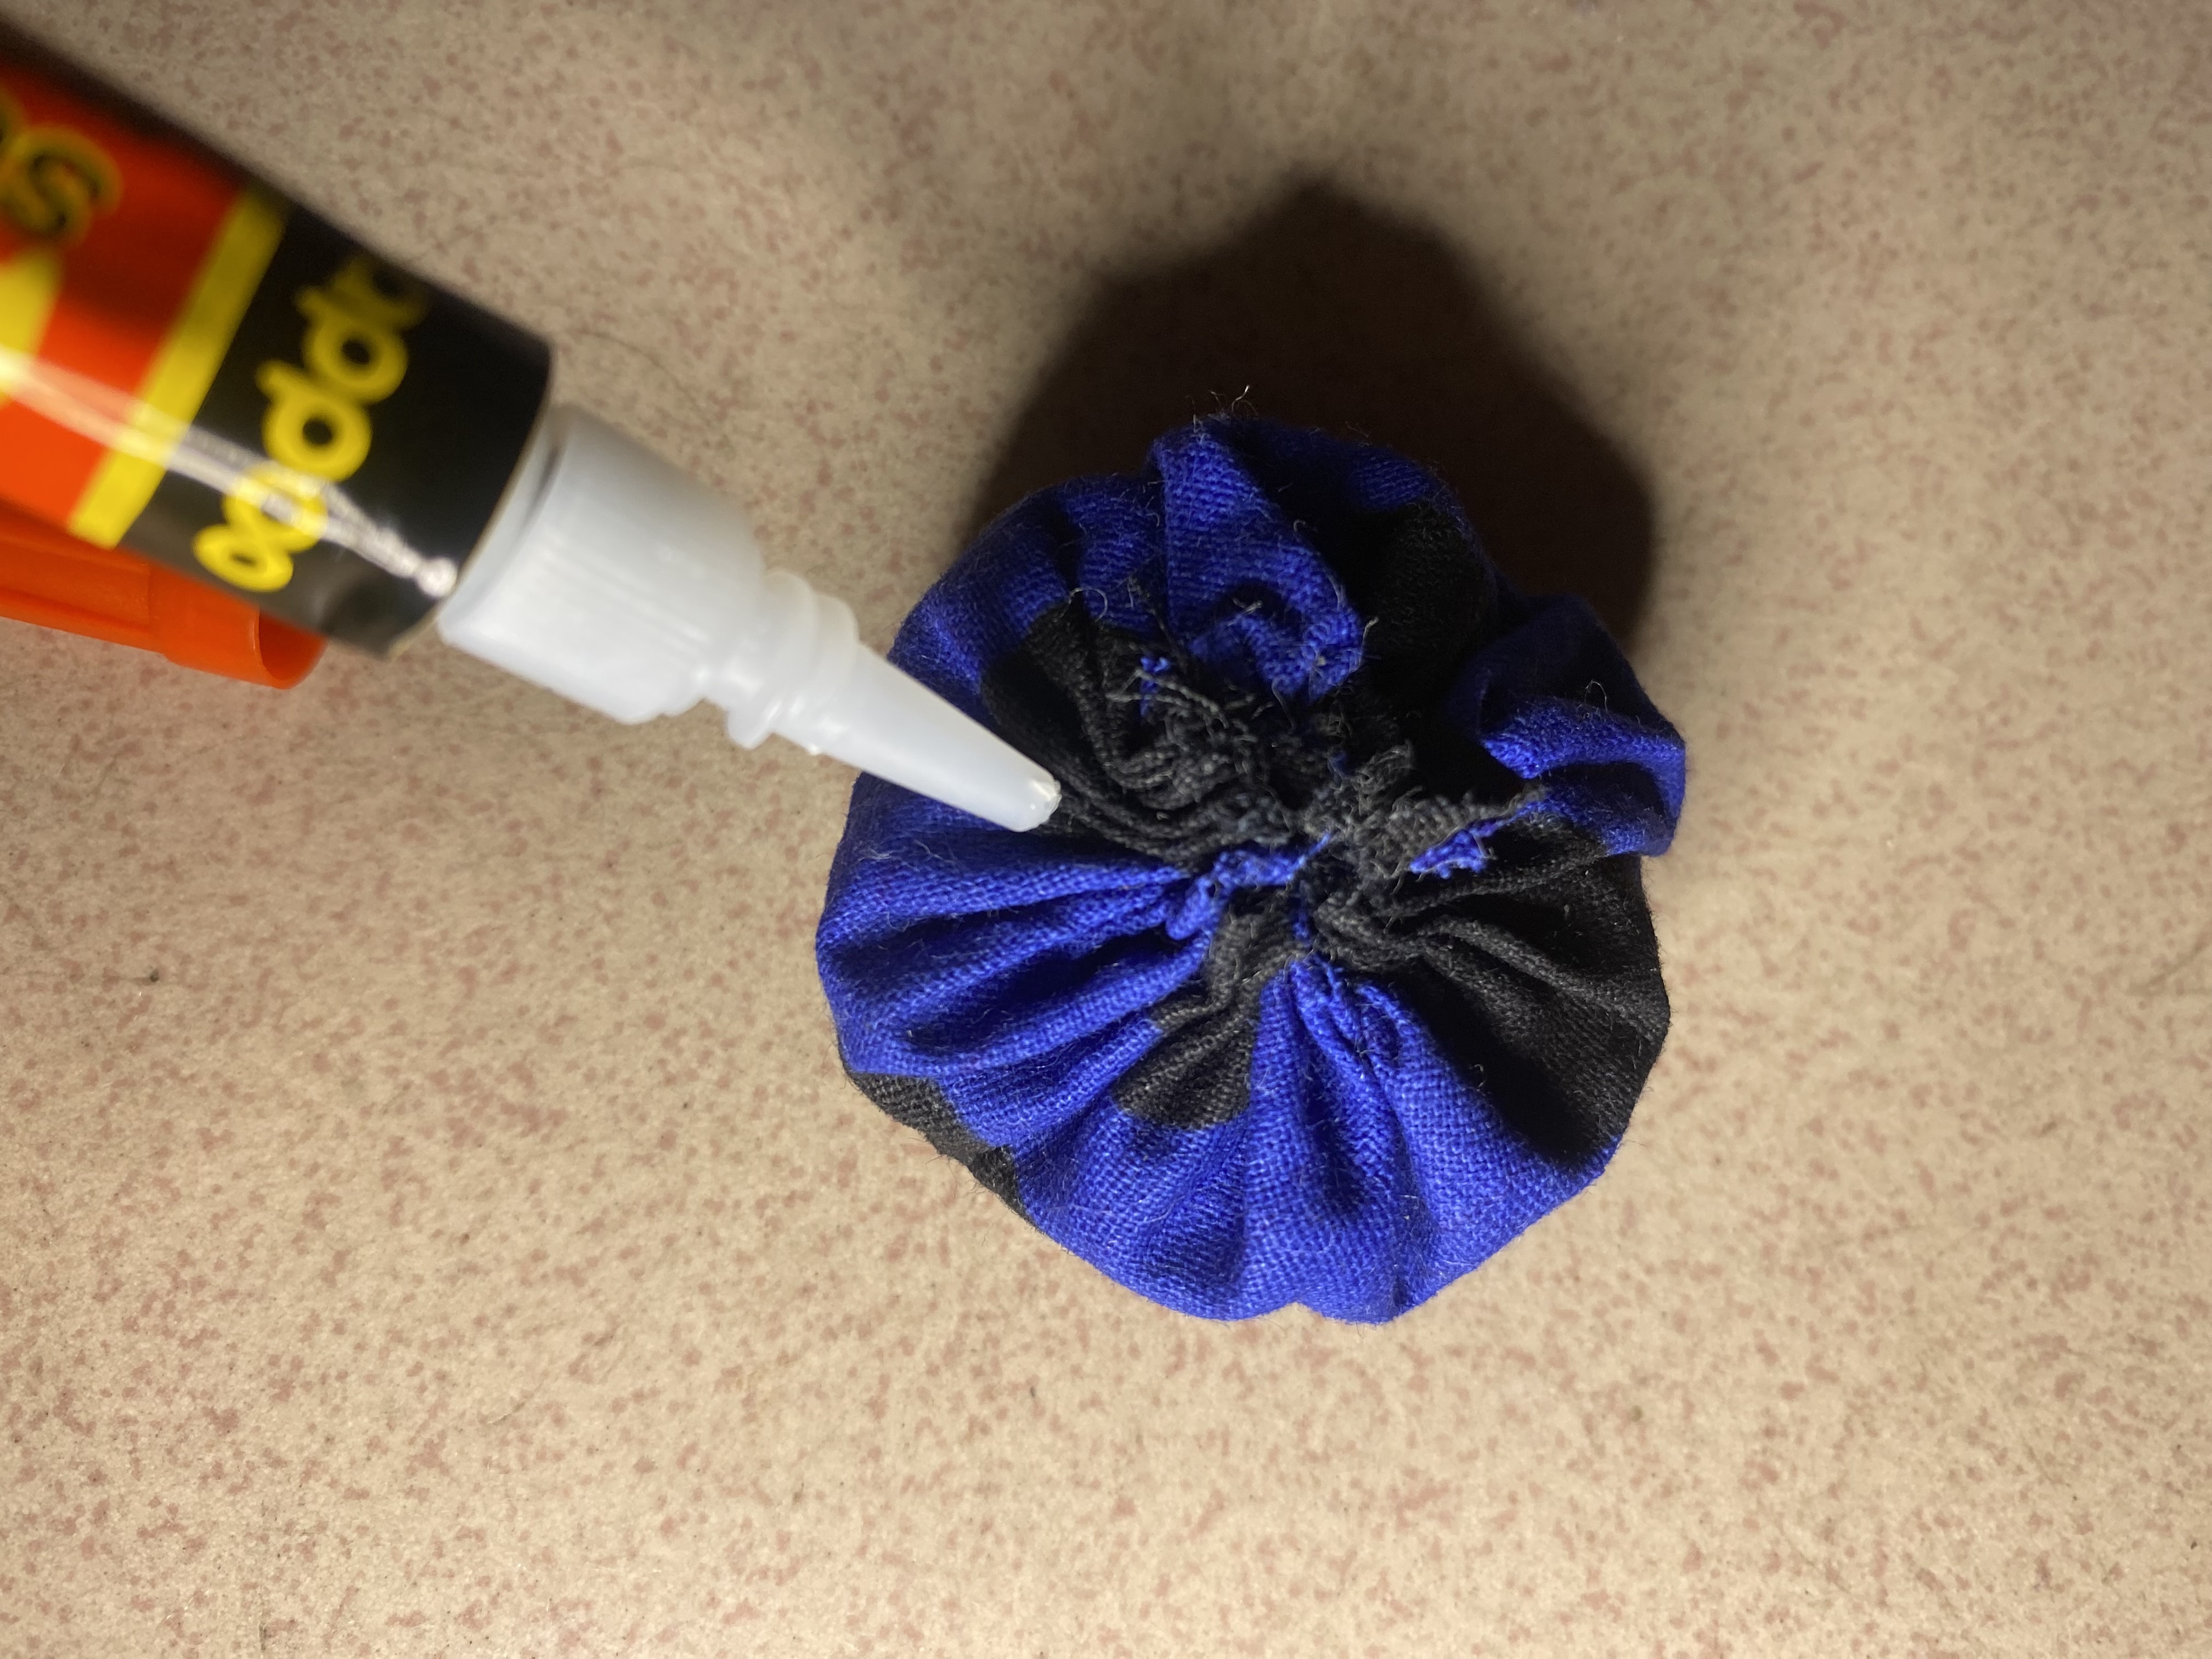
I opened the super glue and put some on the pin cushion and on the bottle cover and glued them together. The pin cushion was set.
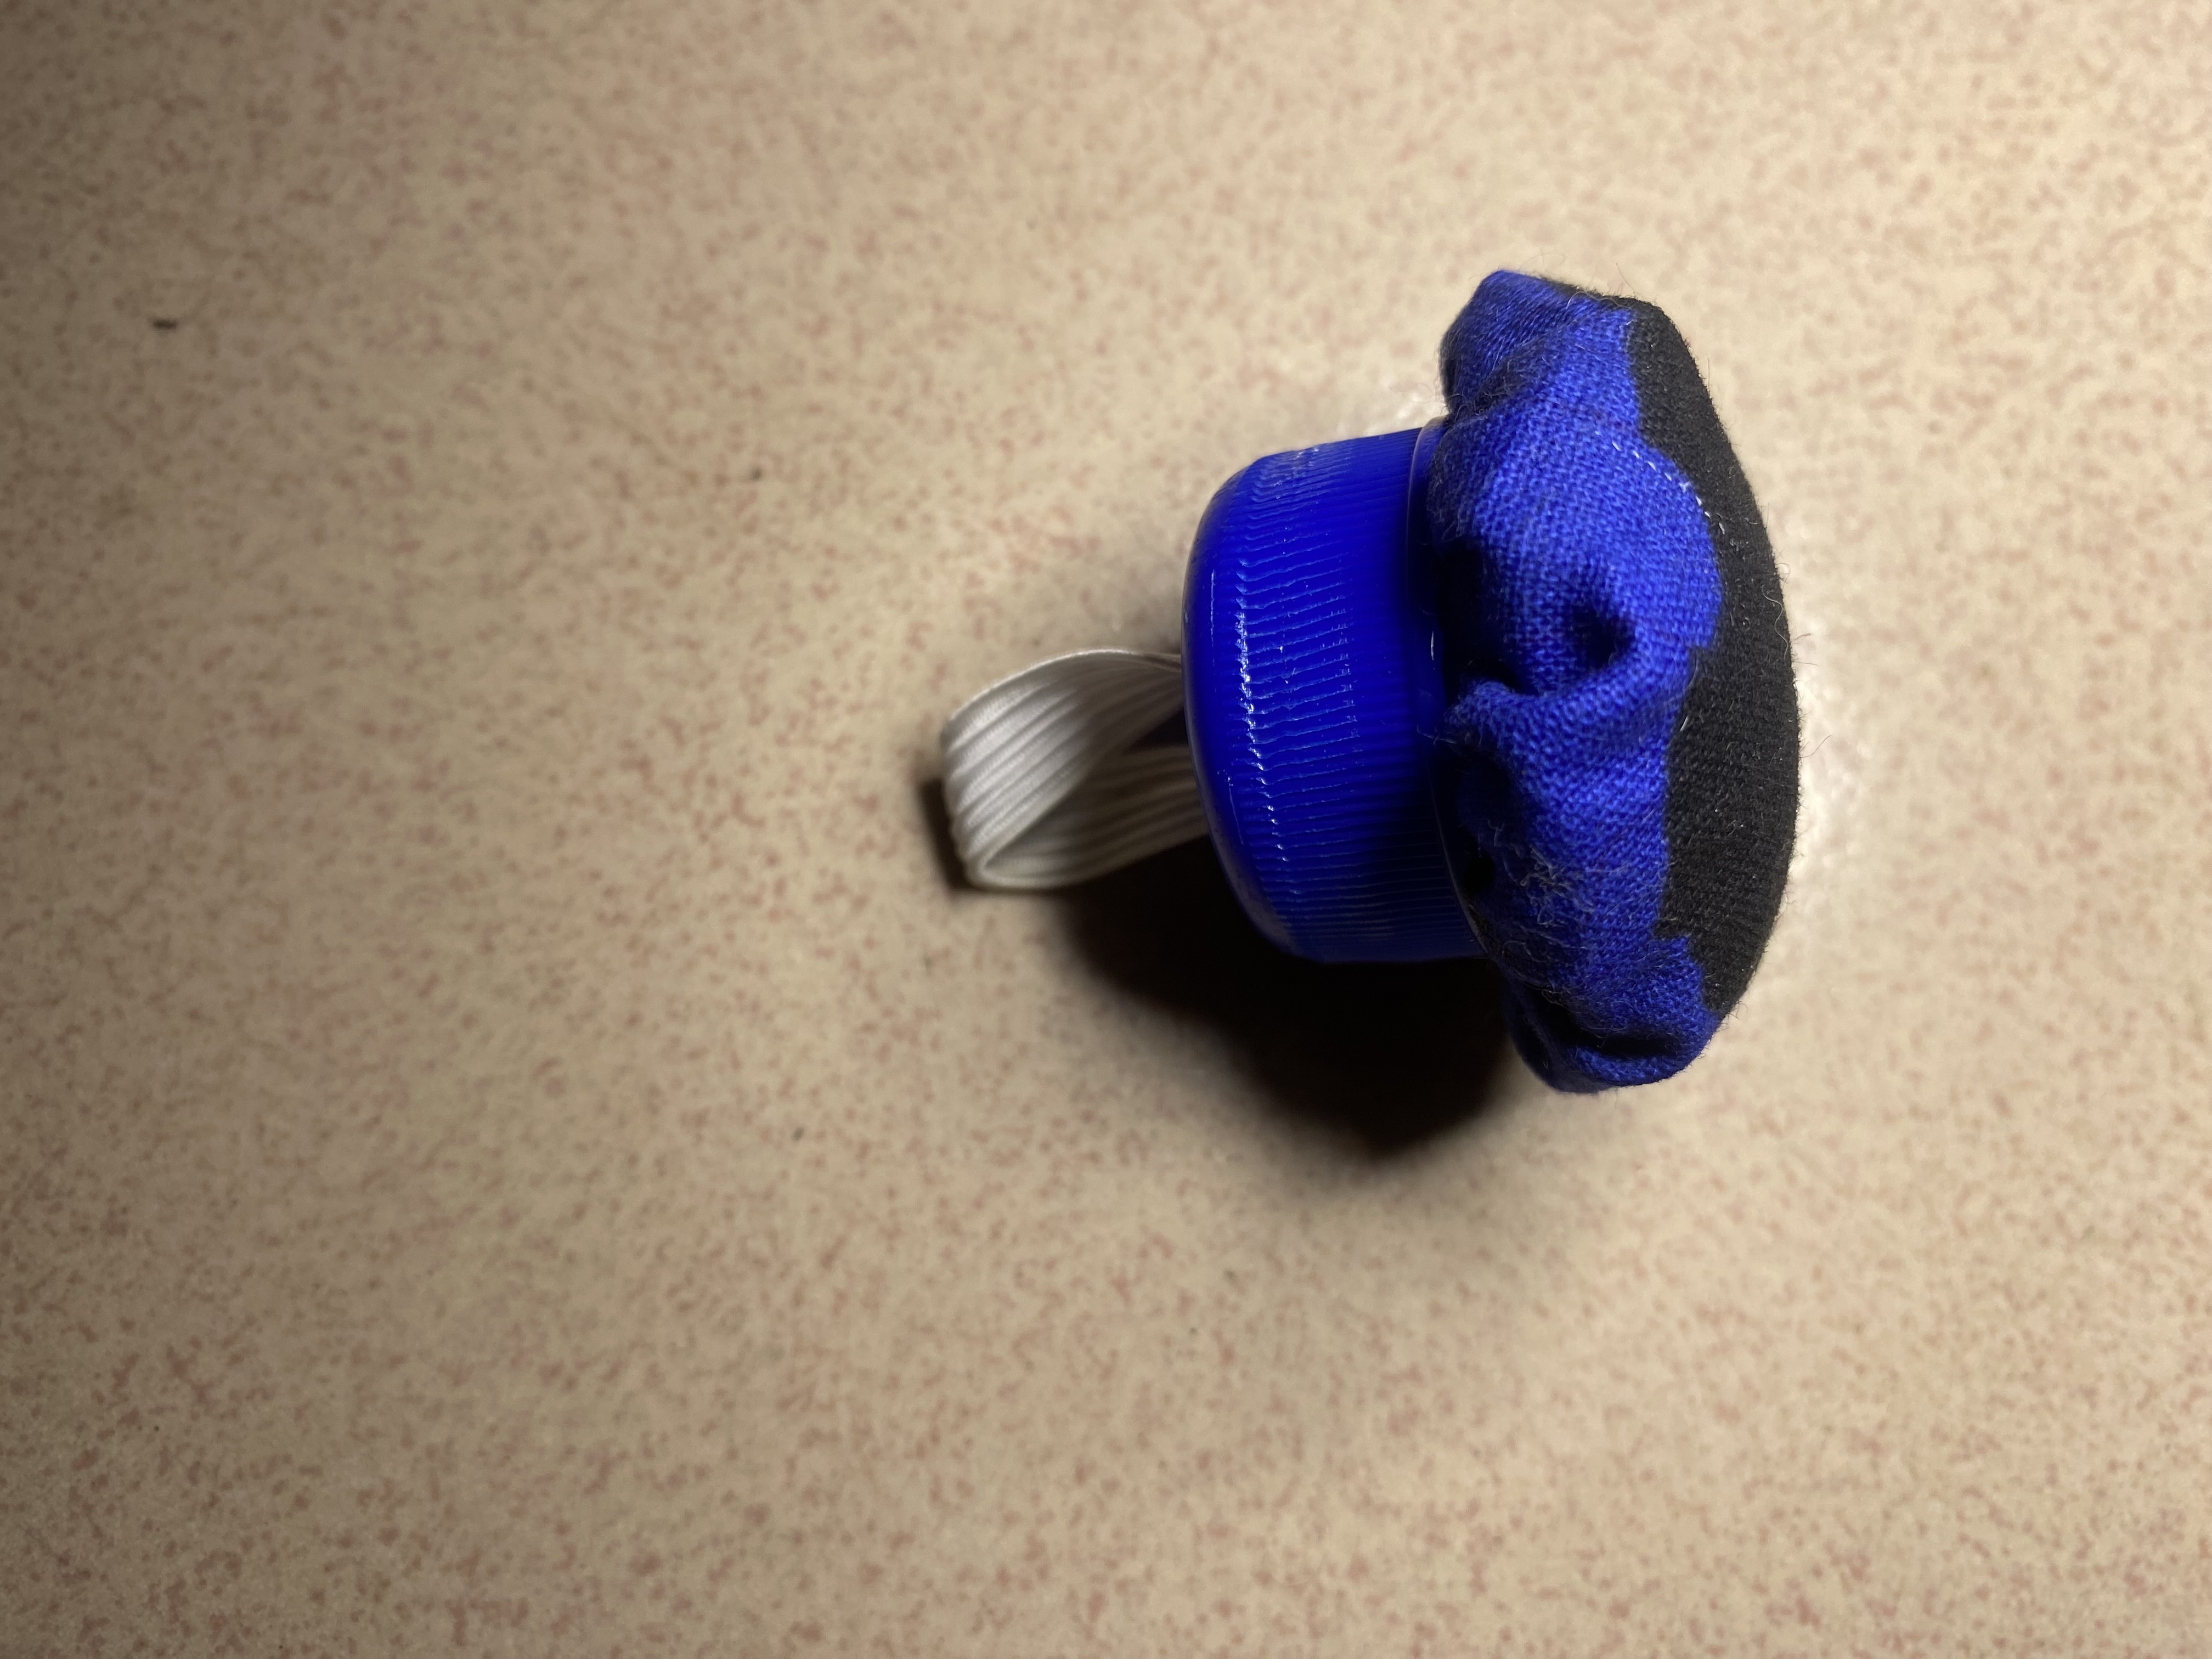
I then proceeded to put a decorative ornament around the bottle cover to elevate the look. After putting the purple ornament around it, I glued them together and my pin cushion was set.


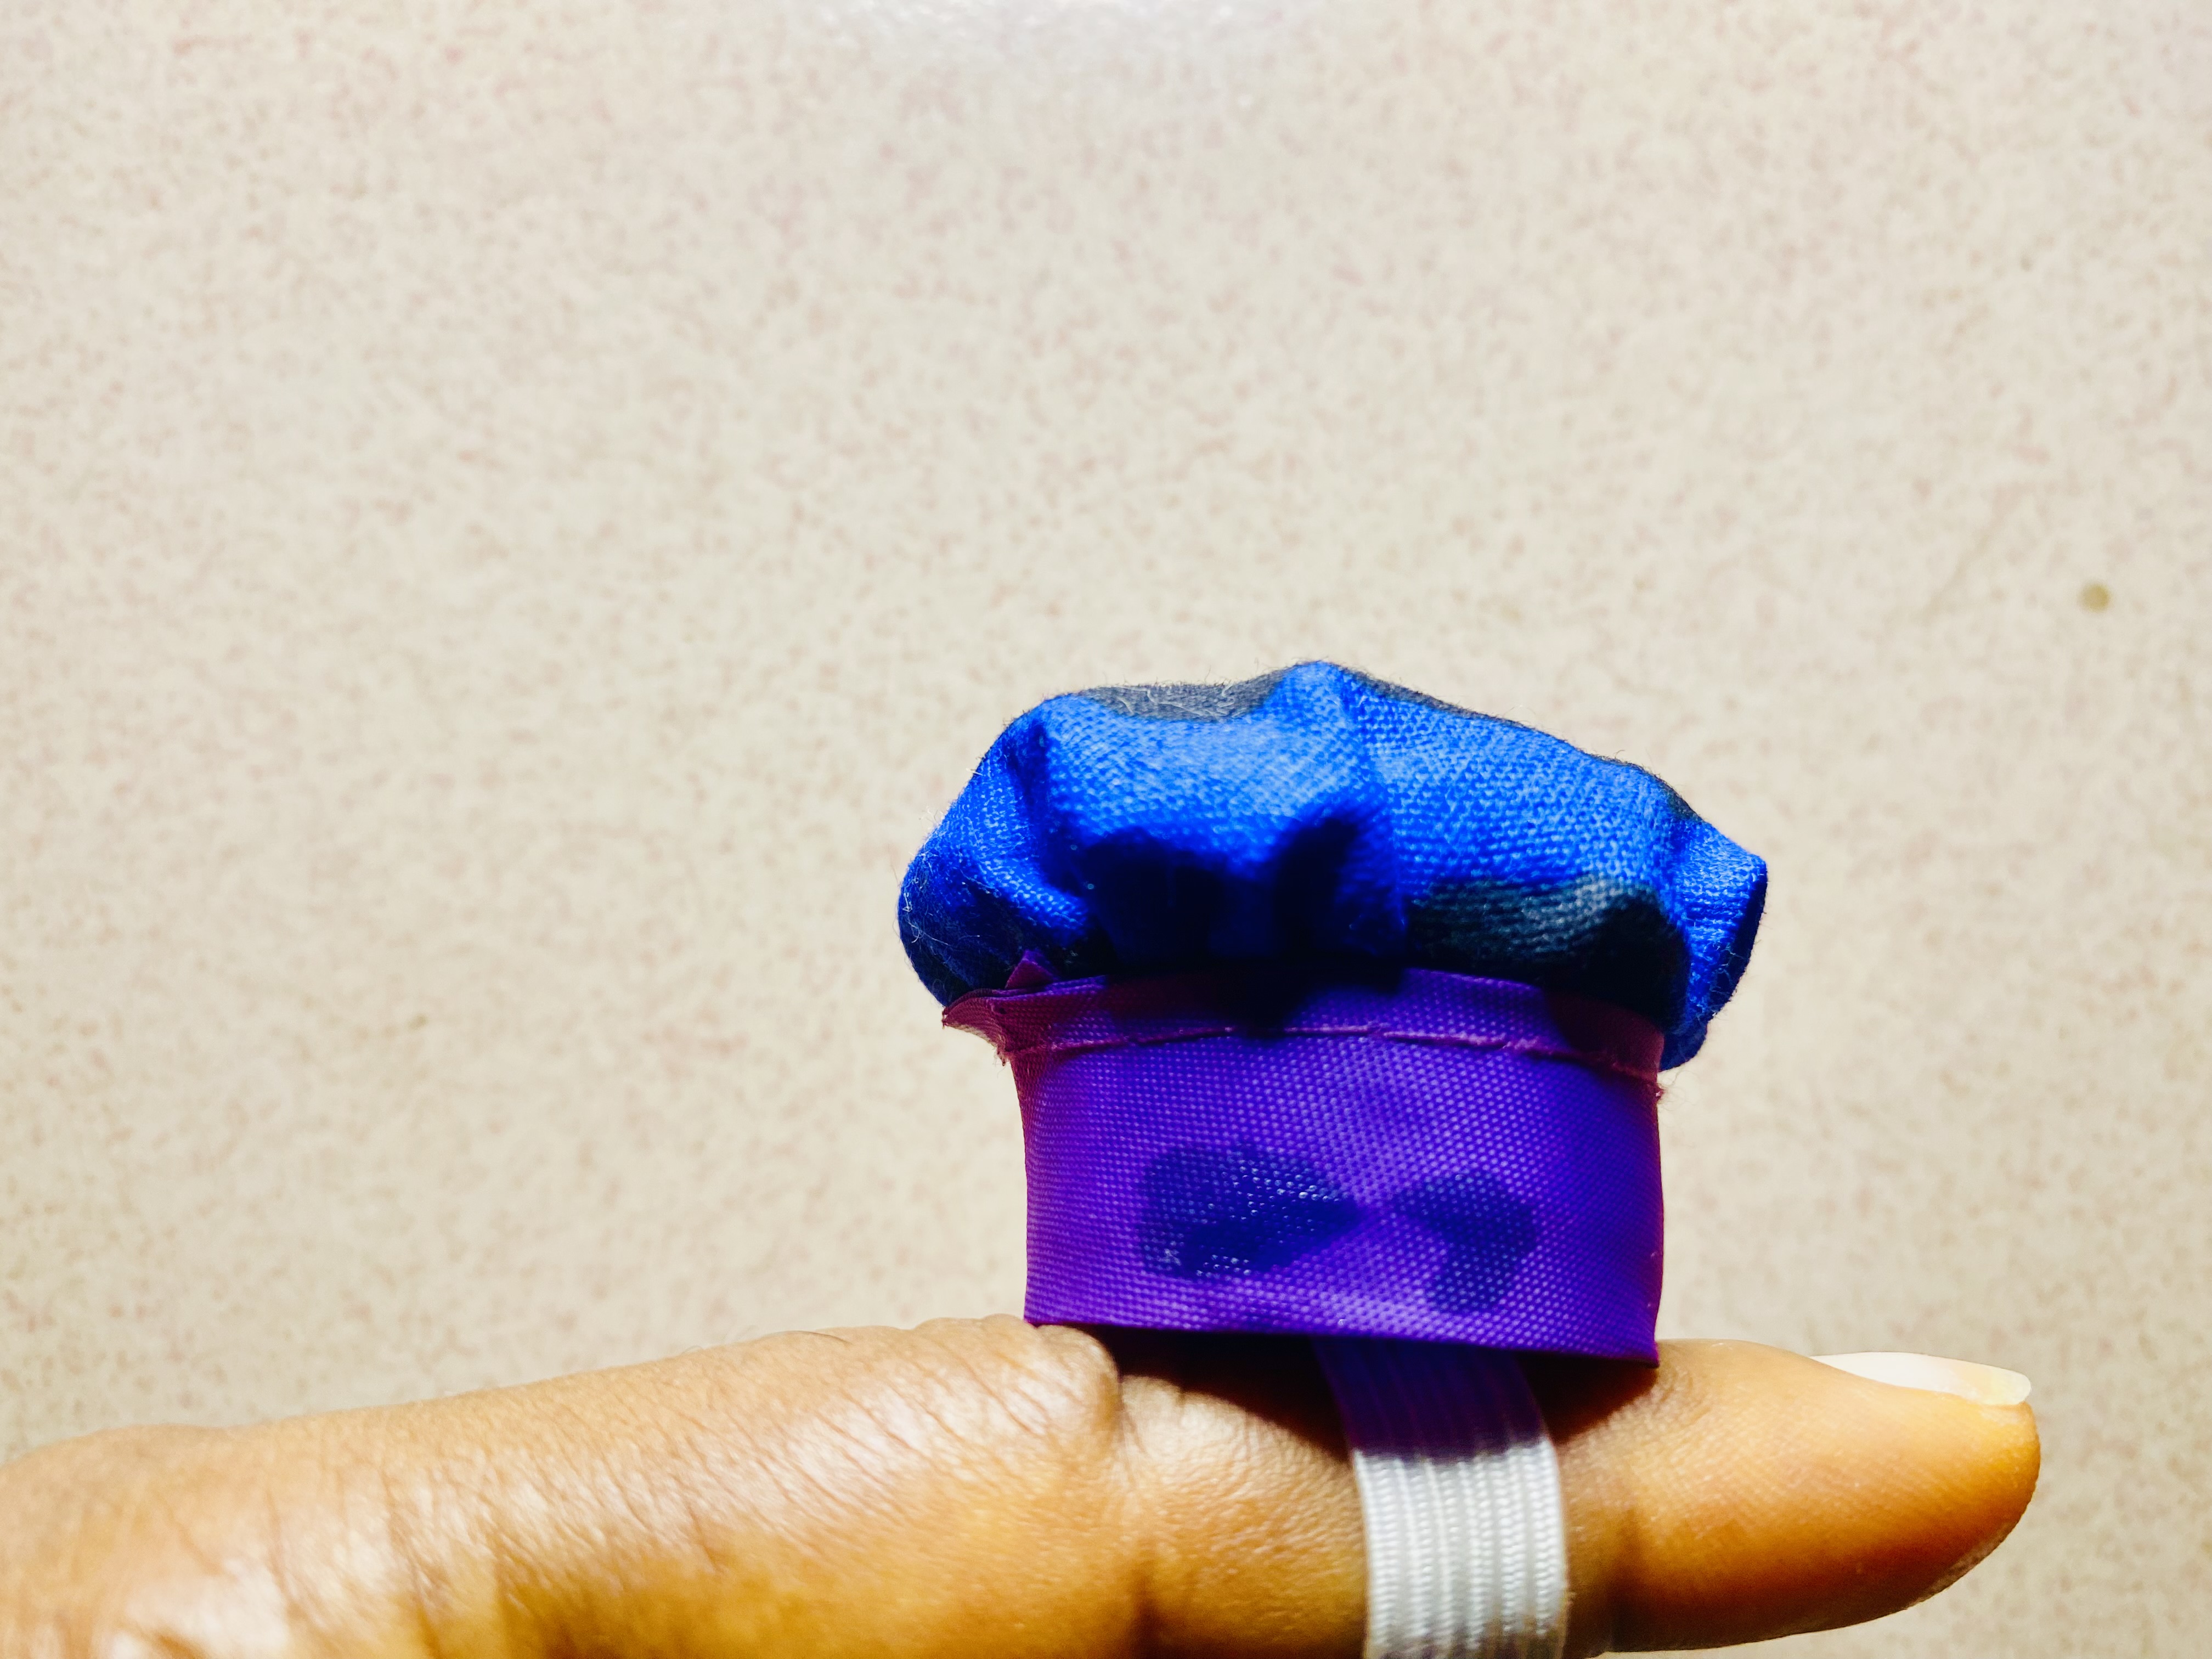
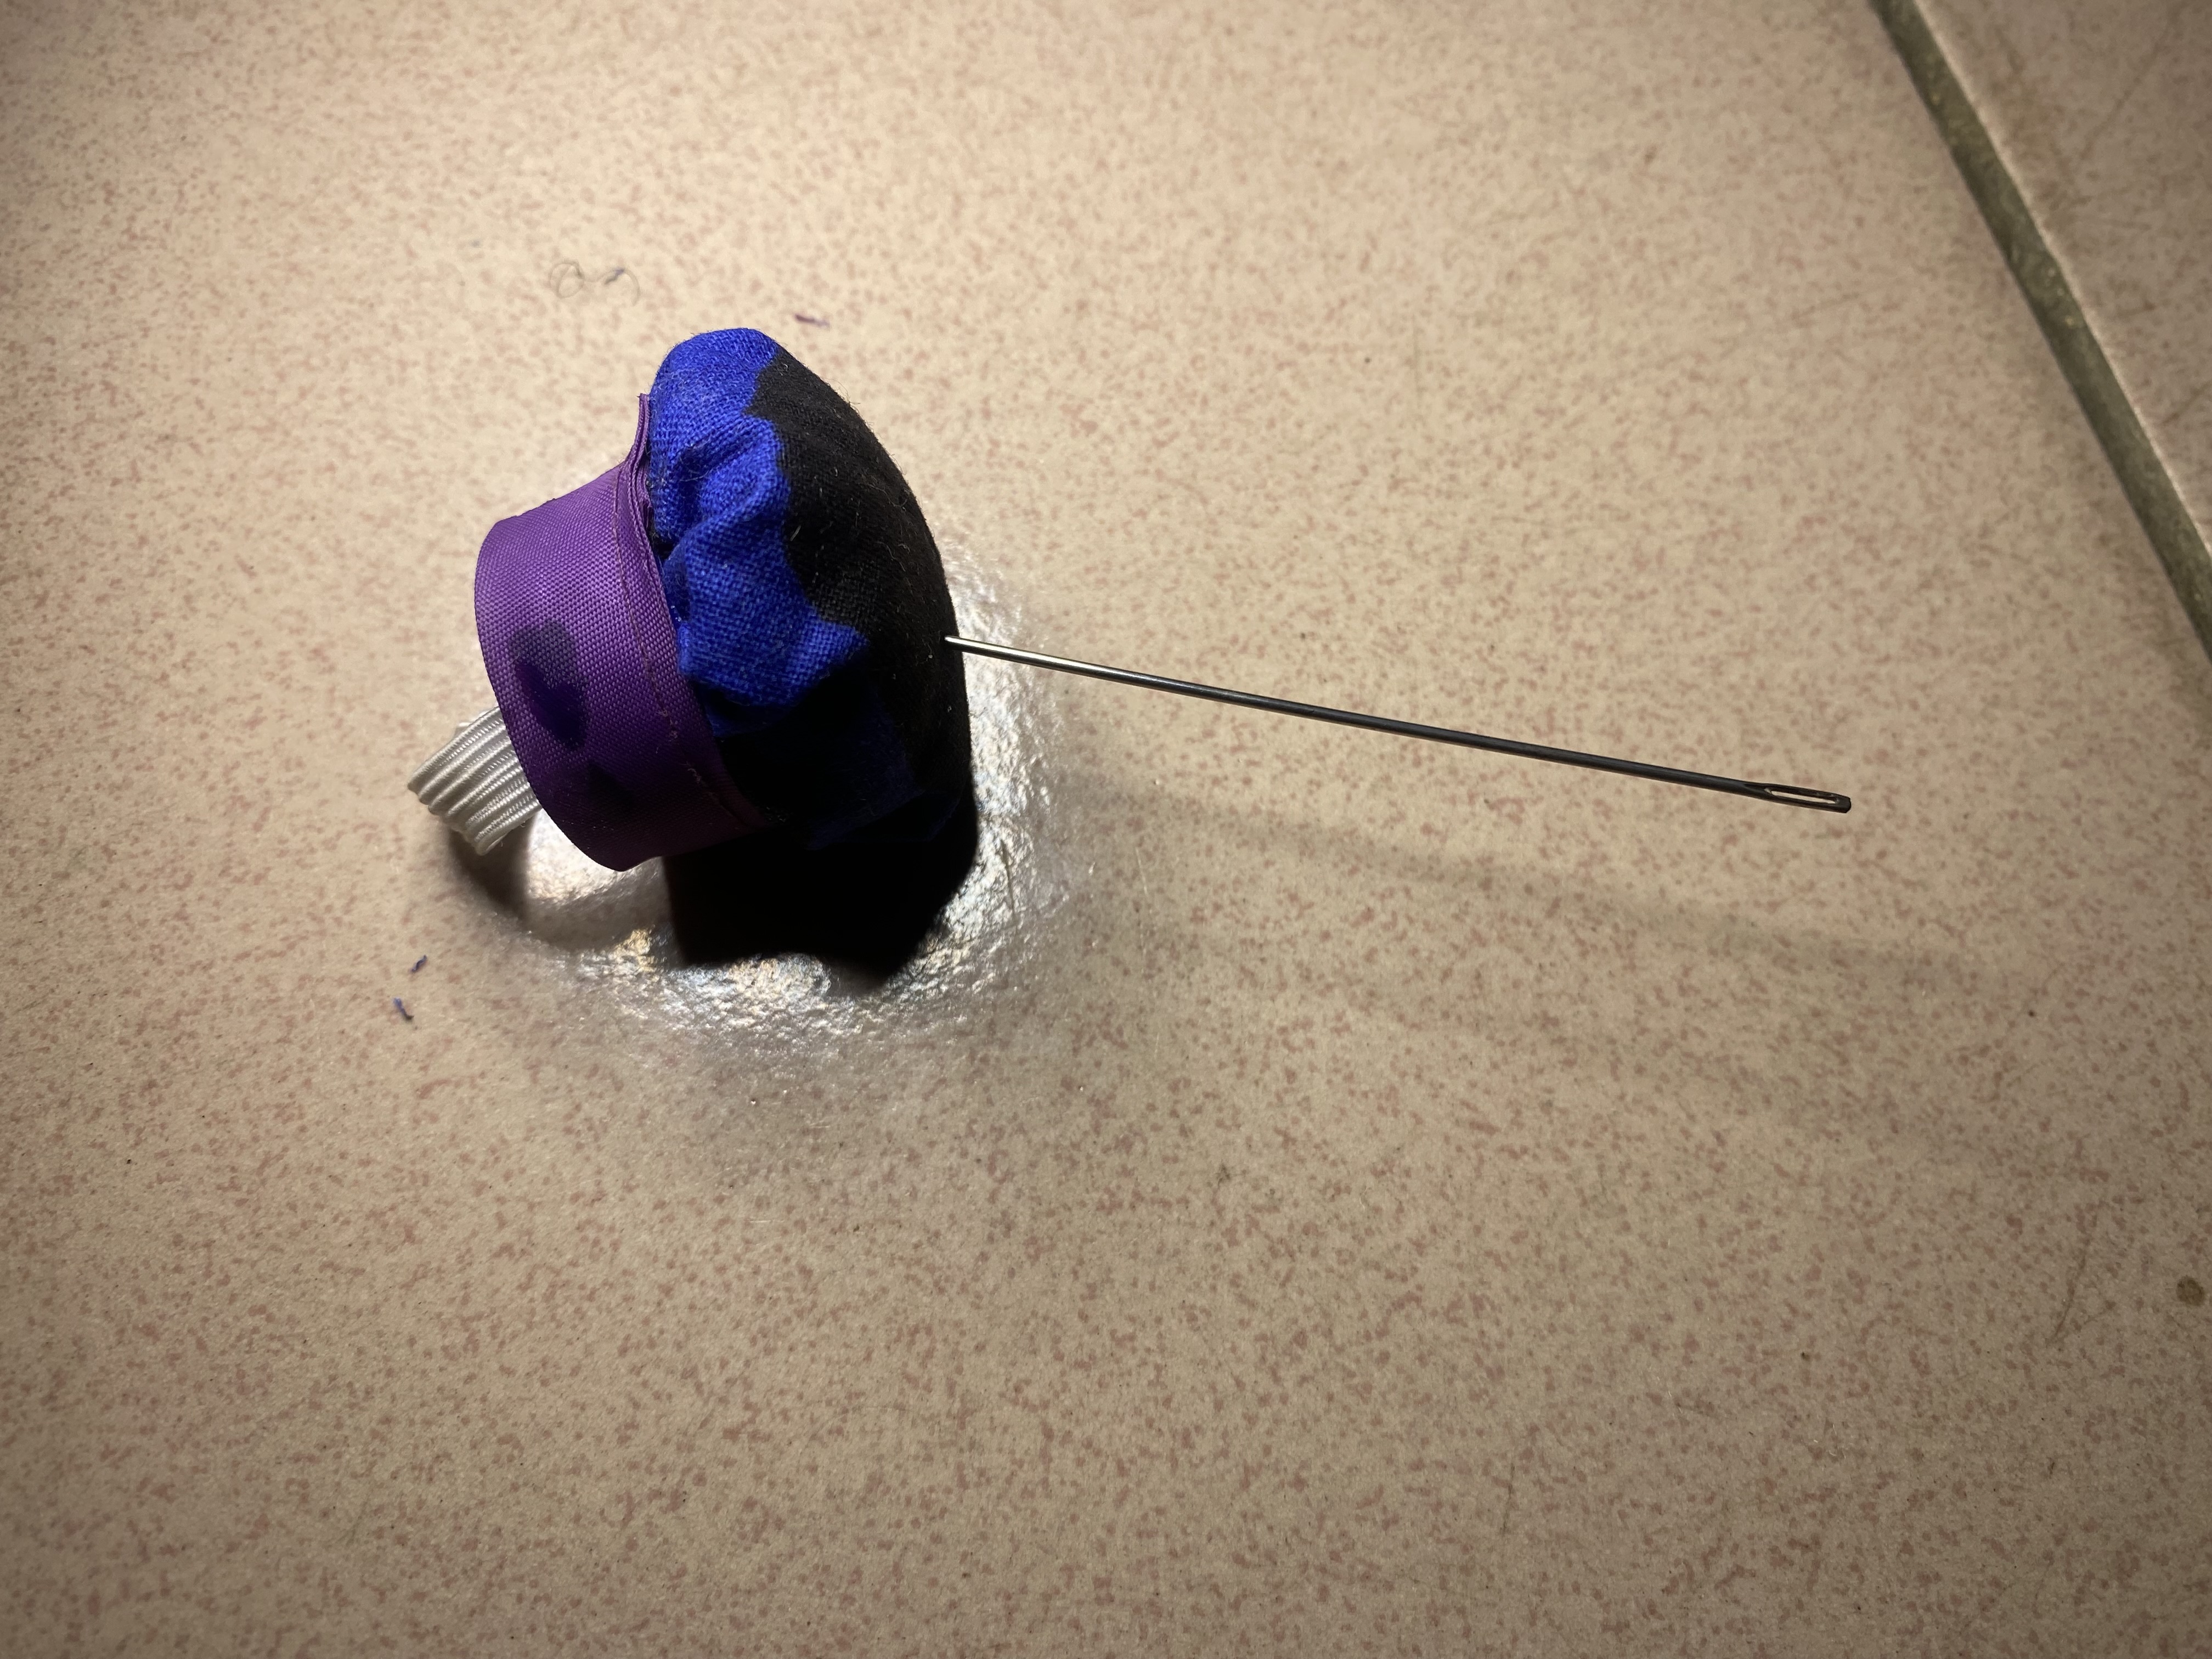
I put the needle on it to show off its beauty. My pin cushion was all set and ready to be used.
I had issues with light as I was struggling to use torchlight to make the pin cushions and in the process, I wasn’t able to do a video for the challenge. Capturing the pictures was enough challenge due to electricity issues.
This is my first time of trying to make a pin cushion. It wasn’t difficult as I followed the teachers process shown in the class. The only difficulty I encountered was no light hence getting video was difficult. I hope you understand.
I have prompted the pin cushions making and final outcome on my Whatsap status and here’s the evidence.
I have also interacted with other participants as it helps to facilitate engagement and support with learning.
Here are the engagement links
https://steemit.com/ecological3r-s31w3/@alexanderpeace/tehf72
https://steemit.com/ecological3r-s31w3/@alexanderpeace/reply-5orhhh
It's amazing what you can do with a small lid or a scrap of fabric that would have surely ended up in the trash—you've extended its useful life to create a super cute and practical item. Look how, in just a few minutes, you've made a little something that many of us really appreciate. Greetings from Margarita—see you soon.