Starting fall crops for the greenhouse and our Papa Pepper seeds arrived
It is time to start planting our fall and winter crops that will be grown in our heat sink greenhouse. In this blog entry we will explain the choices we are making for our fall/winter garden, show the different way in which we start seedlings, and discuss the seed we bought here through Steemit from Papa Pepper.
Over the next few weeks we are going to start a variety of seedlings. Predominately we will be growing hardy plants in the heat sink greenhouse, but we will also try some different hardiness varieties to test the new greenhouse and its capabilities. We will be growing spinach, broccoli, cabbage, cauliflower, kale, collard greens, chard, beets, spaghetti squash and pole beans this fall/winter growing season. These will be grown for our own use and possibly selling some locally to our community.
I am excited to try two new varieties this fall, both were discovered from videos and blog posts from Papa Pepper. I have been interested in the malabar spinach he grows after learning it doesn't bolt in summer heat. We enjoy traditional spinach and are always disappointed to see it begin to bolt in the heat each year. If we enjoy the malabar it will give us an opportunity to enjoy spinach all year long.
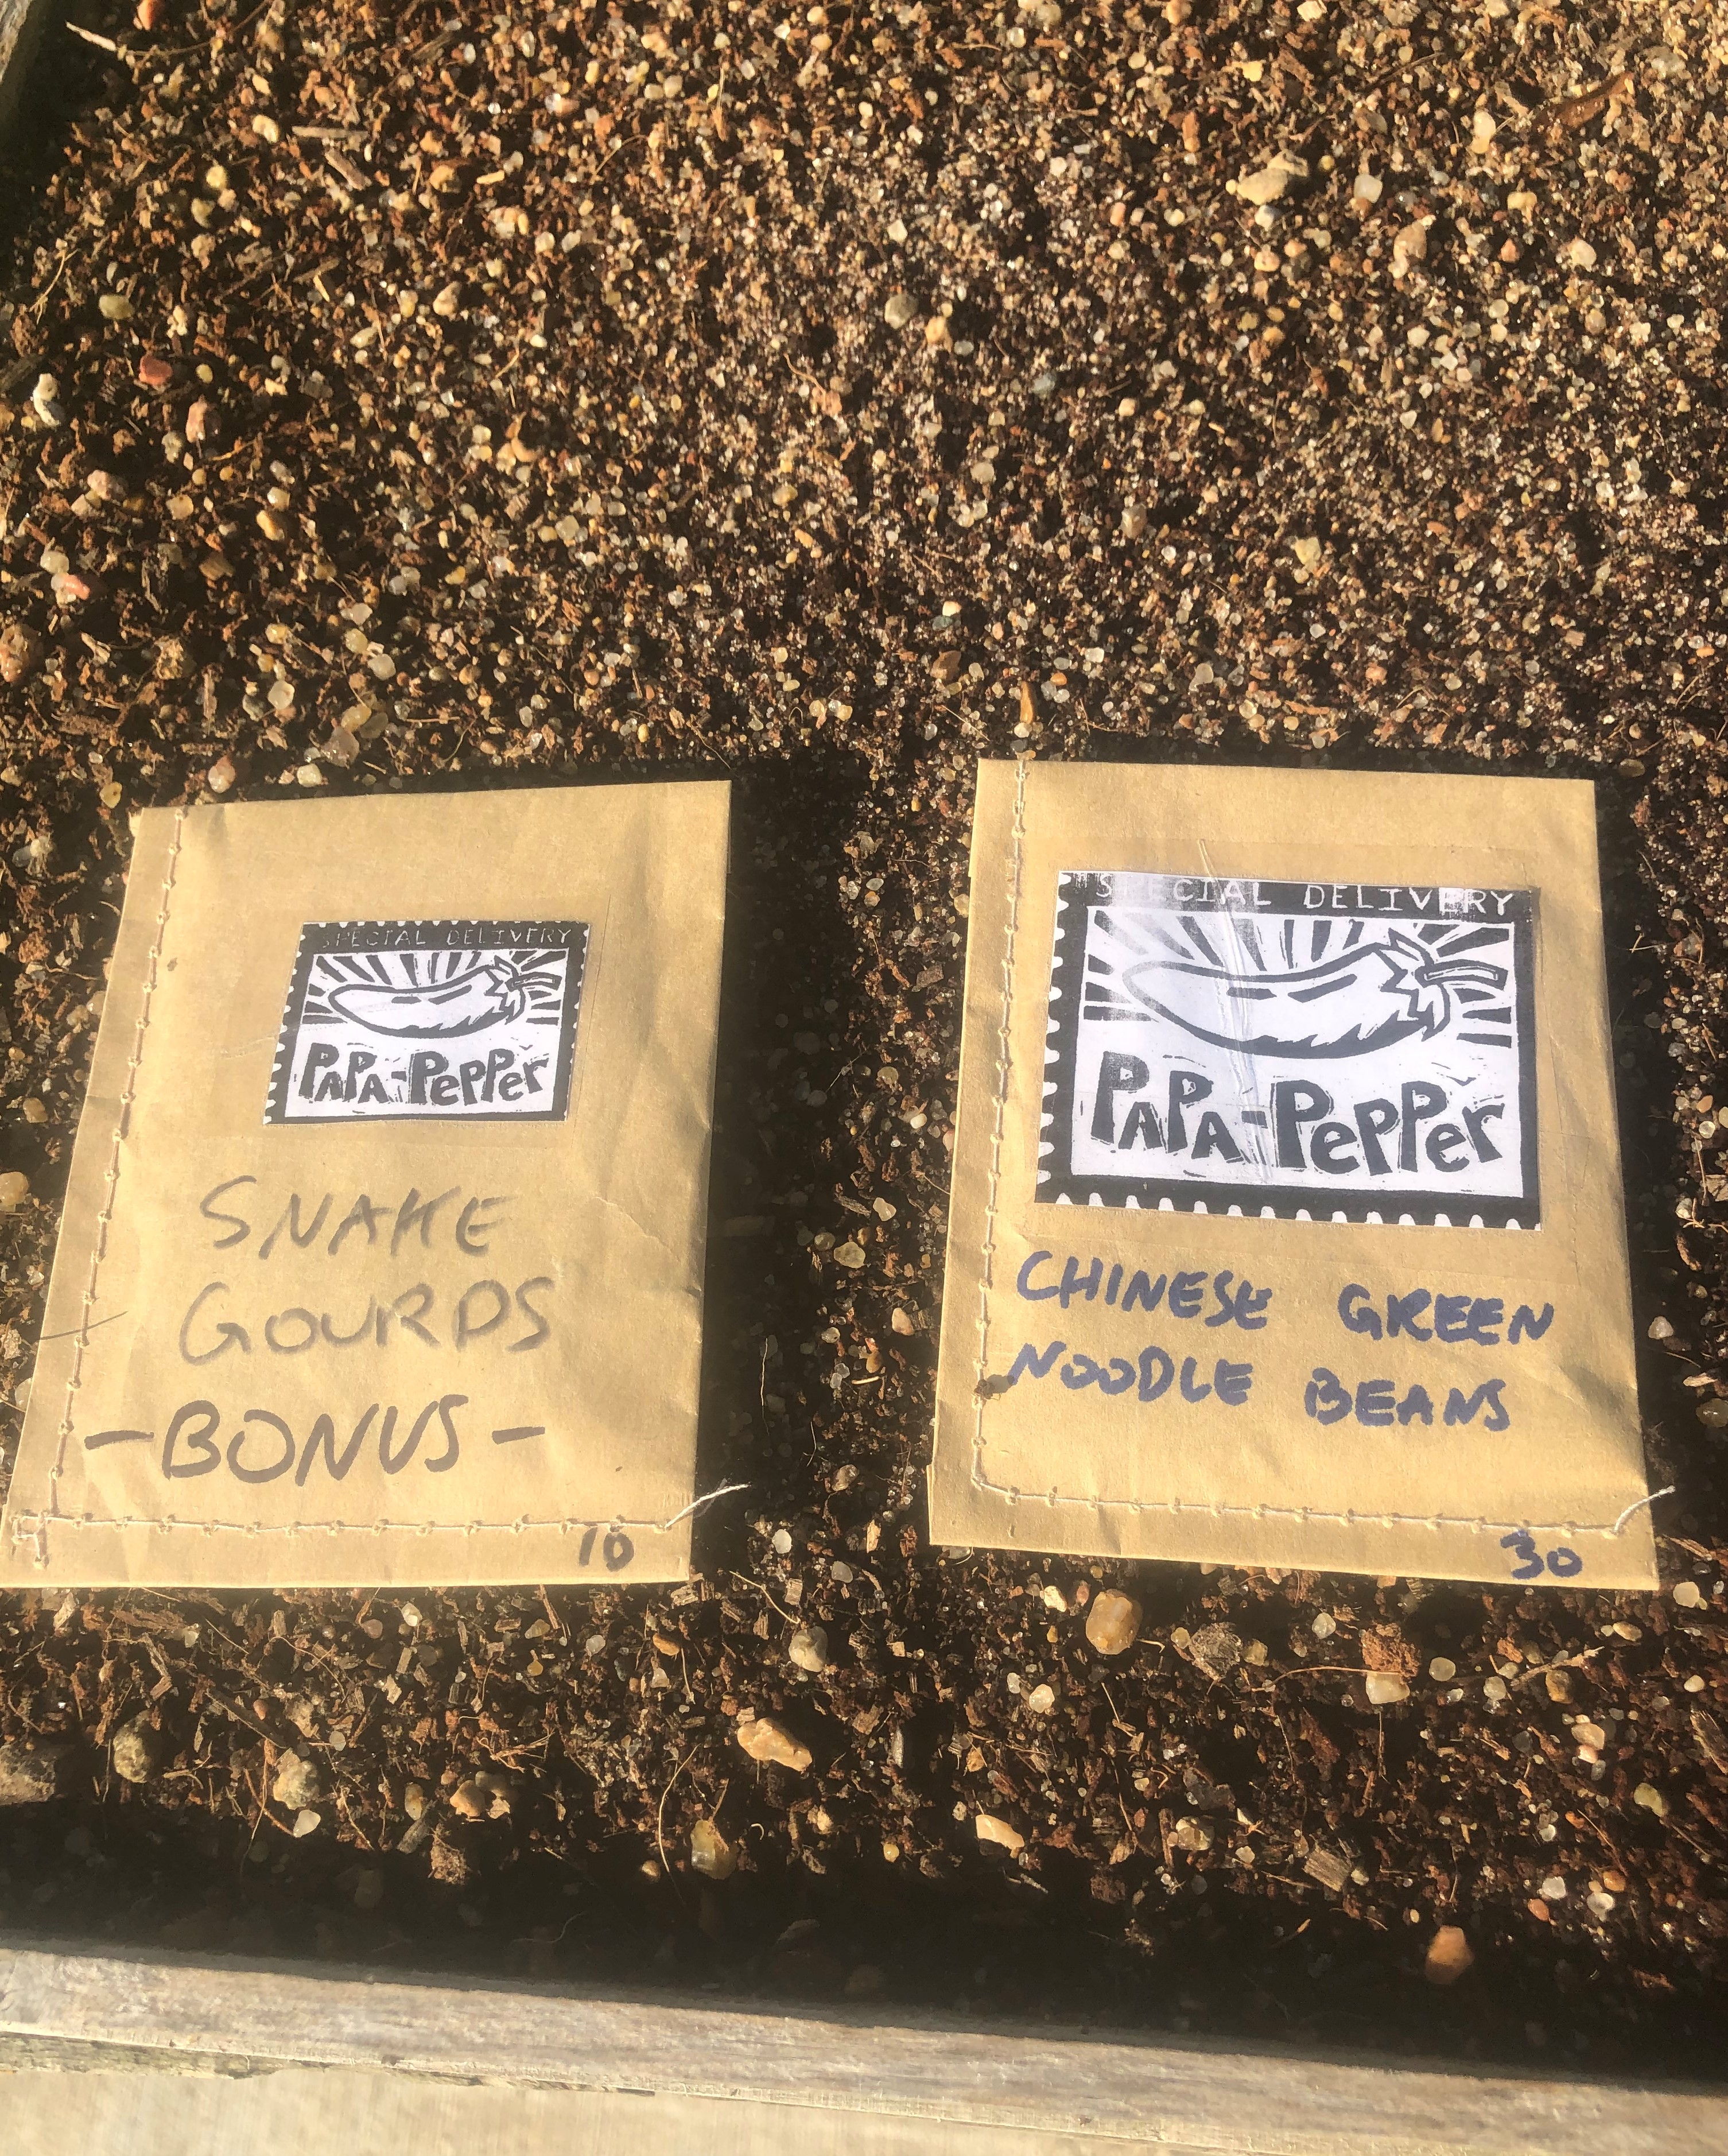
The second new variety we are excited to try is the Chinese noodle bean. Those massive beans were very interesting and looked like a great way to grow a mess of beans without using lots of space. I knew Papa Pepper offered seeds through his virtual store, so we decided to be some from him. We placed our order and quickly received our seeds in the mail. The Peppers were kind enough to include some bonus seeds with our order. Thank you, Peppers! My plan is to try growing the snake gourds up a guy wire for our electrical service.
Notice the stitching in the seed packets? I assume these seed packets are some cool home made ones.
We start almost all our seeds in trays and later transfer seedlings into the garden. We do this to ensure only the strongest and healthiest plants go into our garden, and to ensure every available space in the garden is occupied by a plant. This helps to ensure we have the maximum possible yield from our garden.
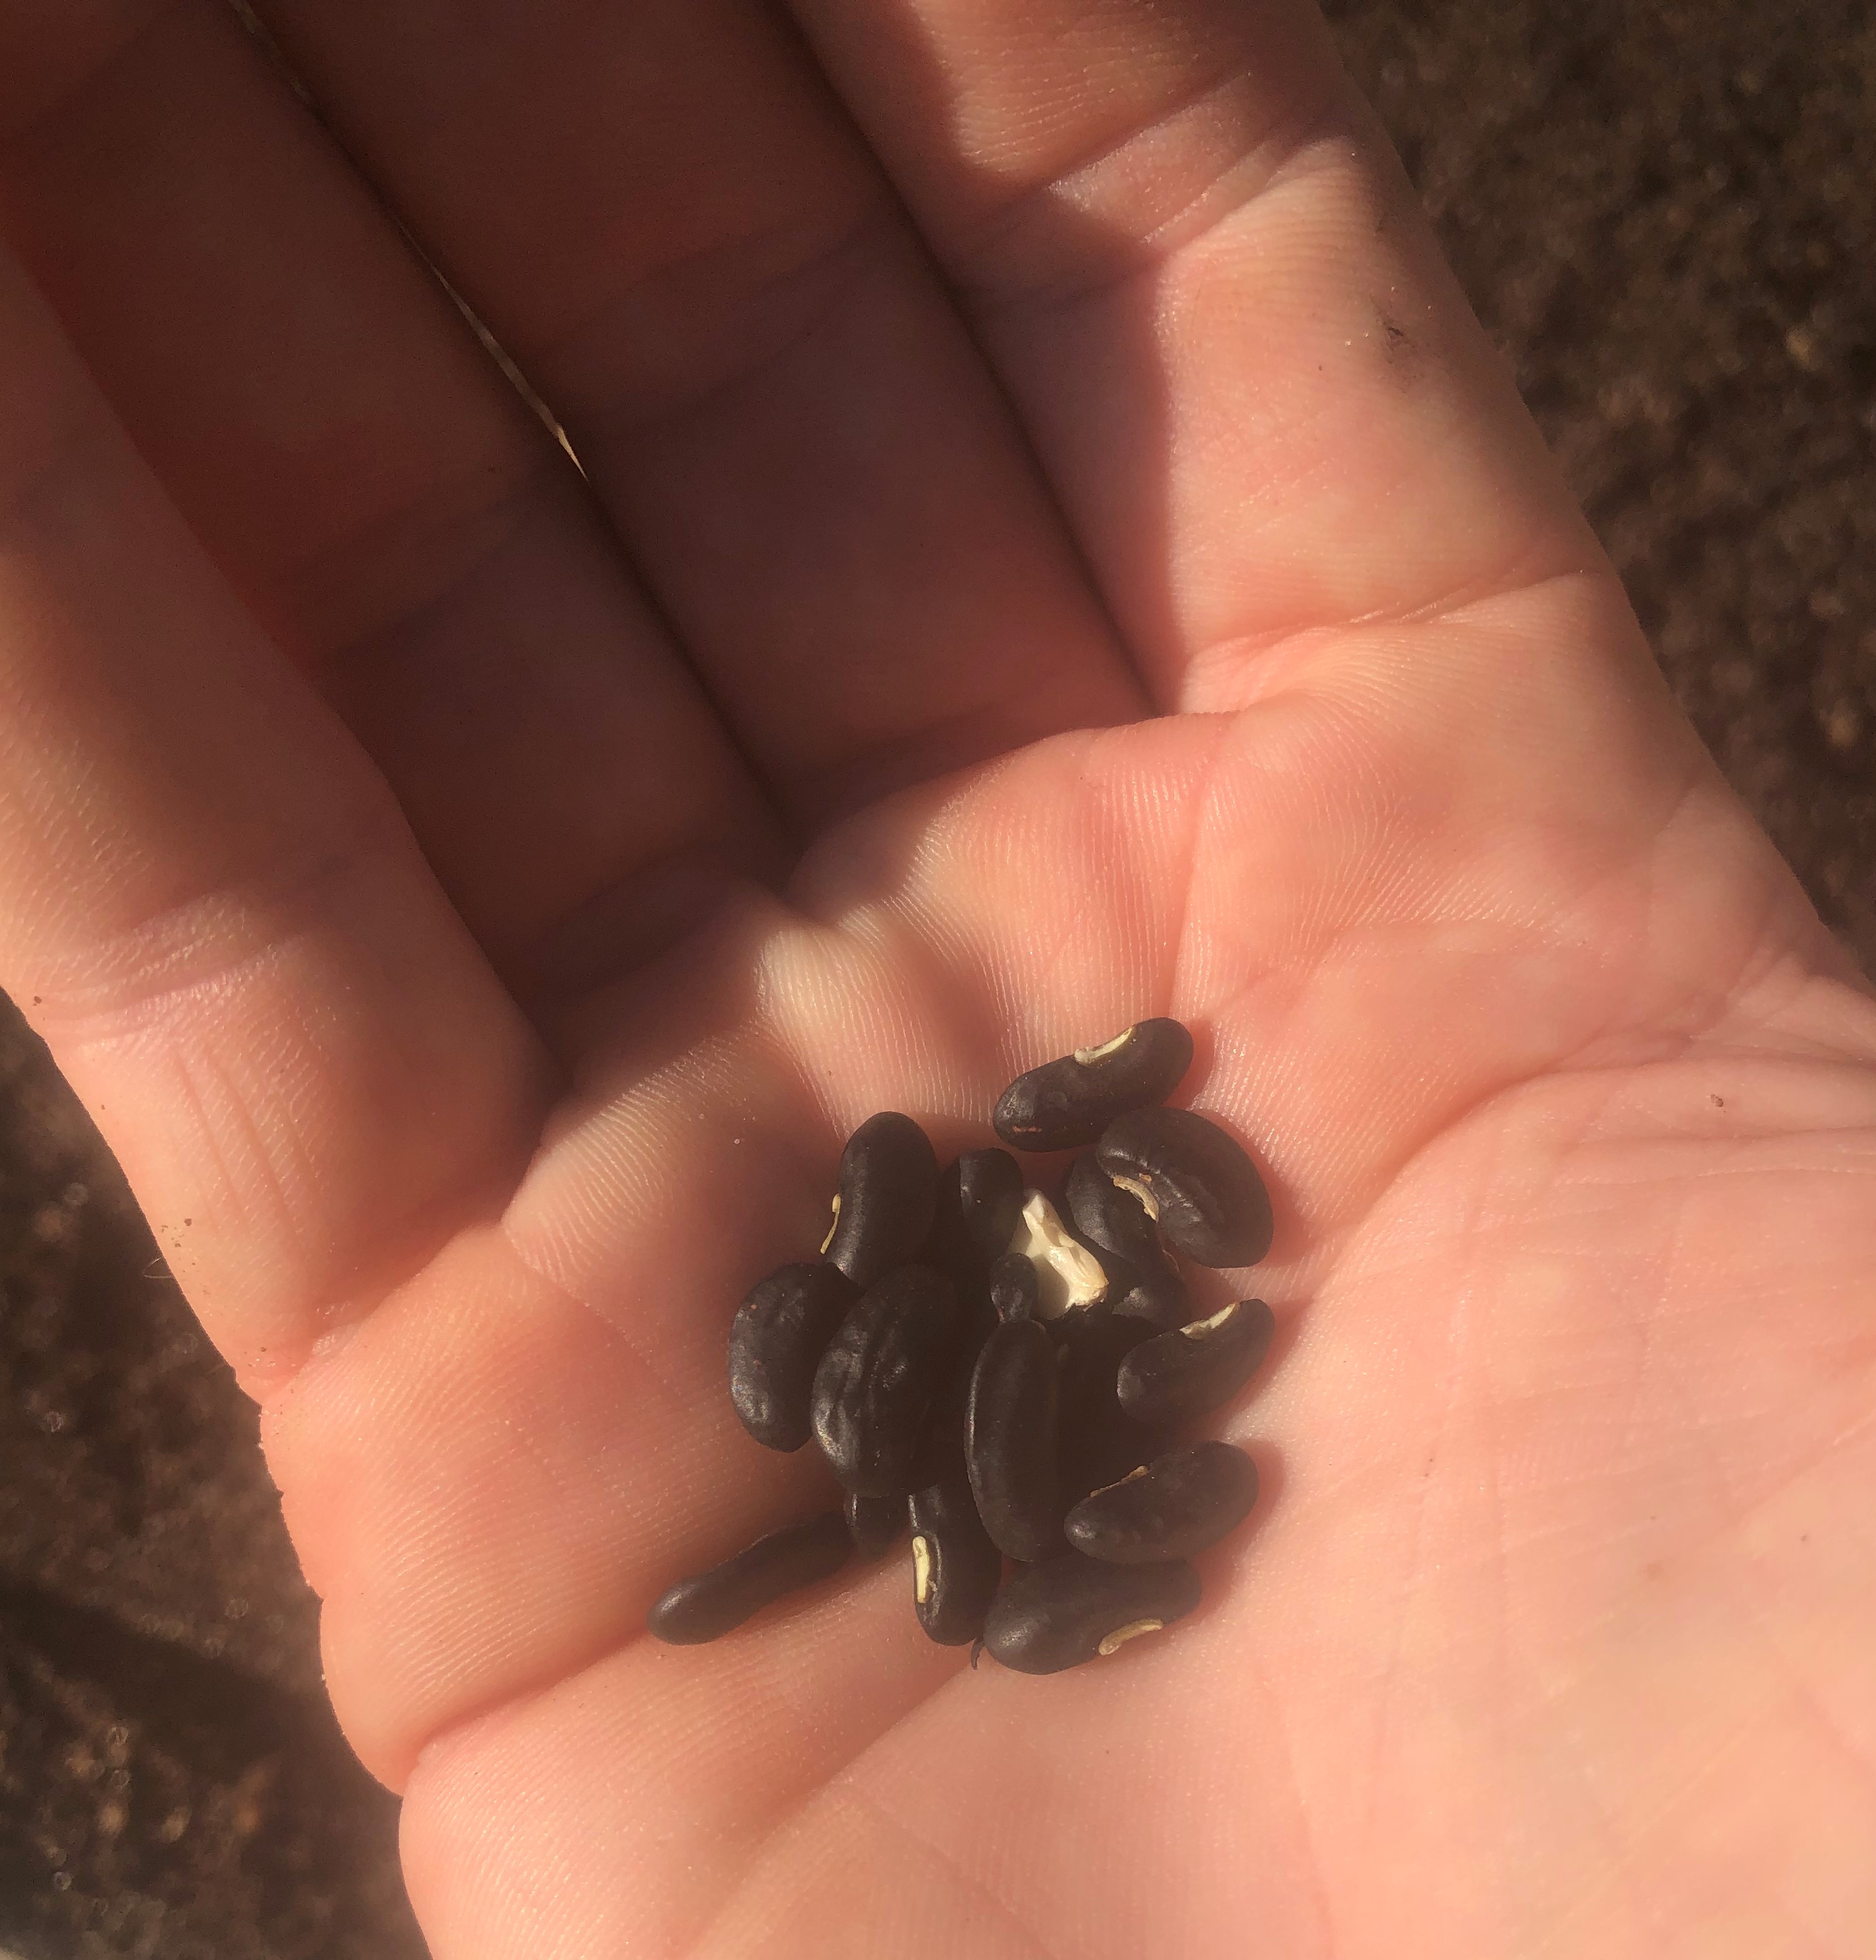
Here in my hand are some of the Chinese green noodle bean seeds we received from Papa Pepper.
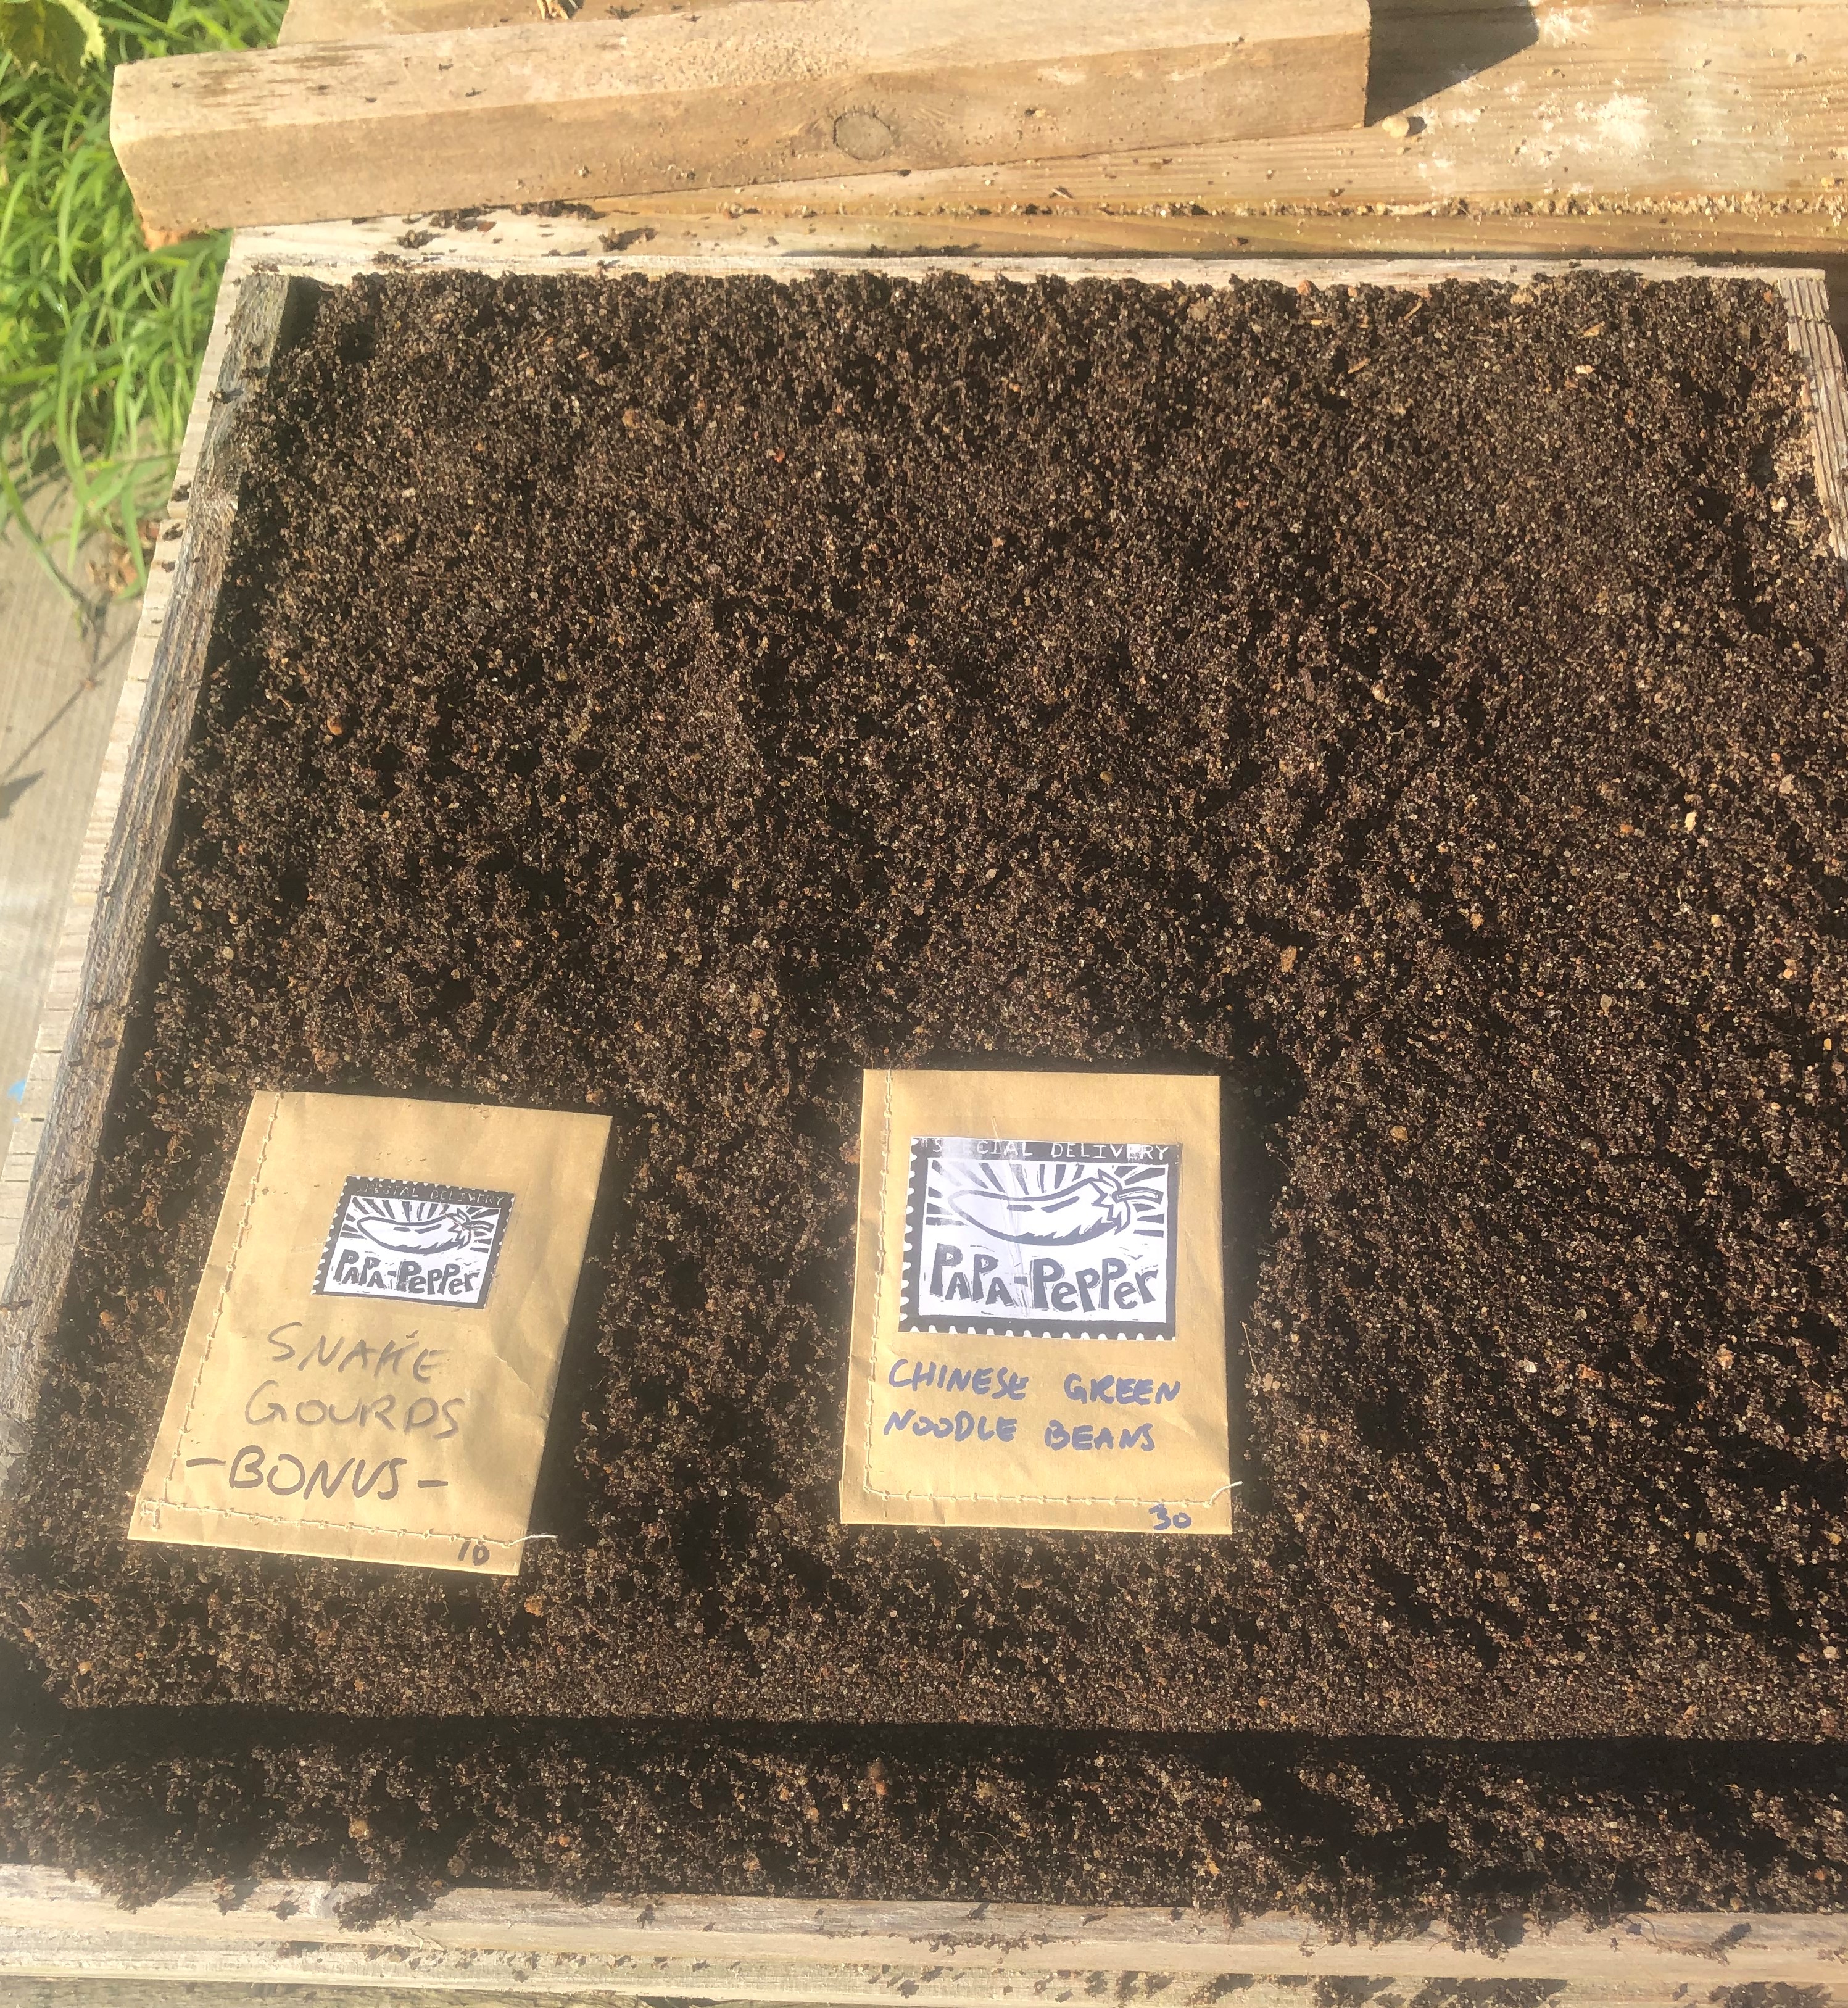
Our seedling trays are 18 inches by 18 inches and are filled with a mix of either sawdust and sand, or coconut coir and sand. This mixture doesn't contain nutrients the seedlings need, so that is added later as the seeds germinate. But this custom growing medium does provide great water retention and drainage. Because the tray is open without cells, the seedlings can be spaced out, bumped up, as the seedlings grow.
Here you can see the furrow made with the 2x2 board (discussed below) that is ready for the noodle bean seeds.
Typically we try to bump up our seedlings twice before transplanting them into the garden. This allows us to pick the strongest and healthiest plants to put in our garden. If it is weak or unhealthy it never goes into the soil. Bumping up the seedlings twice also gets the seedlings past the small and tender stage where they can become a meal for an insect or birds. We lose fewer seedlings this way by transplanting larger seedlings
We use the edge of a length of 2x2 to make a indented row in the custom growing medium. The seeds are added to this furrow and then they are covered with sand to a depth of 2 1/2 times the thickness of the seed. We use the sand because the seedlings can easily push up through it to reach light. Our germination rate of seeds went up noticeably when we started using the sand and adjusting the planting depth of our seeds.
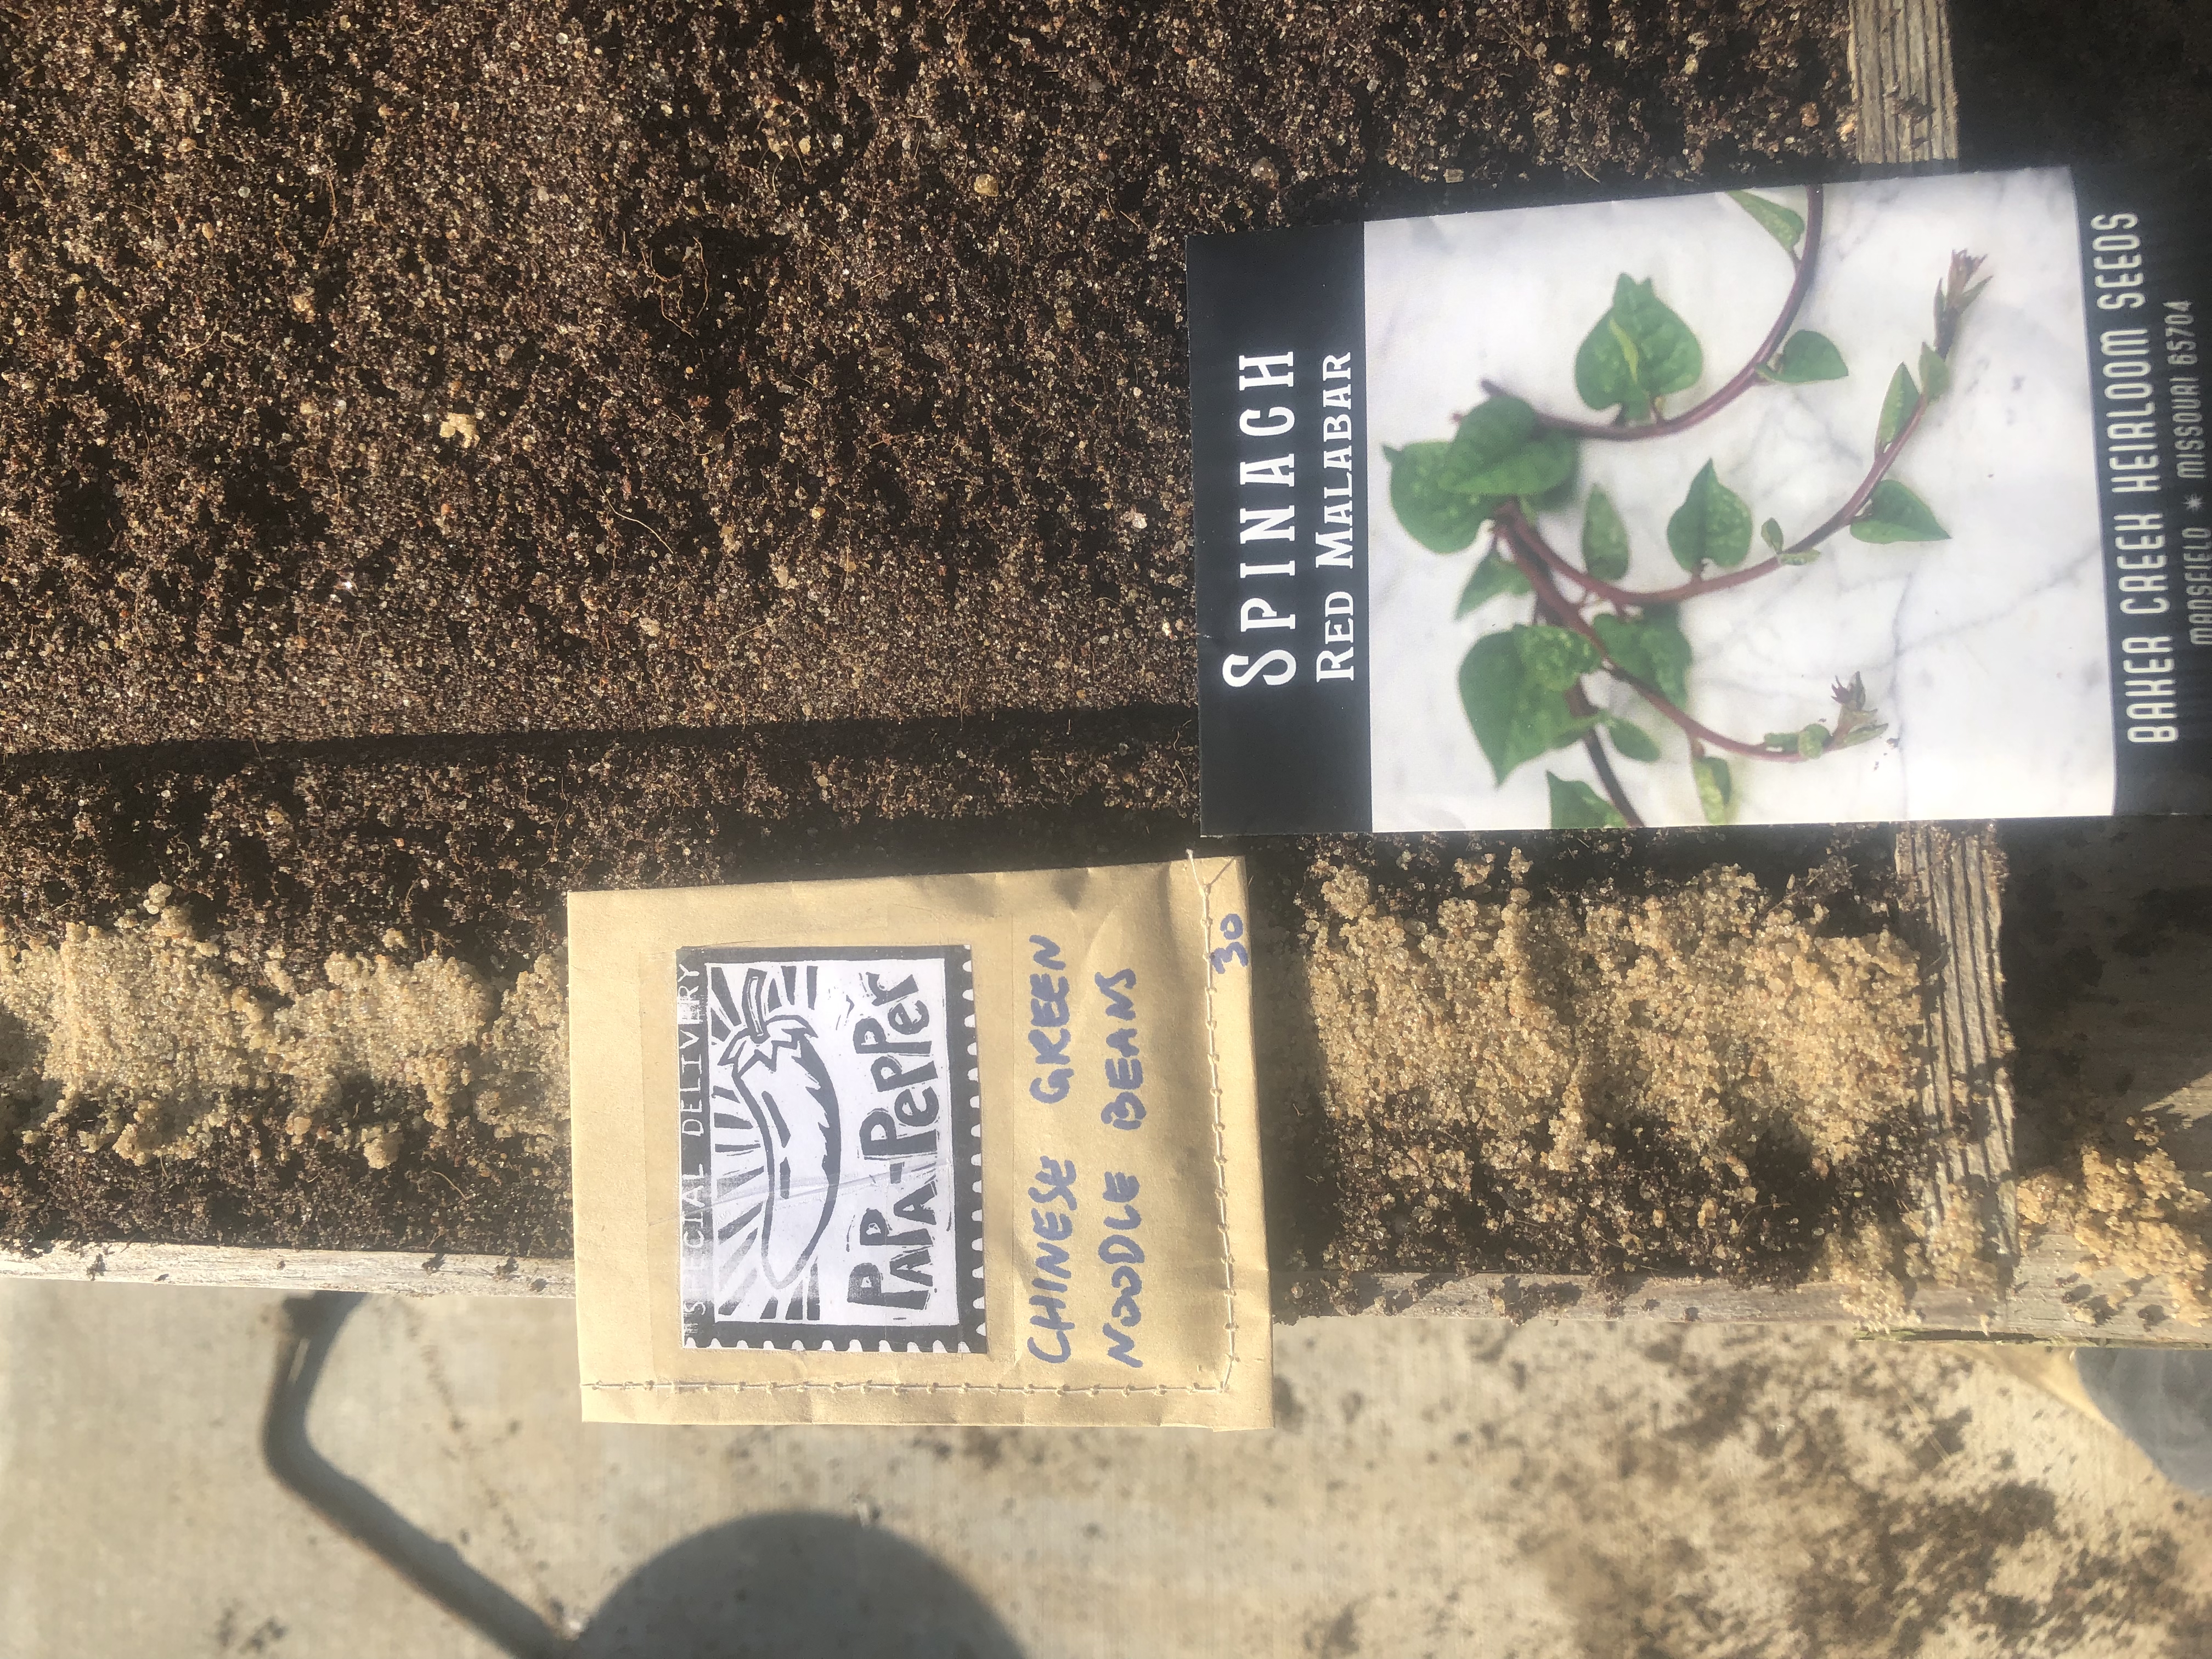
In this photo the noodle bean seeds are covered with sand and the row for the malabar spinach is ready for the seeds.
The process is repeated until we have a row for all the seeds. Once all the seeds are in and covered with the correct amount of sand it is time to cover the tray with burlap and water. In this next picture we are ready for the collard seeds to be covered with sand, everything covered, and then watered.
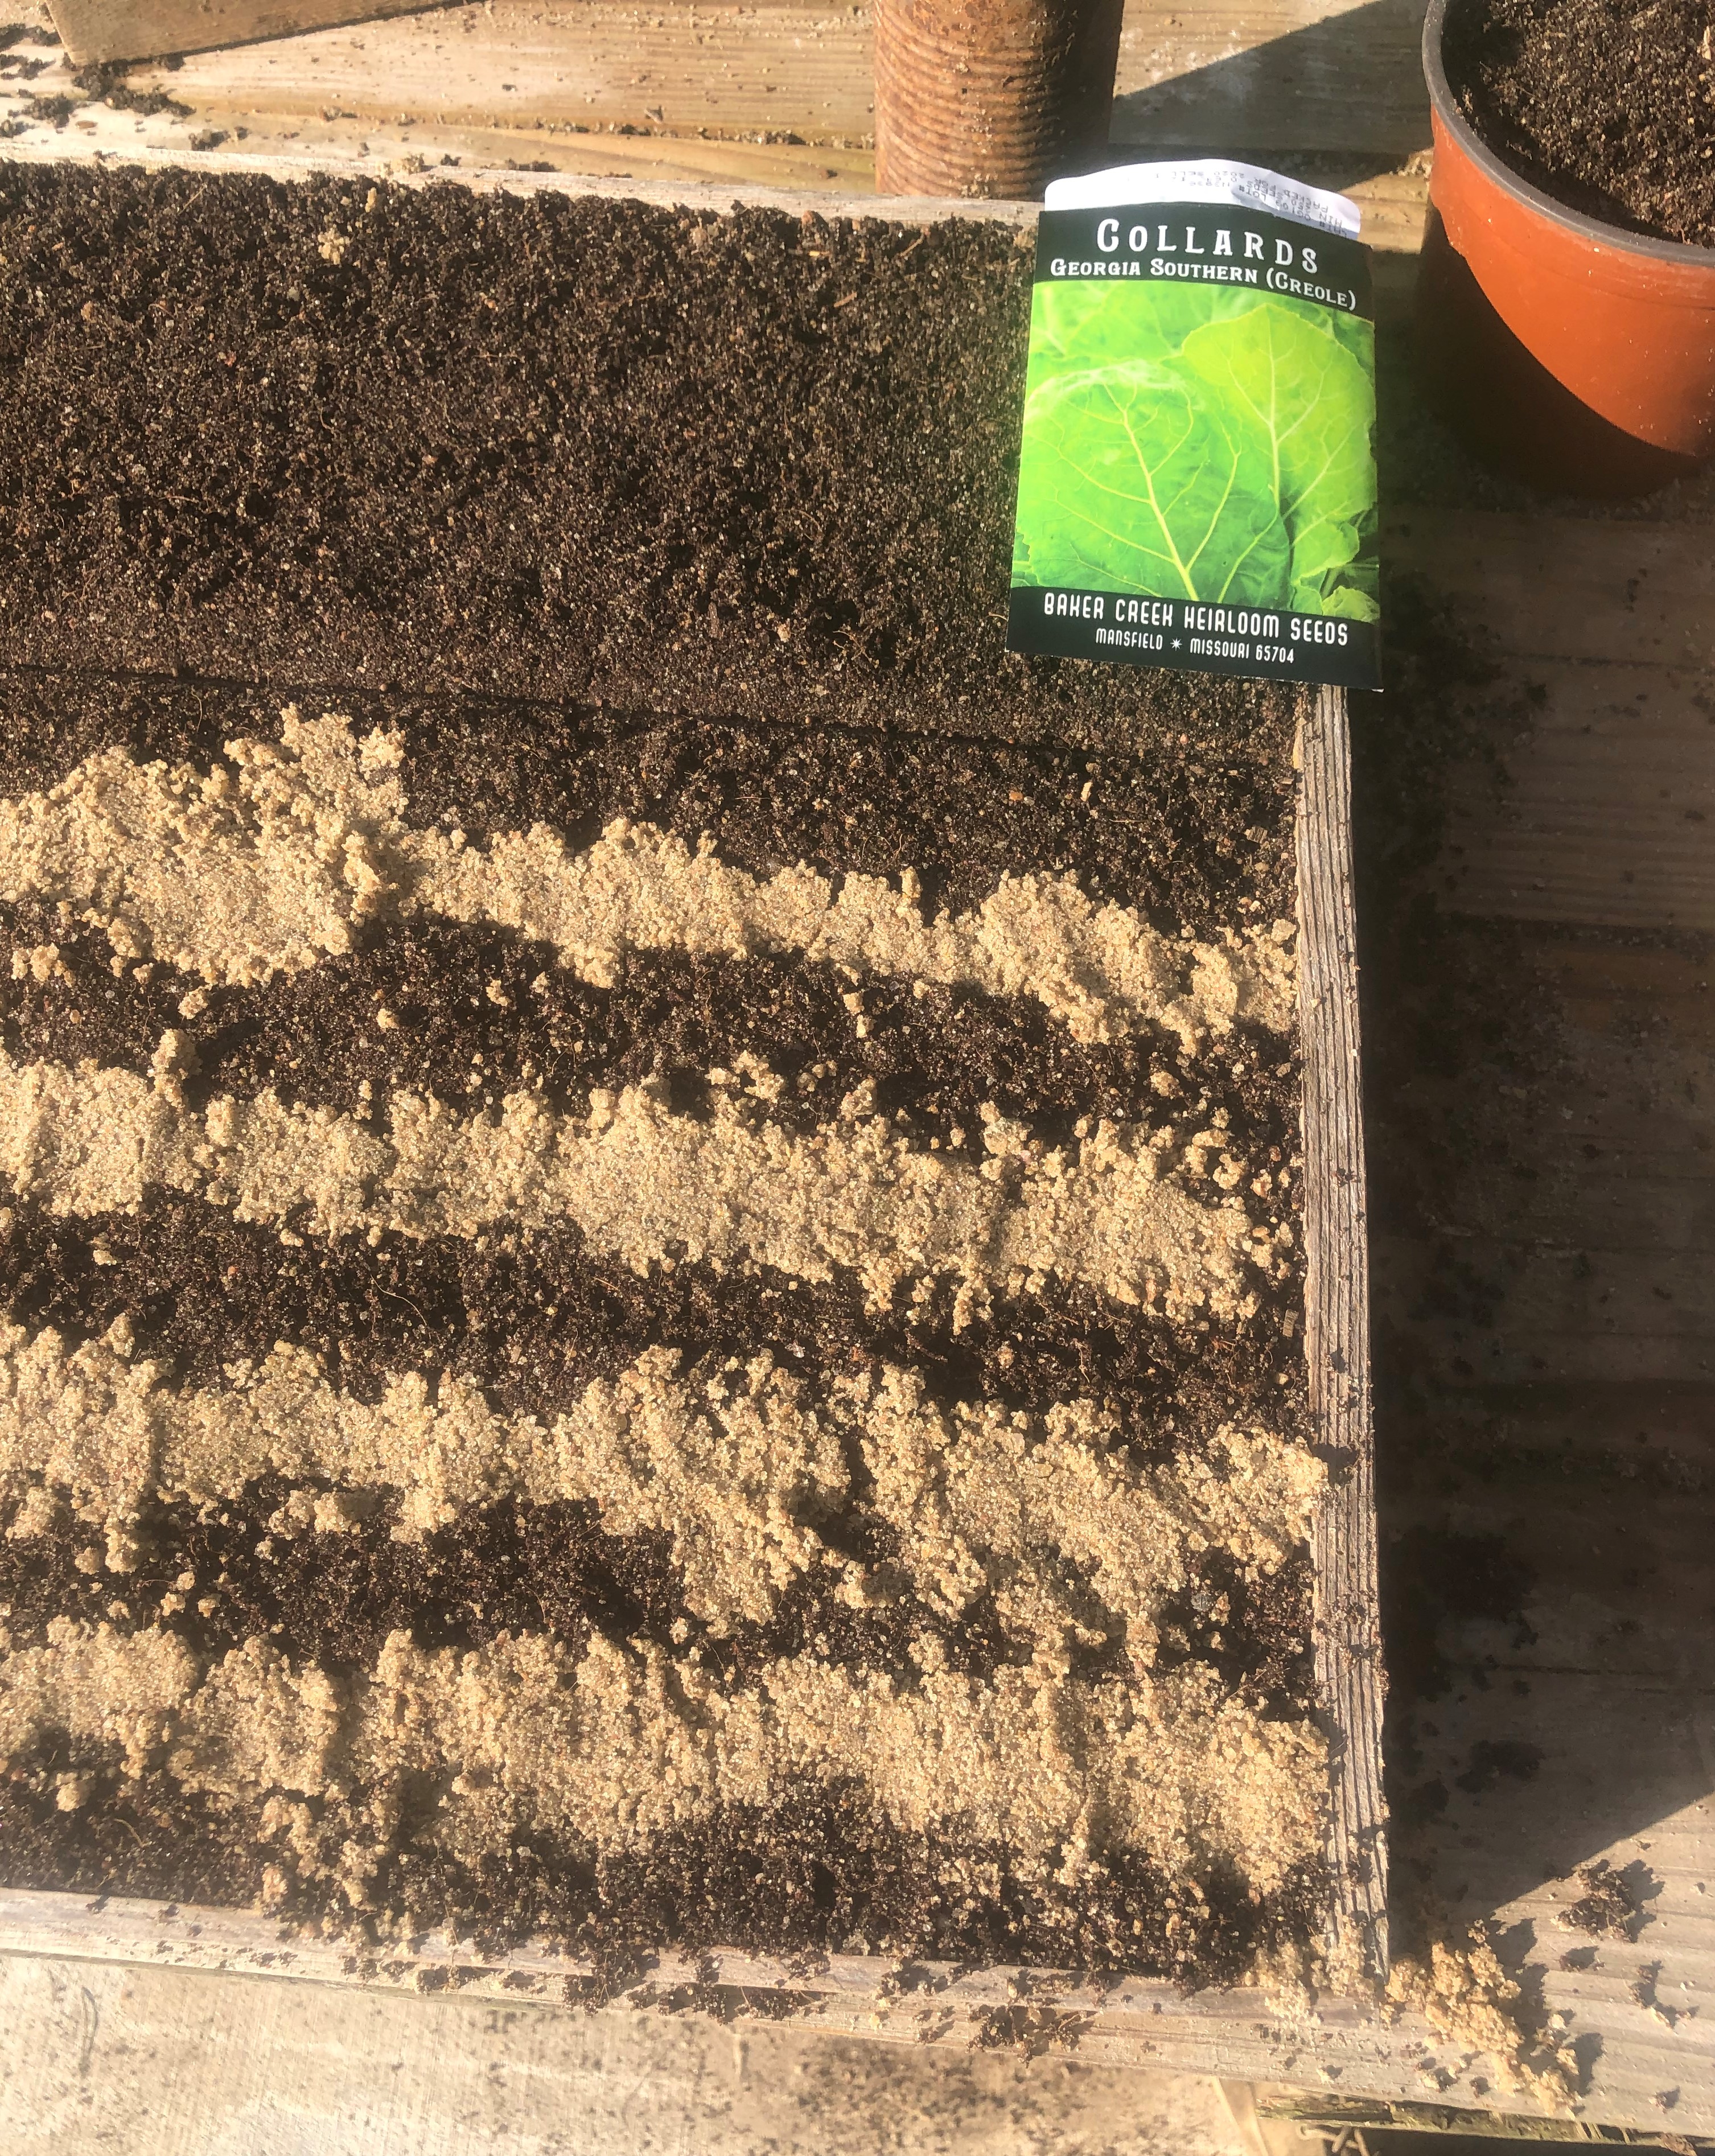
The burlap is used to act as a diffuser when we water the seeds to keep the pressure from disturbing the seed bed. We water through the burlap each day after checking for seed germination. As soon as we see germination they are watered one more time and then the burlap is removed. Failure to do so will result in seedlings pushing up through the burlap.
As soon as seedlings germinate we begin to water with a solution that includes the nutrients the new seedlings need to grow strong. You can see how we mix and apply these nutrients in this video.
Wow, that burlap is a very cool idea that makes a lot of sense. I resteemed this one, and can't wait to see what happens. I'll have to check out that squash bug one too!
Thanks, Mr. Pepper. I hope you find it useful and your germination rate improves.