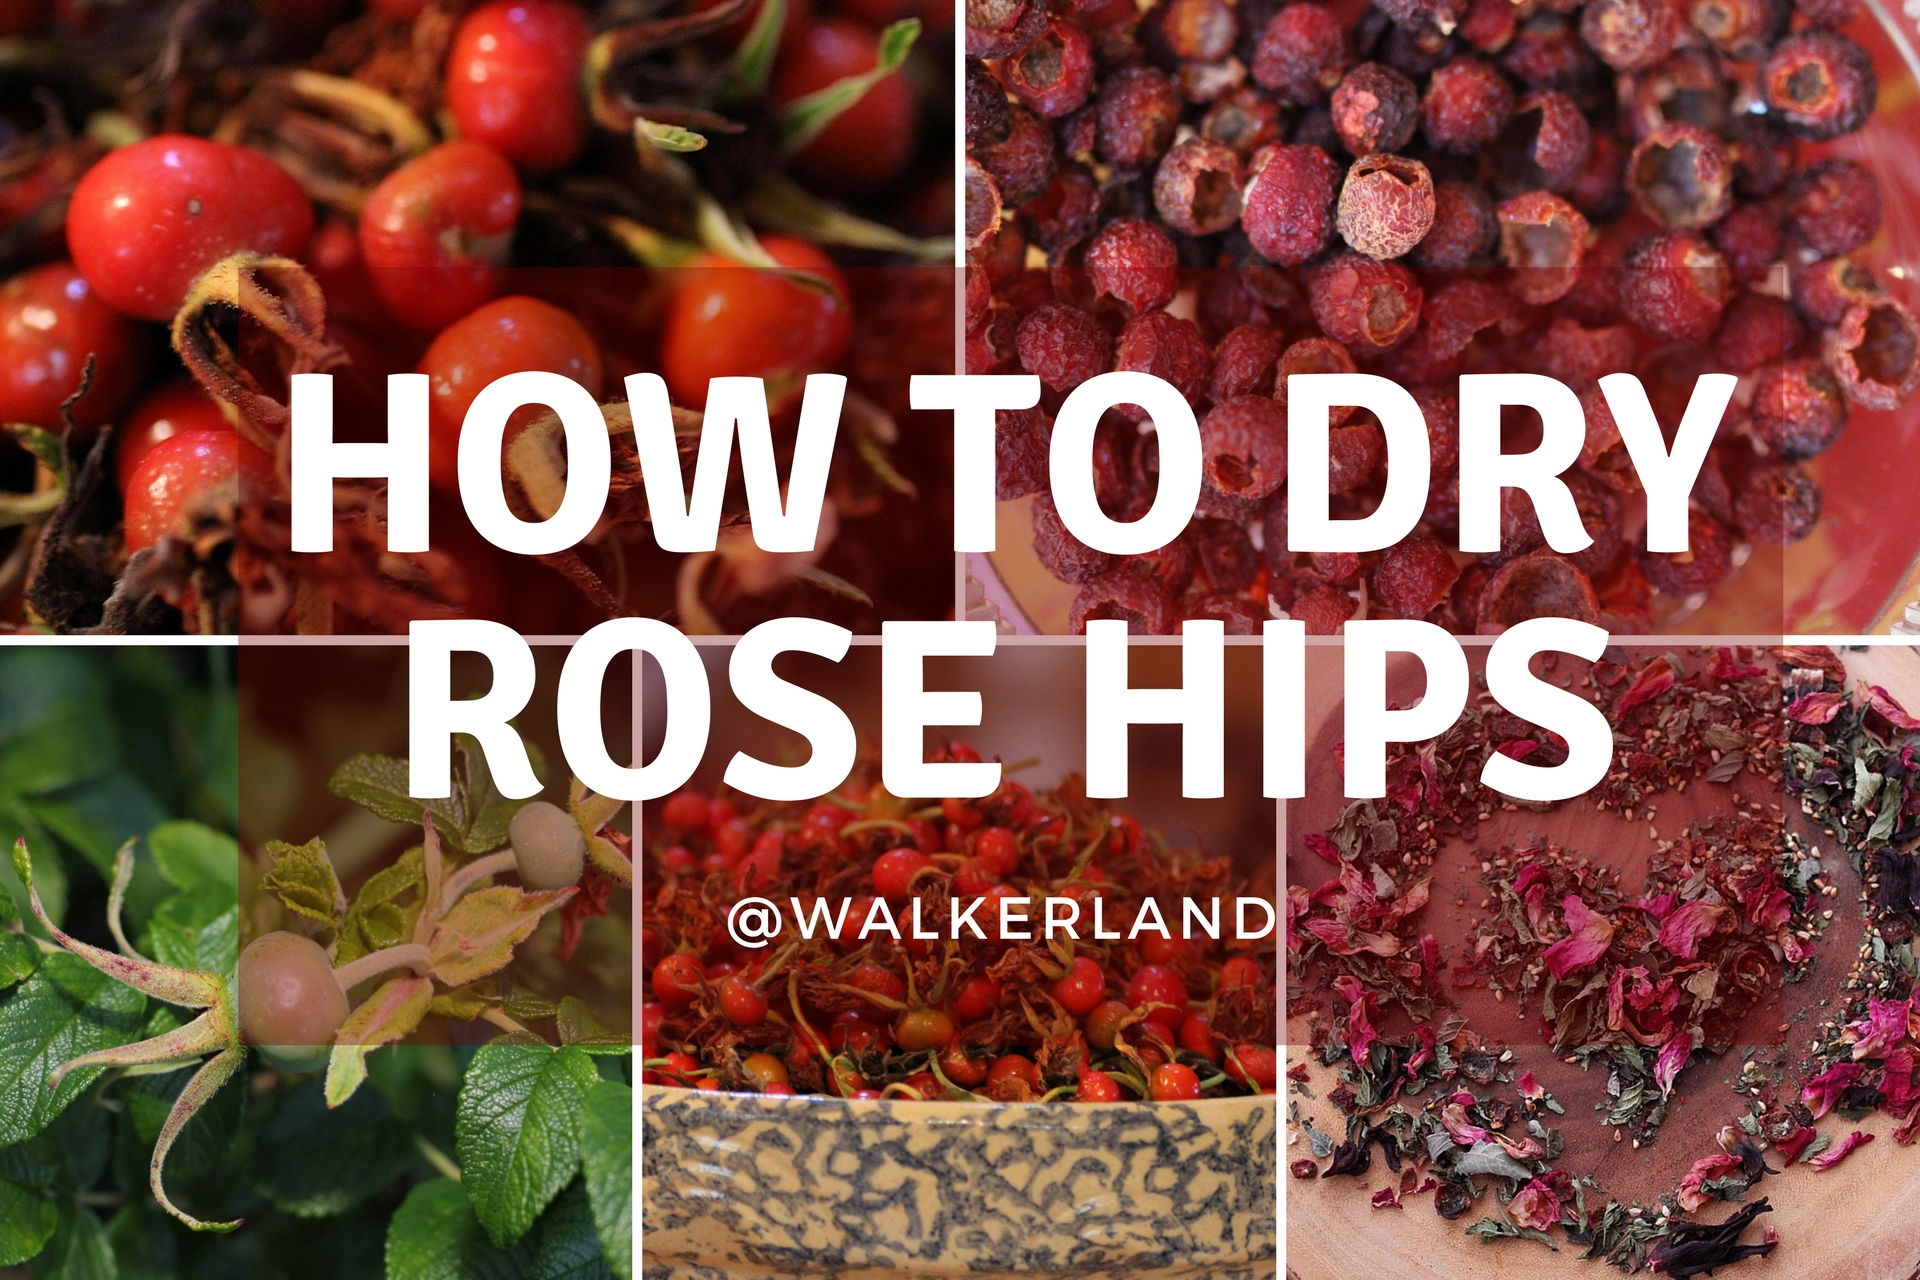
How to Harvest, Dry & Store Rose Hips (for tea, culinary and medicinal uses)
A lot of people don't think about roses as a food source but around here, they are an important part of our perennial food landscape. We use both the petals and the hips for culinary, health, soap and skincare recipes.
Through the summer we will collect and dry rose petals. When autumn arrives the rose hips on our rose bushes start turning from green to a delicious ripe red. The early morning after the first frost we head out with our pails to collect the rose hips to make jams, jellies, syrup, wine and tea. There is a small window of time to collect the rose hips in their prime.
It is said that a light frost will sweeten the rose hip but not long after a frost the hips begin to decay.
I promised @andysantics48 a post on drying rose hips and I hope I'm not too late in the season over there in the Southern hemisphere!
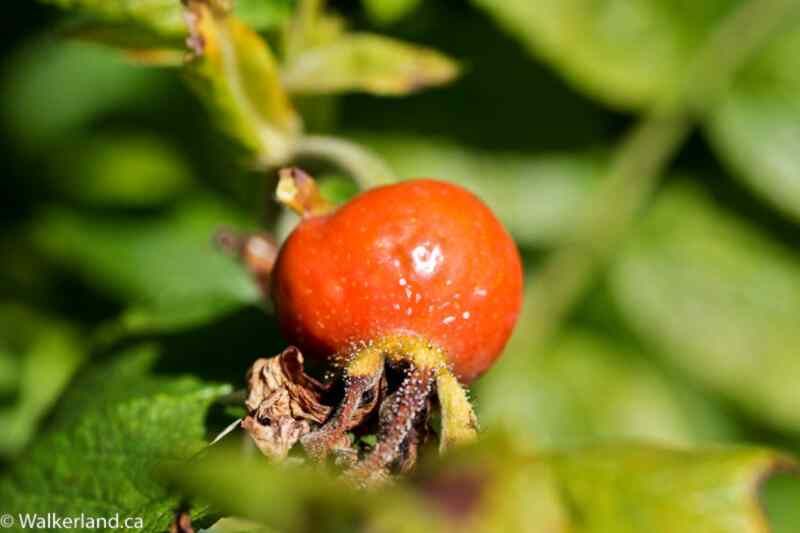
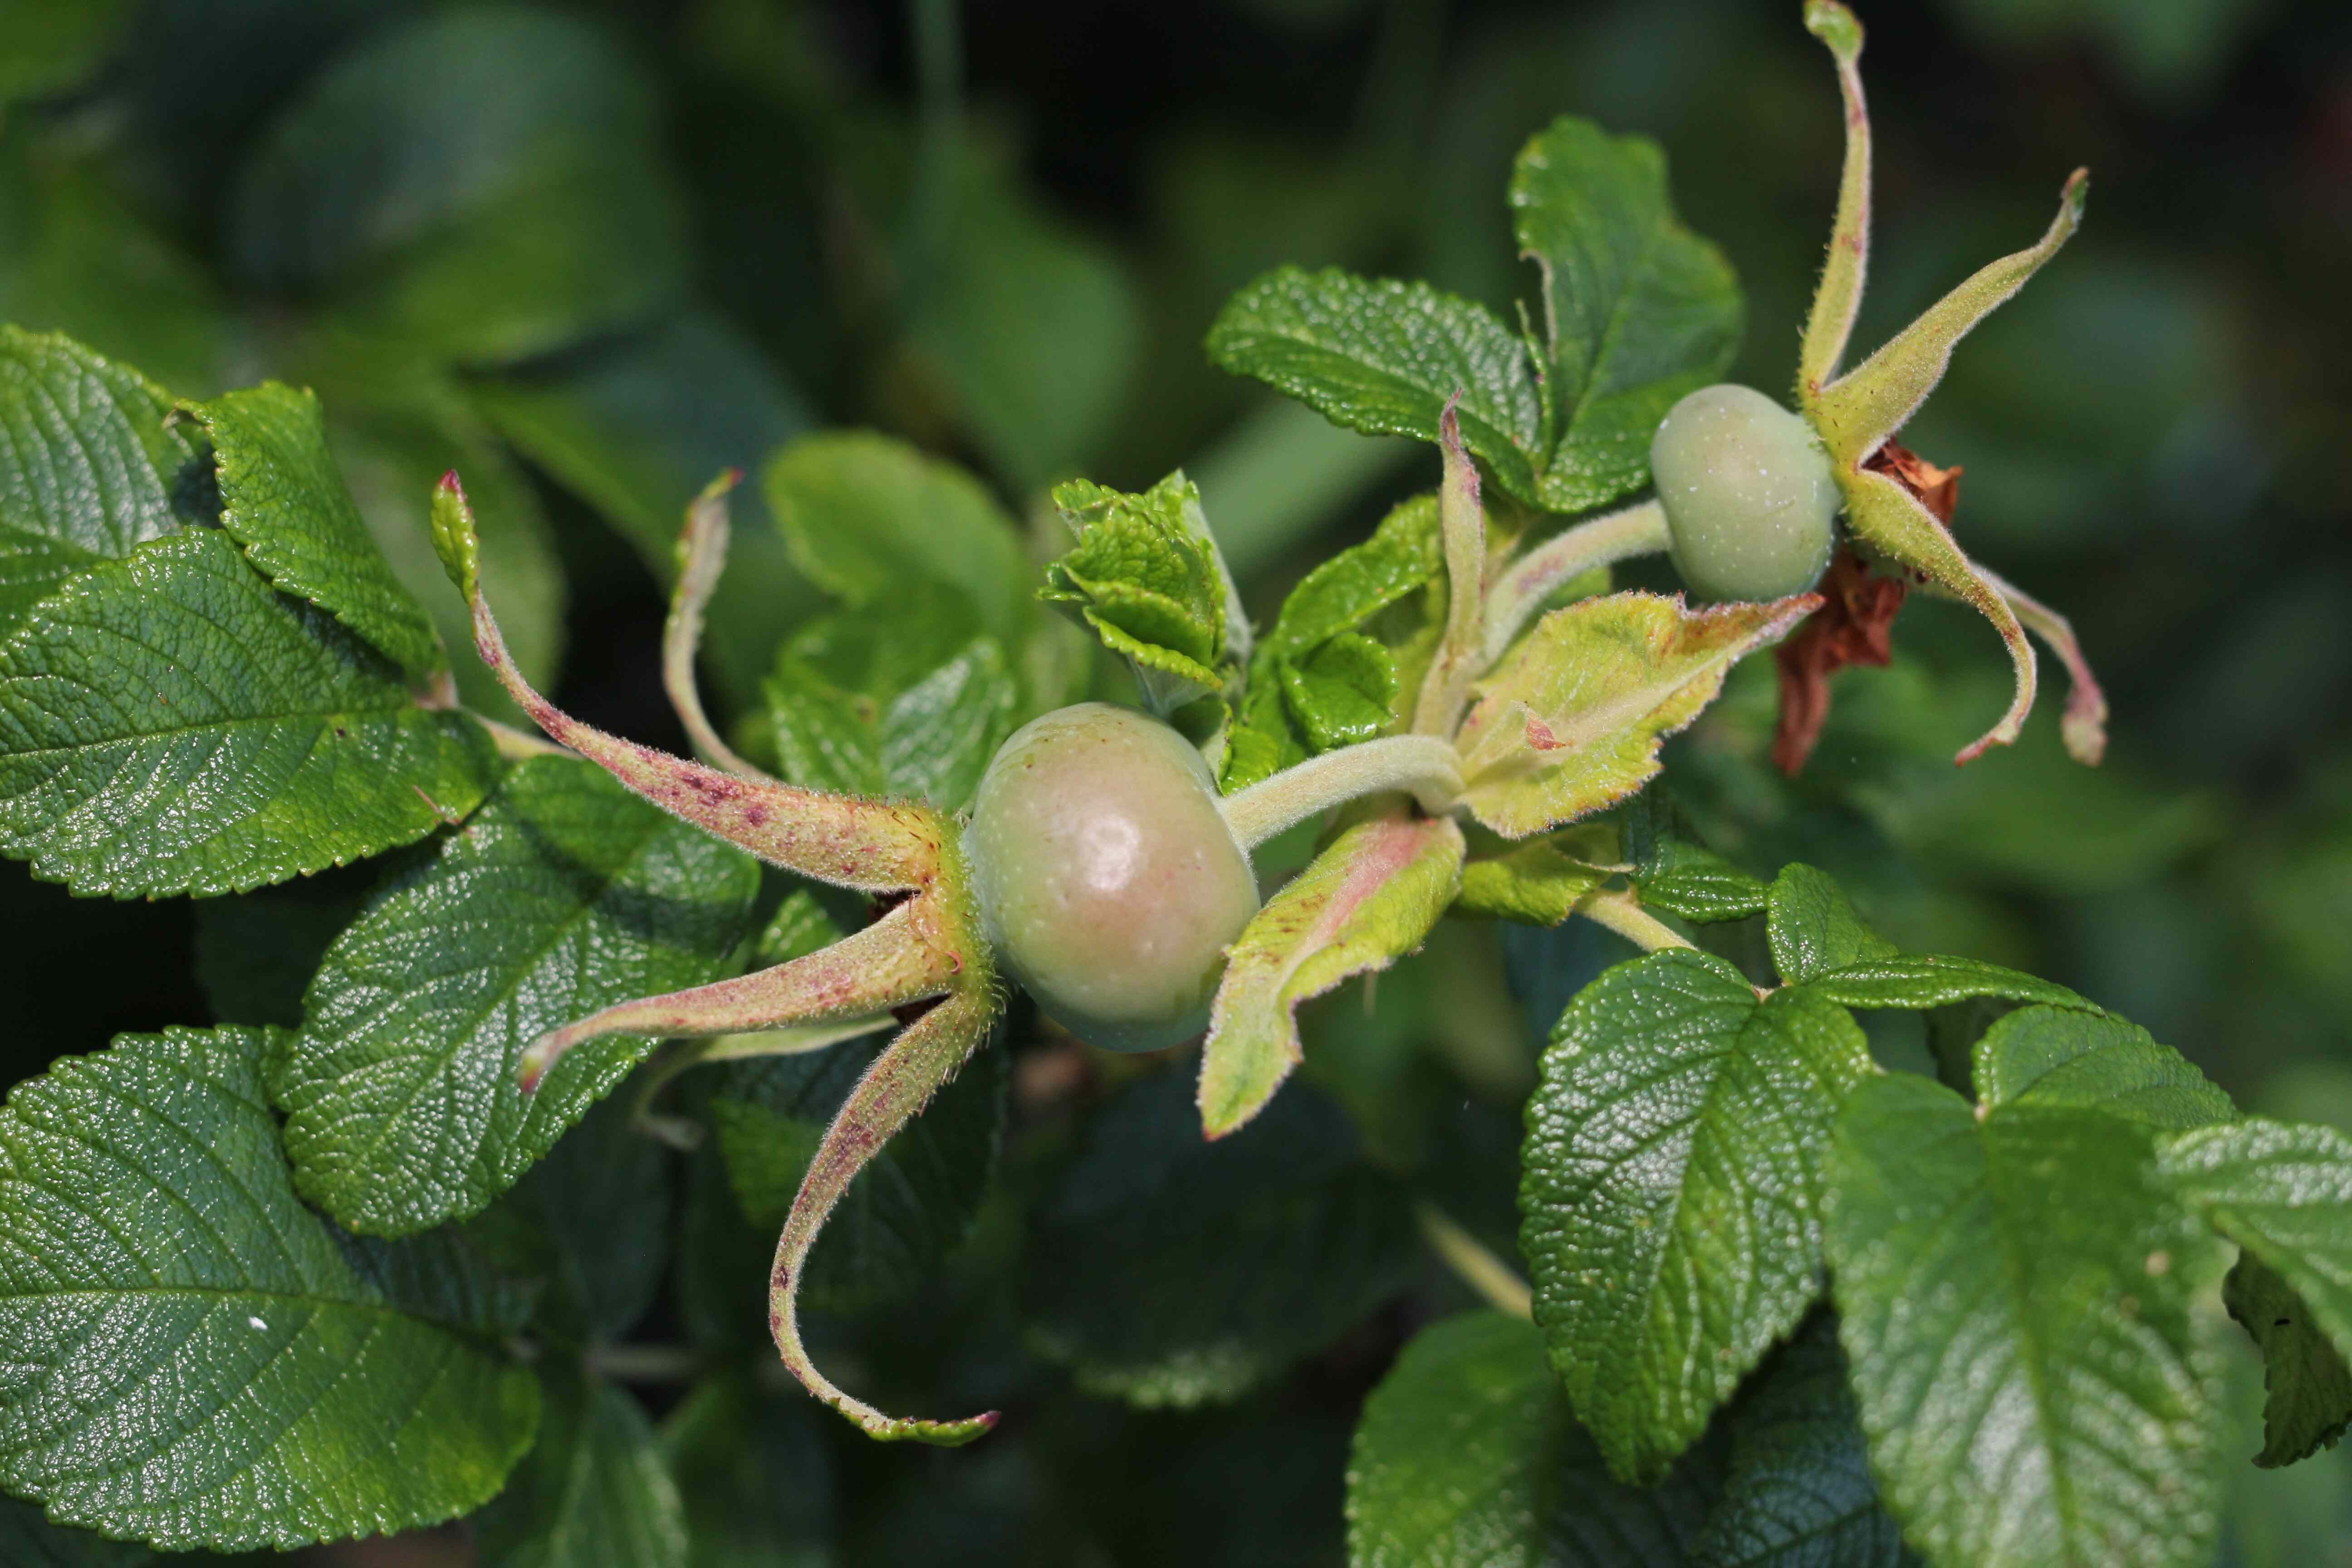 These rose hips are not read to be picked. When these rose hips turn red they are ready!
Its a bit of prickly work to harvest rosehips but it's well worth the effort. They are a nutrient dense super food rich in vitamins, minerals (especially vitamin C) and antioxidants.
Rose hips don’t have much flesh beneath their skins. They are filled with tiny seeds covered with silky hairs. The skin of the hip is what you want to dry and preserve. It's where most of the nutrients are.The hairs are extremely irritating to the skin and throat so they will need to be removed.
Select healthy and bright hips for harvesting. They are very easy to pluck from the rosebush just be sure to wear a thick jacket and gloves if you have to reach far into dense rose bushes. Also be sure you are gathering hips from rose bushes that have not been chemically treated.
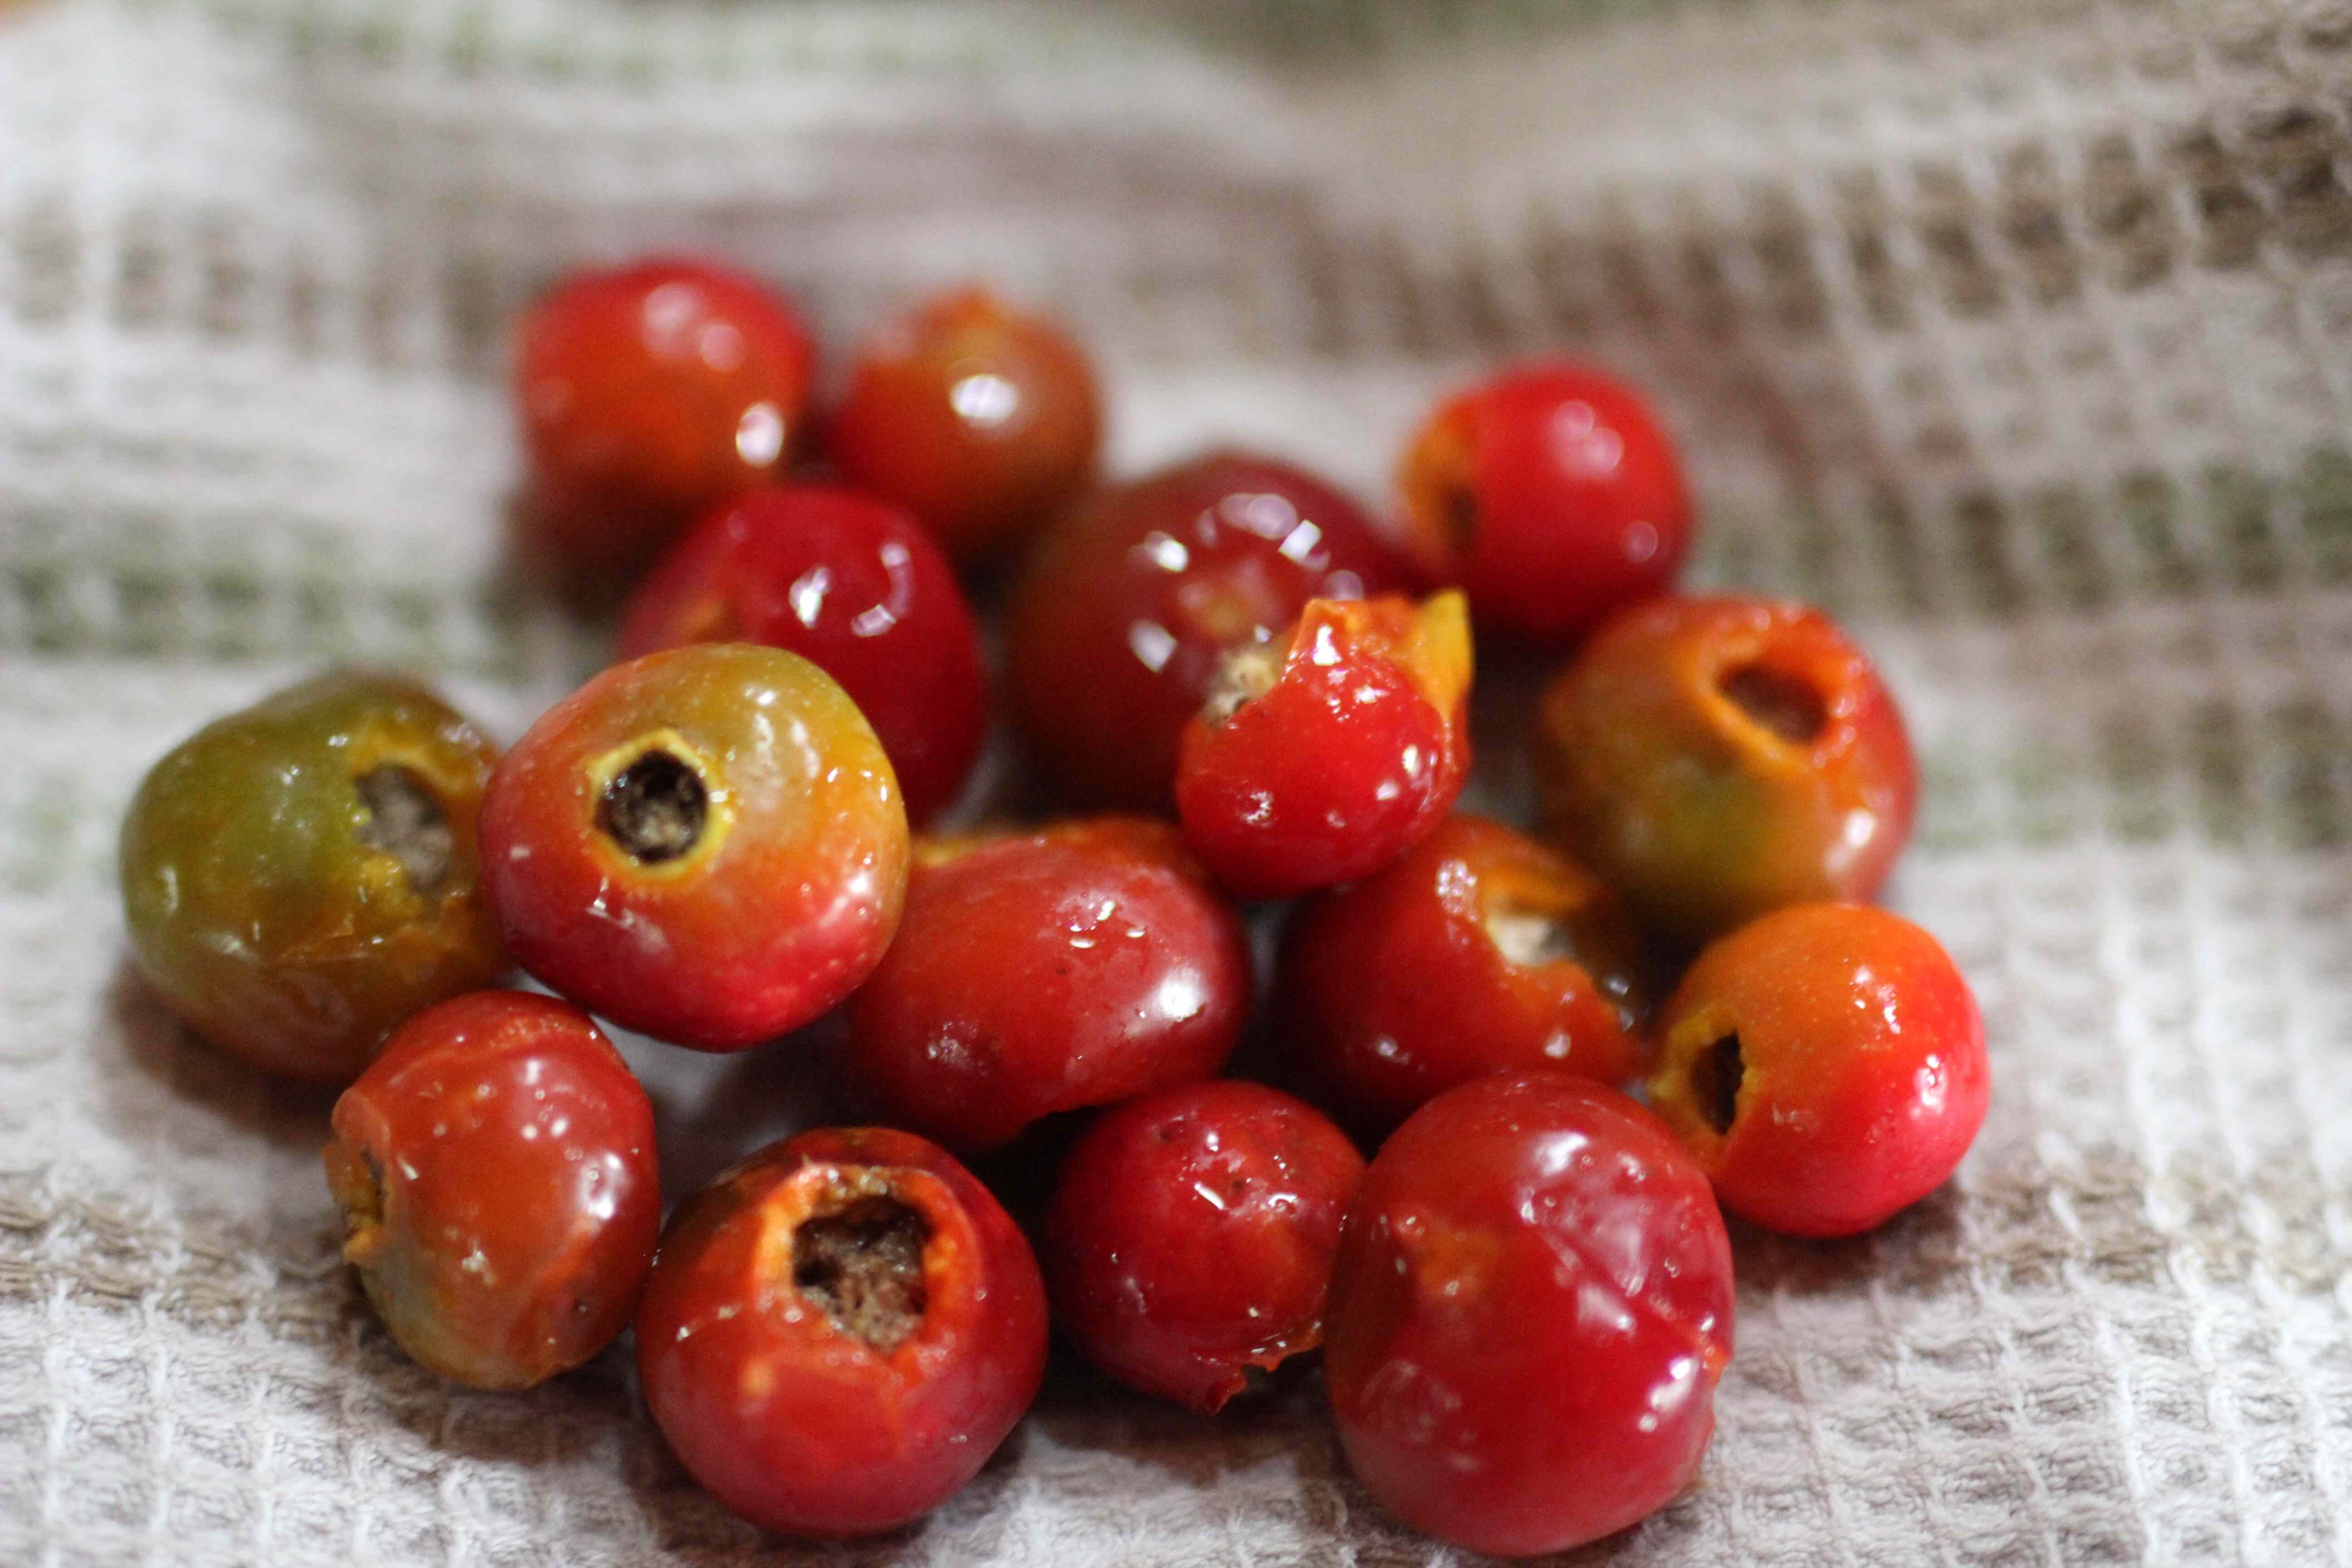
Step 1: Harvest & Clean
Harvest your rose hips and rinse them well. Lay them out to dry. Once dried, remove the stalks and stems (tops and tails).
Some people will suggest cutting them in half and hulling out the insides before drying. I've done this and in my opinion this is a very time consuming, tedious and unnecessary step!
Step 2: Dry
Dehydrator
Dry the rosehips. Place the hips in your dehydrator and follow the instructions for drying. It depends on how large your rosehips are and can take 6-12 hours to dry. check them periodically and continue to dehydrate if necessary.
Air Dry
If you don't have a dehydrator you can string the rose hips up by using a needle and thread to make a rosehip chain. Hang these chains somewhere dry and preferably dark. You can also spread them out on a mesh screen to dry. Check often and turn on occasion. Be sure that the location is dry as humidity can cause mould. It can take a week or longer until the hips are sufficiently dry depending on your climate.
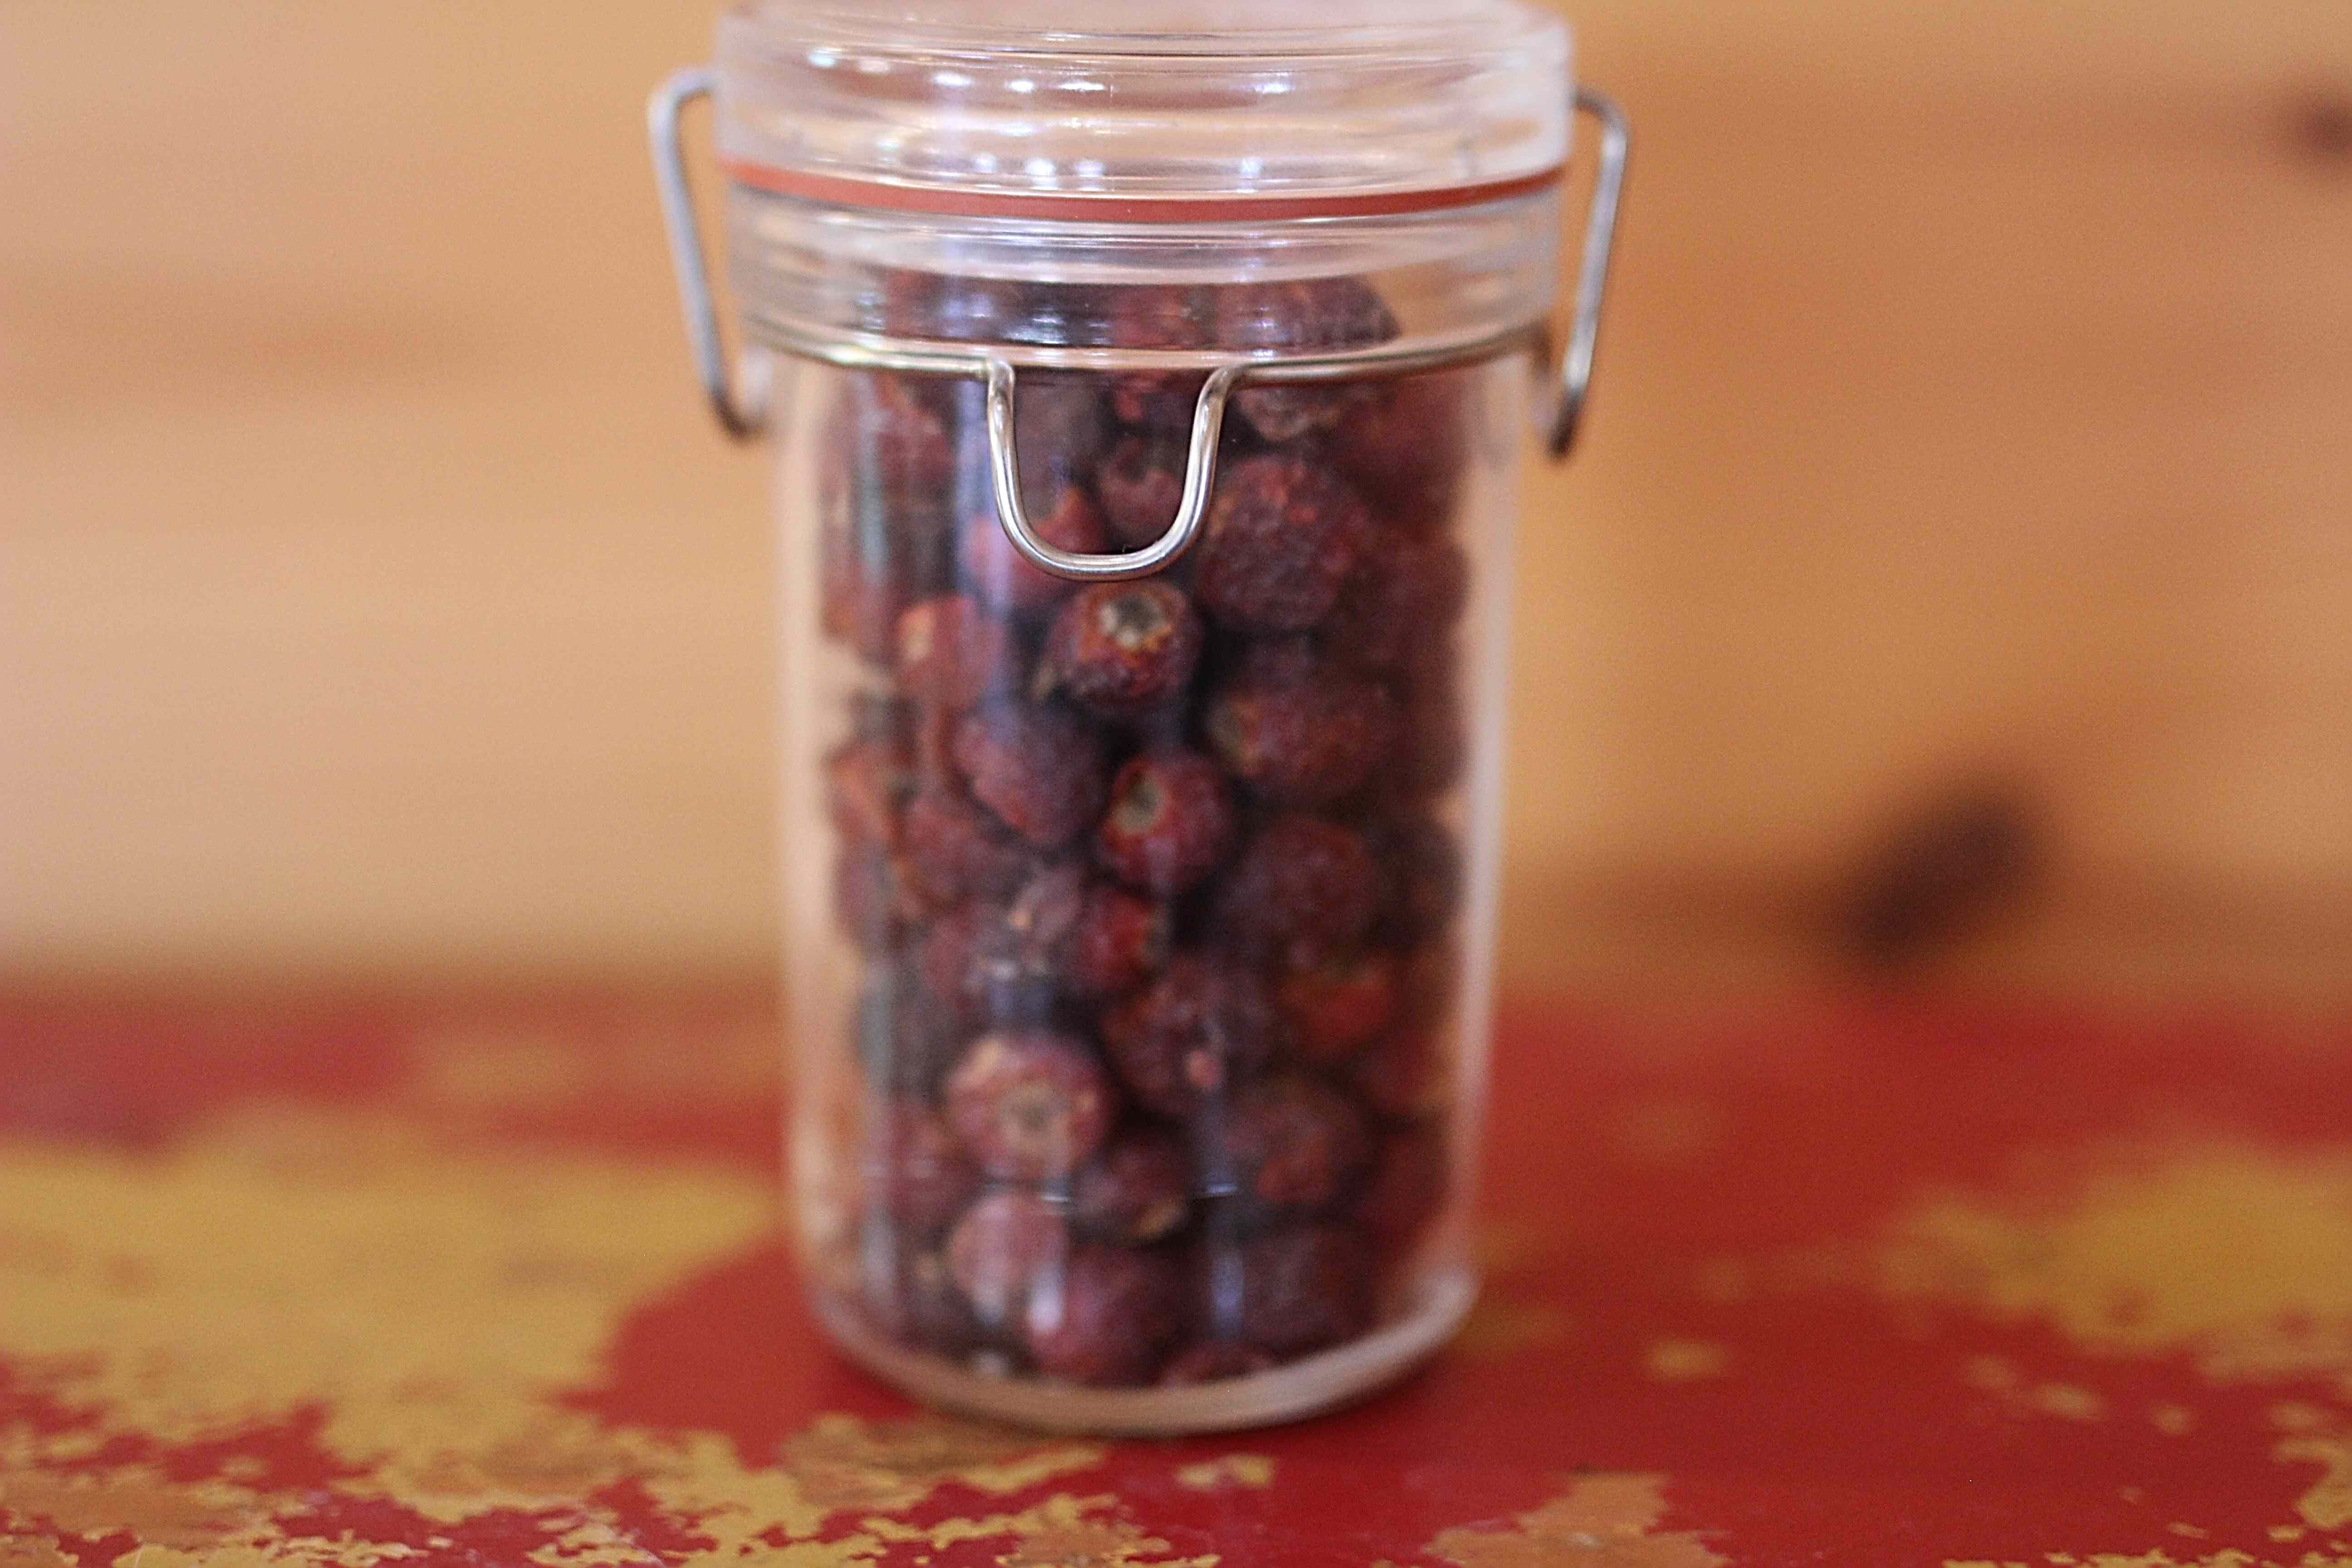
They are ready when they have shrivelled up and feel completely dry when you pull one apart.
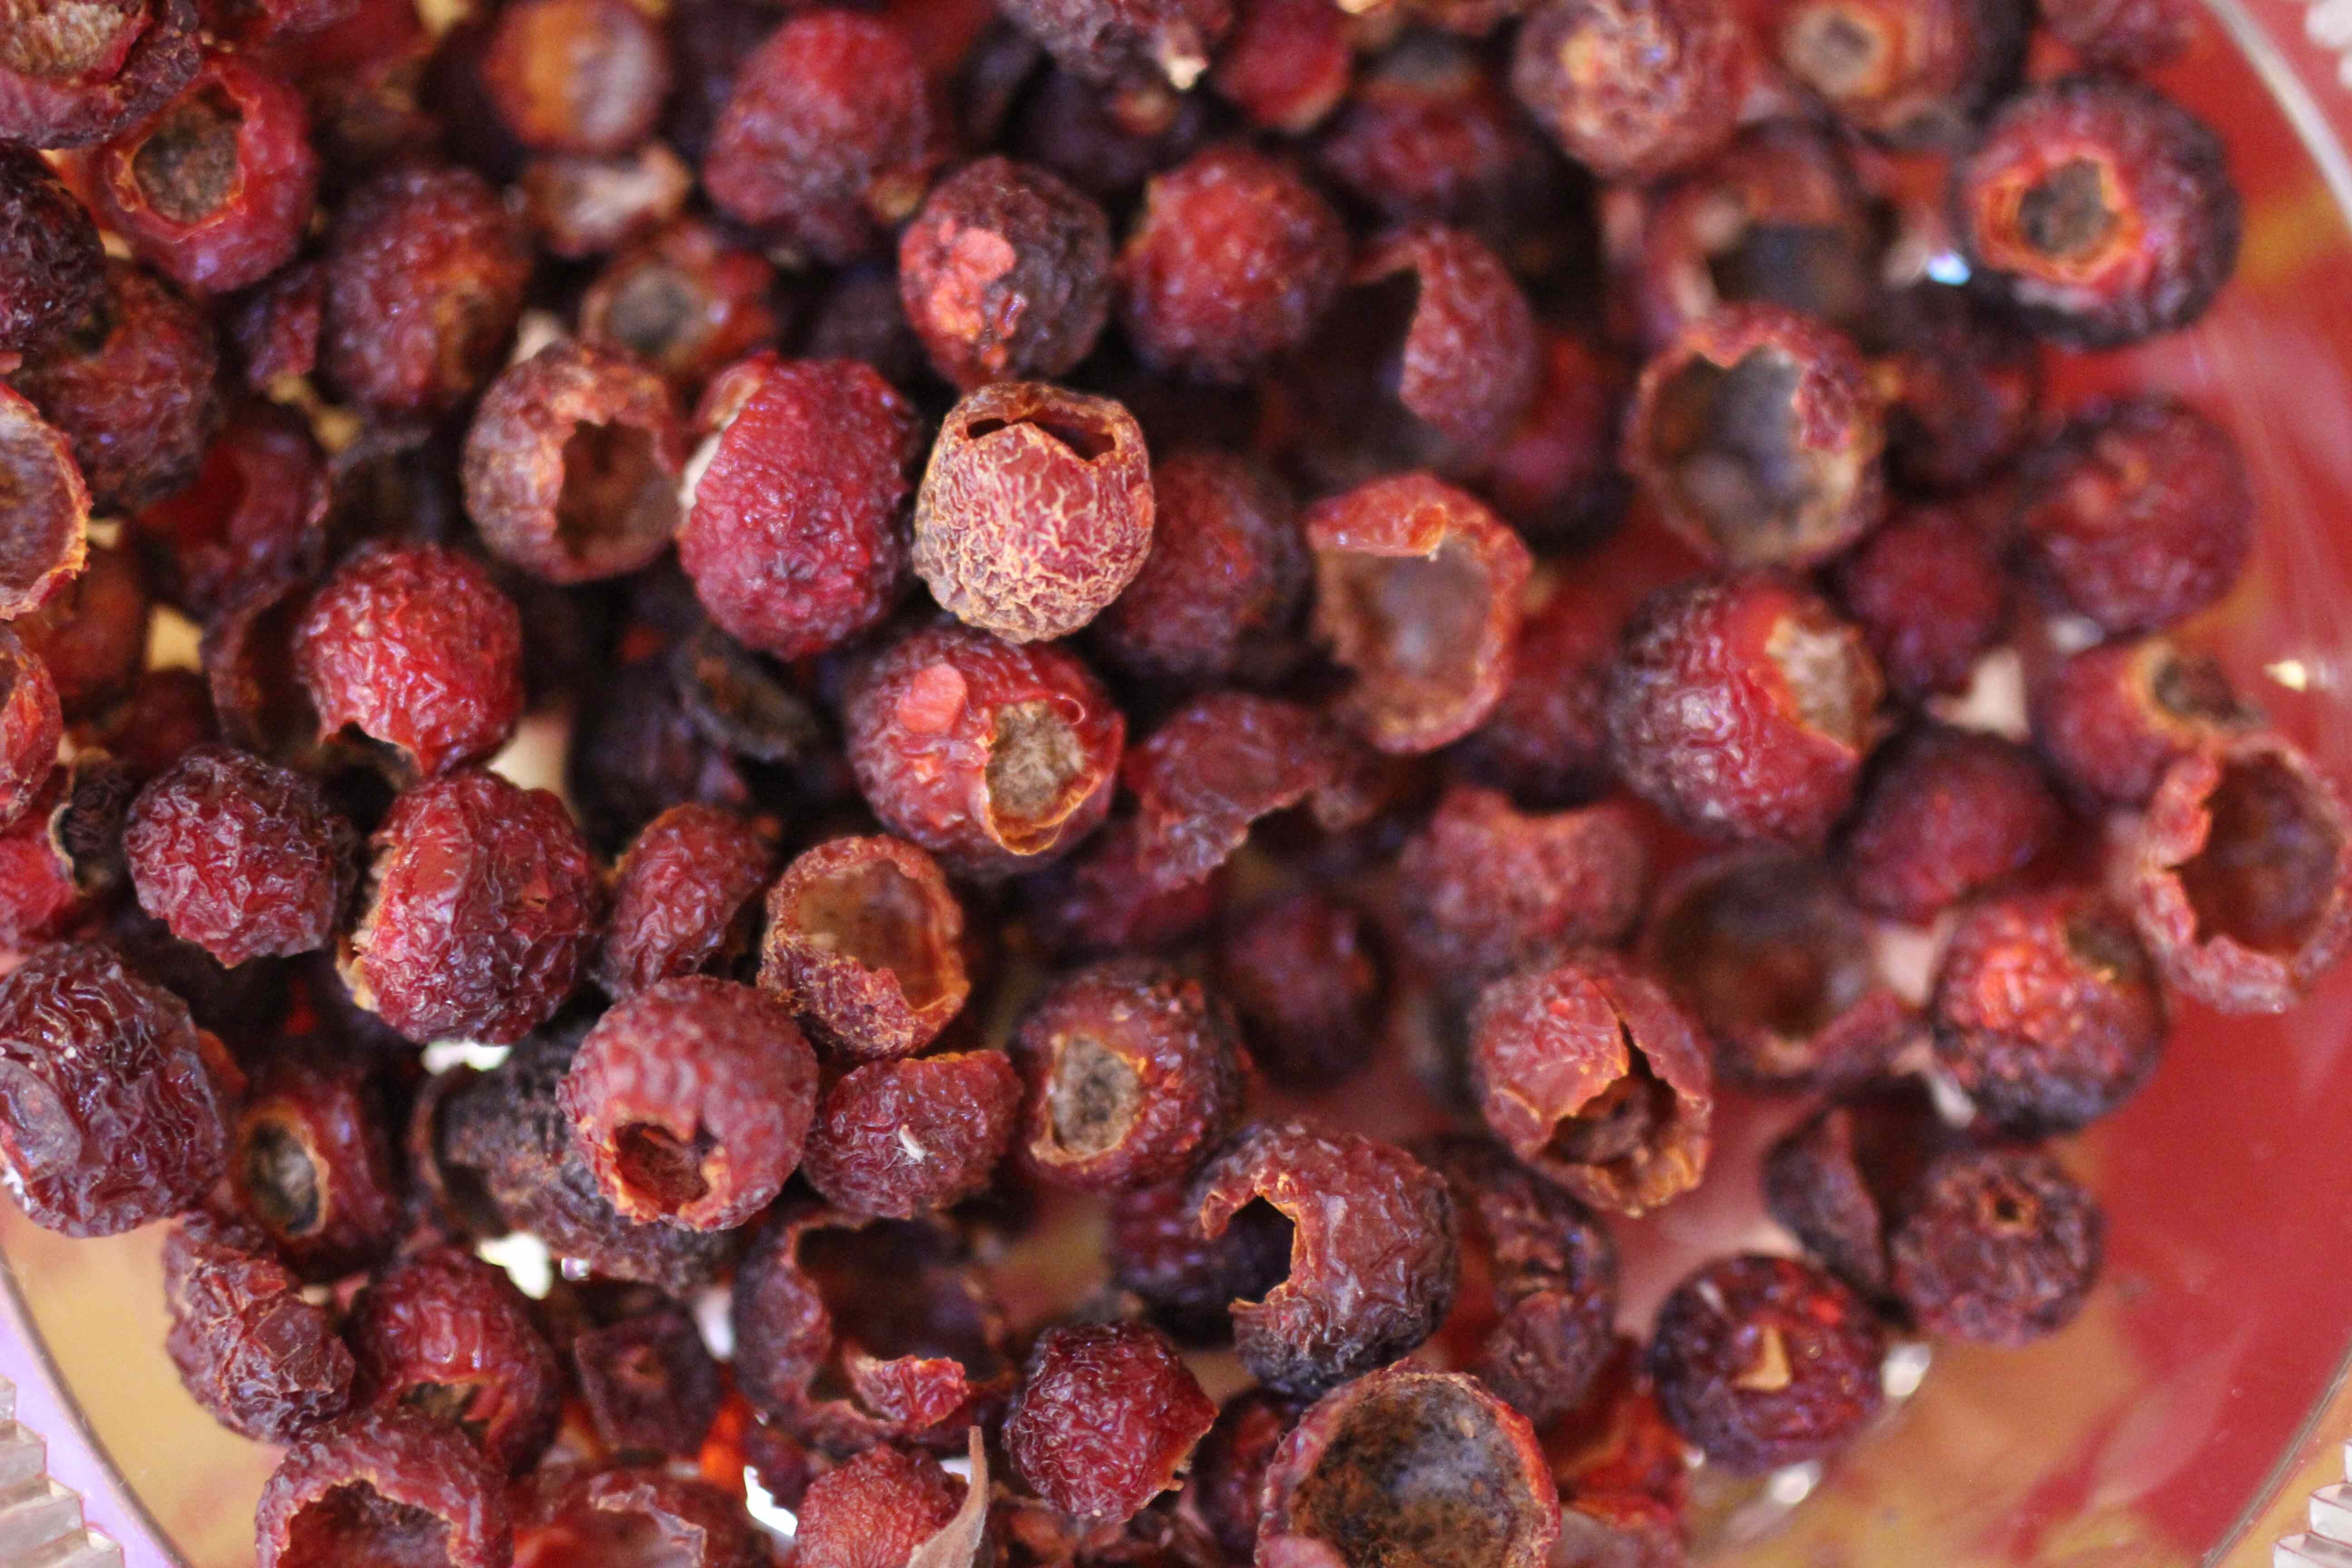 When the rose hips have dried, this is what they look like.
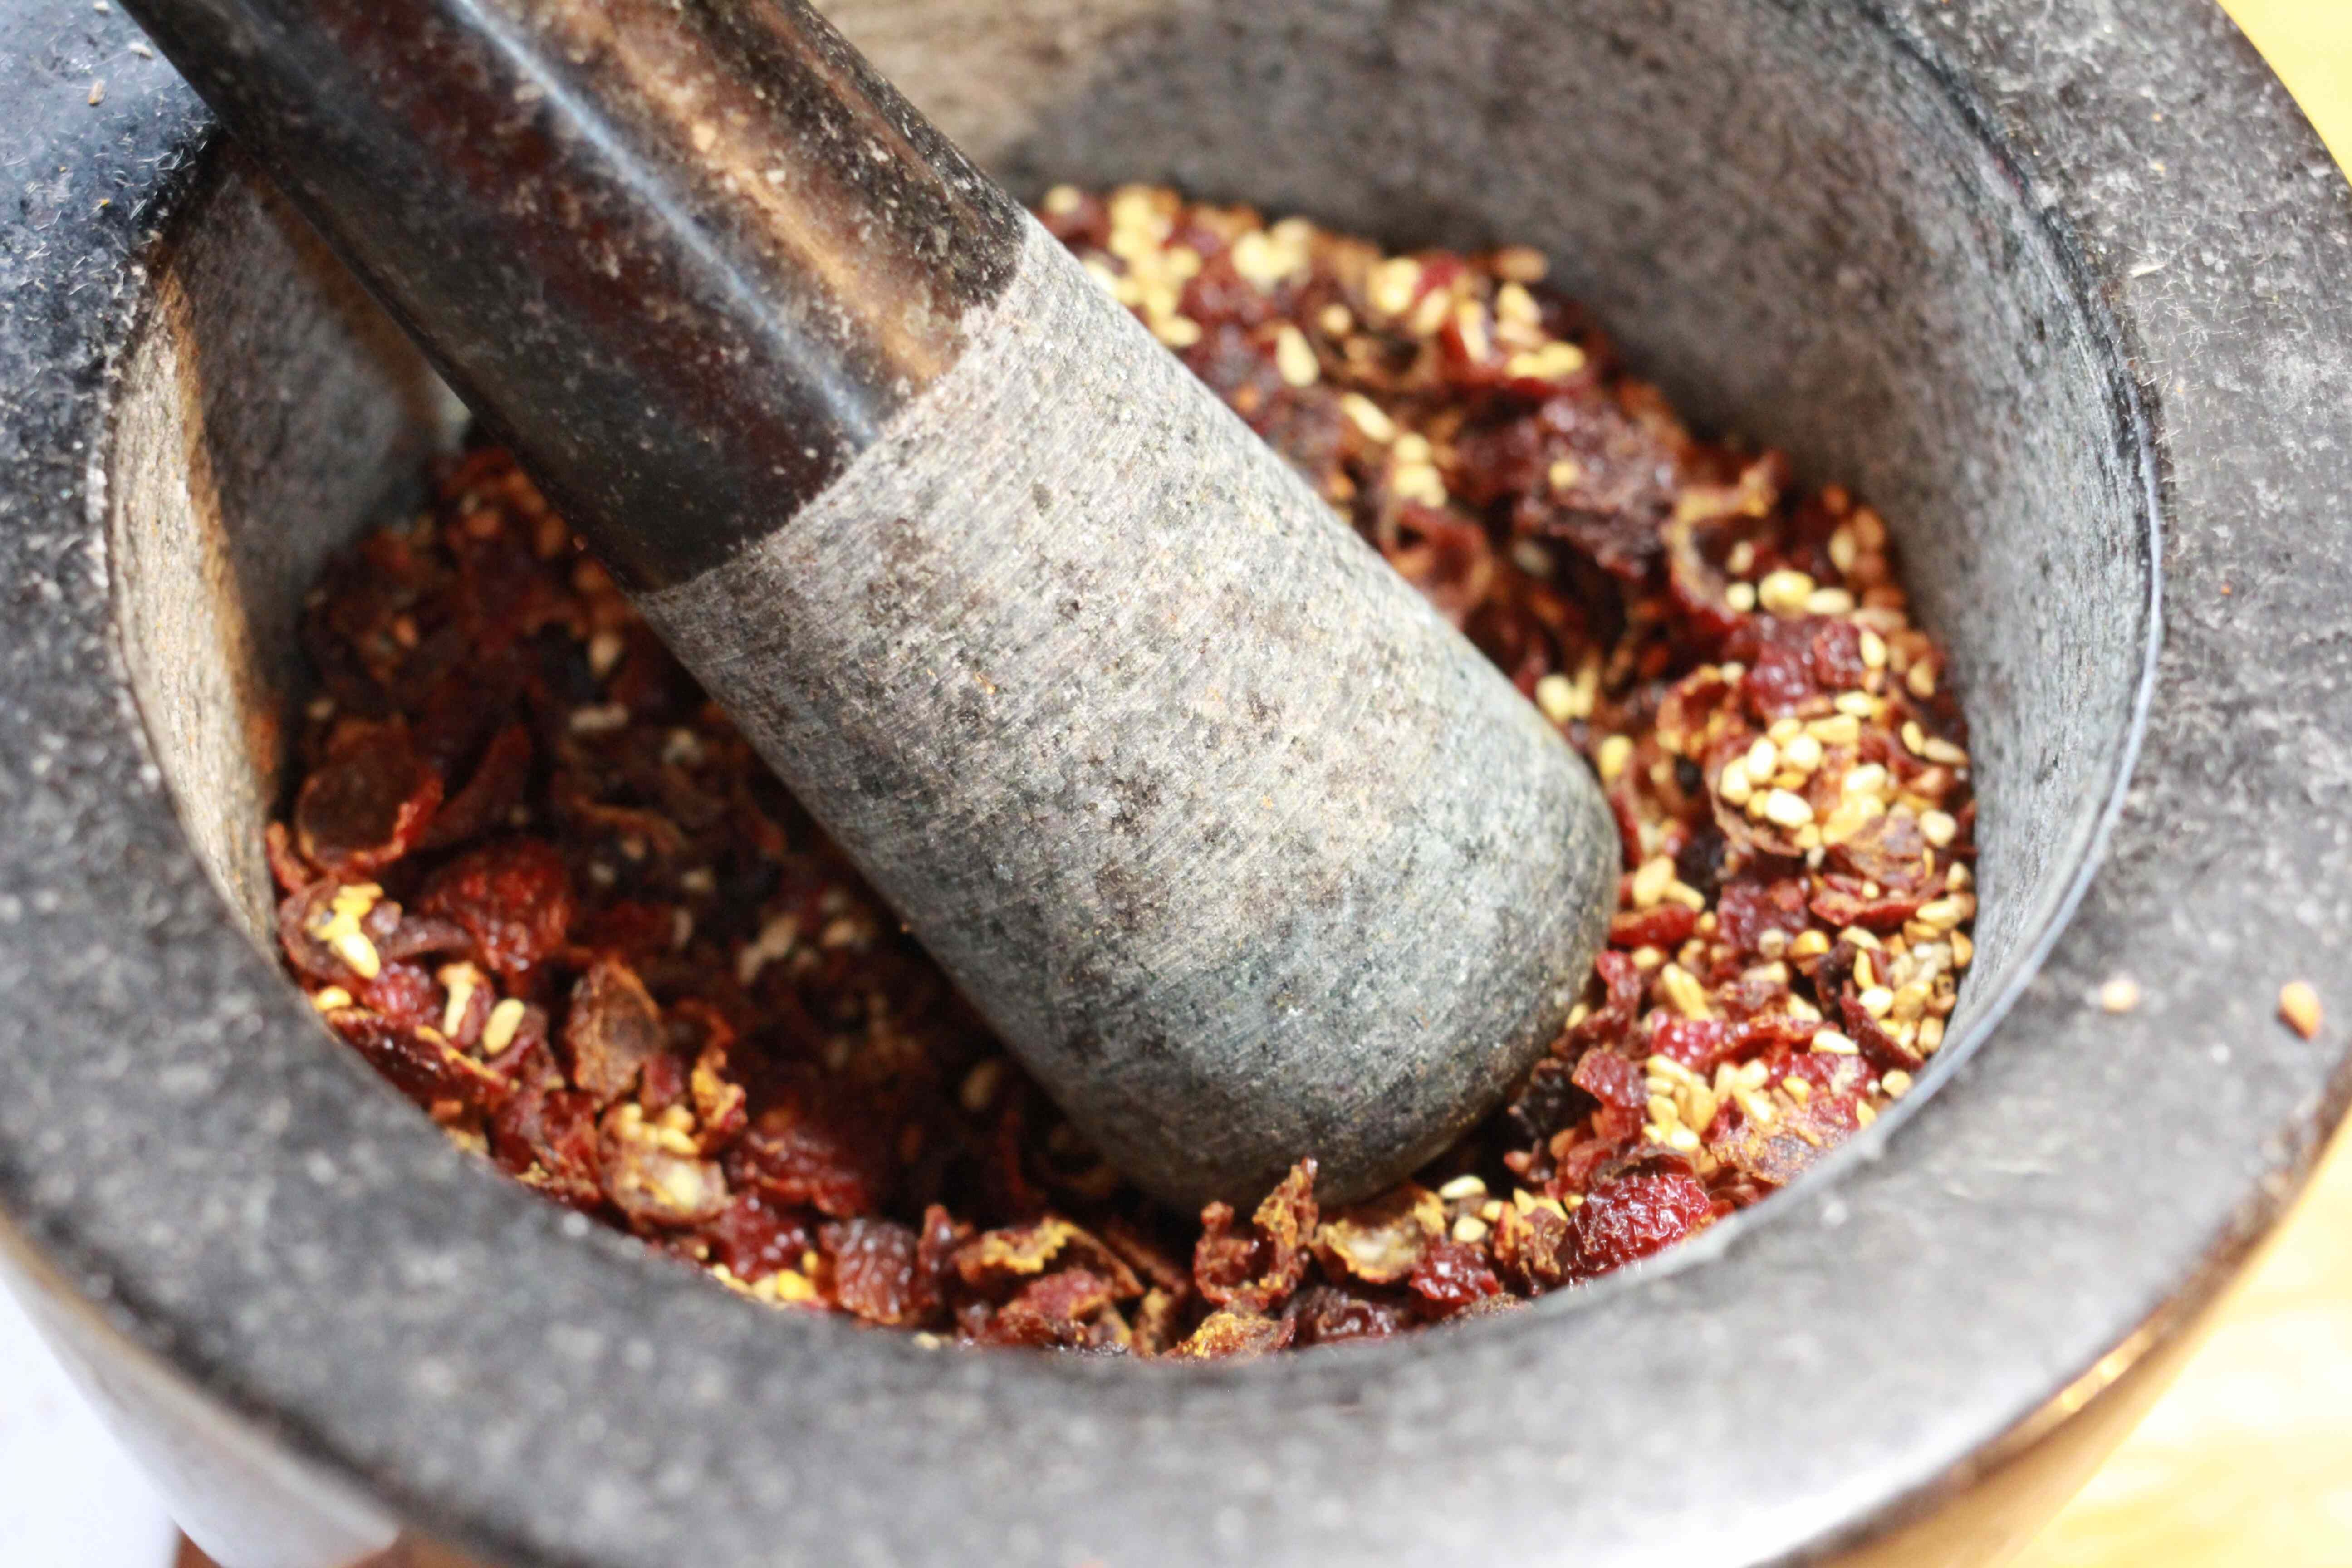
Step 3. Crush
Put your dried rosehips in a mortar and pestle. You can also use a food processor but pulse carefully. You do not want a fine grind. You want the hips to remain chunky. This stage breaks up the hips from the hairs and seeds.
It can help to lay a tea towel or dish cloth over the rose hips when you are pounding them, this will prevent them from flying out of the bowl.
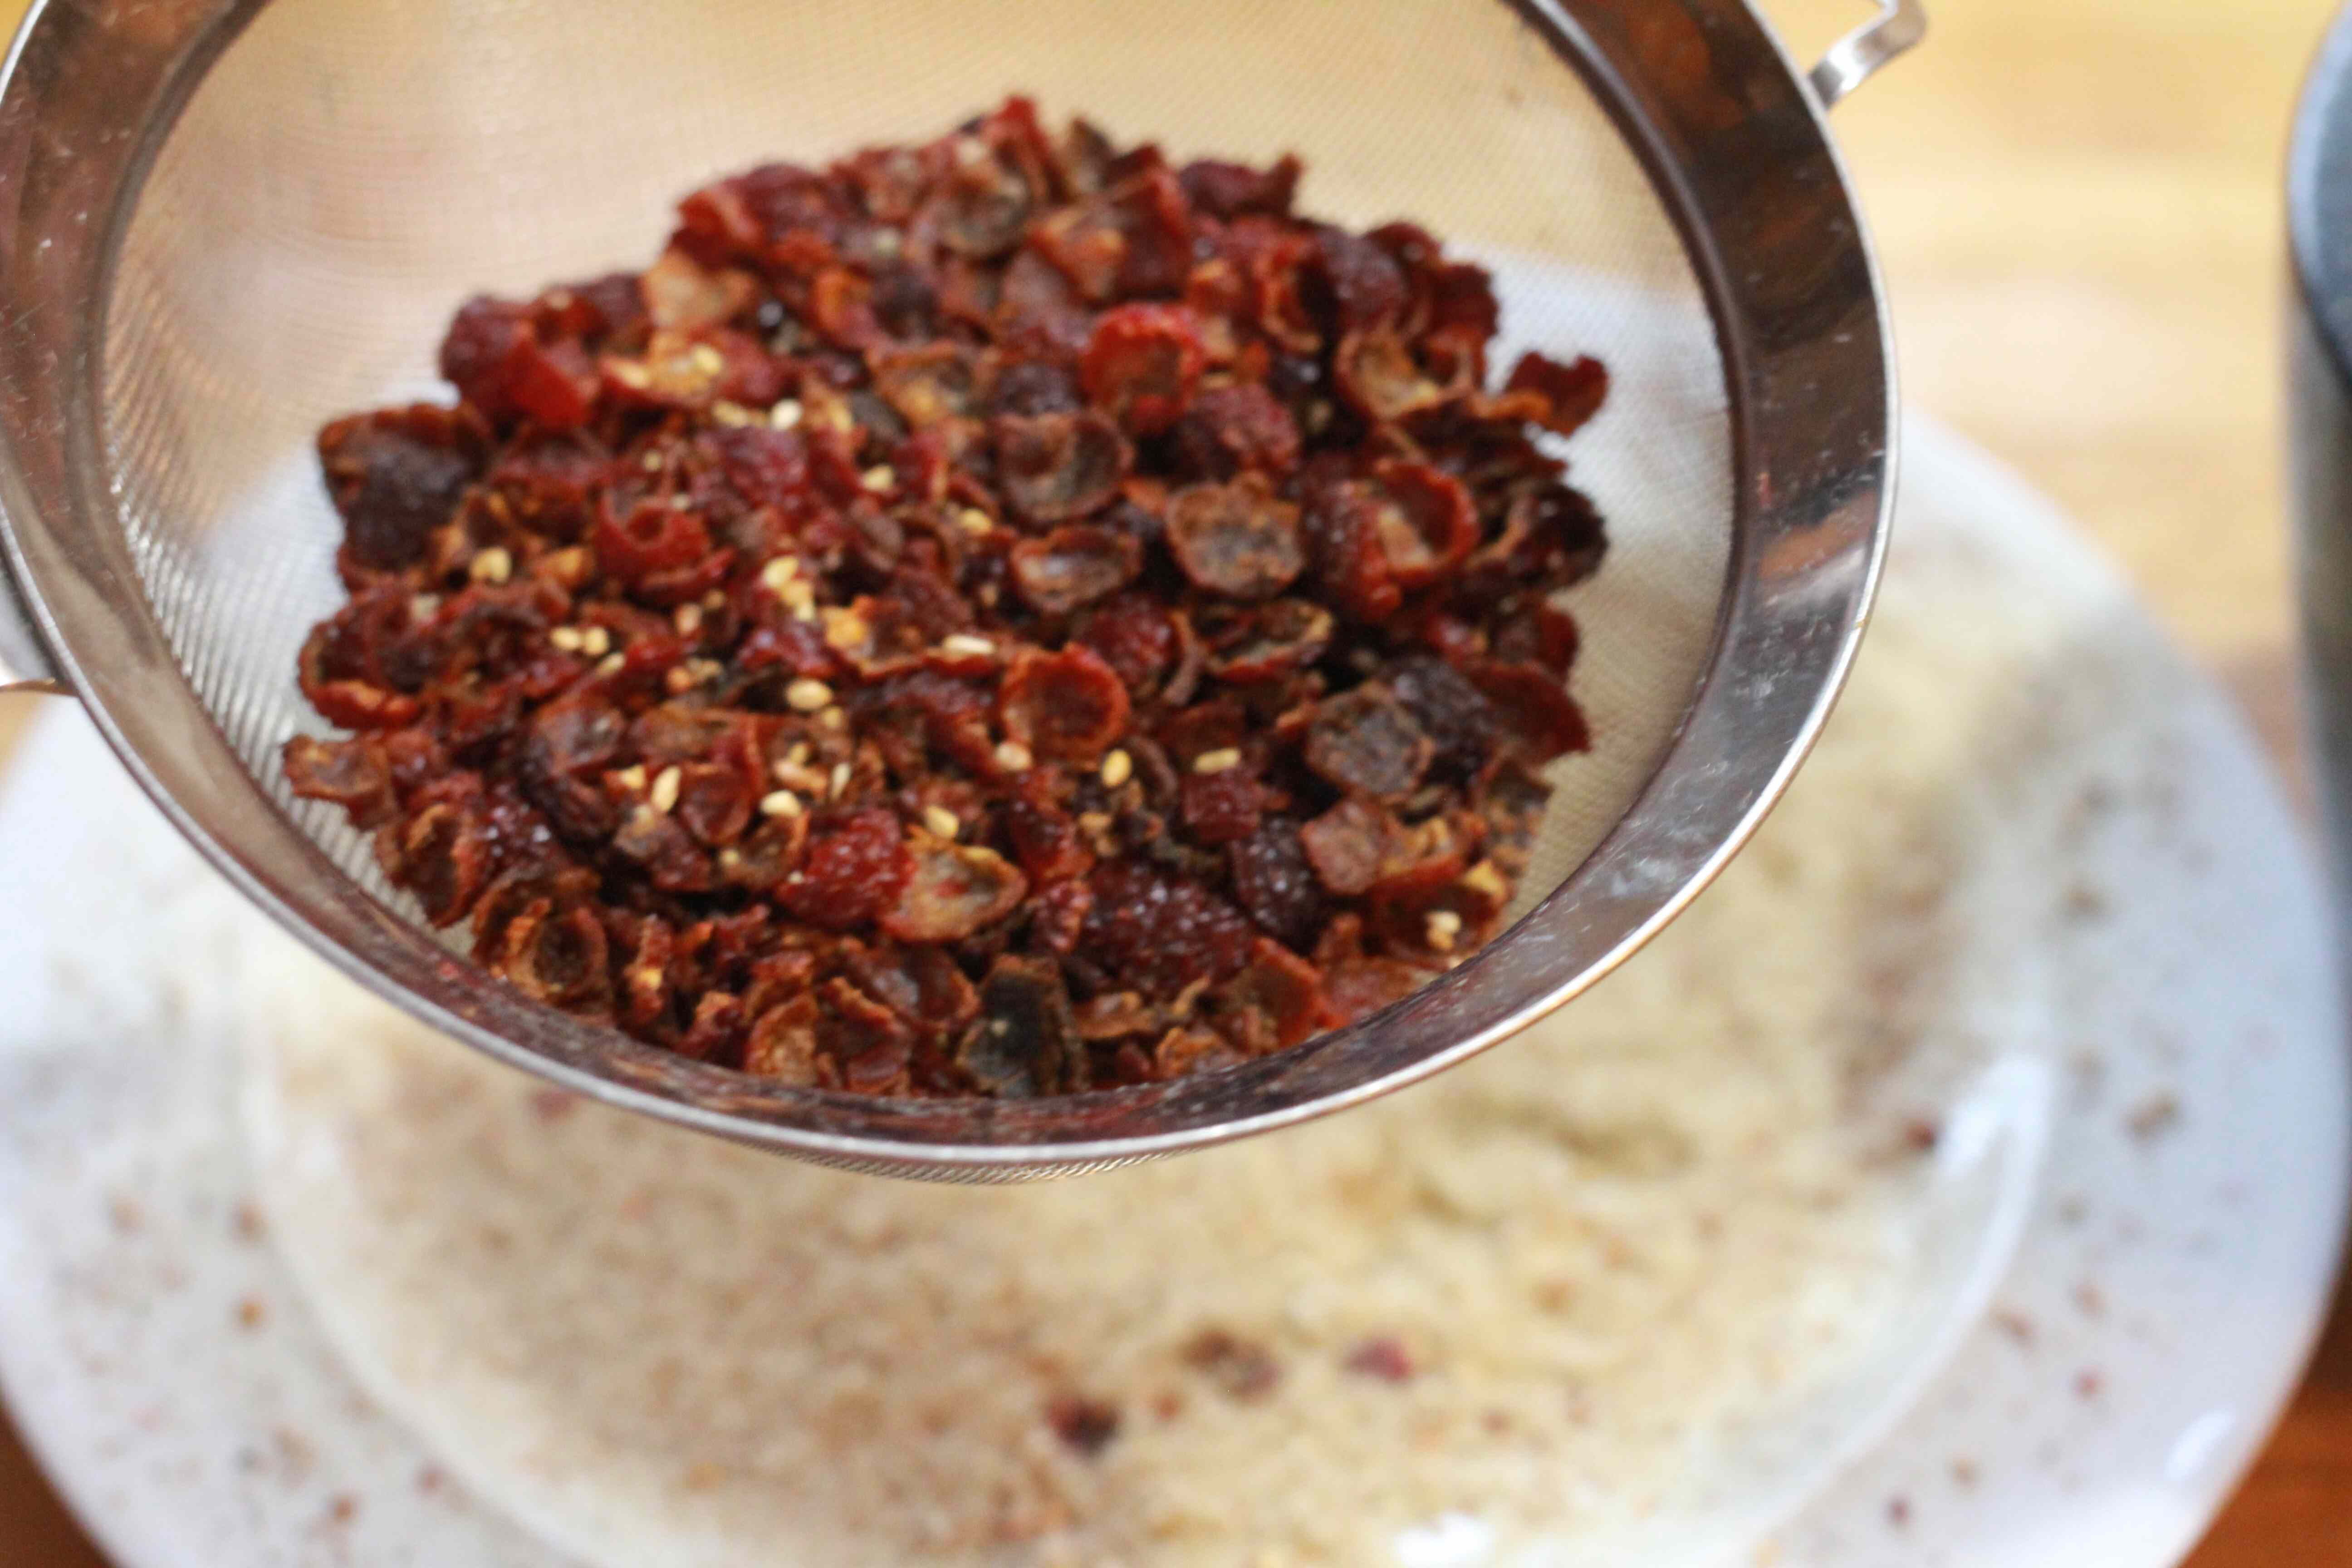
Step 4. Sieve
Pour the crushed rose hips into a sieve and shake, shake shake. The hairs and some seeds will fall right through leaving behind the dried rose hips and some seeds. The seeds are fine. It's the hairs you are wanting to be rid of because they can be very irritating to the throat.
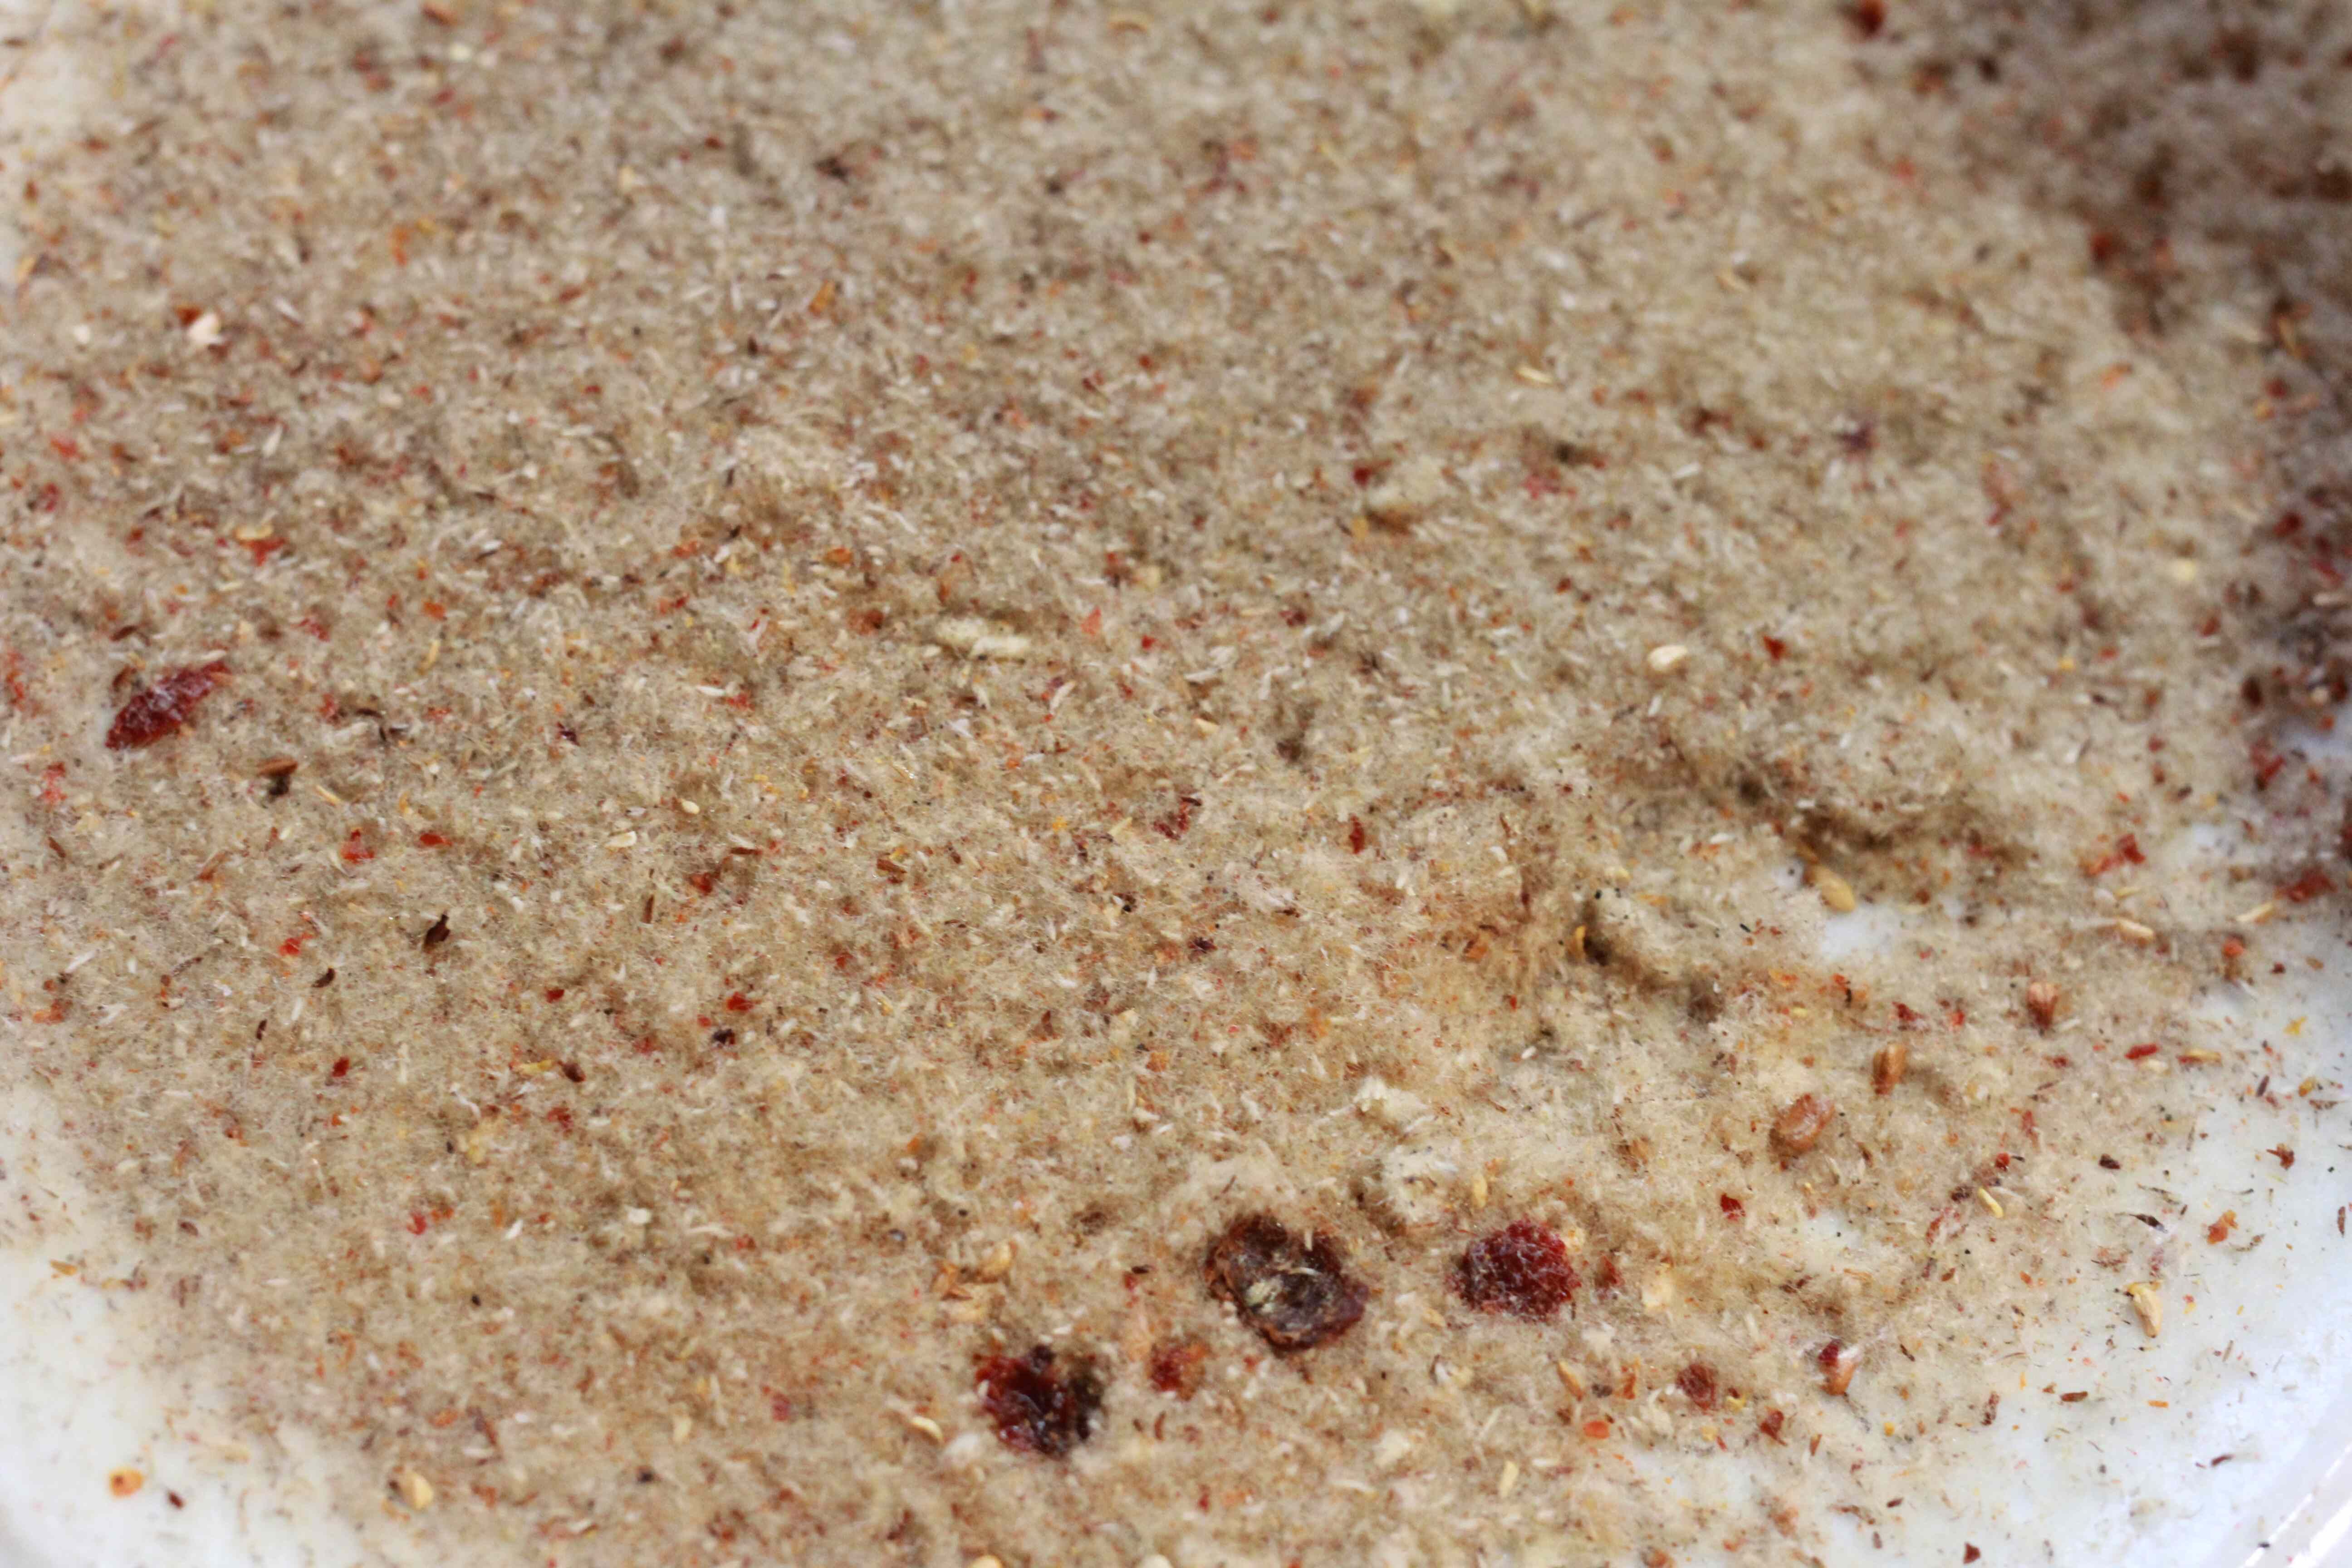
Here is a closer look at the hairs. I've saved a jar of this to see if I can use it as a slug deterrent.
When you handle the hairs they can make your skin really itchy.
Step 5 Storage
Store your dried rose hips in an air tight container, I simply place them in a mason jar. Store in a dark cupboard or at least out of direct sunlight.
Sometimes I store them dry and whole and crush them later when I have more time.
Uses
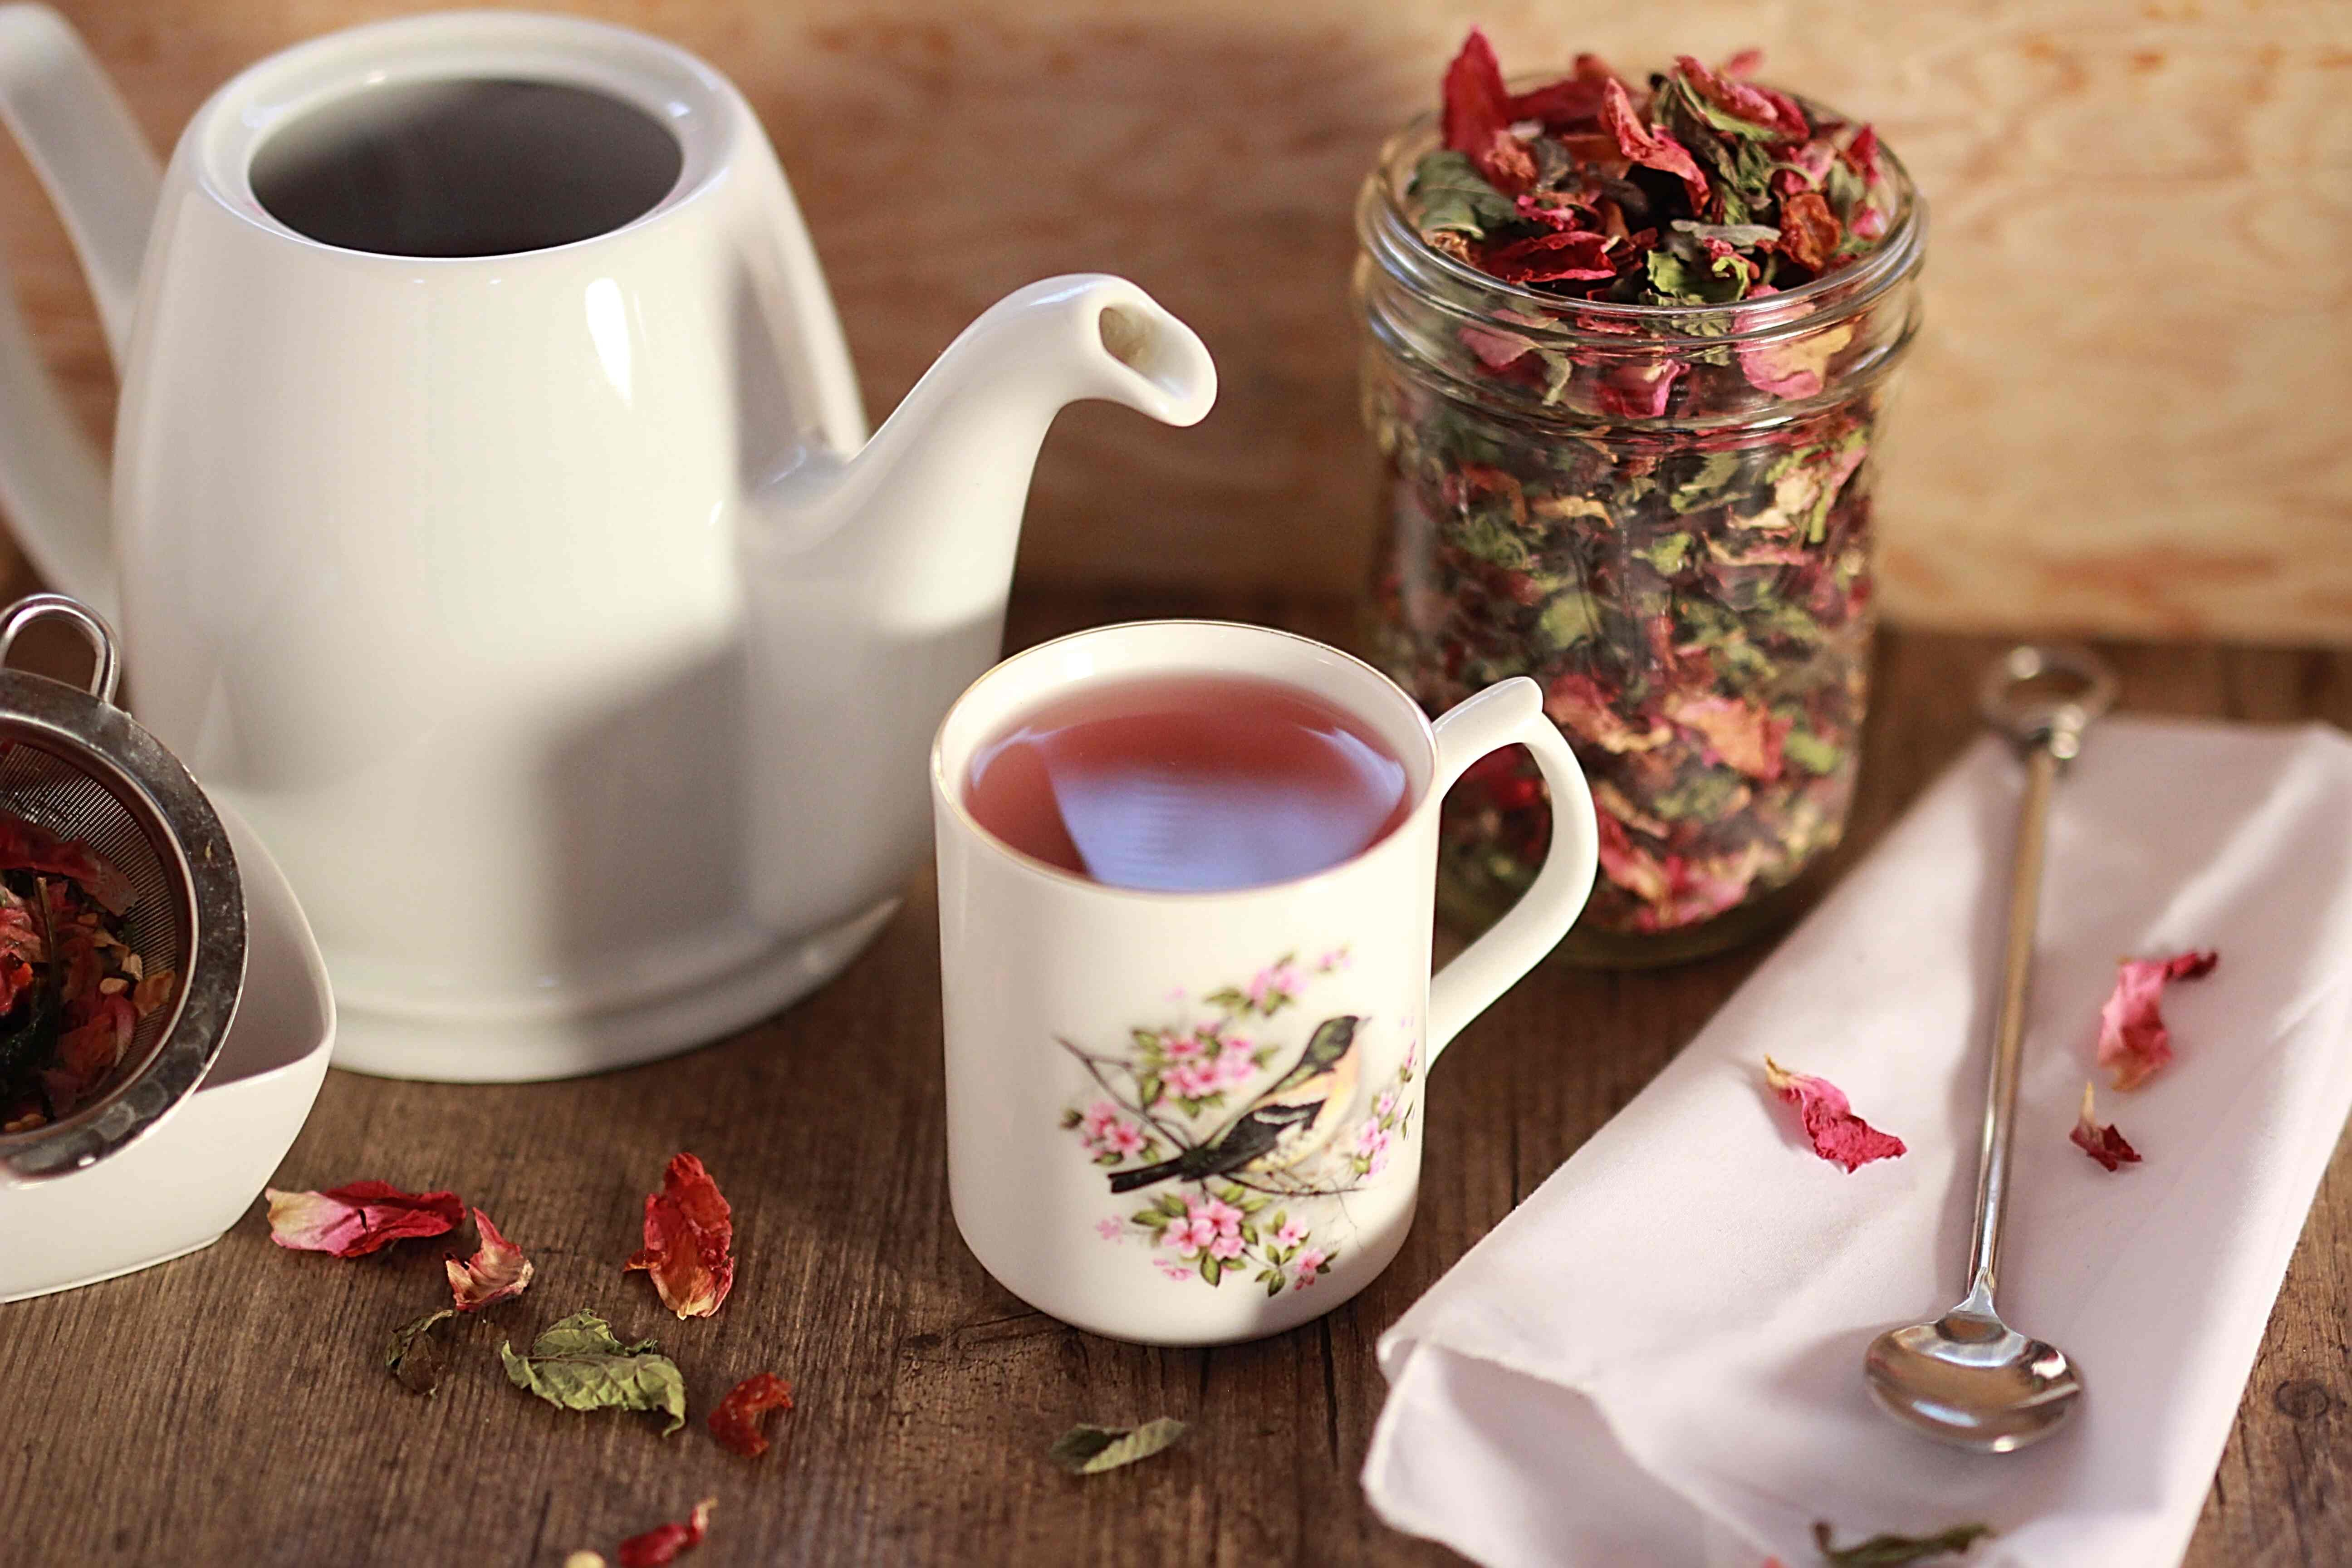
Our favourite way to use dried rose hips is in tea. We mix a blend of dried mint, rose petals and hips.
Sadly we live in a world where chemicals are frequently sprayed on plants and roses are no exception. If you are gathering rose hips from outside of your own property always be sure that you are collecting from plants that have not been sprayed with chemicals!
Building a greener, more beautiful world one seed at a time.
Homesteading | Gardening | Frugal Living | Preserving Food| From Scratch Cooking|
You can also find me at: walkerland.ca|Facebook
Photo copyright: @walkerland

Great job! Your post was featured in this week's @the-hearth curation digest featuring stunning earth-centered content on the blockchain.
Thank you! :)
Amazing post! Beautiful and full of so much information, thank you for sharing this! Rosehips are one of my favorite plants for foraging, so much goodness packed into that tiny berry!
Thank you! :) It really is quite wonderful when something so beautiful is also good for you.
Slug deterrent! Thats perfect! PLEASE let me know if that works, we have mad slugs over here in NS.
Great tutorial, I haven't tried the drying before separating method, I know what I'm doing this fall!
Us too! We are in NB and the slugs are outrageous, I've never seen anything like this before. I know it sounds awful but I am quite the slug assassin. I sneak out in the dark with a headlamp, beer traps and I even splurge and buy oranges for the slugs because they go nuts for orange slices. I usually find 10+ slugs around each orange slice in the early morning. Whatever it takes! I'll let you know if the rose hip hairs help at all.
I have always wondered if slugs are edible, especially when fed oranges and beer! Nice how-to on the rose hips.
ooh. I am sure they are edible but I've impaled far too many to ever consider that. The goo that oozes out of them ... ick (lol). I'll let you go first! :)
Yup, you gotta did what you gotta do to kill those buggers. I haven't tried orange slices... but it might happen this summer.
As for eating them, I've often wanted to because of how much of my plants they eat, but the sliiiime... I guess you can cook off the slime (it'll ooze out first) and then fry them up but... no. Yuck. My chickens don't even want to eat them :(
That is so true! Our chickens won't touch them either.
Really good tutorial. I wonder if those hairs could be used to deter other pests besides slugs? Might be worth a try...
I'll let you know if it works on the slugs. It was just an idea I had because of how itchy it made my hand. I haven't tried it yet - if you beat me to it let me know!!
Will do!
You can make jams or marmalades with these as well as compotes or infusions... really nice tutorial BTW :)
Thanks! Absolutely, rose hips are so versatile. We are so grateful to have them in abundance here.
Nice! I'll be checking your posts for more stuff like that.
I love rose hips, but haven’t done a lot of drying them myself yet- great to know about the hairs. Thanks!
It took me a while to find a way to remove the hairs that was easy. I'm glad the info was useful to you! :)
My son and I dried rose hips from rugosa roses one year and made tea. I didn't know about the hairs back then. The tea was NOT popular...
This is a great post and it's cool to know how to properly process the hips. I've always wanted to utilize their Vit C, but the first experience...
We'll this year might be your year for changing everyone's minds about it!
So lovely
This is so awesome! We have tons of rose hip here in Alaska. We normally eat it straight off the bush. Our rose hips are much larger then the ones pictured too.
Thanks for the info!
This are some pretty big hips! Lucky you! We grow Rosa Rugosa on the homestead.
Cool, I love the flowers. It’s hard not to pick them knowing they turn into super vitamin C bombs.
Awesome that yours are large too. In the picture they just look small. Ours are about an 1 to 1.5 inches long and about half an inch wide. We also get the really fat ones too.
Very cool! :)
Amazing how-to and I really appreciated the pics!
Thanks for the feedback, I appreciate it! :)