How to Import Mac Outlook to Outlook Windows 2024 | Windows Users
Microsoft has made the Outlook email client for both Windows and Mac computers, but when you compare the two, Windows Outlook is the clear winner. Outlook for Mac has some problems that Windows Outlook doesn't have. For example, users need to import Mac Outlook to PST, which takes a long time.
Outlook for Mac can't sync with the master category list of Exchange Server.
If the user changes the name of the Microsoft User Data folder or one of its subfolders, a blank identity is made for that folder.
Installing and keeping up the Mac system costs a lot of money.
Because of these problems, many users choose to export their Outlook for Mac data from OLM files to PST files, which is the format that Windows Outlook uses to save data. If users need to make a backup copy of their Mac Outlook mailbox on Windows, if they are turning off their Mac Outlook account and switching to a new email client, or if they just want to keep their data safe, they may also want to import an OLM file into Windows Outlook.
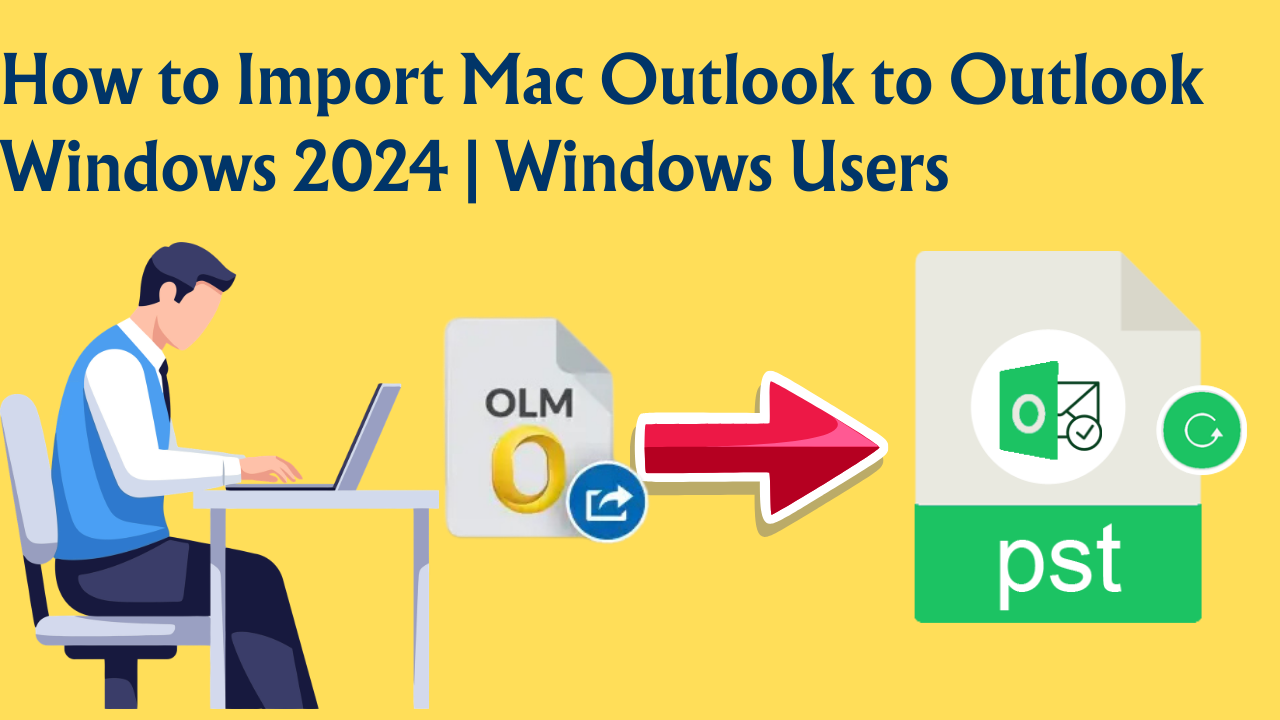
Microsoft doesn't give you a direct way to import OLM files into Outlook 2024 for Windows, so the best way to export the data is to convert OLM to PST. But a lot of the time, commercial OLM to PST converters are either too expensive or very dangerous.
That's why we've come up with a way for you to export OLM data to PST. But we need to warn you that this method has a lot of steps, takes a long time, and could result in data loss if you don't follow it carefully. So, only use this method if you are sure you know how to use it.
How to export OLM data to PST manually
There are three steps to this method. Here's a full list of the steps to take in each phase:
Step 1: Sort Outlook for Mac items into groups
You need to choose all the items you want to export from the Outlook app on a Mac before you can start exporting them. After you pick the items, you need to put them into groups. To choose and sort items in Outlook, follow these steps:
- Open Outlook for Mac and click on "Categorize."
- In Outlook 2024, click the plus (+) sign next to "Edit Categories."
- Type the name of the export in the field called "Export Name." Pick a name that you can easily remember.
- Choose the things you want to export, like emails, journal entries, and calendar events.
To export everything in your account, go to each folder and check the box next to each item you want to export. Click on a folder, then click on Edit, and then Select All. You will choose all the items in the folder. Now, on the toolbar, click the "Categorize" button and choose the name of the category you made from the drop-down menu.
Press the control key and choose the first and last message in the range of messages you want to export if you only want to export a small amount of data. There will be a highlight on everything in between. Press the command key while selecting messages that are not next to each other. Click the Categorize button and choose the name of the category after you've chosen everything you want to export.
To sort other things, like contacts and calendar events, click the "Categorize" button, choose the name of the category, and then click the "Categorize" button again.
The color of the category label will be used to mark all items in that category. This means that these things are ready to be sent out.
Step 2: Move items from Mac Outlook to another computer
- Open Outlook on your Mac and click File in the top left corner. Then, click Export.
- Choose the Export to Archive File (OLM) option in the Export window.
- Choose the "Items of these types" option if you want to export everything. Next, check the boxes for Mail, Tasks, Calendar, Notes, and Contacts.
- If you put the things you want to export into categories, choose the "Items in the category" option. Choose the name of the category you made from the drop-down list.
- Click on "Continue." You will be asked to choose a place to save your export file.
- Choose a place that is easy for you to remember.
- If you want, you can use the Save As button to give the export file a new name. You can see the export action in a window with a progress bar.
- When the system shows the Export Complete dialog box, click either Finish or Done.
An OLM file now holds all of your Outlook data. But can you get to this information? No, you can't read this data unless you import the OLM file into an app that can read it.
Step 3: Add OLM to Outlook 2024 on Windows
- Make an IMAP account on either Gmail or iCloud.
- Move everything from your exported OLM file to the IMAP server.
- Open Outlook 2024 on Windows and drag and drop everything into it.
You should now be able to see everything in your Mac Outlook account in Windows.
A Aultinative option
As I said at the beginning, the method above takes a long time and a lot of work. It also needs a lot of manual work, which can lead to mistakes.
Using an automated third-party tool to convert OLM to PST is a simpler way to do it. You can open all the data in the converted PST file directly in Windows Outlook. For this job, we recommend the trustworthy and useful GainTools OLM to PST Converter. This program takes all the data from OLM files, such as emails, attachments, calendar entries, notes, journals, and more, and turns them into a PST file that is the same as the original. You can then move the PST file to a Windows computer and import it directly into Windows Outlook.
Final Thoughts
The automated tool method is much better than the manual method because it takes less time and is less risky. This software is also a lot cheaper than other commercial OLM to PST converters that are out there. So, it is the best option.