How to Choose Decorative Window Film for Your Space
Clear glass makes rooms feel open, but it also creates privacy issues and visual confusion. People walk into glass doors. Meeting rooms feel exposed. Office interiors lack identity. Bathroom windows need privacy without losing daylight.
Decorative window film addresses these problems without replacing the glass. It adds frost, pattern, color, texture, branding, or visual markers to an existing surface.
A good design starts with function. Appearance follows.
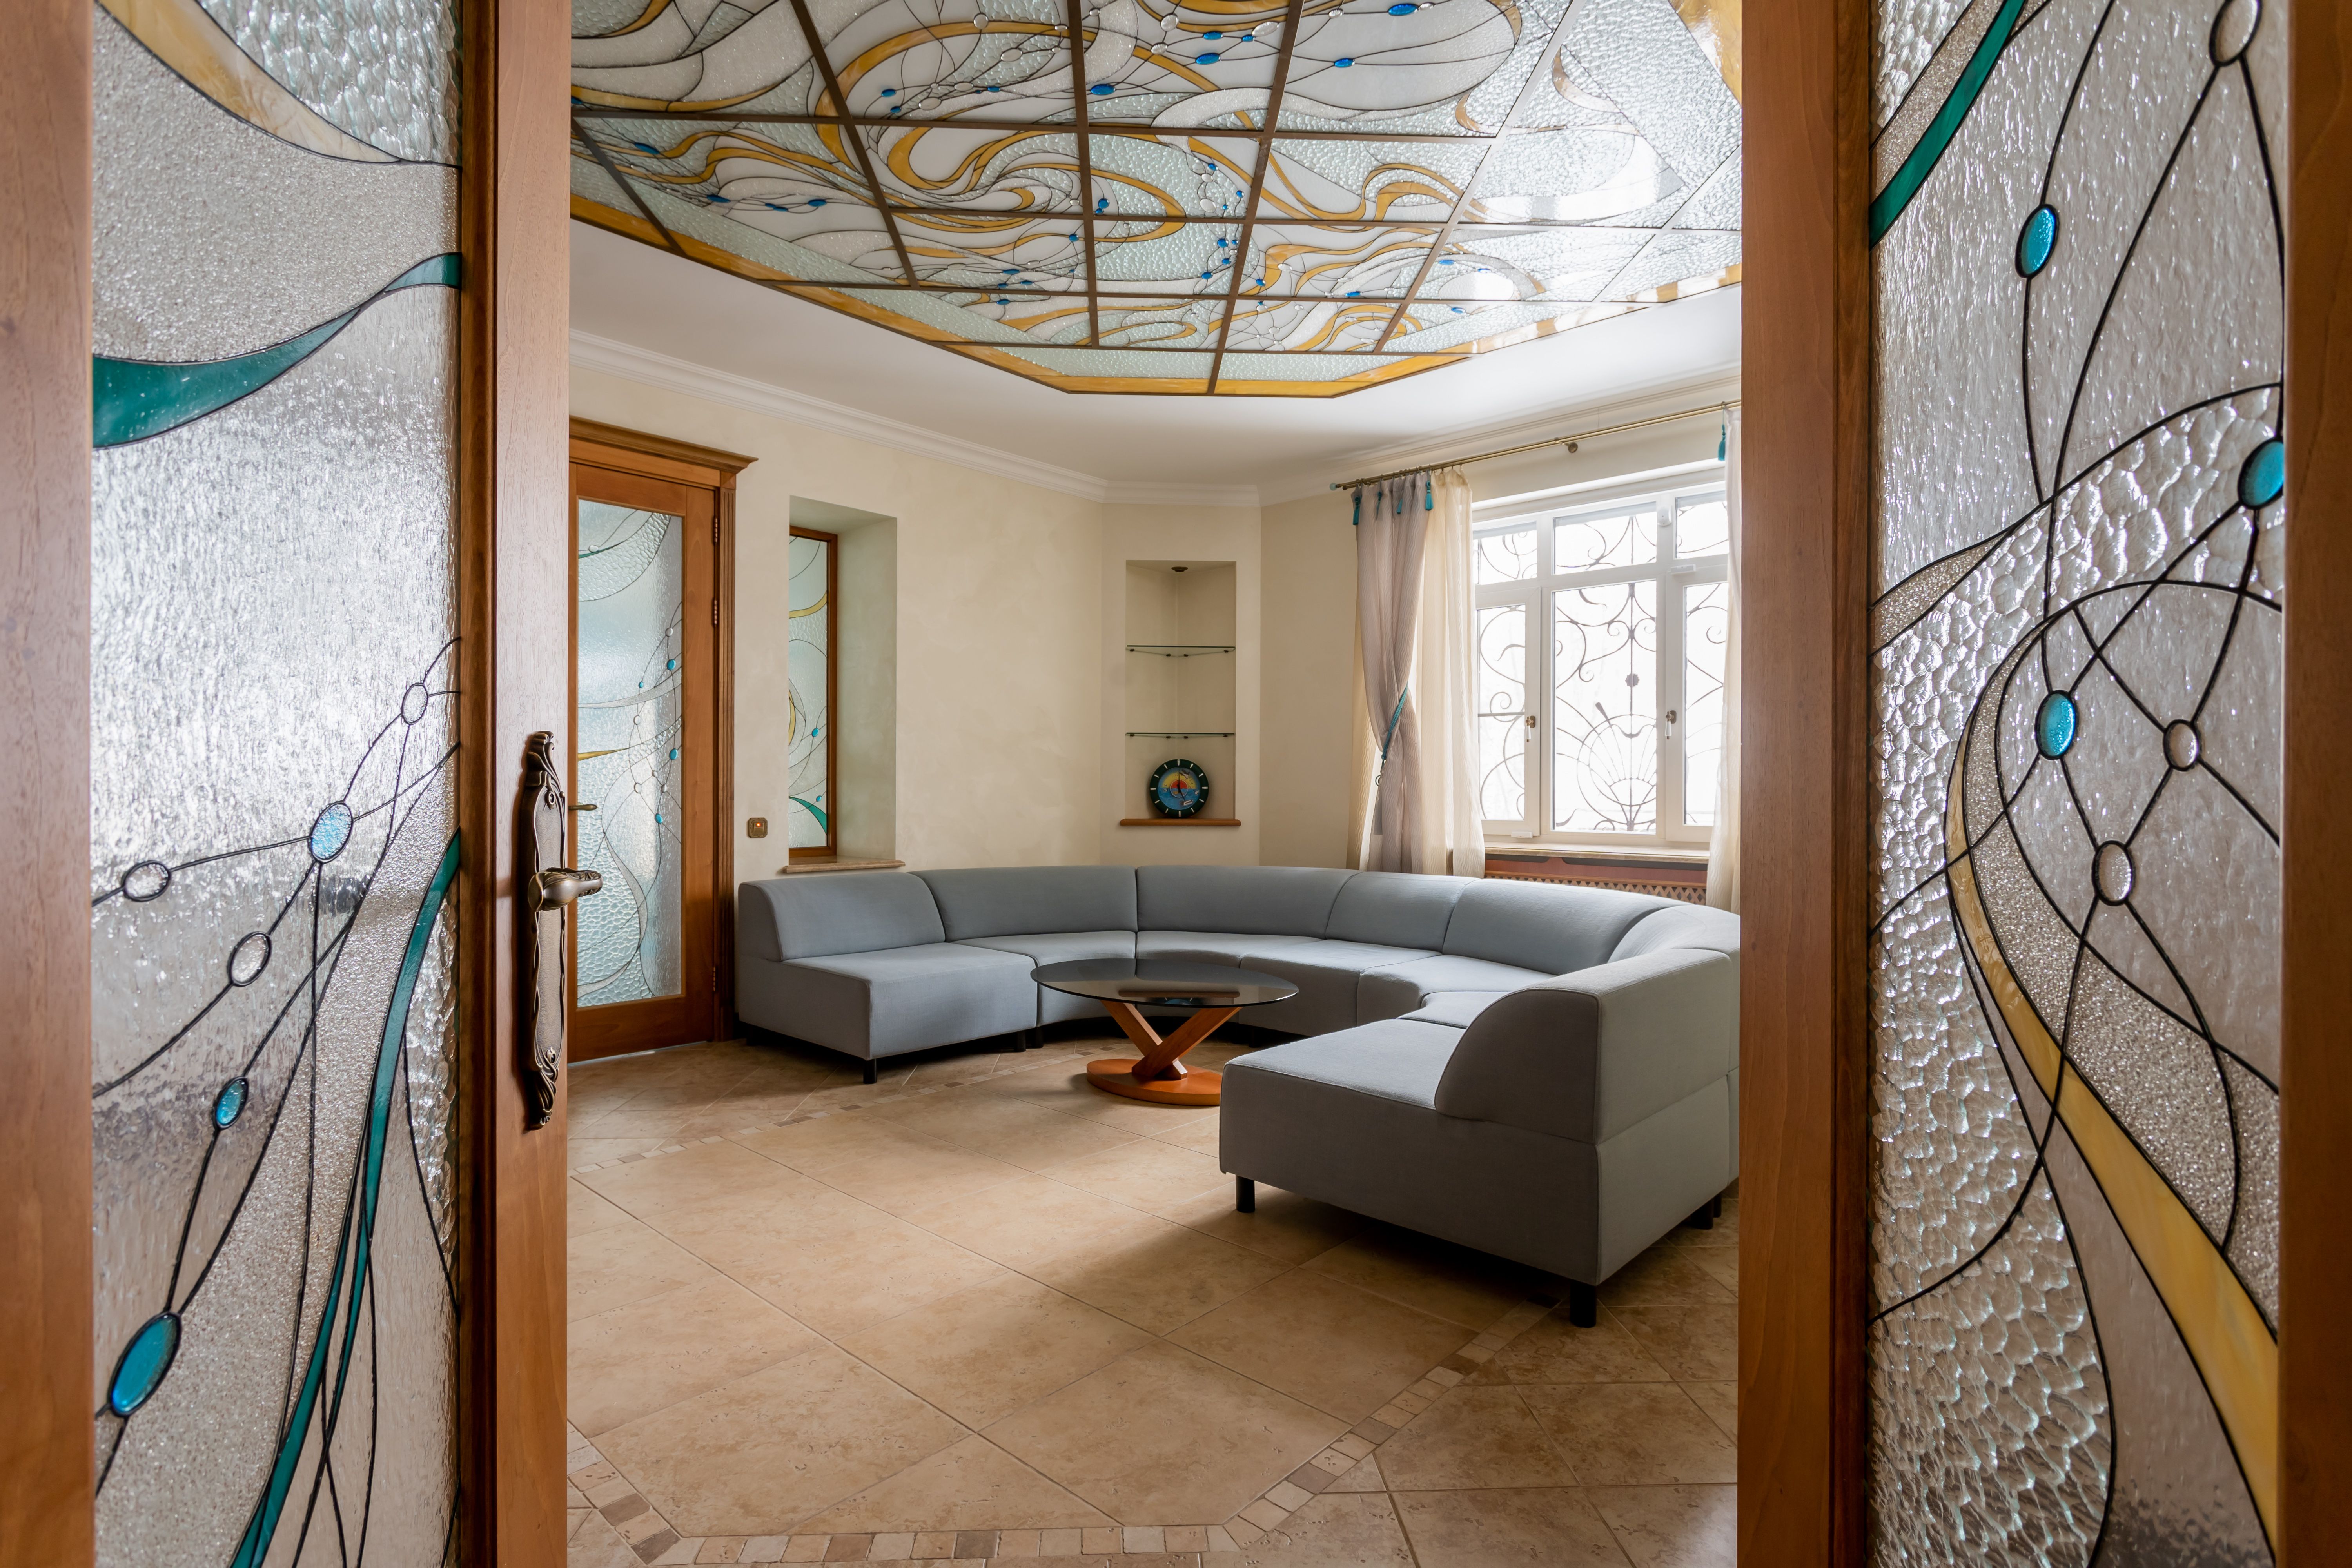
Define the Purpose
Ask why the glass needs treatment.
Common goals include:
• Privacy
• Branding
• Safety markings
• Interior decoration
• Glare control
• View screening
• Light diffusion
• Directional signs
• Temporary promotions
• Separation between work areas
Choose one main goal and list any secondary goals.
A frosted meeting room needs a different layout from a retail display. A glass door needs visible markings at eye level. A bathroom window needs privacy across the full viewing area.
Write a short purpose statement for each pane before reviewing patterns.
Understand Privacy Levels
Decorative films provide different levels of privacy.
Light frost softens the view while preserving brightness. Dense frost blocks more detail. Opaque film blocks direct vision. Patterned film creates privacy only where the pattern covers the glass.
View distance matters. A pattern that hides detail from across a hallway might reveal shapes when someone stands close.
Test samples under real lighting.
Check privacy:
• From both sides
• During the day
• At night
• With interior lights on
• From close range
• From across the room
• While people move behind the glass
Do not judge privacy from a catalog image.
Keep Daylight in Mind
Many people choose decorative film because they want privacy without a solid wall.
Frosted films spread light and reduce clear views. Dark or printed films block more daylight.
Ask how much light each option allows through the glass. Review the effect on nearby work areas, halls, and rooms without exterior windows.
For early planning, a decorative window film resource helps you compare privacy styles, architectural applications, and local installation options.
Use daylight as part of the design. A narrow clear band near the ceiling often shares light between rooms while preserving privacy at eye level.
Choose the Right Pattern Scale
Pattern size changes how a space feels.
Small patterns add texture and work well on narrow panes. Large patterns suit broad glass walls and create stronger visual impact. Dense patterns provide more privacy. Open patterns preserve more view.
Print a full-size sample when possible. A design that looks balanced on a laptop often feels too small or busy on a large partition.
Consider:
• Pane width
• Pane height
• Viewing distance
• Furniture placement
• Door movement
• Nearby finishes
• Room size
• Repeating seams
Ask how the pattern repeats across several panes.
Plan for Glass Doors
Clear glass doors need visible markers so people see them.
Decorative bands, logos, stripes, or dots help define the door plane. Place markings where users naturally look.
Review the door from both approach directions. Furniture, sunlight, and reflections affect visibility.
Also check:
• Handle location
• Lock hardware
• Door swing
• Push plates
• Access controls
• Safety signs
• Required visual contrast
Film should not interfere with sensors, card readers, or door operation.
Use Frosted Film in Offices
Frosted film works well on conference rooms, private offices, clinics, reception areas, and glass corridors.
Decide whether the frost should cover the full pane or only part of it.
Common layouts include:
• Full frost
• Center privacy band
• Clear top strip
• Clear bottom strip
• Graduated pattern
• Logo cutout
• Alternating clear and frosted bands
• Custom geometric design
Think about seated and standing sightlines. A band that hides seated meeting participants might leave standing users fully visible.
Mark sightlines with removable tape before approving the design.
Plan Branding With Restraint
Decorative film supports logos, brand colors, patterns, and messages.
Keep the design readable. Too many elements create visual clutter.
Use branding where it serves a clear purpose:
• Reception glass
• Main meeting rooms
• Entry doors
• Customer-facing spaces
• Interior wayfinding
• Product display areas
Review the logo at full size. Thin lines and small text often lose clarity during cutting or printing.
Ask for brand color matching details. Printed film color changes with glass tone, daylight, and interior lighting.
Consider Residential Uses
Decorative film also fits homes.
Common locations include:
• Bathroom windows
• Entry sidelights
• Front doors
• Bedroom windows
• Kitchen cabinet glass
• Glass pantry doors
• Shower panels
• Interior partitions
• Street-facing windows
Choose a design that fits the home rather than following a short trend.
For bathrooms, review privacy at night. For entry doors, check visibility from the street. For shower glass, choose a product and placement suited to moisture and cleaning.
Inspect the Glass First
Decorative film needs a clean, sound surface.
Check for:
• Scratches
• Chips
• Cracks
• Seal failure
• Old adhesive
• Existing film
• Silicone residue
• Etched glass
• Textured surfaces
Film often highlights scratches or trapped debris. Textured glass also presents adhesion limits.
Ask the installer to identify the glass and confirm product compatibility. Large insulated panes need extra review when the design includes dark printed areas that absorb heat.
Decide Between Cut and Printed Film
Cut film uses solid sheets cut into shapes, letters, or patterns. Printed film carries ink-based graphics or images.
Cut film often works well for frost bands, logos, and simple patterns. Printed film supports gradients, photographs, detailed art, and full-color branding.
Ask about:
• Print resolution
• Ink durability
• White ink
• Color consistency
• Lamination
• Interior or exterior installation
• Cleaning rules
• Replacement matching
Printed sections on adjacent panes need careful alignment.
Review Design From Both Sides
Glass has two viewing sides.
Text, logos, and patterns look different from the reverse. Decide which side needs correct reading direction.
A logo on a conference room wall might face the hallway. A storefront graphic might face outdoor viewers. Some designs need different treatment on each side.
Ask for elevations showing both views.
Also review reflections. A dark room behind glass changes the way film appears from a brighter area.
Compare Providers and Design Support
Give each provider the same glass dimensions, photos, privacy goal, and brand files.
While comparing decorative film installers, an interactive window film viewer serves as a neutral research reference for exploring film appearance and narrowing design preferences before approving samples.
Ask providers:
• Which film type fits the glass?
• Does the design meet the privacy goal?
• How will patterns align across panes?
• Which side receives installation?
• How will colors look in daylight?
• What file format does the designer need?
• How will old film receive removal?
• What cleaning method protects the finish?
• How will damaged sections receive replacement?
A provider should explain both design and installation.
Use Full-Size Mock-Ups
Small samples help with material choice. Full-size mock-ups help with layout.
Install a temporary paper pattern or sample film on one pane. View it from typical walking and sitting positions.
Check:
• Privacy height
• Pattern scale
• Logo position
• Door visibility
• Daylight
• Color
• Alignment
• View from outside
Invite input from the people who use the space. Focus feedback on function, not personal taste alone.
Plan Around Seams
Wide graphics sometimes require seams.
Ask where seams will sit and how visible they will look. Place seams along pattern lines or frame divisions when possible.
Printed panels also need alignment. A small shift becomes obvious across a face, word, or straight line.
Include acceptable alignment and seam placement in the approved design proof.
Prepare the Space
Installers need clear access to the glass.
Before work:
• Move furniture
• Remove blinds
• Clear window ledges
• Protect electronics
• Secure private files
• Remove temporary signs
• Reserve elevators when needed
• Notify staff or residents
• Keep pets away
Application water often reaches the sill or floor. The crew should protect nearby finishes.
Review Curing and Final Appearance
New film sometimes shows haze or moisture during curing.
Ask when the design should reach its final appearance. Do not press bubbles or clean edges too early.
Schedule a final walk-through after curing.
Inspect:
• Pattern alignment
• Cut edges
• Text direction
• Dust
• Creases
• Edge lift
• Color consistency
• Coverage
Take photos and record product details for future replacement.
Near the final provider review, a Kepler Dealer locator supports broader comparison of architectural film services and participating installers.
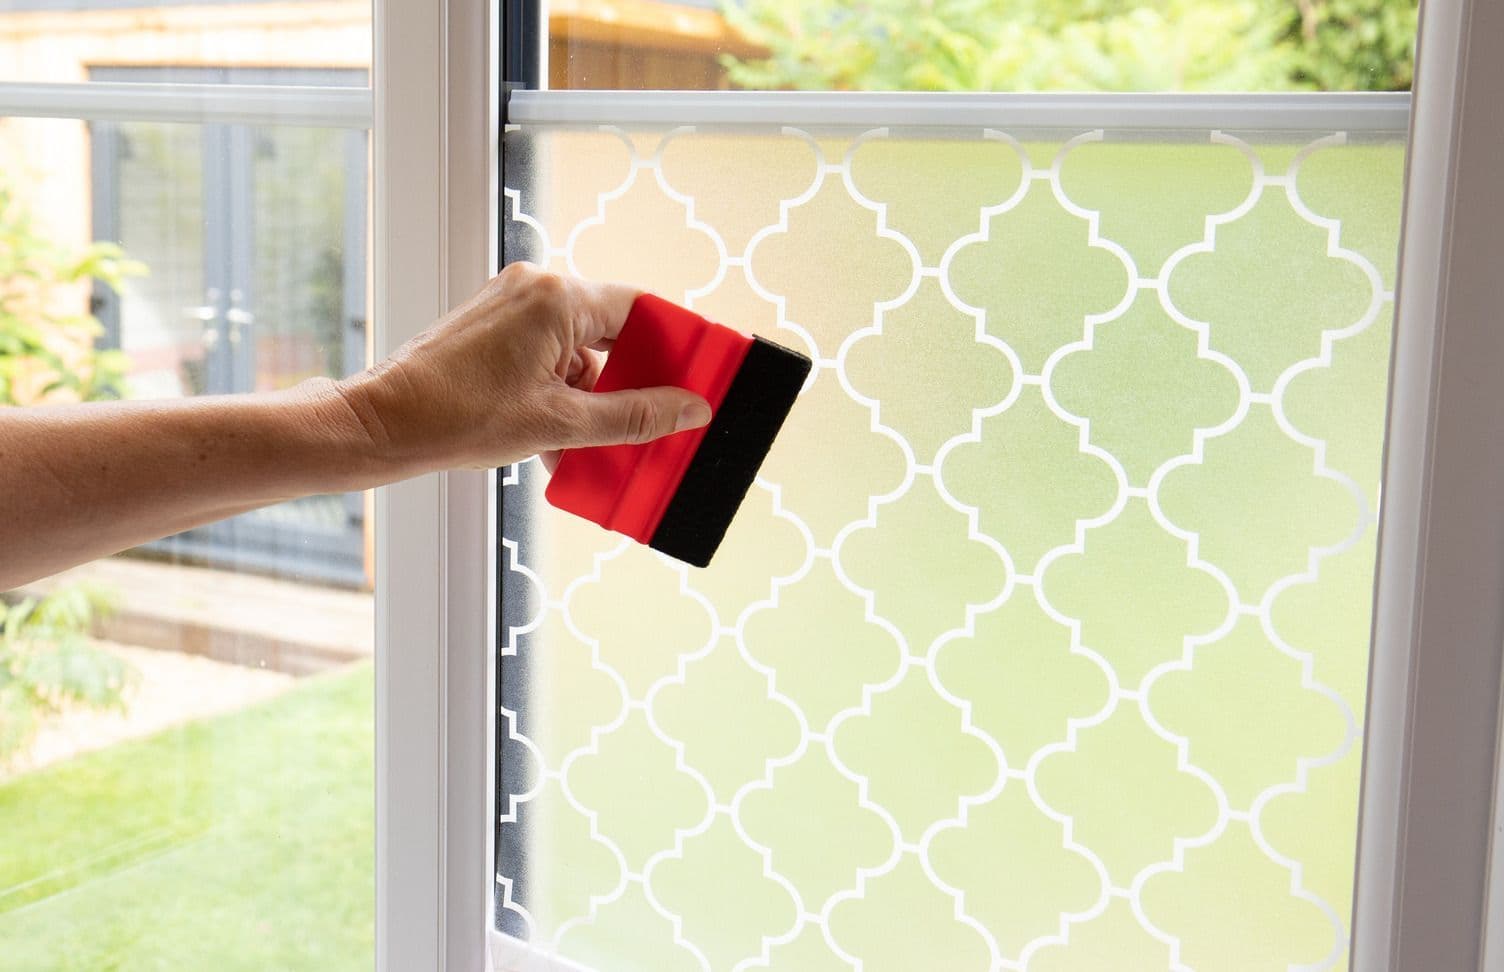
Maintain Decorative Film
Use soft cloths and approved cleaner.
Avoid abrasive pads, razor blades, strong solvents, and rough paper products. Keep cleaning tools free of grit.
Tell janitorial staff about the film. Place care instructions in the cleaning plan.
Watch high-contact areas near handles and door edges. Report lifting early.
Plan for Future Changes
Tenants move. Brands change. Privacy needs shift.
Ask about removal and replacement before installation. Some films remove with limited residue, while older adhesive needs more work.
Keep digital design files and measurements. Record:
• Film product
• Color
• Pattern
• Print file
• Installation date
• Pane location
• Installer details
These records help match a damaged section or update one room.
Decorative window film should solve a space problem first. Define privacy, visibility, daylight, and branding needs before selecting a pattern.
Test the design at full size. View it from both sides. Review nighttime conditions. A careful process gives you a result that feels intentional and remains useful after the first visual impression fades.